DIY Block Print Napkins: Personalize Your Table With Easy Paint Ideas
If you love the look of personalized custom napkins, wait until you see how easy it is to make the DIY Block Print Napkins. DIY custom napkins can be made in a variety of designs and colors to enhance any table setting. These DIY fabric napkins are easy to make using inexpensive pre-made cotton linen napkins and craft paint. With these simple techniques, you can create a multitude of block-print table linens for creative tablescapes.

(Posts on The Ponds Farmhouse may contain affiliate links. As an Amazon Associate, I earn from qualifying purchases. See the full disclosure details here.)

What Is Block Print?
Block printing is an ancient art form used for centuries to create beautiful textiles, wallpapers, and more. The designs are created using wooden blocks with carved designs. It has a unique charm and a handcrafted feel.
Block print designs are easy and fun to make yourself.
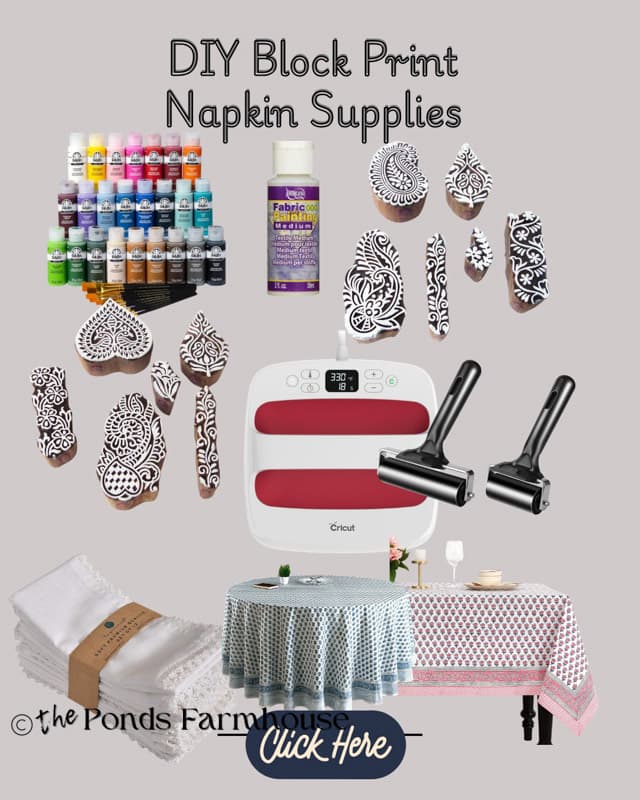
Supplies For Block Print Napkins
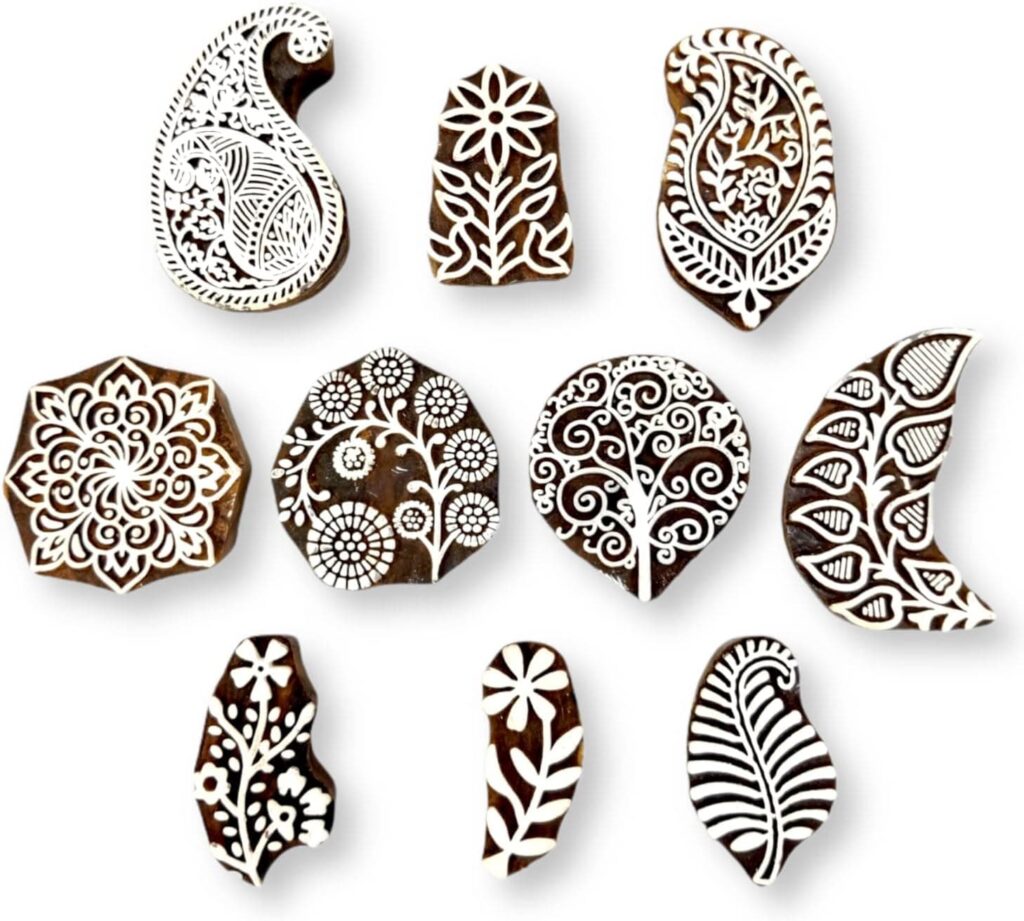
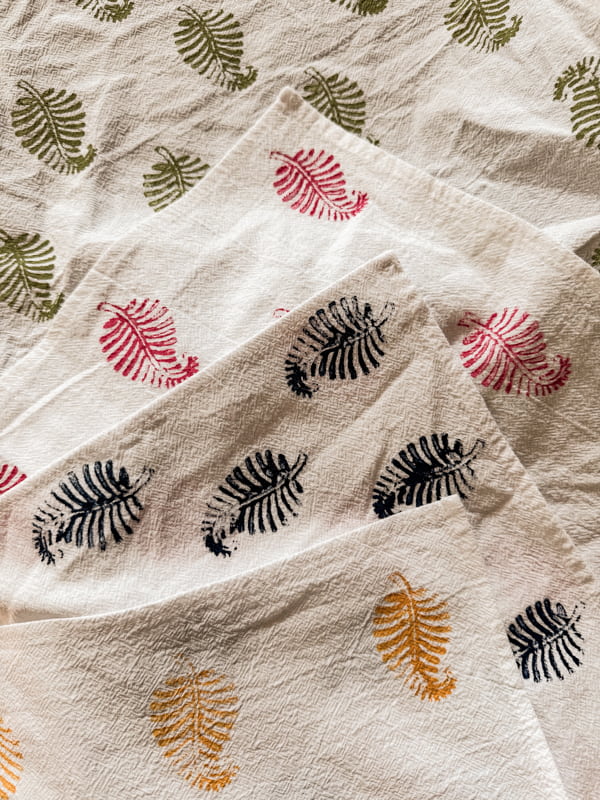
I found these great wooden block stamps on Amazon. The designs are perfect for creating block-print table linens. I used two different stamps and four colors of craft paint to create eight unique napkins.
Here are the supplies needed.
- Wooden Block Stamps
- Craft Paints in your choice of colors
- Fabric Medium
- Brayer Roller
- Cotton Linen Napkins
- Wax paper or other protective cover is needed for the work surface.
- Iron or Heat Press
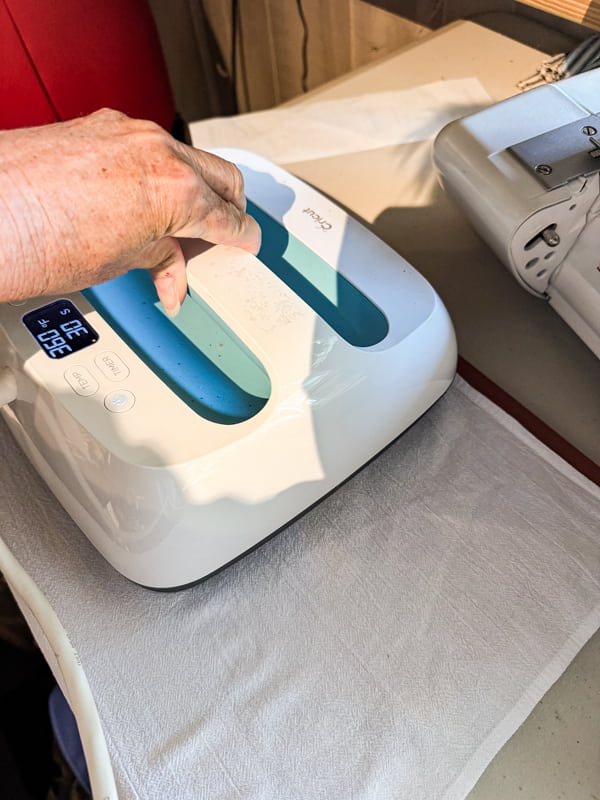
How To Prepare Napkins For Paint
To prepare your cloth napkins for painting, wash and dry them. Then press to remove wrinkles using a heat press or an iron.
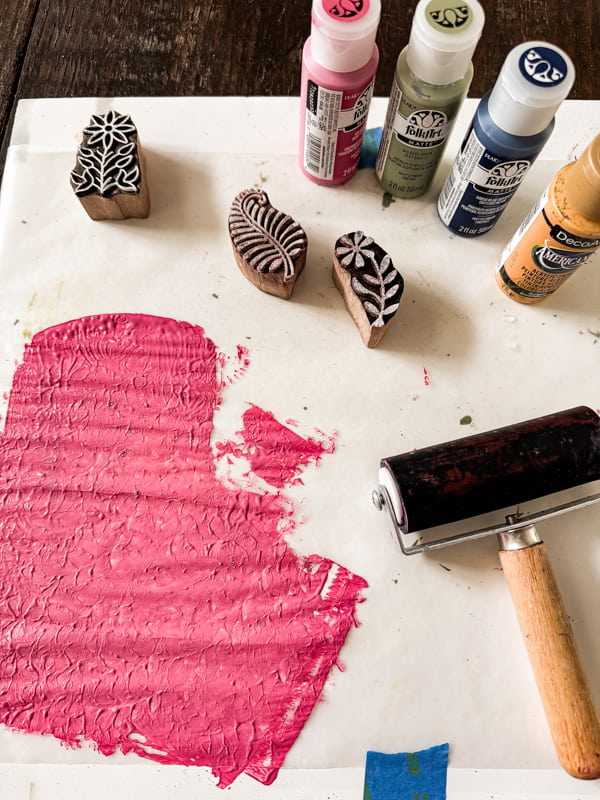
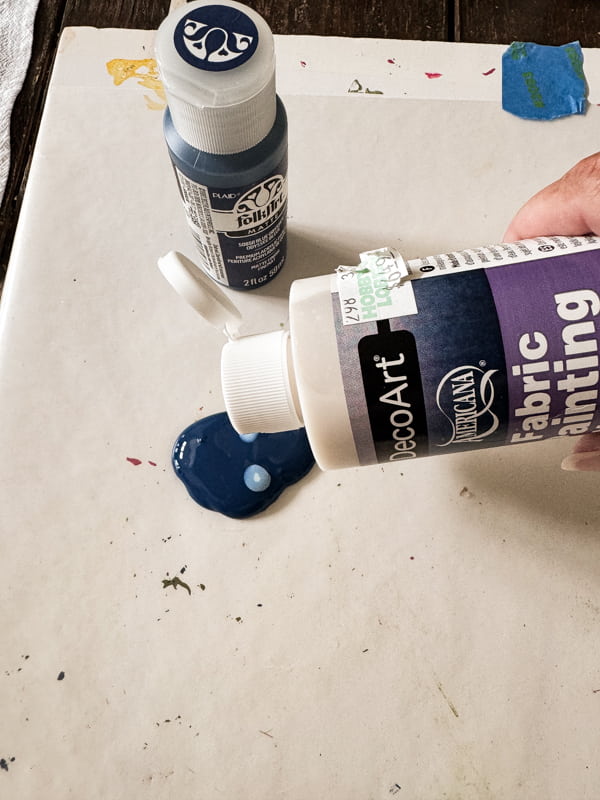
How To Prepare Paint For Block Printing
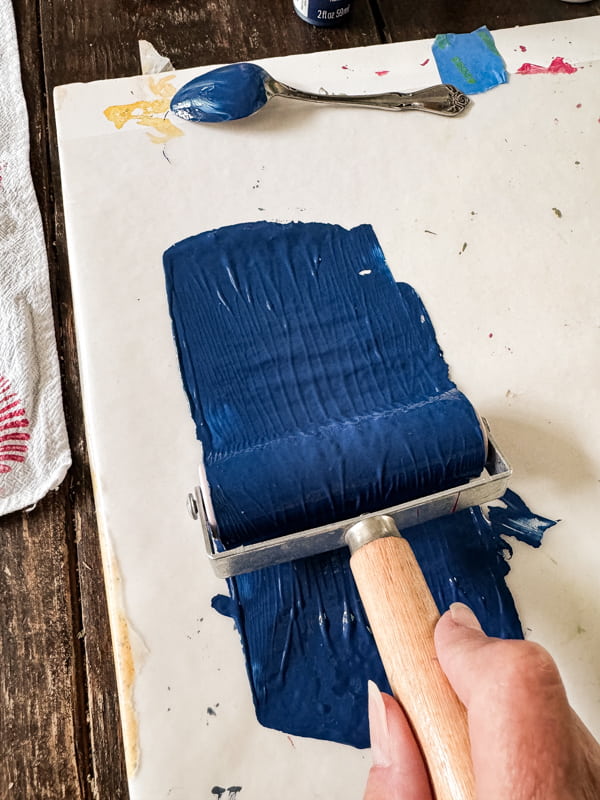
To prepare your paint for application to the fabric, you will need to add a fabric medium. Add 2 parts paint to 1 part fabric medium. Mix until the paint is smooth.
Apply the paint to a flat, protected surface and use the brayer roller to flatten it. I covered a foam board with wax paper. Secure the wax paper with tape to prevent it from moving on the board.
You can now apply the stamps to the fabric to make DIY block print napkins.
Create DIY Block Print Napkins
First, lay your napkin on a flat, protected surface. I used another foam board with wax paper for the napkin.
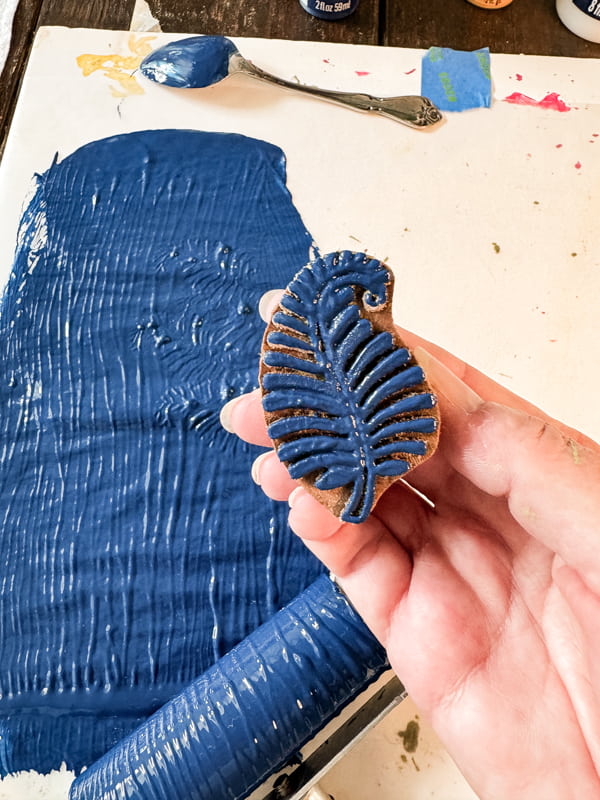
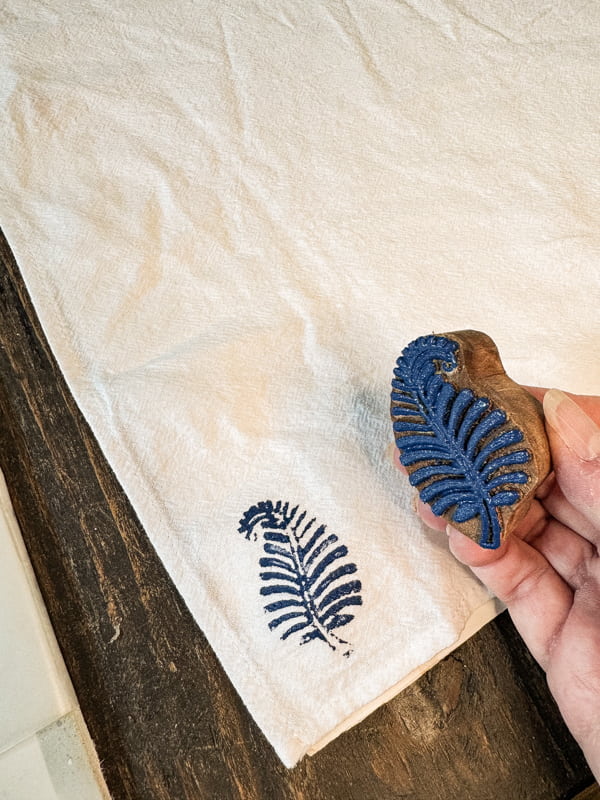
Begin creating the block-print napkins with your choice of wooden stamps. Press the stamp into the paint and then apply it to the napkin. Repeat this process to create a design of your choice.
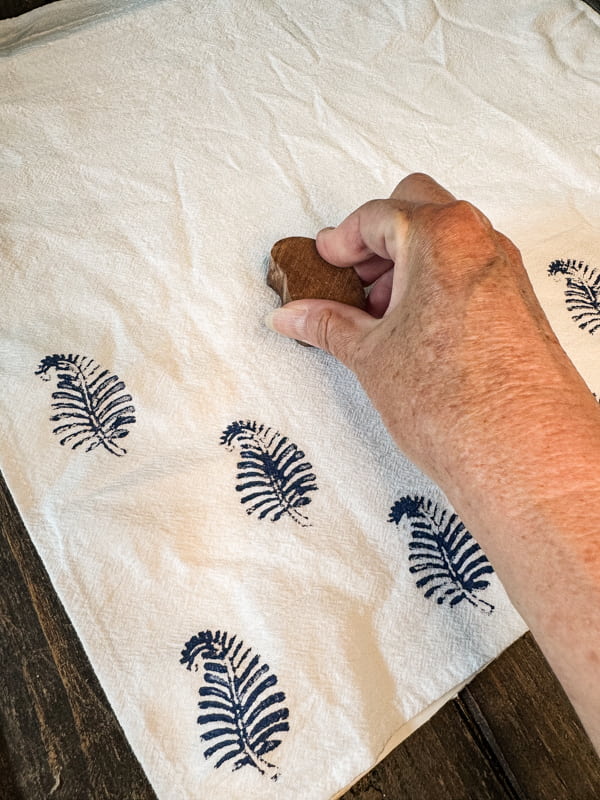
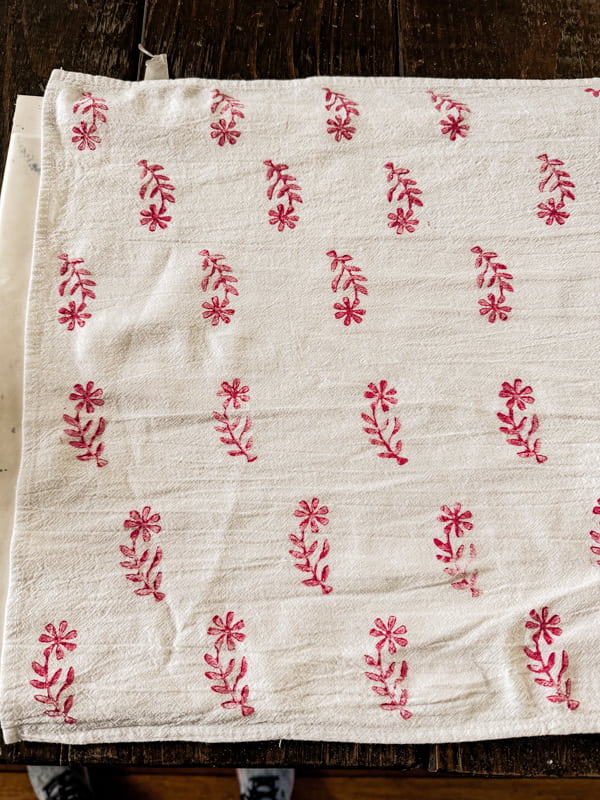
I pressed a row at the bottom of the napkin and then added a second row, staggering the lines. The third row was in line with the first row. Once I had three rows, I turned the napkin around and repeated with three more rows in the opposite direction.
You can see the full design, in which I used pink daisies to create custom DIY napkins. You’ll notice that I stamped all the designs without measuring or worrying about spacing.
If you want a more precise block print napkin, you may want to draw lines with a fabric marker to keep everything in line. If I were making a DIY Block Print Tablecloth, I would be more concerned with straight lines and even placement of the block stamp.
Heat Press To Set Paint
Once the paint is dry, heat-press the napkins to set the paint. Set the iron on high and place a protective cloth or Teflon heat-press sheets between the iron and the paint. Press over all the designs and smooth any wrinkles in the napkins.
DIY Custom Napkins
I chose to create four colors in the same design. I think they will be fun mixed on a summer table. You may prefer to use one color for all your DIY custom napkins.
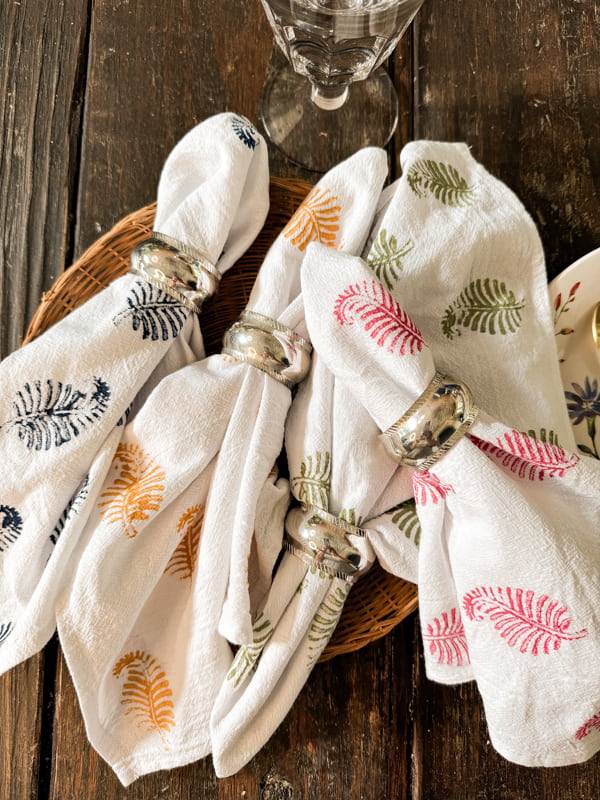
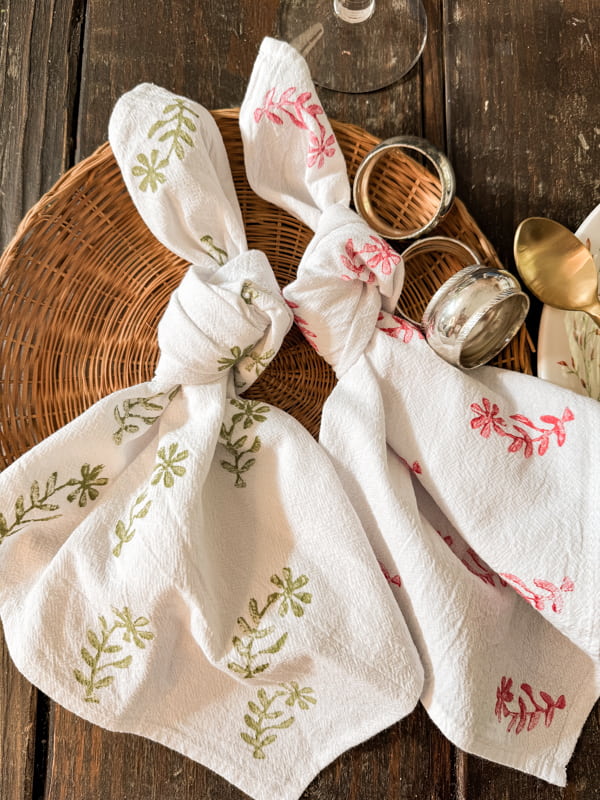
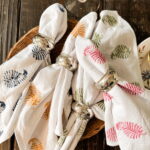
The block print napkins look good with napkin rings or loosely tied into a knot. The daisy block stamp creates a whimsical-style napkin, while the fern stamp looks slightly more dressed up.
I plan to use the napkins on an upcoming Supper Club-themed table by the pool. So be sure to return for more images of these fun DIY Napkins.
Be sure to check out these napkins on the poolside summer table.

DIY Block Print Napkins Tutorial
Equipment
- Brayer Roller
- Heat Press
Materials
- Block Stamps
- Cotton Linen Napkins
- Craft Paint
- Fabric Medium
Instructions
- Wash and dry cloth napkins
- Press to remove wrinkles
- Add fabric medium to craft paint per instructions
- Prepare a flat protected surface and roll paint with a brayer roller to flatten.
- Place napkin flat on another protected surface.
- Press the block stamp into the flattened paint.
- Then press onto the napkin.
- Repeat creating a pattern of your choice.
- Allow paint to dry
- Heat press the design to set paint.

Resources
Video

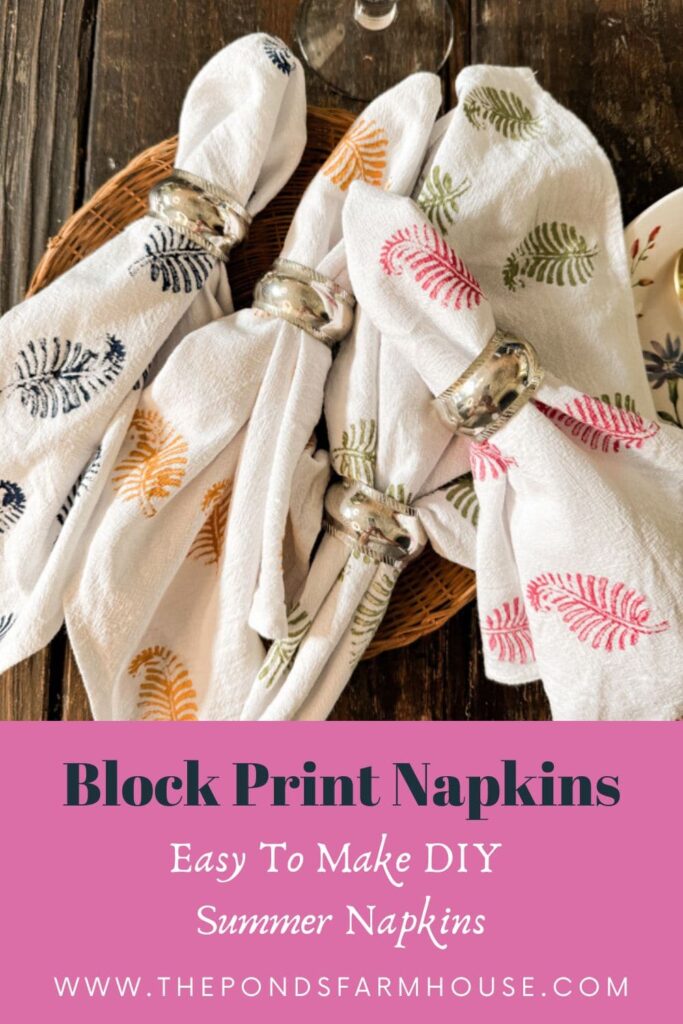
Pin It To Remember It
Did you find some great ideas you’d like to save for future reference? To save, hover over the images and pin to your favorite Pinterest Boards when you see the PIN button in the upper left-hand corner.

Rachel, I have never done this but am inspired by your comprehensive tutorial! Love the napkins! So pretty.
Mary,
It’s so easy and I know you will love the options. Thanks for stopping by.
I’ve been on the hunt for some pink and green napkins with no luck. This seems to be the better option. Thanks for the great idea!
Cindy,
I’m so glad you like them.
I love these, Rachel! The prints you picked were perfect for summer. What a great idea!
Kim,
I’m so glad you like them
Rachel, love this idea. Would you hand wash or machine wash the napkins after painting them?
Carol,
I have machined wash without any problem but on gentle. I make sure to heat press before using.
❤️🌞💐🌺🌸🌹🌿 Dear Rachel, 💓
Beautiful presentation. Thank you for bringing back fond College memories, where I spent countless hours printmaking. I would start with a fresh Lino block, hand carve my design into the block that would take hours to complete. Final stage, apply printers ink onto the Lino block and print on rice paper. Always a surprise to behold.💓
Thank you again Rachel,
♥️ Kathleen ♥️ God Bless. ♥️
Kathleen,
Wow, that sounds so creative. I’m glad this brought back good memories. I appreciate you for sharing. I hope you have an amazing week.
❤️🌺💓🌞💥🌸🌿God Bless Rachel. ♥️
Thank you so much for your kindness and pure creativity. I look forward to your magnificent daily presentations.💗
♥️ Hugs, Kathy & Family 🌺
Kathleen,
What a sweet compliment. Thank you for following along and for making my day extra special with your comments. Have a blessed day.