Do you like shopping at Pottery Barn? I was recently browsing, and a Pottery Earthenware Vessel caught my eye. I’m always looking because I get so many good Pottery Barn Dupe ideas. So instead of ordering one, I began searching for a vessel of similar proportions that could be transformed. Here are the steps to make an Easy DIY Faux Earthenware Vessel from a thrift store find.
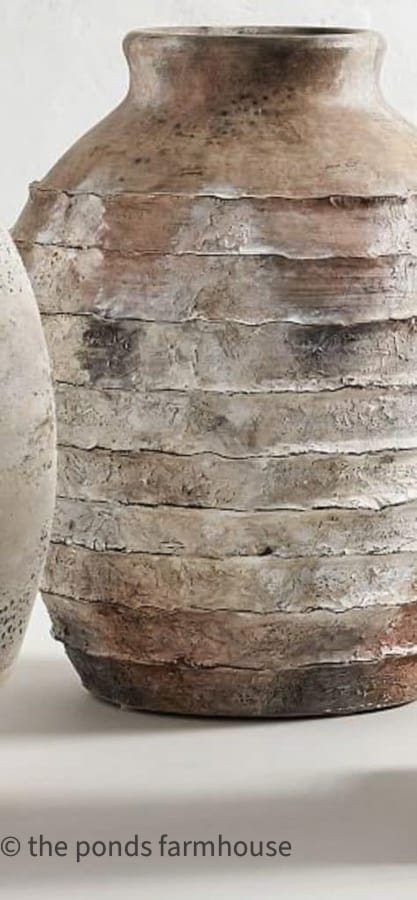
This is my inspiration piece. I love the size and texture, but I couldn’t justify the purchase price.
(Posts on The Ponds Farmhouse may contain affiliate links. As an Amazon Associate, I earn from qualifying purchases. See the full disclosure details here.)
Table of contents
How To Make A Earthenware Vessel Pottery Barn Dupe
If you want to make a Pottery Earthenware Vessel, begin by choosing a few styles and take a screenshot. You may also want to jot down the size and dimensions of the vase you like.
Next, go on the hunt.
Step 1 – Find a Similar Vessel
You will find that most thrift stores have a good selection of vases and containers. All you need is to find a similar shape and size vessel. It doesn’t matter what the finish looks like.
I found this cute little ceramic vessel for only $4.00 at a thrift store within a few days of searching.
Step 2 – Prepare The Vessel
Once you find your vessel, be sure to clean it with soap and water. In addition, wipe with rubbing alcohol to remove any greasy film.
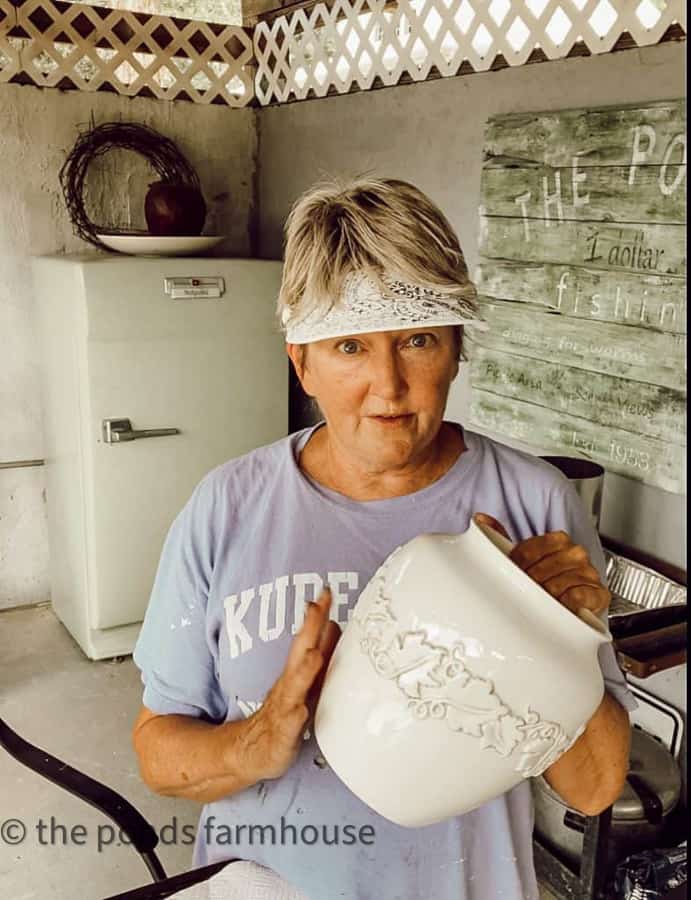
Although I thought this piece was nice as it is, I had something different in mind.
Step 3 – Add Texture to Create a Pottery Earthenware Look
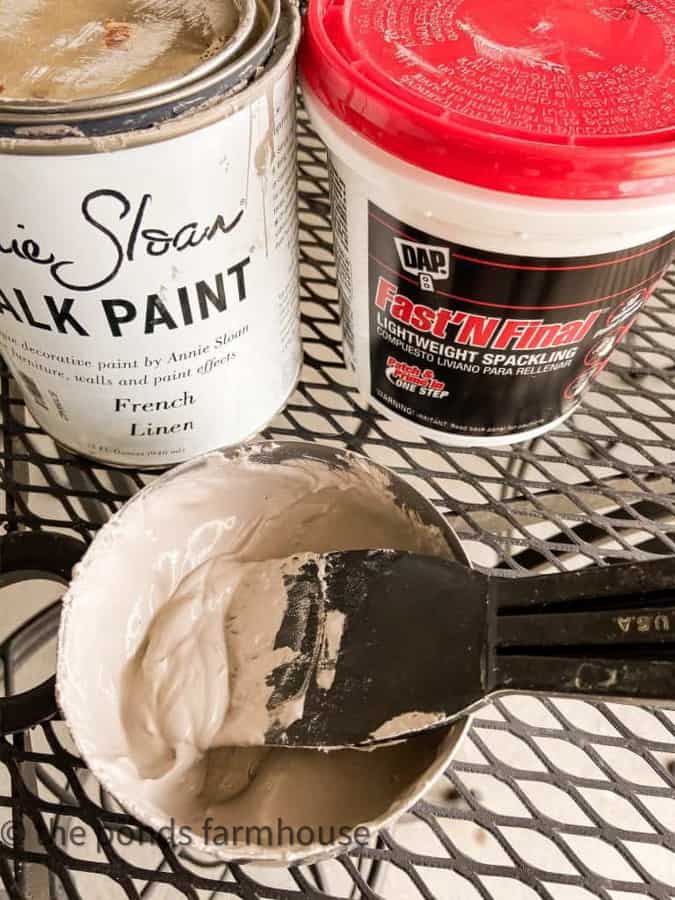
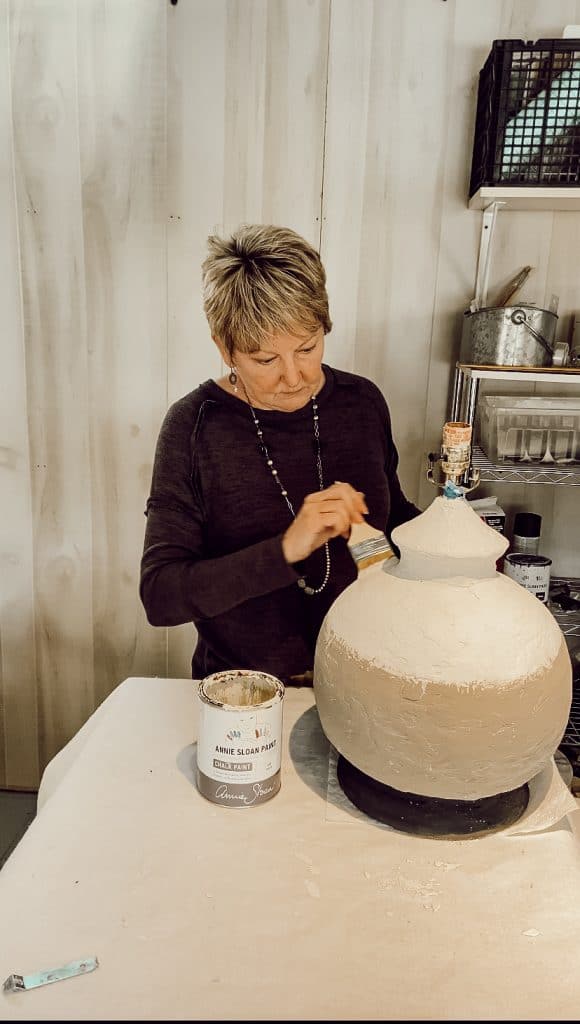
In order to add texture to your vessel, you will need Light Weight Spackling. I recommend adding chalk paint to the spackling to give it color. In addition, it will adhere to almost any surface and you can use any color you choose.
Next, mix the paint and Spackle together. Stir until you have a smooth mayonnaise consistency. You only need enough to coat the vase once.
I used Annie Sloan Chalk Paint in French Linen for my base color.
Step 4: Faux Earthenware Finish
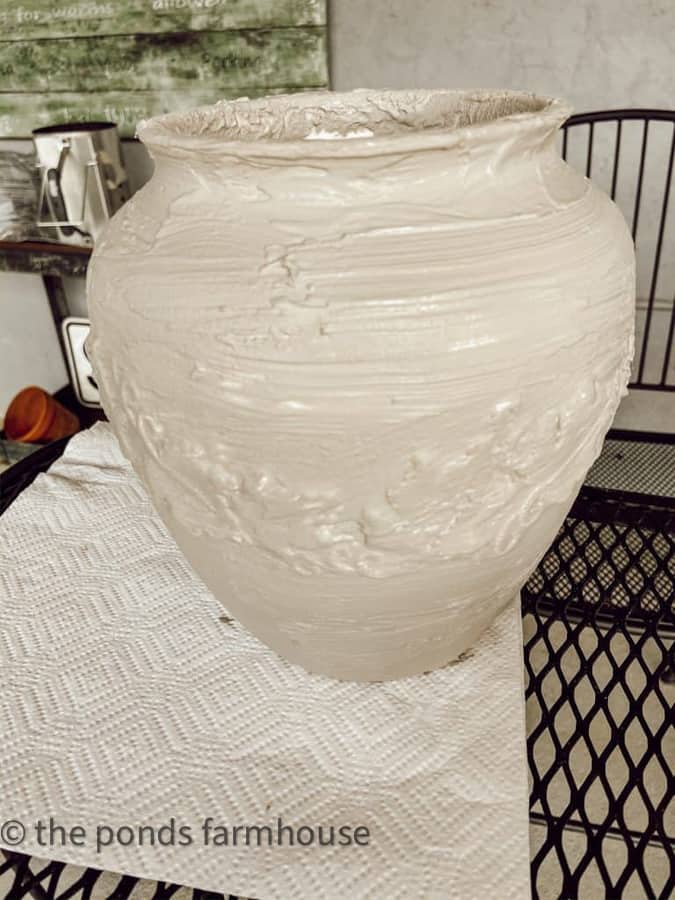
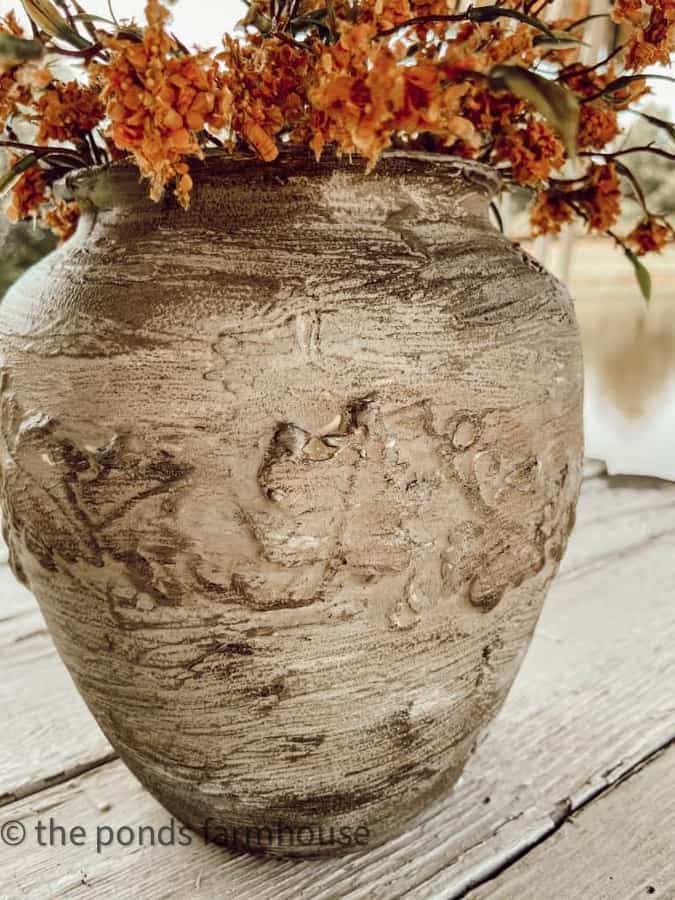
Now using a paintbrush, apply the mixture over the entire surface of the vessel. Work in a circular direction around the vase and allow your brush strokes to remain visible. Let the spackling mixture create ridges for more texture.
Also, you will want to add some of the texture mixture to the inside of the rim.
Once you have the desired coverage, allow the mixture to dry for several hours.
Step 5 – Add DIY Color
Once the vessel is completely dry, color can be added to any area you desire. This vessel had a raised leaf design, so I highlighted the raised area with a dry brush of burnt sienna craft paint.
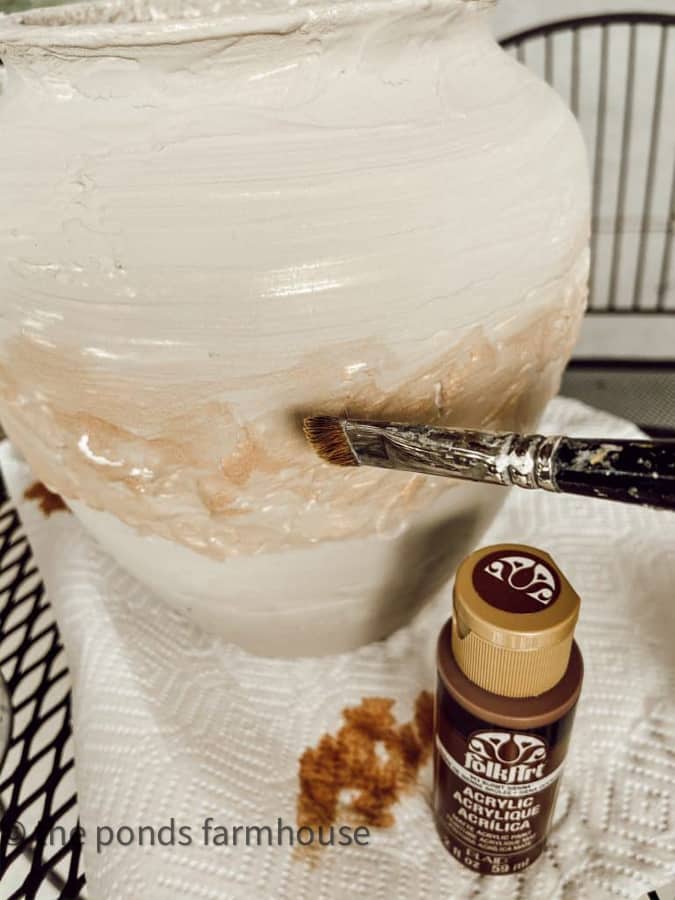
In addition, I used dark wax to add color around the bottom and top of the vessel to achieve an aged pottery earthenware style.
Begin by applying a small amount on a rag or paper towel and rub off any excess as you go.
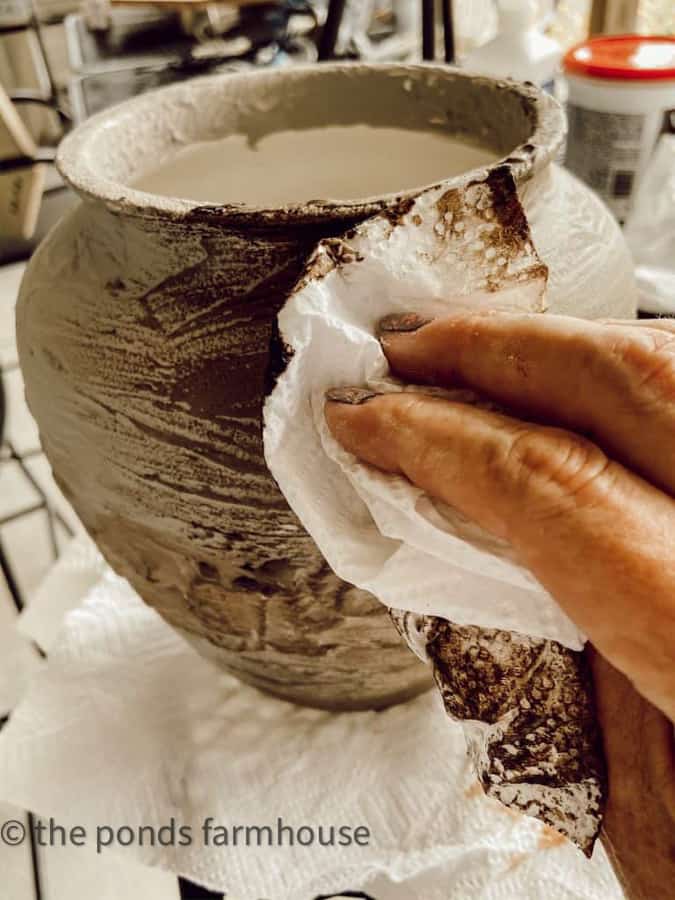
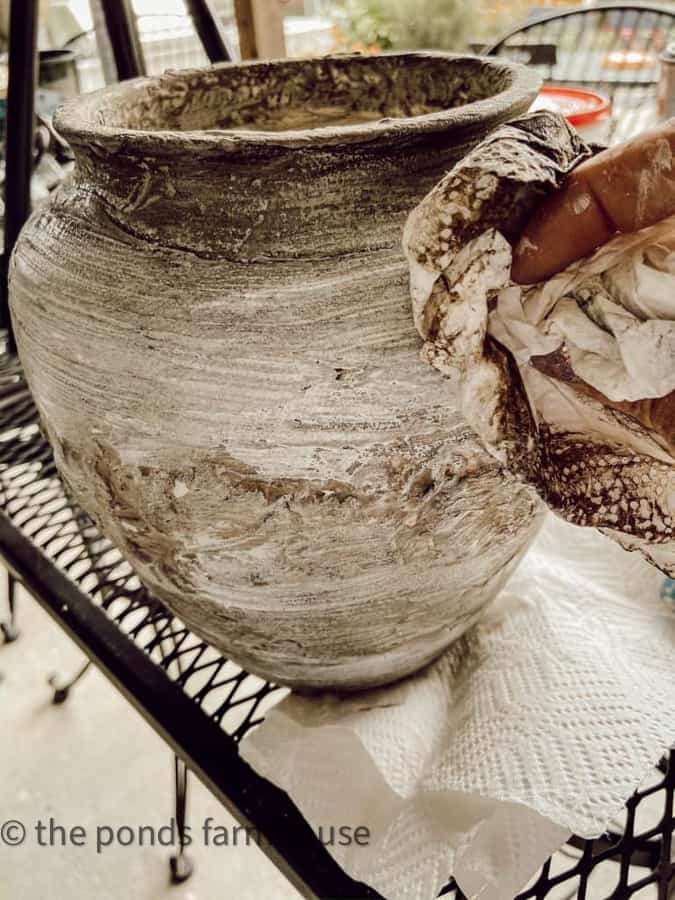
Continue to work with the color until you are happy with the finish.
This may include adding more of the texture mixture or other colors of craft paint.
Step 6 – Seal to Protect Vessel
This step is optional, but if you plan to use your vessel outside, you may want to apply a sealer.
To seal, mist the entire surface with a Matte Clear Spray.
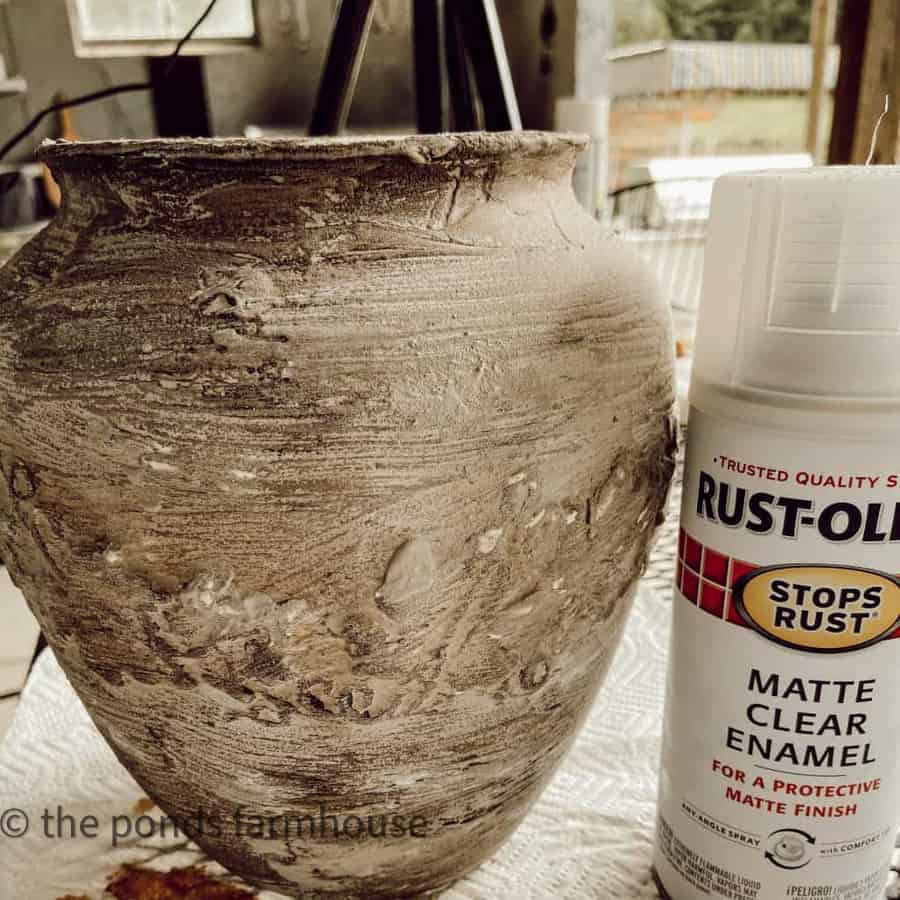
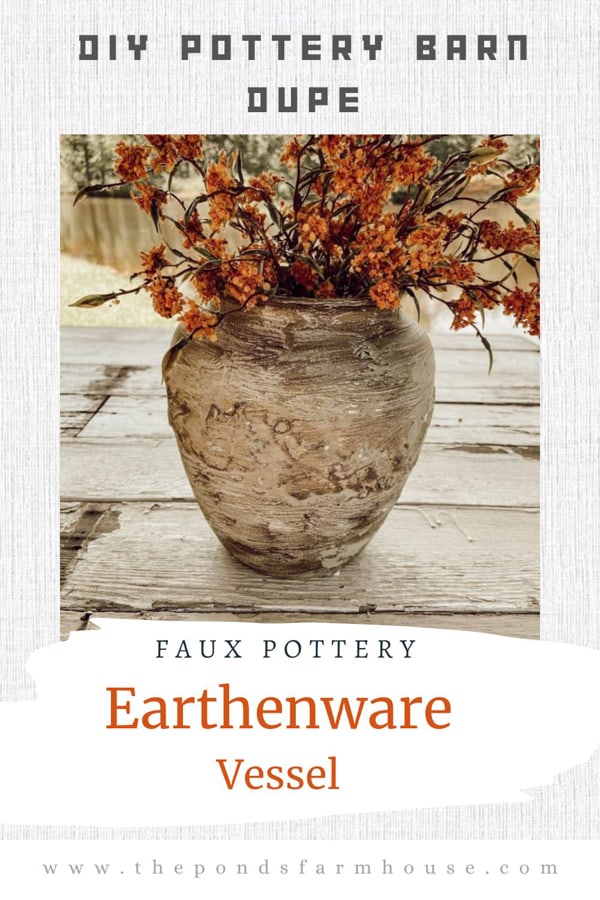
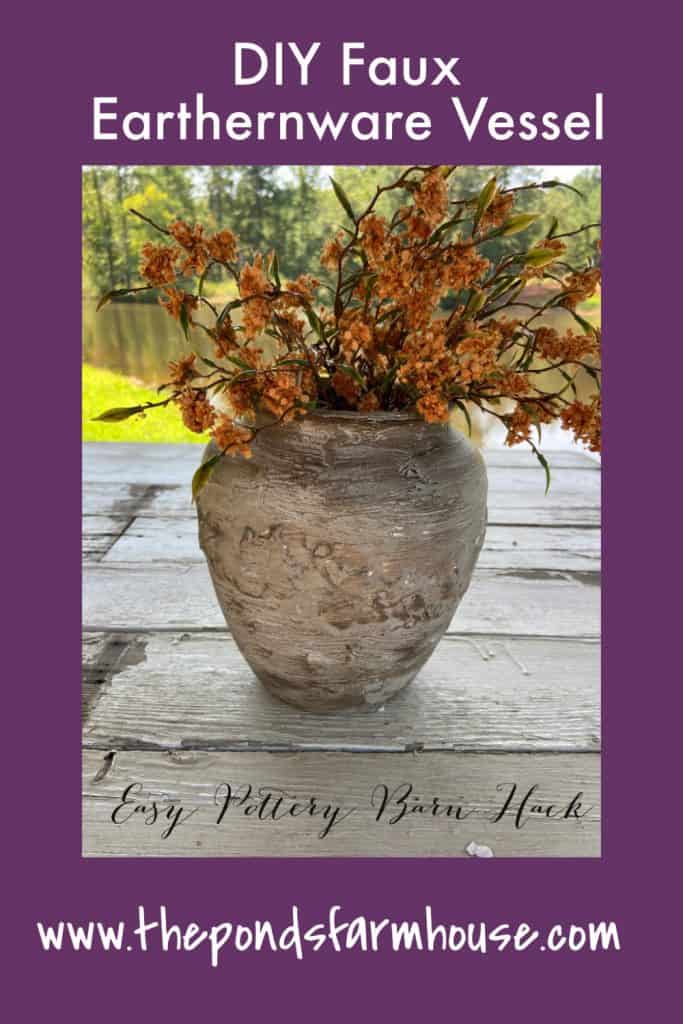
Pottery Barn Dupe Pottery Earthenware Vessel
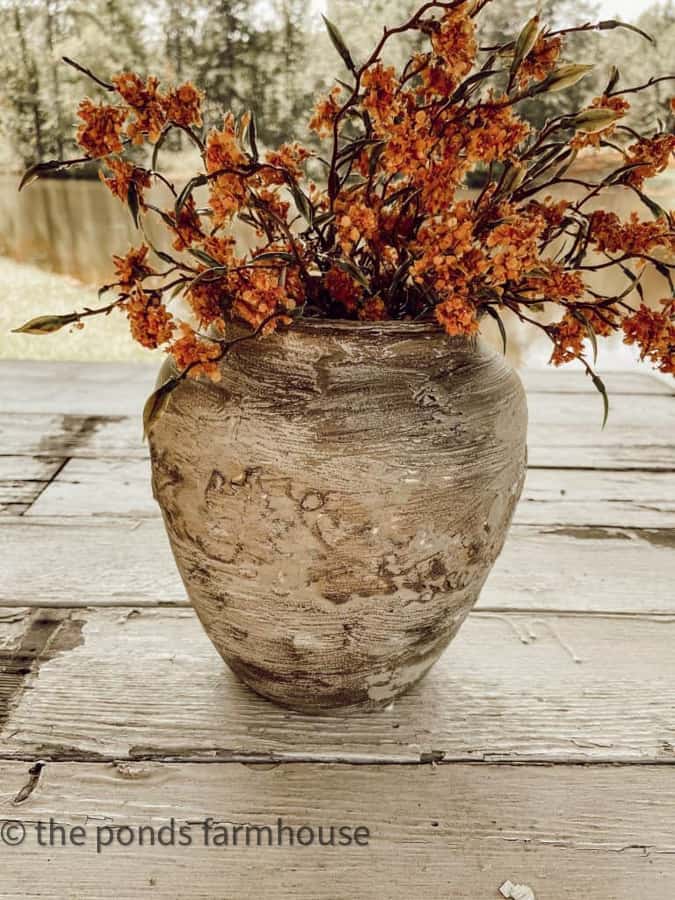
Here is a close-up view of the texture that was added to the ceramic vessel. Although the shape of the vessel is different from the inspiration piece, the texture, and style are what I wanted.
How To Use Earthenware Vessel
The earthenware vessel has a rustic appearance which works well with any farmhouse and country-style home.
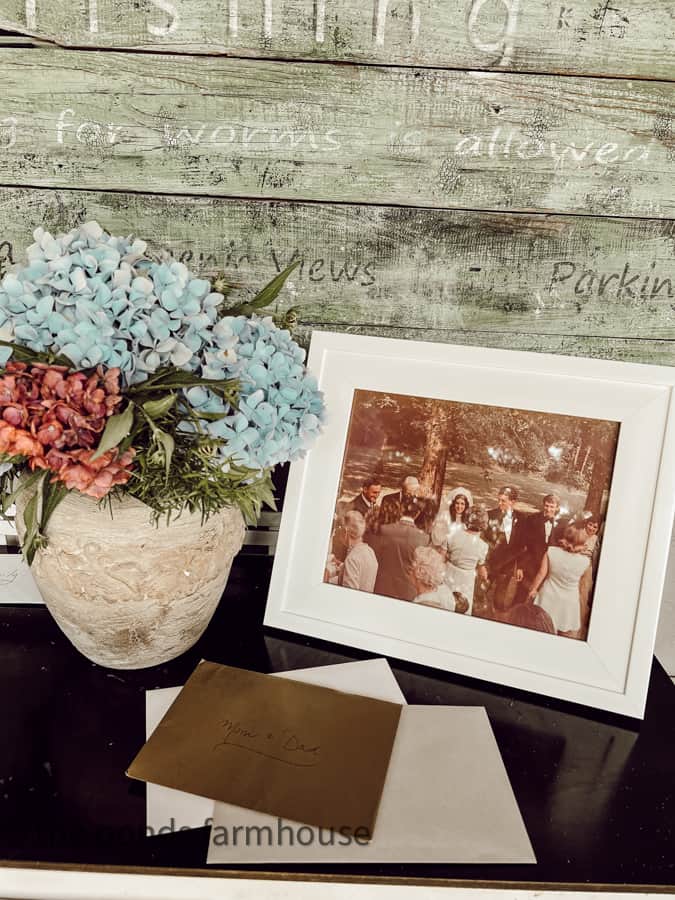
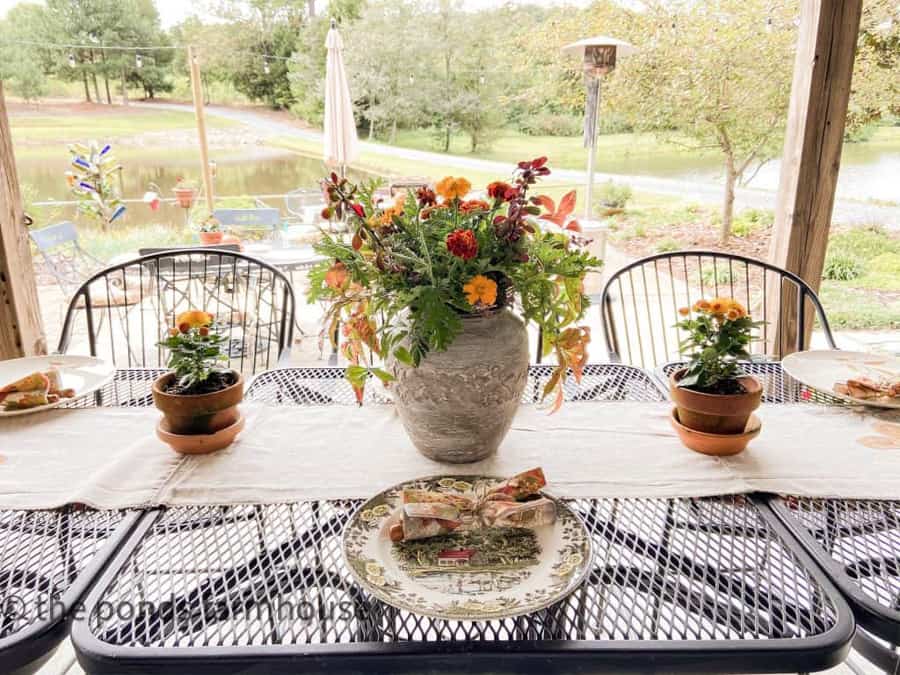
The vessel looks beautiful, filled with floral arrangements, or as a decorative piece in a bookcase, entry table, or coffee table. I love using the Pottery Barn Dupe to decorate the outdoor kitchen.
The size makes a great centerpiece for almost any tablescape or entry table.
After transforming this vase, I applied this faux finish to achieve a Pottery Earthenware appearance to a thrift store lamp. Click here for the final results.
More Thrifted Upcycled Transformations
Here are a few other thrift store transformations.
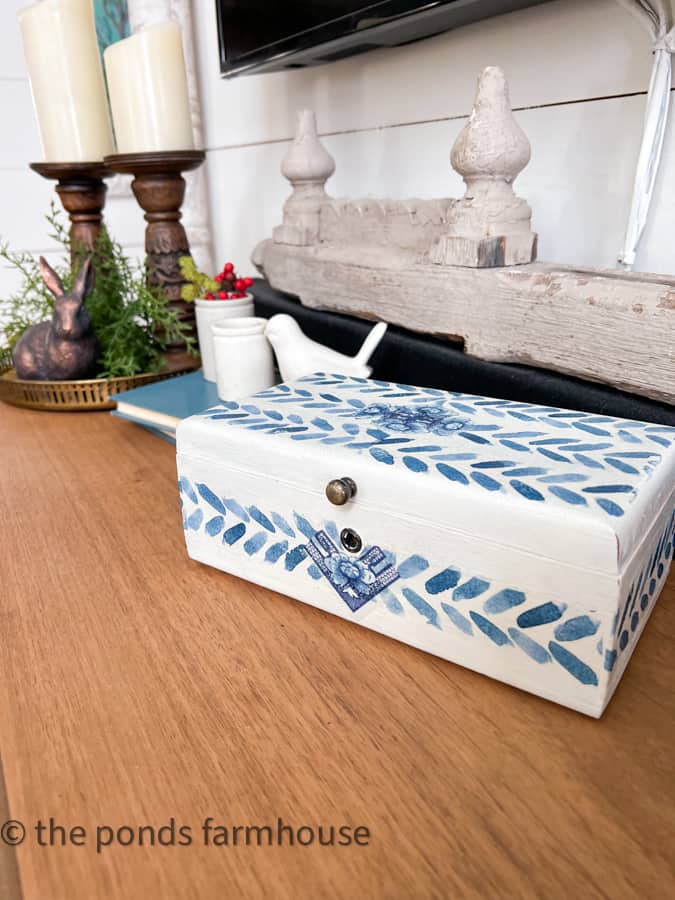
Use a thrift store wooden box to make a decorative box dupe using the napkin decoupage technique.
Thanks so much for stopping by today. I look forward to sharing my next adventure with you.

Pin It To Remember It
Did you find some great ideas you’d like to save for future reference? Hover over the images you’d like to save and pin to your favorite Pinterest Boards when you see the PIN button.


Renae
Monday 17th of July 2023
So pretty! I love it.
Rachel
Tuesday 18th of July 2023
Renae, Thank you for stopping by.
Heather Krout
Monday 17th of July 2023
I love it Rachel! It turned out great!! Especially love the color and texture! Thanks for your beautiful and inspiring posts!
Rachel
Monday 17th of July 2023
Heather, I really appreciate this. I'm so glad you like it. Thanks for stopping by.
Top Ten DIY Projects - The Ponds Farmhouse
Sunday 2nd of January 2022
[…] #6 – Easy DIY Faux Earthenware Vessel […]
Margie Clements
Friday 10th of September 2021
Love that idea! Thanks for sharing Rachel 🙂
[email protected]
Sunday 12th of September 2021
Margie, Thanks so much for your kind encouragement.
Stacy
Thursday 9th of September 2021
What a cool diy! I’m sure I have something laying around that I can use for this one.
[email protected]
Thursday 9th of September 2021
Stacy, Thanks so much.