How To Make A Budget DIY Rustic Wooden Ladder Home Decor
Looking for ways to add rustic charm to your home decor? How about adding wooden ladder decor? See this easy, budget-friendly DIY Ladder Tutorial plus ways to decorate with a wooden ladder your home. You only need a few supplies and minimal tools to make this rustic ladder.
Don’t stop reading if you’re not crafty. I encourage you to check out all the creative ways to decorate with a rustic ladder.
(Posts on The Ponds Farmhouse may contain affiliate links. As an Amazon Associate, I earn from qualifying purchases. See the full disclosure details here.)
How Can You Use A Rustic Ladder In Your Home?
I decided that a Rustic Ladder was just the thing needed to hang plants and baskets in the Greenhouse. Since I didn’t want to take my vintage ladder out of the Farmhouse, I decided we should build one for the she-shed.
There are many fun ways to use a rustic ladder in your home. If you don’t have a real vintage ladder, using this easy rustic ladder tutorial will help you create the vintage feel you desire without the expense.
Here is the vintage ladder beside the desk in our living area.
The ladder provides visual interest to the otherwise blank wall and, in addition, provides a place to hang notes and inspiration at my desk.
This Fall Home Tour includes many ways to use vintage pieces in your home.
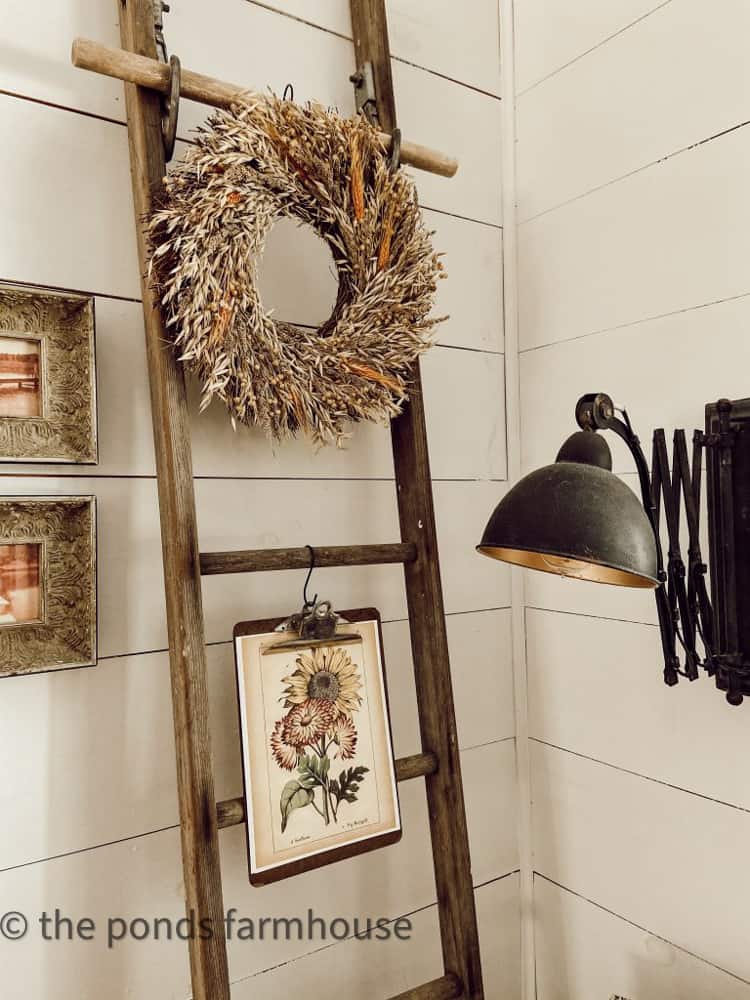
Wood Ladder Decor
The vintage wooden ladder decor is used to hold many decorative items. It is perfect for a seasonal wreath, artwork, garlands, and more.
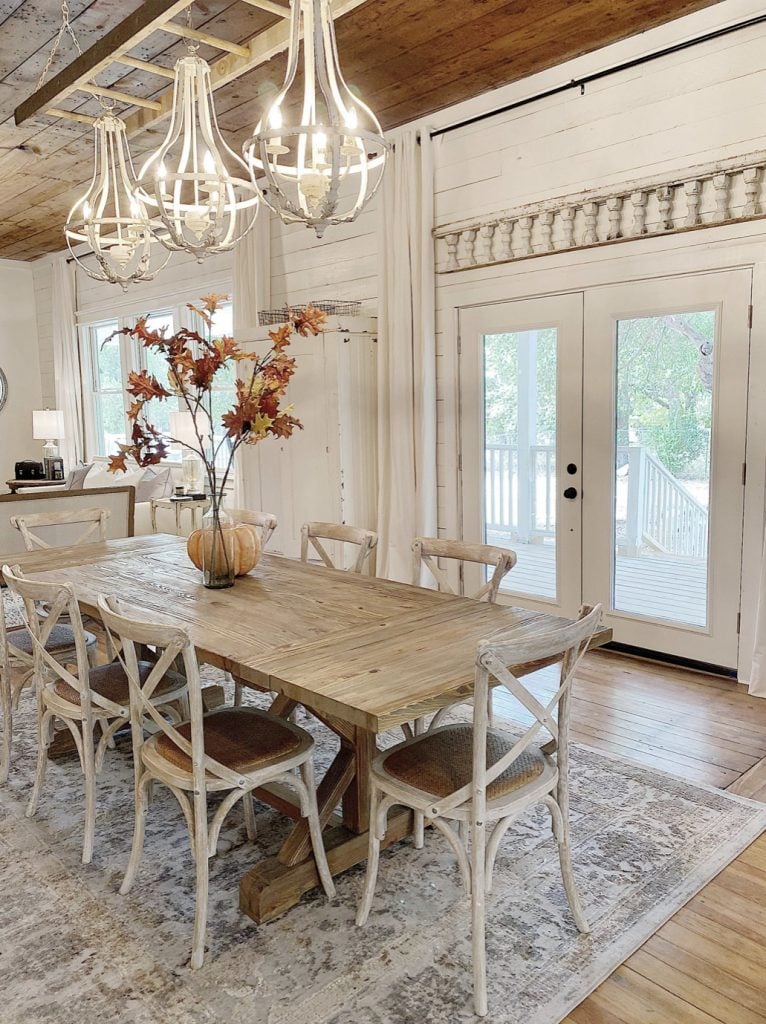
DIY Ladder Chandelier
You can use a ladder to make a unique chandelier, as you can see below. I’ve seen various designs. However, this one, by Leslie at My 100 Year Old Home, is a favorite.
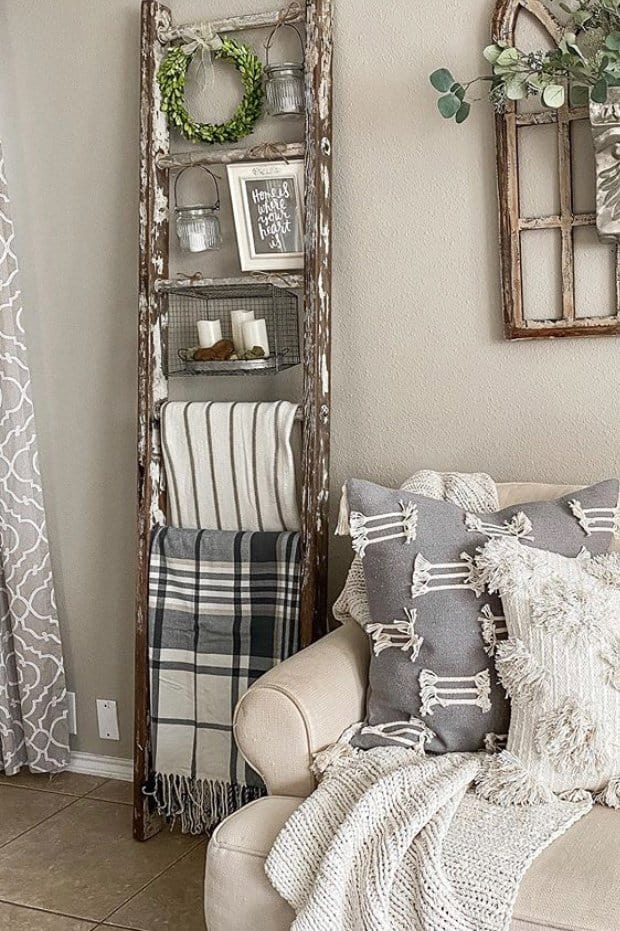
Create a DIY Ladder Blanket Holder
Another great idea is to build a DIY Ladder Blanket Holder. You can use rustic ladders to display vintage quilts and blankets.
It’s also handy to have throw blankets at your fingertips. See this cute and rustic display, which keeps your throw blankets within easy reach.

Rustic Ladder Display
Here is another cute way to use a rustic ladder to hang your many décor items for display.
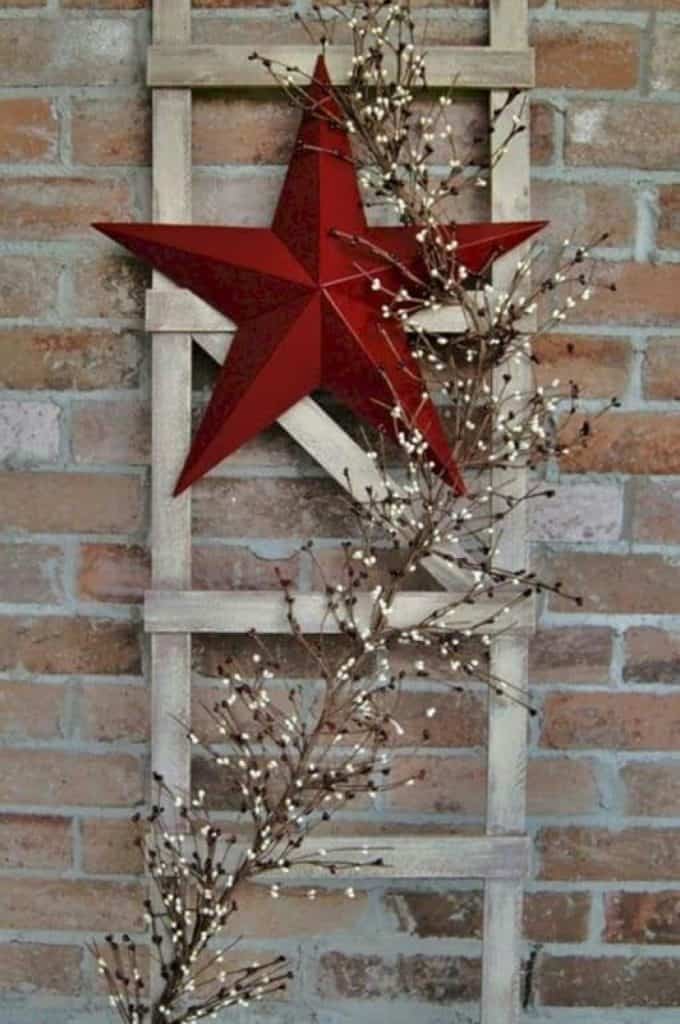
Holiday Decorating with Rustic Ladders
Dressing your rustic ladder up for the holidays is just another way to use a fun ladder in your home décor.


How To Make Your Own Wooden Ladder Decor
Rustic Vintage ladders can be rather expensive, and you can make a rustic ladder for a fraction of the cost. I promise you will not see very little difference once you display your ladder.
(Posts on The Ponds Farmhouse may contain affiliate links. As an Amazon Associate, I earn from qualifying purchases. See the full disclosure details here.)
Gather your Supplies
First, you need to determine the length and width of your ladder. Because this ladder was going to be used for a specific purpose in the greenhouse, it’s a little wider than I’d recommend for other uses.
The overall dimensions of this ladder are 8′ x 2′. Which required two – 8 ft long 1 x 3-inch Spruce Pine Boards for the side rails.
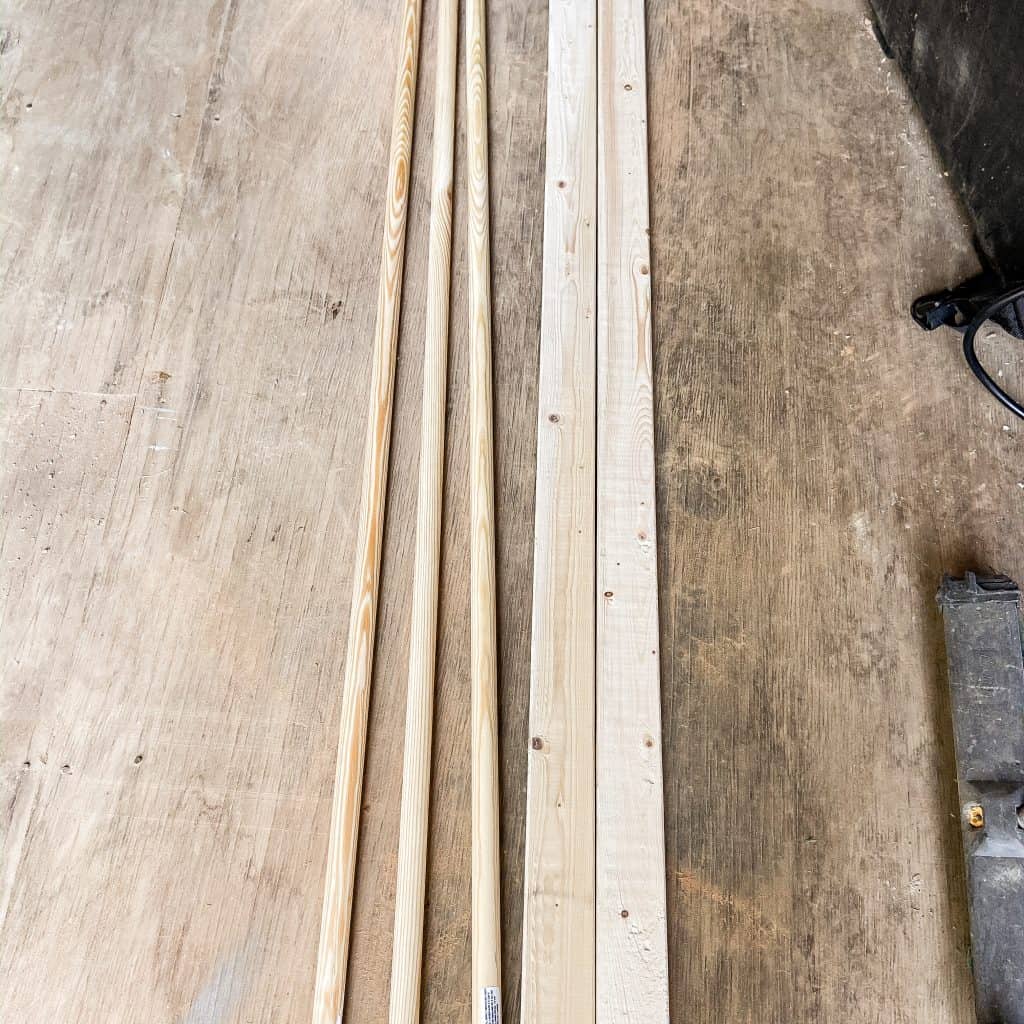
3 – 1x1x6 dowel or closet rods
Wood Glue
Stain/Paint
In addition, three – 1 x 1 x 6 dowel rods will allow for seven rungs that will be 2 feet wide each. The only other supplies needed are wood glue, stain, and paint, depending on the look you prefer for your rustic ladder.
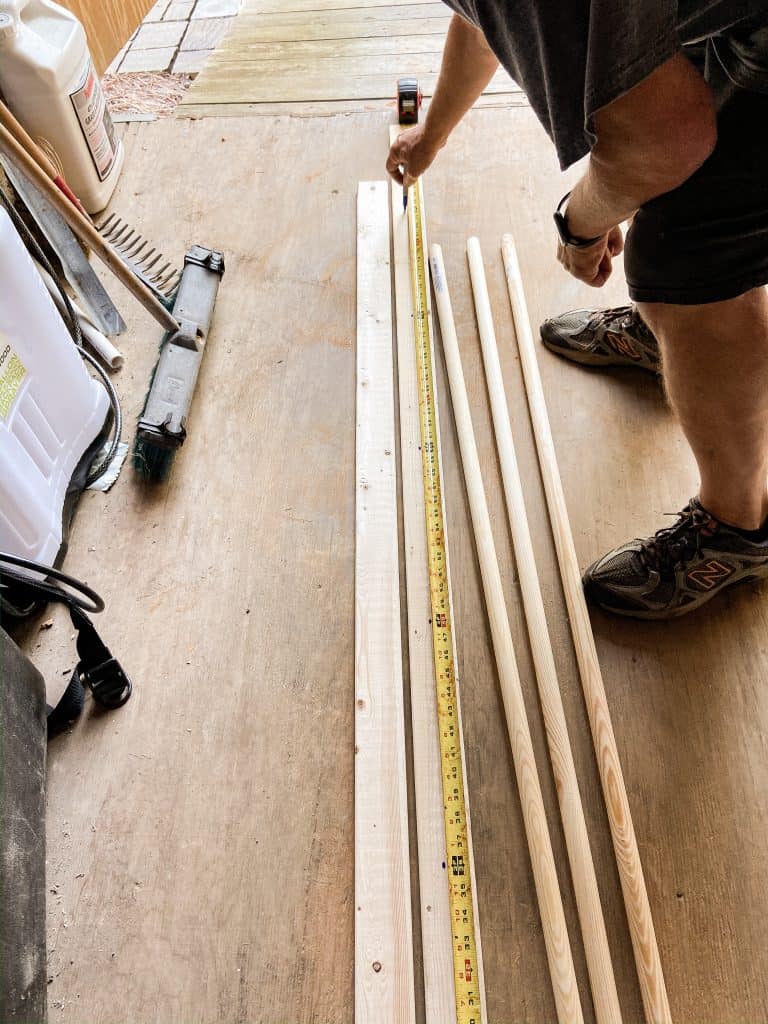
Measure For The Dowel Rod Spacing
Next, measure the spacing for the dowel rods using a tape measure or yard stick.
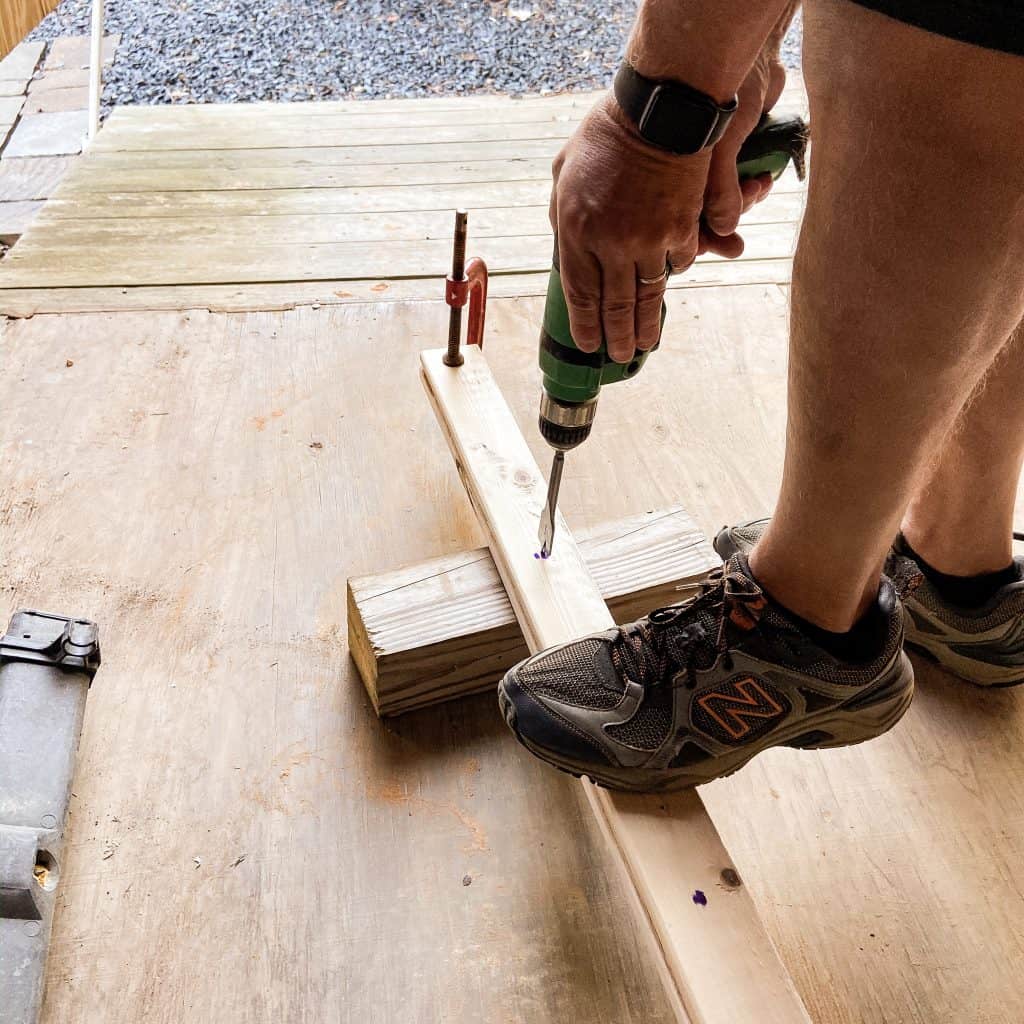
For this project, the rods were placed 2 feet apart. After carefully measuring the distance, clamp both pine boards together and drill a 1-inch hole through both boards using a cordless drill and a 1″ drill bit.
Because this was a rustic, primitive ladder, we allowed the hole to go completely through the side rails. As a result, the ladder has a primitive pegged appearance.
However, if you prefer a less rustic feel, you should drill the hole without allowing the drill bit to go completely through the wood. In addition, you will need to prepare each side rail separately for this application.
Note: You may also prefer to use a thicker side rail because drilling a shallow hole within a 1″ board is difficult.
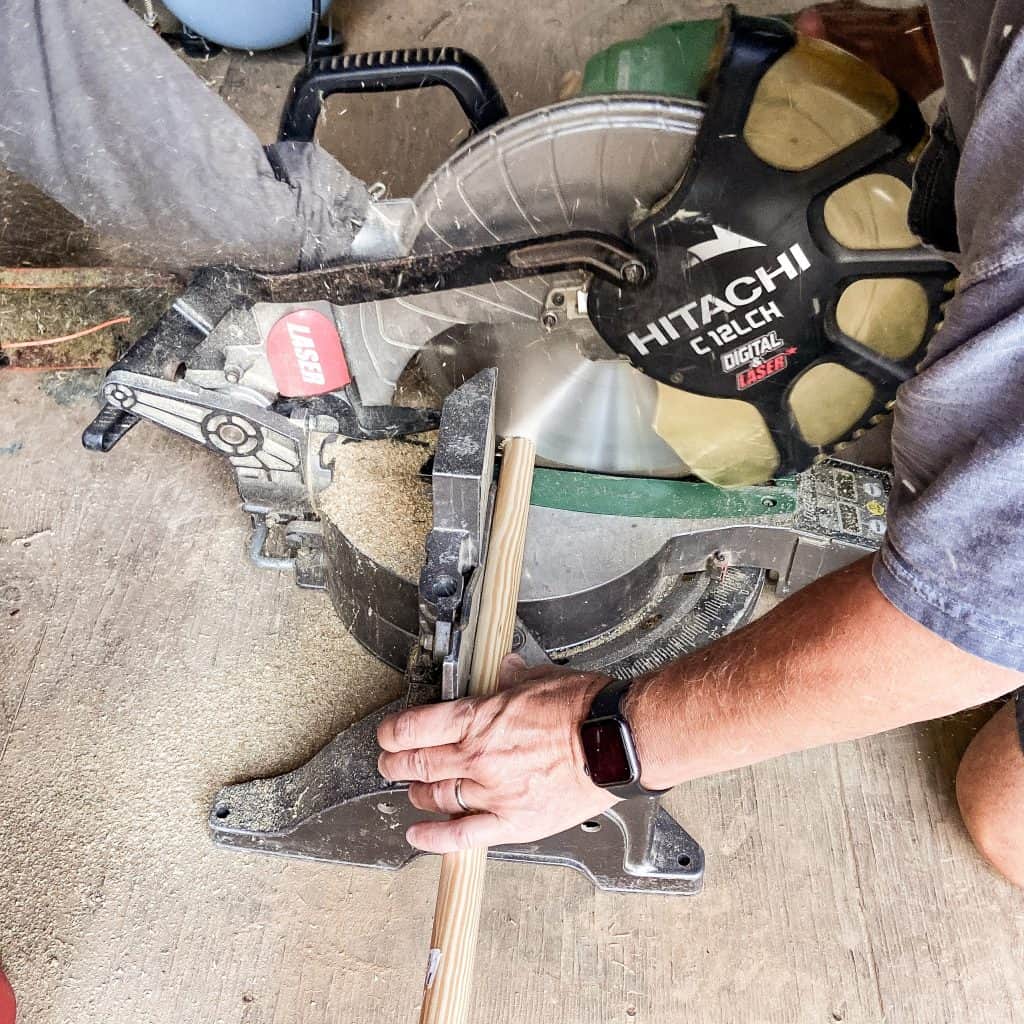
Cut Ladder Rungs From Dowel Rods
For the next step, measure and mark your dowel rods. Then, using a miter saw, cut each rod to the same size to ensure that the ladder will be equal in width from top to bottom. Once again, we chose to make the ladder 2 feet wide. Therefore, the rods were cut at precisely 2′ each.
Attach the rods to complete the DIY Ladder
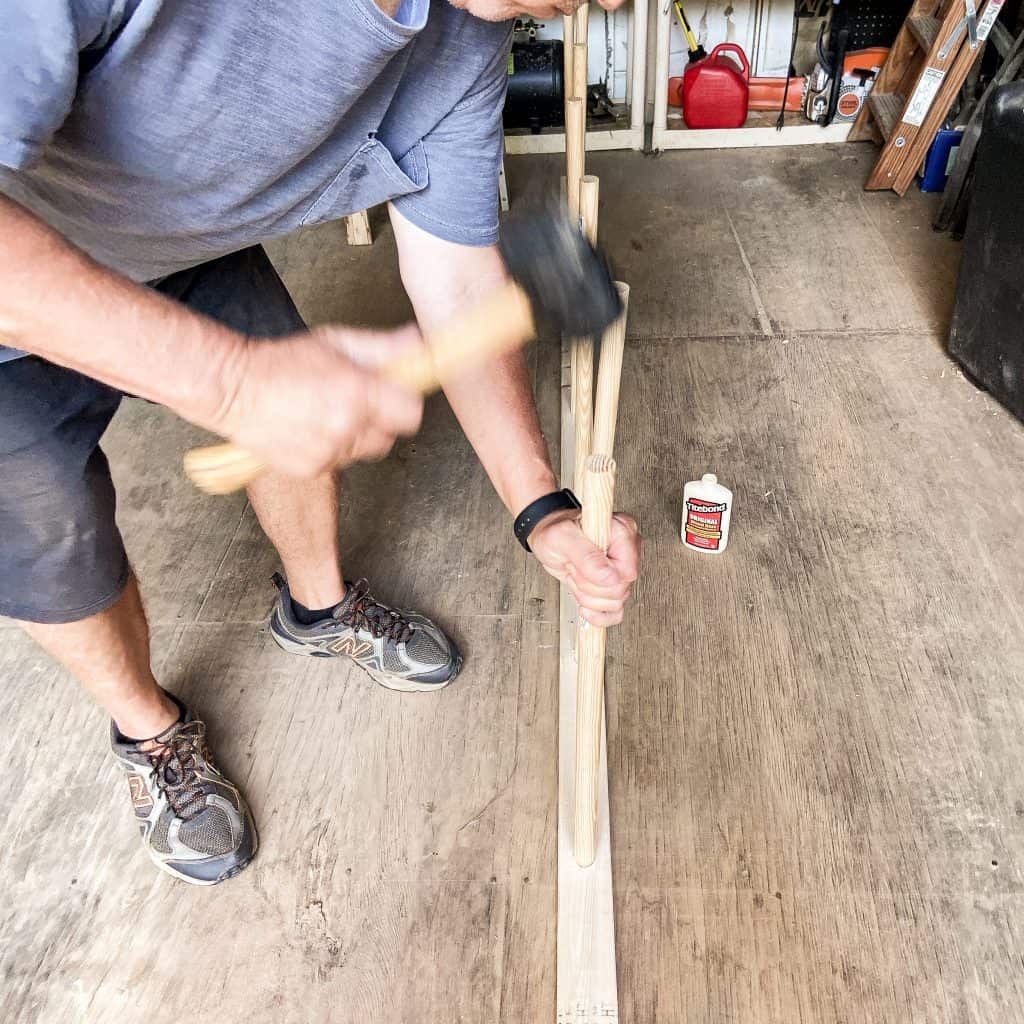
For the final step, apply a small amount of wood glue to the inside of each drilled hole before adding the dowel rods. This will ensure that the rods don’t slip from the side rails.
Then, using a rubber mallet, the dowel rods were gently hammered into the side rails. Once the first side is completed, attach the second side rail by lining up all the dowels with the holes before hammering them into place.
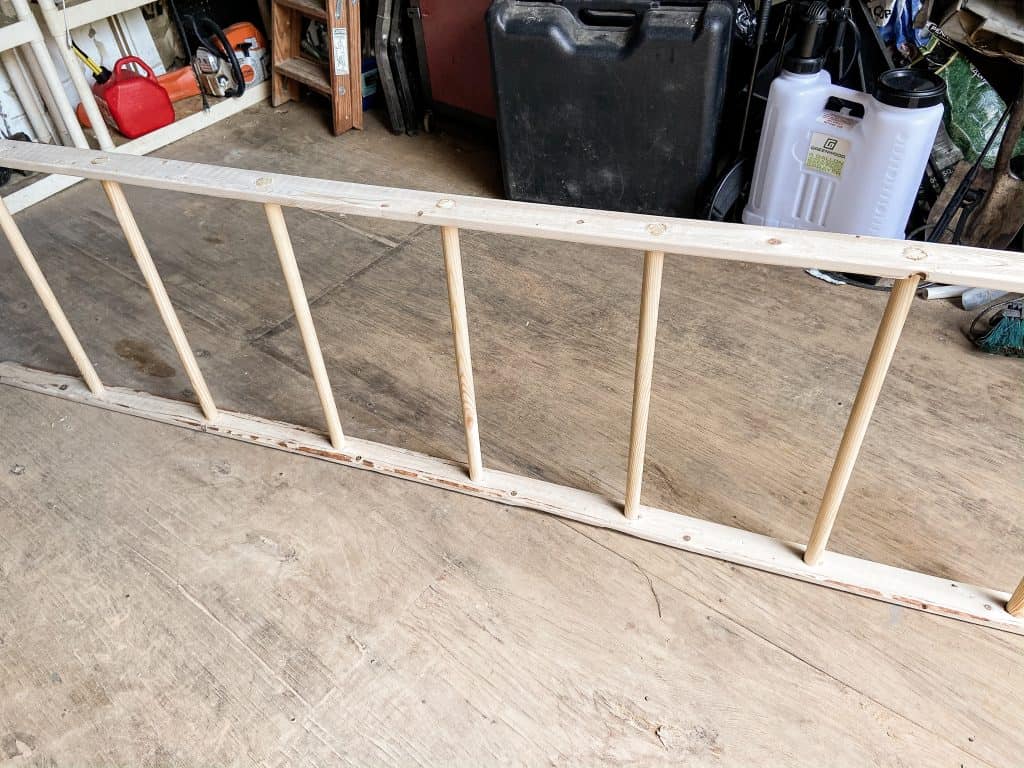
Ta-Da – An Easy Rustic Ladder
Once you allow the glue to set, your ladder is ready to use for decorative purposes only.
Warning: The materials used to construct this ladder are not intended for anything other than decorative use. If you want a functioning ladder that you can step up on, you would need to use hardwoods and should consult another tutorial.
Optional Step – Stain or Paint your DIY Ladder
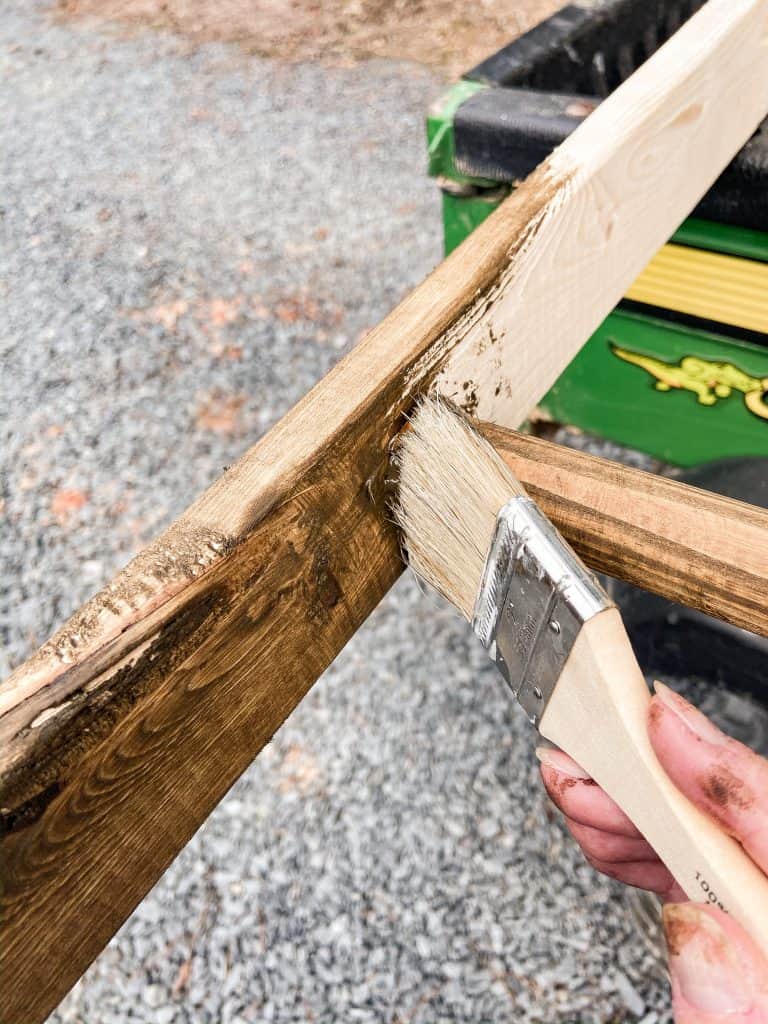
Finally, you can leave your ladder natural or apply a stain or paint, depending on your preferred look. Because I wanted the ladder to add some character to the greenhouse, I didn’t want it to disappear once installed. Therefore, I chose an easy-to-use gel stain for quick application, and it was easy to dry.
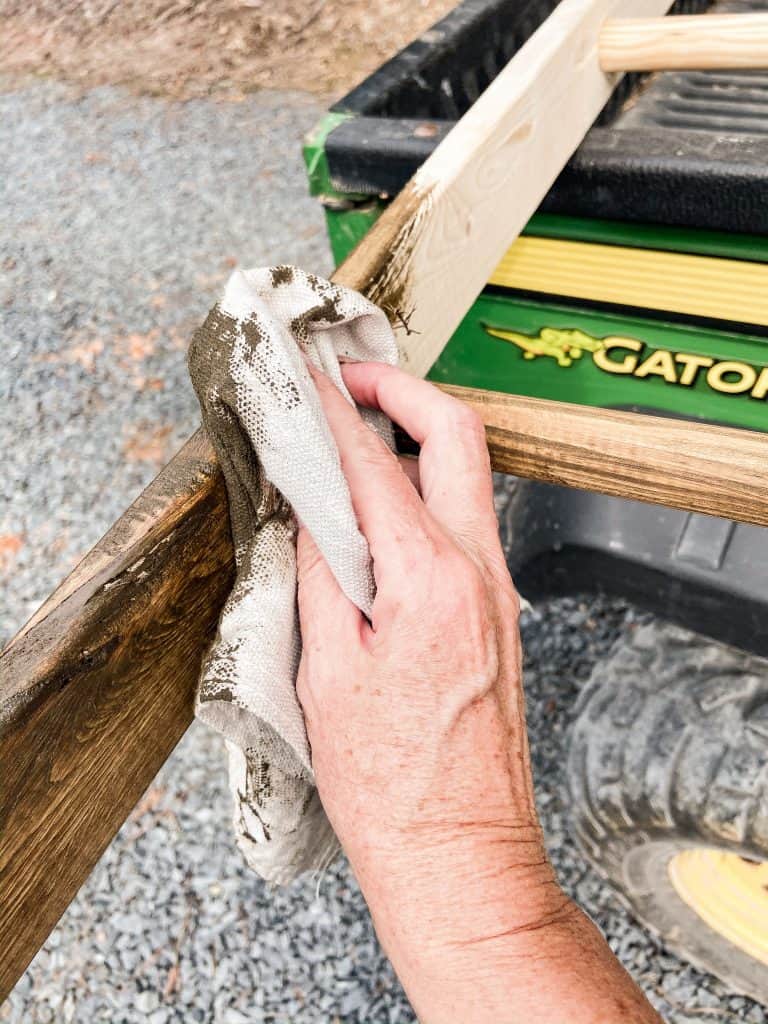
Because the wood used is very ruff in texture, applying the stain using a chip brush was the best option. Once the surface is covered, use a dry cloth to wipe off any excess stain.
You can choose to seal the stain or leave it as is. For a more rustic, primitive look, we decide to leave the finish unvarnished.
Wooden Ladder Decor
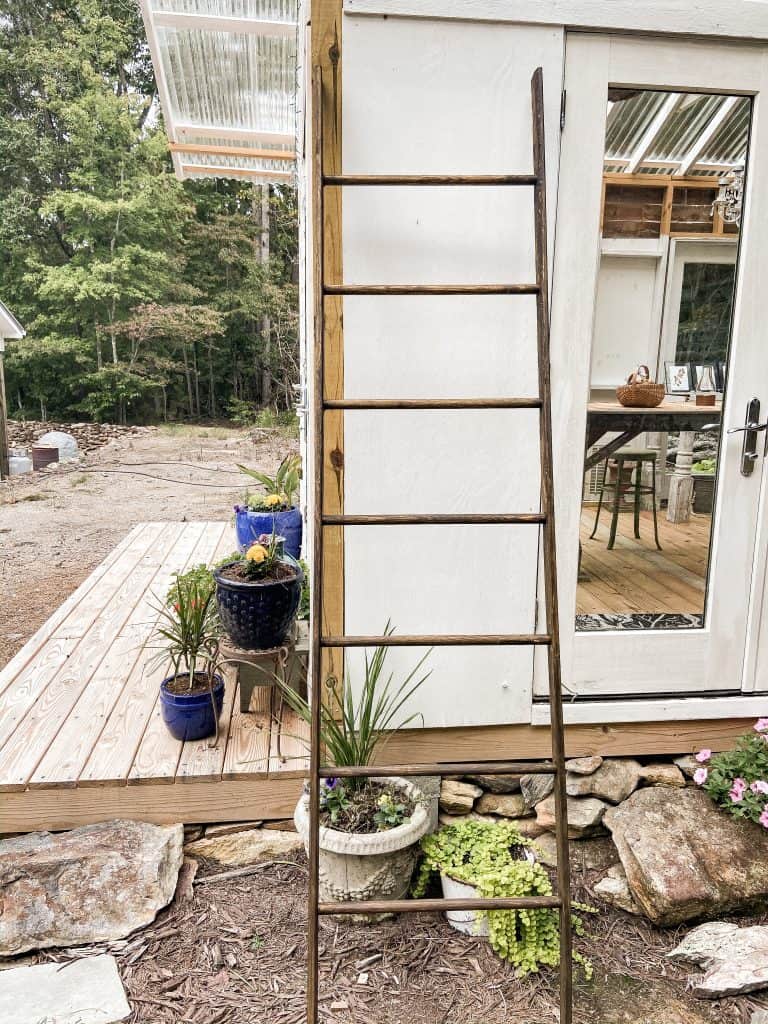
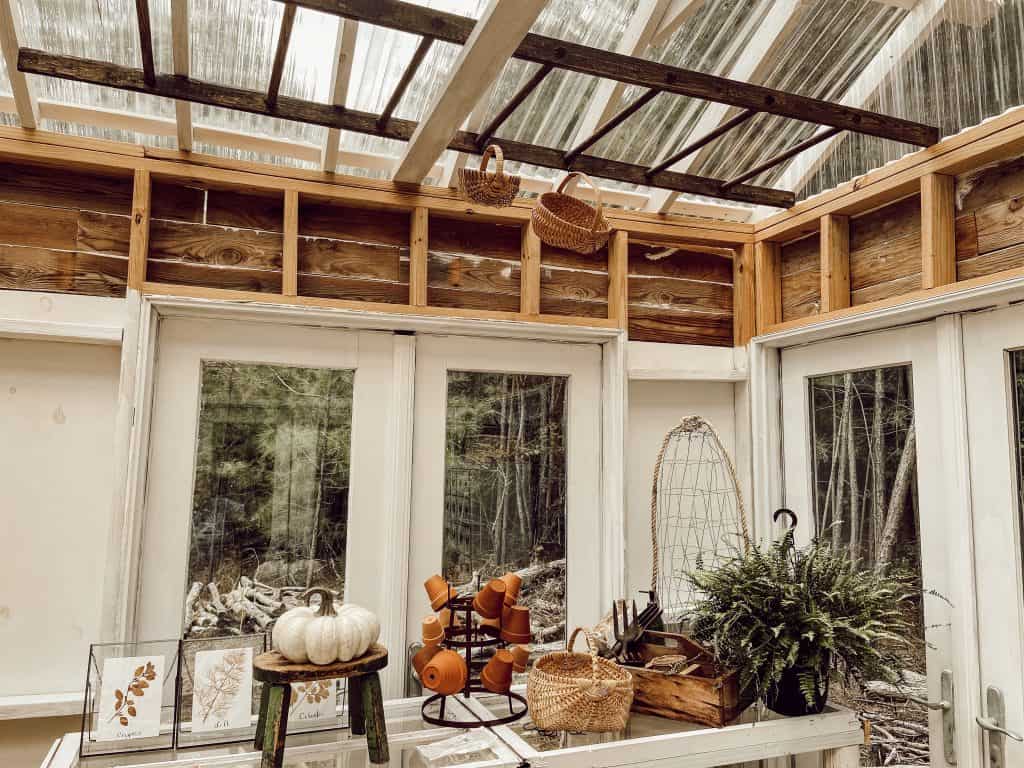
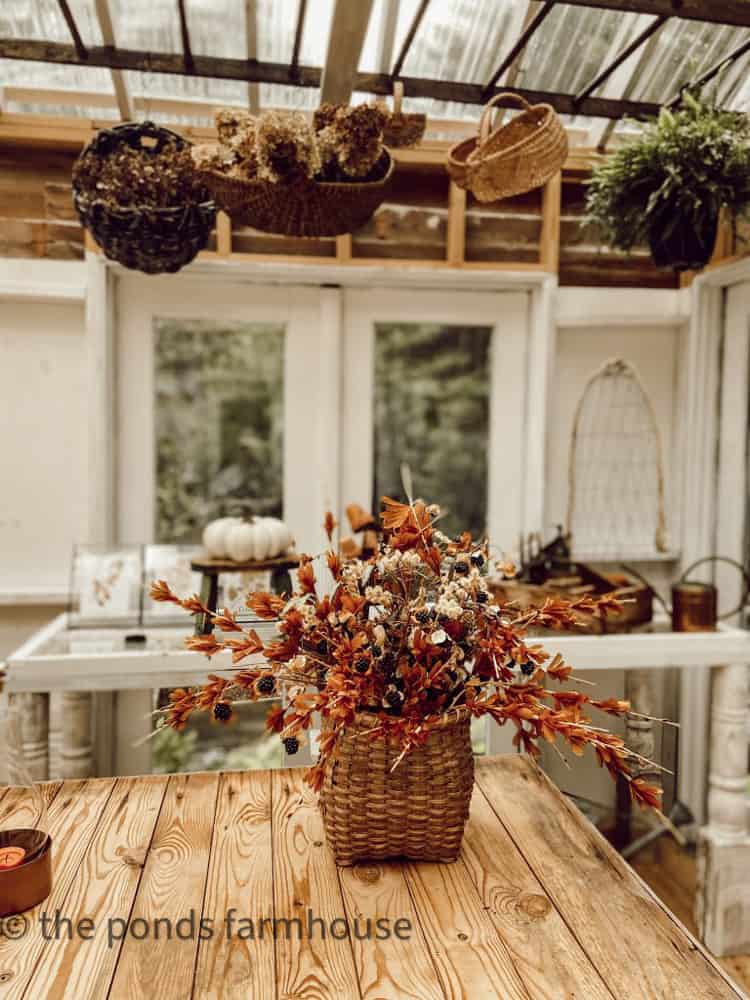
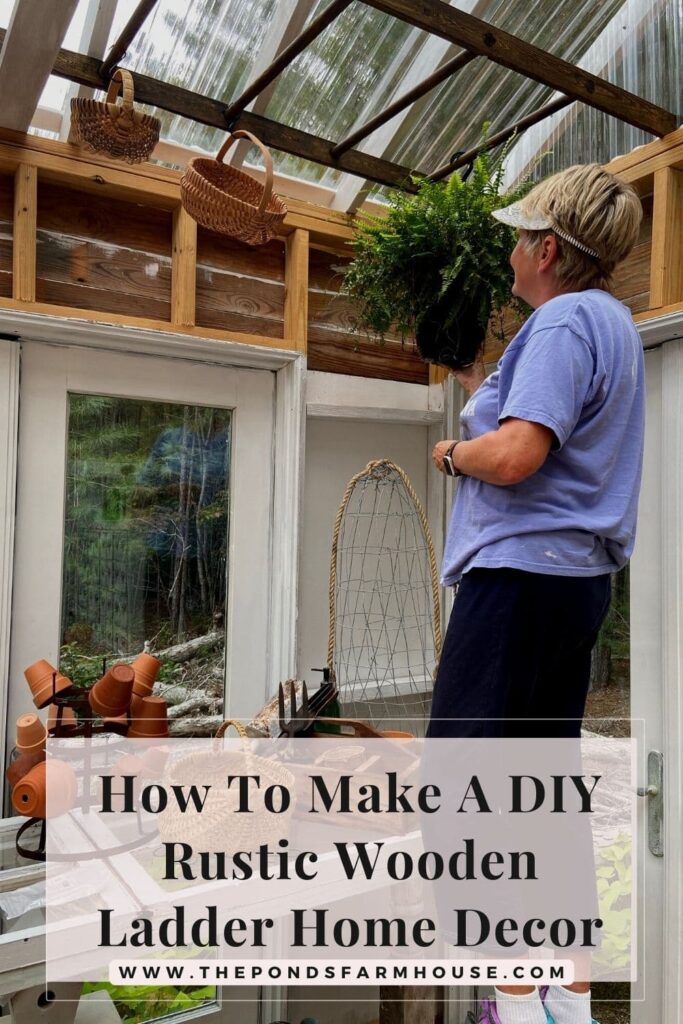
Add Rustic Ladder to Greenhouse or She-Shed
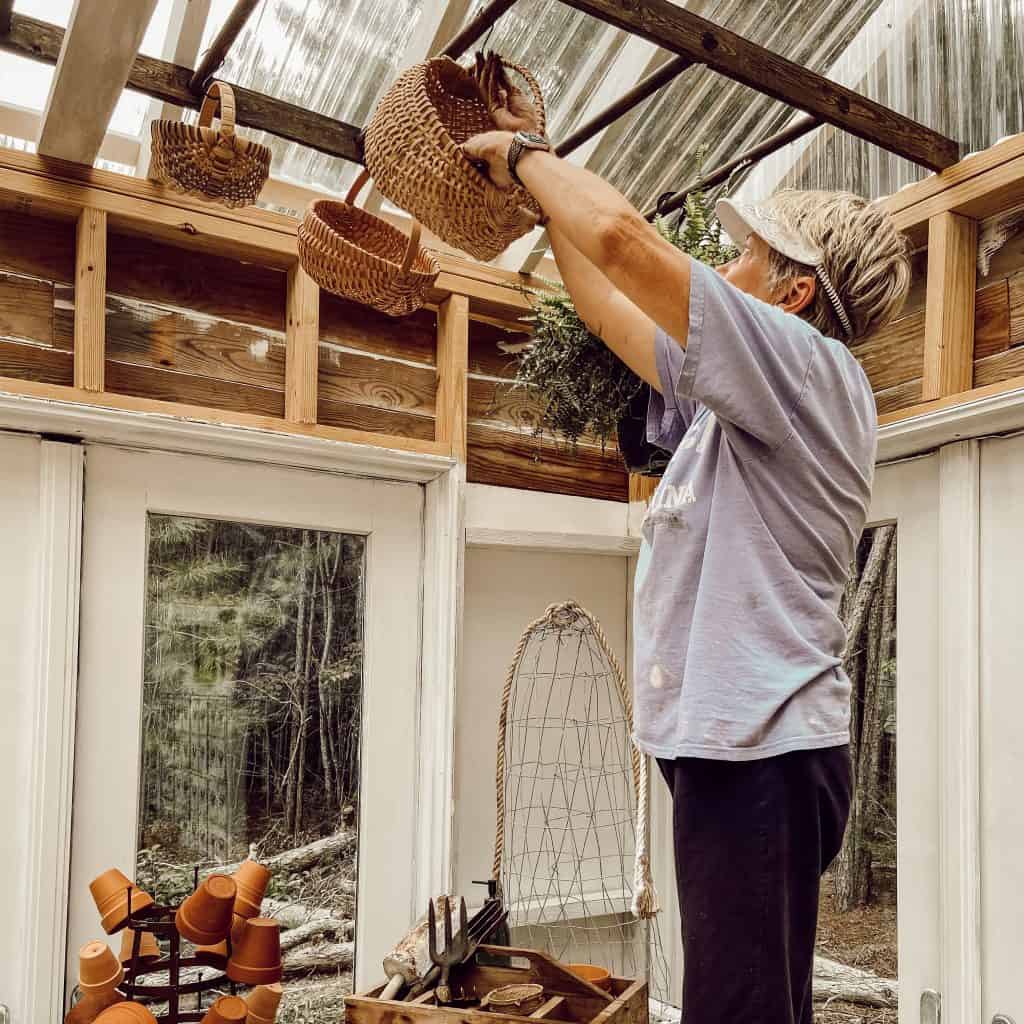
Next, it was time to install the ladder and add a few baskets and ferns. As the weather becomes colder, all my ferns will find a spot on this handy ladder.
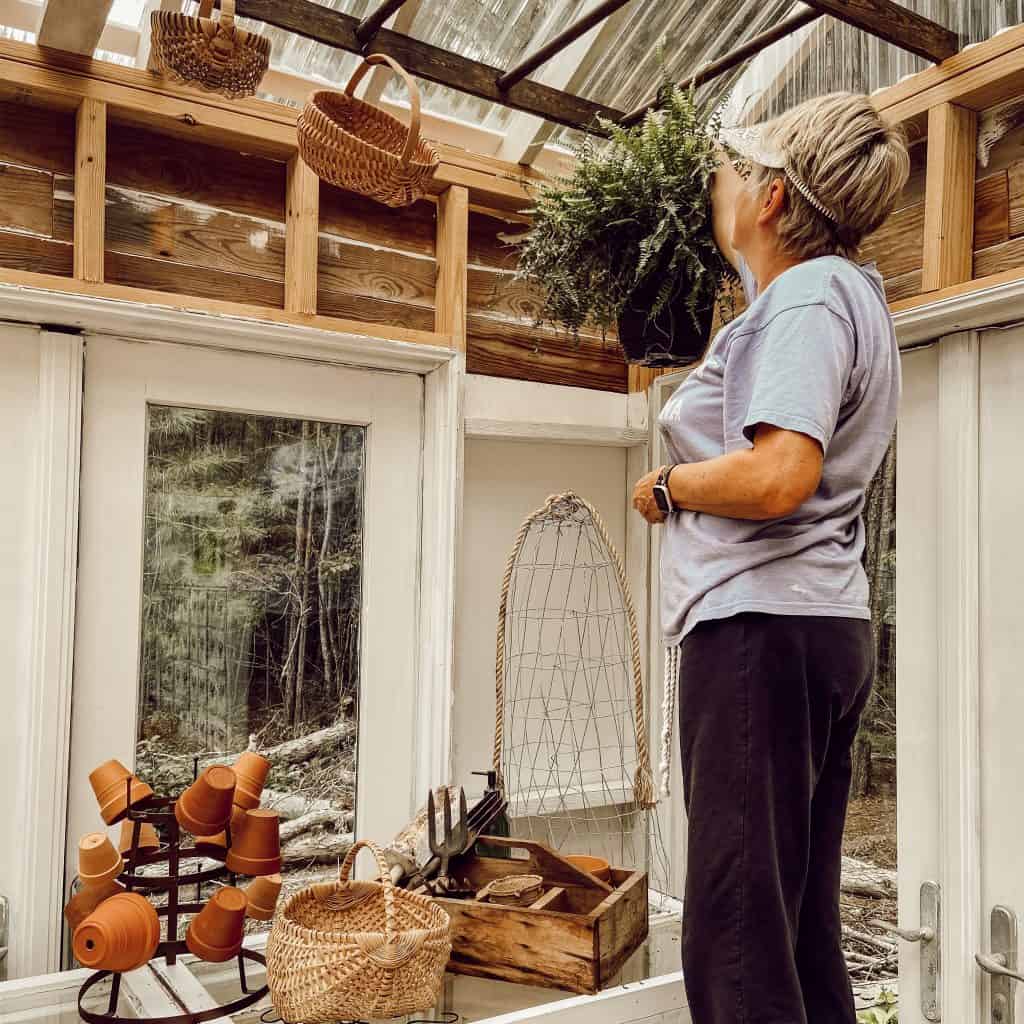
You can see all the details about the DIY Greenhouse here. In addition, it includes how to get your t-shirt to look like this. LOL

This project only cost $23.00; the ladder is perfect for the greenhouse. Also, I love using these S hooks to hang the various baskets, which are so handy. They allow for hanging almost anything and can be easily moved and adjusted compared to hooks permanently attached to surfaces.
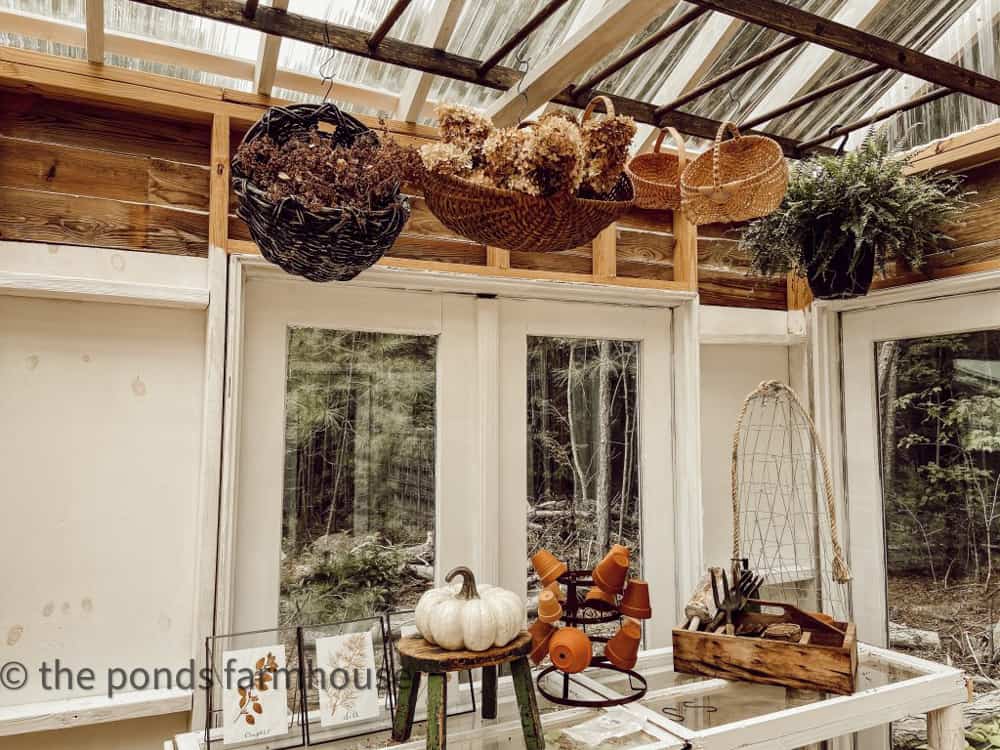
The space above the DIY potting table already looks so much cozier.
Resources – Shop This Post
Click the items below to shop
More Favorite DIY Projects
- DIY Apothecary Cabinet IKEA HACK
- Over The Table Rod Stand Tutorial
- How to Make A DIY Potting Table from Old Windows
- Copper Hanging Pot Rack
- DIY Copper Spice Rack
- Nautical Rope Mirror Tutorial
- Easy Rustic Ladder Tutorial
- Distressed Decoupage Lamp Makeover
- Easy Thrifted Lamp DIY – Pottery Barn Hack
- Pottery Barn Leaf Napkin Ring Hack


Pin It To Remember It
Did you find some great ideas you’d like to save for future reference? Hover over the images you’d like to save and pin to your favorite Pinterest Boards when you see the PIN button.


What a fabulous DIY! I love it.
Thank you so much for including our ladder chandelier.
Leslie
Leslie,
Thank you and I appreciate your support.
Rachel
I love ladders in decor especially French and French Farmhouse. I don’t have room for one but if I did my husband would be making me one.
Cindy
Cindy,
When we down-sized I never imagined I’d be sharing on a blog and IG. Some days I wish for more room to decorate all they ways I love. However, I get to share other peoples beautiful spaces when my space doesn’t’ allow. Thanks for stopping by.
Rachel
That is adorable and easy. I love it. Thank you for the DIY and all of the many ways for using it.
Miche,
I really appreciate your encouragement. Have the best day.
Rachel
What an inspired idea for your greenhouse, instantly warm and cozy. Thanks for sharing all the photos too, love the ones with Christmas roping. A ladder in my future 🙂
Jillian,
There are so much cute ways to use them. Best of luck.
Y’all make everything look so easy! Pinned and hope to get around to making one soon. I need this!
Awww thanks Cindy.
Your ladder tutorial made it look so easy!
Jill
Jill,
I promise it is very easy. If you have a few handy tools, you can do this.
Rachel
Hope to soon make a ladder to hang in my laundry are to use for a drying rack. Thanks for the tutorial!
Oh Sandra,
That’s a great idea. Let me know how it turns out. Rachel
As always, you are so kind and sharing. Everything is beautiful.
Diana,
Thanks for your sweet comments.
And I thought you have bought all your ladders! That’s a great and easy idea! Thank you Rachel!
Margie,
I have one inside that is old but didn’t want that expense for the greenhouse.
Such a great idea! Love it!
Stacy,
It’s so easy to make.
This is a really neat project I have always wanted to make one! Thank you for the directions 🙂 Hugs- Tanya
Tanya,
I really appreciate this.
Such a great idea. It looks beautiful in your greenhouse.
Renae,
Thank you.