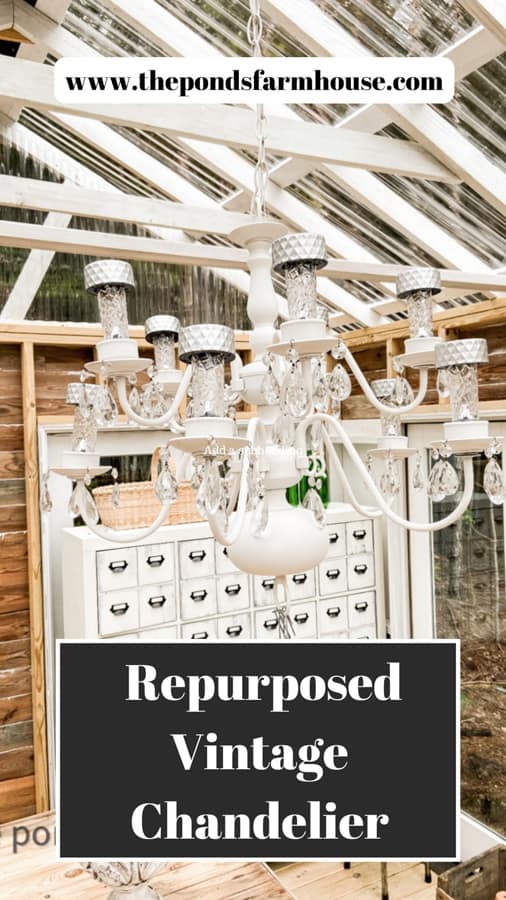
How To Repurpose A Thrifted Vintage Chandelier
Have you seen old, outdated chandeliers donated to thrift shops? Want to learn how you can repurpose a cheap vintage chandelier with some solar lights and vintage chandelier crystals?
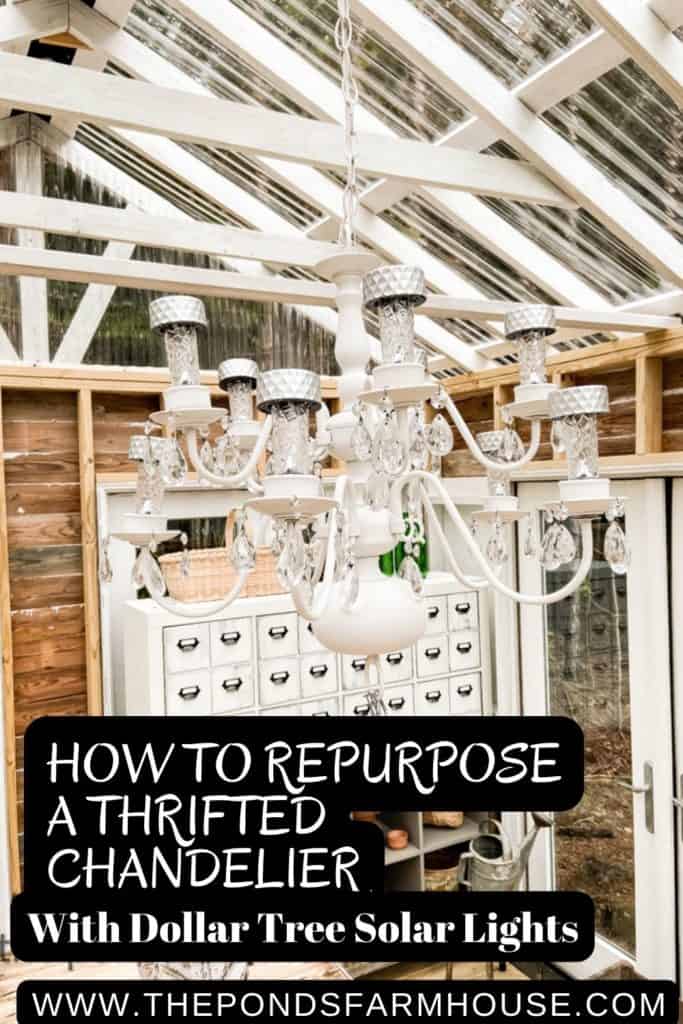
Here are the step-by-step instructions for How to Repurpose a Vintage Chandelier into a stunning DIY solar light fixture that can be used outdoors or in a greenhouse / she shed.
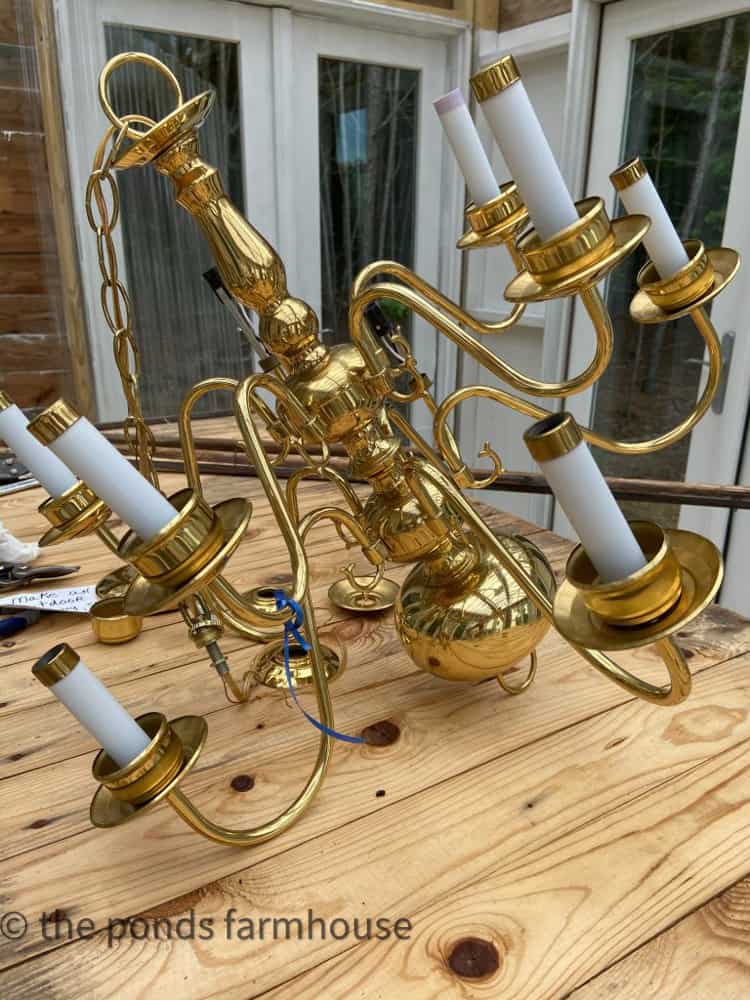
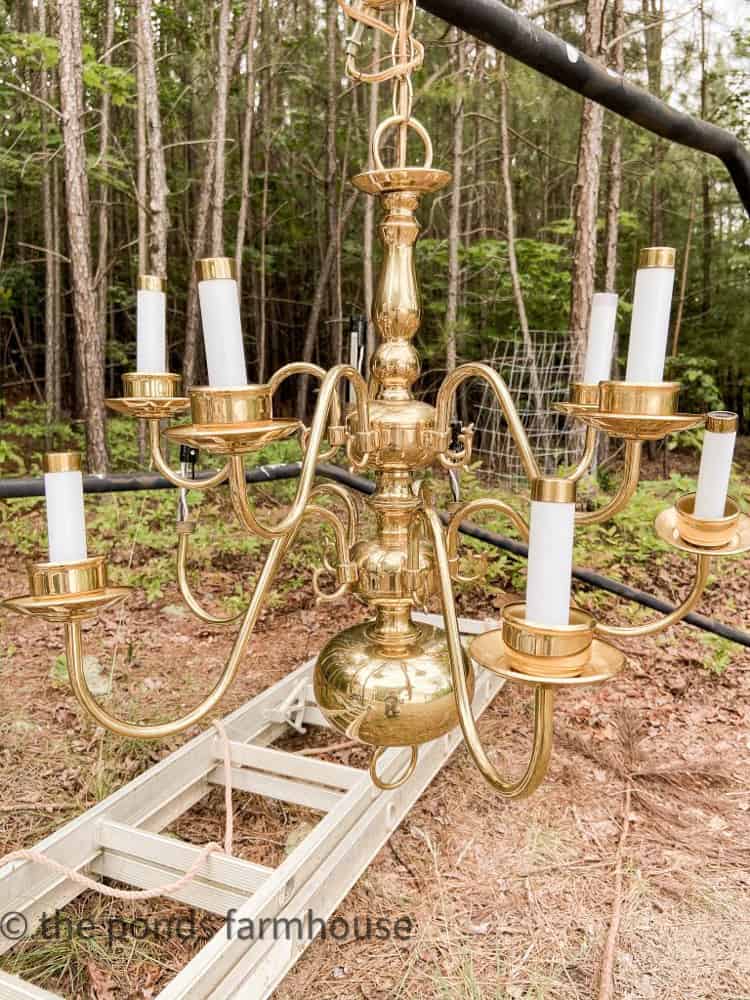
When planning our DIY Greenhouse, I knew I’d want a fun chandelier to hang inside. As luck would have it, I found a cheap vintage brass chandelier begging to be repurposed at a Thrift Store. Since it was only $10 and I had saved some vintage chandelier crystals, it was easy to transform into a DIY Solar Light Fixture.
Repurpose Outdated Vintage Chandelier
First, let’s remove the outdated brass finish on this old chandelier, and then we will add the solar lights and the vintage chandelier crystals I’ve been saving.
Paint The Thrifted Chandelier
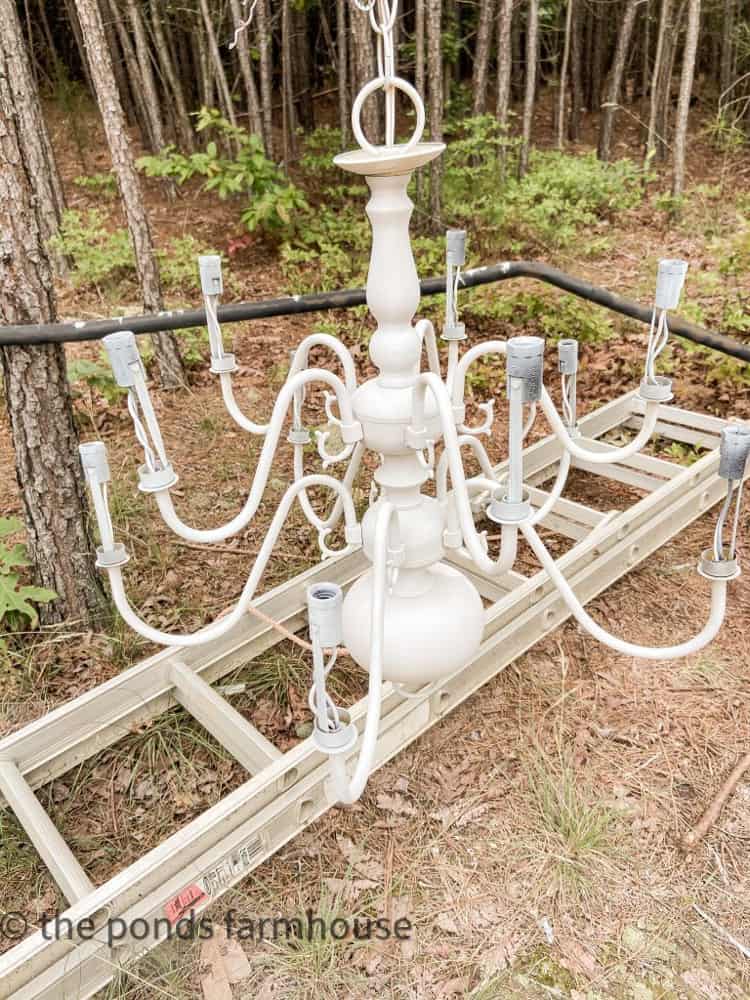
First, remove any removable parts and find a place to spray paint all the pieces you plan to use with the chandelier.
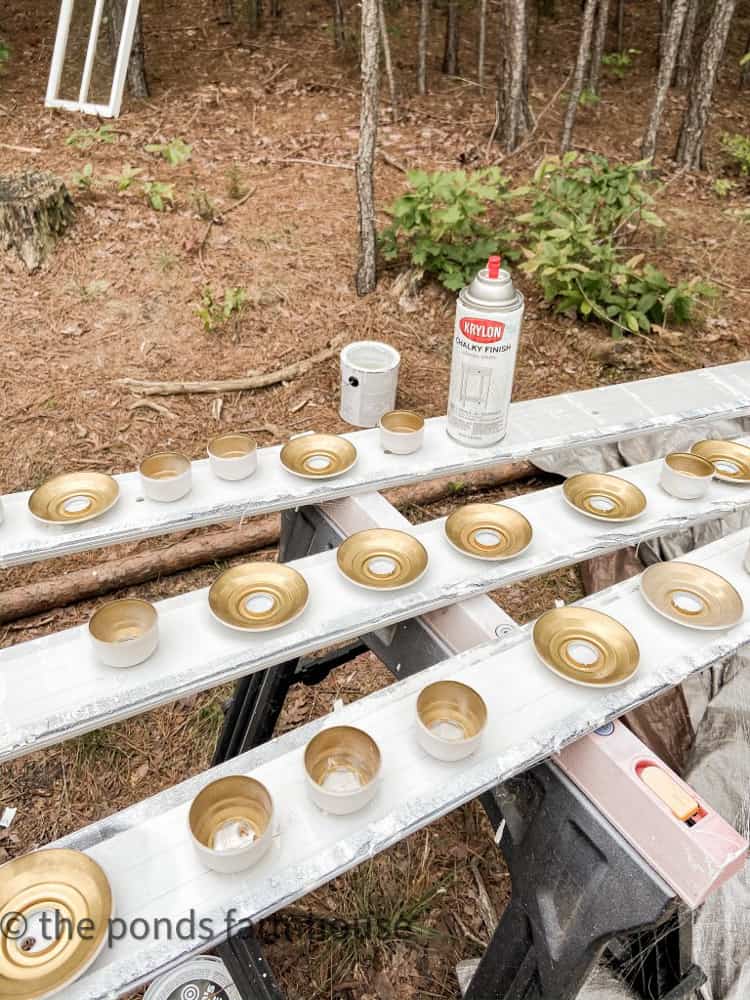
I used Krylon Chalky Finish Spray Paint in Classic White because I wanted a white light fixture. I have found that chalk paint will adhere to the slick brass surface much easier than some spray paints.
If you can find a way to hang the light fixture, you will be able to spray paint the entire piece without moving it to a different position.
Next, lay out all the removable parts and give them a light coat of paint. Chalk paint will dry quickly, allowing you to flip the pieces for another coat on the backside.
How To Add Vintage Chandelier Crystals
You may want to include this optional step to add some elegance to the chandelier. It will depend on the style of solar chandelier you desire.
Since I’d been saving these vintage chandelier crystals for a while, now was the perfect time to use them.
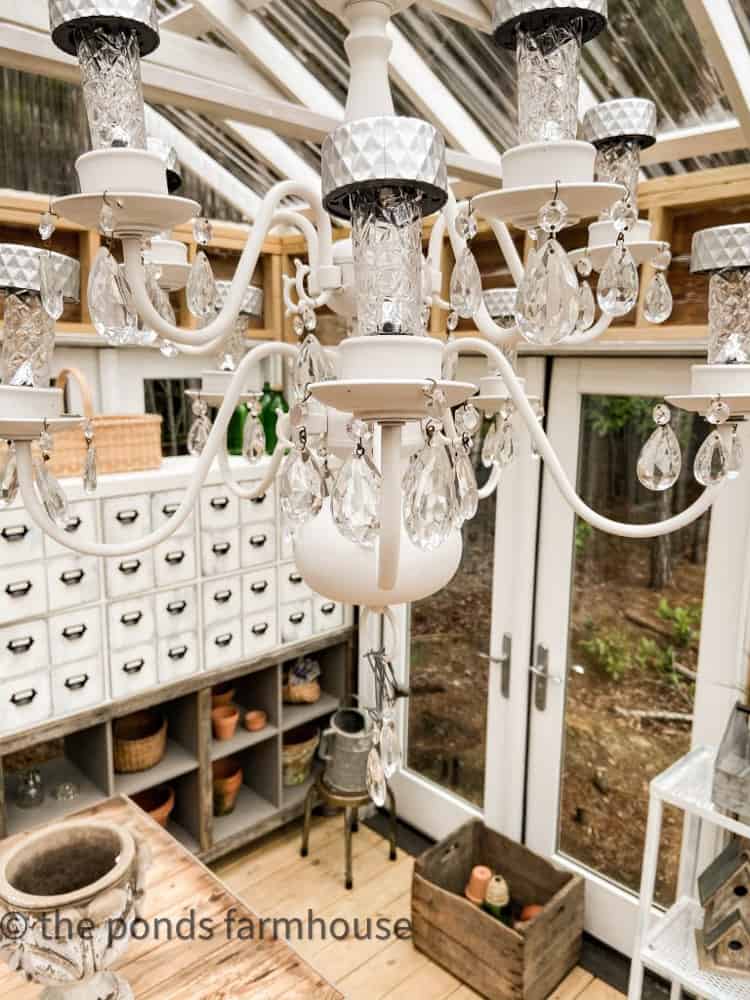
Once the paint is completely dry, you can add crystals to your chandelier. Since the thrift store light fixture didn’t include crystals, it was necessary to punch a hole into the rim.
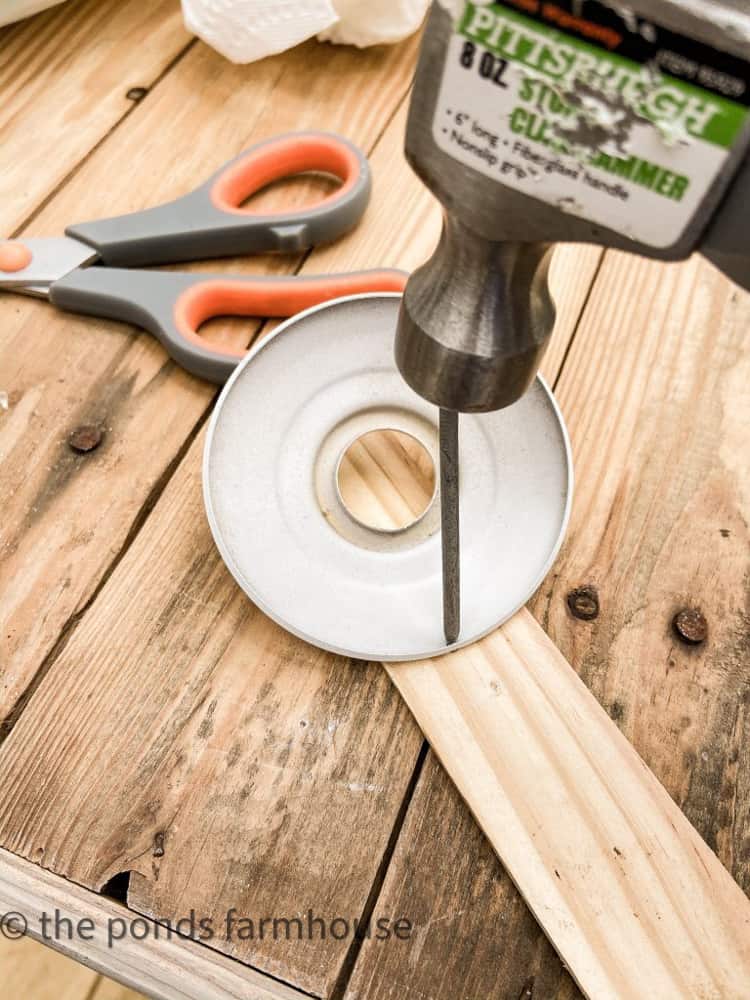
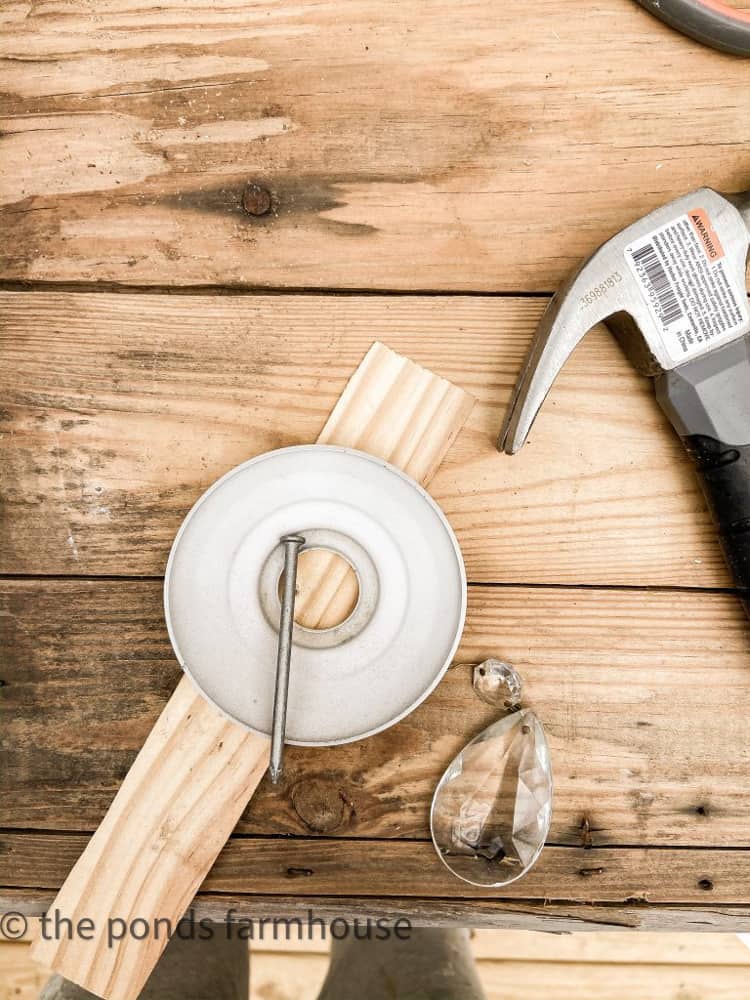
Now use a large nail, hammer, and wood block to protect your surface. Because the metal on this fixture is relatively thin, it was easy to punch a small hole.
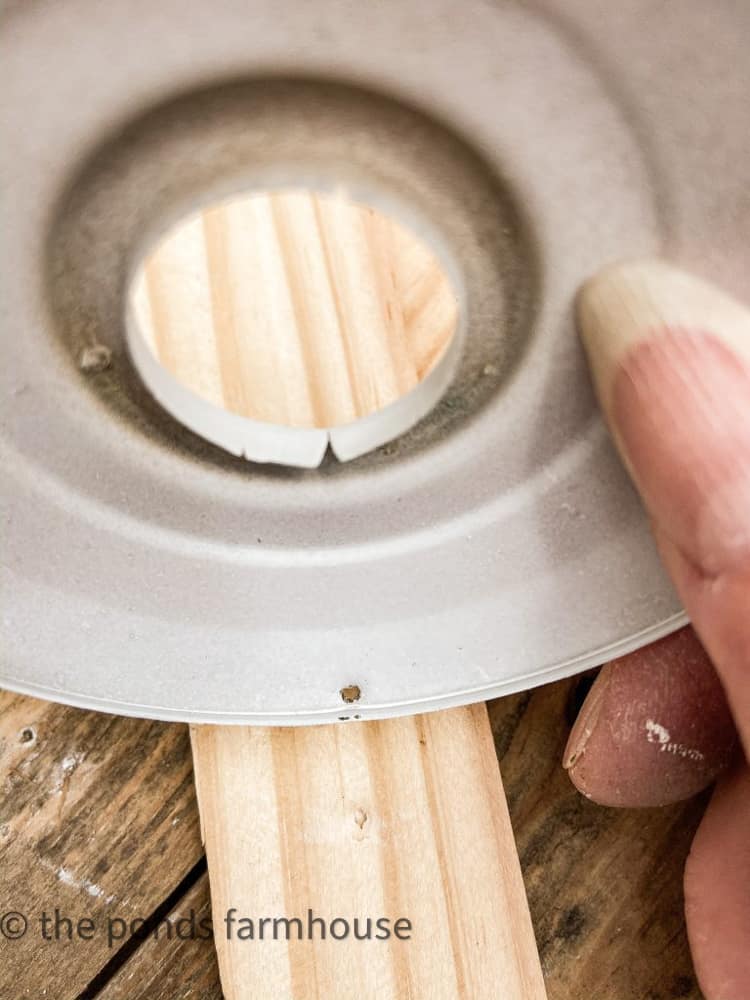
The hole should be large enough for the wire to slip through easily.
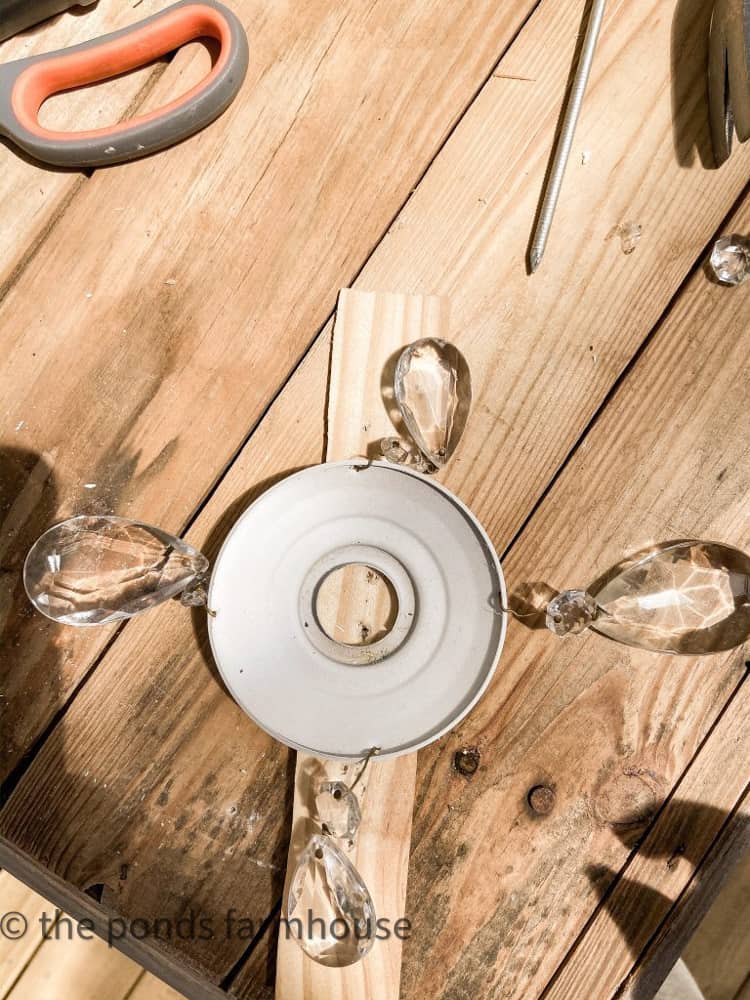
You will want to space your punched holes evenly around the rim’s circumference because you want the weight of your crystals to be evenly split. Due to the number of crystals, placing two larger crystals across from each other and two smaller also across from each other to give each cup balance was necessary.
Test for Balance
After adding all the vintage crystals, I recommend testing the fixture for balance. The addition of heavy crystals can cause the chandelier to hang unevenly if they are not distributed evenly.
To test the balance of your light fixture, you should hang it temporarily to ensure it is hanging evenly.

Resources for Vintage Chandelier Crystals
Fortunately, I had a supply of vintage crystals that I’d been saving for just such a project. If you don’t have a collection of crystals, you can order replacement crystals or check with Etsy or other online vintage sales sources that offer crystals for sale. These are also budget-friendly options.
You may want to search for a chandelier with crystals already attached. However, these can be more expensive. You may expect to search longer to find a deal.
Be sure to check out these tips for Successful Thrift Store Shopping.
How To Add Solar Lights To Vintage Chandelier?
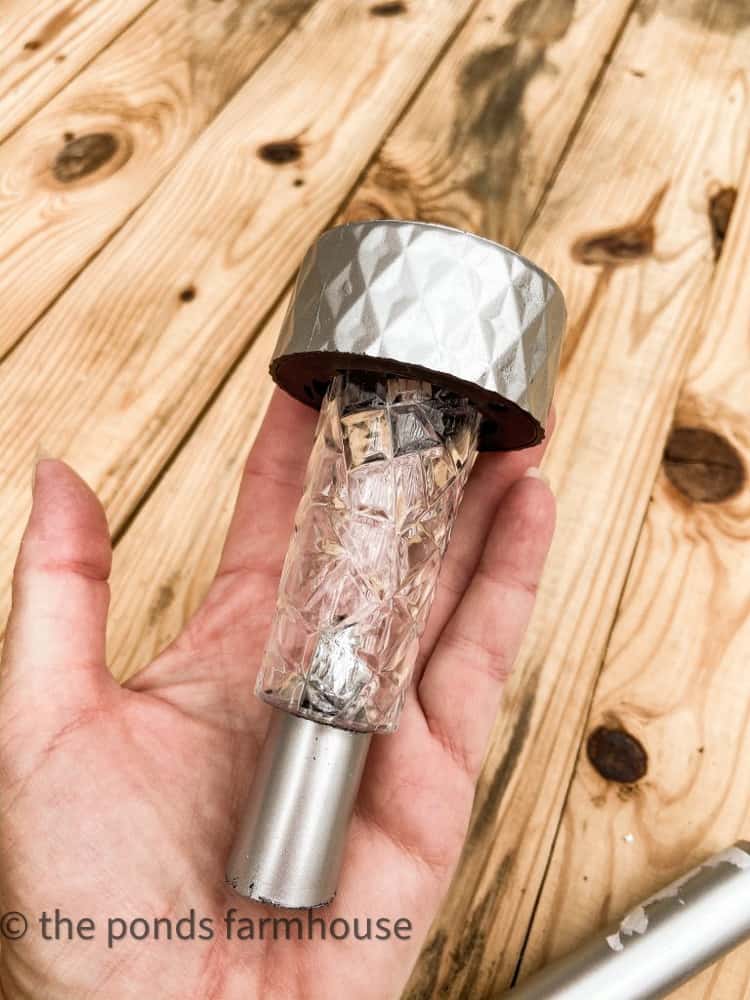
First, remove the wires and bulb holder from your chandelier. Start by clipping the wires with wire cutters, then unscrew the holder from the fixture. Finding these crystal-like solar lights for just $1.25, each was a perfect choice.
To get the lights to be attached securely to the chandelier, it is necessary to use the pipe attachment provided with the solar light.
Most of these are approx. Six inches long and, therefore, will result in a very tall light. Since I wanted the light to sit closer to the cup, I cut the pipe approximately 1 1/2 inches long.
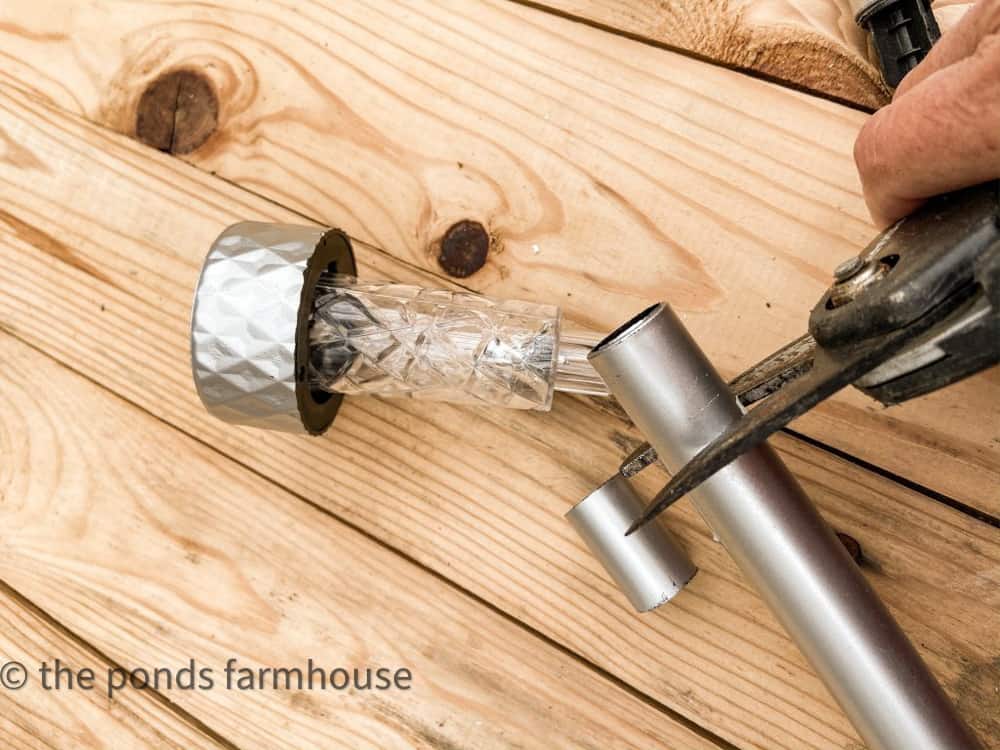
This still allows the solar light to fit into the pipe, as it was designed to do. It also left enough room for the other end of the pipe to attach to the chandelier cup.
Note: Each Light Fixture will be different, and all the fittings may not work exactly as described. Therefore, you may need to add some adhesive or fittings to attach the solar lights to the fixture.
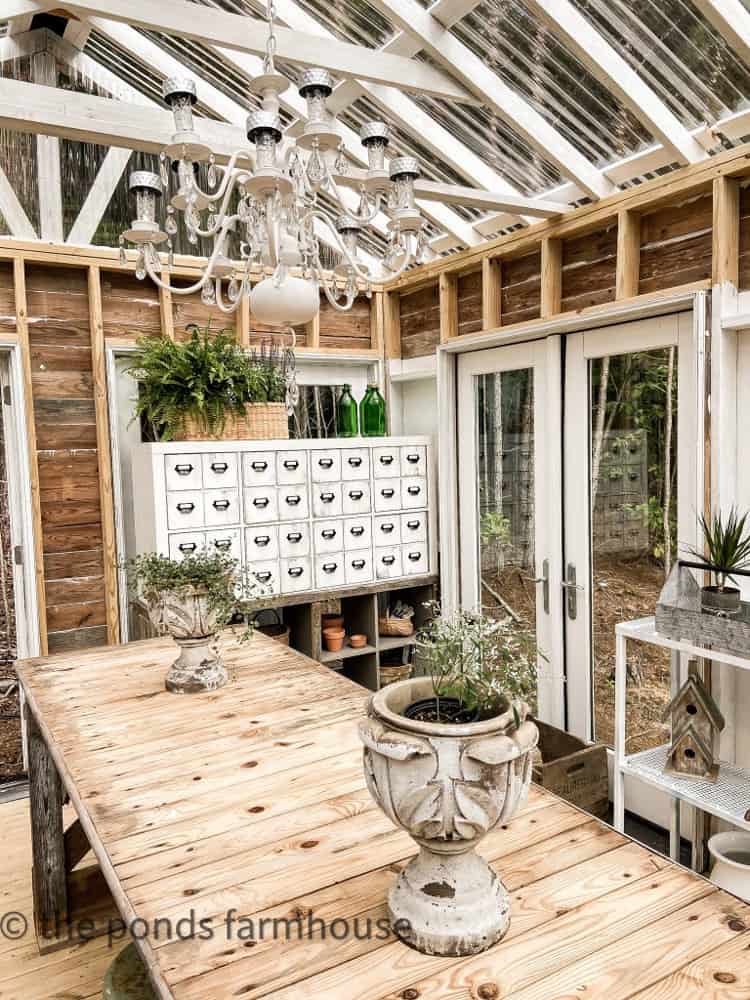
The DIY Solar Chandelier receives plenty of natural sunlight from the transparent roof material on the Greenhouse.
How to Hang The Repurposed Chandelier
I quickly attached a large nail to the center rafter to hang the Vintage Chandelier in the greenhouse.
Using the chain initially attached to the chandelier, you can easily adjust the height by moving the links up or down on the nail.
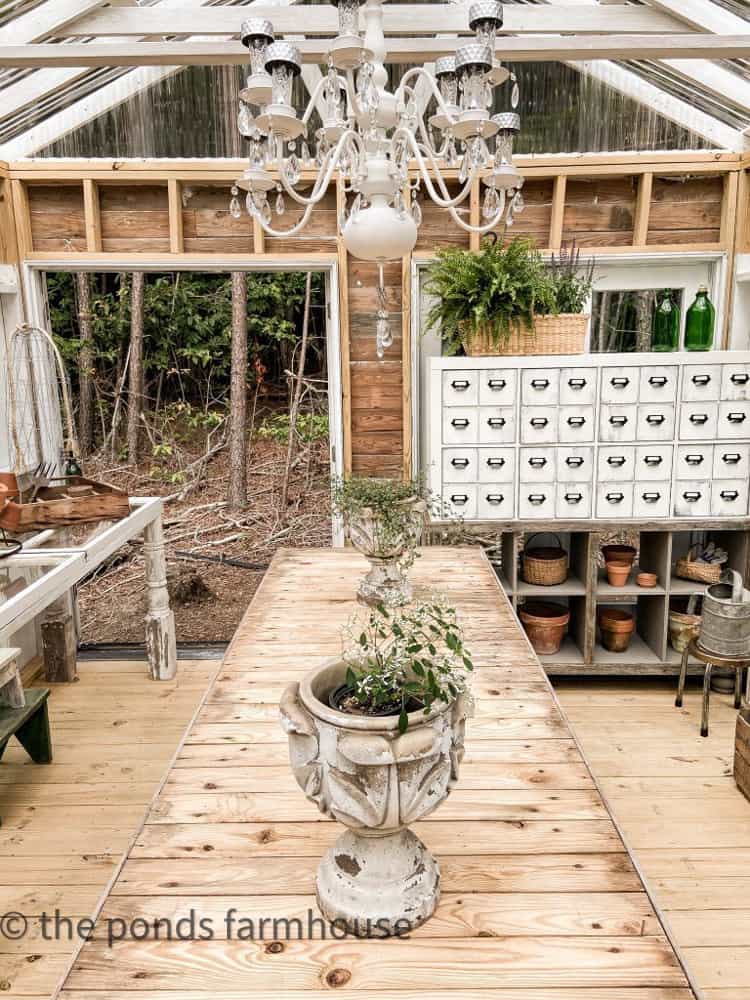
You will want to hang your solar chandelier in an area where the solar lights will receive enough sunlight to charge the batteries. Fortunately, the greenhouse allows enough light to keep the solar chandelier burning at night.
If you plan to use your chandelier under a tree or inside a covered area, consider the light source that will charge the solar lights.
The combination of the crystals and the crystal-like design of these Dollar Tree Solar Lights give the Chandelier a fun, elegant feel.
Additional Repurposed Lighting Ideas
If you enjoyed this post, you’ll love our other repurposed lighting posts.
I hope you like the addition of the re-purposed Chandelier to the greenhouse. Thank you for stopping by, and as always, your questions and comments are greatly appreciated.


Luv it Rachel, I didn’t realize it was solar. What a great idea!
Ann,
Thanks so much. I appreciate your comments.
Good Morning Rachel
Wow this is just stunning. I am going to do this* sorry but I copy a lot of what you create. The before and after is just amazing. Love love love the after
I have a ton of crystals also. I am going to put mine under my outside deck. Gets plenty of light for solar. Another great DIY project Rachel
enjoy your day/weekend
deezie
I’m so glad you like this Deezie! Thank you for your comments.
Rachel
Hi Rachel,
Great project with amazing results.! Love the solar lights you found too.
Cindy
Cindy,
I loved how elegant they were for just a dollar.
Rachel
That’s darling. I have that exact chandy hanging in a tree in the front yard. I painted it white but it doesn’t actually work. It’s just for pretties. Yours is way better! Pinned 🙂
Cindy,
pick up so Dollar Tree Solar lights and make it work. You’ll love it. Thanks for stopping by.
Rachel
Adorable! What did you use to cut the stem of the solar light? It looks like you’re using tin snips?
Nancee,
Thank you so much. I used garden shears. It’s just a soft plastic and was easy to cut.
Rachel
I painted a chandelier years ago about the color of your page background and used it for my granddaughters birthday. We had an elegant brunch and fashion show. I added tea cups and saucers to the stems and right in the middle a teapot with flowers in it. My granddaughter was in heaven! I still have the chandelier up in the attic and should get it down and repaint and add the lights to it but I lack somewhere to actually hang it outdoors. Oh wait I can use it on the front porch. Anyway yours came out just lovely!
Shirley,
Yes, pull that thing out of the attic. Sounds beautiful.
I love it! Do you have any pictures of it at night? I recently bought the house I’ve been renting for the last 10 years and I am searching for inexpensive ways to makeover the inside and outside of the house with diy projects for the inexperienced. I am looking forward to browsing through the rest of your site.
Pamela,
Thank you for stopping by and taking the time to comment. I have a lot of inexpensive ideas and hope you find many that will help with your renovations.
Well, now I’m on the hunt for a thrift store chandelier! 😀 I recently purchased a greenhouse and this will be perfect in there. Thanks so much for your awesome ideas.
Lisa,
Oh how fun. I wish you good luck on the hunt. Check Habitat ReStores because they get alot of light fixtures and the prices are usually good. Especially if they are somewhat damaged. Good Luck. Let me know if you find one.
Brilliant idea and it looks so nice.
Angie,
I’m so glad you like it. It was a lucky find and so easy to update. I hope you have an amazing week.
Rachel, I have always admired your chandelier — and now I know the story! It is so pretty! What a great idea you had to use those lovely solar lights. You are such an amazing gal with all your wonderful ideas! I pray that you are feeling much better after your chemo treatment. I just enjoy reading your journal and I know that your writing will be such a wonderful help to those who are going through all this. So many will be blessed through reading your journal. We continue to keep you in our thoughts and prayers. You are so precious and I thank you for allowing us to share your journey with you. The other night while I was cooking supper, I thought about how nice it would be to be closer to you and be able to bring you some meals. Bless you, dear Rachel!
Mary-Ann,
Thank you for your sweet compliments. I appreciate you for always lifting my spirits. I’m feeling so much better this second week after treatments than I did the first go round. I know that means the chemo is working and I’ll be cancer free in a few months. Know that I’d love for you to be closer and we could visit. In the meantime stay cool my friend.