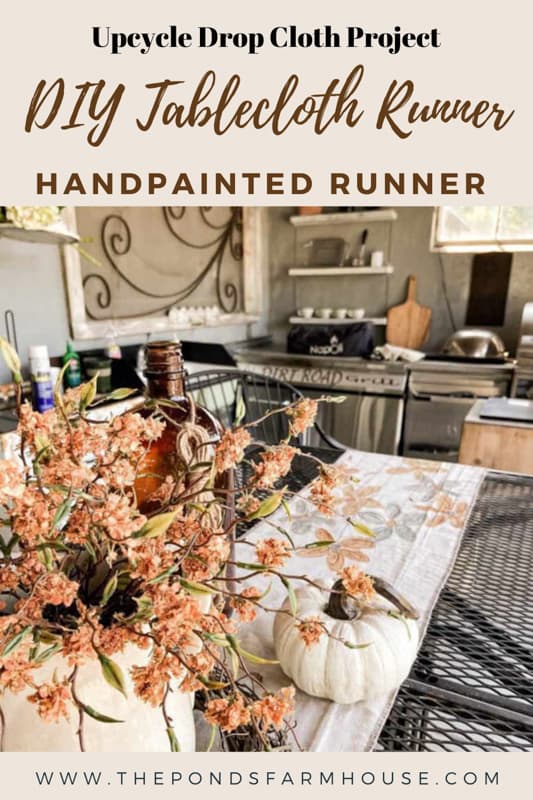
How To Upcycle A Drop Cloth Into A DIY Tablecloth Runner
Have you ever tried to find tablecloth runners in various lengths? Well, it’s almost impossible, so I’m sharing how to upcycle a drop cloth into a painted tablecloth runner that can be customized for each table length. This quick and easy tutorial will teach you how to make your own table runners using inexpensive drop cloth fabric. You can get creative and make one that works with your decor style, and customize them for your table sizes. I now have DIY Tablecloth Runners for each of our outdoor kitchen tables. Yay! Let me show you how easy they are to make.

I was planning a Welcome to Fall Dinner Party around our outdoor kitchen and patio area, and I wanted something to dress up the tables. Since the atmosphere is casual, I decided to use tablecloth runners instead of tablecloths. When I couldn’t find the sizes I needed, here’s what I did.
(Posts on The Ponds Farmhouse may contain affiliate links. As an Amazon Associate, I earn from qualifying purchases. See the full disclosure details here.)
How To Prepare a Drop Cloth for Painting
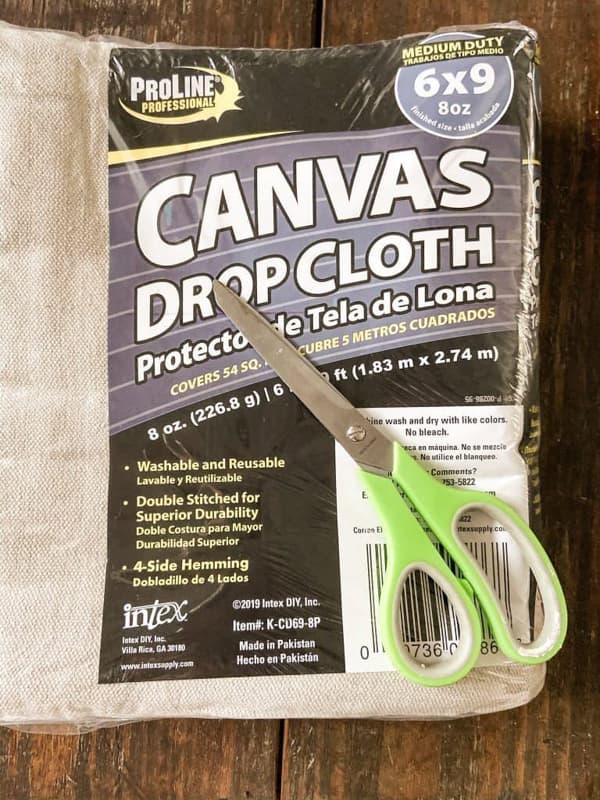
A budget-friendly way to make tablecloths and tablecloth runners is to upcycle a drop cloth. They are relatively cheap, and their texture is excellent for hand painting.
Before you start this project, wash and dry the drop cloth. Remove from the dryer while damp to avoid having to press.
Pre-washing will remove any dyes, chemicals, and starches from the fabric. Pre-washing and drying will also help shrink the fabric, ensuring your finished tablecloth runners are the correct size.
How To Measure For Your DIY Tablecloth Runners
First, measure your tables. Measure the tabletop from end to end and then add 25 inches to the measurement. This will allow for a 12-inch drop at both ends of the table, plus an additional 1/2 inch at both edges for the hem.
Most table runners are 14 inches wide. However, you can adjust if your table is narrower or broader than usual. If you plan to hem the edges of your runner, allow about 1/2 inch on each side for the hem.
For a standard 60-inch-long table, you would need to cut your fabric to 85 inches long and 15 inches wide.
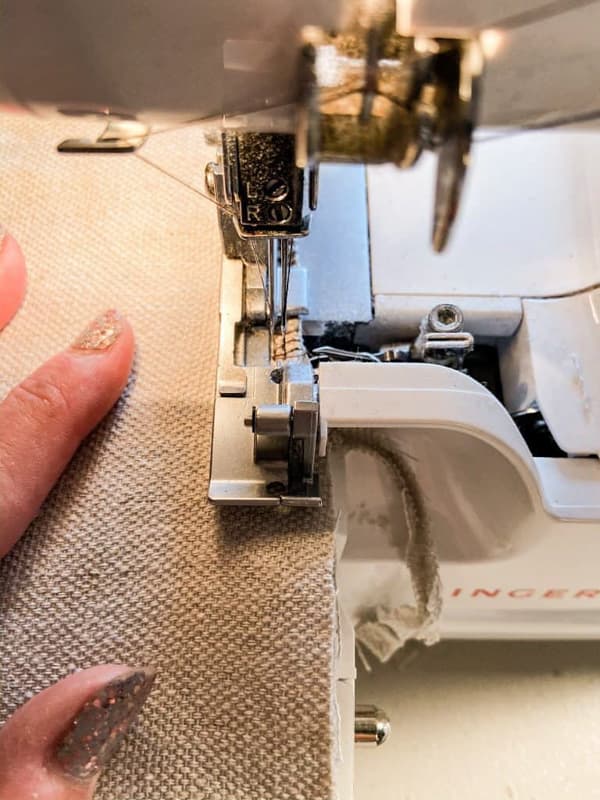
How To Finish the Edges of Upcycled Drop Cloth
To finish the edges of the upcycled drop cloth, I used a serger sewing machine to stitch the raw edges and stop them from fraying.
There are several options, including turning the edge under and stitching with a sewing machine.
If you don’t have a sewing machine, you can use fabric glue to fold the raw edge under. Another option is to leave the edges raw and use a liquid fray block to keep them from unraveling further. If you don’t plan to hem your table runner, you don’t need to add the extra 1/2 inches to each side.
Supply List
- Drop Cloth
- Serger Sewing Machine
- Fabric Glue
- Brown Sharpies
- Blue Chalk Paint
- Yellow Chalk Paint
- Orange Chalk Paint
- Brown Chalk Paint
- Heat Press
- Teflon Sheets (optional – you can use a fabric is you prefer.)
Add Flowers To DIY Tablecloth Runner for Painting
Once you have your table runners cut to size and the edges finished, it’s time to draw your flowers.
Use a dark brown or black fine-point Sharpie marker for this step.
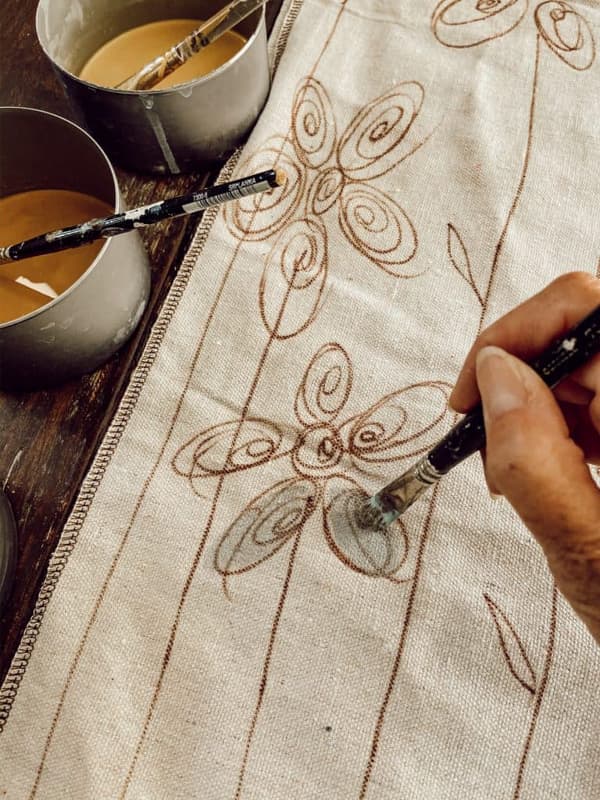
Begin at the bottom edge of the runner and draw lines using the Sharpie up the fabric at varying lengths. These will be the stems of your flowers.
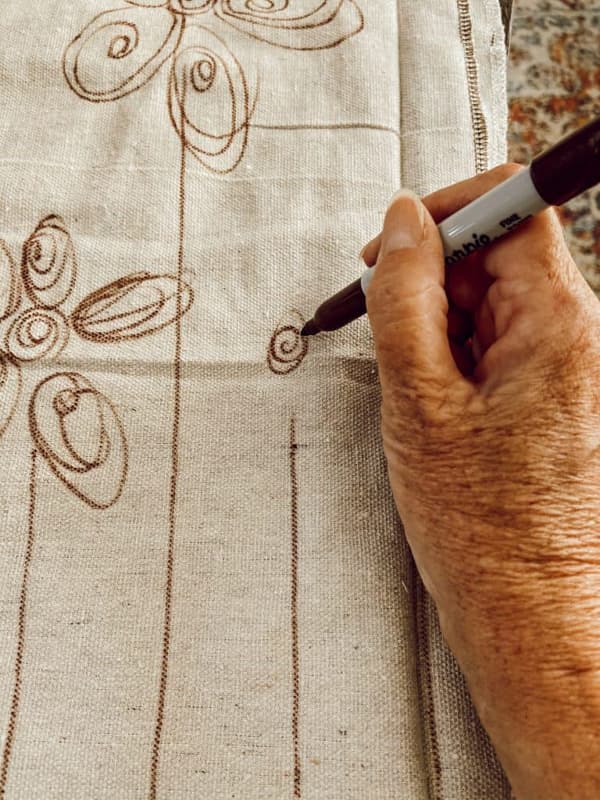
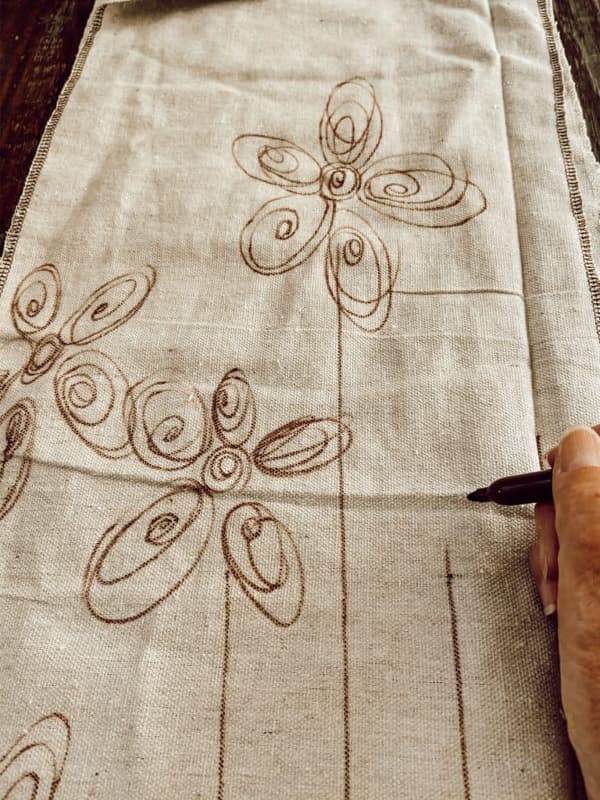
Next, begin to draw the flowers themselves. Begin in the center of each flower and draw a swirling circle for the flower’s center. Then, draw larger swirling circles for the petals.
I like to make some more round and others more oval in shape.
This is a fast process, and the flowers can be messy because no two should be identical.
Hand-paint the Flowers on the DIY Tablecloth Runner
For the next step, you will need to determine the colors for your flowers. I chose blue, orange and yellow. I also used Chalk Paint for the hand-painted flowers because it’s pliable and doesn’t require a fabric medium.
If you use regular craft paint, add a fabric medium so the DIY tablecloth runner will not be stiff where painted. Follow the directions on the fabric medium to mix your paint.
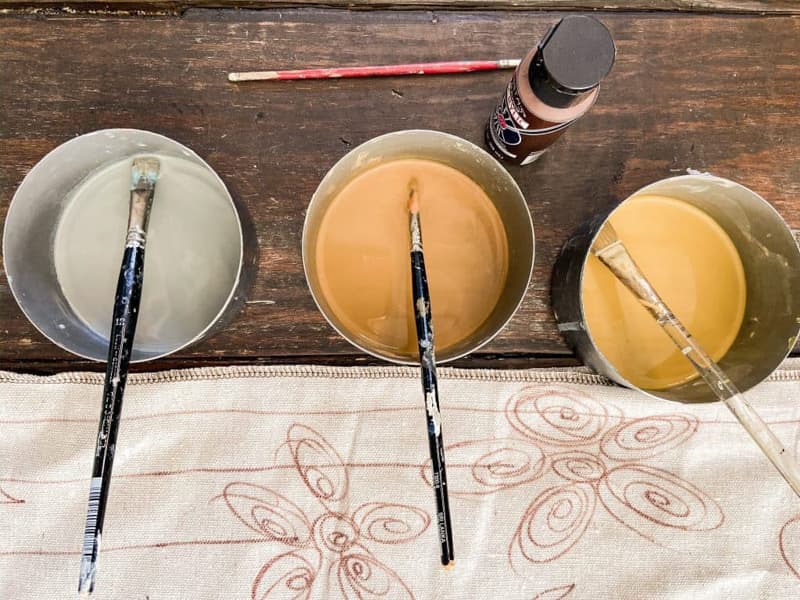
Next, thin your paint with water at approximately a 50/50 ratio. Once you’ve applied the paint to the flowers, you’ll want to see through it.
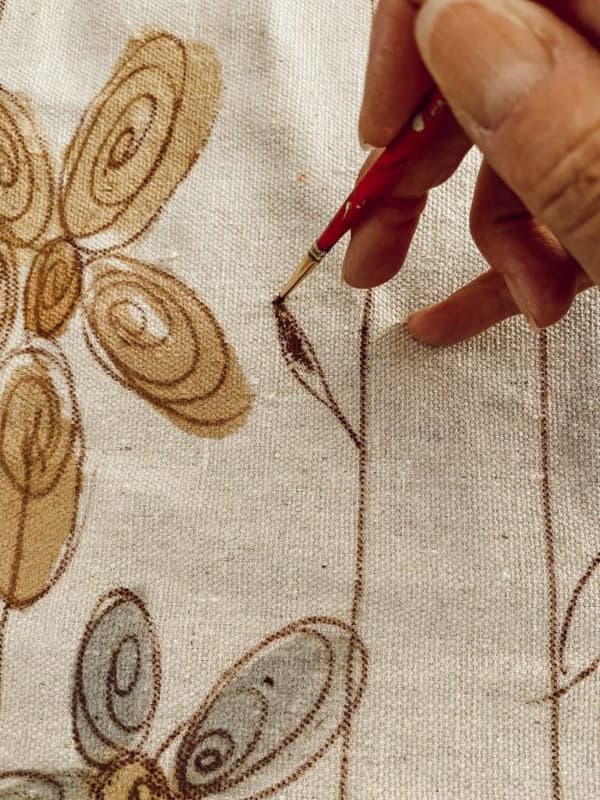
Using the same swirling motion, paint each flower. You don’t need to stay within the lines as you paint. Allow your brush to float over the drawn flowers.
In addition to the flowers, add a few leaves to the stems. I used just a dab of brown paint on each leaf for these.
Heat Set Tablecloth Runner
Use a hot iron or heat press to press over the entire painted area. You can now hand-wash your table runner safely.
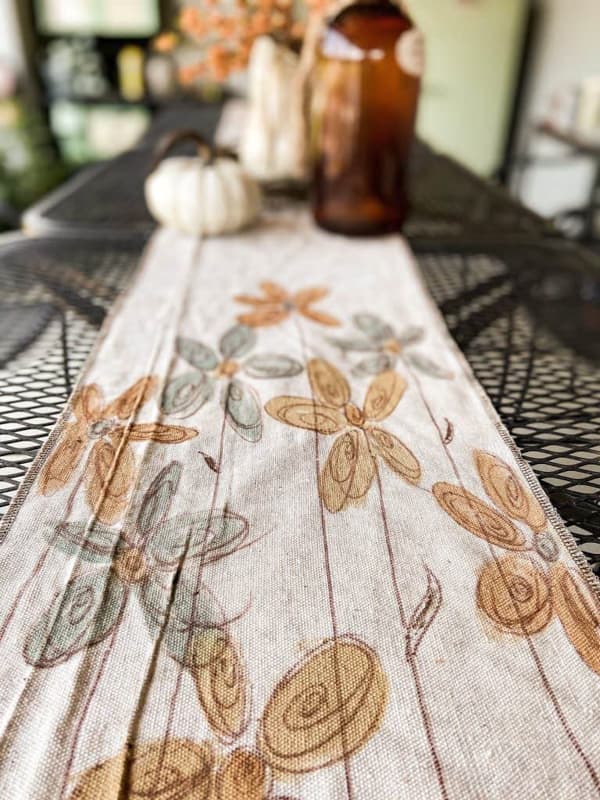
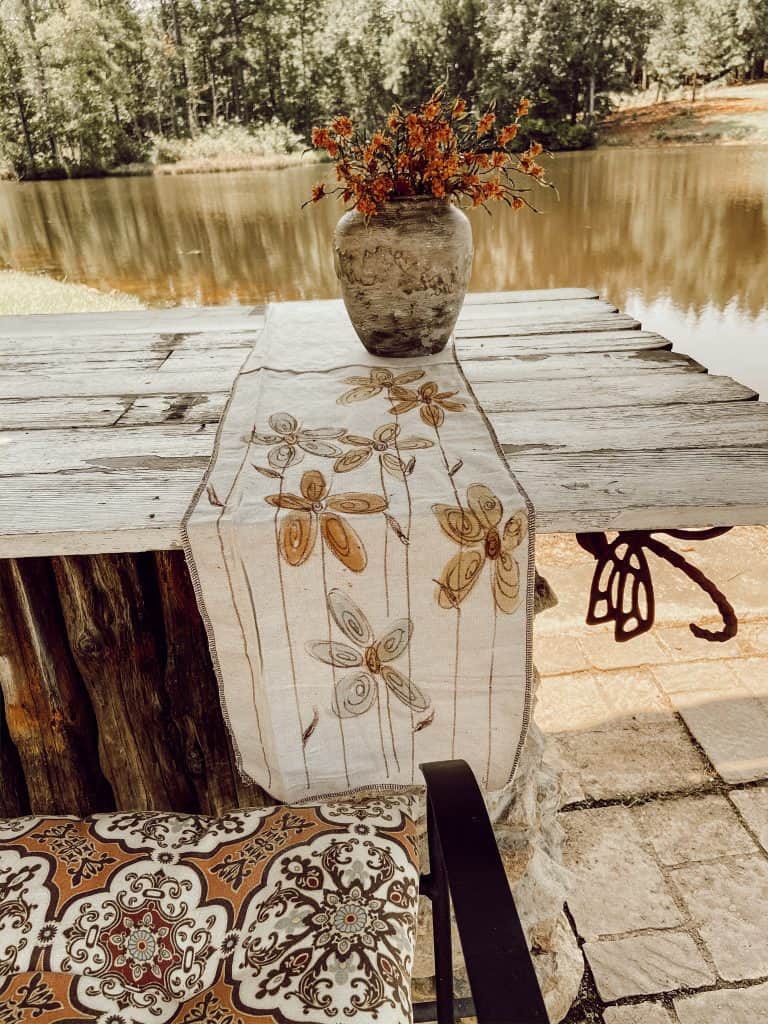
DIY Hand-painted Drop Cloth Tablecloth Runner
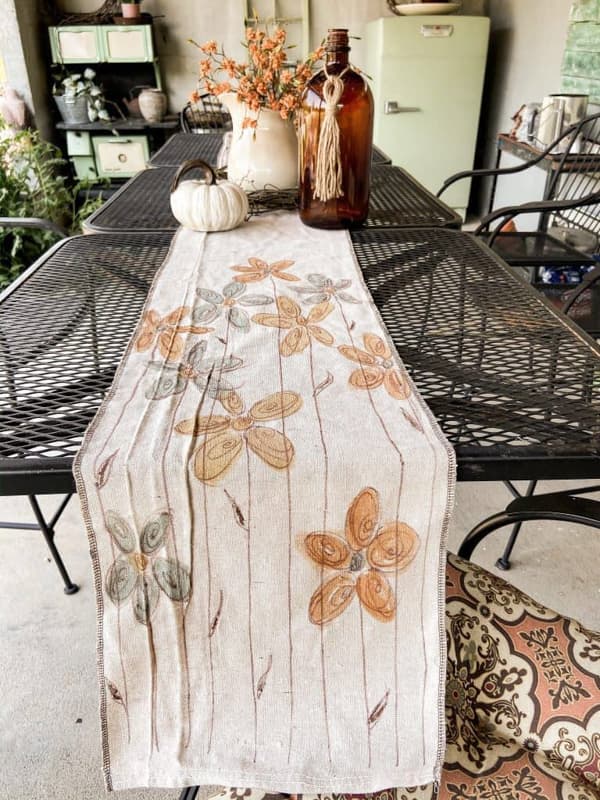
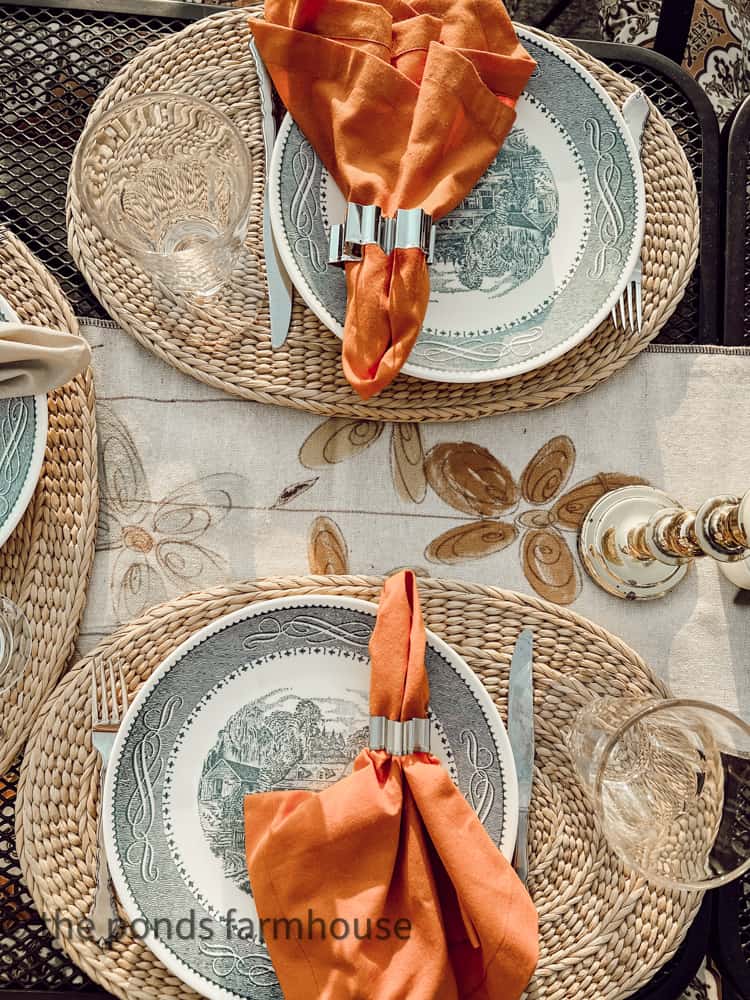
Once the paint is dry, you can place your new Hand-painted Upcycled Drop Cloth Runners on the tables.
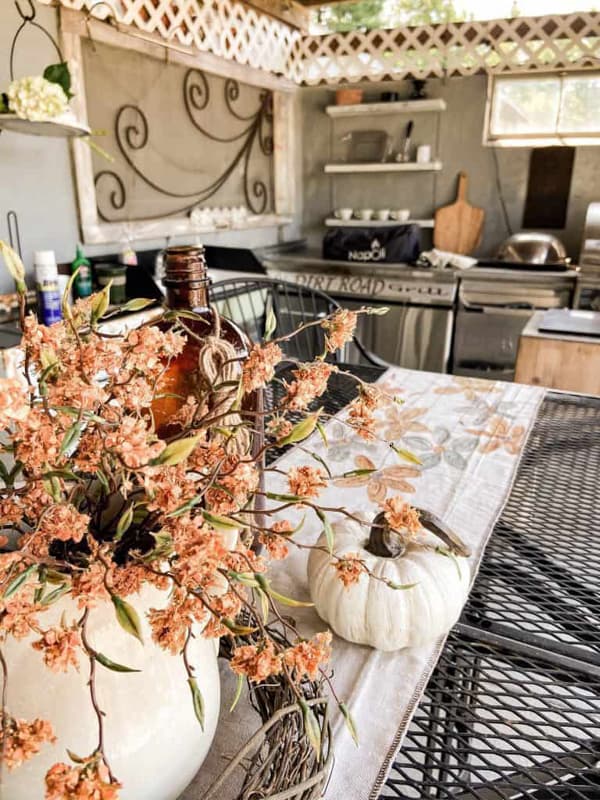
I’m excited to use the cute table runners at my fall event.
The colors work perfectly with the chair cushions I use in the outdoor kitchen.
If you’d like to see more about the outdoor kitchen entertaining area, you can see before and after here.
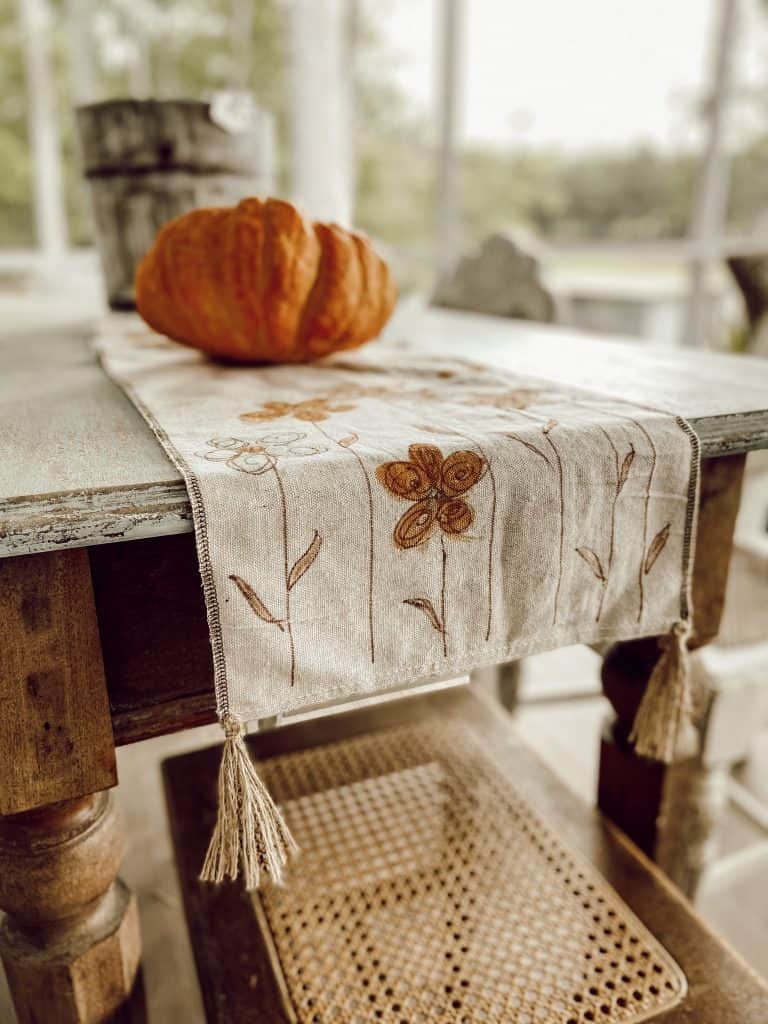
Click here to see how to make tassels to add to the table runners. If you’d like to see how I planned for this party click here and here are the table arrangement details.
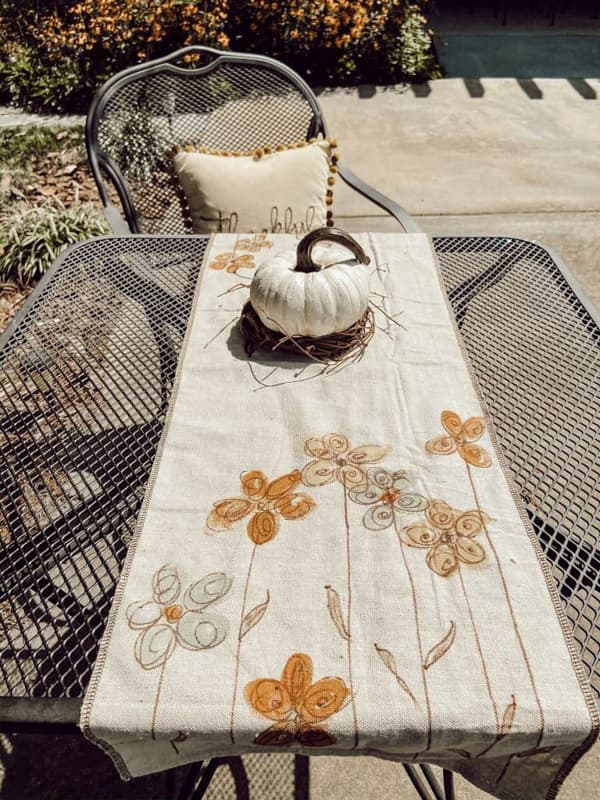
Alfresco Dining With DIY Table Runners
The easy-to-make table runners have been used for many of our alfresco dinner parties. Fall is a favorite time to invite guests to our outdoor kitchen for a cozy dinner party.
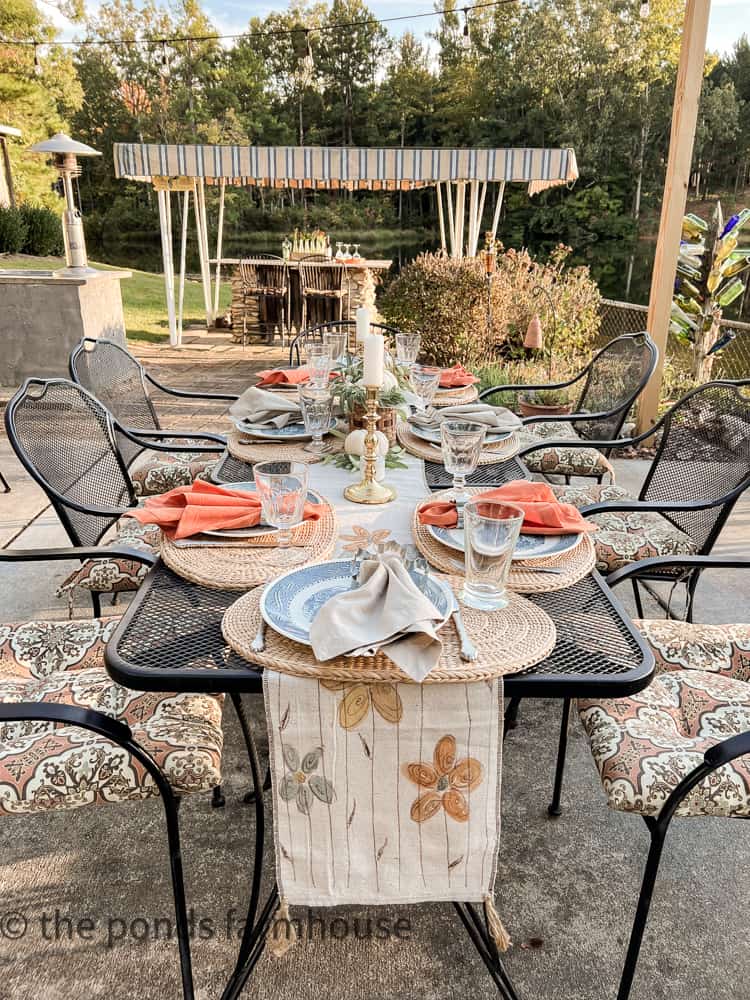
The hand-painted table runners add just the right touch of rustic charm to the table setting.
Other DIY Tableware Ideas And DIY Drop Cloth Projects You Can Make
You can see how I made the Earthenware Vessel from a thrift store find here.
Thanks so much for stopping by today. I look forward to sharing my next adventure with you.

Pin It To Remember It
Did you find some great ideas you’d like to save for future reference? Hover over the images you’d like to save and pin to your favorite Pinterest Boards when you see the PIN button.

I hear you Rachel about table runners being a standard size and not fitting. Great idea using drop cloth material to make some. Your handpainted ones are so cute! and love the colors! Pinned
Marie,
I really appreciate your encouragement! Thanks for stopping by!
Rachel.
I LOVE this! It’s so adorable! Can’t wait to try it! I’m going to gather the supplies today. I love that you can adjust the size and colors to match your own decor. I don’t have a serger so I think I’ll just run a stay stich around the edge 1/4 inch in and let it fray a little.
Lisa,
I’m so glad you like this idea. It’s been a favorite of mine and I use them every fall. Plus, you can create flowers for all seasons if you choose. Let me know how it turned out.
Sooo adorable!!!! Luuuv it👏👏👏
Marsha,
I’m so glad you stopped by. Thanks so much!
Rachel
Good Morning Rachel
LOVE LOVE LOVE this. I just adore your sweet flowers you painted on this wonderful runner. What a great idea to make them yourself since you couldn’t find what you were looking for. It looks great on your outdoor table. Your guests will think you purchased it
have a great day Rachel
deezie
Deezie,
Thanks so much for stopping by and your sweet compliments!
Rachel.
I was wondering what I was going to do with my extra drop cloths! Excellent tutorial. Hope my drawing skills are as fabulous as yours! Crossing my fingers AND toes! Pinned. 🙂 BTW, you totally need to put this on the Farmhouse Friday Link Party – just sayin. 😉
Cindy,
Thanks for your encouragement!
Rachel
LOVE this drop cloth runner and tutorial!! I just may try this. Excellent directions and finished product!
#glad
Jill,
I am so glad you like it! 😘
Rachel
This is so beautiful! I don’t think I could draw that but great tutorial. Also, if I could only sew.
Beautiful!
.Cindy
Cindy,
This was so easy. You could easily do this.
Rachel
This turned out so pretty Rachel! Your outdoor space looks lovely. -Marie
Marie,
I really appreciate that! Thank you so much for stopping by! 😘
Rachel, this is so cute!!! I can’t wait to try and make one 🙂
Oh I’m so glad you like it. So easy. Thanks
Rachel
Luv this runner Rachel. And the colors. Pinned🙌🏻
Ann,
Thanks so much! I appreciate your encouragement!
Rachel
Love this idea Rachel!! Thanks for the inspiration.
Corine,
Thanks so much sweetie!
Rachel
I may try this with drawing autumn leaves on the runner – I need something to donate to the holiday bazaar this year. first, one for me!!!
Oh that’s a great idea. Thanks for sharing with me. I love when someone can improve on my ideas. Best of luck.
Rachel
Absolutely love this idea! Your runners look gorgeous!
Anne,
I’m so glad you like them.
Rachel
OOh I so LOVE this simplicity! Already started sketching these flowers on paper and finding I can do this! Plus I’ve taken it a step further in making a butterfly in having five together and drawing out the antenna! Either way, THANK YOU as this will also be a drawing I do on envelopes when sending cards. Shall never forget this inspiration!!
Julie,
Oh my gosh! I’m so happy this inspired you. I appreciate you sharing your ideas with me.
Rachel.
WOW!! Great tutorial – I think I may try this one day soon. Yours is just perfect choices of colors and style. Well done. Thank you for the inspiration!
Visiting from over at Thistlewood Farm’s “Thistlekeeping.” Glad to have found you!
Michele,
I’m so glad you popped over. I love KariAnne and so glad you found me.
Rachel
This is gorgeous. Thanks for sharing.
Oh, I’m so glad you like it.
Rachel
Thank you for the wonderful idea and great instructions!
Can the table runner be laundered?
Shari,
Yes, I would press the image with a hot iron before using. Be sure to place a barrier layer of another fabric between the image and the iron to be safe. The paint could stick to the iron so the barrier layer is important to protect the iron as well as your painted image.
Rachel
This is lovely! Great idea! I can barely draw a stick person but your tutorial is very good and makes me think I could give this a try. PINNED!!!
Kristi,
You’ve got this. Let me know how it goes. Thanks for your support,
Rachel
Rachel I love this one! The flowers look so pretty too. I want to make one!
Stacy,
It’s so easy!
Love the clever idea for a table runner! You out did yourself Rachel! Thanks for sharing!
Margie,
I really appreciate this. So glad you like it.
I make my own also but, this one is so pretty. I pinned it so I could try one myself, thanks.
Marlene,
I’m so glad you liked it. Thanks so much.
This turned out so cute! Love the idea of using a dropcloth as a runner and the handpainted details are so pretty. Brown sharpie: great idea!
Lora,
I’m so glad you liked this project.
This is such a great idea and I am totally making it!
Thanks so much.
This table runner is beautiful. The colors are perfect for fall. You’re so talented. I think if I tried to draw flowers they’d look like a kindergartner did it!
AnnMarie,
I’m sure that’s not true. Thanks so much.
Regina,
I appreciate this so much.
This is a great project!! Your flowers are so cute!
Jennifer,
I really appreciate your kind words.
Soooo pretty! and fabulous idea!
Love this project, Rachel!
Kim
I really appreciate this. Thanks for the encouragement.