How To Make Easy DIY Burlap Napkin Rings
These are the cutest DIY Burlap Napkin Rings, and I’m sharing an easy tutorial to make your own DIY napkin rings. This creative design is a budget-friendly option for Spring & Summer entertaining.
These napkin rings can be made in any color to match your party theme or table decor.
You can also get creative with your design. There are so many possibilities.
Table of contents
How To Make DIY Burlap Napkin Rings Ideas
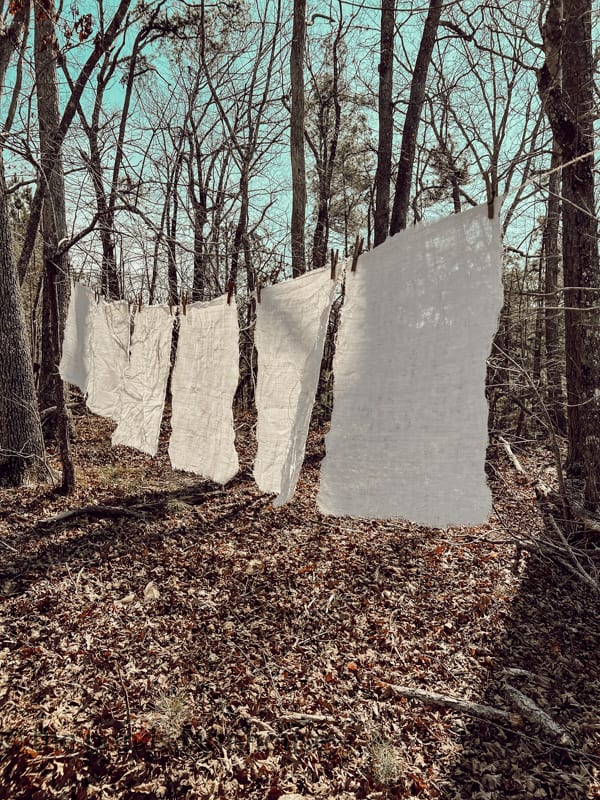
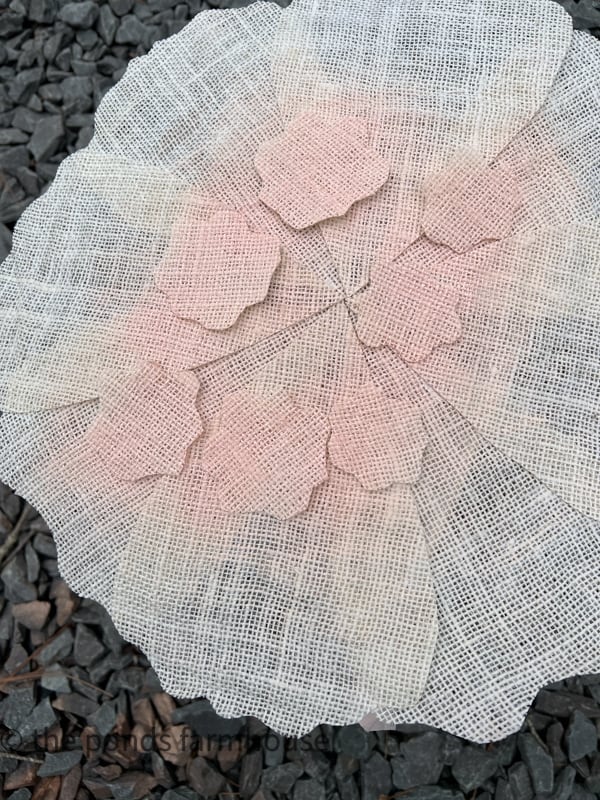
This project began with some DIY Burlap Placemats.
I made the placemats by stiffening some natural burlap with glue and water. You can see How To Make DIY Placemats and how to stiffen the burlap here.
(Posts on The Ponds Farmhouse may contain affiliate links. As an Amazon Associate, I earn from qualifying purchases. See the full disclosure details here.)
DIY Placemats Update
After making the DIY Placemats, I became addicted. I decided to add some color, and then another idea was sparked.
How To Make Use of Scrap Fabric
Ok, so here’s what happened! I’ve said it before “I’m a waste, not kind of girl”! Therefore, when I saw all the stiff burlap scraps, I immediately started to figure out a use for them.
Here’s what I came up with.
DIY Napkin Rings Tutorial
I decided to make some cute napkin rings for my Spring Tablescape.
Here’s all you need for this project.
- Thrifted Napkin Rings or cheap dollar store napkin rings
- Stiff Burlap Scraps – see tutorial here
- Hot Glue Gun & Glue
- Jute Twine
- Spray Paint – Soft Pink & Green
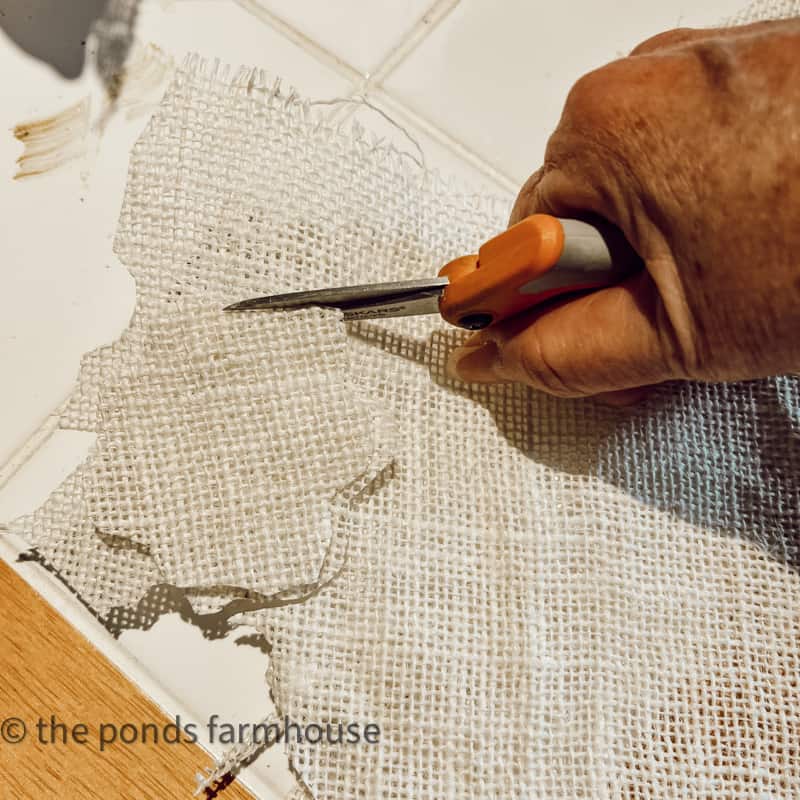
Determine Your Pattern
First, decide what you want your flower to look like. The possibilities are unlimited.
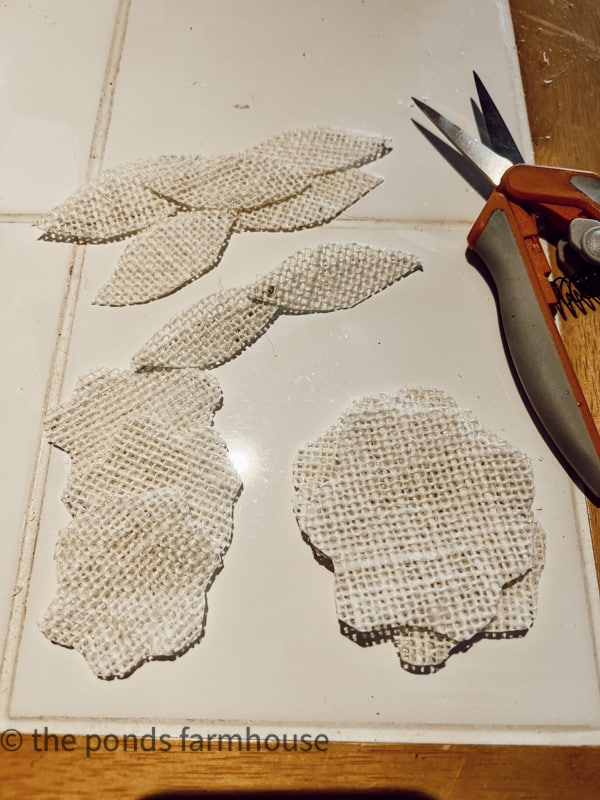
I just started cutting out my design free hand.
I cut two petals and two leaves for each napkin ring. One petal was approximately 2 inches in diameter, and the second was 1 1/2 inches. You can also be creative here, depending on how large you want your flower.
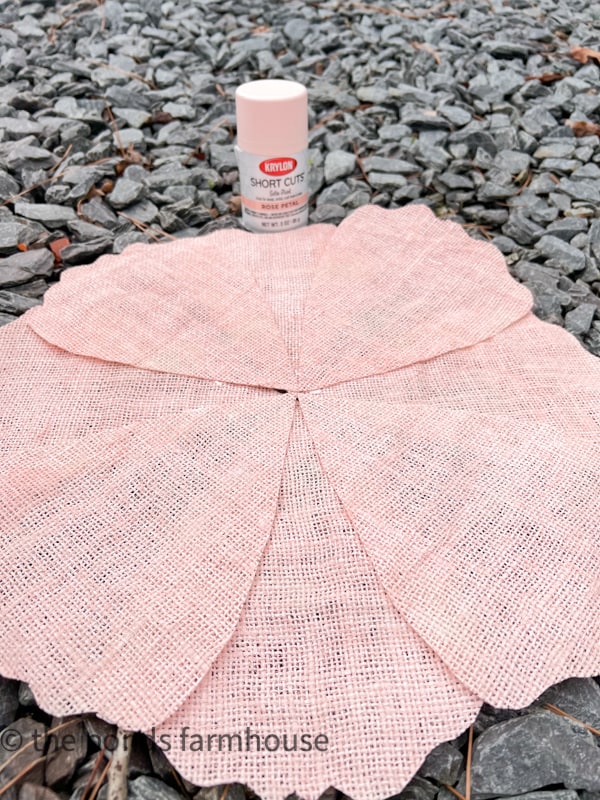
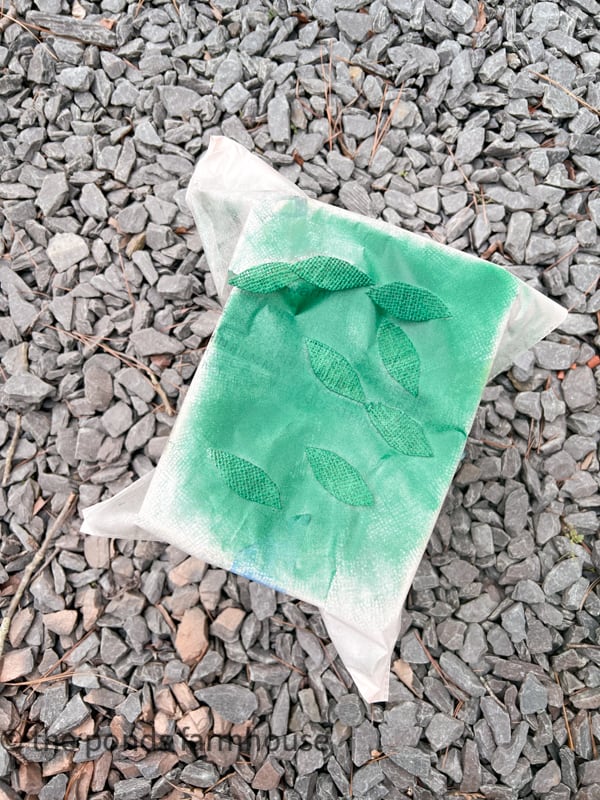
Paint Scrap Pieces
Next, you will want to spray your petals with pink paint and the leaves with green color. Turn and paint the other side of the burlap.
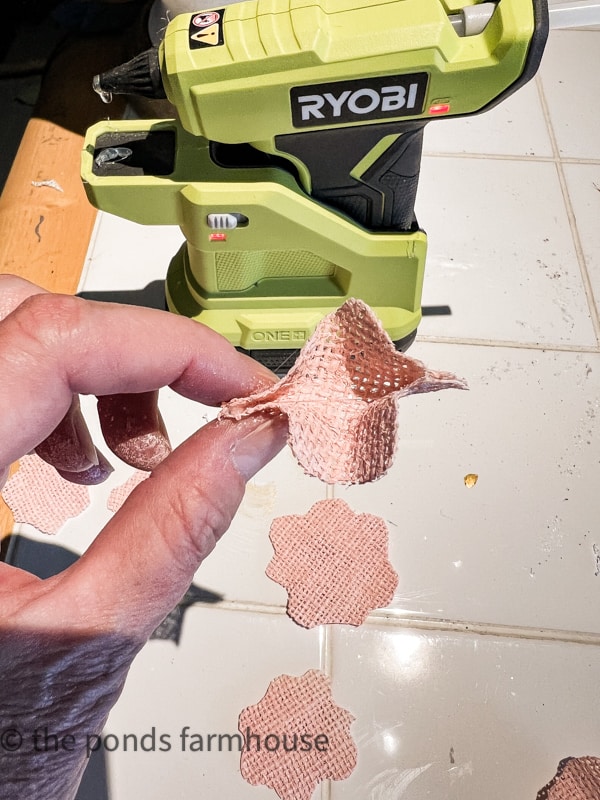
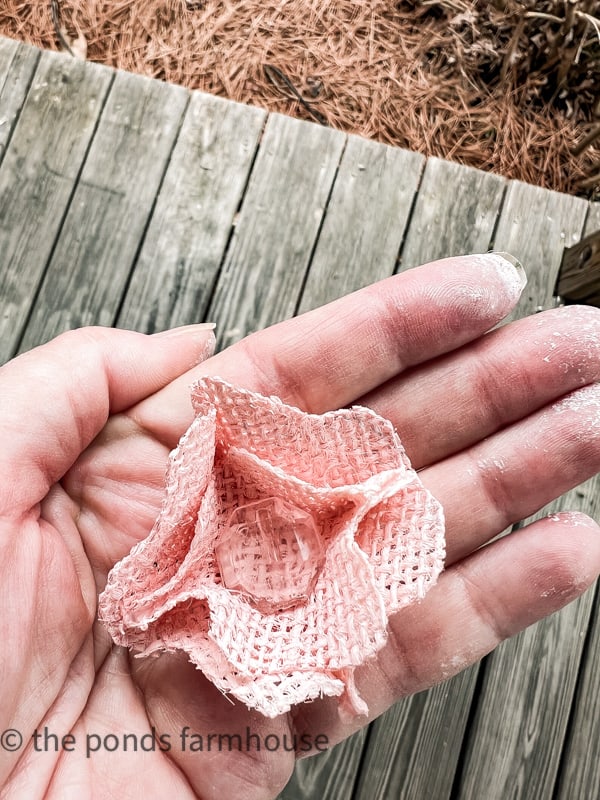
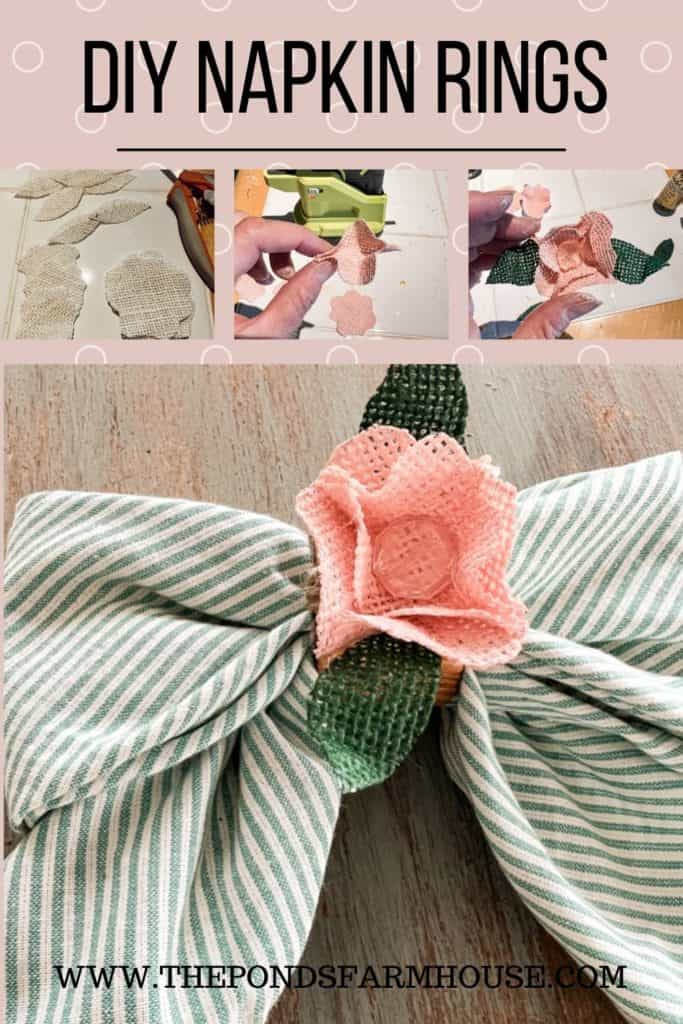
How To Assemble Petals
In order, the form the petals, pinch the petal on two sides and add a drop of hot glue to hold them securely.
I love using the Ryobi Cordless Hot Glue Gun because I’m not tied to an electrical outlet.
Note: I recommend using these hot glue finger protectors for this project. I learned the hard way how easy it is to get burnt fingers.
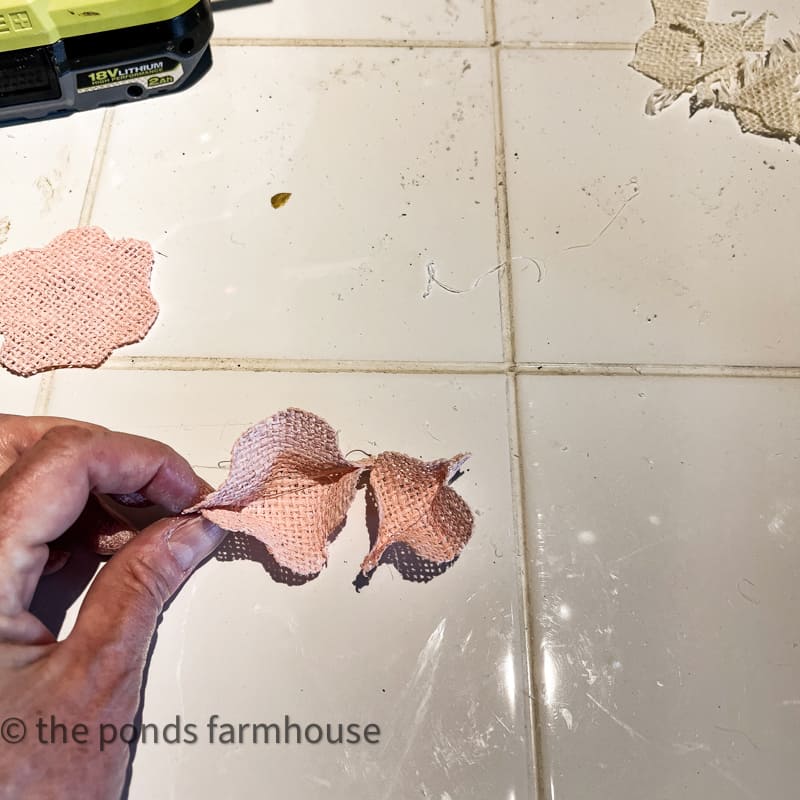
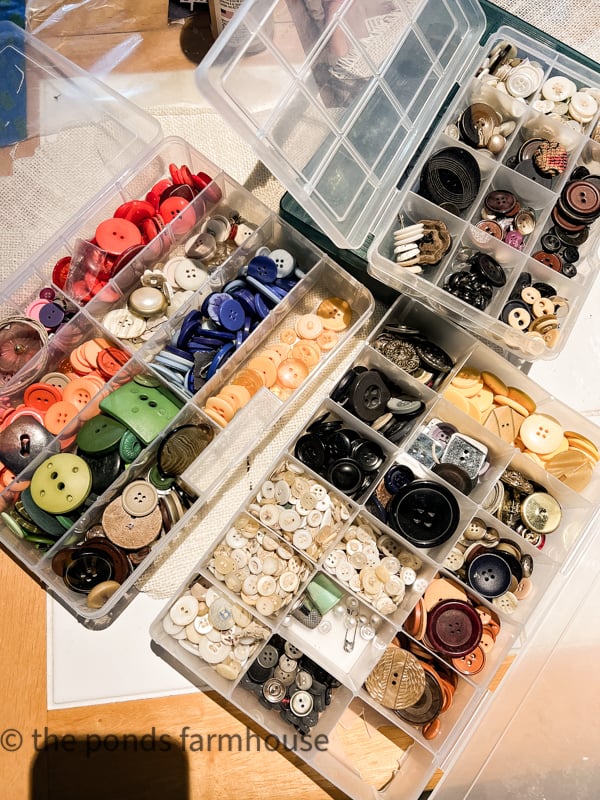
To form the center of the flower, I decided to use buttons from my collection.
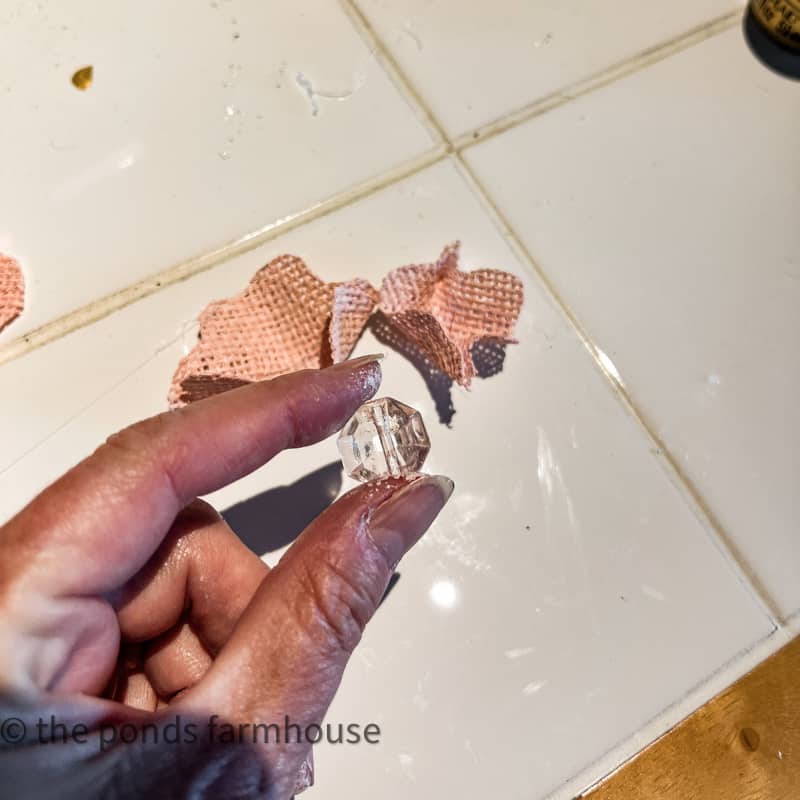
Place a drop of glue between the two petals aligning the pinched sides opposite each other. Then add the button by applying another dot of glue to secure it. Press firmly to be sure all layers are connected.
Click Image for Details
Prepare The Napkin Rings
Now it’s time to prepare your thrifted or cheap napkin rings to attach the flower.
I am using wood napkin rings I purchased for $1.00 at a thrift store. The wood is smooth, and I was concerned that the bond, with hot glue alone, would not hold up to tugging napkins in and out of the ring.
Therefore, I added jute twine around the ring as a base for attaching the burlap flower.
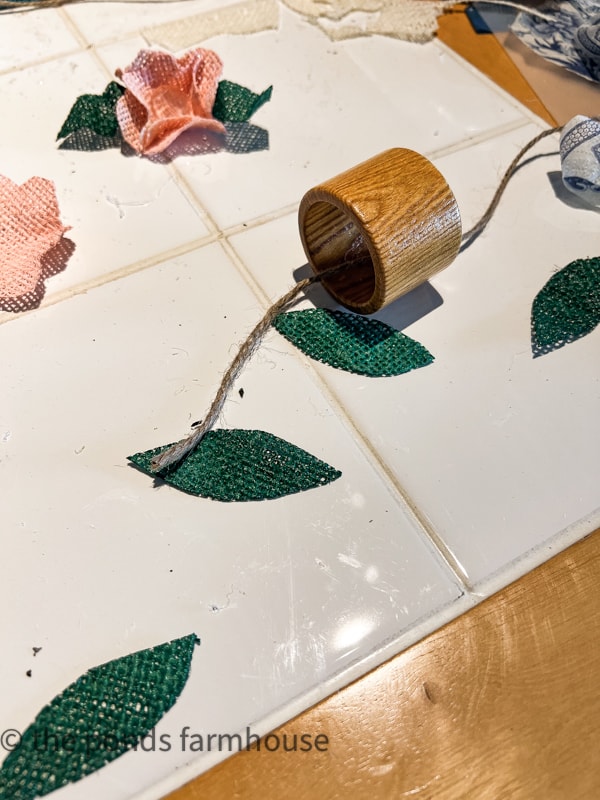
How to Assemble The DIY Napkin Rings
After wrapping the jute twine around the napkin rings a few times, use hot glue to attach the leaves to the ring.
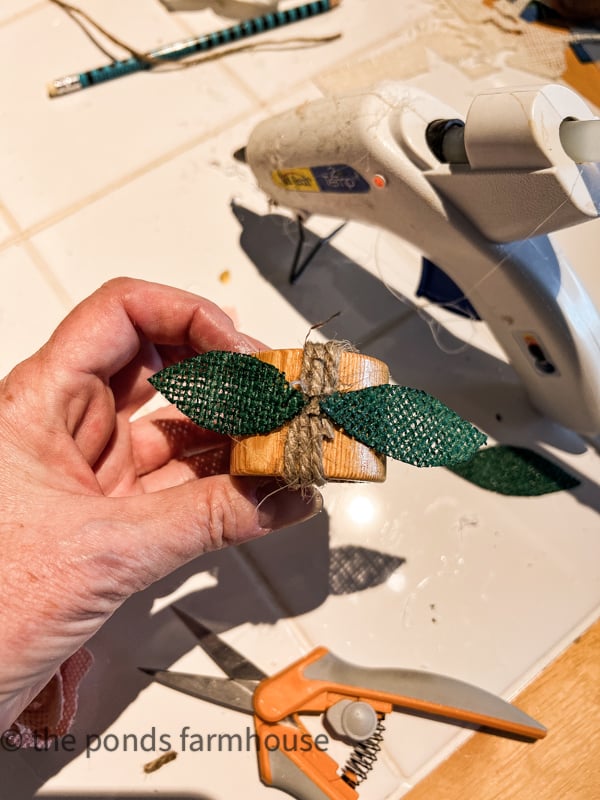
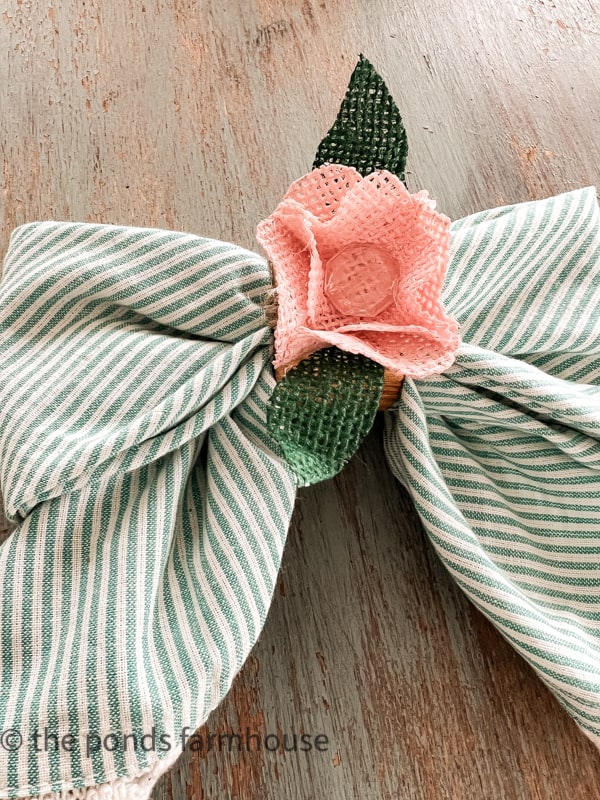
Finally, add the flower by adding a generous drop of hot glue to the napkin ring and hold it in place until secure.
Bend the leaves and flower petals to a desired shape.
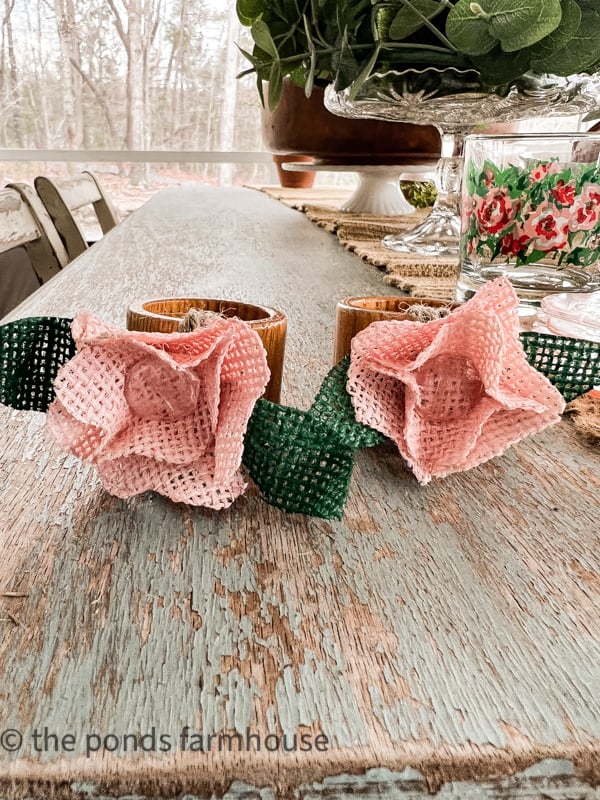
I love these unique napkin rings and will definitely make more for other tablescape ideas.
If you like DIY Tableware projects, you might enjoy this DIY Table Riser and these DIY Patriotic Napkins.
I’m thrilled with the cute detail,s and hope you enjoyed the DIY Burlap Napkin Rings tutorial.
What other options can you imagine using this idea for?
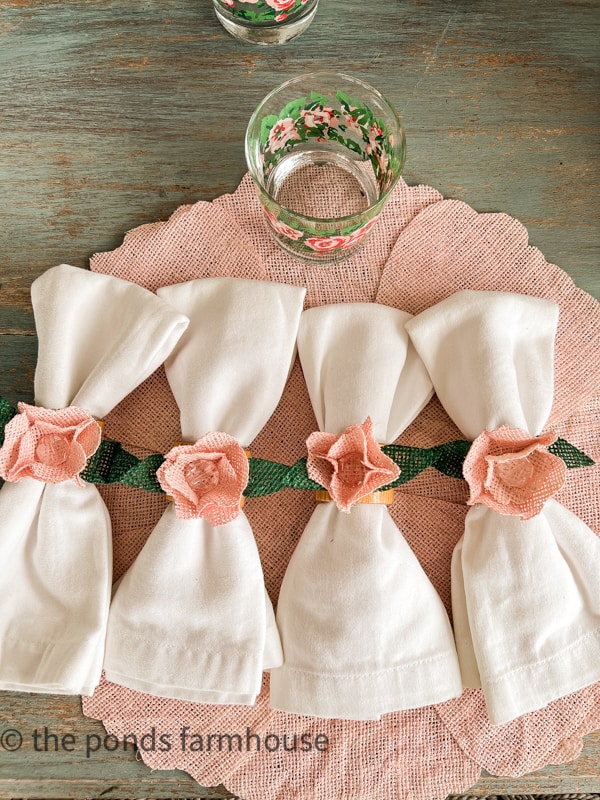
You can these napkin rings on this Spring Fresh Tablescape and learn how to make a bow tie napkin fold.
Thanks so much for stopping by today! I look forward to sharing my next adventure with you!


You are amazing – so creative!
Sherry,
I’m so glad you like them.
Such a cute- clever idea. Thanks for sharing!
Patty,
I’m so glad you like them.
Your napkin rings celebrate spring! Your tutorial makes them look achievable.
Angie,
I’m so glad you like them. They are easy to make.
What a great DIY! It’s adorable!
Stacy,
I appreciate this.
You are totally blowing my mind right now, Rachel! I had NO idea you could spray paint burlap – that is so cool. Obviously, the color you chose is amazing and I love that these napkin rings are perfect for spring and summer too. Loving and pinning as always, CoCo
CoCo,
I really appreciate this.
Love these so much Rachel!
Kim, thanks sweetie.
Oooh, how cute. I can see these in different colors and perhaps different centers. Thank you for sharing.
Adrienne,
Yes, and they are so fun to make. Thanks for stopping by.