How To Make Vintage Feed Sack Fabric
If you are like me and love the vintage feel of old feed sack fabrics, here is an easy way to make your vintage-like material out of a drop cloth. You can use the fabric for so many projects.
Finding vintage feed sacks is rare and can be expensive. Therefore, I wanted to create a vintage look without the cost.
This project is perfect for re-upholstering a deconstructed chair, tea towels, pillow covers, and more.
What is Feed Sack Fabric?
Feed sack fabric is a type of fabric that was originally used to store and transport animal feed.
The fabric was typically made of cotton and was often printed with colorful patterns. In the early 1900s, feed sack fabric became popular for making clothing and other household items.
Feed sack fabric was also seen as a way to reuse and recycle materials.
During the Great Depression, feed sack fabric became even more popular. With limited resources, it was a way for people to save money on clothing and other household items.
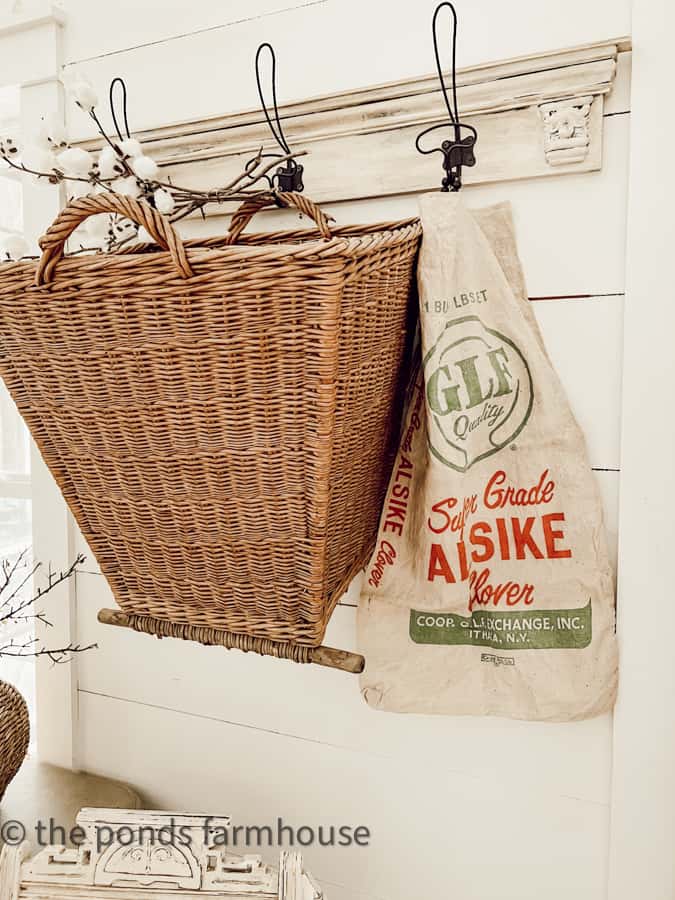
Eventually, companies would use the feed sacks to advertise their wares or use solid plain fabrics to store and ship everything from coffee beans to seeds.
Today, feed sack fabric is still popular among vintage lovers and DIY enthusiasts.
(Posts on The Ponds Farmhouse may contain affiliate links. As an Amazon Associate, I earn from qualifying purchases. See the full disclosure details here.)
Why Should You Make DIY Feed Sack Fabric?
First, good quality feed sacks are hard to find because the test of time has taken its toll on these fabrics. Most feed sacks are now made of some form of plastic.
If you are lucky enough to find a great feed sack, it may be difficult to have enough material for a larger project.
You can make an unlimited supply of DIY Feed Sack Fabric using inexpensive drop cloths.
Many feed sacks are now cut into smaller pieces for quilting and other craft projects.
I recently found a good supply of solid-colored sacks and haven’t decided how I’ll use them yet.
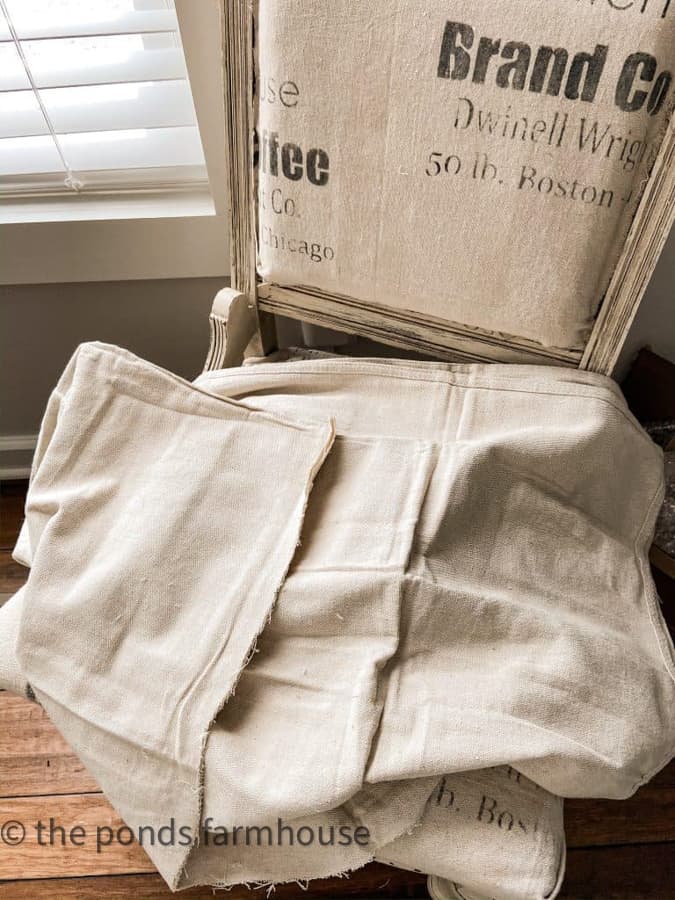
Prepare The Drop Material For the DIY
Begin by cutting some lengths of your drop cloth. If you want a lot of fabric to look like old feed sacks, you can use the whole drop cloth. I only need a small amount, so I cut approx.—a yard of fabric.
Keep in mind, if you like flea market flips like me, you may want to use your fabric for multiple projects.
How To Age Fabric?
If you want your fabric to look like authentic old feed sacks, you will want to stain or dye the fabric.
You can use several methods for aging the drop cloth fabric, including tea, coffee, and bleach.
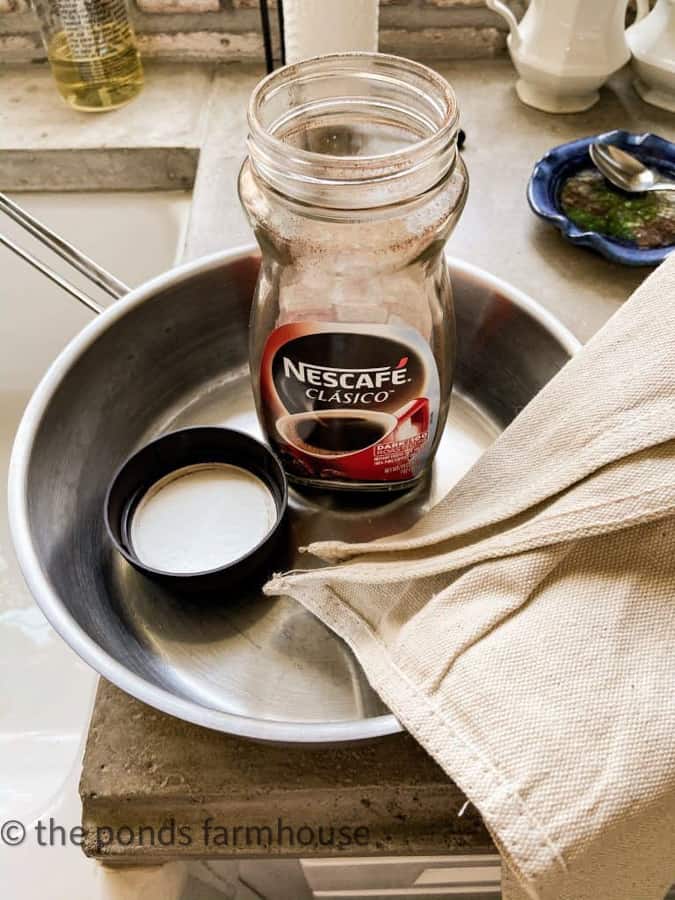
Since this project was going to be a coffee bean bag, I used instant coffee to dye the fabric.
First, add a small amount of coffee grounds to the water. You may want to stain your fabric in a sink, especially with a larger quantity.
Be aware the coffee may stain your sink, but a little bleach or Bar Keepers Friend will quickly remove the stain. Because I didn’t want to stain my white sink, I used a pot for this small amount of fabric.
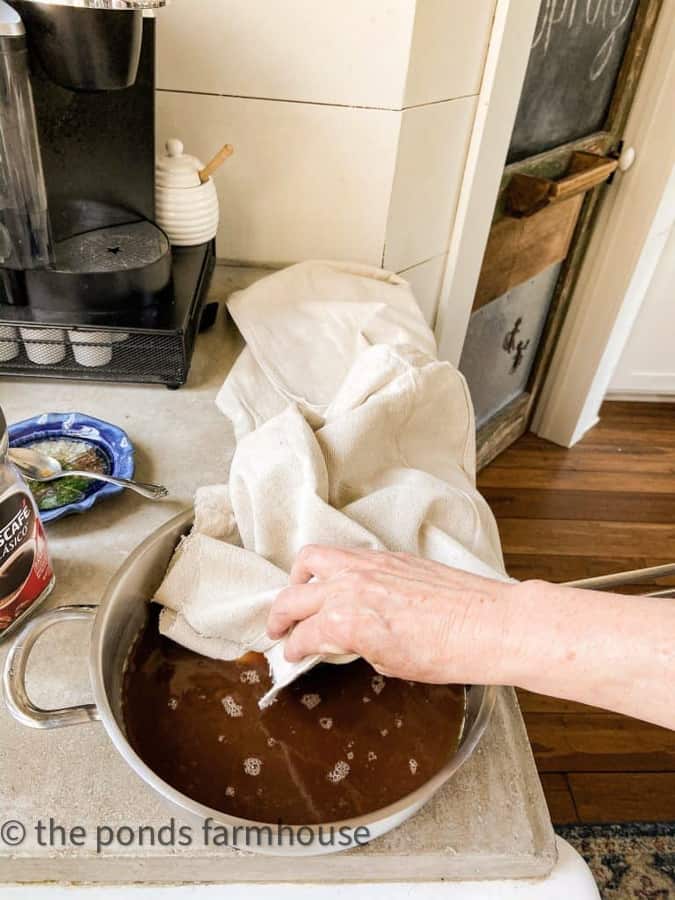
Drip your fabric into the coffee water and then rinse until you no longer see stained water coming from the rinse water. Then, dry your fabric.
Create A Stencil REMINISCENT Of An Old Feed Sack.
Depending on what type of vintage feed sack you want to make, you will want to create a stencil. Since I wanted a coffee bean sack, I googled old coffee companies and then created a stencil using some of the signage from that company.

Since I have a Silhouette Cameo, I cut my stencil using card stock paper. You can also use a Cricut explore. If you don’t have access to a stencil-cutting machine, you can use individual letters to create the signage for your feed sack.
I have done this in the past with great success. You can purchase stencil letters in a variety of sizes and fonts.
Apply Your Stencil
Once your fabric is dry, it’s time to apply your stencil. Use painter or masking tape to hold the stencil in the desired spot. In this instance, I am only using black chalk paint.
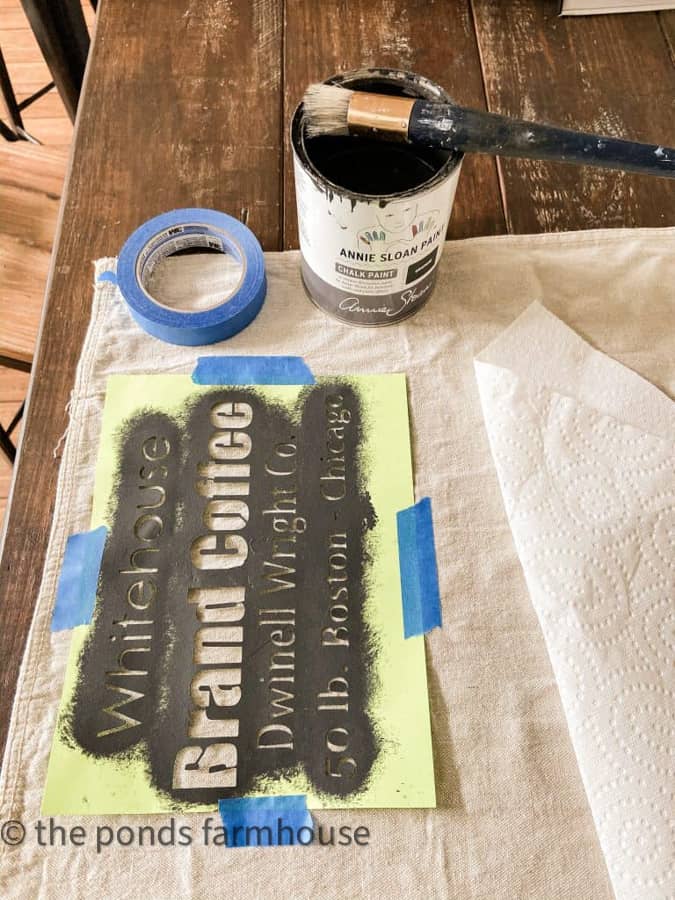
This would also be adorable with different colors. You will want to purchase fabric paint or if you are using acrylic craft paint, be sure to add a fabric medium so your paint will be soft and pliable. Annie Sloan Chalk paint is perfect for this project because it doesn’t require a fabric medium when applied to the fabric.
Place Stencil Randomly on the Fabric
Using card stock for your stencil does limit its durability. If you plan to use your stencil multiple times, I recommend using actual stencil material to cut your pattern.
To make your feed sack feel authentic, place the stencil randomly along the fabric and use a light hand when stenciling some of the letters.
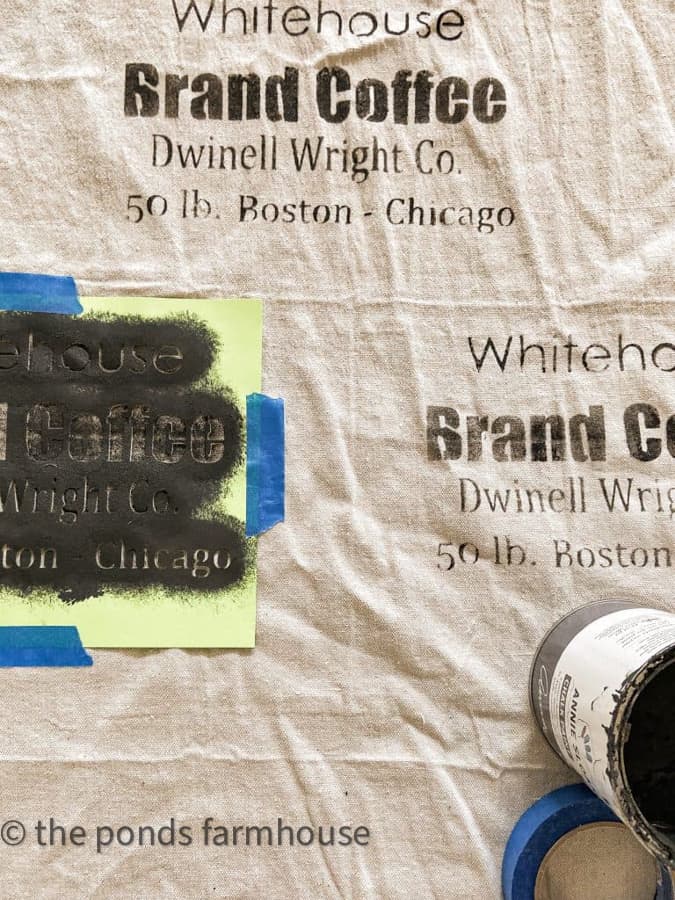
I recommend using a stencil brush to apply the paint. You want it to have the appearance of faded old sack fabric.
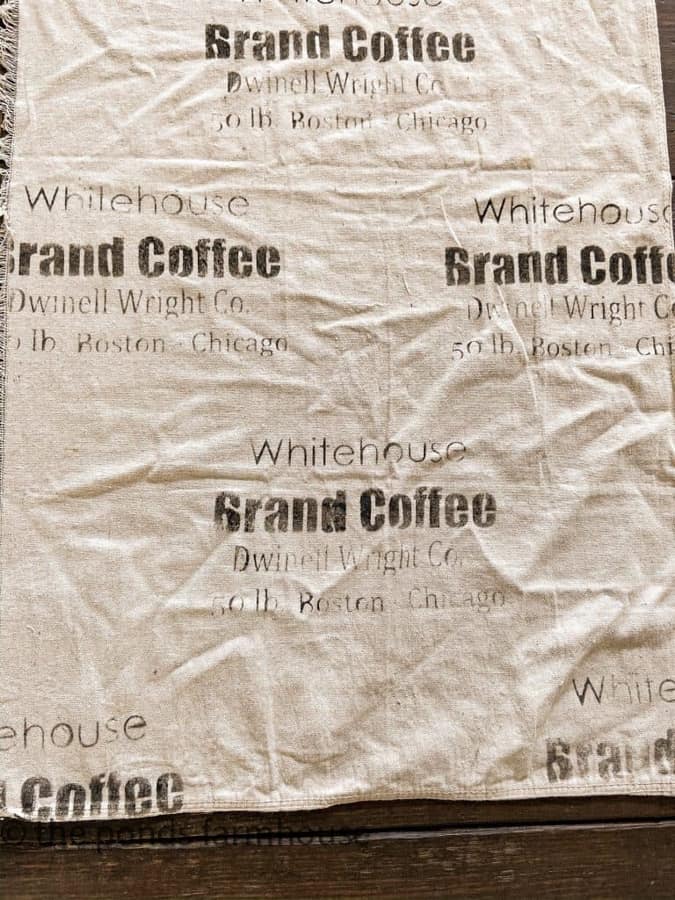
Here is what my completed length of fabric looks like. Notice that some areas appear faded with age.
Once your fabric is dry, there are many things you can use it for. It would be perfect for pillow covers.
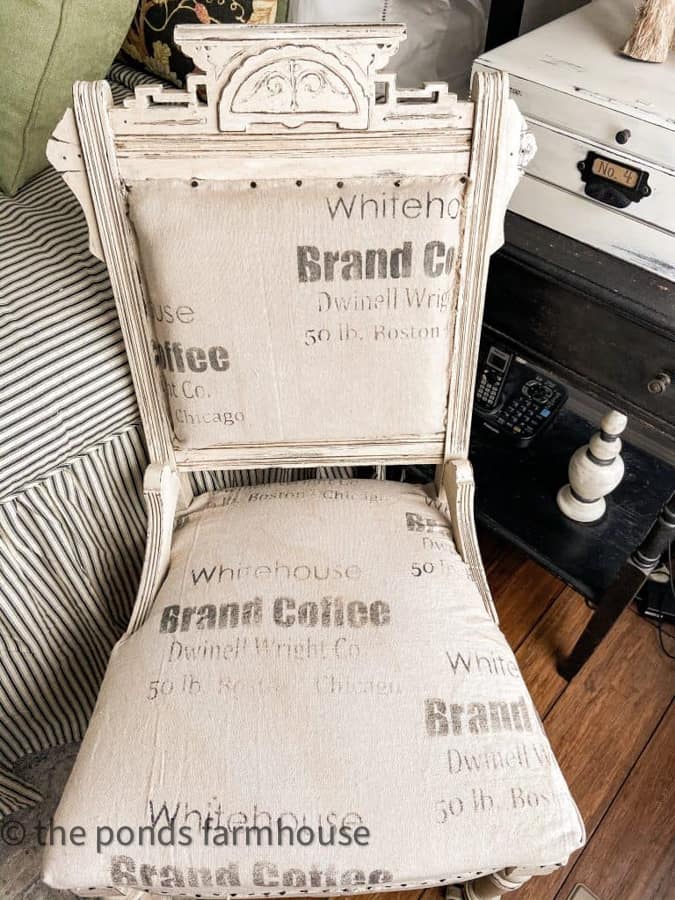
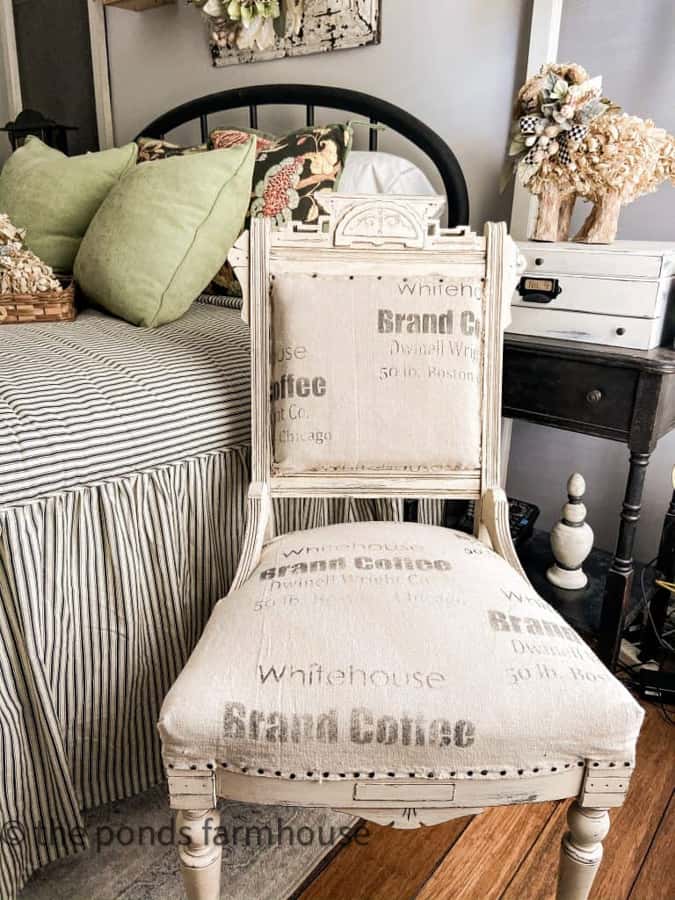
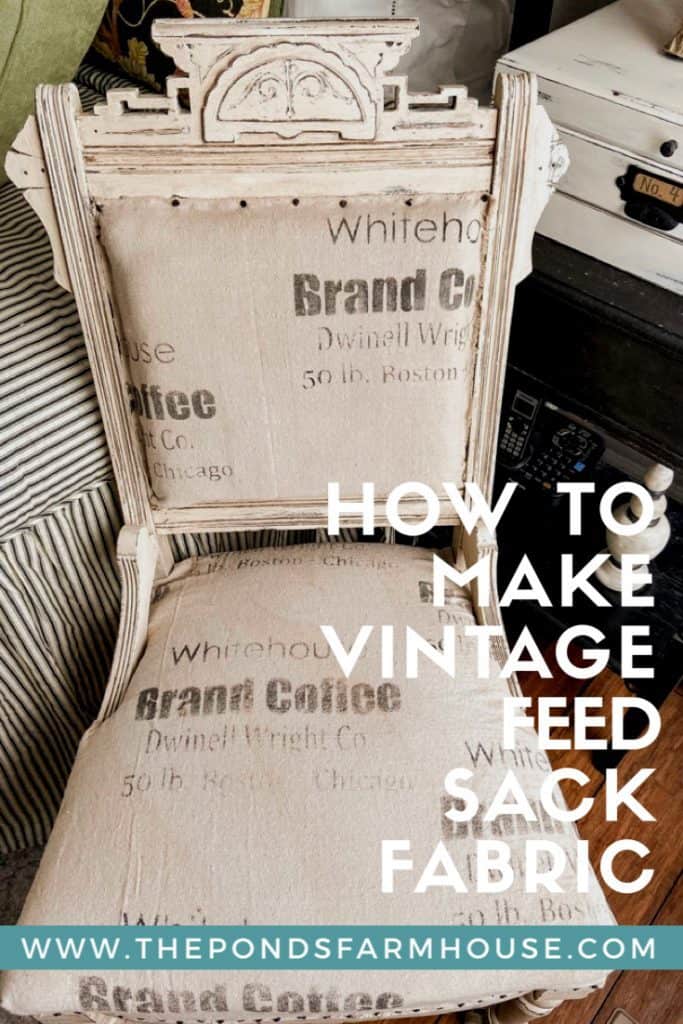
I used mine to reupholster this $5.00 thrift store chair. If you’d like shopping thrift stores, check out 10 Tips for Successful Thrift Store Shopping.
Drop cloth fabric is less expensive than most fabrics and allows for a rustic feel.
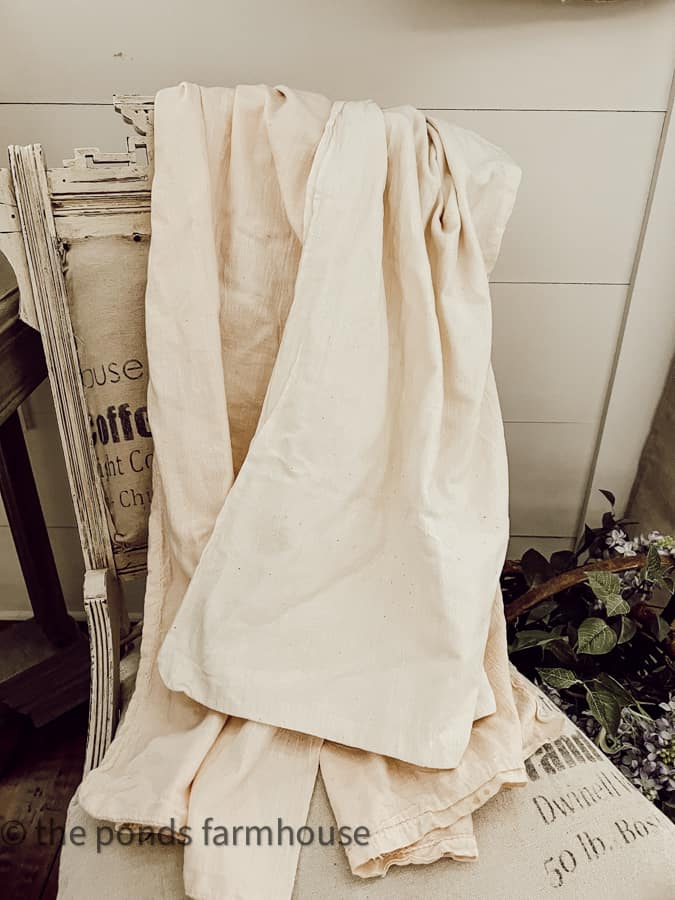
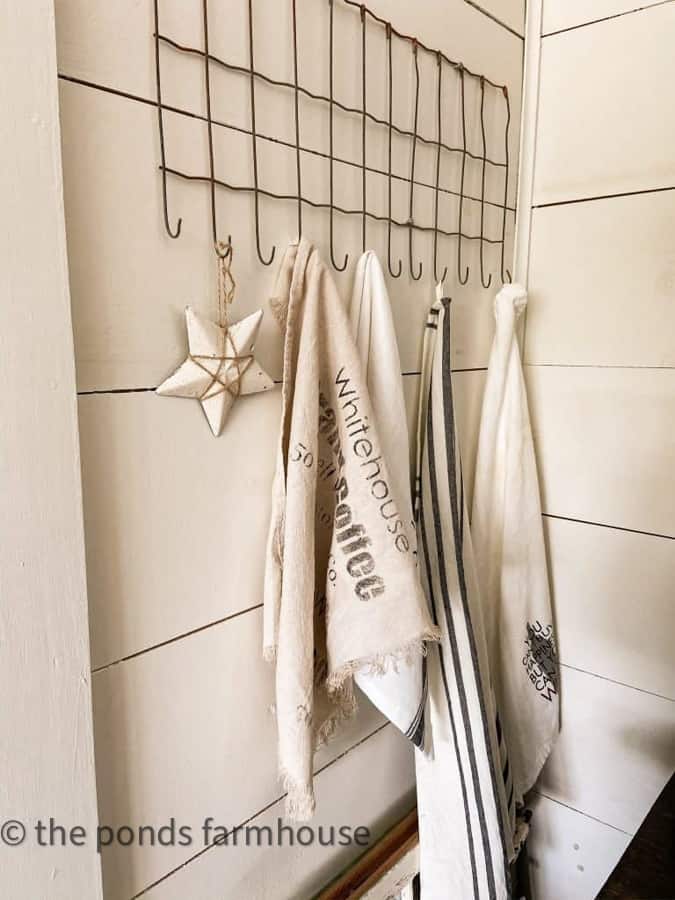
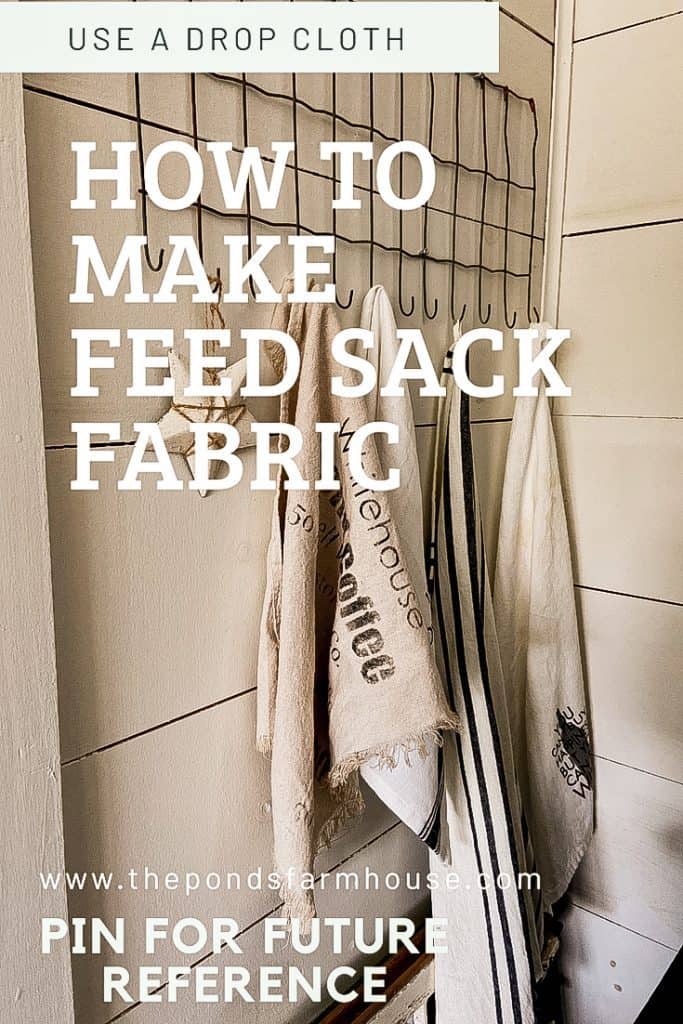
This is a Tea Towel from that same fabric.
I also shared this deconstructed chair post to help you avoid mistakes I made.
More Drop Cloth Projects
See more similar projects
RESOURCES
I hope you enjoyed this Tutorial on How to Make Feed Sack Fabric from a Drop Cloth. Please let me know if you are inspired to make your own. If you have any questions or comments, please leave them below.

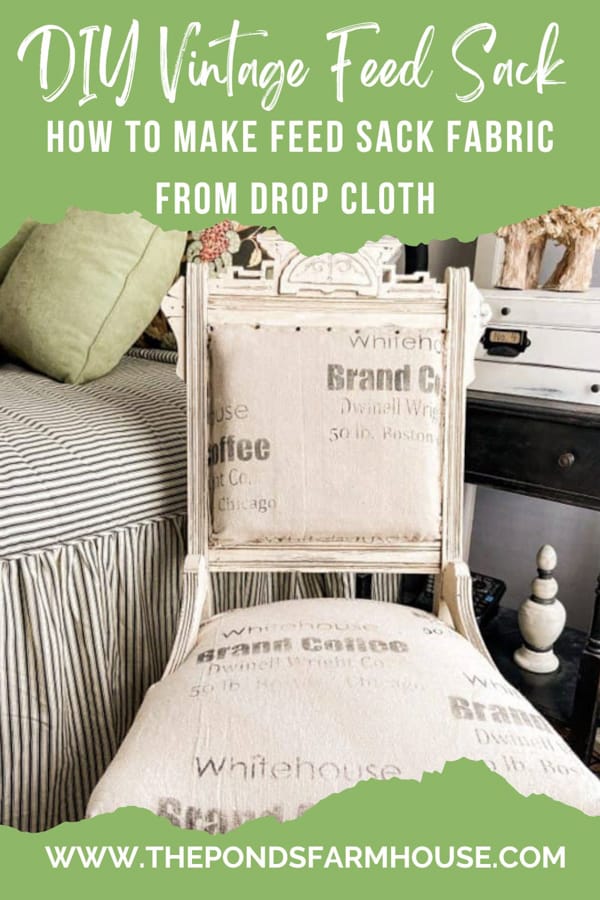
Pin It To Remember It
Did you find some great ideas you’d like to save for future reference? Hover over the images you’d like to save and pin to your favorite Pinterest Boards when you see the PIN button.

Great tutorial! I love the look and feel of an old grain sack and yours turned out so cute! Such a great idea to use it on your chair!! Your chair looks amazing!! I am pinning this!
Karin
Karin,
Thank you so much for these sweet compliments. I appreciate your support. Have the best day.
Rachel
Oh my goodness! I adore this idea! Thanks for sharing at Vintage Charm–pinned!
Cecilia,
Thanks so much for your sweet comment. You are welcome. Rachel
What a smart idea! I love this Rachel!
Kim,
Thanks so much sweetie.
Wow, you did a beautiful job. The chair is stunning. Pinned
Anita,
Thank you so much for stopping by. I appreciate your encouragement.
Rachel
This chair turned out gorgeous. I adore vintage feed sacks! I am inspired to try my hand at making some fabric just like yours.
Have a beautiful day,
Kippi
Oh I hope you do. They are easy and fun.
Rachel
Love this project! I’ve just finished a drop cloth coverlet for our bed. I’m making shams and would love to try this stencil project on them as well as recovering a vanity stool.
I just found your blog and love it! I took the Decor Personality Quiz and my two top scores were Traditional and Farmhouse Country. Yep! That’s me! Can’t wait to see what’s in store when I receive your next email!
Delanie,
I’m so excited that you found me. I’ve been on vacation so my email has been delayed. I’ll get your next email asap.
Rachel
That is absolutely fabulous! Love how this chair turned out. It would easily become my fave chair. Pinned!
Cindy,
I really appreciate this. Thanks for always lifting me up.
Rachel
Ooh! I love this idea. That chair is absolutely amazing! So beautiful.
Renae,
I’m so glad you like it.
I really enjoy this project and the chair is lovely. I plan on redoing the dining chairs in this manner. What I would like to know is what weight of drop cloth do you recommend? So many blog posts mention using this cloth for curtains, runners, pillow covers etc. When I went to get some there was such an array of weights and I was not sure if it made a difference. Thank you.
Barb,
I used a medium weight. Not the cheapest and not the heaviest.
Just added this fantastic project to my Friday faves post going out tomorrow! I love the way this came together and how it feels authentic and vintage inspired too. We need some budget-friendly ideas for Loblolly and I’m falling in love with drop cloths all over gain. Big hugs, CoCo
CoCo,
This project made me want to do more with drop cloths too.
What a great way to add charm and character to a chair. Love it Rachel.
Wendy
Thank you so much.
What a great tutorial! I love your chair Rachel.
Kim,
I’m so glad you liked this.
What a cool idea! Love this one!
Stacy,
Thanks for stopping by.
Love this!! Beautiful job! What is the metal thing that you are using to hang your feed sacks in the picture? Is it an old fence? Thank you so much!!
Kristi,
Yes, it’s just a piece out of a fence. Galvanized metal and I bent the ends to serve as hooks. Thank you for stopping by.