How To Make DIY Placemats No Sew
If you are looking for creative DIY table decor, you will love these easy burlap placemats. I’m excited to share how to make no-sew DIY placemats using burlap fabric and fabric glue for Spring.
I wanted a flower-shaped placemat or charger for my Spring Tablescape, but as often happens, I couldn’t find exactly what I wanted.
Then I remembered seeing a DIY Placement Tutorial by Wendy at WM Design House from last fall. Her cute pumpkin placemats were the inspiration for these Flower Placemats.

(Posts on The Ponds Farmhouse may contain affiliate links. As an Amazon Associate, I earn from qualifying purchases. See the full disclosure details here.)
Table of contents
DIY Placemats No Sew
First, I purchased 1 yard of white burlap to make the DIY placemats.
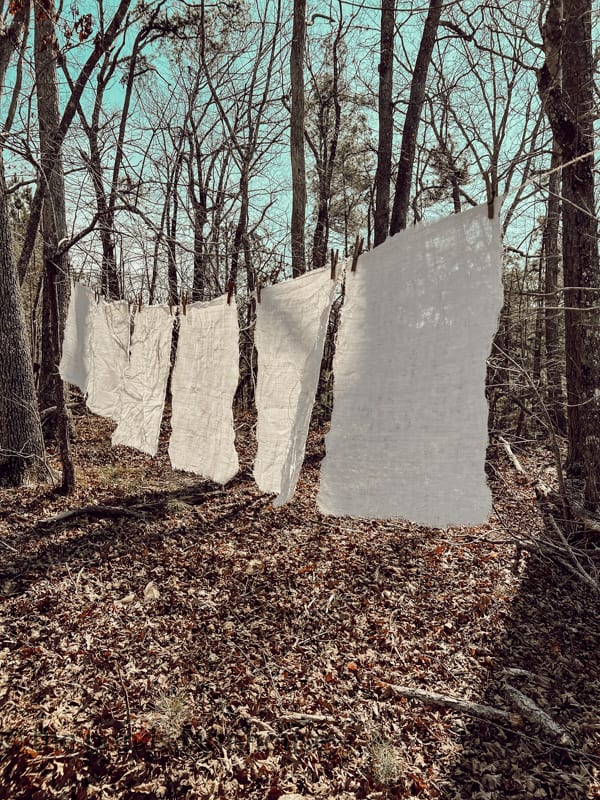
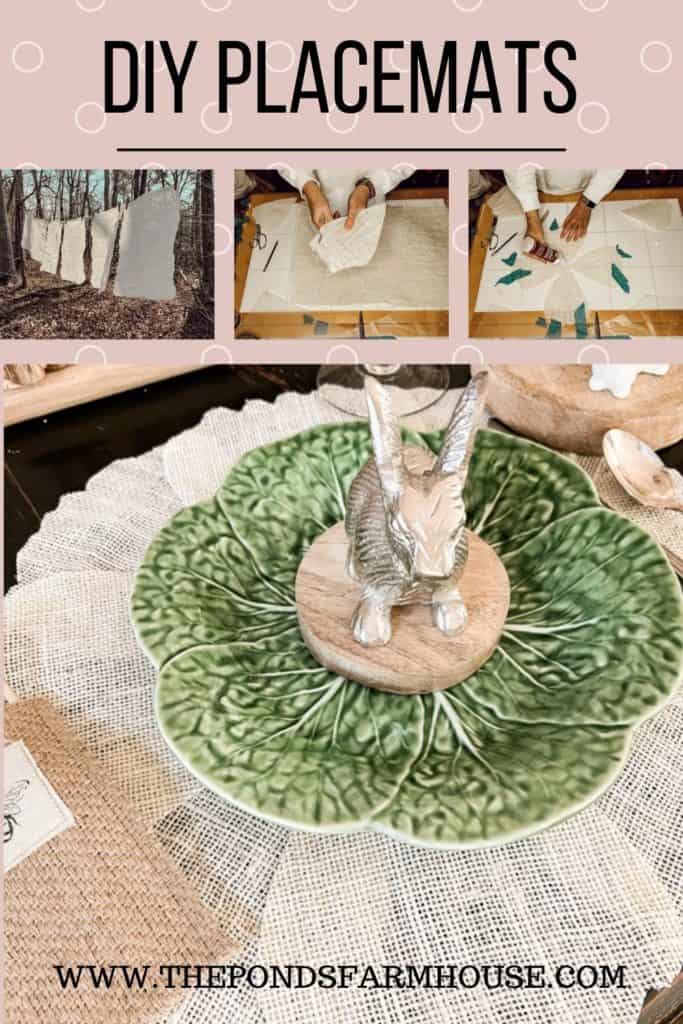
Also, I knew I would need a spot to dry my fabric, so I set up a makeshift clothesline between two trees.

Planning the design
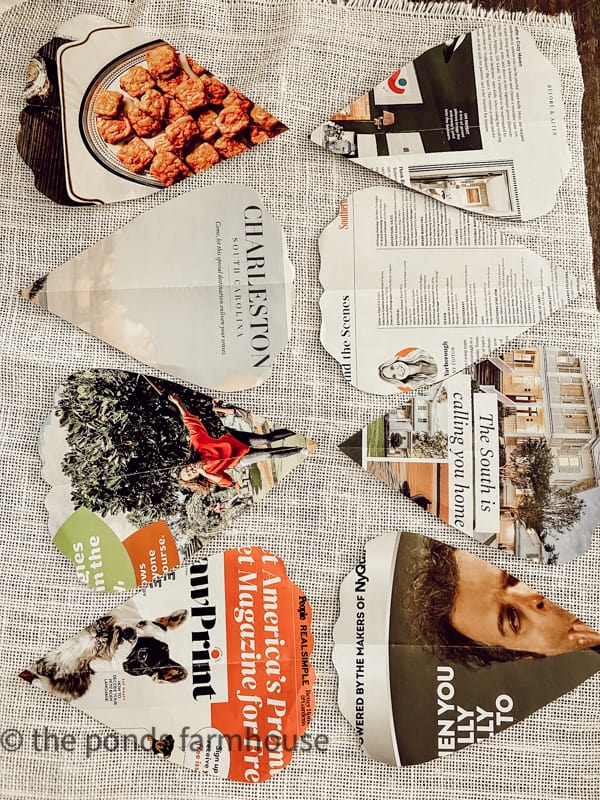
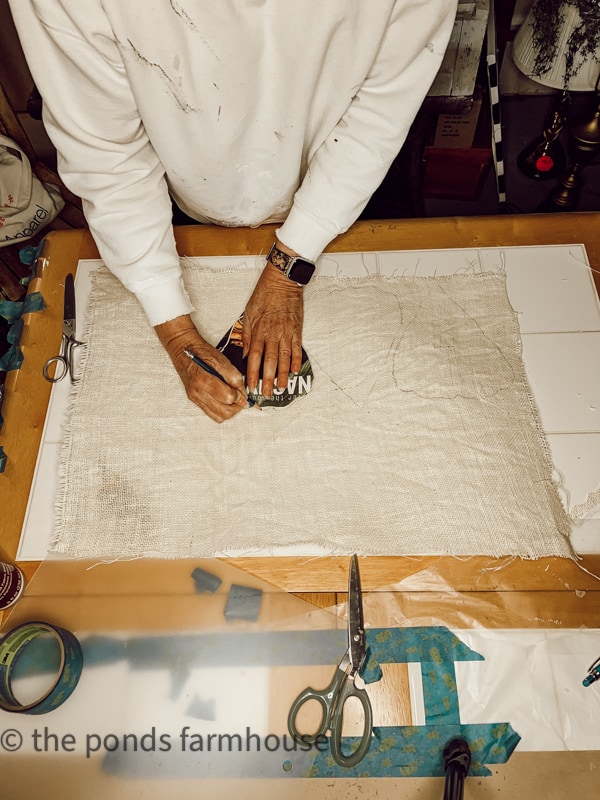
I had an idea of what I wanted the placemats to look like, so I drew a template pattern to go by.
After drawing the template, I cut eight petal pieces from magazine pages to ensure I liked the design.
Then, I placed the templates on the fabric to determine how much material would be used for each placemat.
To make working with the fabric easier, cut the fabric for each placemat.
If you make six placemats, you will have six pieces of burlap to stiffen.
Stiffen Fabric for DIY Placemats
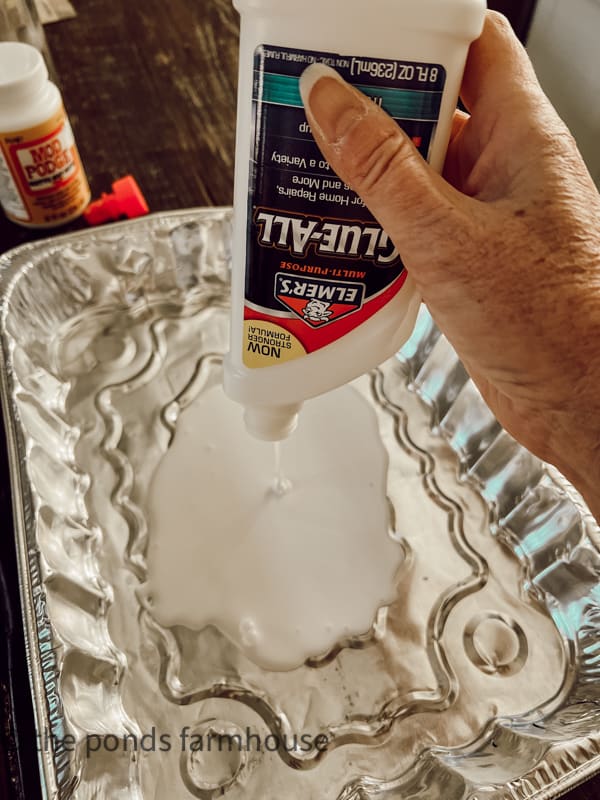
Use a large mixing bowl or disposal baking pan to mix glue and water.
Mix Elmers glue with an equal amount of water and stir well. You can use Mod Podge if you prefer, but it’s more expensive. Both work equally well. Since I had a small amount of each, I mixed both together for this project.
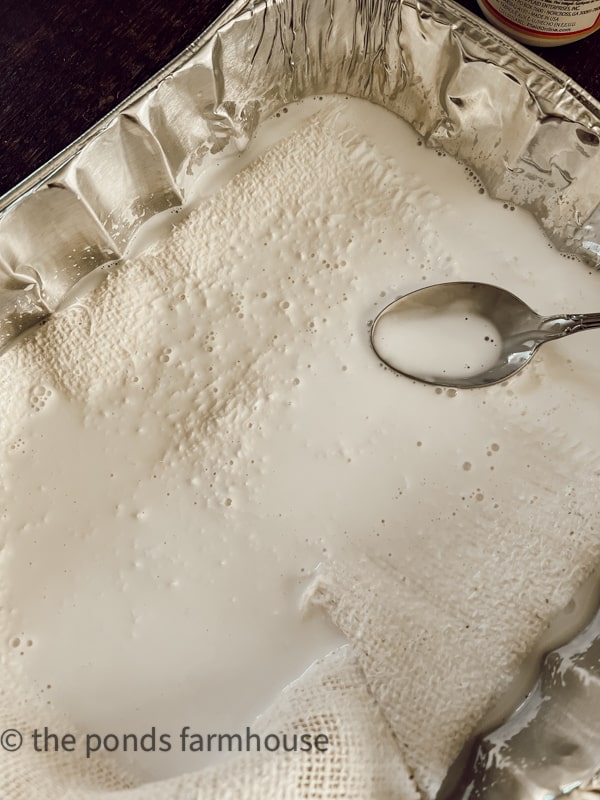
Add the burlap fabric strips to the glue mixture and saturate thoroughly.
Squeeze or twist to remove excess glue and smooth the fabric as much as possible to avoid excess wrinkles.
Hang the burlap fabric and allow it to dry. The fabric may drip glue, so if it is not outdoors, be sure to protect the area with plastic or other disposable material.
Trace Template on Fabric
After the fabric dries, it may be necessary to use a hot iron to smooth excess wrinkles. You will not get the fabric 100% smooth, but that’s OK.
Now, you can trace the petal design onto your fabric using a pencil.
You can download a template for the petals here.
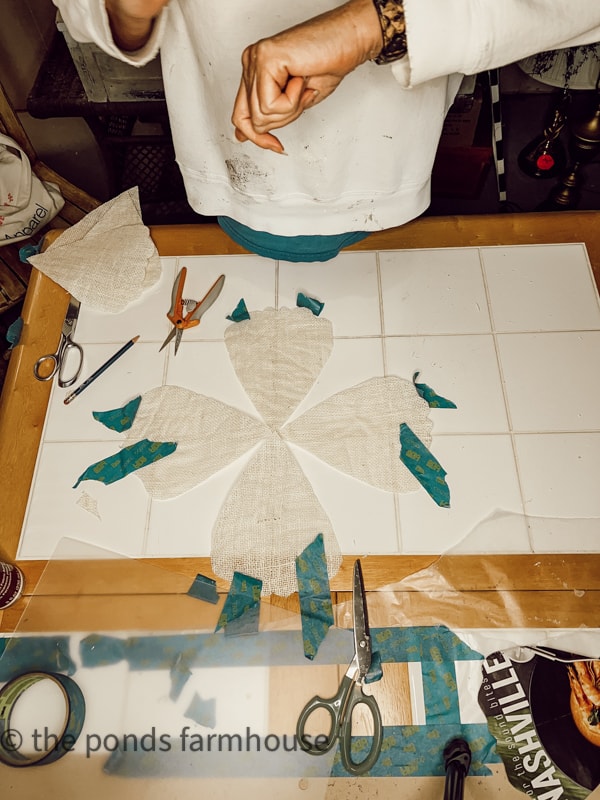
Next, cut the individual pieces for the flower petals using small scissors.

Construct DIY Placemats No Sew Method
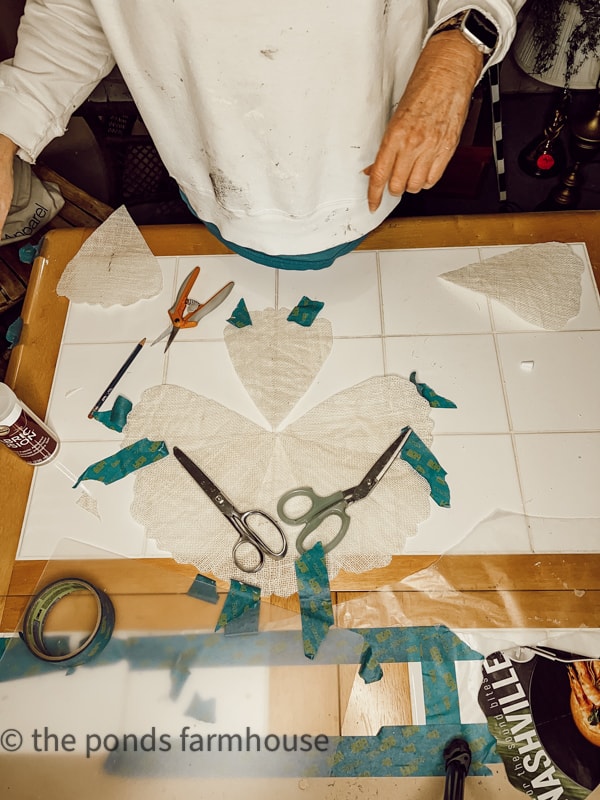
First, lay out four petals, as shown in the photo below. I used the squares on my table to align the pieces evenly and taped the pieces to avoid movement.
You can use a cutting mat to help with alignment or draw a pattern on paper or cardboard.
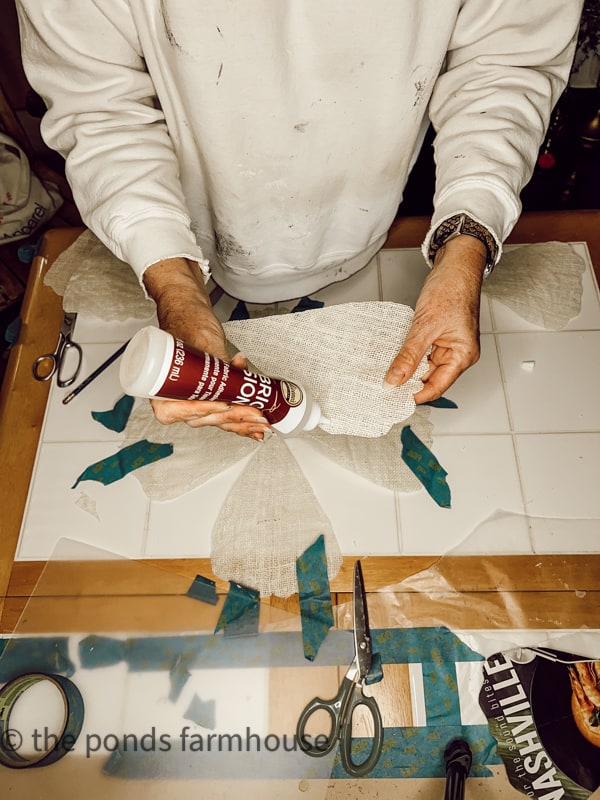
Next, using permanent fabric glue, apply a bead to each petal only where the petals will overlap.
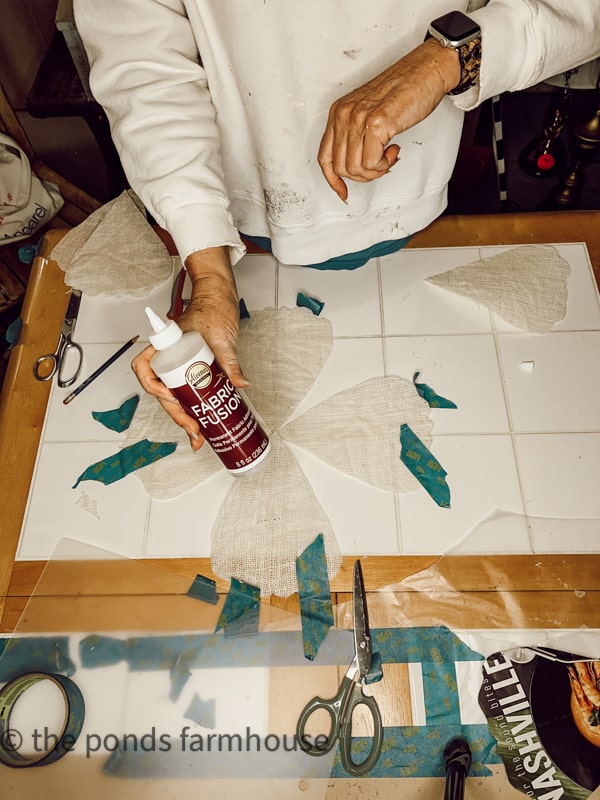
In addition, apply a bead of fabric glue, in approximately the same location, to each top petal and press the glued sides together.
The additional glue on both sides of the petals will ensure a better bond.
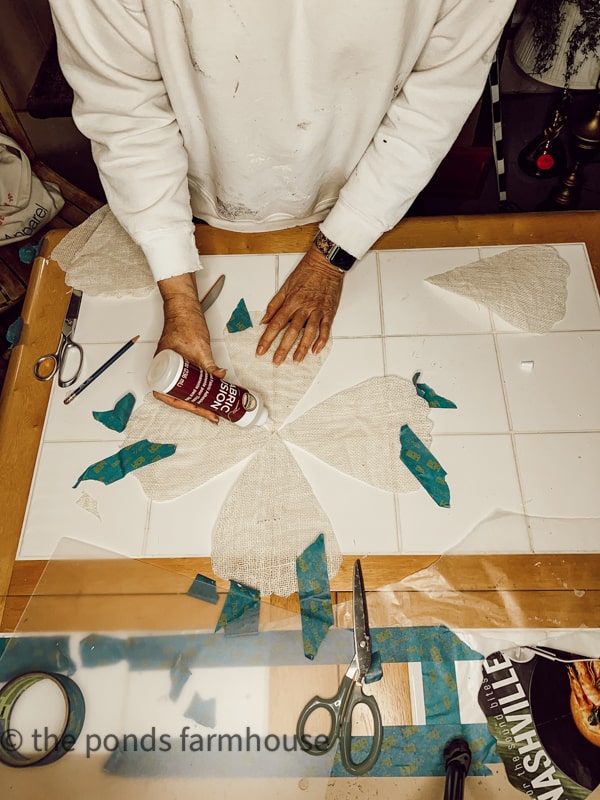
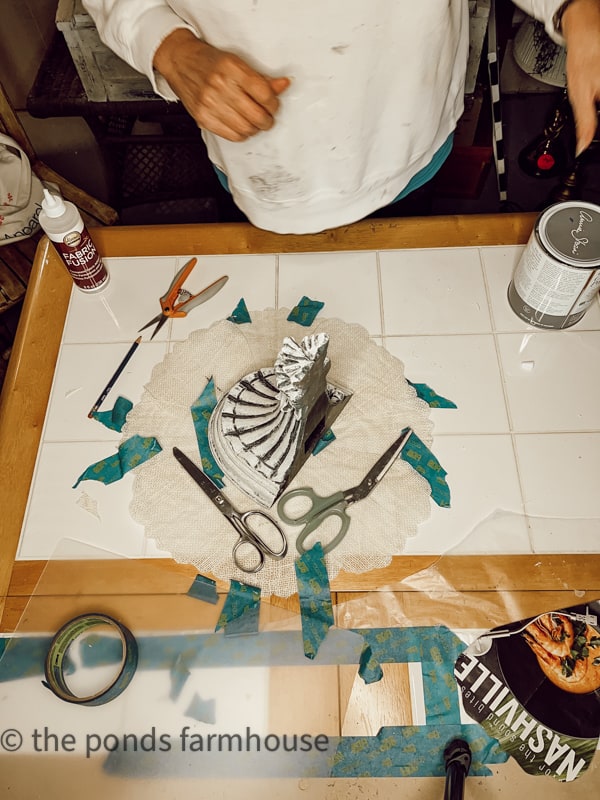
Due to the stiffness of the burlap, it may be necessary to tape and/or weigh the petals down until the glue sets.
After all the pieces are in place, add additional weight to ensure the pieces will adhere firmly.
Note: Be cautious about what material is used under the placemats because the glue may seep underneath. I saw a few spots on my table, but removing them was easy.
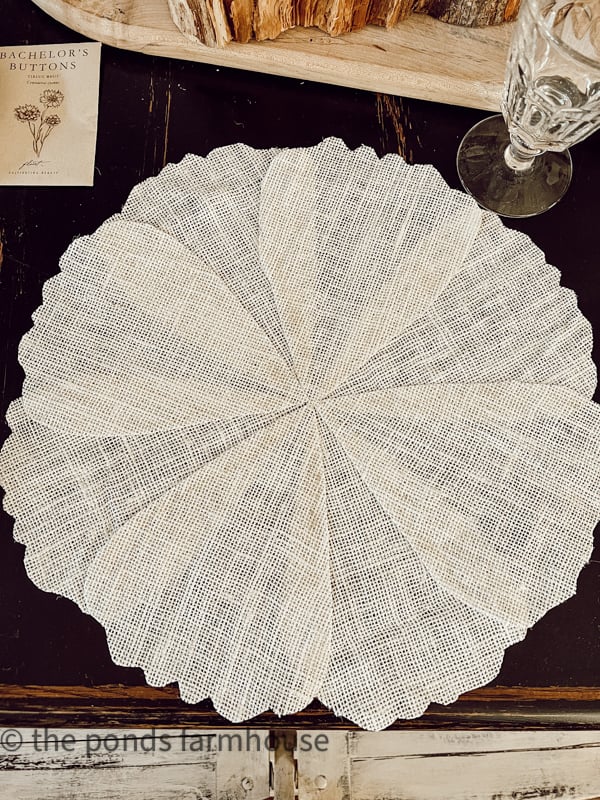
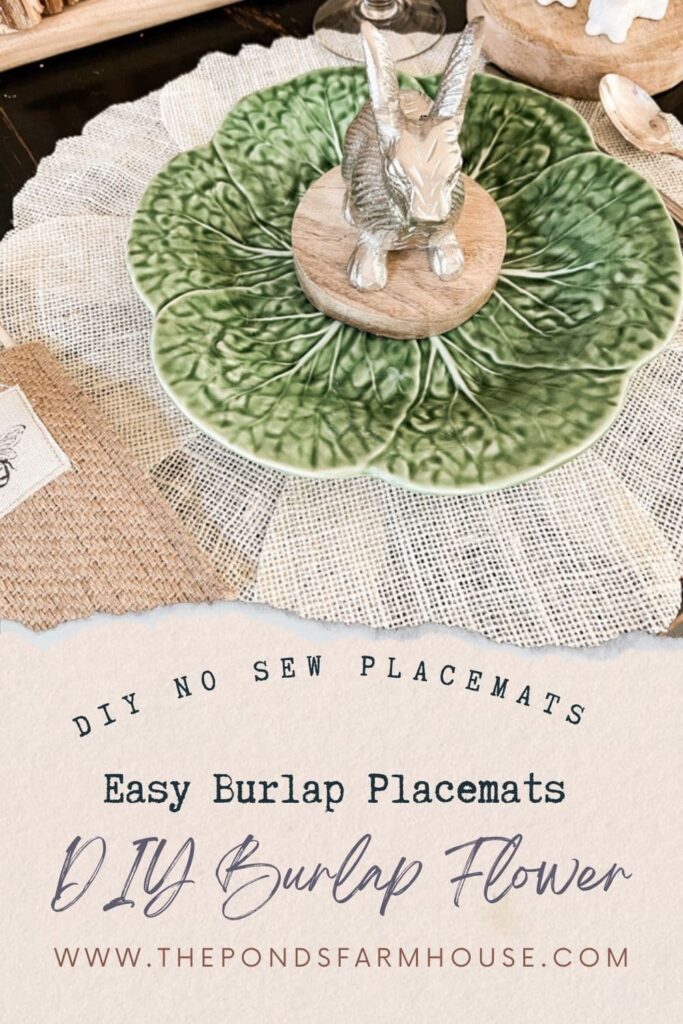
The DIY Flower Placemat
Once the glue is dry, you are ready to style your placemats.
At this point, you have many options. You can add paint to highlight the petals. For my first table, I decided to leave the petals natural.
When using the individual petals, you are adding depth to the design.
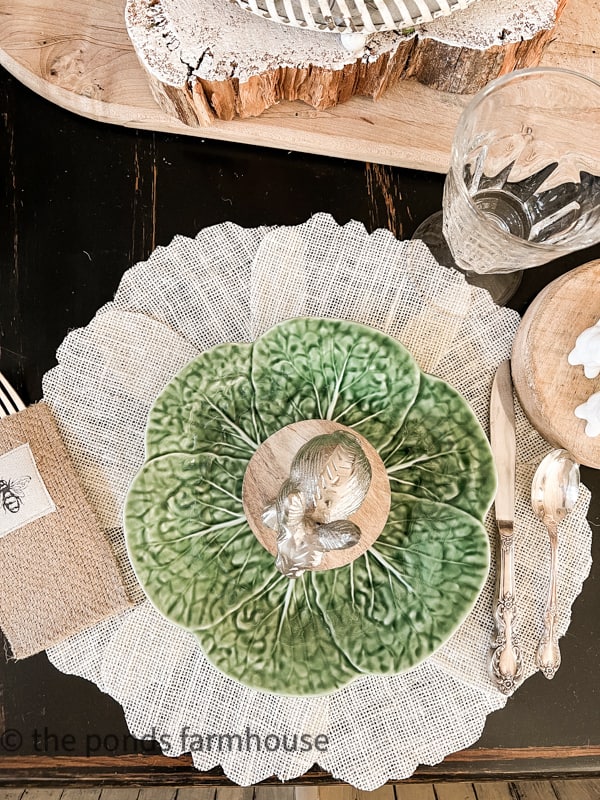
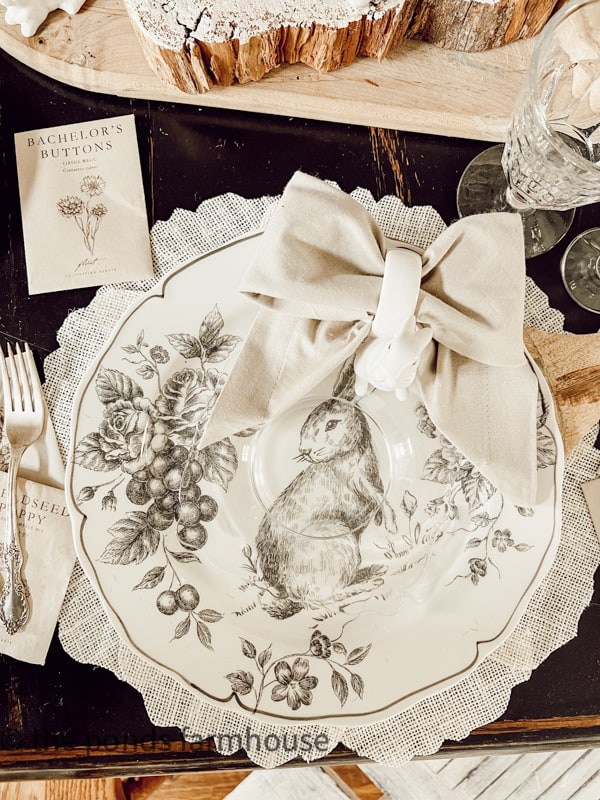
I’m working on an Easter Table Setting, so here is one version with the new DIY Placemats
The placemats feel very sturdy, and I love how they look on my table.
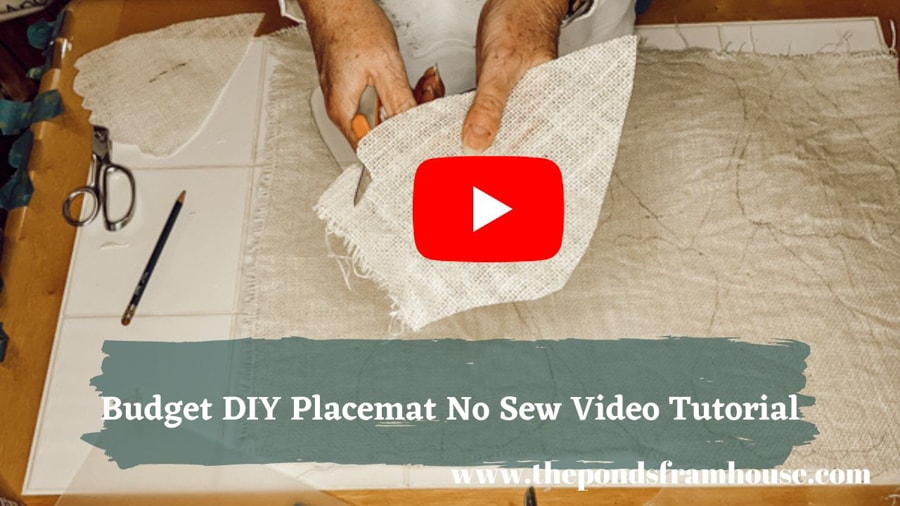
I’ve also included a video tutorial for your convenience. The full supply list is on the HOW-TO below.
Thanks so much for stopping by today. Be sure to see how the placemats look on the Easter Brunch Table Setting.
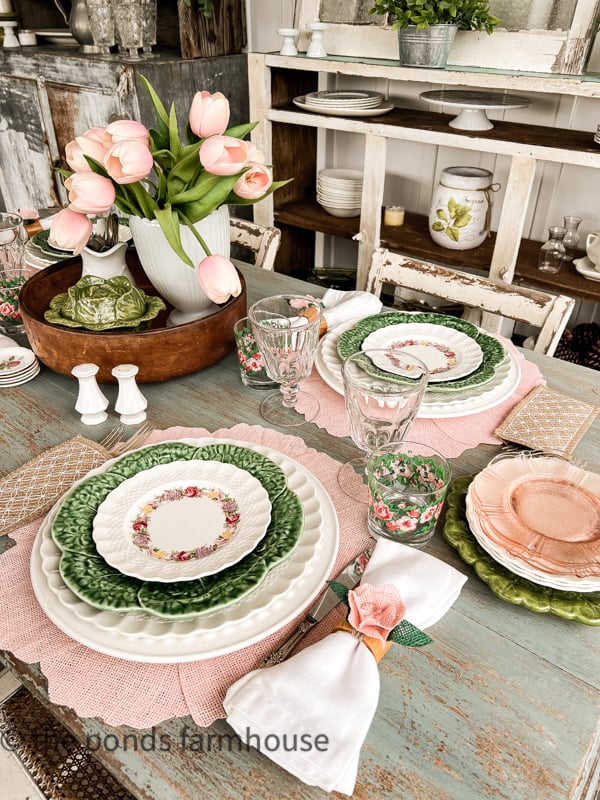
I liked this design so much that I later made another set for my Spring Table and painted it pink. See Spring Tablescape Ideas for details.
Resources
Click the image below to connect to resources for this project.
Additional DIY Tableware Projects You Can Make
- How to Paint Flour Sack Napkins
- Hand-painted DIY Drop Cloth Table Runner
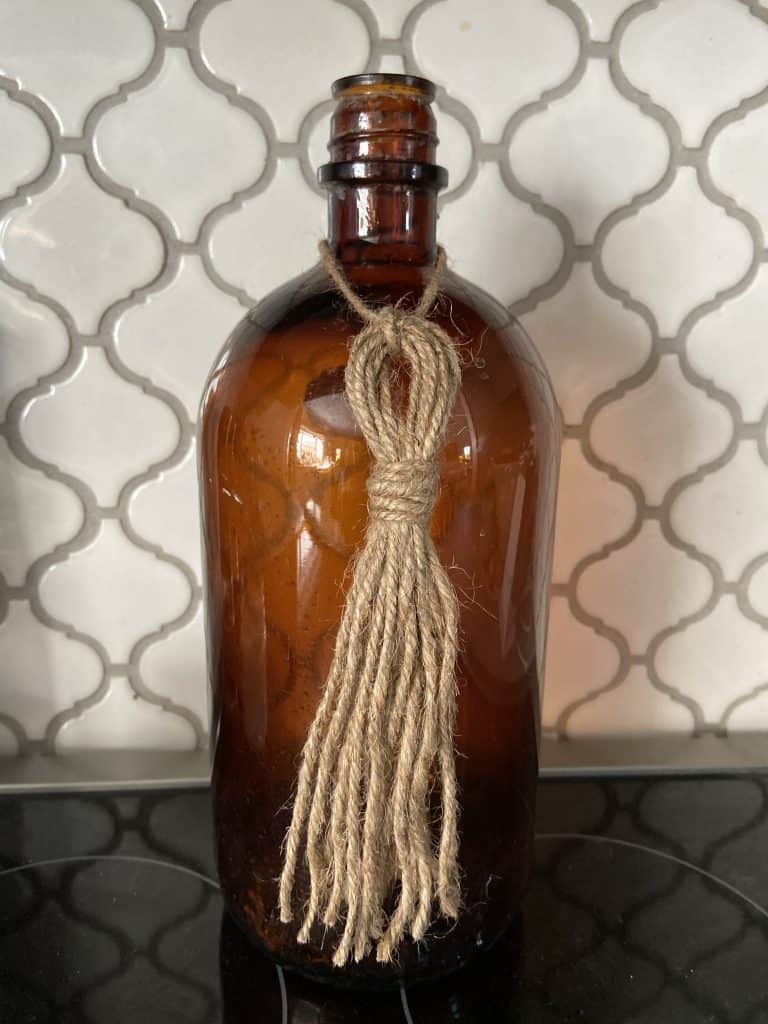
- DIY Burlap Napkin Rings Tutorial
- Pottery Barn Inspired Leaf Napkin Rings
- Easy Lemon & Lime Drop Cloth Table Runner
- DIY Ticking Cutlery Pocket Napkins
- Easy Christmas Table Runner in Red and White

How To Make DIY Placemats No Sew
Equipment
- Scissors
- Clothes Pins
- Tape
- Large Bowl
Materials
- 1 yard 48″ wide white burlap
- Elmers Glue
- Permanent Fabric Glue
Instructions
- 1. Make a template for your pattern
- 2. Cut white burlap fabric into sections for each individual placemat
- 3. Make a 50/50 mixture of water and Elmers glue
- 4. Drip Fabric in Glue mixture until coated and remove excess glue by twisting fabric.
- 5. Smooth the wet fabric as much as possible and hang to dry. Be sure to hang and protect surfaces from glue drips below the fabric. If the fabric is very wrinkled after drying, iron until somewhat smooth.
- 6. Once dry, trace your template onto the fabric and cut the design with scissors.
- 7. Align pieces of burlap and tape down the first 4 pieces.
- 8. Add a bead of fabric glue where the pieces will overlap and place the remaining 4 pieces to adhere.
- 9. Tape everything down and/or use items to weight the pieces down until the glue is dry. Read manufacturer instructions regarding glue drying time.
Notes

Pin It To Remember It
Did you find some great ideas you’d like to save for future reference? Hover over the images you’d like to save and pin to your favorite Pinterest Boards when you see the PIN button.


Love the placements. I will be trying this. Looks so good with the cabbage plates.
Please share where you found the little bunny as I would like to get a few of those.
Love your ideas!
Oh, Thanks so much. I found the bunny at Marshalls a few years ago. I’ve not seen any since. You might try Amazon.
Those are adorable! Love your creative sense! Can you use Elmer’s glue on decoupage projects; paper napkins as well instead of mod podge?
Pam,
I don’t know if I’d try Elmer’s for a paper napkin project. It might not work as well. Let me know if you try it.
These placemats are darling. Your talent is out of the park and I just love opening your email and reading the next creative brillant idea you are sharing.
Diana,
You are so kind. I appreciate your encouraging words and you continued support.
ADORABLE! You are so creative. Thanks, Rachel.
Miche,
I really appreciate your encouragement.
These placemats are just what my Spring table is missing. Thank you for all your creative ideas.
Carolyn
I’m so glad you like them. I can’t wait to see what you do for your table.
I’m always so amazed by your creativity and how you come up with these incredible DIY projects Rachel. You’ve shared another brilliant one here.
Kim,
I really appreciate your encouragement and support. Thanks for your kind words
I love this idea. It’s so pretty. I would love to share this on my weekly newsletter. HUgs to you, my friend.
Renae,
thank you so much. I’d love that.
Great tutorial….easy ! Just loving your blog. Thanks, Joan…
Joan,
I appreciate this so much. Thank you for stopping by.
Still love these Rachel! Hoping to get around to it sometime soon. They are perfect for spring and Easter. pinned
Cindy,
Thank you for stopping by.
Your placemats look so nice! Beautiful table.
Angie,
I really appreciate this. They are so easy to make and can be customized for any occasion.