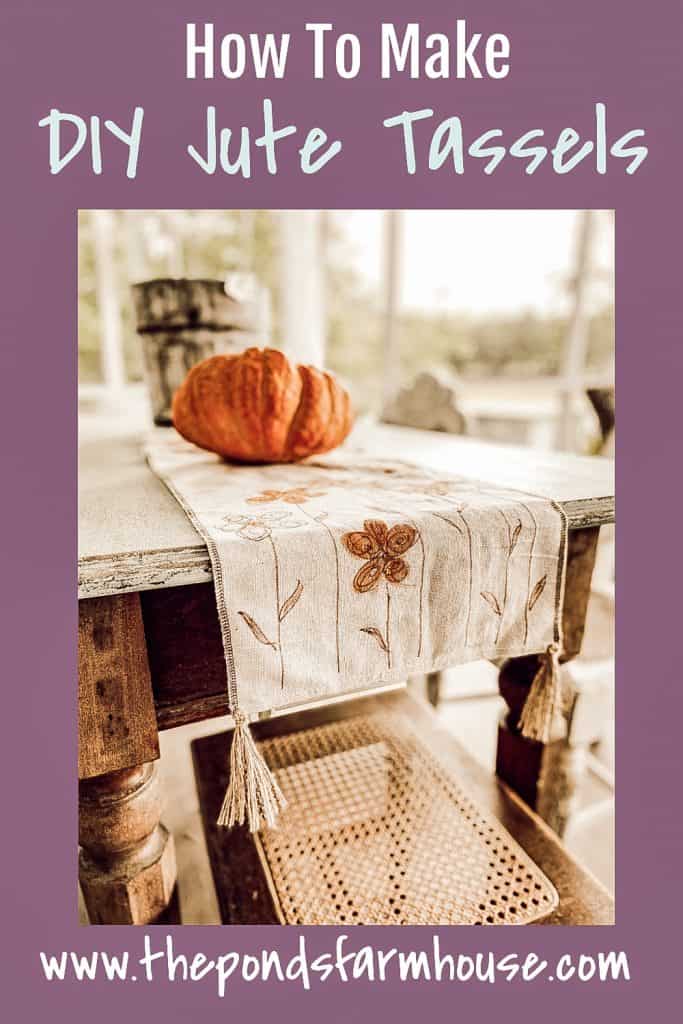
How To Make DIY Jute Tassels For Your Next Craft Project
Looking for inexpensive ways to add rustic charm to your decor? Here is a super easy tutorial on how to make jute DIY tassels! You will learn where tassels can go to enhance your home decor.
You can make these tassels with yarn or string to make tassels but I wanted a rustic look! So today’s projects include jute twine tassels!
Do you love tassels, fringe, pom poms, and all that fun stuff that’s attached to pillows, throws, and bedding? I’m a huge fan and believe anything looks better with a little embellishment!
So, let’s take a look at where to use tassels.
Table of contents
Where Do Tassels Go?
Adding a tassel to almost any home decor will add a decorative touch.
Here are a few suggestions that will have you getting out your yarn or jute twine.
- Pillow corners
- Corner’s of comforters, bedspreads, blankets, etc.
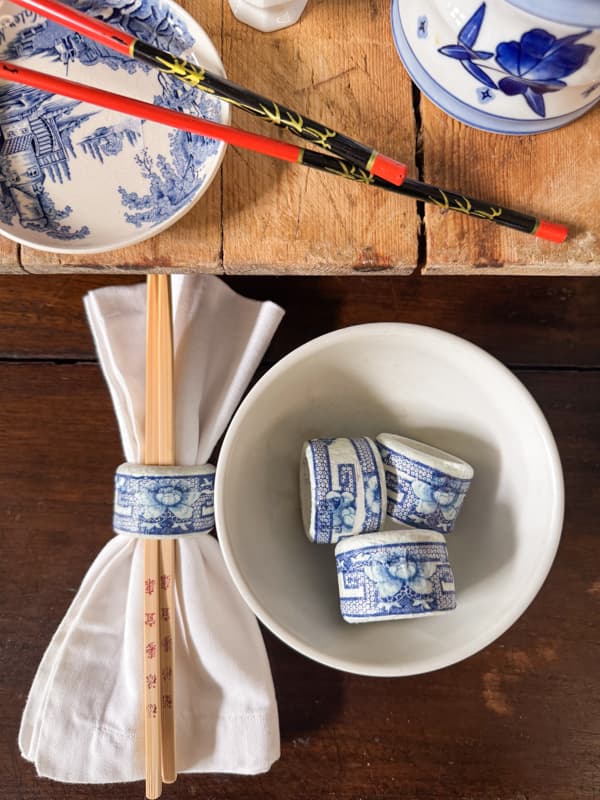
- Table Runners, Table clothes, napkins, napkin rings.
- Hang from door knobs, cabinet hardware, furniture drawer pulls, etc.
- Basket Handles
- Make a garland with tassels.
- Gift Packages
- Add to ends of garlands to enhance
(Posts on The Ponds Farmhouse may contain affiliate links. As an Amazon Associate, I earn from qualifying purchases. See the full disclosure details here.)
What Materials Can Be Used To Make Tassels?
There are several materials that you can use for tassels.
- Jute Twine
- Knitting Yarns in various weights
- Fabric Strips
- Leather Strips
- Lace
- Ribbon
First, consider where you will use the tassel when determining your material. When applying to delicate fabrics, you will want a lightweight tassel.
For this project, I chose a heavy weight jute string however, the instructions will be the same regardless of materials used.
Jute Tassel
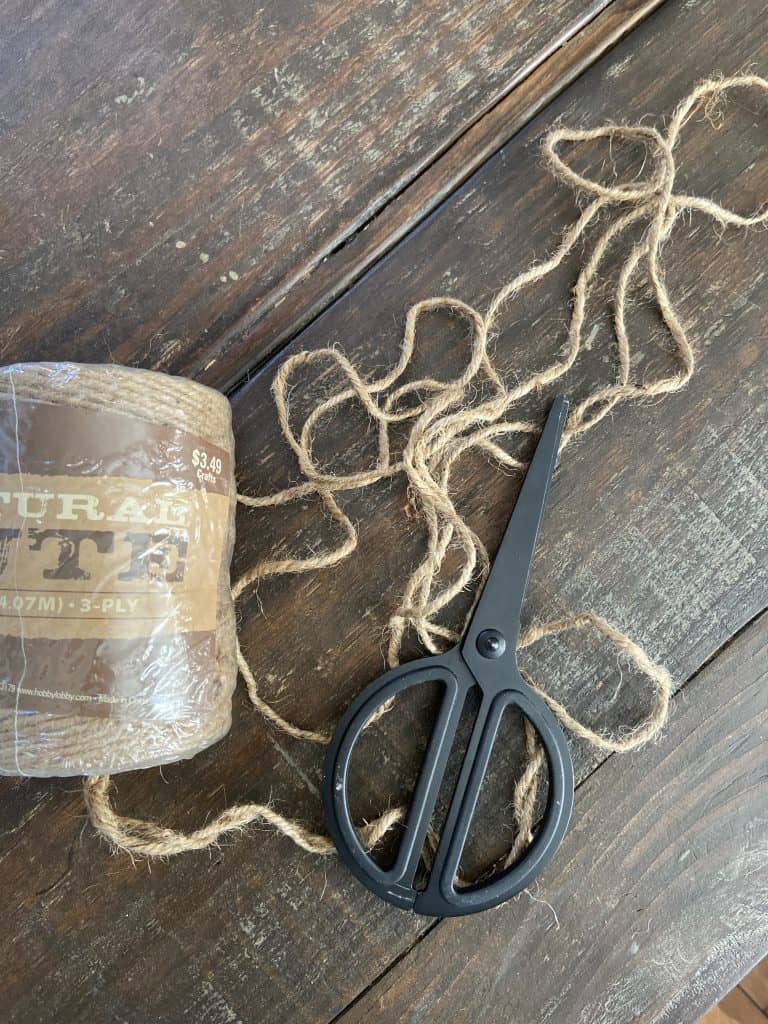
First, gather your jute twine and scissors to begin making your DIY Tassels.
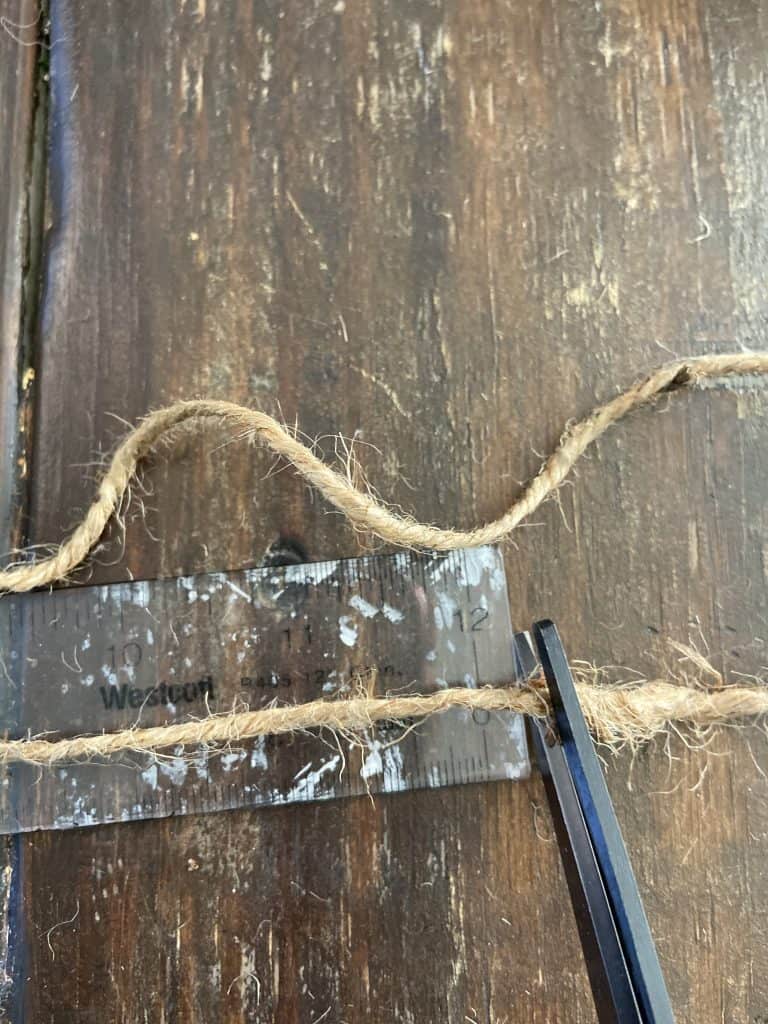
Measure For Tassel Size
Next, determine the length you would like your tassel to be. If you want a 6 inch tassel, then you will need to cut your jute string 12 inches long.
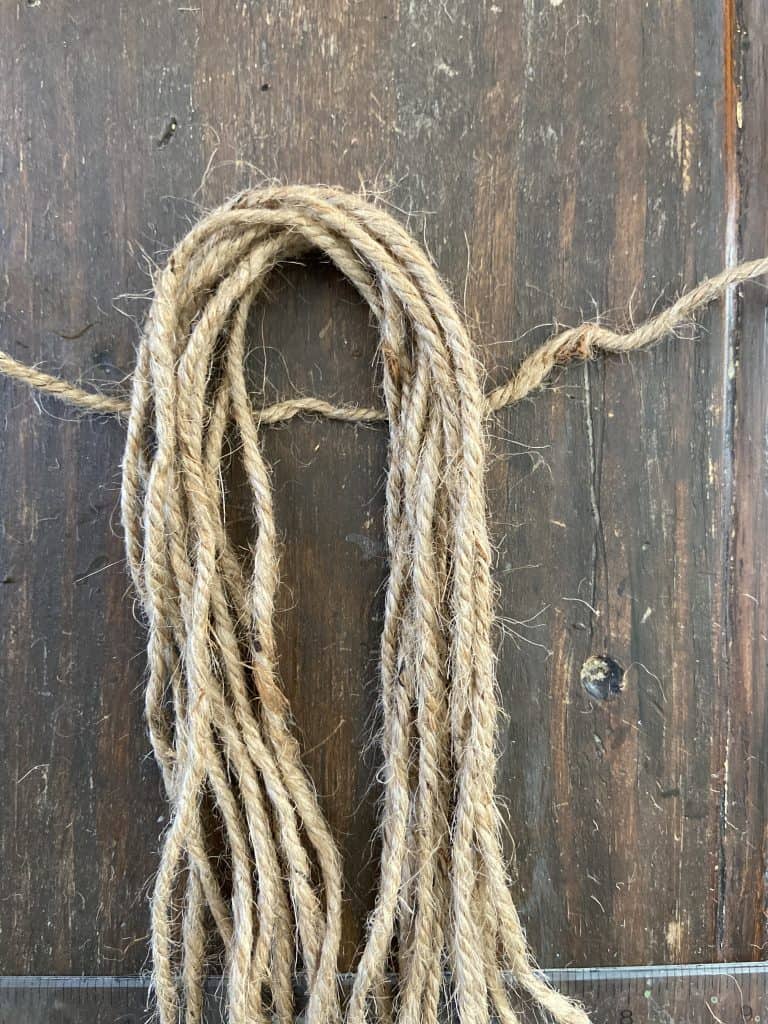
Thickness of Tassel
In addition, you will need to determine how thick you want your tassel. The weight of your string will determine how many strands will be required to achieve your desired thickness! For this project I used 6 strands which once doubled, makes a tassel with 12 strands.
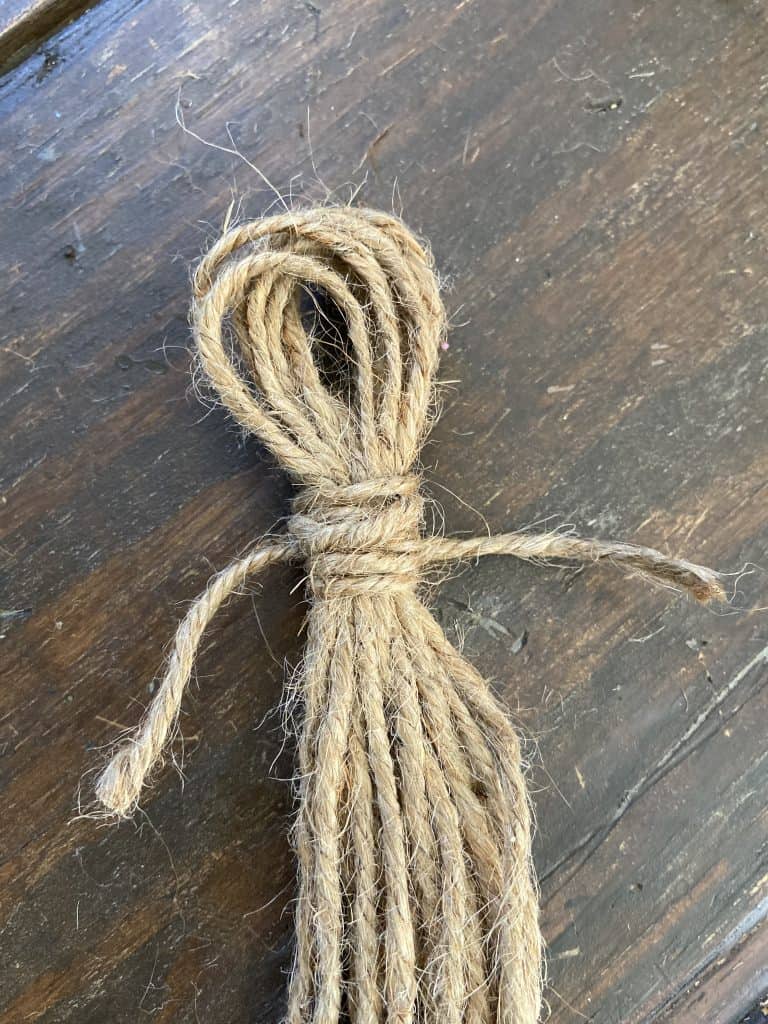
Now, cut an additional piece of jute string approximately the same length as your tassel strands. Then, bundle your tassel strands together with ends even, and fold in half.
Place your additional strand behind the tassel, close to the top as shown below.
Wrap To Make Jute DIY Tassel
Begin wrapping the additional twine around your tassel loop while holding the jute strands securely. Once you have several loops around the tassel, tie the twine at the back of the tassel. Be sure that your knot is secure and that you still have a small amount of space at the top of the loop.
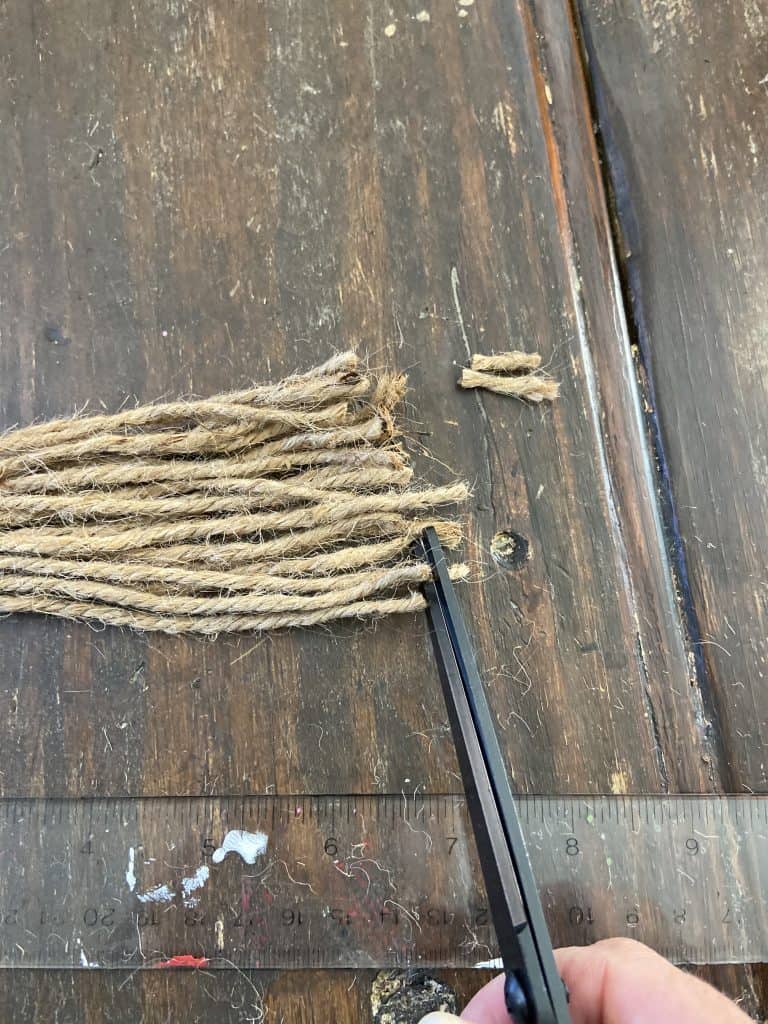
Trim ends
Finally, trim the ends of your tassel until they are even in length with sharp scissors.
Supplies For Tassel Decorating
Here are the supplies used for all the Tassel Decorations on the post. Just click the highlighted item for resources.
- Jute Twine for Heavy Tassel
- Light Weight Jute Twine for Table Runner Tassels
- Drop Cloth for Table Runner
- Wooden Beads for Torn Fabric Tassels
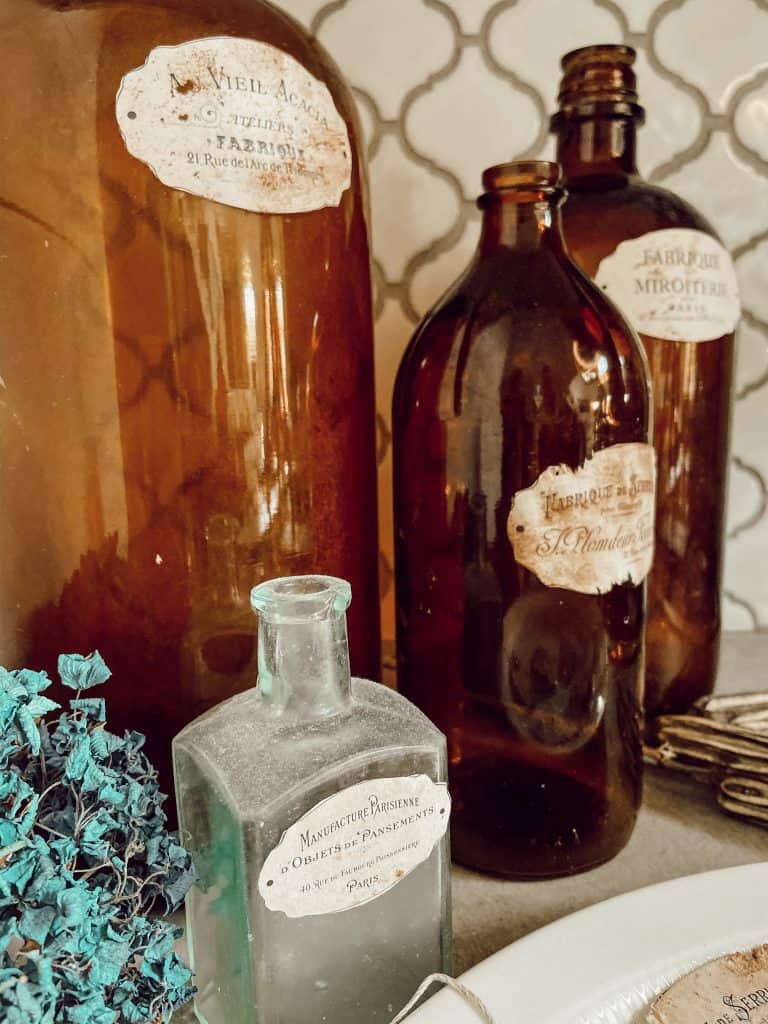
- Vintage Amber Bottles
- Scissors
- More Favorite DIY Supplies & Tools
Decorating with Jute DIY Tassels
I love using DIY tassels in many different ways.
Here are some examples of adding tassels to your decor. In addition to adding them to pillows and table runners, I like to use them as accessories for bottles, door knobs, basket handles, etc. I also like to use tassels on gift packages. With Christmas right around the corner, I’ll be making a few extra for gift wrapping!
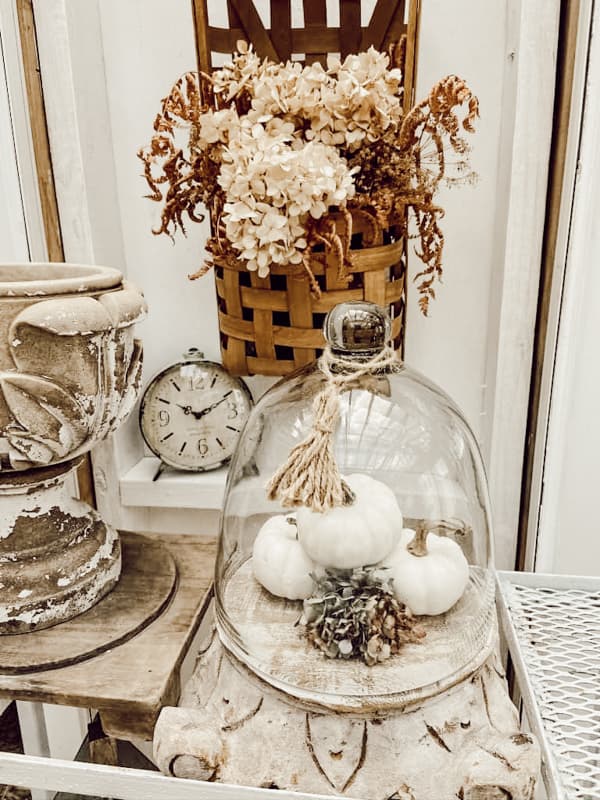
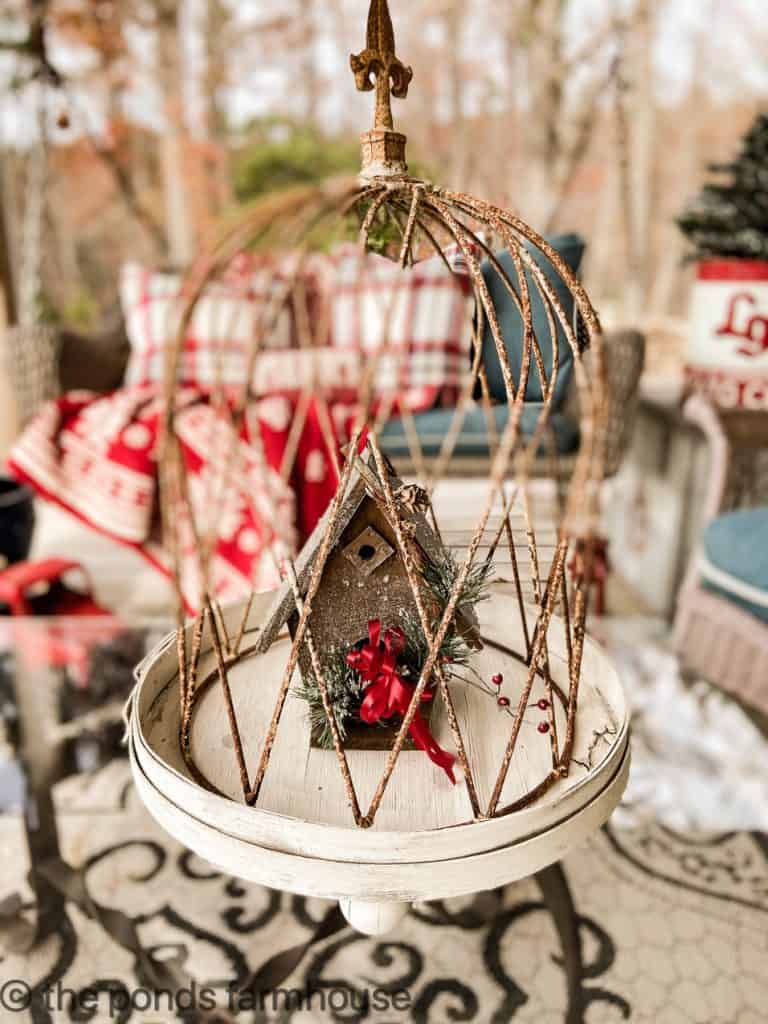
A jute tassel to the glass cloche adds a rustic feel to the greenhouse decorated for the Fall Tour. I also shared more details in Fall Cloche Inspiration.
Adding a large DIY Tassel to a vintage amber bottle gives it a dressed-up feel. The heavy-weight jute tassel only costs pennies to make and adds so much charm.
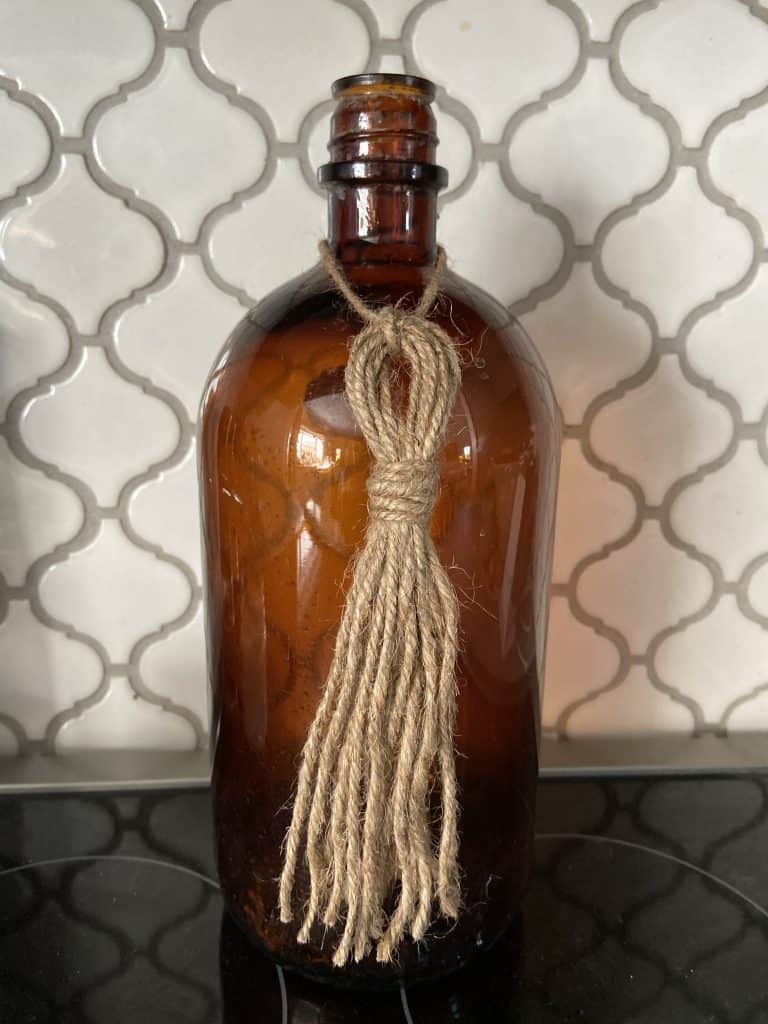
I love amber bottles for fall decorating and you might enjoy this tutorial on making Vintage Bottle Labels.
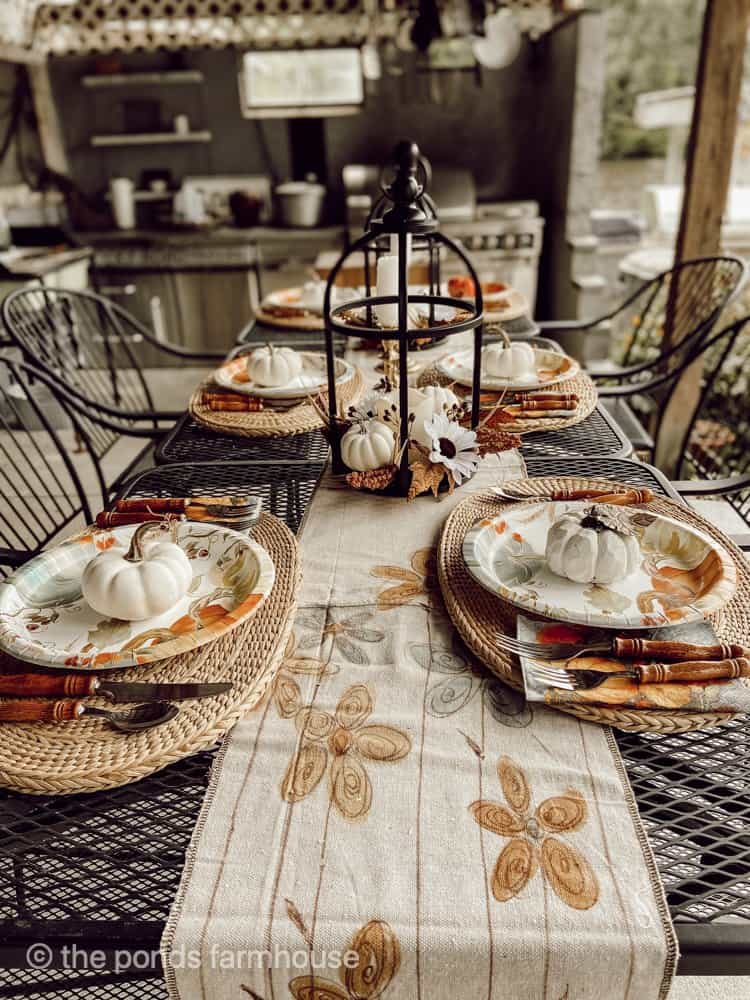
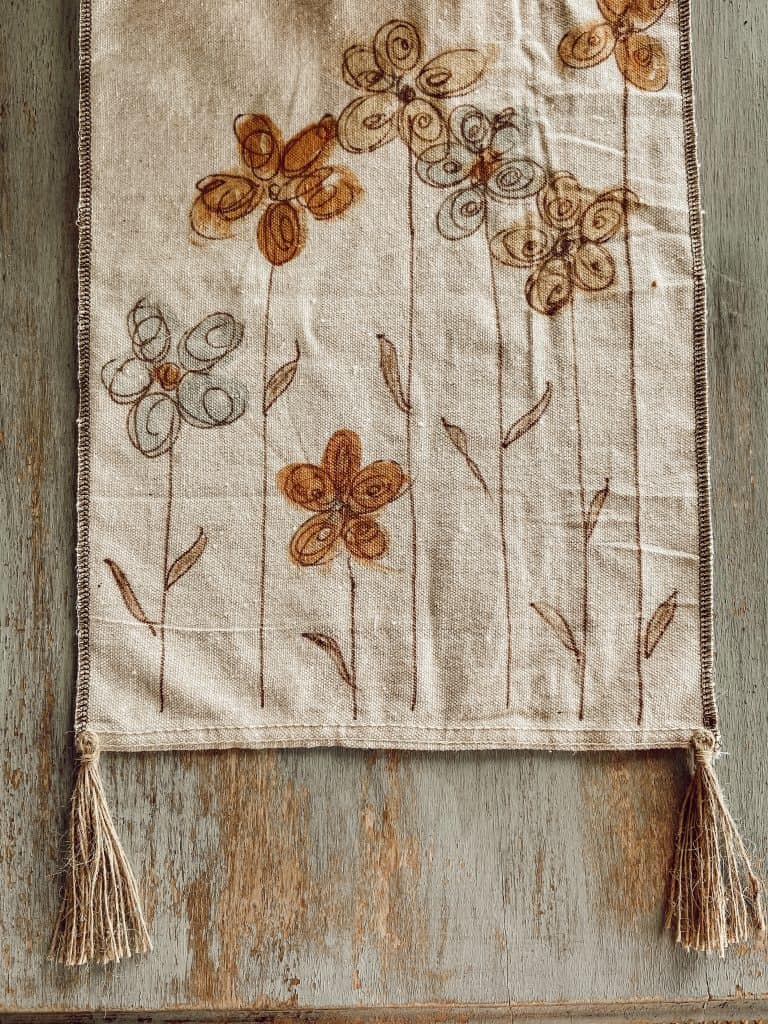
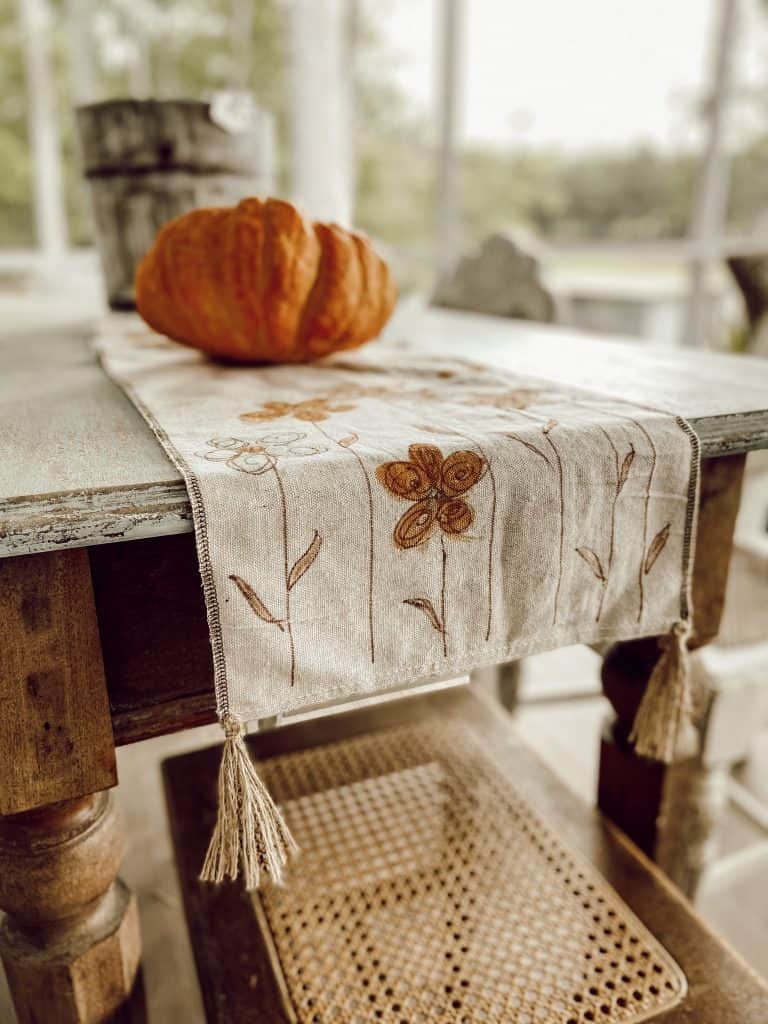
You will also enjoy seeing these DIY tassels, which were made for the hand painted table runners.
They were made with the same technique as above, however, using a lightweight jute string.
They have 12 strands for each tassel, are 8 inches long, and are attached to the drop cloth fabric table runners.
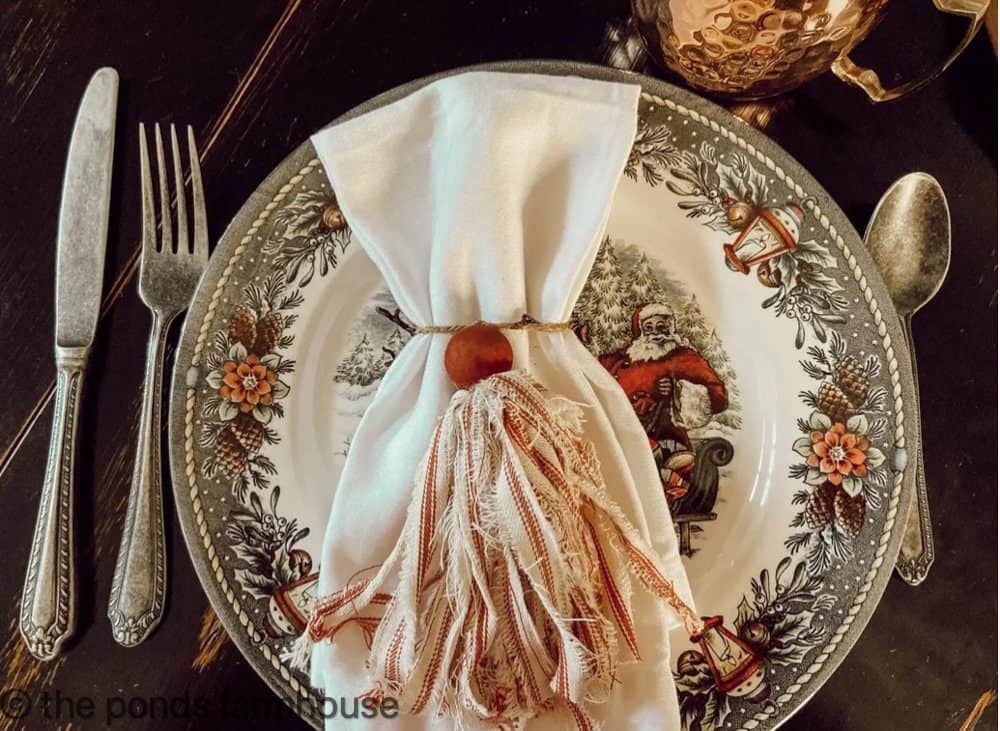
You can also add torn fabric DIY tassels to the hand-painted table runners for another rustic design.
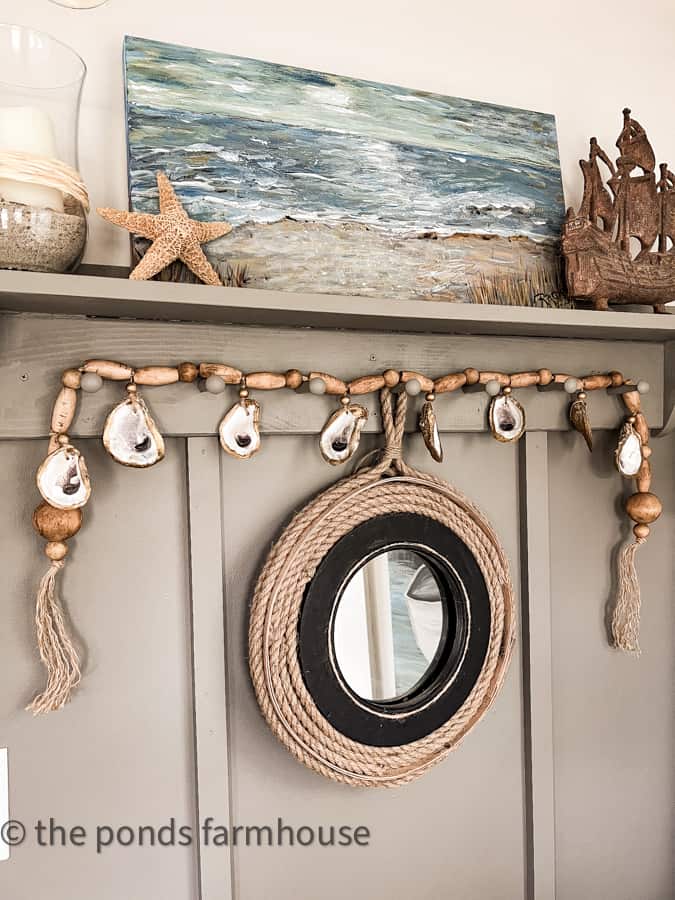
Enhance Garlands with Tassels
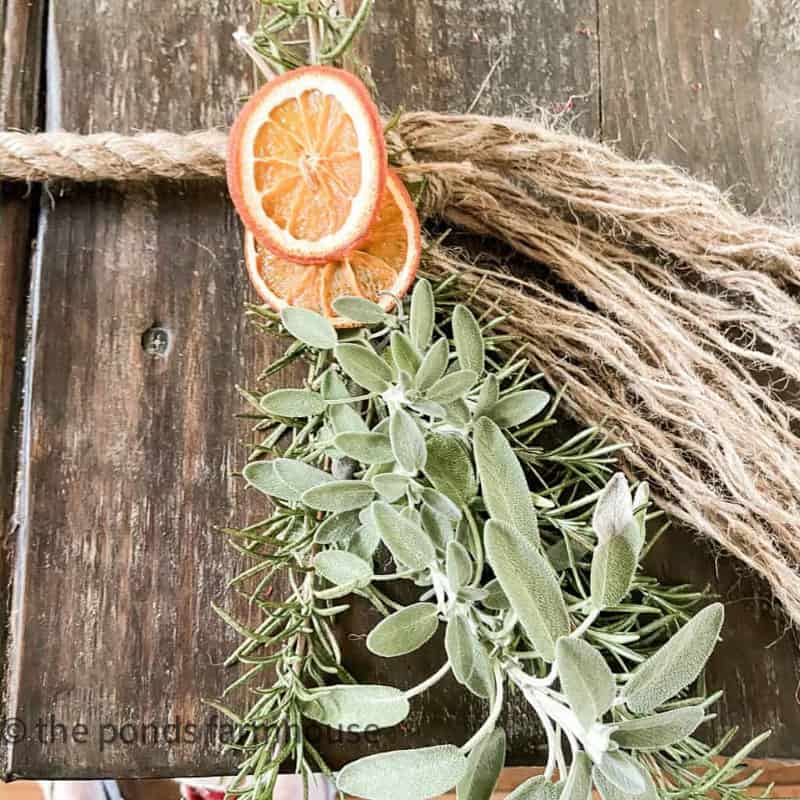
You can enhance DIY garlands with jute tassels.
The Oyster Shell DIY Garland and the Herb and Dried Fruit Garland are both finished with a long tassel.
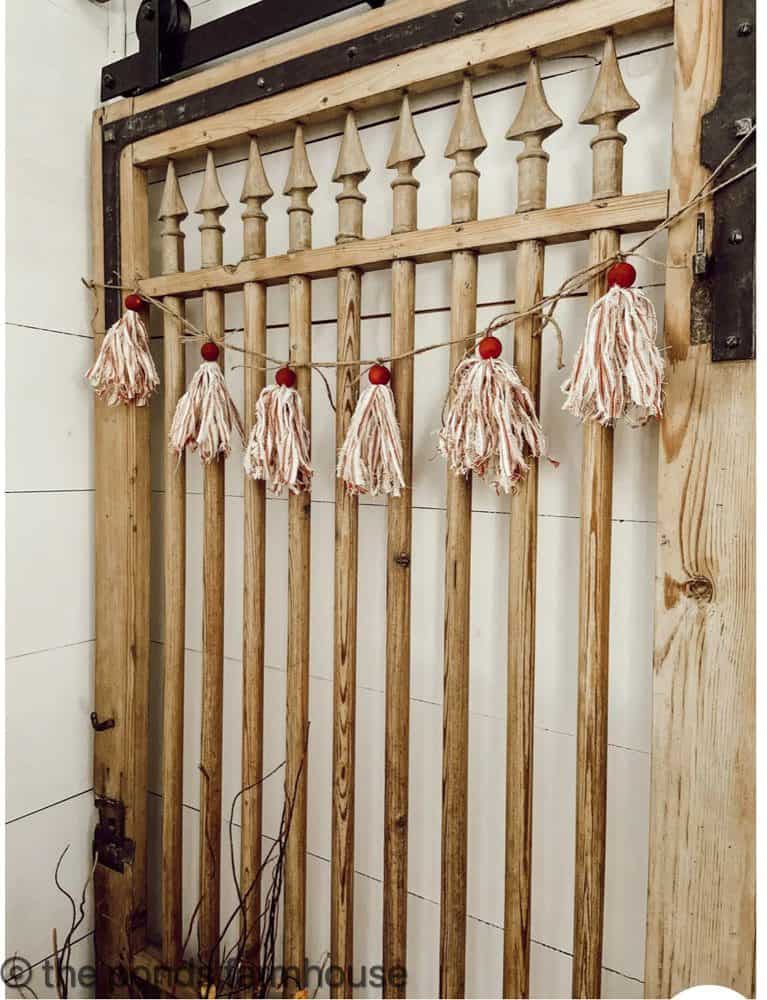
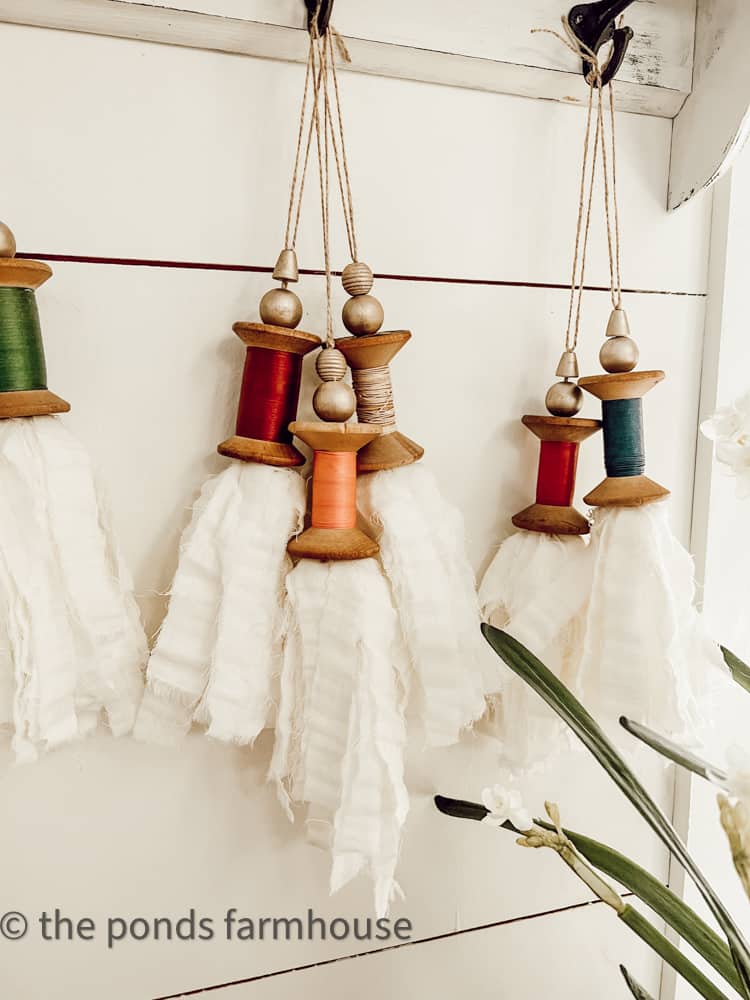
DIY Tassel Garland
This torn-ticking fabric garland is so fun for the holidays. You will see there are a few changes to the tutorial in order to add the wooden bead. This is another project that can be used in so many ways.
Change the fabric, and you can use this technique for every season.
Thanks so much for stopping by today. I hope you enjoyed this simple tutorial, and I look forward to sharing my next adventure with you.

Pin It To Remember It
Did you find some great ideas you’d like to save for future reference? Hover over the images you’d like to save and pin to your favorite Pinterest Boards when you see the PIN button.


I’m so in love with that table runner!! It’s on my list for next week…I’m going to tackle it!!
Patty,
I am so glad you like it! 😘 They are some easy.
Rachel
That is just adorable. Thanks so much for sharing. I will definitely make some.
Miche,
I am so glad you like it! 😘 Thanks for stopping by.
Rachel.
Just started following you, Rachel and I’m so glad I am! This runner is sooo dang cute and something I would like to try for sure! Thanks for sharing this great one of a kind idea that I can personalize for gifts!!
Karolyn,
I really appreciate you for stopping by. I’m so glad you liked this idea. Have the best day.
Rachel
Karolyn,
I really appreciate you for stopping by. I’m so glad you liked this idea. Have the best day Karolyn.
Rachel
I love this Rachel! I didn’t realize how this really adds so much interest to everything, and that you can add them to so many things! Love and pinned!
Kim,
I’m so glad you liked it.
Rachel
Super cute, my friend.
Renae,
I really appreciate this.
I have got to get to doing this! Love all kinds of tassels!
Cindy,
I really appreciate this.
This is the cutest. I love tassels. Hugs to you.
Renae,
I appreciate this.
Rachel, I clicked on your hand painted runner and love this DIY. I’ve never made anything like that and certainly want to try it. Very attractive and personal! Of course I love tassels too-such a nice finishing touch. You continue to amaze me!
Mary,
you are so kind. I appreciate your words of encouragement.
thanks for sharing!
Alex,
Thanks so much.