How To Paint Flour Sack Napkins: Inexpensive Custom Napkin Designs
Looking for ways to create custom napkins for your dining table? Wait until you see these inexpensive flour-sack-towel napkins. Here is an easy idea for painting Flour Sack Napkins using these simple towels. It can be difficult to find napkin colors or styles that match your tablescape theme, and even when you do, they can be pricey. I have an affordable solution, and you will love this easy flour-sack-towel DIY.
I often use plain flour-sack towels as napkins because they are inexpensive and I love the texture of the flour-sack fabric.
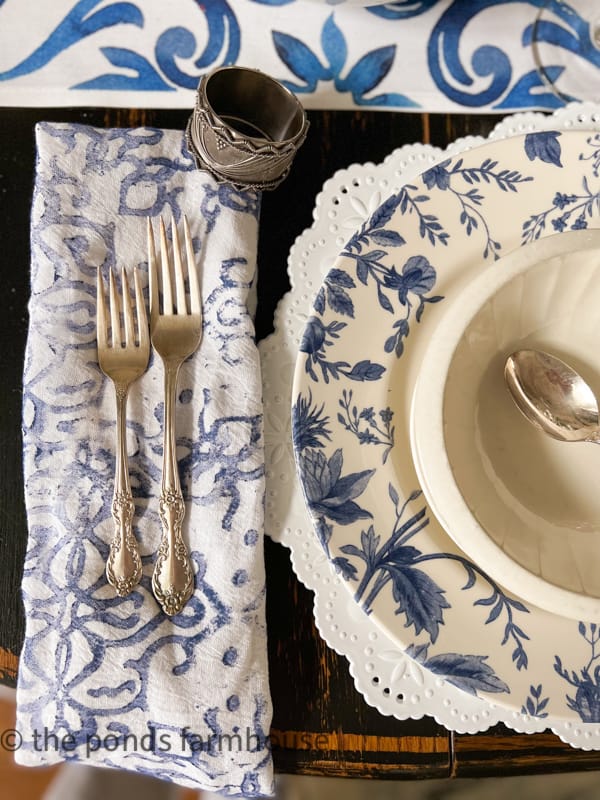
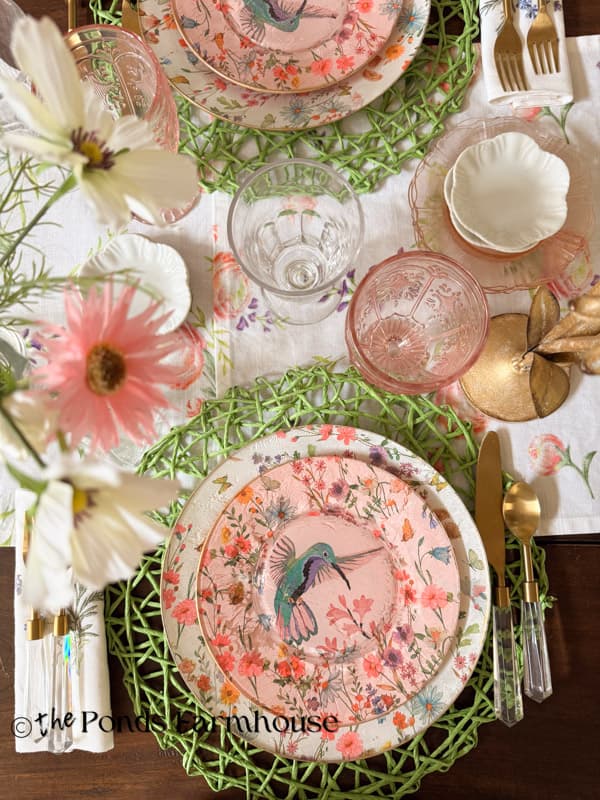
When planning my Italian Tablescape for our Supper Club, I wanted a unique napkin to complement the table setting. The ones I found were beautiful, but they came with a hefty price.
Then I remembered seeing how to paint a dish towel by Leslie from My 100 Year Old Home and decided this might be an excellent solution to my Italian napkin dilemma. So here’s what I did.
(Posts on The Ponds Farmhouse may contain affiliate links. As an Amazon Associate, I earn from qualifying purchases. See the full disclosure details here.)
What Are Flour Sack Towels?
Flour sack towels are lightweight, and made of 100% cotton. They are very thin and have a soft texture, making them a great weight for napkins.
They are also a very affordable option for DIY tea towels and napkin projects. The fabric is easily painted and dyed for various crafts.
What Paint Works Best For Painting on Flour Sack Towels?
Most acrylic craft paints dry hard, making your fabric stiff. However, textile medium is an additive that can be used with any paint to make it more pliable for fabrics. It’s a cost-effective alternative to purchasing fabric paints.
For today’s project, I’m using Annie Sloan Chalk paint, which is very pliable and works great on fabrics.
Supplies To Paint Flour Sack Napkins
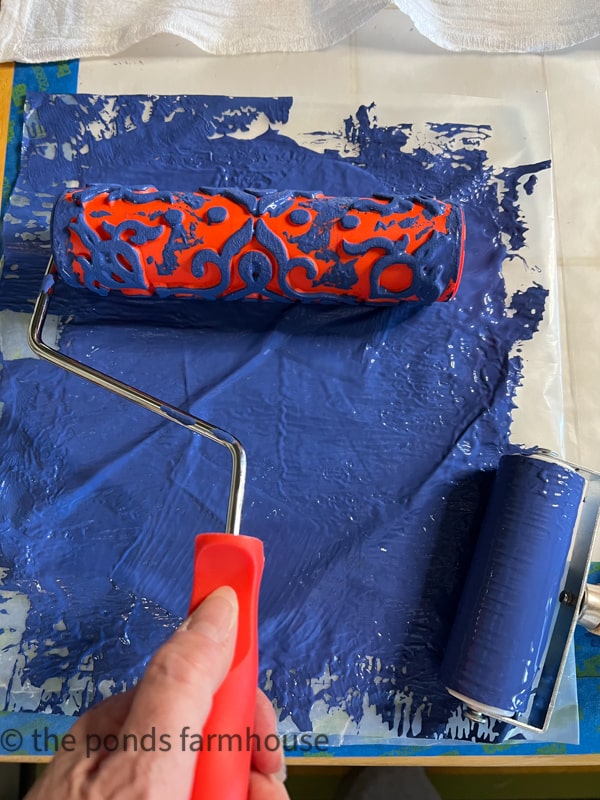
First, the napkins I couldn’t afford had a beautiful tile pattern that I liked. After some research, I found a Greek Art Paint Roller that closely matches the tile pattern I liked.
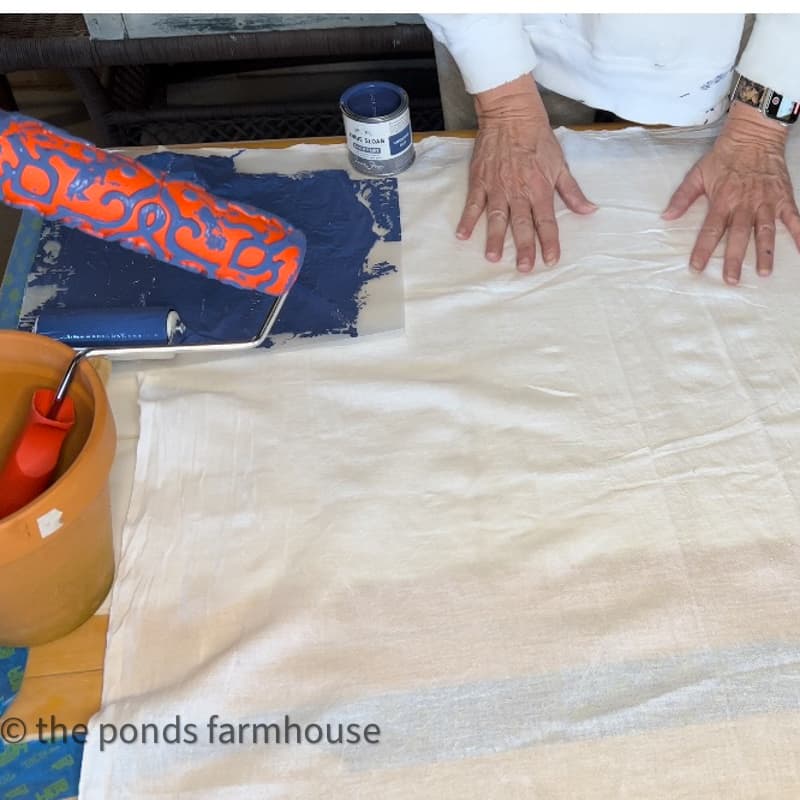
I already had a bundle or two of 100% Cotton Flour Sack Towels, so that was easy.
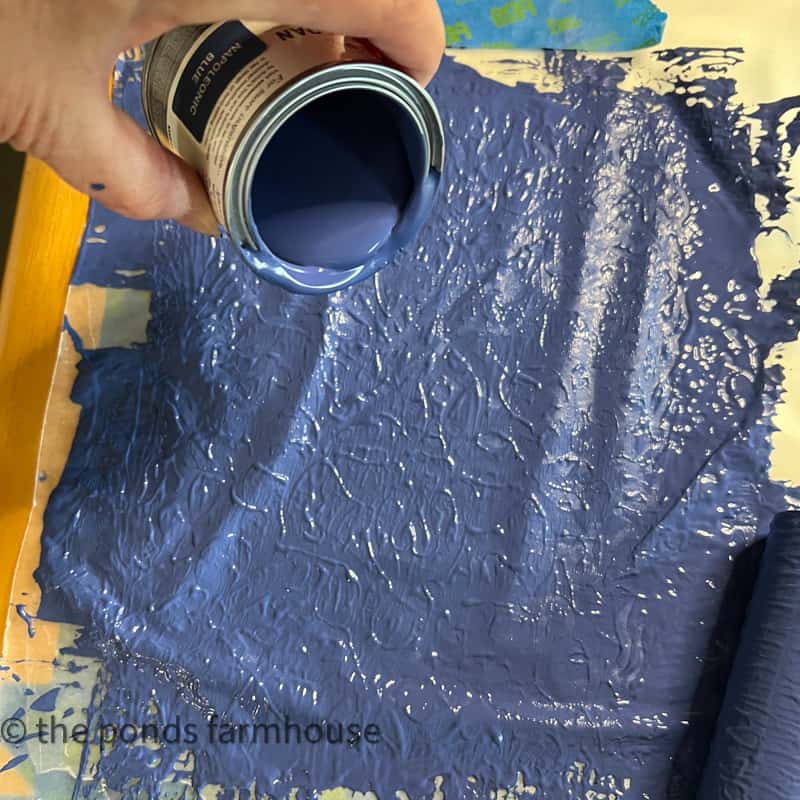
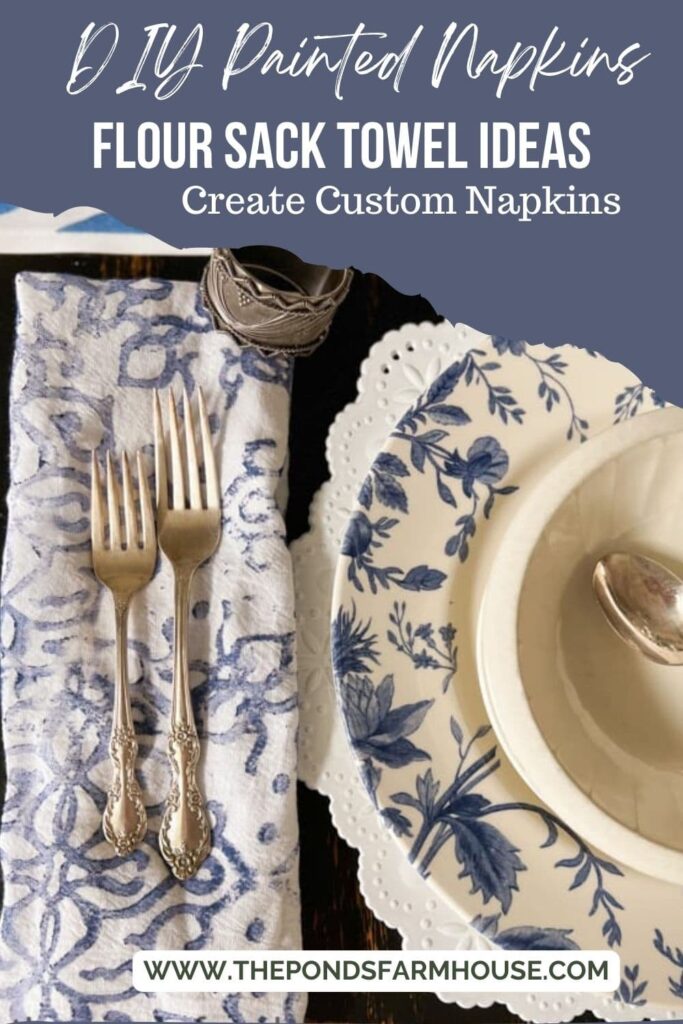
Next, I purchased a sample size of Annie Sloan Napoleonic Blue. The amount would be perfect for the project, and Annie Sloan Chalk Paint is pliable on fabric. You don’t need to add fabric medium to create your design.
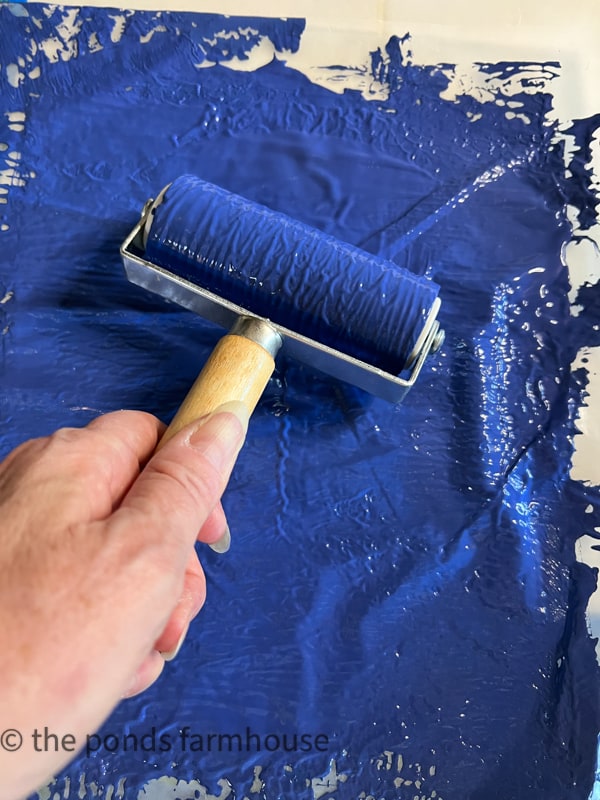
In addition to the decorative roller, I used a brayer roller to smooth the paint.
I had plenty of wax paper, my go-to for protecting my table from paint seeping through. I also used wax paper for my paint palette.
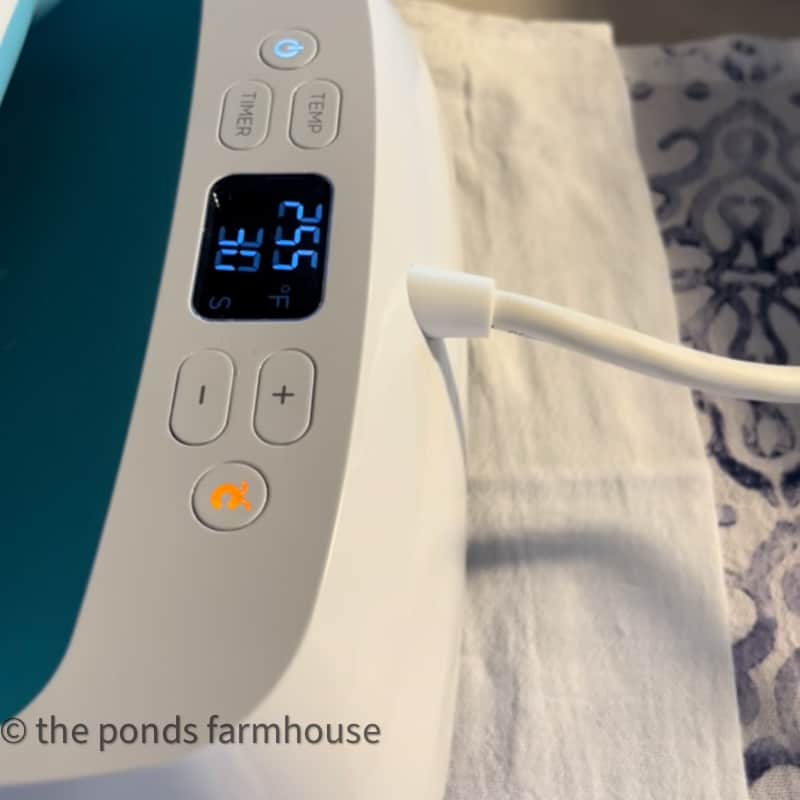
You will also need an iron or heat press to prepare your fabric and set your paint.
Flour Sack Towel Preparation Before Painting
You should begin by washing the towels to remove any starches or additives. This will ensure the paint adheres to the fabric fibers.
For this technique, the fabric should be as smooth as possible, so you will need to press out any wrinkles or roll the edges with a hot iron or heat press.
Finally, I taped several sheets of wax paper on the table to cover the size of the soon-to-be napkins (flour sack towels)!
Ready To Paint Napkins
You will also need a flat surface to spread your paint. I used wax paper on several layers for this.
Just to let you know, you may need several layers to prevent the paint from seeping through because you will roll over the paper several times.
In hindsight, I would attach the wax paper to some cardboard or a plastic cutting board.
Begin by adding paint to your flat surface or wax paper, then use the brayer roller to flatten it.
If you don’t have a roller, use a knife or spatula to flatten your paint. Be aware that if the paint isn’t flattened, it will adhere to areas of the decorative roller other than the desired pattern, resulting in an undesirable design.
Next, roll the decorative roller in the paint to cover the raised areas, ensuring they are completely covered.
Begin at one edge of the flour sack towel and roll the paint without lifting the roller from one end to the other.
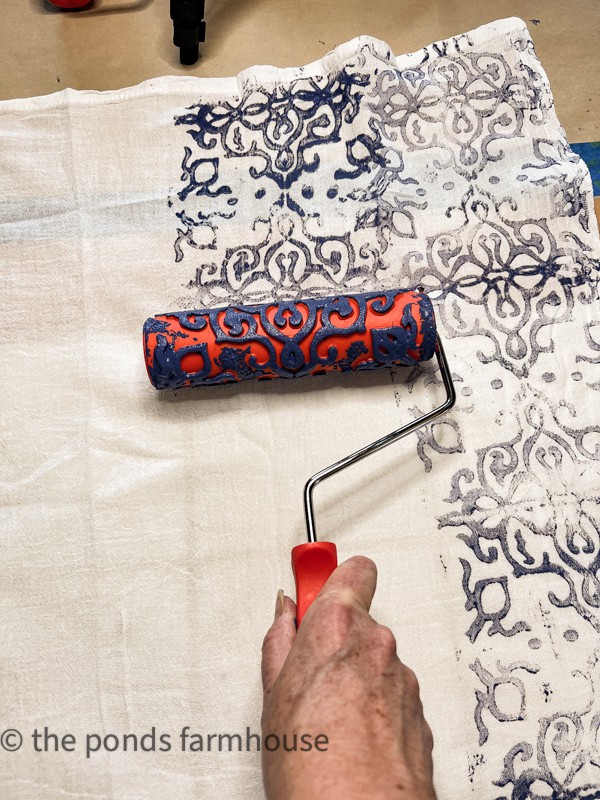
To create a pleasing pattern, I alternated the direction I rolled.
I started at the bottom and rolled up to the other end. The pattern became lighter as I reached the end. So after reloading the roller with paint, I started at the top of the napkin and rolled down to the bottom.
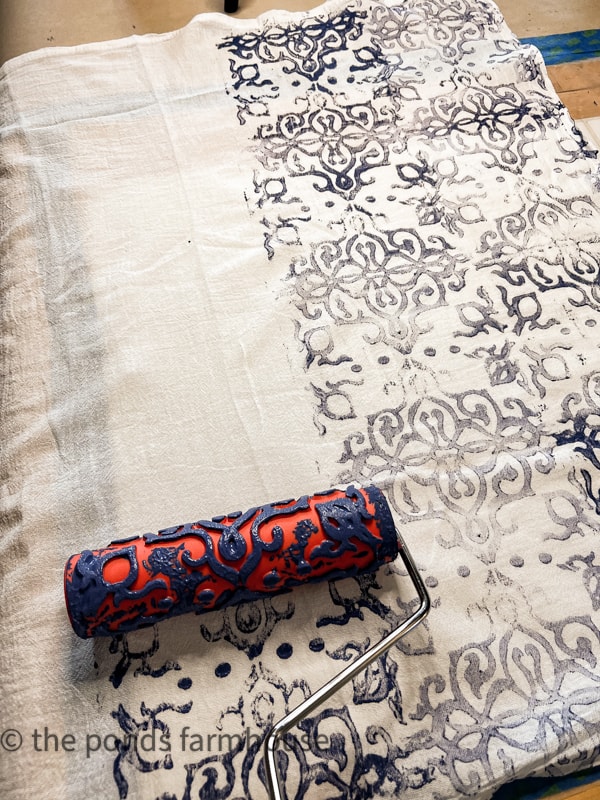
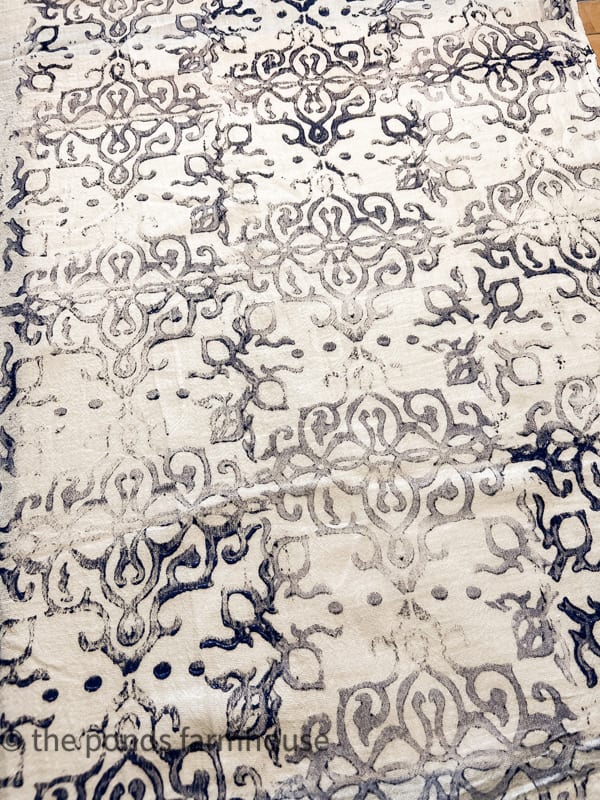
I love the fabric’s faded vintage tile look. I’ve also included a video tutorial at the end of this post.
Heat Set Painted Napkins
Finally, spread your napkins out to allow the paint to dry. Heat-press the pattern to ensure the paint is set into the fabric.
Use a barrier fabric between the paint and the iron or heat press to heat set. I used another flour sack towel as a barrier. However, a towel or any lightweight fabric will work.
Now you can safely wash the napkins without fear of the paint pattern washing or fading.
Clean Supplies
Be sure to wash the rollers thoroughly to remove all paint from the pattern, and you can use them for many other projects. I’m already planning my next idea! LOL
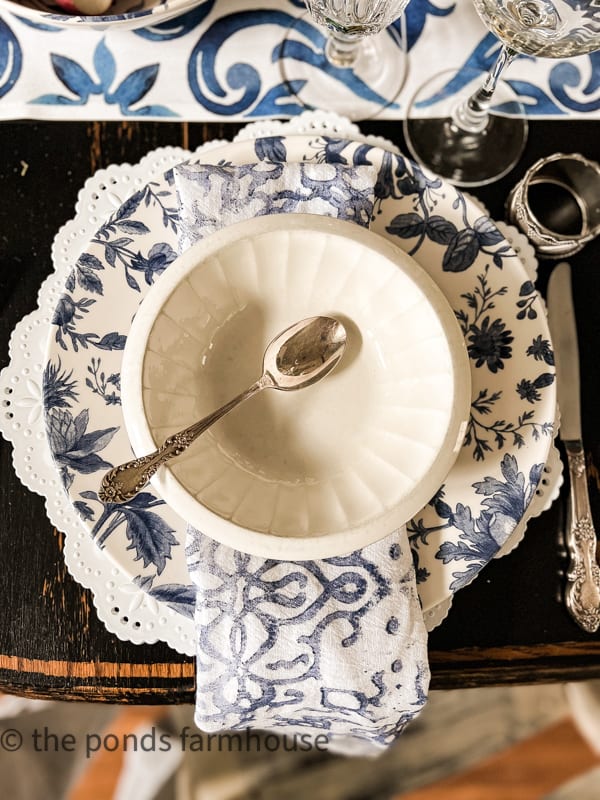
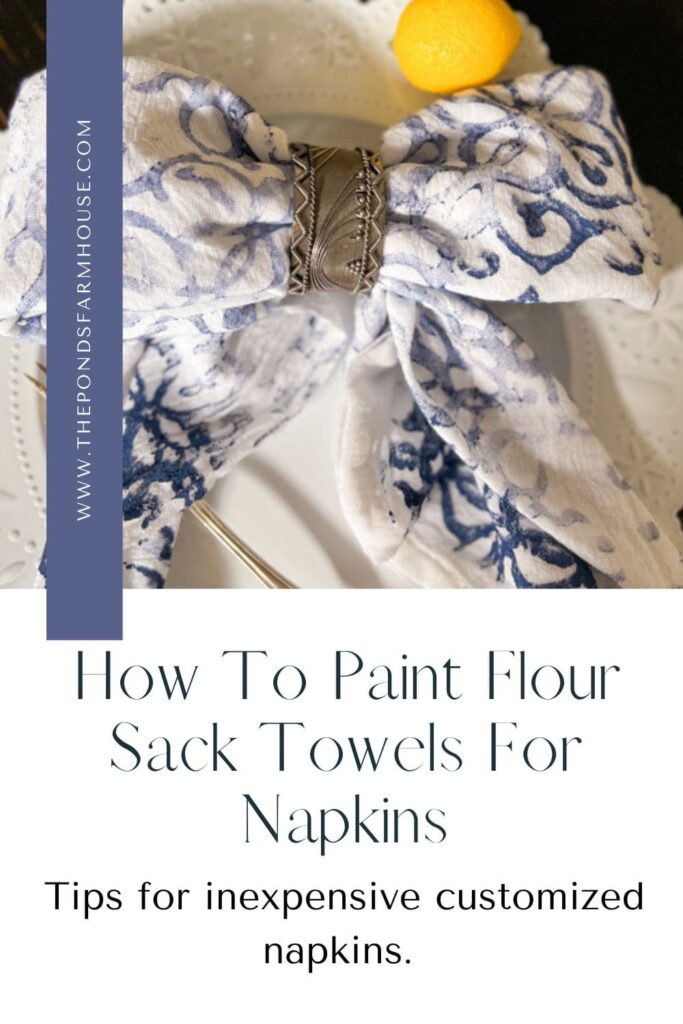
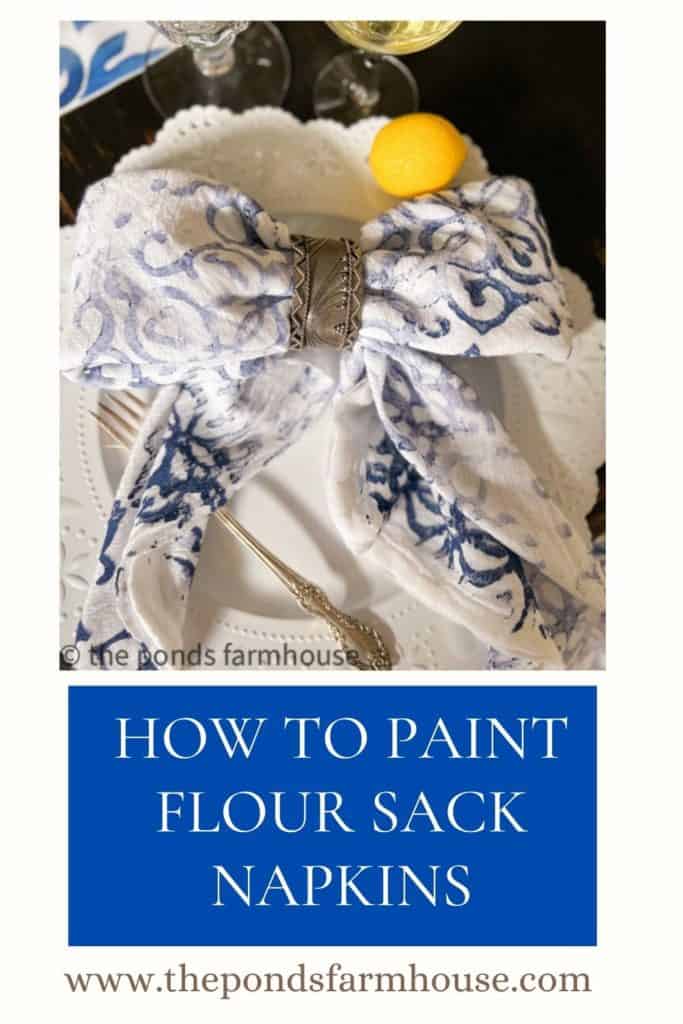
Beautiful Painted Flour Sack Napkins
The blue vintage tile pattern looks great on the Italian table setting.
Click to Shop
See tablescape supplies and ideas on my Amazon Storefront.

How to Paint Flour Sack Napkins
Equipment
- Decorative Paint Roller
- Brayer Hard surface roller
Materials
- Flour Sack Towels
- Chalk Paint
Instructions
- Wash, dry and press your flour sack towels
- Prepare a surface with wax paper or other protective barrier as large as the towel size.
- Lay the flour sack towel flat onto the prepared surface.
- Add Paint to a flat surface such as a plastic cutting board, etc.
- Use Brayer Roller to flatten paint
- Add your decorative roller to flattened paint and cover the entire roller with paint.
- Begin at one side and roll the paint print onto the flour sack from bottom to top without lifting the roller.
- Reload paint onto roller
- Make a second row by starting at the top and rolling downward allowing the pattern to touch.
- Continue alternating the rolling until the entire towel is covered with the pattern.
- Allow to dry by laying flat.
- Once dry, heat set the pattern to the fabric with a hot iron. Use a protective layer of fabric between the iron and the paint.
Notes
I was able to paint and heat-set six napkins in approximately 20 minutes. This is an easy way to create unique and one-of-a-kind crafts or home decor.
I’m so glad Leslie inspired me. It saved me from spending way too much money on napkins. I can’t wait to make more. The possibilities are endless.
I hope you enjoyed this simple tutorial on painting flour sack napkins.
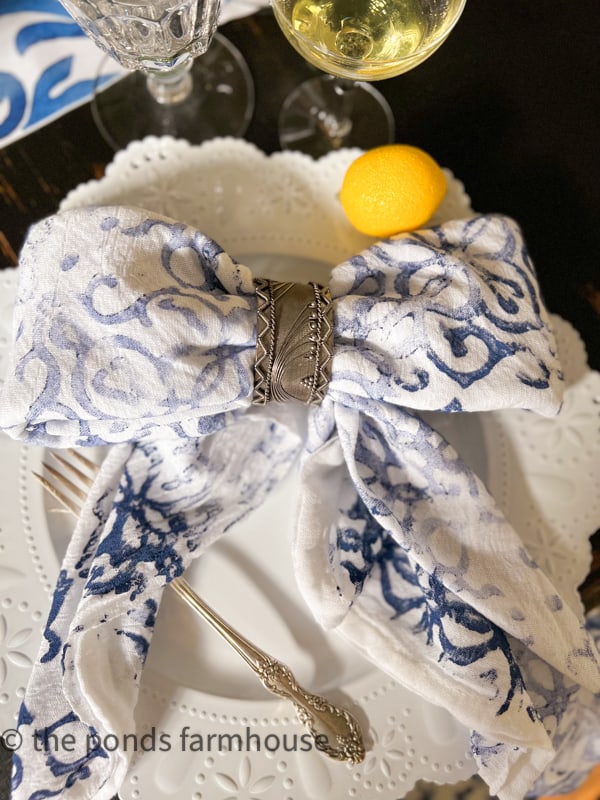
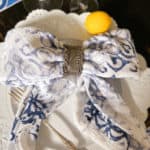
See How to Fold a Napkin into a Bow Tie. And don’t miss How To Fold A Tulip Napkin.
How To Set A Creative Italian Dinner Table
Be sure to see the full Italian Dinner Table that inspired me to create these fun napkins.

Flour Sack Towel Ideas
Another fun flour sack towel idea is this cute craft or garden apron DIY. It’s made using scrap-ticking fabric and a tea towel.
Here are a few other projects you may enjoy.
- DIY Custom Tablecloth and Napkins
- Painted Table Runner from Drop Cloth
- How To Paint Flour Sack Napkins
- Hand-painted Tablecloth Runner
- How to Make a Craft Paper Tablecloth
- How To Make A DIY Painted Rug
Thanks so much for stopping by today!

Pin It To Remember It
Did you find some great ideas you’d like to save for future reference? Hover over the images you’d like to save and pin to your favorite Pinterest Boards when you see the PIN button.


Oh my goodness, I L O V E this idea and your bow napkins have stolen my heart! Thanks so much for sharing this, Rachel!
Dori,
I’m so glad you like this. Thanks for your encouraging words.
Love love love the color !!!
Thanks for all the great ideas Rachel , this one we post in our humane society thrift store
Sharon
Sharon,
You are so sweet to do this. I really appreciate your encouragement.
Wow! These napkins are gorgeous! Thanks for your inspiring tutorial.
Angie,
I’m so glad you like this. Thanks so much for stopping by.
Such a great idea. I love this. Congratulations on your feature on our link party. Hugs to you.
Renae,
Thanks so much sweetie.
So pretty!!! That’s such a simple hack for creating beautiful napkins!! I love the color you chose and how well the pattern goes with your dishes.
I really appreciate this compliment. Thanks so much for stopping by.
I am LOVING this idea Rachel. You always come up with the best DIYs. I can’t wait to feature this on my weekly wrap-up on Sunday.
Kim,
You are so sweet. I really appreciate this.
Rachel, what a great tutorial. I’ve never done this and now I’m inspired to try! They really look fabulous.
Mary,
I really appreciate your encouragement.
I keep telling myself to do this because yours are especially cute. Maybe if I go ahead and order the roller, I’d actually do it?! Your table gets me extra excited about the upcoming season too. Everything looks so happy!
Cindy,
I’m so glad you like this idea. Thanks for stopping by.
Hi Rachel! Love the napkins. Love the whole table setting. So pretty.
Cheryl,
I really appreciate this.