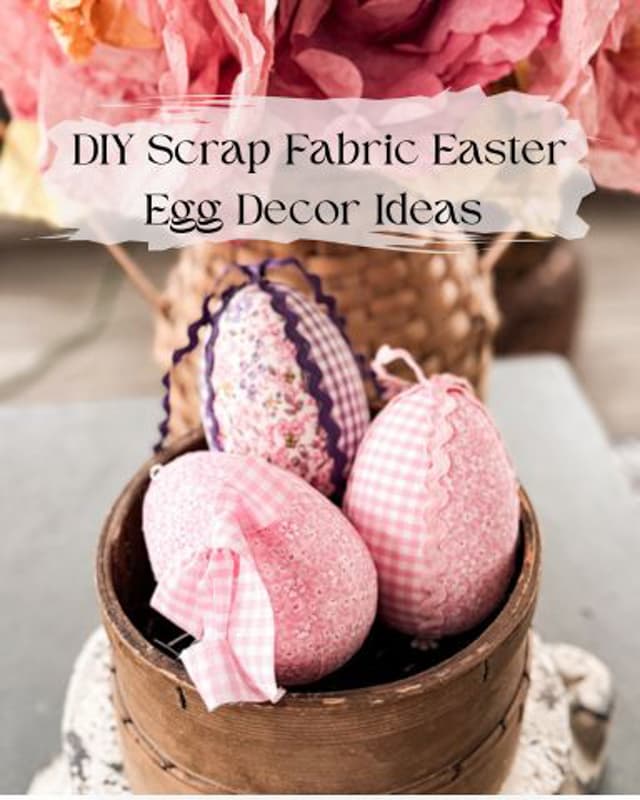
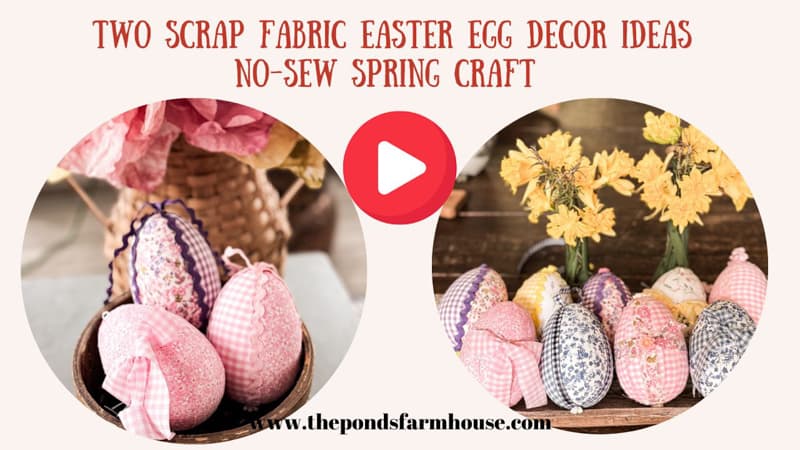
Two Scrap Fabric Easter Egg Decor Ideas: Easy, No-Sew Spring Crafts
Y’all know I’m a waste-not kind of girl, and you are going to love this no-sew Spring craft. I’ve created two adorable styles of fabric Easter egg decor using scrap fabrics for Spring decorating. These easy-to-make Easter eggs can be made in any color combination to work with your decor, and they only take small bits of fabric. You can choose which style you like best, and I’ll teach you the step-by-step details for each one.
(Posts on The Ponds Farmhouse may contain affiliate links. As an Amazon Associate, I earn from qualifying purchases. See the full disclosure details here.)
DIY Fabric Easter Egg Decor
I’m excited to share my latest scrap fabric craft projects. I love finding a use for leftover fabrics and other materials. I have two Easter egg decor ideas that I’m sharing with you today. Both are no-sew ways to create stunning Spring decor.
My first idea was to cover the eggs with strips of fabric and Mod Podge. This method offers so many possibilities, from creating multi-colored eggs or eggs made of only one fabric choice. Plus, you can use almost any type of egg you have on hand.
The second idea is one I’ve never tried before, but I love the results. This method requires Styrofoam eggs because you stuff the fabric into the egg to secure the design. It sounds somewhat complicated, but I assure you it’s not. Let me share both methods; you can decide which you like best.

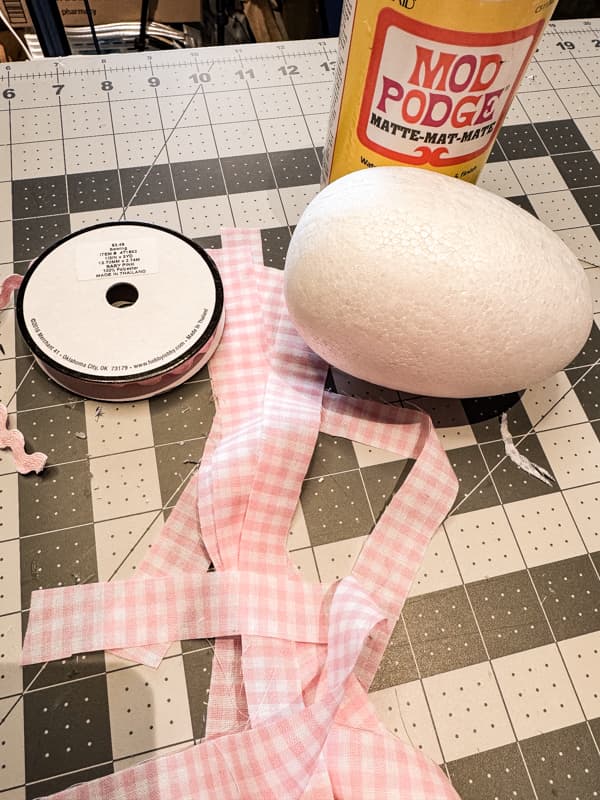
Supply List
- Fabric Scraps or Purchase small yardage of fabrics – 1/4 yard will make approximately 5-6 large eggs.
- Styrofoam Eggs – These are the ones I used.
- Mod Podge
- Hot Glue Gun
- Rotary Fabric Cutter
- Exacto Knife
- Decorative Trim: Narrow trim and rick rack works best. I just saw this daisy ribbon that would be adorable.
- Decorative enhancements such as bead, charms, flower beads, etc.
Scrap Fabric Decoupage Easter Eggs Decor
First, I will share how I made the scrap fabric decoupage Easter eggs. This tutorial offers so many options. I used one fabric pattern to cover most of my eggs and then added trims with contrasting fabrics. You’ll see one egg where I used two fabric choices. However, you can mix the colors and patterns to create many great designs.
Step One – Cut Fabric Strips
Begin by using the rotary fabric cutter to cut strips of fabric 1 inch wide. Use a straight-edge ruler or yardstick to keep the cutter steady and even. I used 45-inch-wide fabric, and two strips of that length were enough to cover one egg completely.
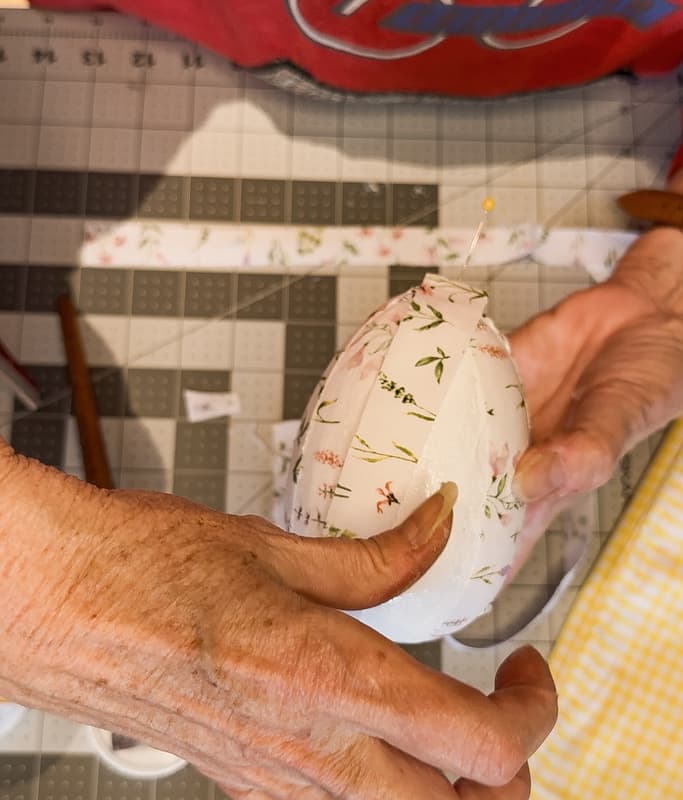
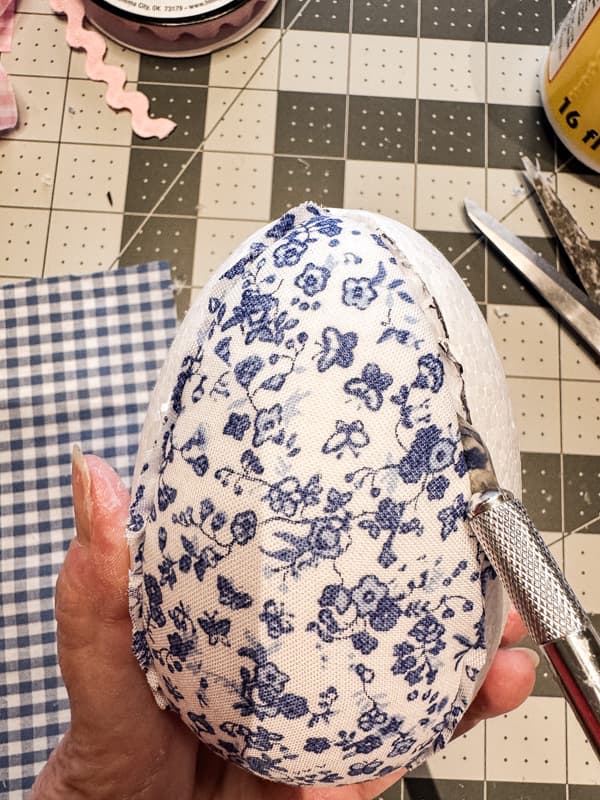
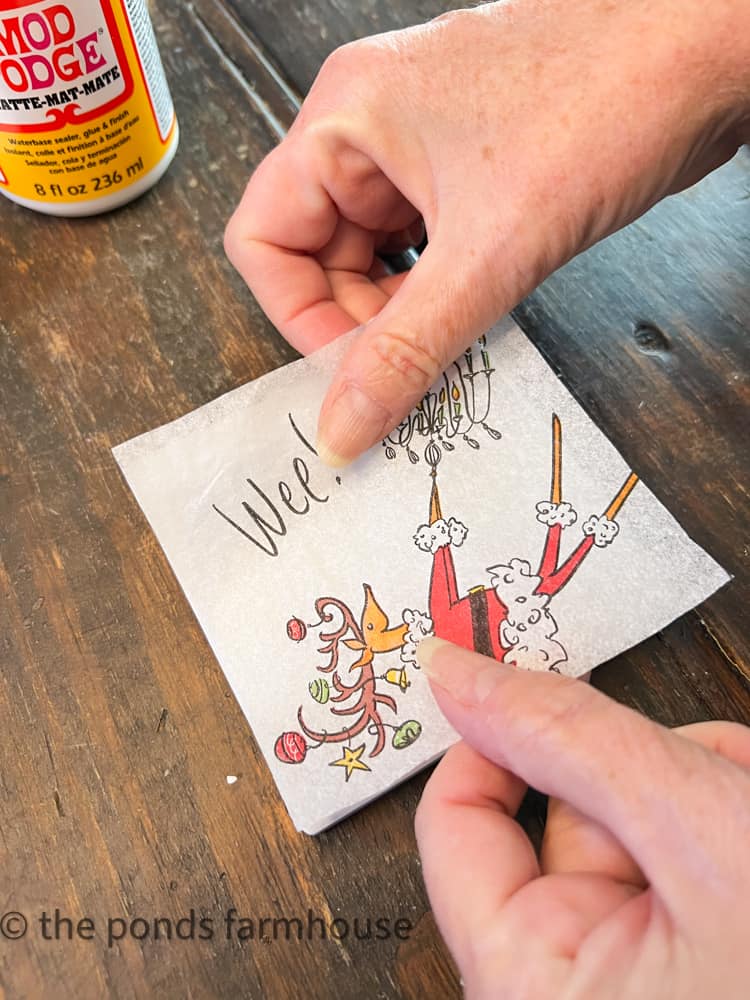
Step – Two – Attach Fabric To Easter Eggs
Now, you want to measure and cut the fabric to circle the egg from top to bottom. Then, using a small paint brush, apply mod podge to the egg slightly wider than the fabric. Attach the fabric at the top of the smaller end and pull taut as you wrap and secure the fabric in the glue. You can hold in place with a straight pin if needed. Wrap another piece around the opposite side of the egg. This will leave four equal open spaces around the egg.
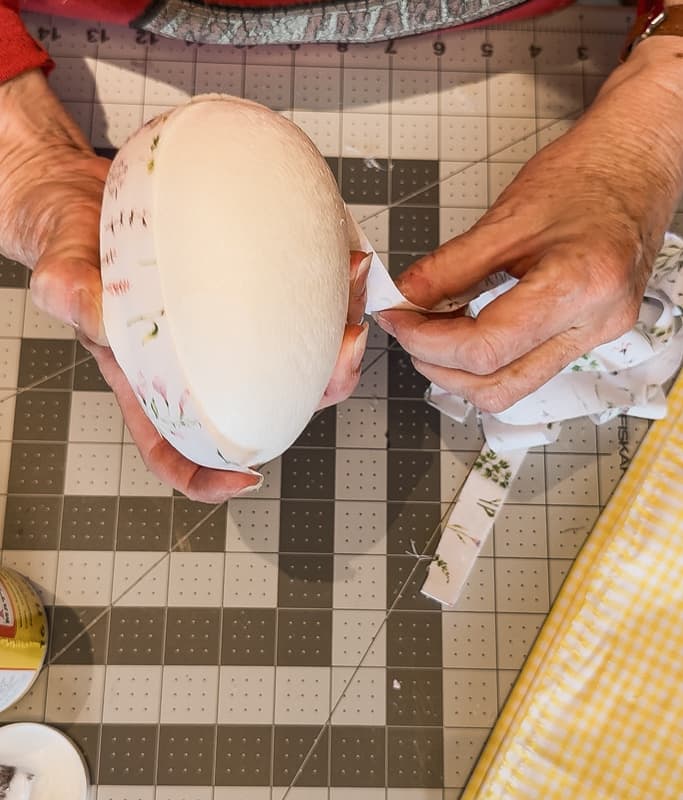
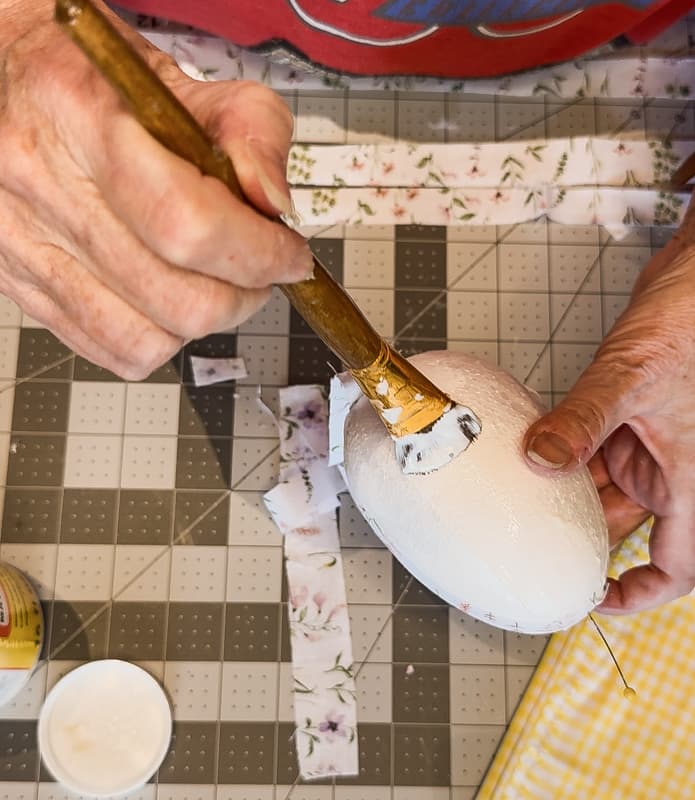
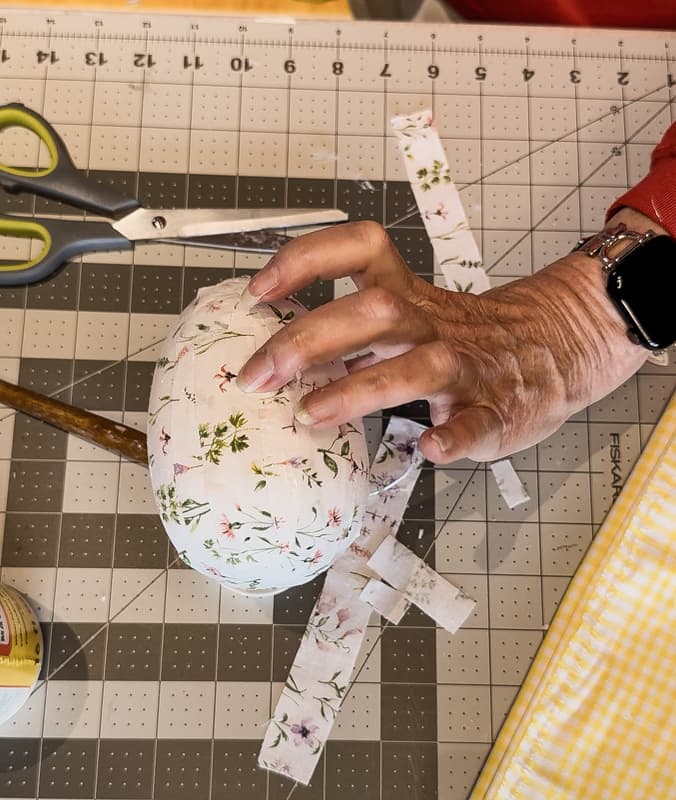
Continue to fill in with fabric, pulling taut and securing to the small top of each egg. Allow the fabric layers to slightly overlap to avoid any gaps. Ensure that you add mod podge over the previous fabric layer edge so that the top fabrics adhere. Once the Easter egg is covered, set aside to dry.
Insider Tip: Scrap Fabric Placement
I chose to add the fabric from top to bottom for the decoupage technique. However, there is no right or wrong way to apply the fabric strips. They can be applied from side to side, crisscrossed randomly, and mixed with various fabric designs. Let your imagination soar.
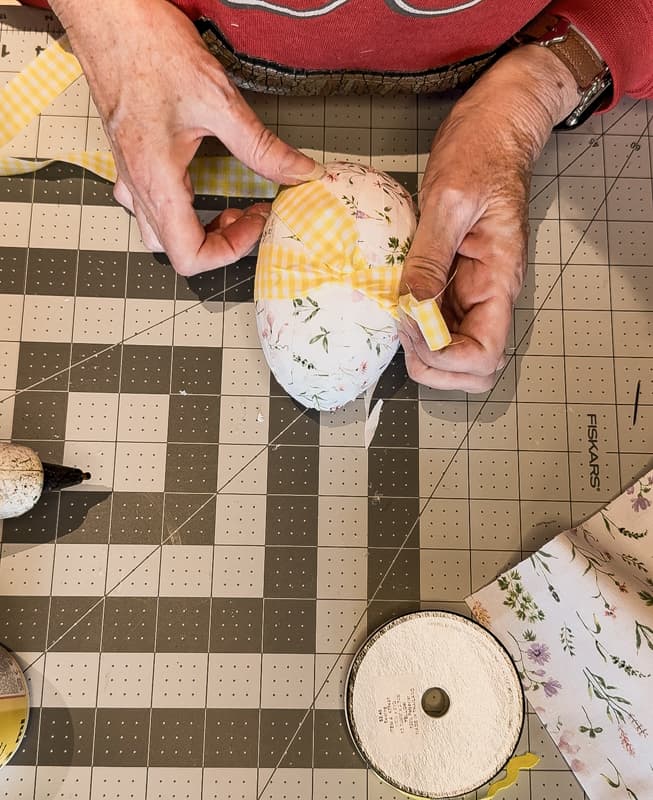
Step Three – Adorn The Fabric Easter Eggs
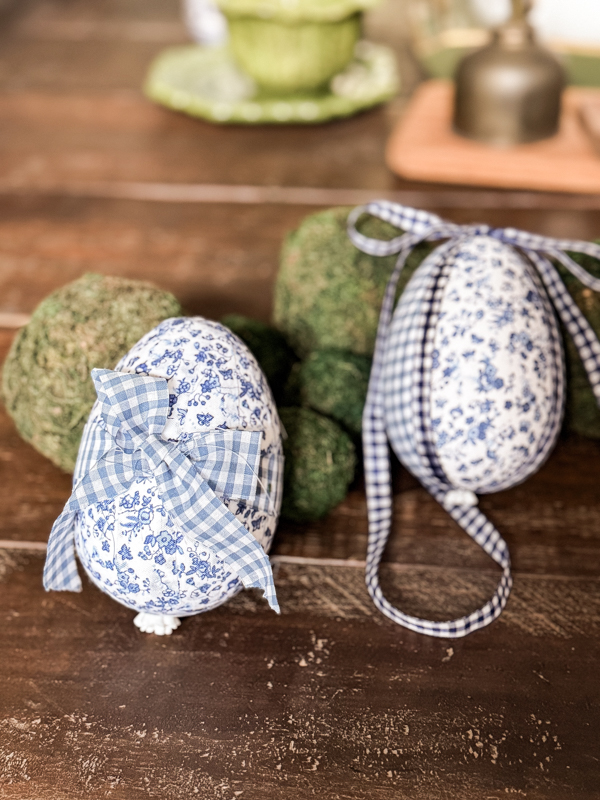
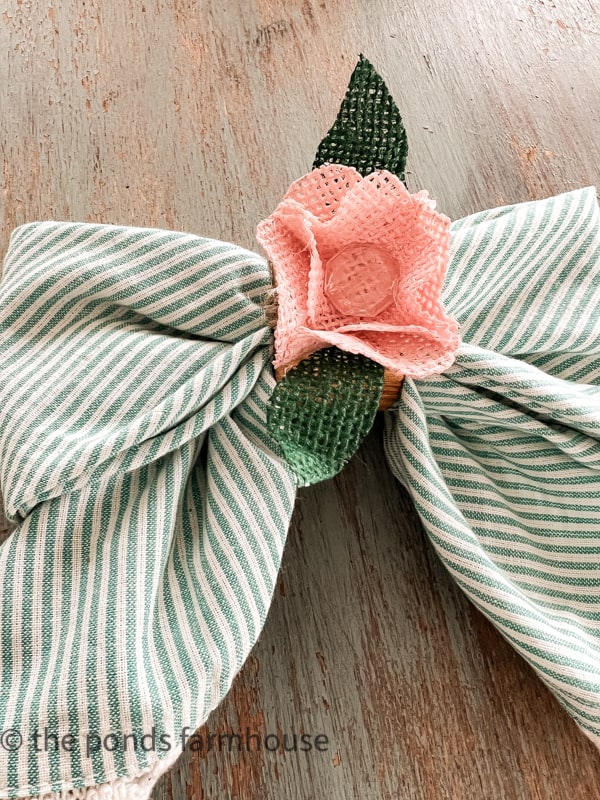
Once the fabric decoupage Easter Eggs are dry, you can adorn them with ribbon, beads, etc. I used a contrasting fabric to tie a bow around the center of the egg. Then, I added a flower bead to the bottom of the egg with hot glue. You can use ribbons, beads, appliques and more to adorn your eggs.
How To Make Fabric Stuffed Styrofoam Easter Eggs
Next, let’s look at our second option for making scrap fabric Easter Egg Decorations. For this method, you will need larger pieces of fabric, Styrofoam eggs, and an exacto knife.
Step One – How To Cut Fabric For Easter Eggs
First, you will need larger pieces of fabric for this technique. The eggs will be divided into four sections and the fabric needs to cover the width and height of the sections. I used pieces approximately 5 x 8 inches to ensure that they would cover sufficiently. You will need four sections, and I will use two contrasting fabric designs.
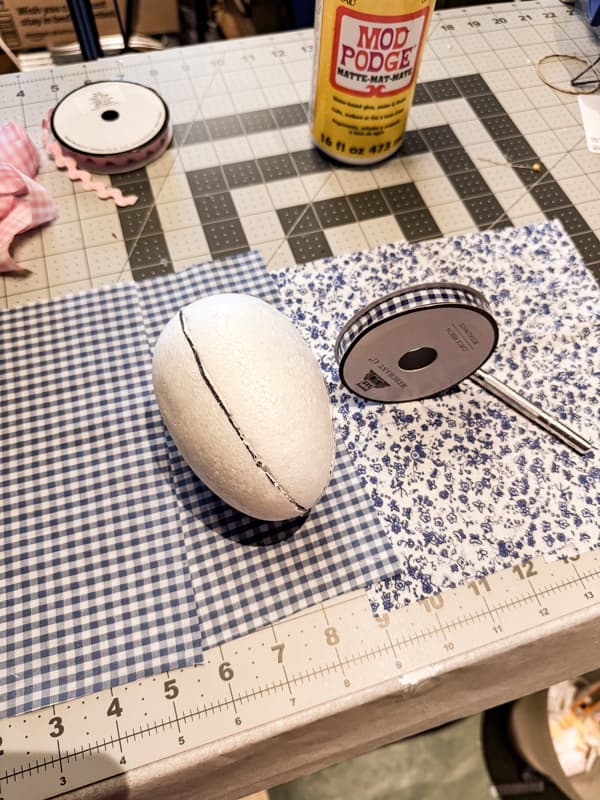
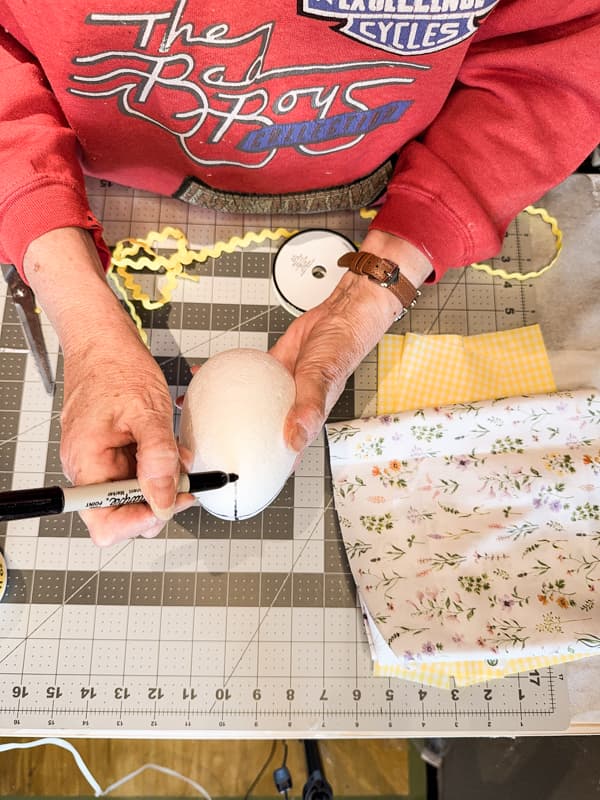
Step Two – Prepare Styrofoam Eggs
To prepare the styrofoam eggs for this project, begin by dividing them into four sections from top to bottom. I used the natural seam in the egg, and then put a rubber band around it to determine the center from the other direction. A Sharpie is best for drawing the lines to divide the egg.
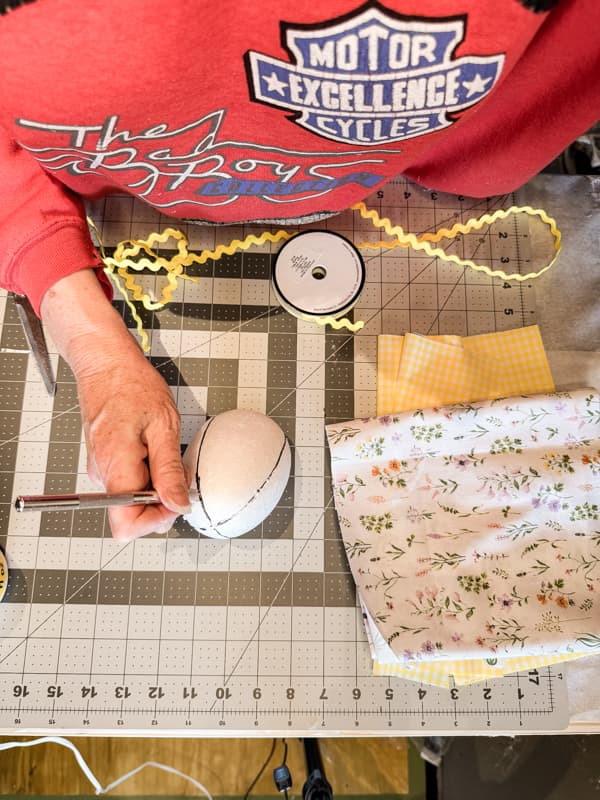
Once the egg is divided into four equal sections, cut along the lines with the exact knife to form seams along the sections. Ensure you cut as deep as the knife allows and have smooth, uninterrupted seams around the egg.
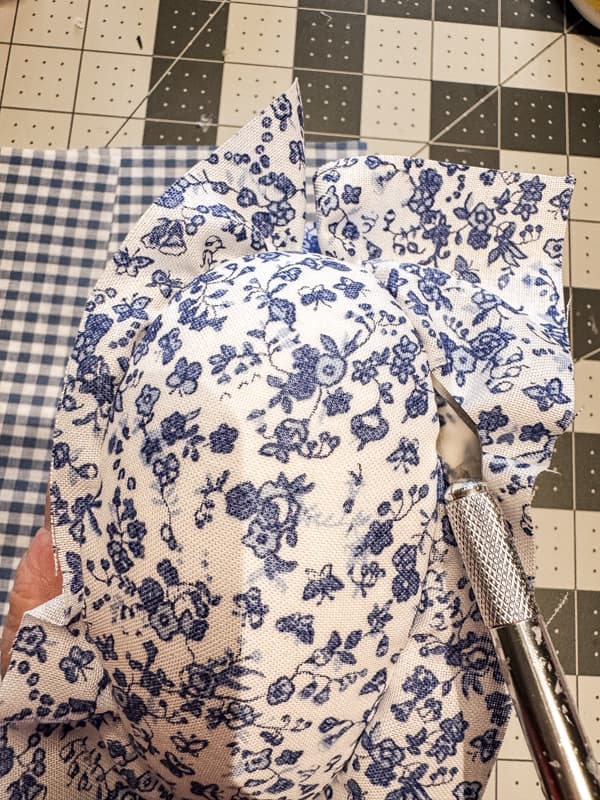
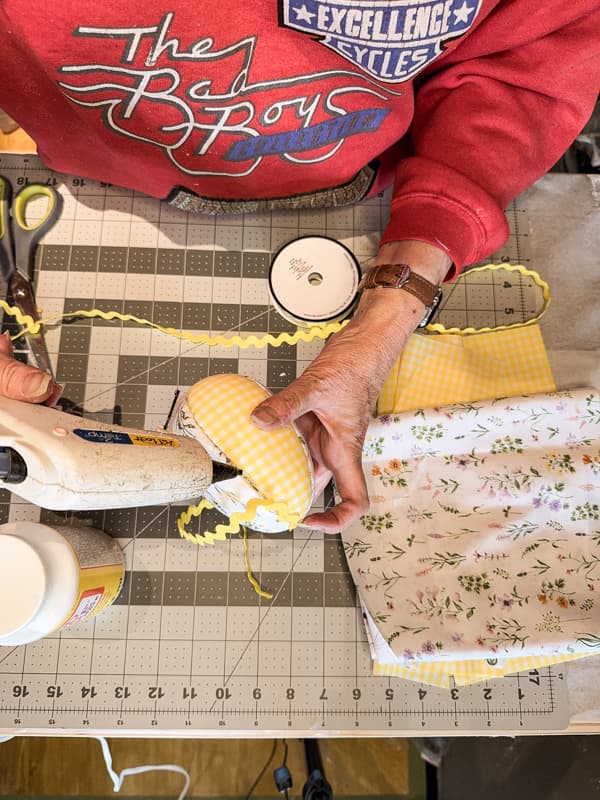
Step Three – Add Fabric To Eggs
Now you are ready to add the fabric. Begin with one piece held in the center of the section. Use the dull side of the exacto knife to push the fabric into the seams. Start at the middle of the egg and work from side to side to keep the fabric smooth. Push the entire piece of fabric into the seams. Once it is secure, use scissors to trim away the excess fabric.
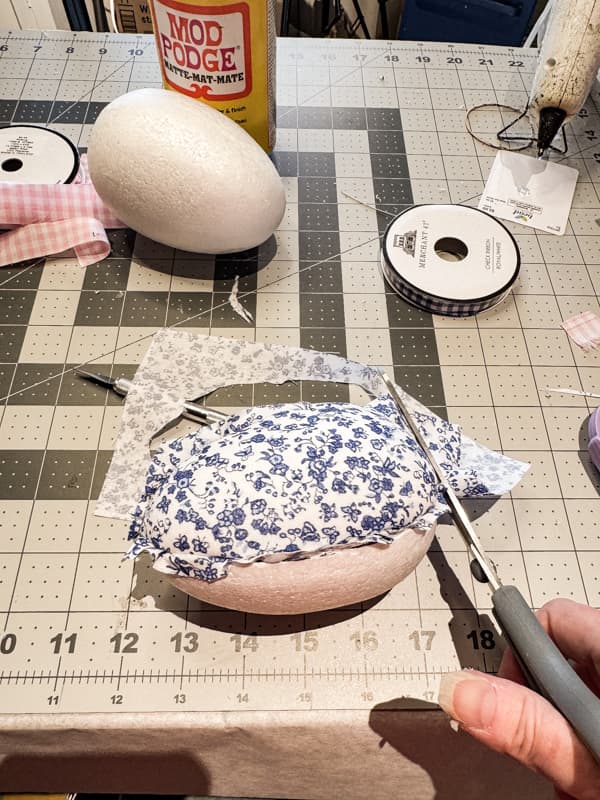
To finish, push the remaining fabric into the seams until no edges are visible. Once the fabric is in place, repeat on the opposite section. Finally, the contrasting fabric will be similarly added to the remaining two sections.
Insider Tip
When cutting the fabric for this style egg, be sure to allow extra around all edges. You d want to have enough to fill in all the seams. I allowed for two to four extra inches around the seams.
Step Four – Add Trim To Cover Seams
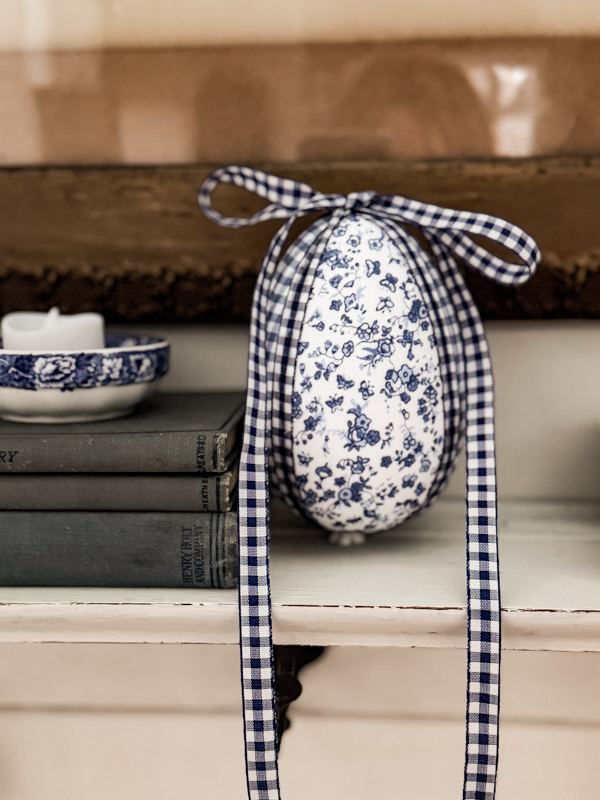
Finally, you will want to cover the seams with decorative ribbon or fabric. I used the rickrack ribbon and applied it with hot glue. Fill the seams with a small bead of glue and press the ribbon into place, ensuring that it covers the open area. As an optional step, I left an extra length of ribbon at the top to use as a tie to hang the eggs. Then I finished with the flower beads.
DIY Fabric Easter Eggs Decor
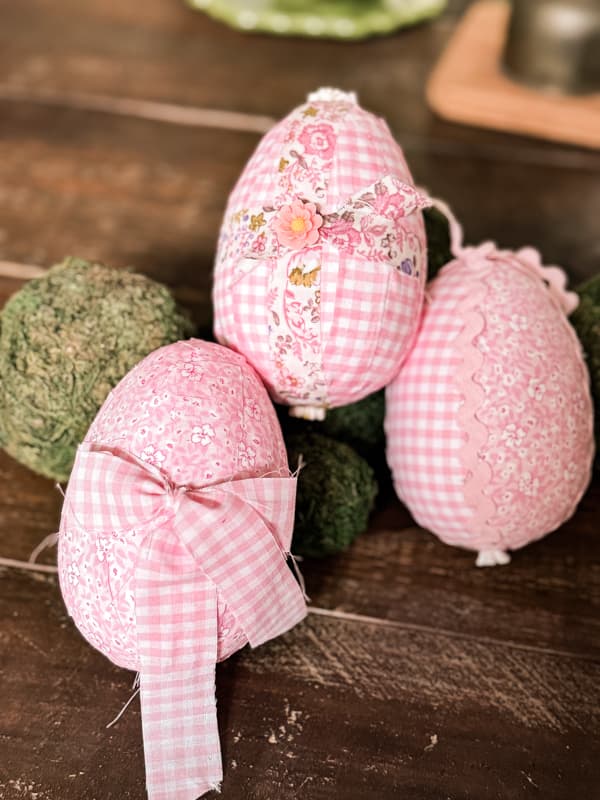
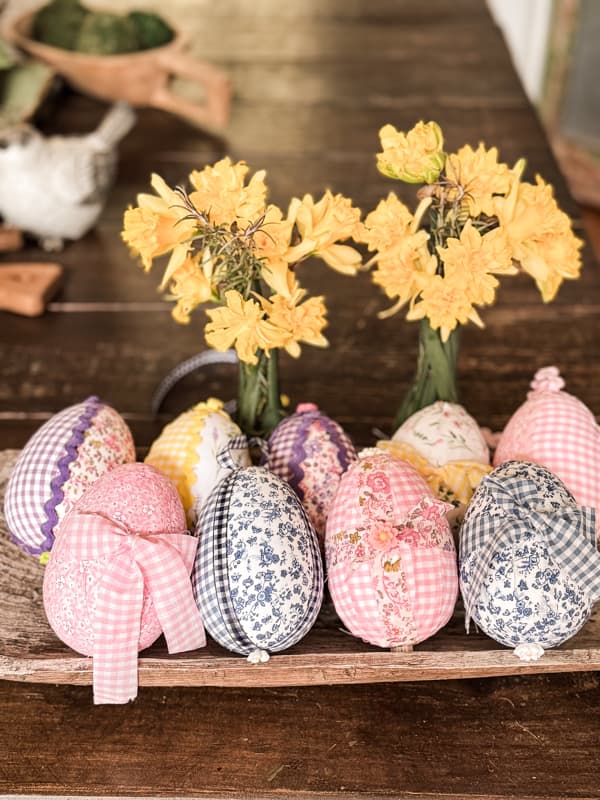
I made several eggs in pastel colors and used a few different techniques. However, there are so many options for enhancing the fabric Easter Egg Decor. Below are the eggs I made, and I will also show you some close-up images.
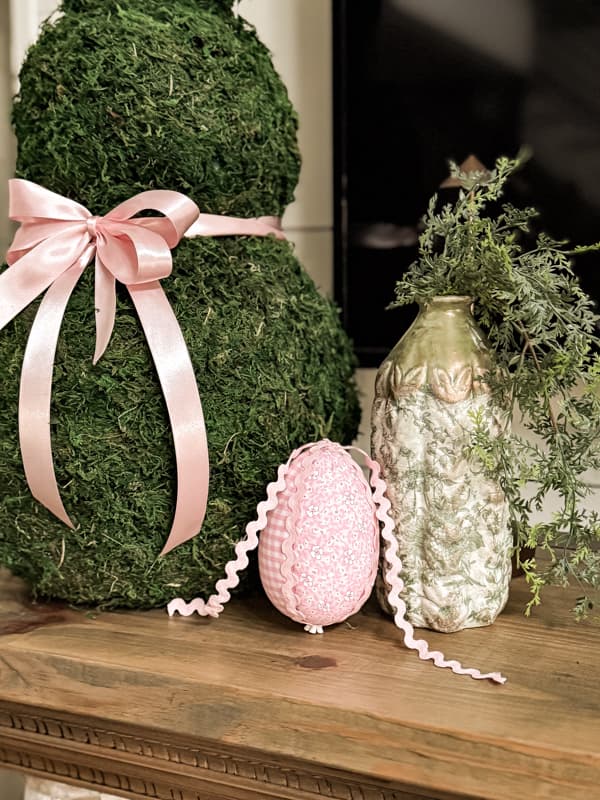
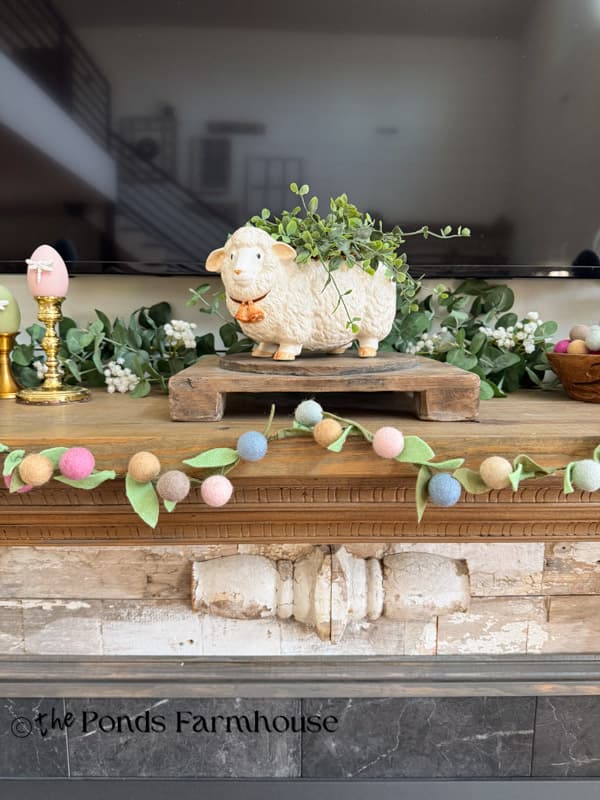
Here are three options for the pink and white Easter eggs. I plan to display them with the DIY Dollar Tree Easter Bunny I shared previously. I’m using the large bunny on my mantel until the weather permits placing it outside. One of the cute eggs enhances the mantle’s Easter theme.
I decided to include some blue and white eggs to display for Easter. I’ve transformed my living room with blue and white accents for Spring. The single egg looks adorable on a wall shelf.
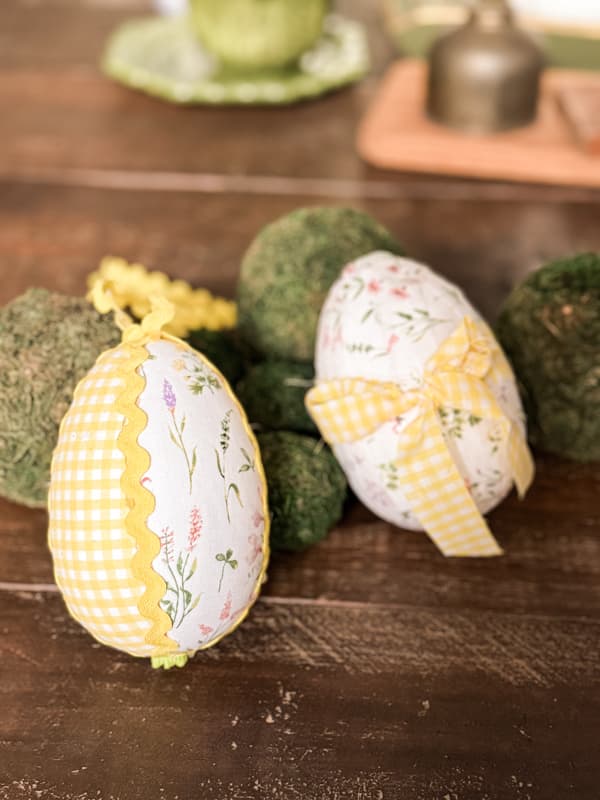
I used yellow gingham mixed with a fun spring floral to contrast on a couple of eggs. They may be my favorite. However, check out these purple fabrics. I decided to use two fabrics on the decoupaged one but wasn’t happy with the design. So I added more rickrack and love the details once it was complete.

All the Easter eggs look so cute grouped together in a dough bowl. They would be sweet in an Easter basket, large platter, or planter. What do you think?
I love them all and hope I have time to make a few more. I ran out of eggs, or I would have continued to create more styles. There are so many possibilities, and the more I made, the more I wanted to try different designs. I’d love to hear or see what you come up with.
FAQ
Related Articles
Video
Thank you for stopping by. I hope you enjoyed today’s article.


You totally had me at ric rac, Rachel! I love how easy these were to make and how you can choose colors that complement your existing decor so you decorate with them throughout the spring season too. Plus, it’s fabulous that you don’t need too much fabric because sometimes I see vintage fabric that’s less than a yard that would be fun to use for projects like these. Can’t wait to try and share this amazing idea! Hugs, CoCo
CoCo,
I’m so glad you like this project. Thank you for stopping by.