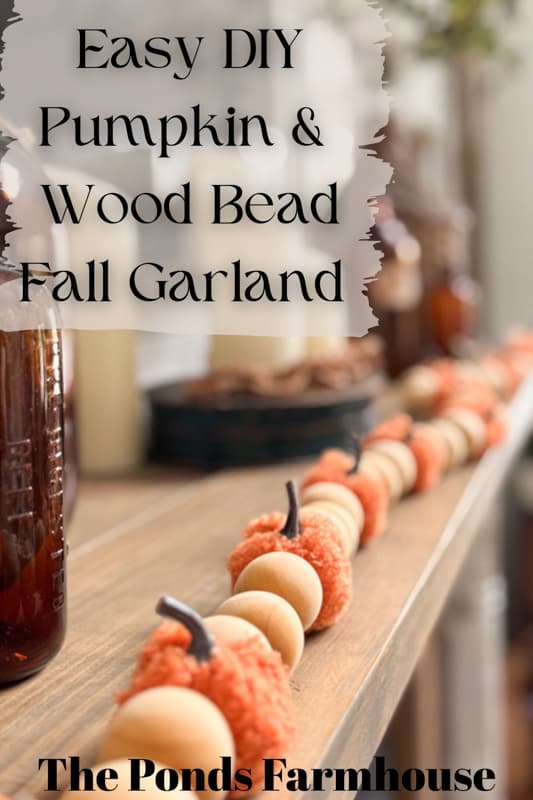
How To Make An Easy Pumpkin & Wood Bead Garland For Fall
Do you like Pottery Barn-inspired decor that you can make for less? I’m excited to share how to make this easy pumpkin and wood bead garland for fall. Pottery Barn’s $59.00 garland inspired me to recreate the style in minutes for just under $25.00. This pumpkin garland craft is one that anyone with little to no crafting skills can copy. Let me show you how easy it is to make.
(Posts on The Ponds Farmhouse may contain affiliate links. As an Amazon Associate, I earn from qualifying purchases. See the full disclosure details here.)
Pottery Barn Inspired Pumpkin Garland
I love browsing all the new seasonal decor on Pottery Barn. More often than not, I find something I love, but I always look for a way to duplicate the look if possible. This year, I was drawn to the pumpkin garland with large wooden beads.
How To Make Pumpkin & Wood Bead Garland Affordable
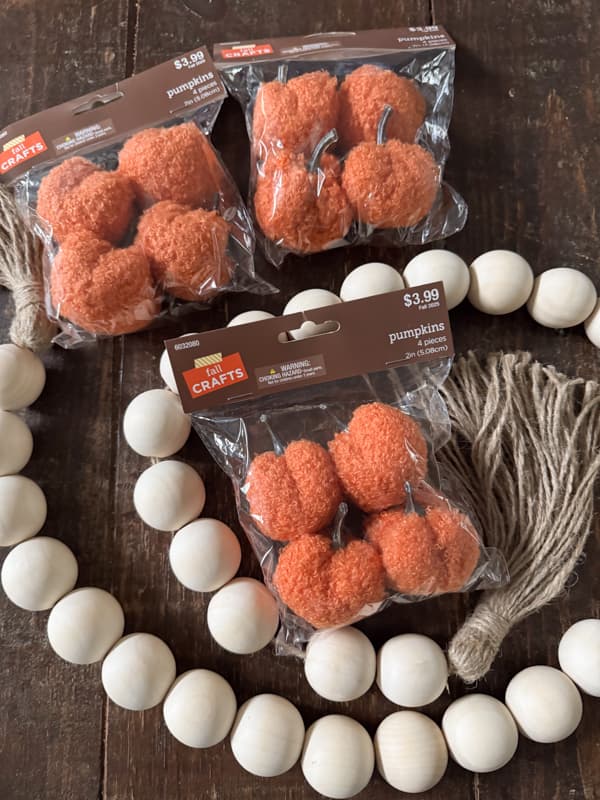
Since I wasn’t willing to pay $59.00 for the Pottery Barn Garland, I decided to see if I could make it for less. My first search was for large wooden beads, and the price of those 1.5-inch beads about discouraged me. However, then I saw a ready-made bead garland for less than the cost of the individual beads. As a bonus, the tassels were already attached. I found the fabric pumpkins I used for 40% off at Hobby Lobby. Here are the supplies I used and some options.
Supply List
- Wood Bead Garland 58″ (once I added the pumpkins, it was 72″ long)
- Jute Twine
- Large Needle
- Hobby Lobby Fabric Pumpkins (12) or Felt Mini Pumpkins (includes Jute Twine)
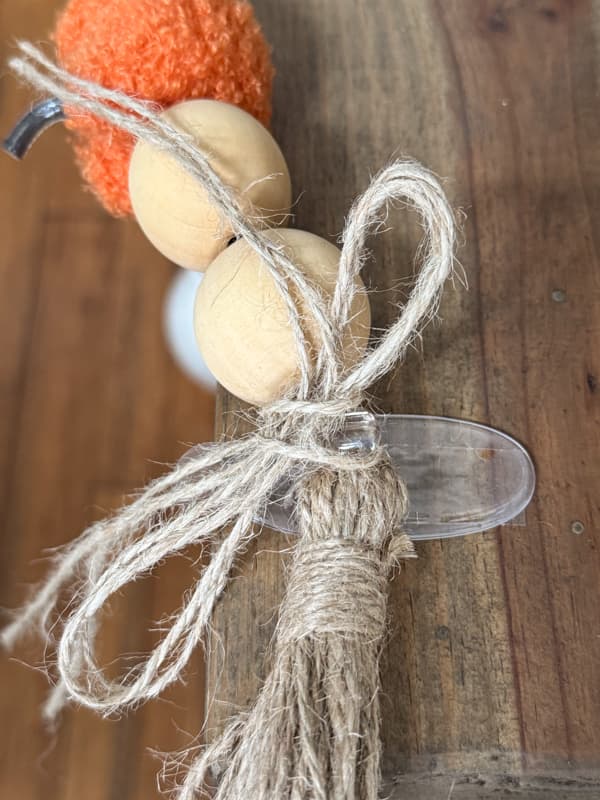
- Clear Command Hangers For Mantel
- Coffee for staining the beads (optional)
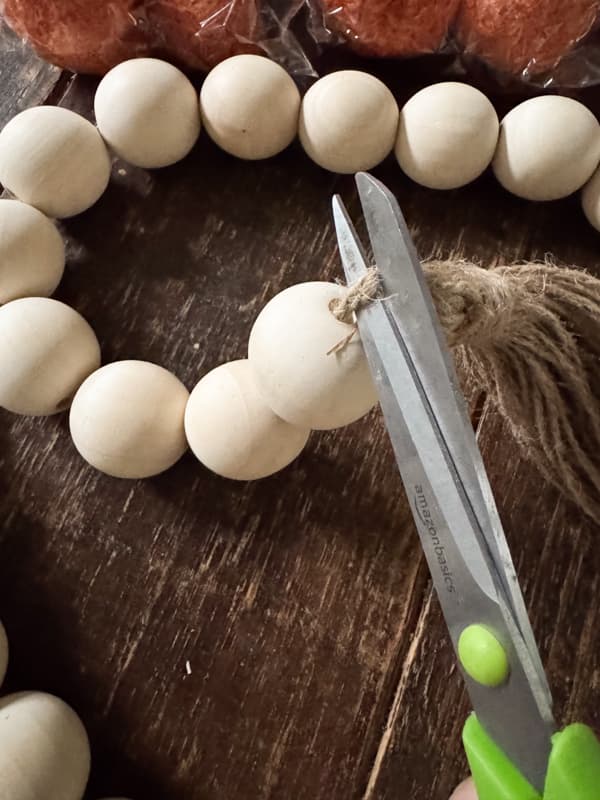
Step 1 – Disassemble the Wood Bead Garland
I wanted to add the pumpkins to the garland, so I disassembled the ready-made garland first. It was easy to cut the tassels from the ends of the garland and remove all the wood beads.
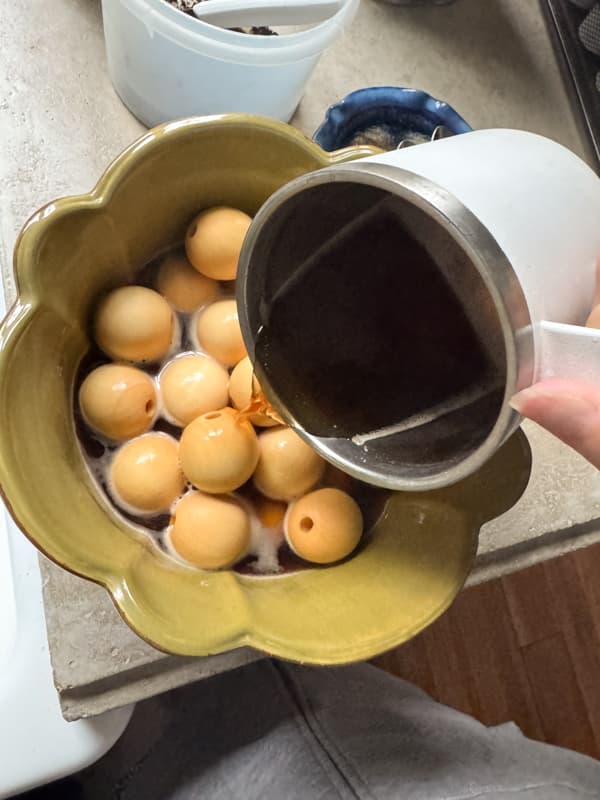
Step 2 – Stain Wood Beads (optional)
I wanted to stain the wood beads for a rustic feel. However, you may choose to leave the beads natural. If so, you can skip this step.
I only wanted a light stain, so I added the beads to a large bowl and soaked them in coffee. I stirred the beads several times and let them soak for approximately 30 minutes.
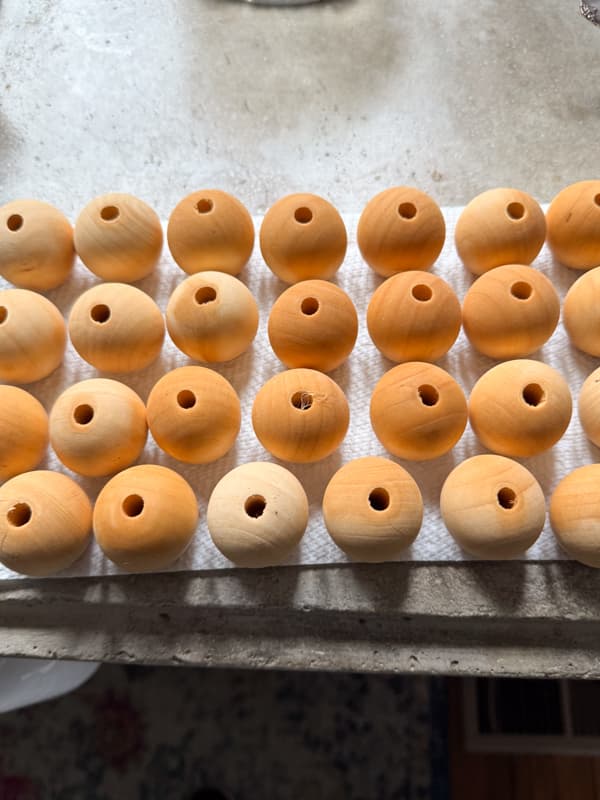
Once the beads are stained to your satisfaction, remove them from the coffee and sit on paper towels to dry.
Step 3 – Create Pumpkin & Wood Bead Garland
Once the beads have dried, begin to create the pumpkin and wood bead garland.
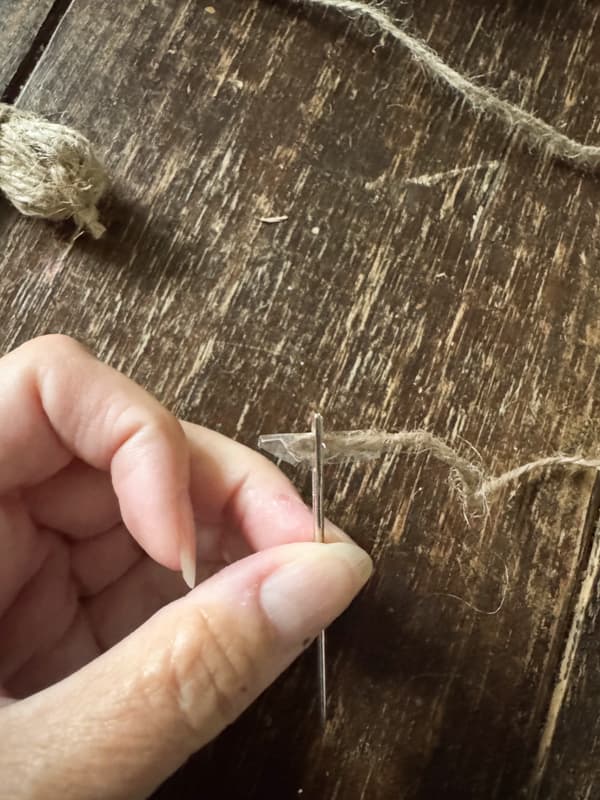
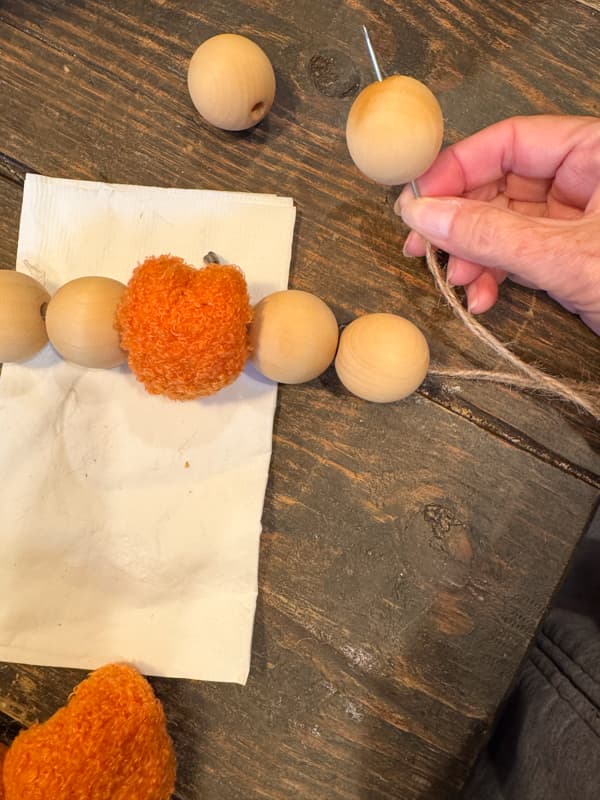
First, thread a large needle with the jute twine. Ensure that you have a length of twine more than double the length of your finished garland. My original bead garland was 58″ and I knew that I would be adding the pumpkins to create a 72″ garland. Therefore, I used approximately 170 inches of twine to allow for two strands of twine.
I added a piece of tape to the jute to prevent it from unraveling while threading the needle. You can also use a needle threader.
Pull the twine through the needle until you are at the halfway point. This will give you two strands of twine for your beads.
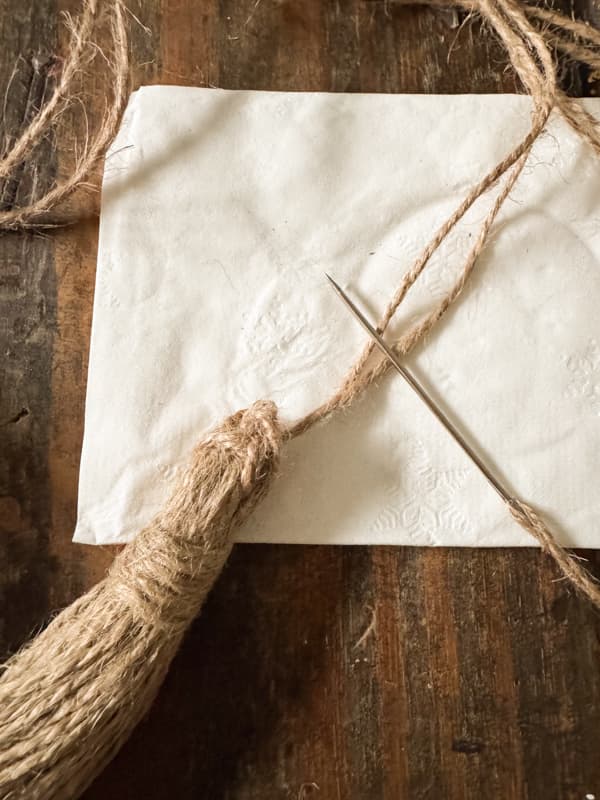
Next, I began by reattaching one of the tassels to the end of the twine. Pull the twine through the center of the tassel and tie the ends to secure. You will now have a needle at one end and the tassel at the other end of your two strands of jute.
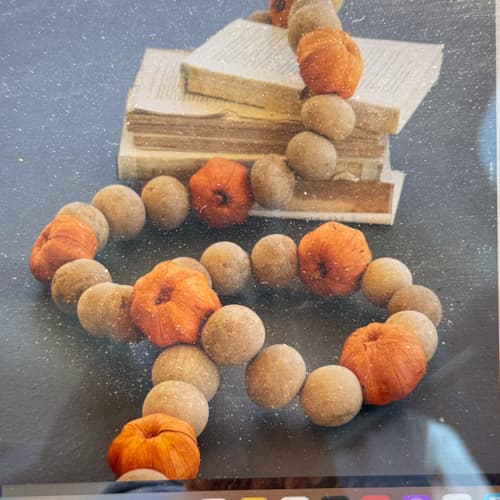
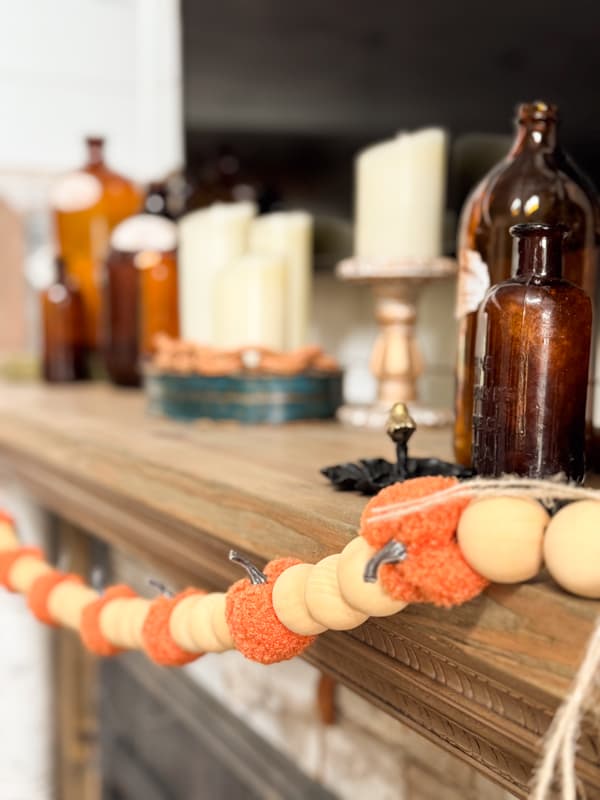
Now, begin to add the stained wood beads and small pumpkins to the jute twine via the large needle.
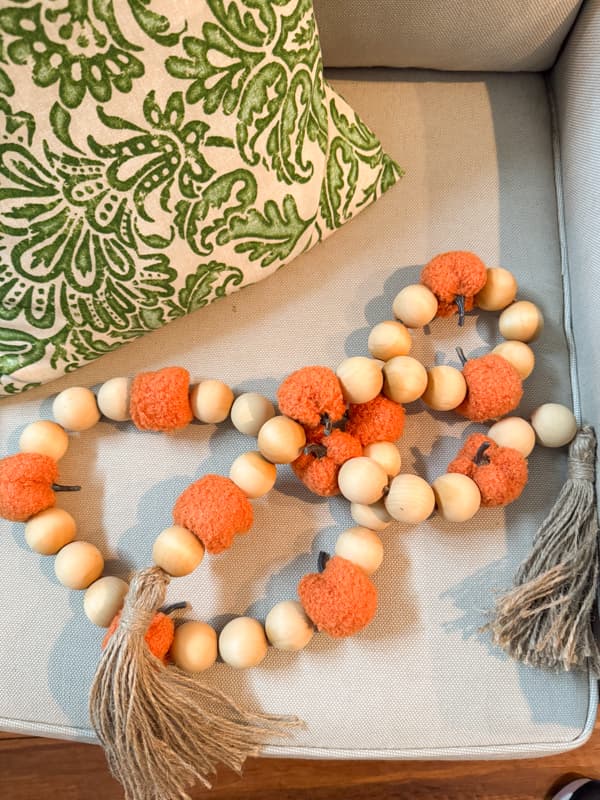
I added two beads next to the tassel, followed by a pumpkin. Then I added three beads, then a pumpkin, and repeated this pattern until I was almost to the end of the garland.
As I was running out of beads, I added two beads, then my last pumpkin, and finally my last bead at the end of the garland. To complete the garland, I reattached the last tassel at the end.
Insider Tip
When adding the fabric pumpkins, it was important to position the needle in the middle of my pumpkins. If I placed it too high, I ran into the hard stem making it difficult to pulling the jute twine through.
If you are using very dense pumpkins, you may want to test before beginning to ensure that you can get the twine to pull though. It may be necessary to use only one strand of twine or opt for a smoother material to string your beads and pumpkins on.
DIY Pumpkin & Wood Bead Garland For Fall
The garland turned out perfect for our mantel. It measures 72″, which is the size of the Pottery Barn version.
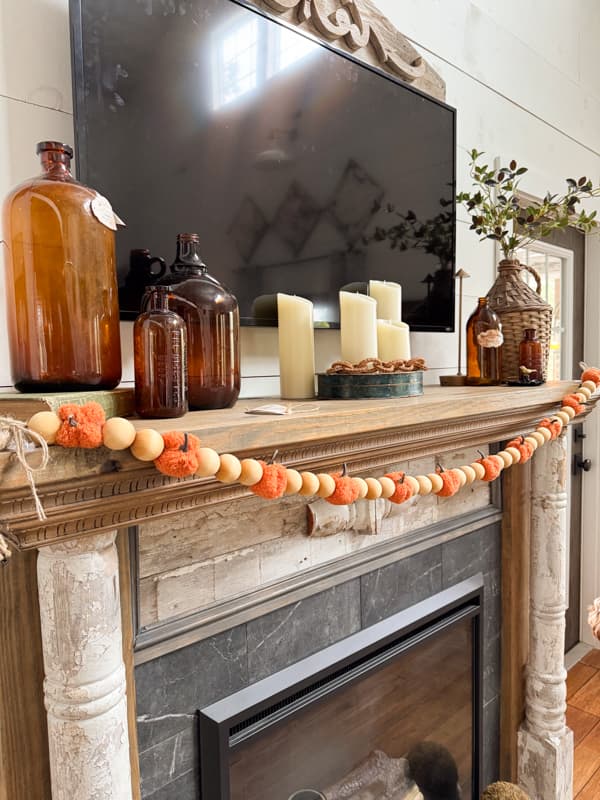
The stained beads and soft texture of the pumpkins create a stunning visual display for fall.

How To Hang Garland Without Damaging Your Mantel
What did we do with command strips? These clear command hooks were easy to attach to the mantel and hold the garland in place. Just follow the instructions on the package, and it’s easy peasy. Best of all, there is no damage to our Shabby Chic Mantel. You can see the link for the ones I used under Supplies at the beginning of the post.
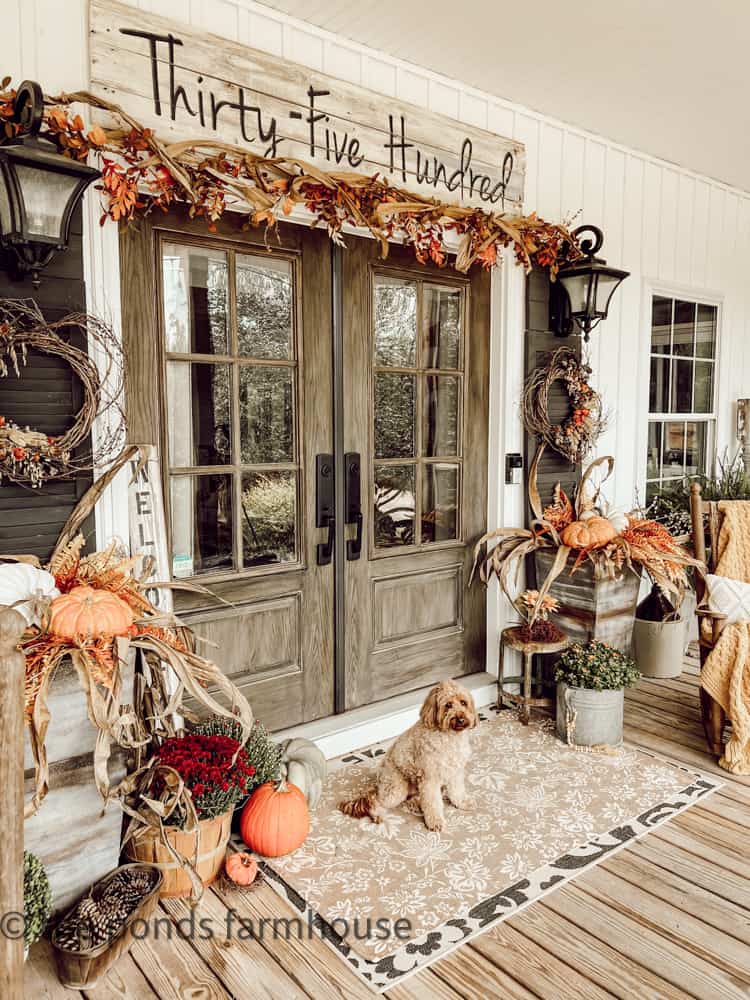
Optional Uses For Fall Garlands
Although I plan to use the wood bead and pumpkin garland on my mantel this fall, there are several ways to decorate with fall garlands.
In addition to mantels, add garlands to decorate these areas of your home.
- Drape over your doorways.
- Hang a garland from a pegboard shelf.
- Add a garland as a table centerpiece or runner for a festive tablescape.
- Decorate above a window.
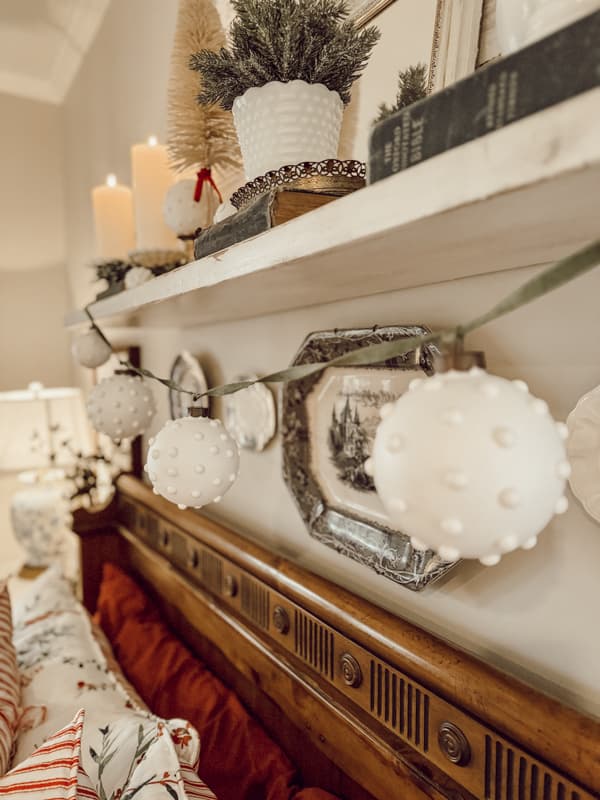
- Hang a garland on a wall or over a painting.
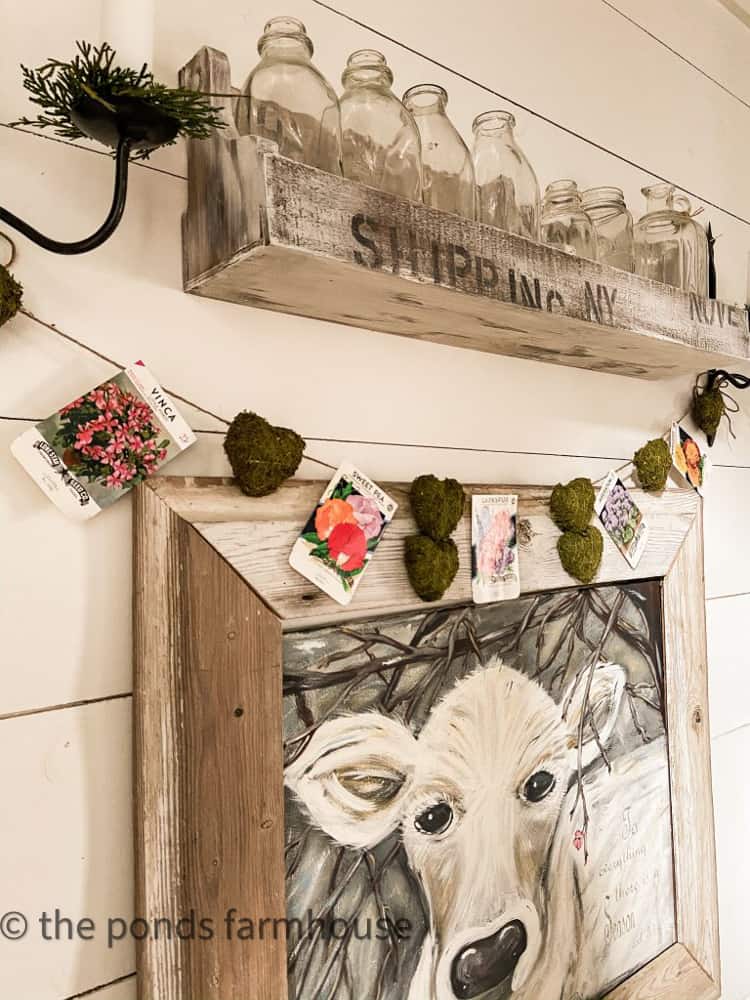
- Drape from the edge of a shelf.
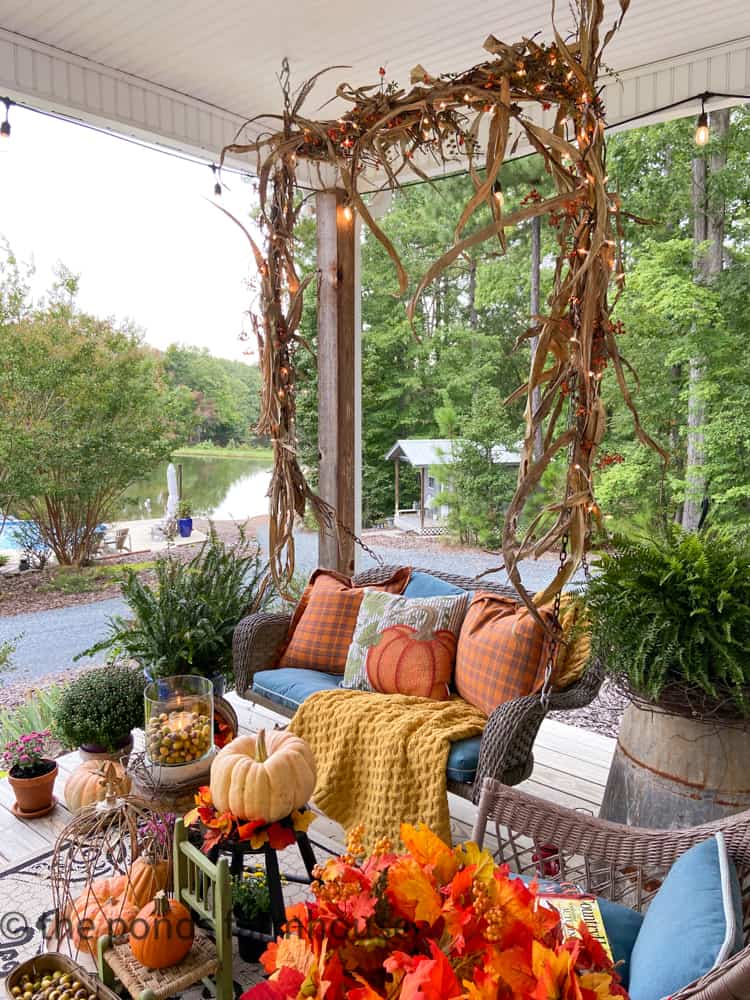
- Over a porch swing.

I hope you enjoyed this easy fall garland tutorial, and I look forward to sharing more ideas with you soon.


Actually I like your rendition of this Pottery Barn garland better than your inspiration one. Thanks for the
clear directions. Thinking of you on your journey of healing and wishing you the best.
Donna,
You are so sweet to say this. I appreciate your support and well wishes. I hope you have a blessed week.
What a great project, Rachel! It looks better than Pottery Barn’s! Nice job! xo
Kim,
I’m so glad you like this one. It’s so easy!
I love all your Fall creations. Fun, creative and helpful. I’m always impressed when I receive your post!
I continue to pray for your “Healing Journey “ and completely agree with your daughter. Our God is still in the restoration business. 💐
Jan,
Thank you so much for your kind words and encouragement. I’m so blessed to have your well wishes and prayers. Have a blessed week.
Rachel, The pumpkins and beads you put together make a cute fall garland, thank you for your clear tutorial. I continue to pray for your healing and health.
Angie,
I’m so glad you like this project. It’s so easy to make. I also appreciate your prayers and continued support. Bless you!