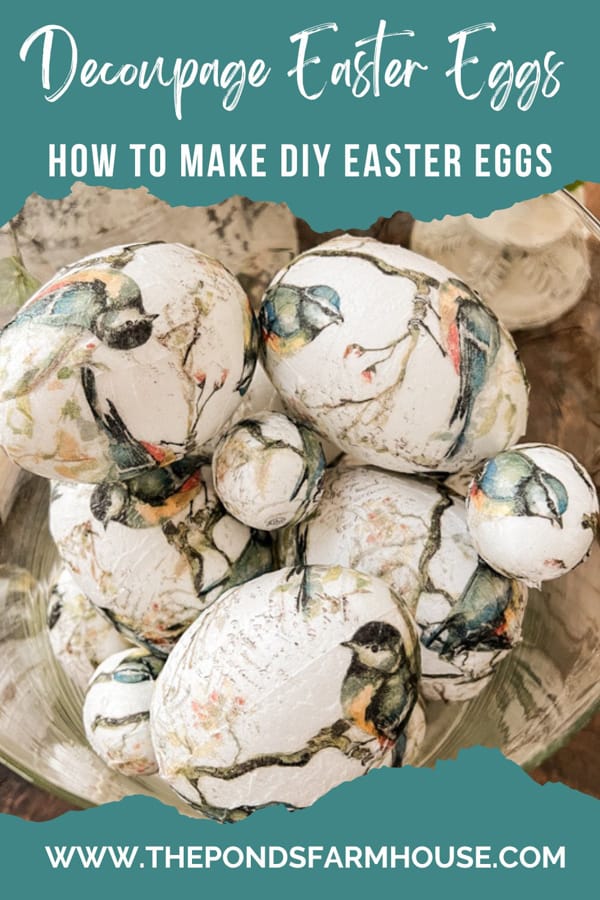
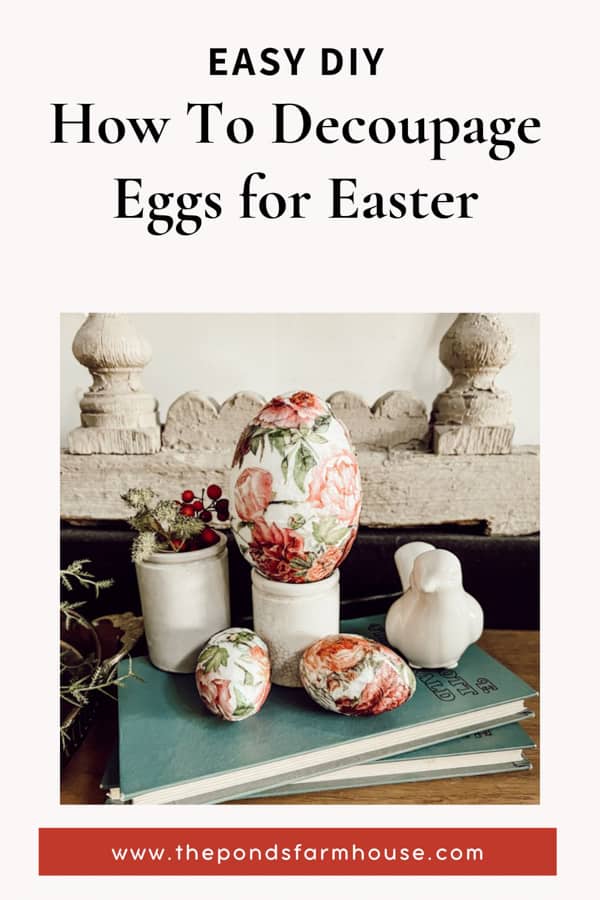
3 Easy Ways to Make DIY Decoupage Easter Eggs for High-End Decor
Are you looking for elegant DIY Easter egg inspiration? You can easily create high-end, designer-style Easter eggs using simple decoupage techniques. Whether you’re using old book pages to transform Dollar Tree eggs or experimenting with beautiful napkins and scrap fabric, these ideas will elevate your spring home decor.
In this guide, I’m sharing step-by-step instructions for making decoupage Easter eggs three ways, plus my favorite tips for styling them for a sophisticated holiday look. Let’s get started!

Easy, Budget-Friendly Decoupage Easter Egg Ideas
These easy-to-make, unique Easter eggs are budget-friendly because you can use old plastic Easter eggs or inexpensive Dollar Tree eggs. It doesn’t matter if they are faded or scratched because you will cover them with scrap paper, napkins, or scrap fabric.
Farmhouse Style Magazine Featured Project
Since this article was published, Farmhouse Style Magazine has picked it up and featured it in their Spring 2024 publication. It is such an honor to be featured in my favorite magazine.

(Posts on The Ponds Farmhouse may contain affiliate links. As an Amazon Associate, I earn from qualifying purchases. See the full disclosure details here.)
DIY Easter Egg Supplies
Here are some budget-friendly options if you want to make some DIY Easter Eggs.
- Large Plastic Eggs or Small Plastic Eggs
- Recycle Eggs -If you have old Easter eggs from previous years, they work great.
- Foam Eggs – 40 pieces – a great deal
- Boiled Real Eggs
- Wooden Eggs
I made the eggs I’m sharing with you today using a combination of old plastic eggs and new foam eggs. You can also use real hard-boiled eggs if you are not planning to save your project for another year. However, I prefer to keep my projects; the faux eggs are budget-friendly.
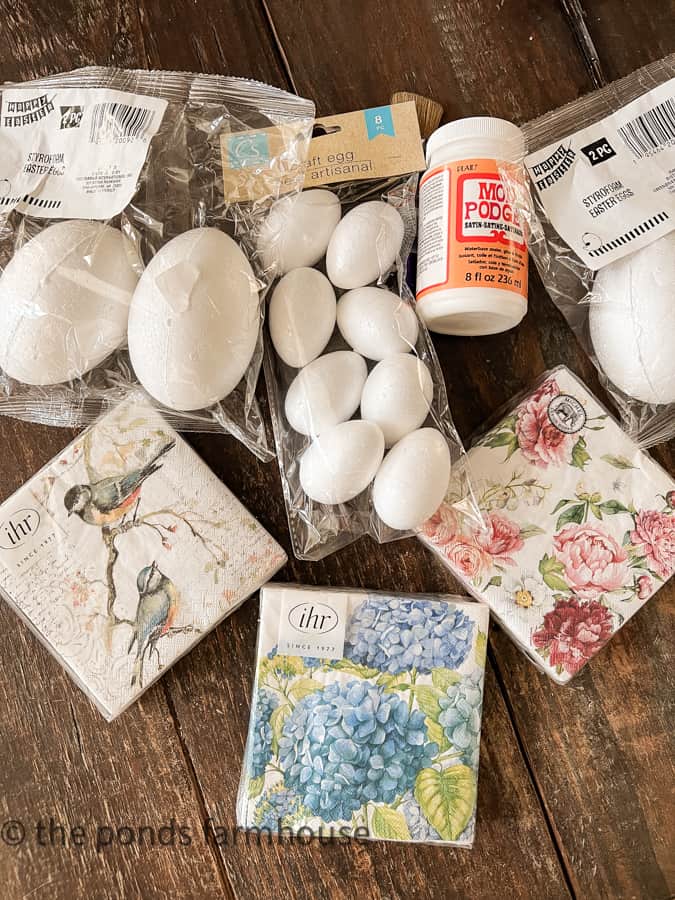
In addition to the eggs, you will need:
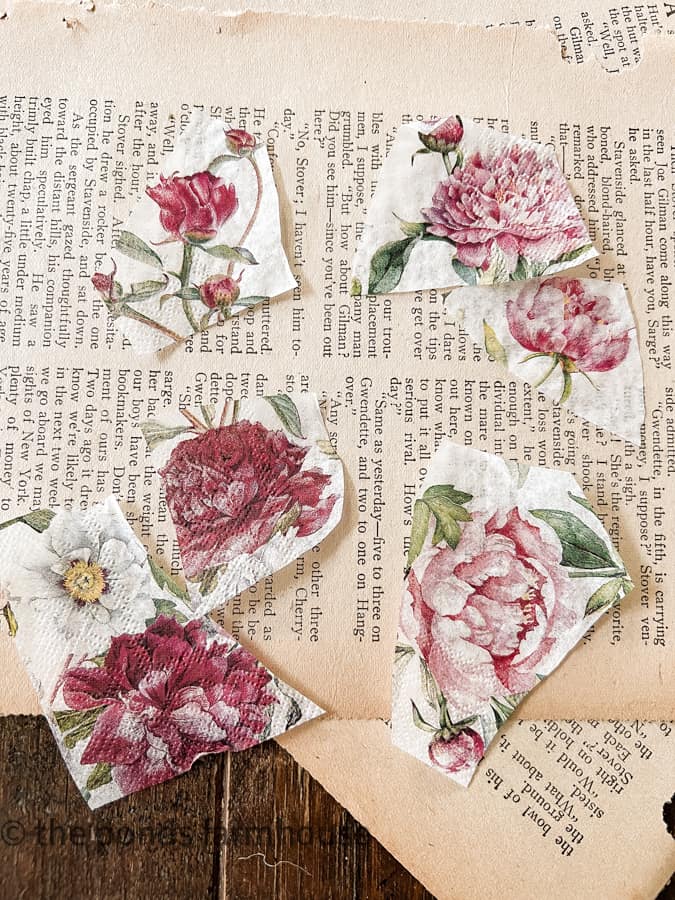
- Napkins – Bird Napkins, Floral Pink Napkins, or your choice. Here is a hydrangea napkin that I love.
- Mod Podge
- Small Paint Brush
- Toothpicks or chopsticks
- Jute Twine
- Old Book Pages or scrap paper
Napkin Decoupage Easter Eggs
This option has unlimited possibilities. You can find so many great napkin choices to use for your egg decoupage.
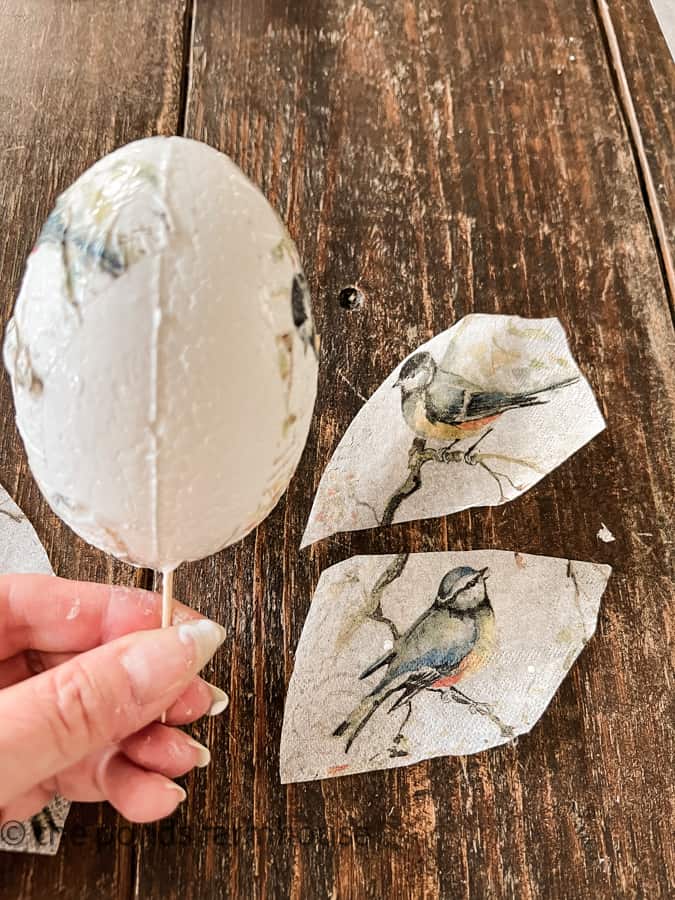
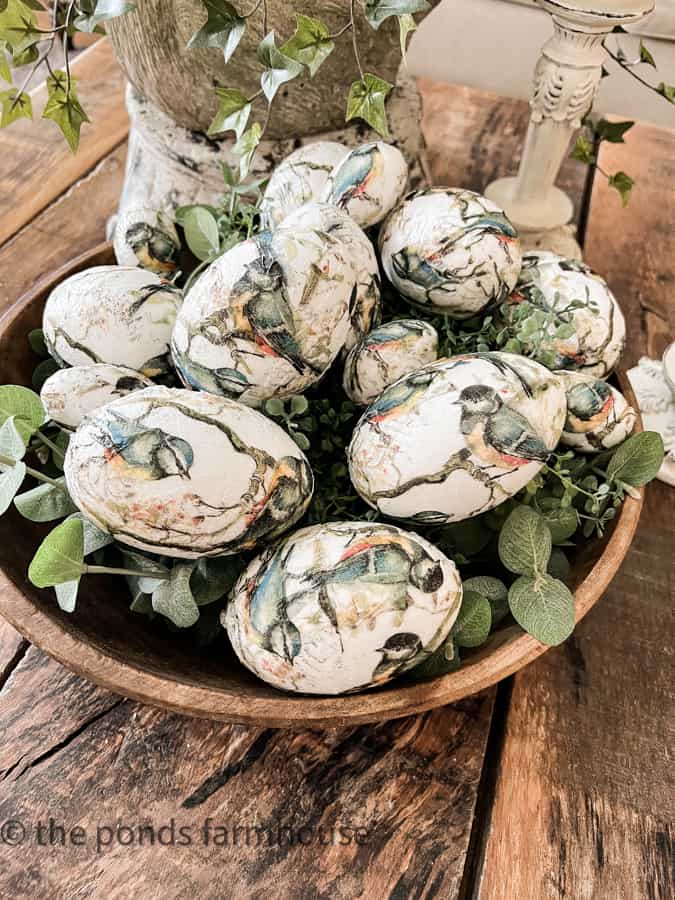
Today I’m using bird napkins and foam eggs for this tutorial.
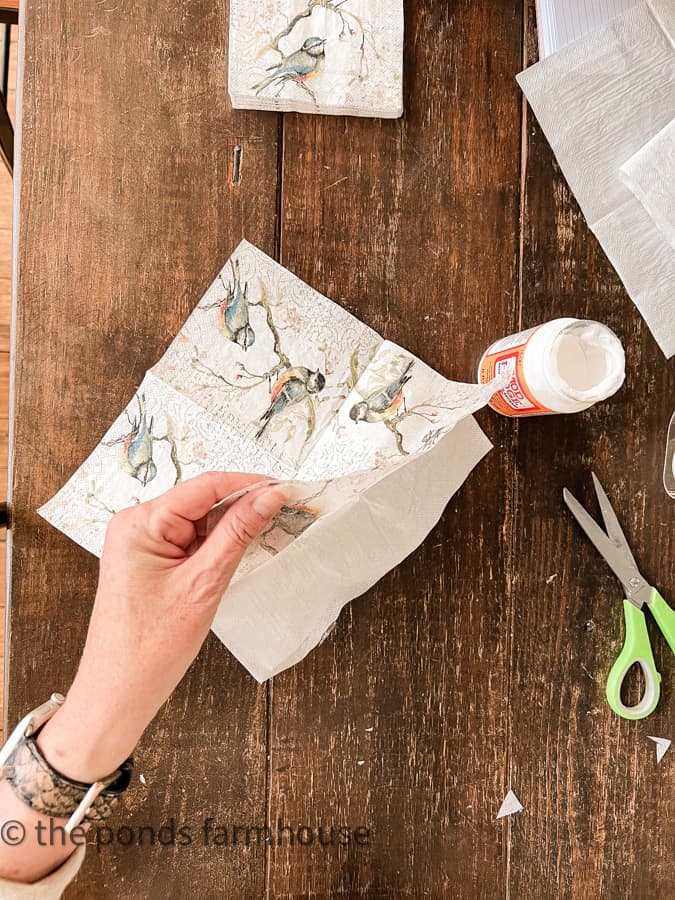
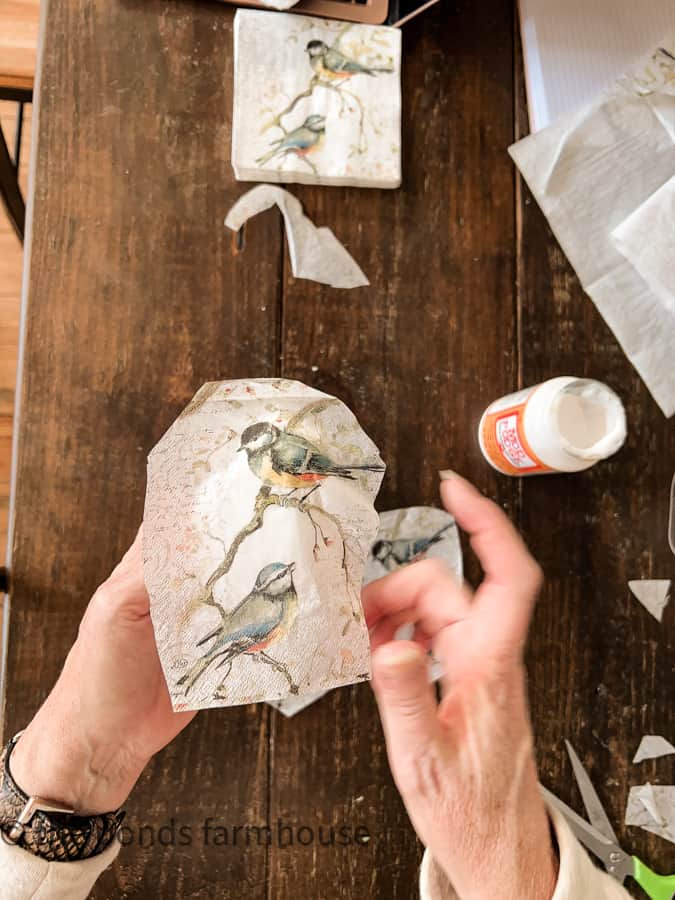
How To Prepare the Napkins
Begin by separating the three-ply napkins. You only want the top layer with the print.
You can use a piece of tape to attach it to the back of the napkin. You can easily pull the layers apart with this technique.
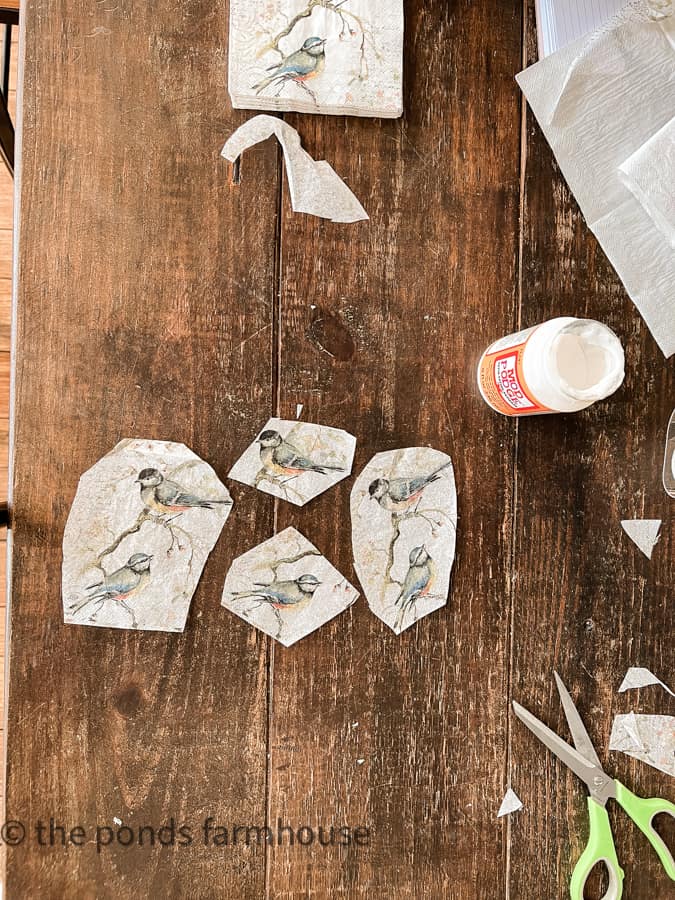
Next, you will need to cut the napkin into smaller pieces. The smaller the eggs, the smaller you want your napkin pieces.
I cut around the birds so they would be the focus once applied to the eggs.
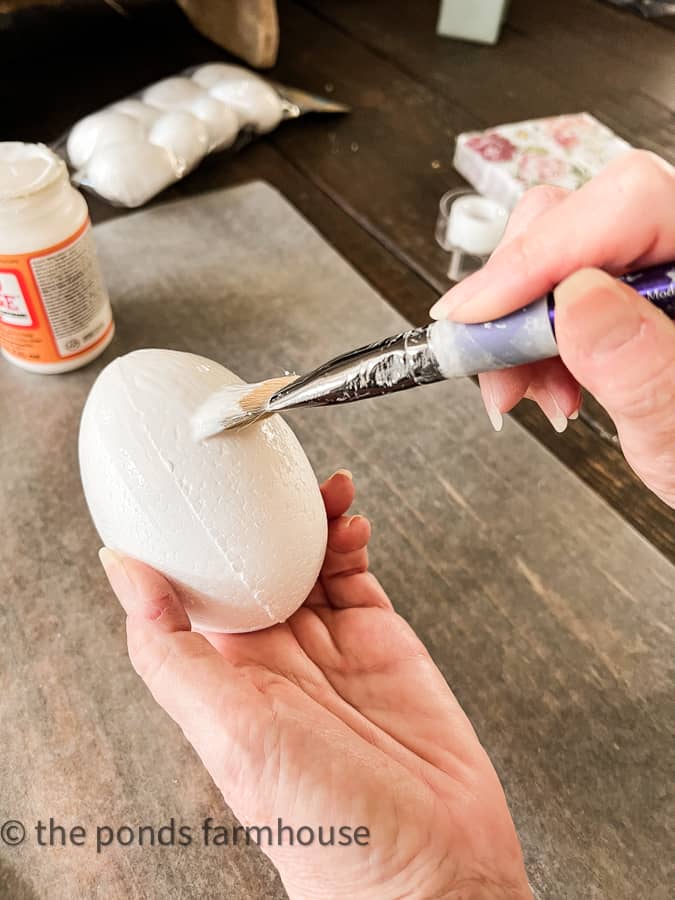
How To Apply Napkin Decoupage to the Eggs
When applying egg decoupage, it’s best to work in small sections when applying the napkin.
Begin by adding Mod Podge with a brush to a section of the egg, which is approximately. the size of your largest napkin piece.
Then spread the napkin over the Mod Podge.
Gently smooth the napkin with your fingers to apply it evenly. Don’t worry if you have some wrinkles.
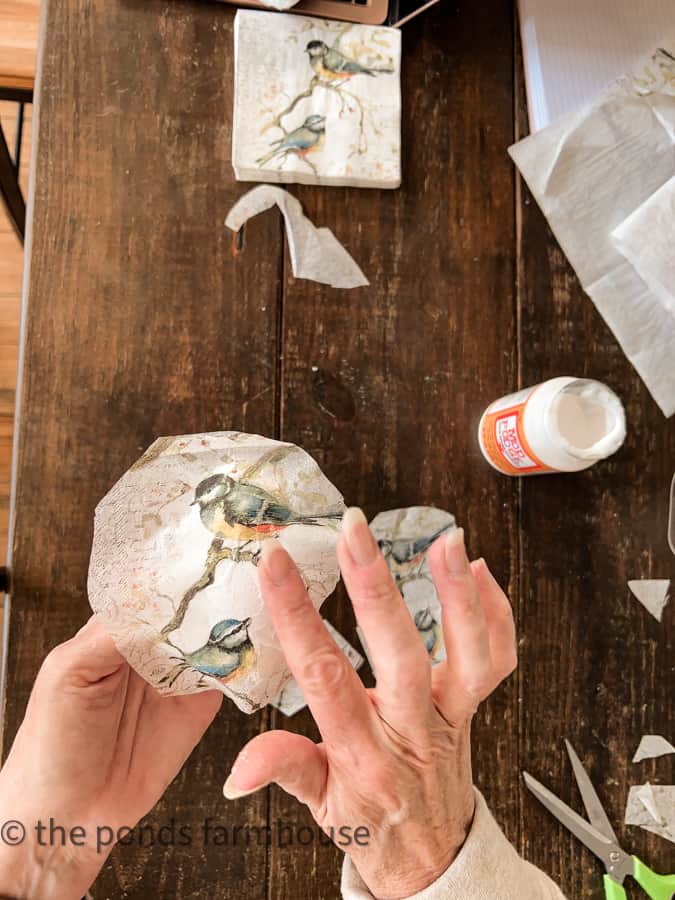
Continue smoothing the napkin with more Mod Podge using a small brush.
You can use the brush to adhere the napkin and smooth wrinkles. However, be gentle because the napkin can rip easily.
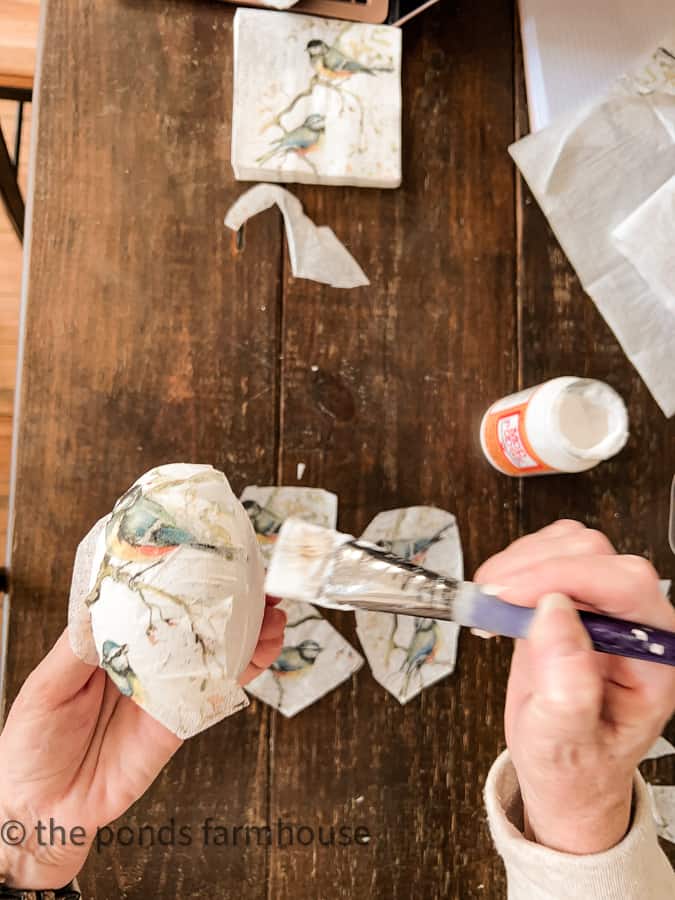
How to Hold the Easter Egg While Applying a Napkin
You will quickly learn that you can’t hold the Easter Egg in your hand while continuing to apply the napkin.
I added a toothpick to the foam napkins after one side was completed. This allowed me to finish applying the napkin without damaging the finish.
If you are working with plastic or wooden eggs, decide how you will hold the egg before beginning.
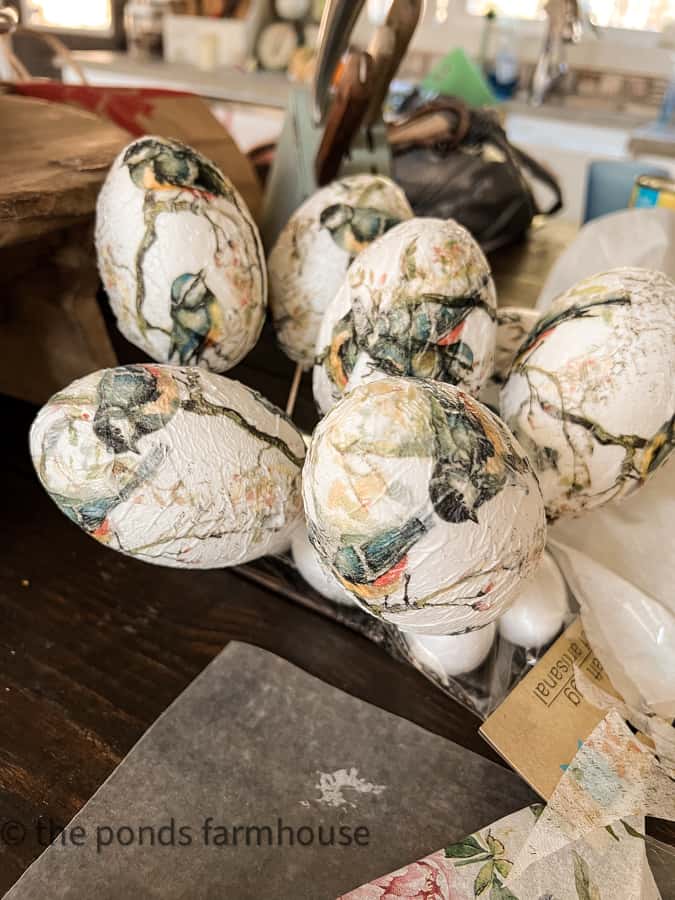
Allow To Dry
Finally, set the DIY Easter Eggs in styrofoam using toothpicks, allowing them to dry for approximately 1 hour.

How To Decoupage Easter Eggs
Equipment
- Small Paint Brush
- Toothpicks
Materials
- Foam Easter Eggs
- Napkins
- Mod Podge
Instructions
- Separate the three-ply napkin layers using tape to pull the back layers away for the printed top layer.
- Cut the napkin into smaller pieces & around the design.
- Use the brush to apply mod podge on the foam egg
- Add a toothpick to the egg so that you don't have to touch the egg when the napkin has been applied.
- Begin adhering the napkin pieces over the mod podge.

- Use the brush with additional mod podge to smooth the napkin over the egg surface.
- Continue until the egg is covered and all areas are as smooth as possible. You will see some wrinkles, but this is normal.
- Allow eggs to dry for approx. 1 hour.
Video
Notes
Decoupage Plastic Eggs
There are a few things to consider if you decoupage plastic eggs. First, you should use wooden chopsticks or skewers to hold the egg firmly. Most plastic eggs will have a hole that can be enlarged to accommodate a chopstick or ice pick.
In addition, for smaller eggs, cut the napkin into smaller pieces to make wrapping easier.
Insider Tip
Also, I’d like to point out that the egg’s color will show through most napkins. If you are using multicolored eggs, you may want to paint them solid before beginning.
Otherwise, the same techniques apply.
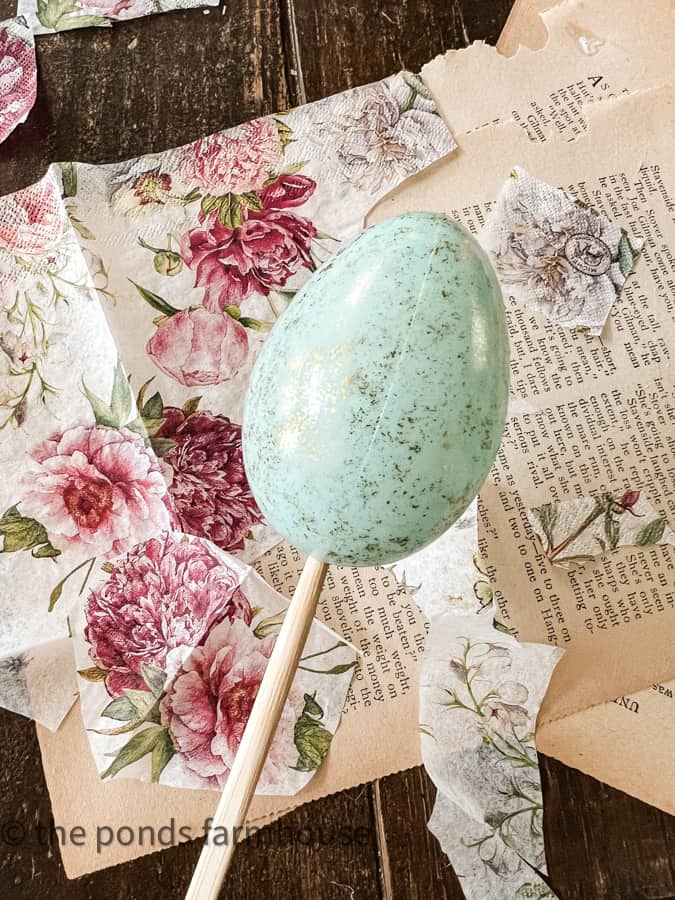
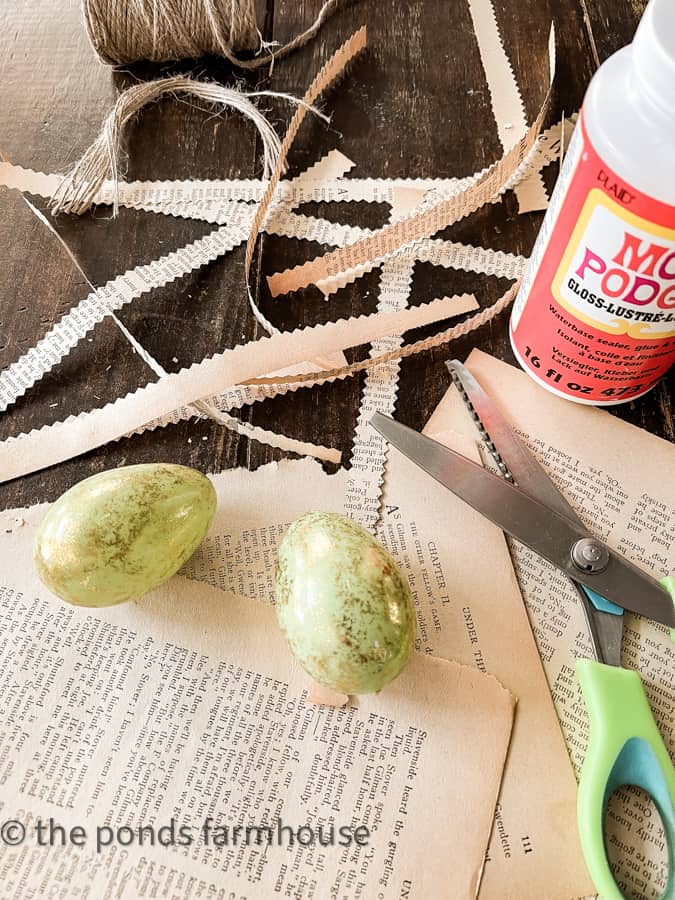
Scrap Paper or Old Book Page Easter Eggs
Another fun way to decoupage Easter Eggs is using old book pages or scrap paper.
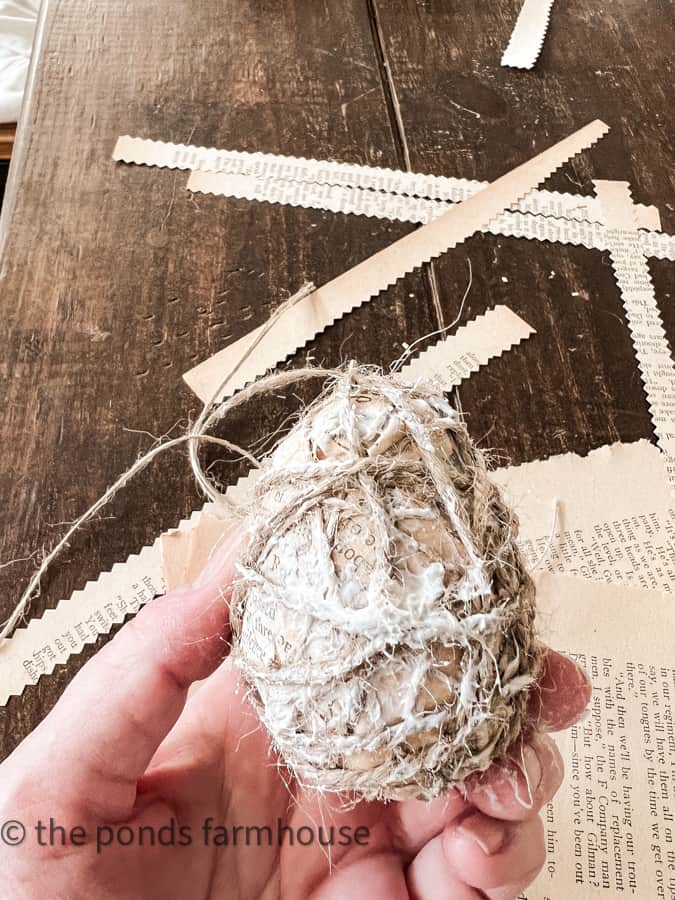
To make old book page Easter Eggs, I recommend cutting the book pages with pinking shears or ripping the pages into strips. For this project, I recycled some old Easter Eggs that we no longer use. Even if they are slightly damaged, it doesn’t matter because the paper will cover any imperfections.
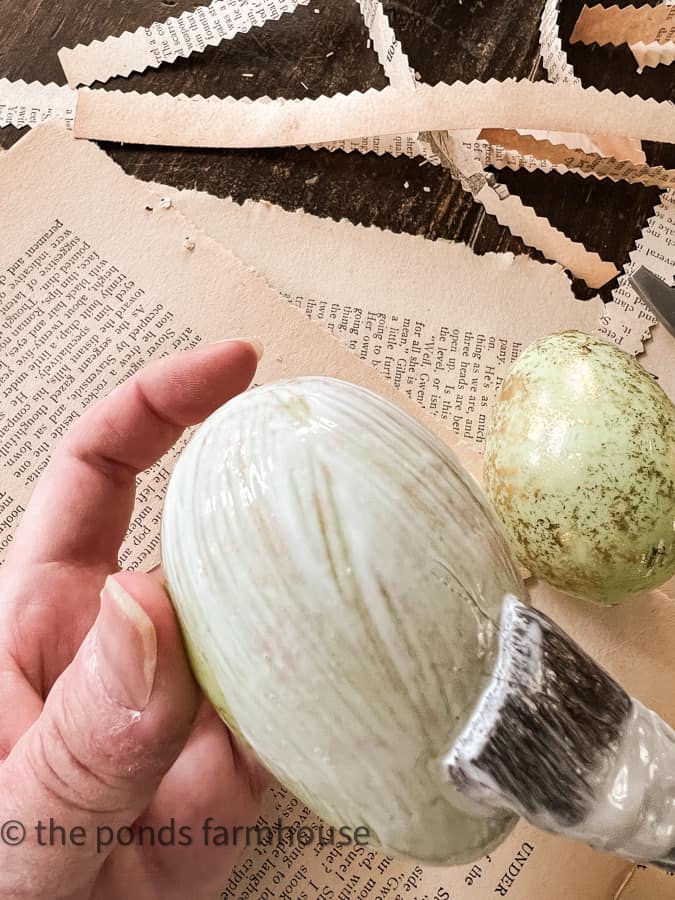
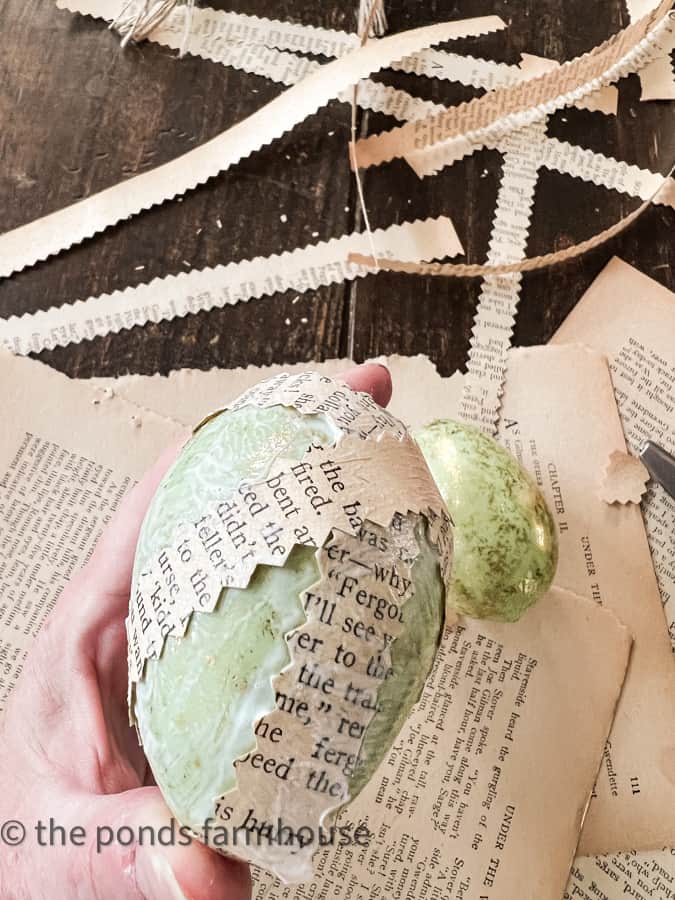
Because the paper is much heavier than the napkin decoupage, you will want to apply a heavier coat of Mod Podge to each egg. Then, wrap the paper pieces around the egg in multiple directions, applying more Mod Podge as you go.
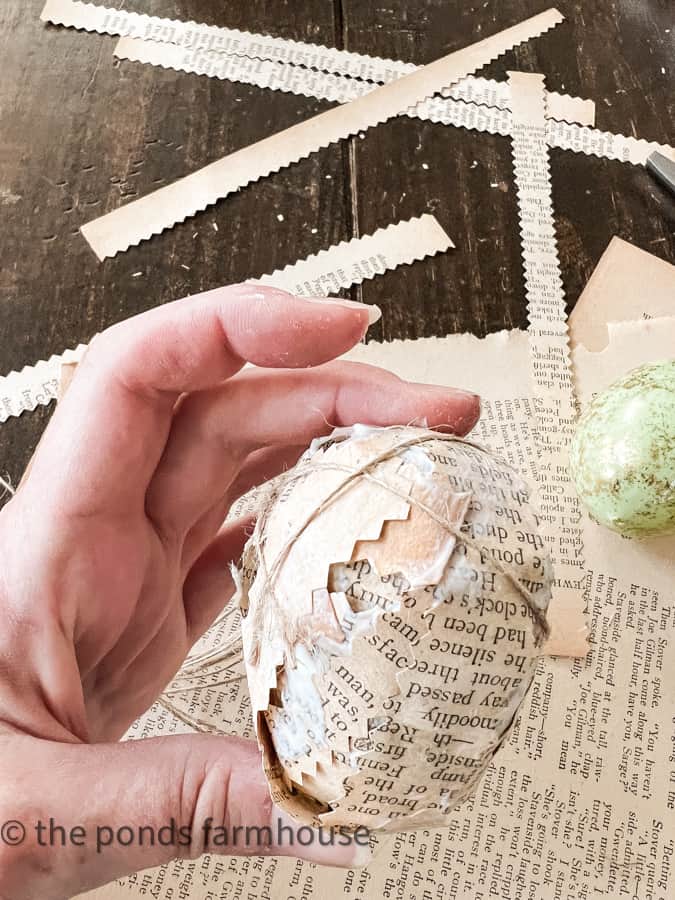
Once the egg is covered with paper, wrap jute twine around it to secure it. Finally, apply a coat of mod podge over the twine to adhere.
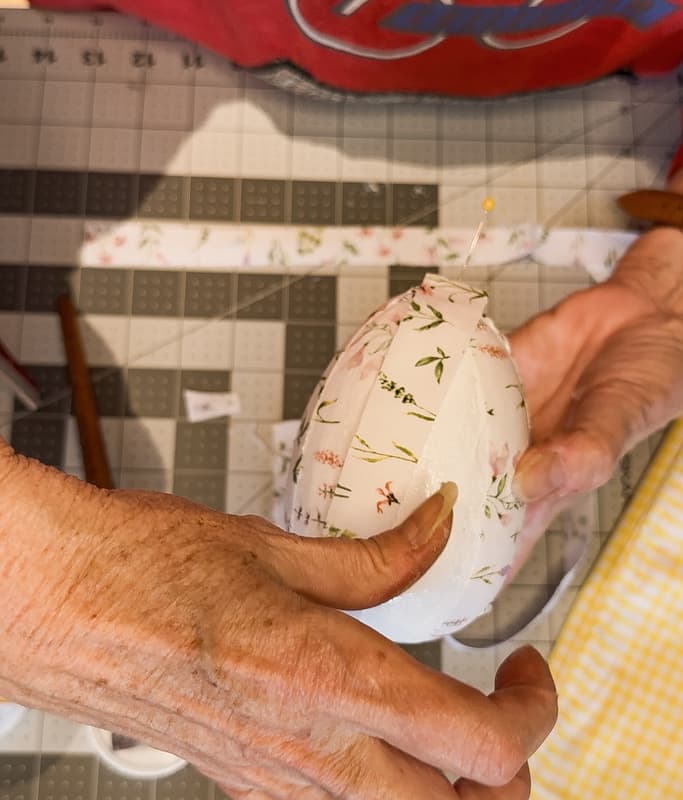
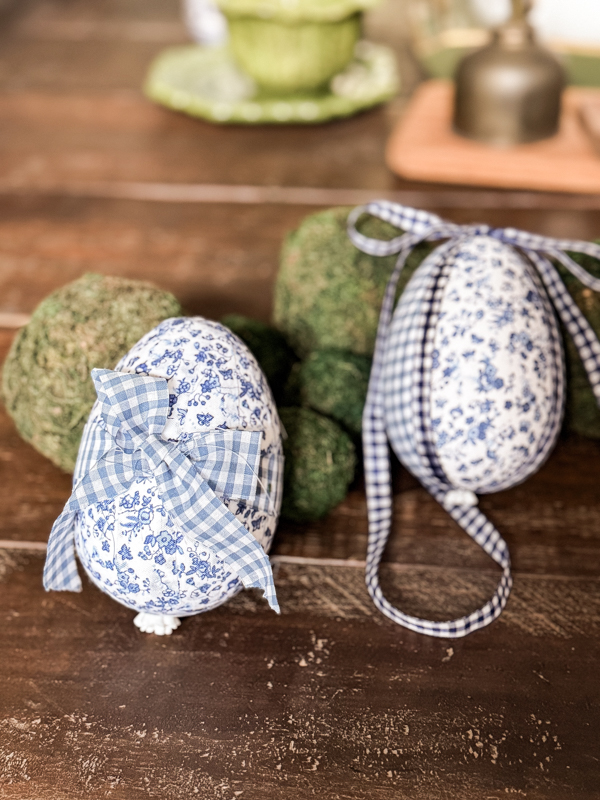
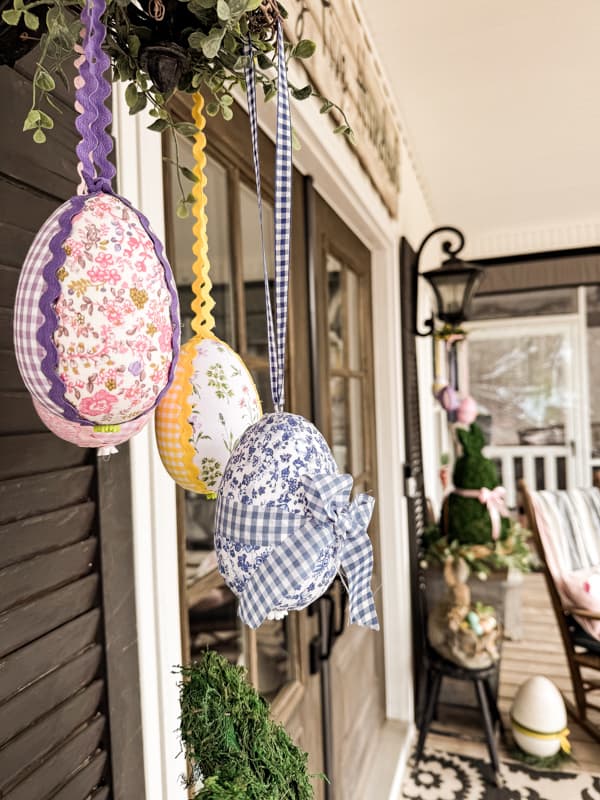
How To Use Scrap Fabric To Decoupage Eggs
If you have scrap fabrics or want to purchase fun calico prints, you can create some amazing Easter Eggs to display around your home. The process is similar to the paper eggs, in that you cut the fabric into strips before applying it to the eggs and adhering them with Mod Podge.
To see the full tutorial, which includes another scrap fabric egg design, read: Two Scrap Fabric Easter Egg Decor Ideas: Easy, No-Sew Spring Crafts.
How to Decorate with Decoupage Easter Eggs?
Decoupage Easter Eggs are so fun to scatter around the house for Easter Decorating.
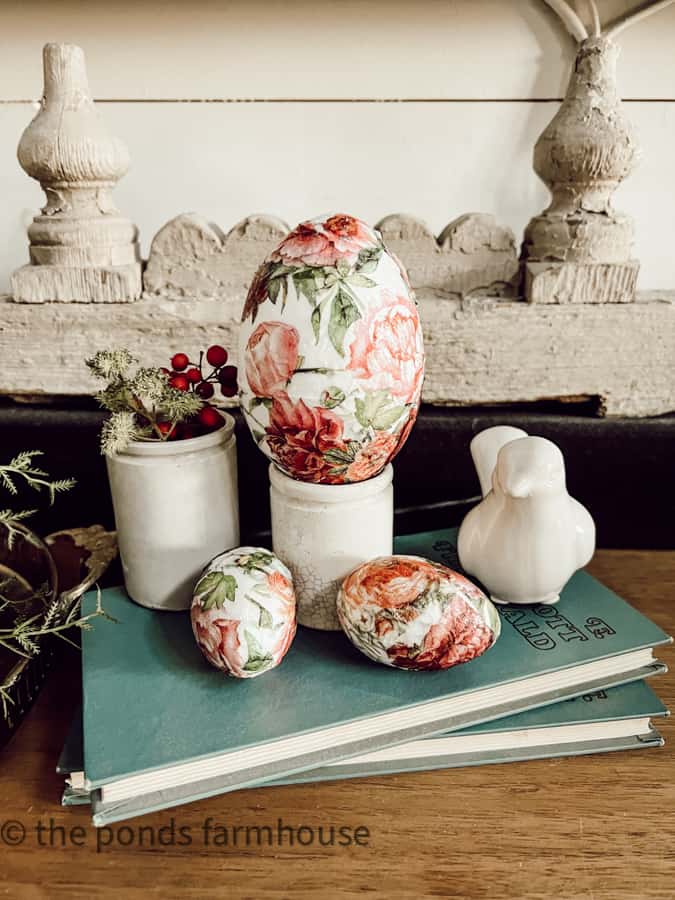
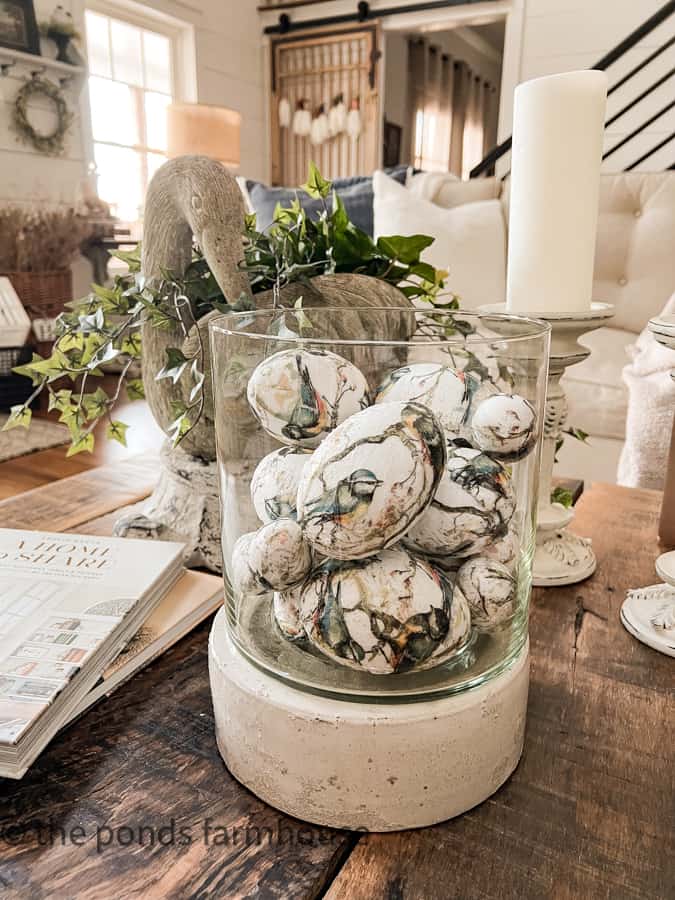
First, I love how the bird eggs turned out, and they really brighten the coffee table centerpiece. They add a stylish touch to this thrifted hurricane candleholder.
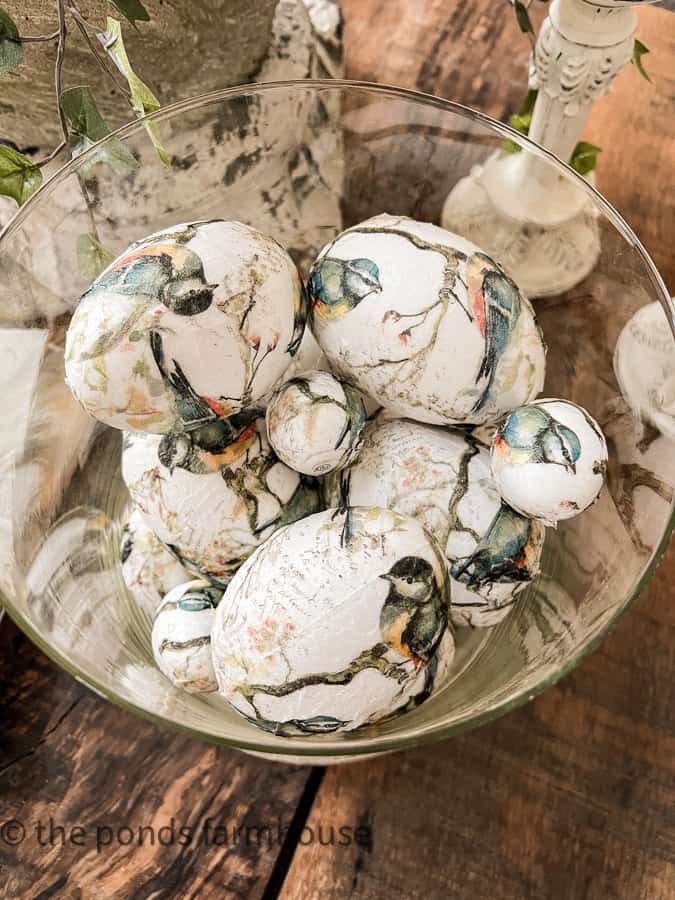
I added a mix of large and small eggs to the candleholder.
The floral napkin decoupage Easter eggs would also look great in a bowl or jar. However, their delicate design will look amazing hanging from tree branches or moss stems.

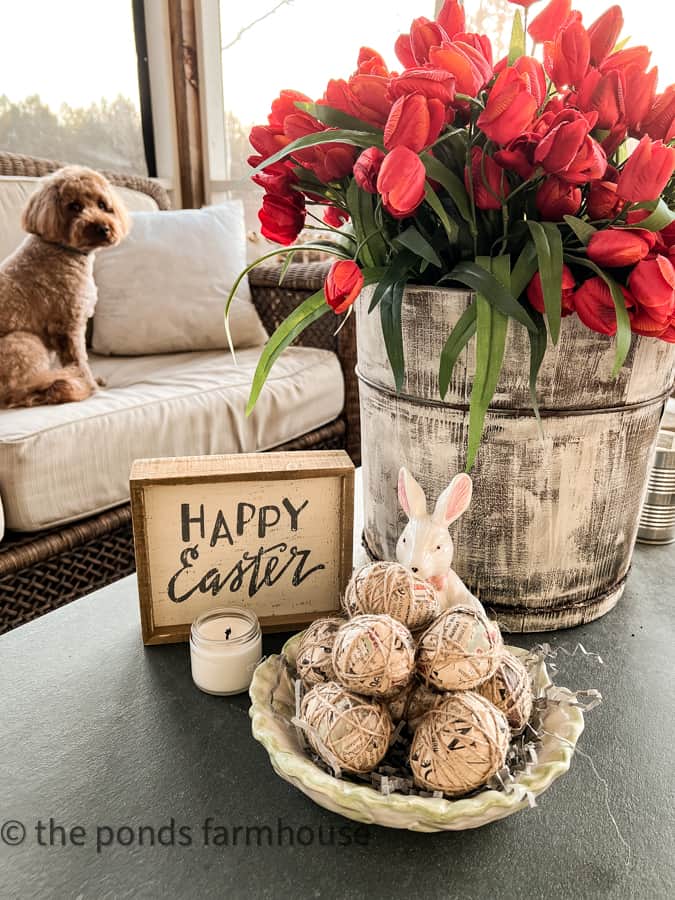
The more rustic old book page Easter Eggs were first added to a bunny dish on the porch coffee table.
Rudy says, “It’s already EASTER!?”
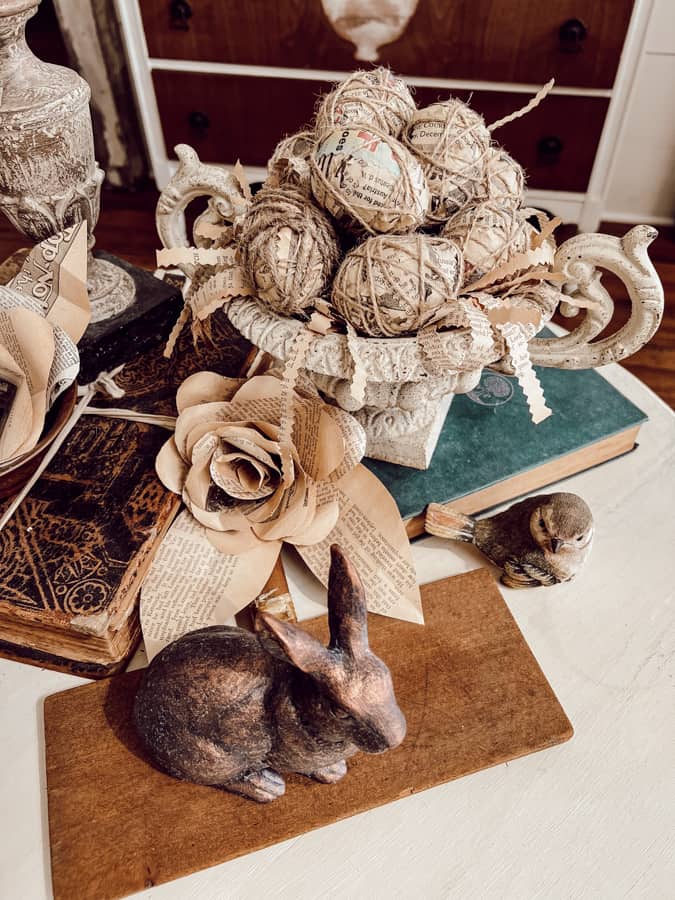
Then I remembered the DIY book page paper roses and decided to make a vignette with the eggs and one of the roses.
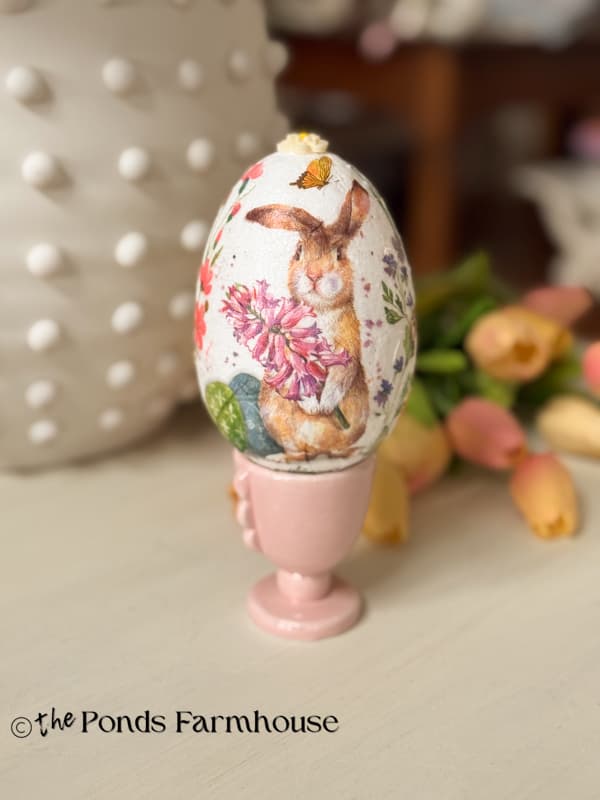
There are so many cute napkins that are perfect for decoupage. This bunny napkin, combined with another floral napkin, forms a stunning egg perched on a $1.00 Target egg holder.
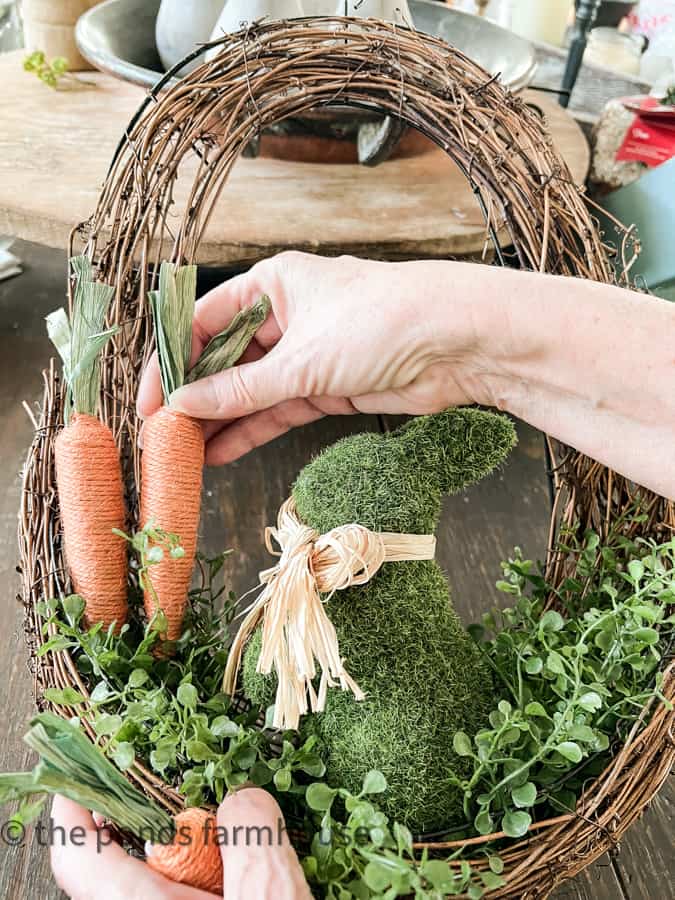
I used the scrap fabric eggs to decorate above the DIY Moss Easter Bunnies on my front porch this year.
Which do you like the best?
I hope you enjoyed these DIY Easter Egg tutorials.
As you can tell, many options exist to create one-of-a-kind Decoupage Easter Eggs. You have to be cautious because this project can be slightly addictive. LOL
Resources
Here are the resources for egg decoupage. Click for details.

Additional Decoupage Ideas
Here are some other decoupage tutorials you may enjoy.
- Easy DIY Gift Ideas
- Napkin Decoupage Christmas Ornaments
- How To Make A Distressed Napkin Decoupage Lamp
- Napkin Decoupage Dollar Tree Pumpkins
- Recycled Tin Can Spring Centerpiece
- Upcycle Thrift Store Ginger Jar with Blue and White Chinoiserie Napkins
Plus…. don’t miss this Easy Easter Wreath DIY Tutorial.
I look forward to sharing my next adventure with you.

Pin It To Remember It
Did you find some great ideas you’d like to save for future reference? Hover over the images you’d like to save and pin to your favorite Pinterest Boards when you see the PIN button.

Hi Rachel, Hope your having a wonderful day!!! I just would like you to know, I love all your craft ideas and all the decorating and thrifting you do. You just totally amaze me. I can’t wait to see what you come up with everyday!! You really inspire me, I have been following you for some time now. You just keep it all coming!!!
Gail,
Thank you for these kind words. I’m so glad you are following along and that you like my blog and ideas. Thanks for sharing with me. It makes my day.
So pretty! I love both! I’m not creative like you but I love to decorate for the Seasons inside and out.
Nancy,
I appreciate your sweet comments.
These are such fun ideas! I love them. HUgs to you.
Renae,
I appreciate your encouragement.
Hi Rachel, Hope your having a wonderful day!!! I Just would like you to know, I love all your craft ideas and all the decorating and thrifting you do.You just totally amaze me. I can’t wait to see what you come up with everyday!! You really inspire me, I have been following you for some time now. You just keep them all coming, I will be waiting!!!! Your the best!! Gail
GAil,
I appreciate your sweet compliments so much. Thank you so much.
I decoupaged eggs with tissue paper a few years ago and they were so much fun. I love how you used napkins and book pages to create these looks. And don’t even get me started on the egg tree. It’s fantastic! I’m totally sharing this on Friday. Hugs, CoCo
CoCo,
You are so sweet. I appreciate you so much.
Rachel these are amazing!!! Love it!
Stacy,
I really appreciate your encouragement.
Another amazing DIY idea Rachel. I really don’t know how you have the time to come up with all of these inspirational ideas. Love this.
Kim,
I appreciate your sweet comments.
I have never done decoupage eggs, but those plastic eggs are so much better to play with. I really appreciate how you use them to decorate, you Spring arrangements are beautiful.
Leanna,
I’m so glad you like this. Thank you for your comments.
Cute! I will have to try this. I’m ready for Spring and Easter!
Melanie,
I do appreciate your comments.
Thanks for sharing.
Once again, I salaam you: You are the master!!! Truly – those are beautiful!!! I used Dollar Tree colored “twine” (a bit like butcher’s twine that had a strand of color through it) and balloons last year to do some “eggs” – blew up the balloon just into an egg shape, some bigger some smaller, ModPodged it, and wrapped the twine all around it like you did with your book-page egg. After it was dry enough to retain shape, I popped the balloon and slipped it out. They turned out great but, in retrospect, I should have gotten foam eggs from DT!!! THIS is why you are the Master!!! I imagine you’ve done this a time… or 12!! lol Thank you so much for the beautiful inspiration! I love seeing things you do, and them making them fit my style/decor. I don’t think I’ve seen a thing you’ve done that wasn’t simply, elegantly, understatedly stunning! Sincerely! ~Chrissie
Chrissie,
Oh my gosh what a sweet comment. I appreciate your encouragement so much.
Hello, I’m wanting to try this with my MIL who is 88 and has a lot of fabrics, your video didn’t show how to do fabric…. Should it be in strips like the book pages?
Joanne,
I just recently shared two scrap fabric egg tutorials and one is with mod podge. I think they will help you. Here’s the link -https://www.thepondsfarmhouse.com/two-scrap-fabric-easter-egg-decor-ideas-easy-no-sew-spring-crafts/