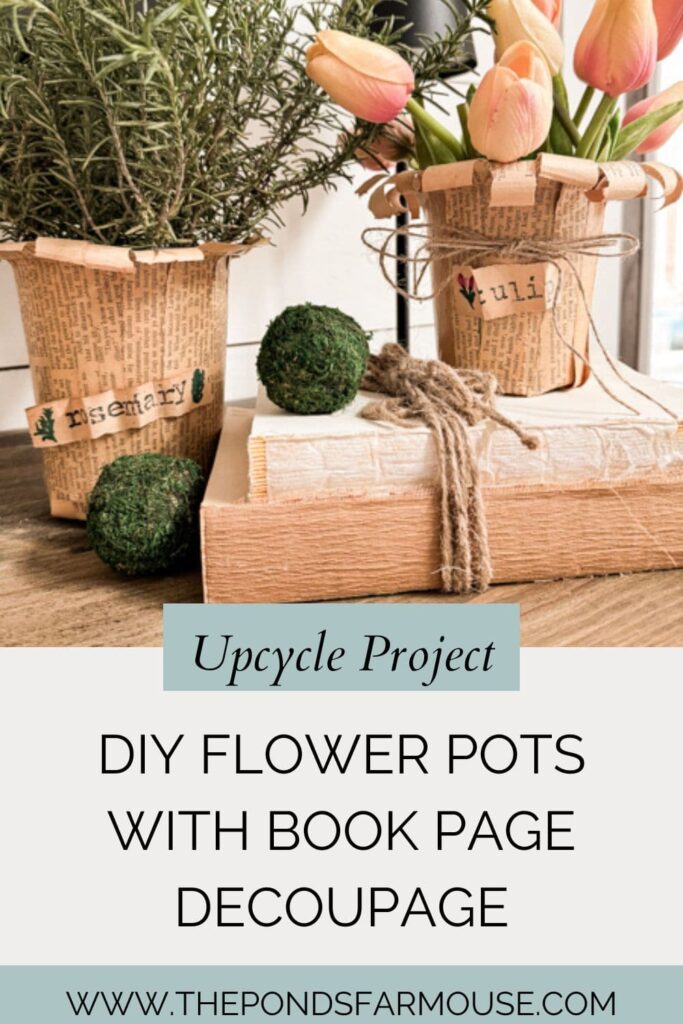
Transform Plastic Pots Into Stunning Book Page Flower Pots
I’m always looking for ways to reuse or upcycle things around the house. Maybe you are looking for ways to reuse those ugly plastic plant pots from the garden nursery. Instead of taking them to be recycled, how about upcycling them with a DIY Flower Pot Craft? See how you can easily add a touch of vintage charm to your plants? This budget-friendly DIY uses old book pages to create cute flower pots is perfect for you!
You can cover various-size containers to create stunning flower pots for a multitude of decor options. This budget-friendly craft is quick and easy, and it’s a great project for getting the whole family involved.
I will show you step-by-step instructions, and you can see all the flower pot decorating ideas at the end.
(Posts on The Ponds Farmhouse may contain affiliate links. As an Amazon Associate, I earn from qualifying purchases. See the full disclosure details here.)
Table of contents
DIY Flower Pots
For the past few weeks, I’ve been picking up flowers and plants from the garden nursery and saving the plastic plant pots. As I was getting ready to put them in the recycle bin, I had a better idea.
I love seeing pretty flowers wrapped in paper and bows so the idea to cover the pots was born.
There are many ways to customize this project, and I’ll share a few of my ideas. You can also cover any size pot.
Flower Pot Decoupage Ideas
Here are a few of the ideas I had before deciding to decoupage the plastic pots with old book pages.
- Use napkin decoupage over the pots.
- Wrap with scrap fabric.
- Decoupage scrapbook paper to the plastic pots.
DIY Flower Pot Tutorial
First, gather some plastic flower or plant pots to upcycle. Wash and dry the containers before beginning.
In addition, gather old book pages. You can use aged magazines, newspapers, or book pages to create a rustic vintage appearance.
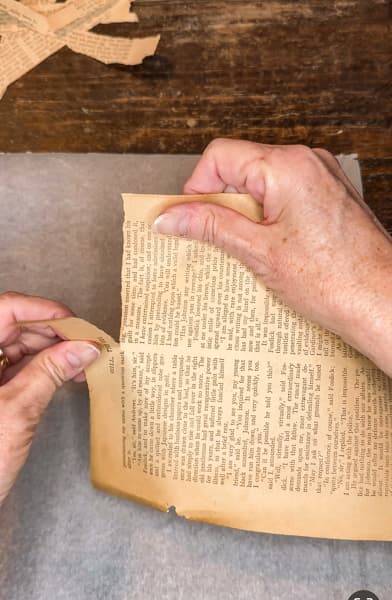
Tear the pages into 1/2-1-inch wide strips. You can vary the sizes and don’t worry about perfection.
In addition, you will want to tear the page in the direction that will best fit your container.
Insider Tip
If you don’t have old paper to cover the pots, you can create a faux old book page appearance using new paper.
Save extra coffee or tea and pour it into a shallow flat pan. Place the paper into the mixture and allow the paper to become saturated.
Remove the paper and place it on paper towels to dry. Be sure to protect the surface under the paper towels to prevent staining countertops, etc. You can use wax paper or plastic to protect your countertops.
The coffee or tea will make the paper appear old.
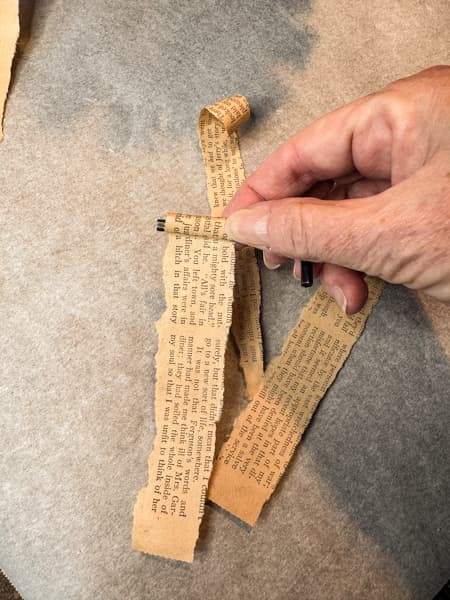
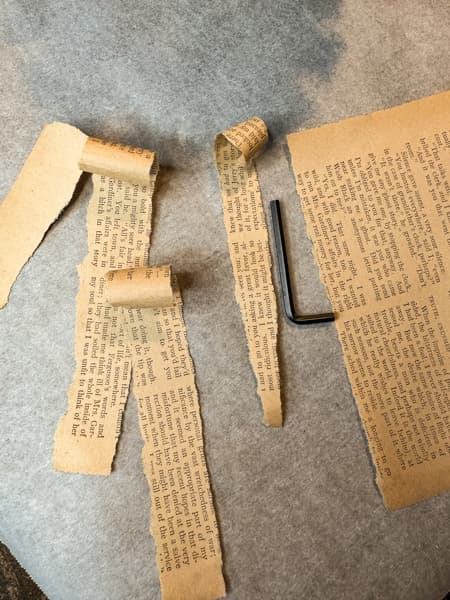
Curl Tops of Paper
Next, begin curling the top of each piece of paper. You can use a small round object, such as a pencil, pen, paintbrush handle, or Allen wrench, to create the curl.
Roll the curl beginning at the widest end of the paper. Roll approximately two inches down the paper for a good curl.
How To Apply Paper To Plastic Flower Pots
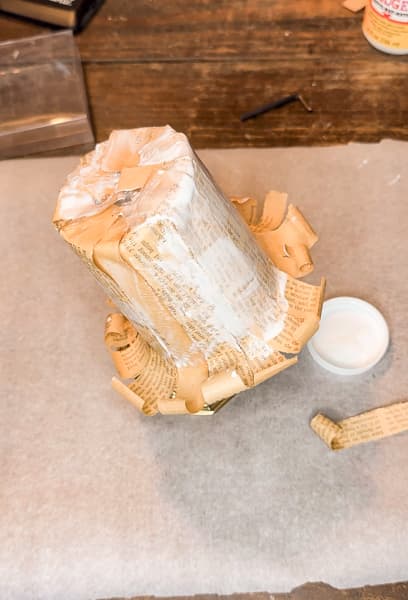
Now, you are ready to begin applying the curled paper to the plastic flower pots. Begin in small sections and apply a generous amount of Mod Podge from top to bottom of the plastic pot. Allow the mod podge to extended onto the bottom of the pot.
Press the old book page paper onto the Mod Podge, allowing a small amount of the paper to fold under the bottom of the pot. The curled end should extend above the pot’s top rim.
Brush another generous application of Mod Podge over the paper.
Now add another coat of Mod Podge and another piece of paper. Allow the next piece to overlap the first one. Try to keep the paper running vertically on the plastic pot.
Continue to apply heavy coats of glue to keep the paper in place.
As you continue around the perimeter of the pot, you will need to place it on a stand. I used a tall candlestick holder. Once the entire pot is covered, leave it on the stand until the Mod Podge is dry.
How To Make Name Tags For Pots (optional)
I had several ideas for decorating the DIY flower pots. You may want to make tags with the name of the flower or herb you plan to put in the pot. Another fun idea is to use the flower pot craft as a place card holder for brunch, a bridal luncheon, a shower, etc.
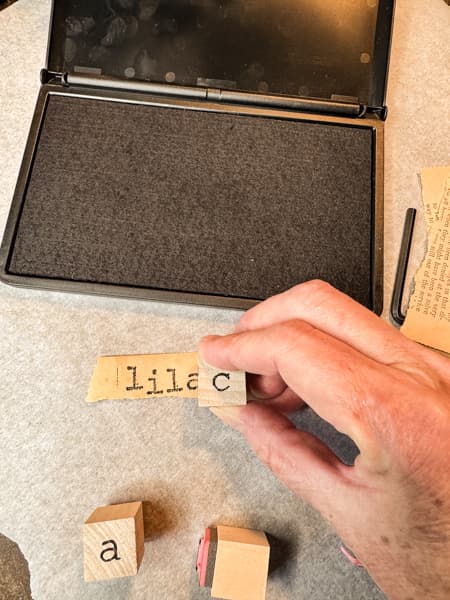
You can hand print names or use letter stamps to create tags. I like the rustic appearance of using lower-case letter stamps.
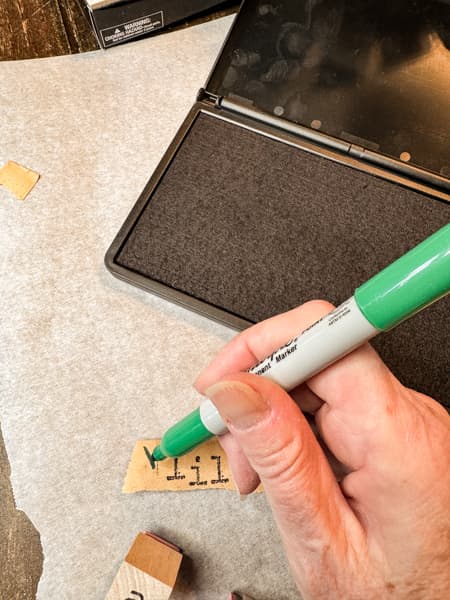
You can also decorate the tags with flowers or herbs. I added a small decoration with Sharpie makers.
Next, if you want the tag to look crinkled, fold it several times after the ink has dried. Turn the tag over to the back side and apply a coat of Mod Podge. Press the folds back in place and allow to dry. Now, the tag will maintain its crinkled shape.

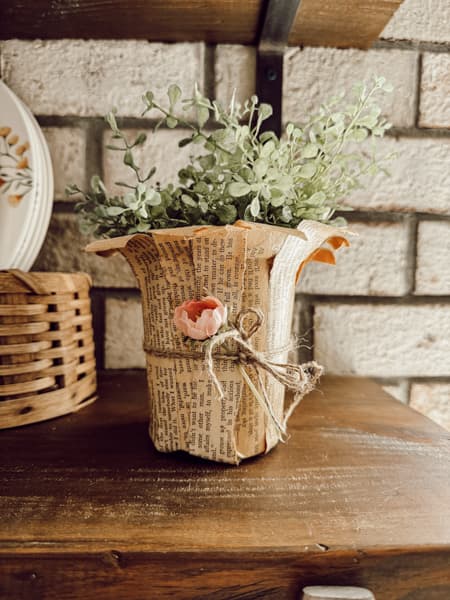
Once the tag is dry, add more glue to the backside and add to the pot. Tie a bow with jute twine or other ribbon if you desire. You can be creative when decorating your flower pots.
Fill the flower pots with artificial or real flowers and herbs. If you are using real plants, you will need to add a recycled tin can or jar to the container to hold water.
Flower Pot Decorating Ideas
Finally, it’s time to decorate with your cute DIY flower pot crafts. You can use them grouped together or alone. They would look stunning on a kitchen window sill filled with herbs or filled with flowers and grouped together for a dining table centerpiece. There are so many options, and I’ll share a few of my ideas.
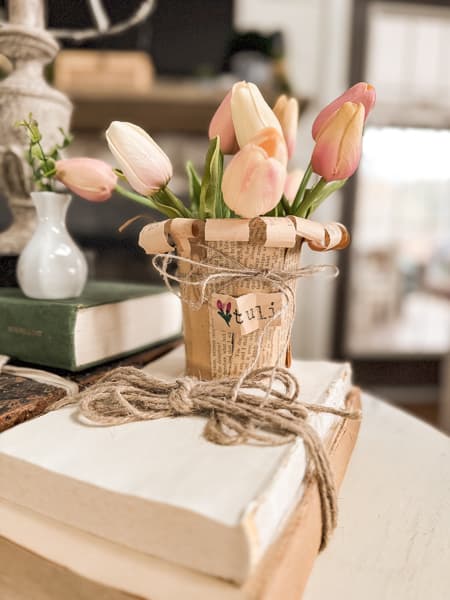
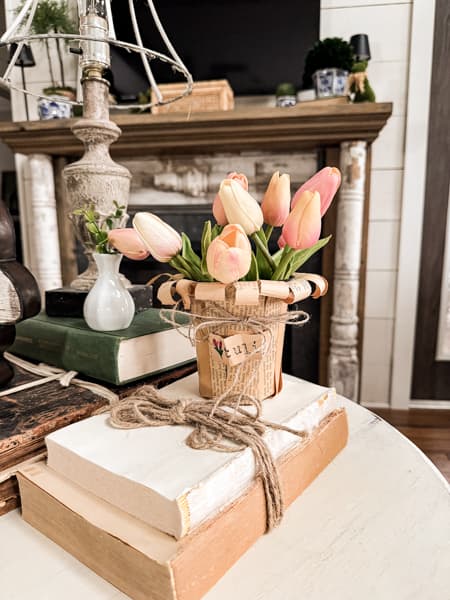
The first flower pot is filled with soft-touch faux tulips and added to the side table with a stack of deconstructed old books.
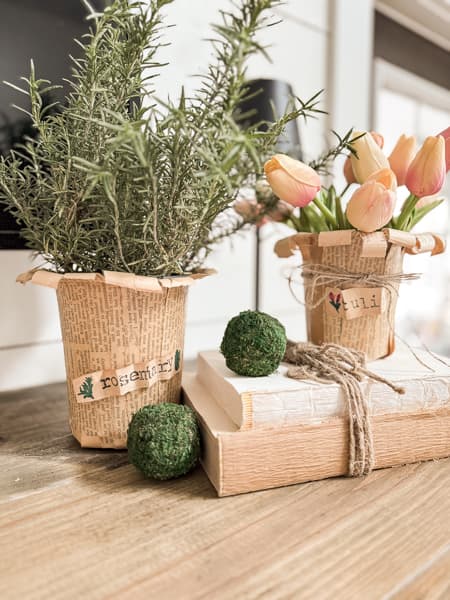
Next, I moved them to the mantel with a planter filled with fresh rosemary. I added a small tin can to the pot before adding the rosemary.
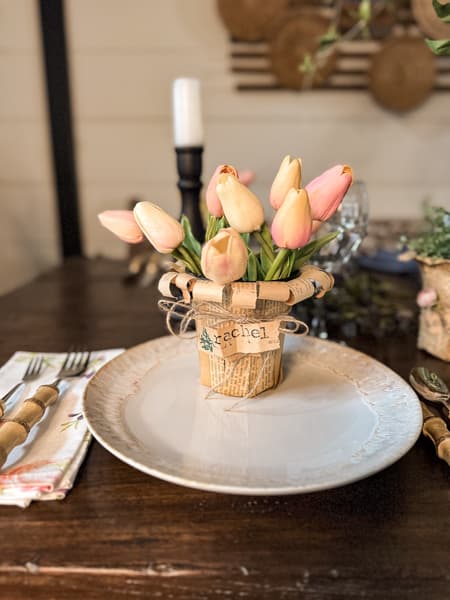
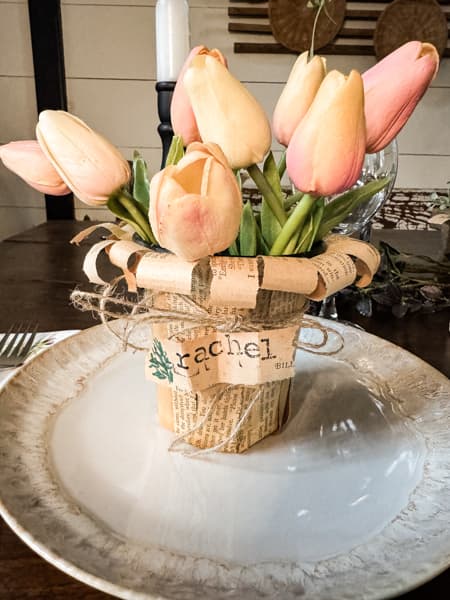
Another idea is to use the flower pots as place card holders on the dining table. Here I added personalized names and placed the pots on the center of each plate.
You can fill the containers with faux or real flowers. Another idea is to add fresh herbs that can be transplanted later into larger pots or your garden.
These would make a great take-home gift for your guests.
Insider Tip
You may be asking why I didn’t just cover tin cans with the old book pages. You can definitely do so. I just liked the shape of the plant pots better. I’ve decoupaged tin cans many times with great success. I’ll share a few more ideas with you.
I hope you like this DIY Flower Pot Craft and Flower Pot Decorating Ideas. I’d love to hear your thoughts and ideas. Just leave me a message in the comments.

Resources
Video

Similar Projects
Here are some similar projects you may enjoy.
Thanks for stopping by, and I look forward to sharing my next adventures with you.

Pin It To Remember It
Did you find some great ideas you’d like to save for future reference? Hover over the images you’d like to save and pin to your favorite Pinterest Boards when you see the PIN button.
Love this one Rach!
Stacy,
Thank you!