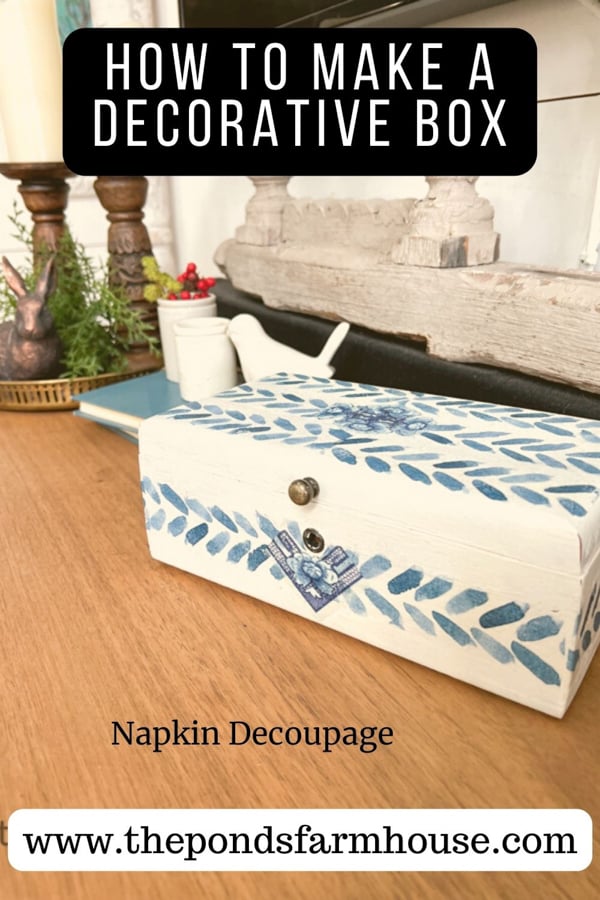
How To Make A DIY Decorative Box with Napkin Decoupage
Want to create a unique decorative box? See this step-by-step tutorial for decoupage on wood. This simple napkin technique makes decorating a wooden box easy.

(Posts on The Ponds Farmhouse may contain affiliate links. As an Amazon Associate, I earn from qualifying purchases. See the full disclosure details here.)
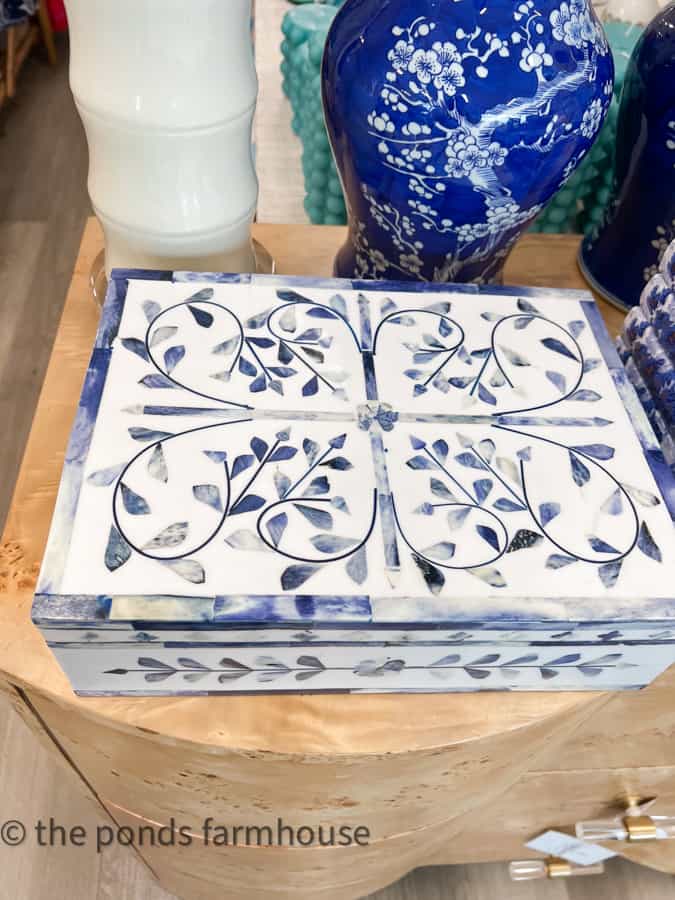
Decorative Box Inspiration
I recently saw a beautiful wooden box in a boutique gift shop and thought it would be great for storing TV remote controls. We had just remodeled our beach cottage, and the faded blue colors would be perfect. However, upon further inspection, I realized it was larger than the space I had in mind and was a little pricey for storing remote controls. LOL.
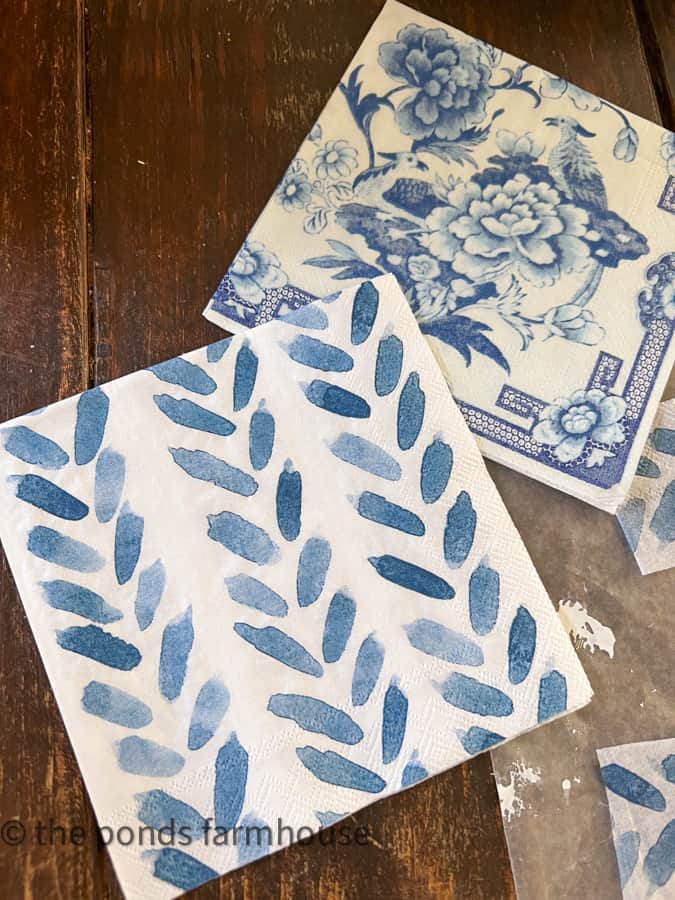
Then I saw some paper cocktail napkins with similar colors, and inspiration was sparked. The napkins were only $5.99, and I felt I could find a box for cheap at the thrift stores to complete the project. In addition, I had another napkin from the Decoupage Lamp Project that I could combine with the new napkins to create the design I had in mind.
How To Make DIY Decorative Box
Now that I have the napkins, I need to find a suitable wooden box for this project.
Shop Thrift Stores
With a new plan in mind, I measured the area where I wanted to use the box and scoured thrift stores for the perfect box.
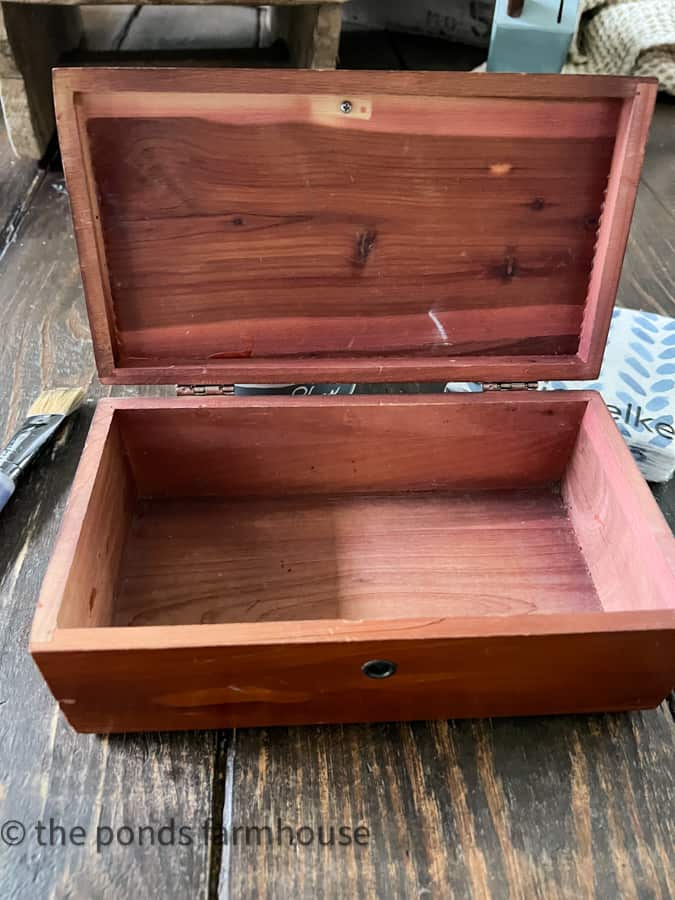
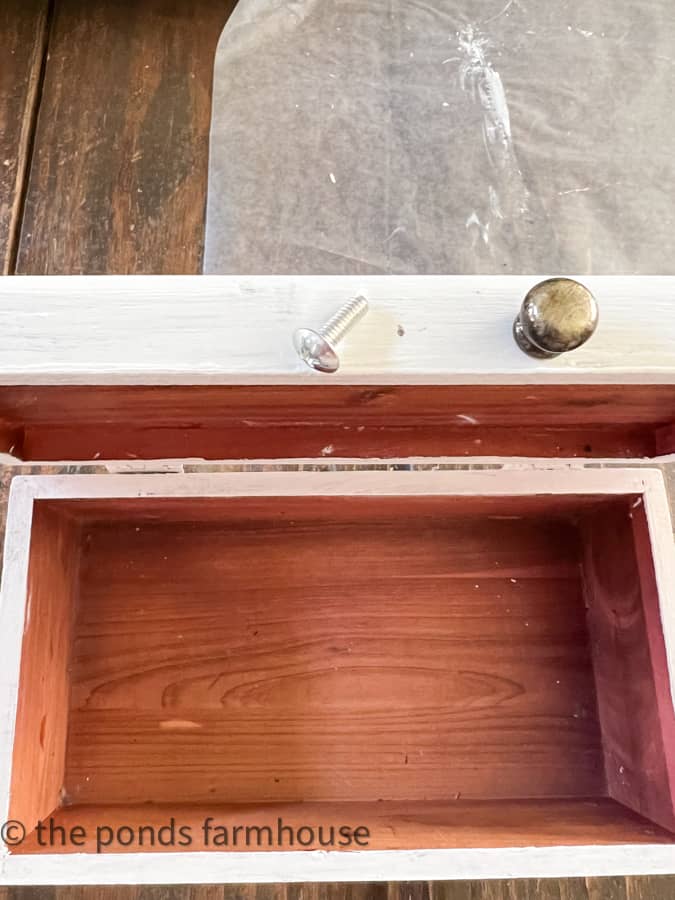
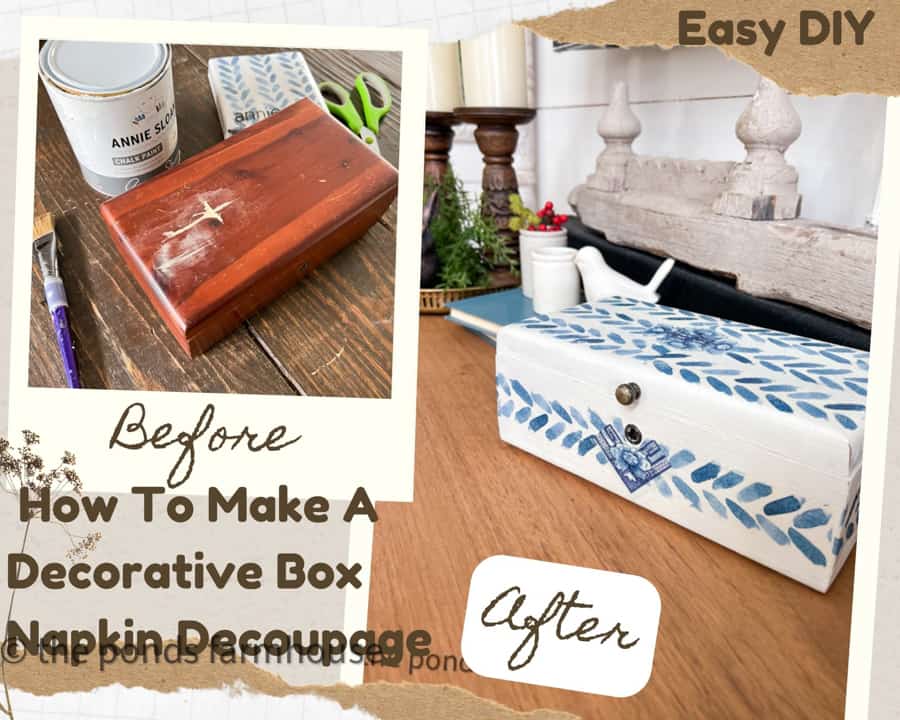
Within a few days, I found a cute little cedar chest that had been reduced in price due to a damaged lid.
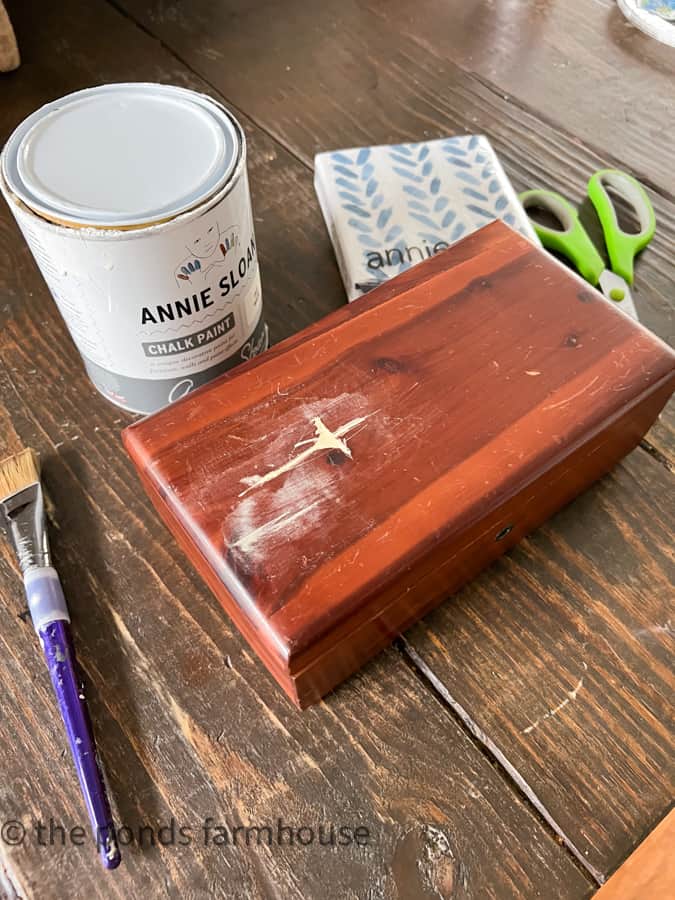
Since I planned to add the napkin decoupage technique to the box, repairing the damage with wood filler would be easy. Follow the instructions for adding the wood filler and allow to dry.
Supply List
Paint The Exterior of the Wooden Box
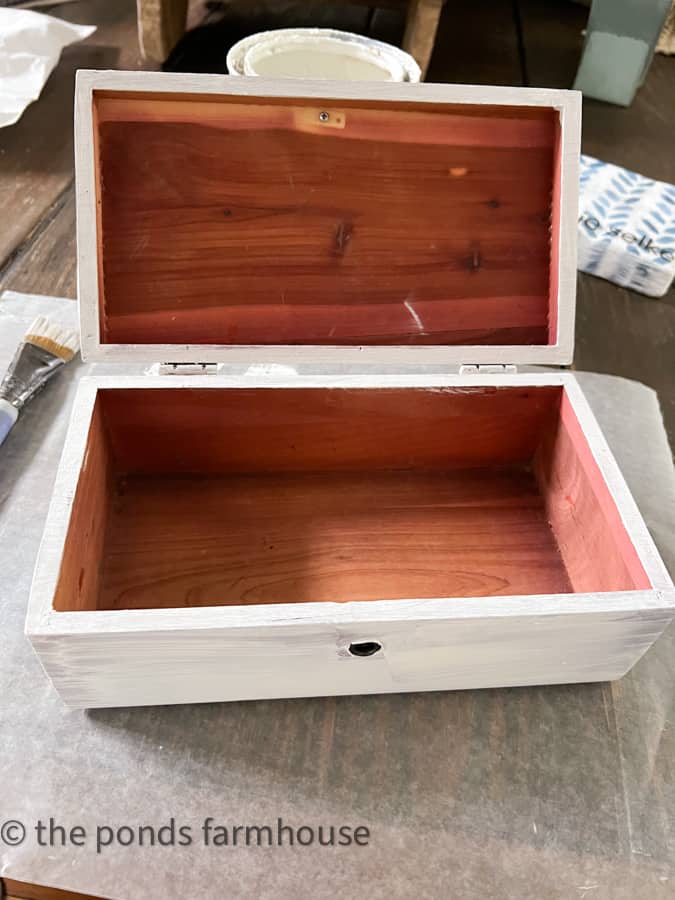
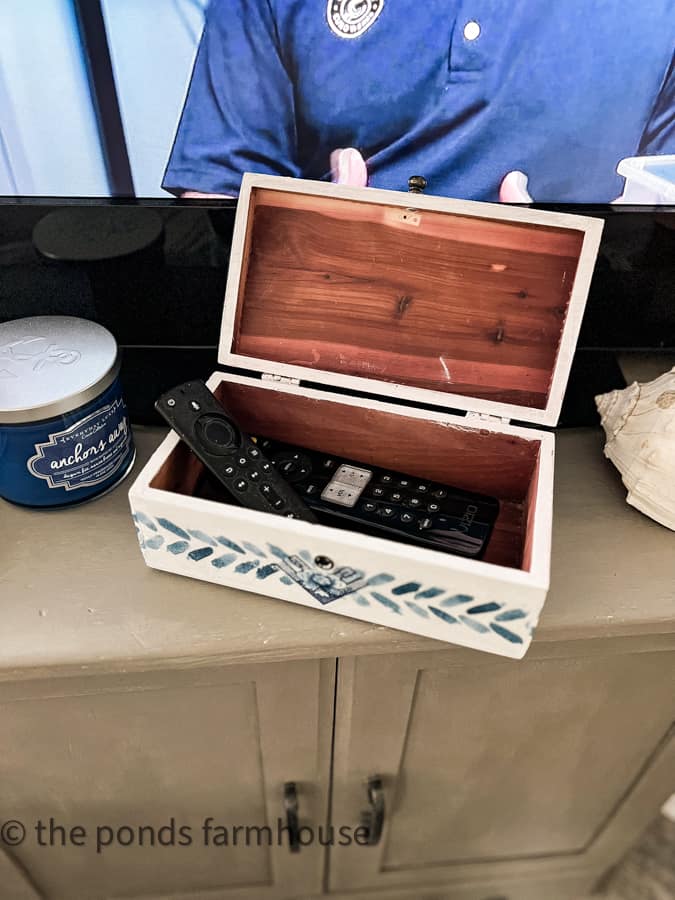
Because the wooden box was made of cedar and the napkin had a white background, the box’s exterior had to be painted white.
I left the cedar interior untouched.

Decorating A Wooden Box
Next, it’s time to begin decorating the wooden box.
You can begin by separating the napkin layers. You only need the decorative top layer of the three-ply napkin. Then, cut the napkin into pieces that will fit on the box.
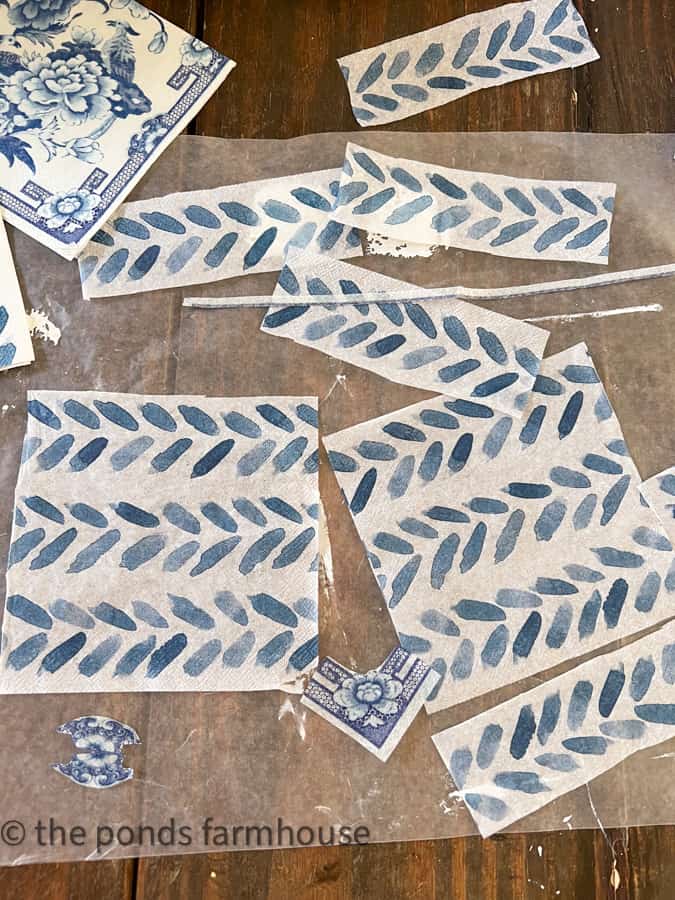
It’s best to test the napkin pieces before beginning the application. Lay them on the box in the pattern you desire to ensure they will fit.
How To Decoupage on Wood
Decoupage on wood is essentially the same technique as for any other material.
However, you do want to seal the wood before applying the Mod Podge and napkin. Unfinished wood should be sealed with paint, stain, or clear sealer. Follow your paint or sealer instructions for drying before beginning to decoupage on wood.
Apply Napkin Decoupage
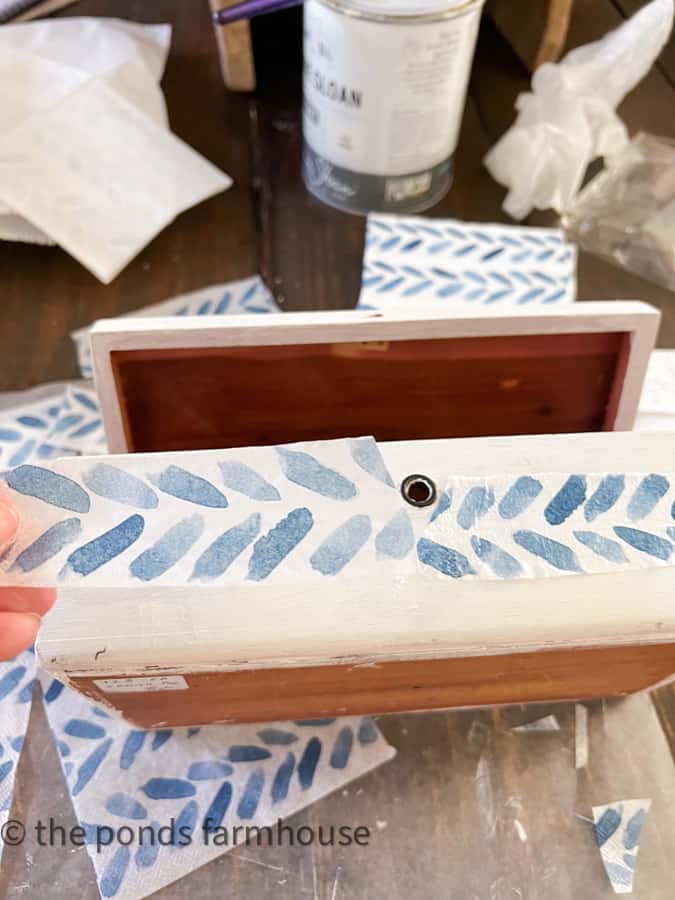
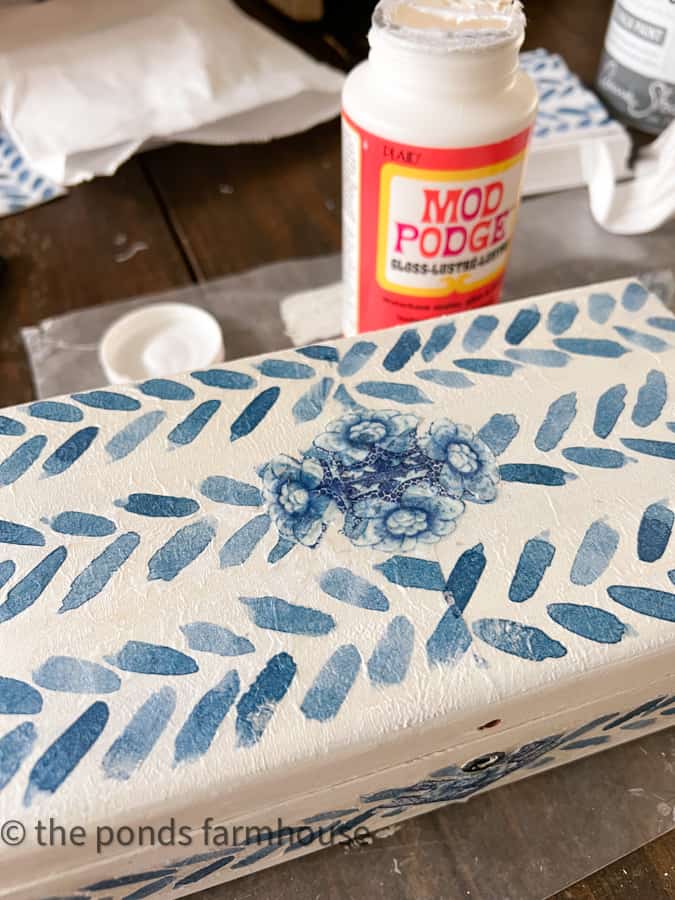
Brush the area where the napkin will be applied with Mod Podge and carefully add the pieces.
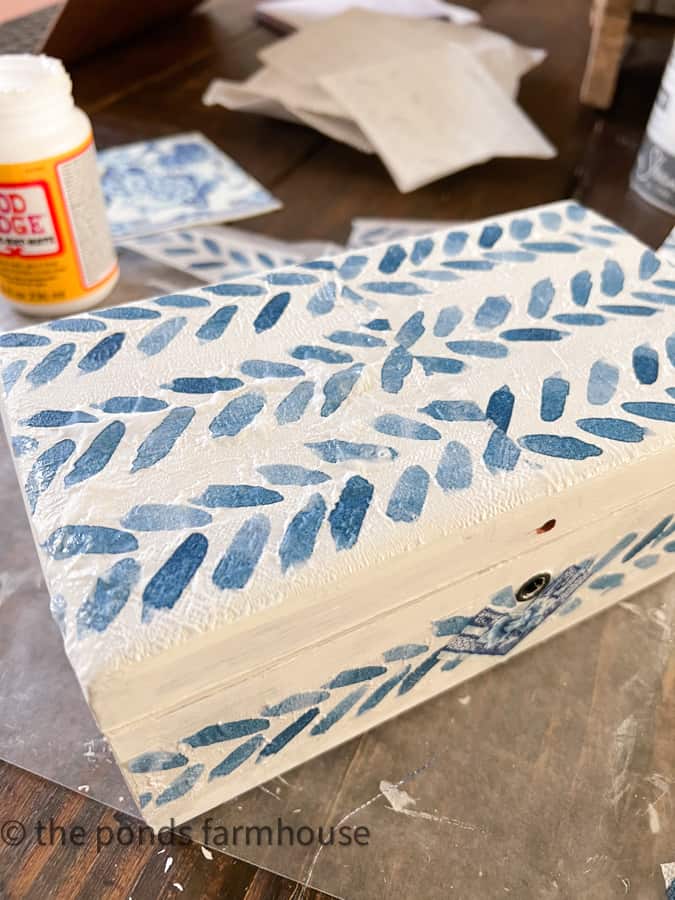
Apply all pieces, including any decorative designs, to the wooden box. Brush a mod podge layer over each piece’s top to ensure it adheres.
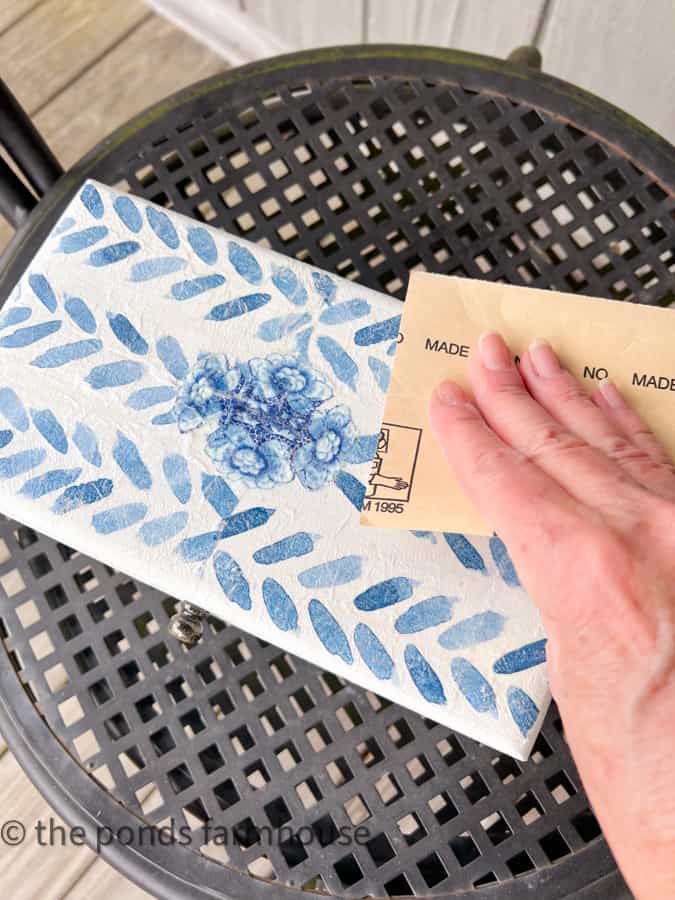
Sand Edges of Napkin
Once the napkin and Mod Podge are completely dry, you may find that the edges of the napkin are more visible than you prefer.
You can diminish the appearance of the napkin edges by using fine-grit sandpaper and lightly sanding until the design appears to be painted onto the wooden box. Wipe the box carefully to remove dust and check for loose napkins’ edges. If you have any loose pieces, you can apply another coat of Mod Podge to secure.
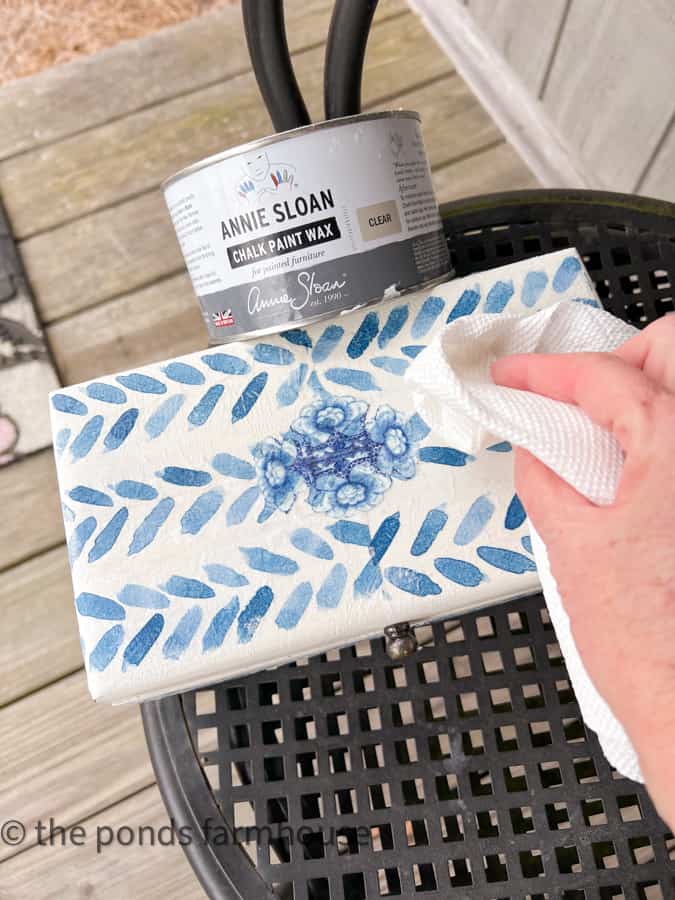
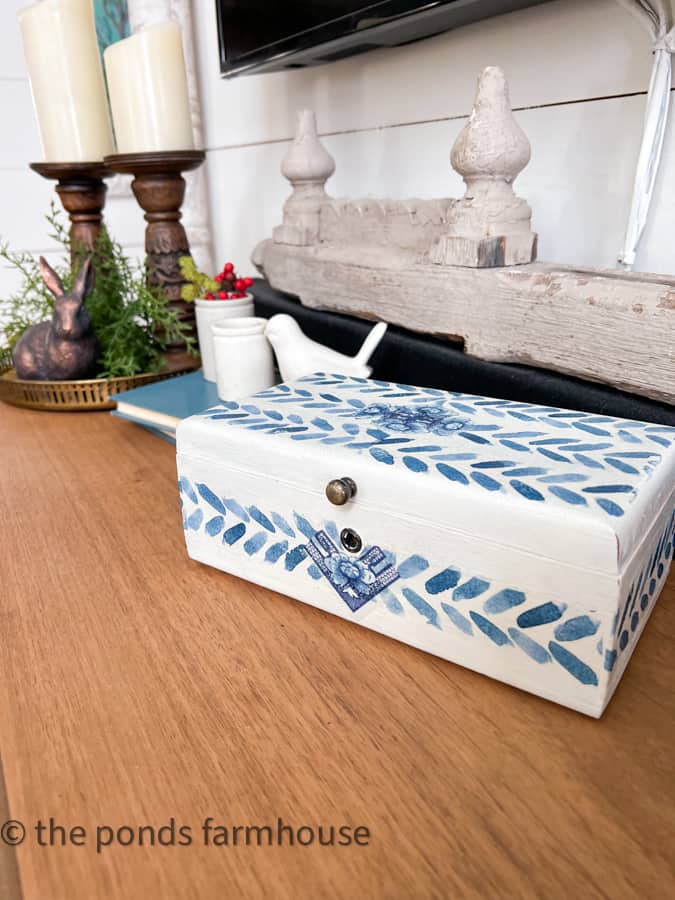
I added a clear wax to finish the box and create a smooth matte finish. Apply the wax evenly over the entire surface of the decorative box, then buff until it is silky smooth.
Decorative Box with Napkin Decoupage
The box is the perfect size to prevent all those remote controls lying around the base of the TV.
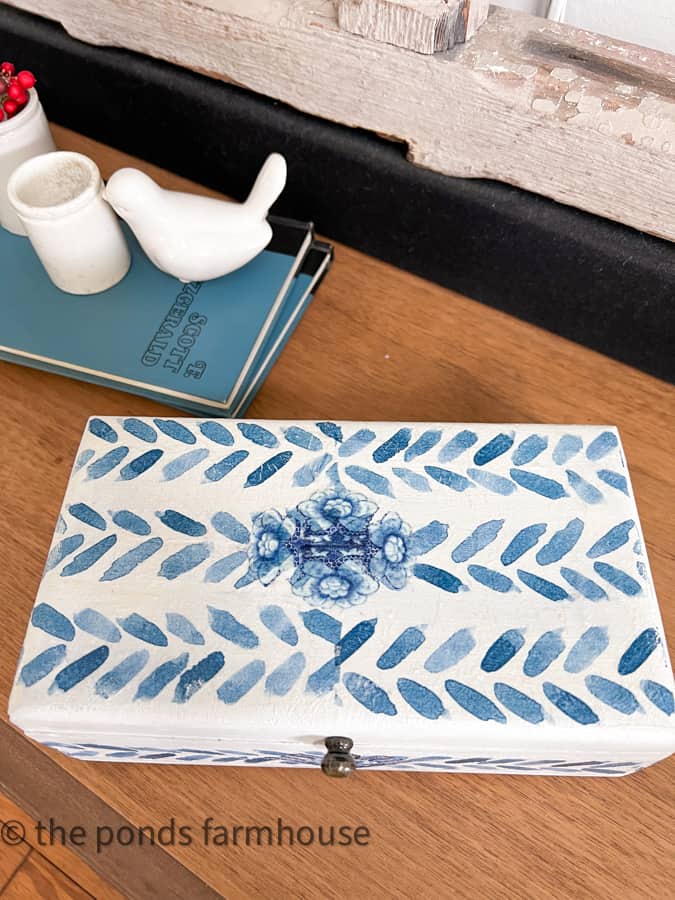
There are so many possibilities when using napkins to create a decorative box. Any paper napkin can be turned into a work of art.
Additionally, these types of boxes can be used to store game cards, stationery, recipes, jewelry, or other small items.
However, it works great for the remote controls as planned.

How To Make A Decorative Box with Napkin Decoupage
Equipment
- Paint Brush
- Sand Paper
Materials
- Cocktails Napkins
- Small Wooden box
- White Paint
- Jewelry Drawer Pull
- Mod Podge
- Clear Wax
Instructions
- Paint the wooden box white allow to dry
- Separate Napkin using only the decorative top layer
- Cut the napkin to fit the box design
- Apply napkin with mod podge allow to dry.
- Sand edges of the napkin with fine grit sandpaper
- Apply clear wax and buff until smooth.
- Add drawer pull.
Related Articles
- A Distressed Decoupage Lamp
- Updated Thrift Store Ginger Jar
- Chinoiserie Blue and White Napkin Rings DIY
- Recycle Tin Can Decoupage Decor
- How To Make A DIY Decorative Box
- Decoupage Eggs for Easter
- Napkin Decoupage Christmas Ornaments
- Decoupage Coasters for Gift Ideas
- Decoupage Dollar Tree Pumpkins
- No-Wrinkle Napkin Lampshade Makeover
Thanks for stopping by.

Pin It To Remember It
Did you find some great ideas you’d like to save for future reference? Hover over the images you’d like to save and pin to your favorite Pinterest Boards when you see the PIN button.

Lovely. Thanks for tutorial
Gail,
Thank you for stopping by.
Back when I graduated in 1973, our local furniture store, gave us those little cedar boxes when were seniors, ours was a lane brand, very good brand, I still have mine. You did a fantastic job!
Kathy,
They are so cute and useful. Thank you for sharing.
Such a great idea. I love it.
Oh I’m so glad. Thank you Renae.
Rachel, Beautiful and useful project. Hope to try this in the future.
Love your creative projects . Thank you for sharing.
Oh I really appreciate this. Thanks for stopping by.
It looks fantastic! What a great idea!
Debbie,
I’m so glad you like this.
Rachel, your box is so pretty! You are just one amazing lady with all your wonderful DIY’s! Thanks for this great idea! I am going to do this for our remotes! I actually have a stash of blue and white napkins just waiting for a project so they will be put to good use! Have a great week!
Mary Ann,
I’m so glad you like this project and that you have napkins on hand to begin your own project. Thank you for stopping by.
Loved this idea. I think I will try it.
Pat,
Thank you and I can’t wait to see or hear how your project turns out.
What a cool idea! Love this one!
Stacy,
I appreciate this.
This beautiful and you shared great tips
Cindy,
I appreciate this. Thanks for stopping by.
I loved this DIY idea! The napkin decoupage technique is so charming, and I can’t wait to try it out on a box for my craft supplies. Thanks for the step-by-step instructions and tips!
So glad you like this idea.