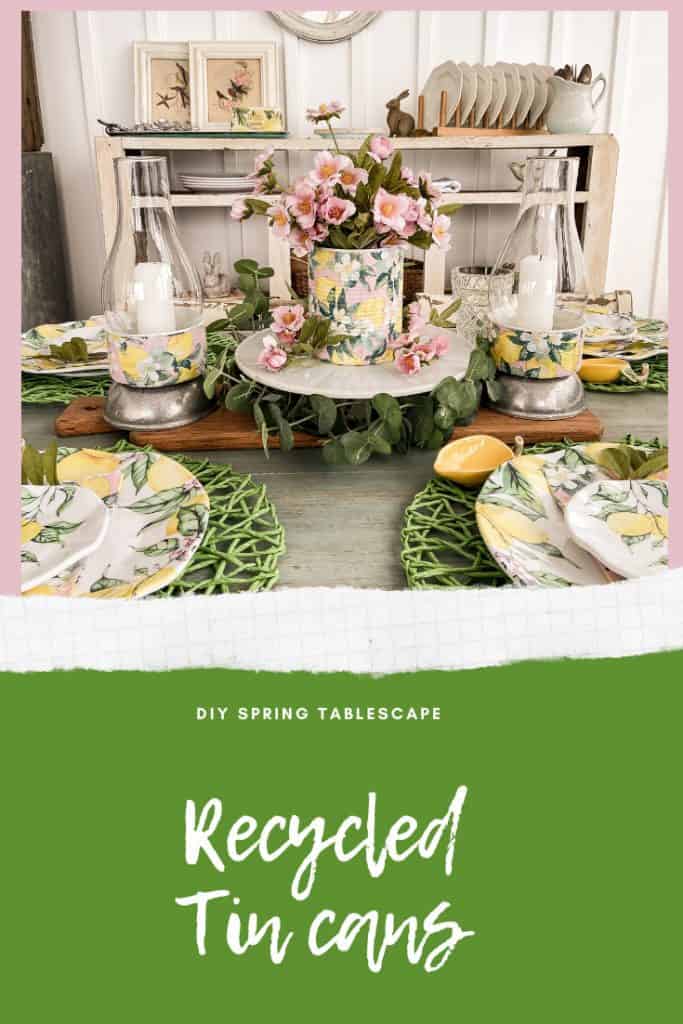
Recycle Tin Cans For A Gorgeous Centerpiece
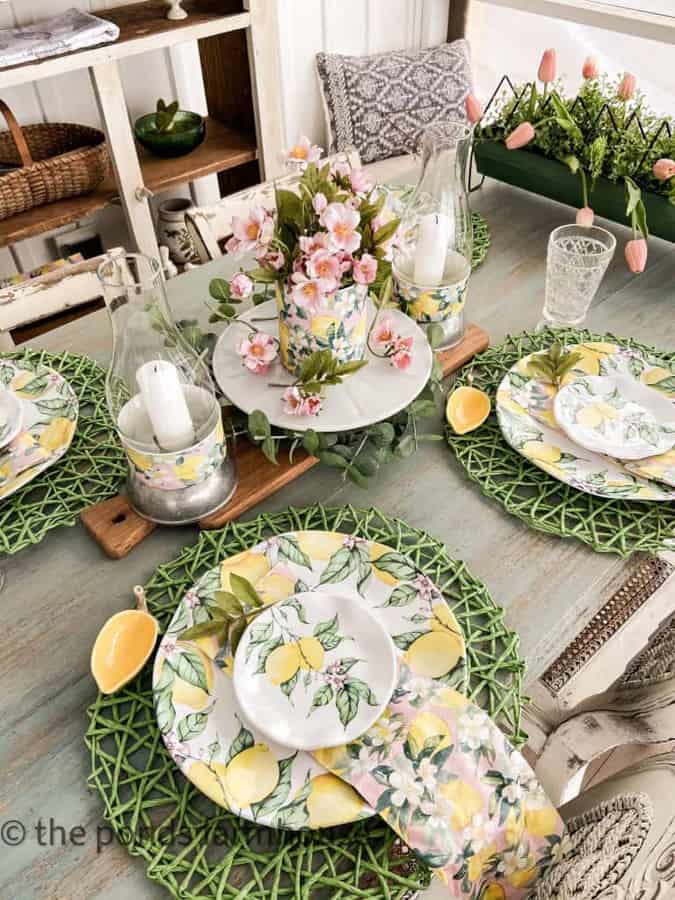
Looking for a way to get inexpensive custom tableware decor? Take a look at this gorgeous centerpiece made with recycled tin cans and napkins. I recently fell in love with these cute napkins and wished I could find more accessories to match the napkins. As I was planning a Spring tablescape for my screened porch, I decided to try covering some tin cans with extra napkins.
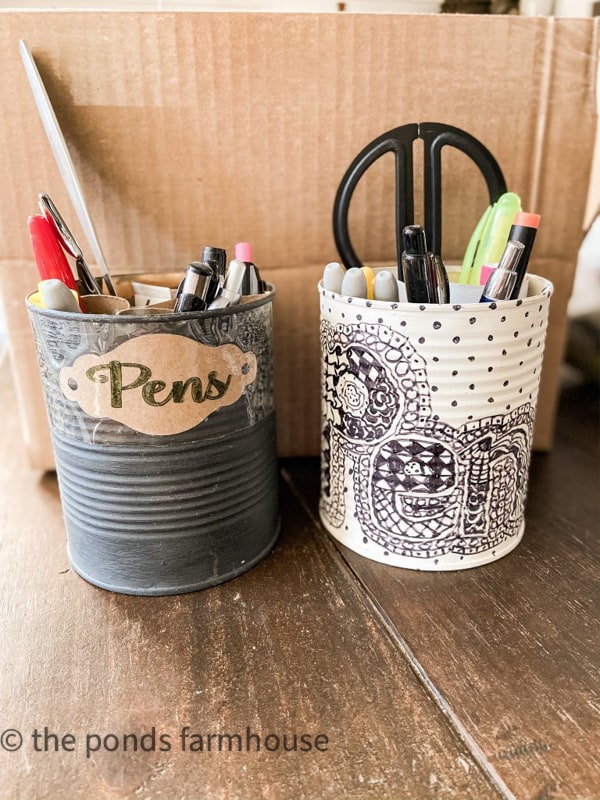
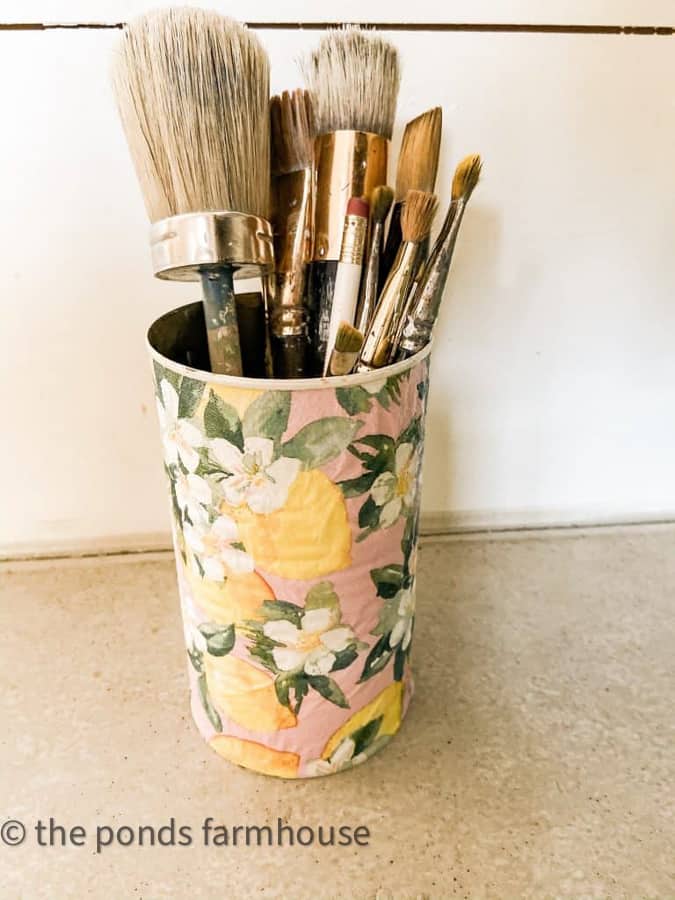
Because I’ve always been a waste not kind of girl. I’m always saving tin cans to hold my paintbrushes, pens, and flowers. They are the perfect size, and I can always paint or stencil them.
(Posts on The Ponds Farmhouse may contain affiliate links. As an Amazon Associate, I earn from qualifying purchases. See the full disclosure details here.)
How To Recycle Tin Cans
I began to save tin cans to hold paintbrushes and other craft supplies in my shop.
However, I quickly decided they needed to be dressed up a bit and began to paint them.
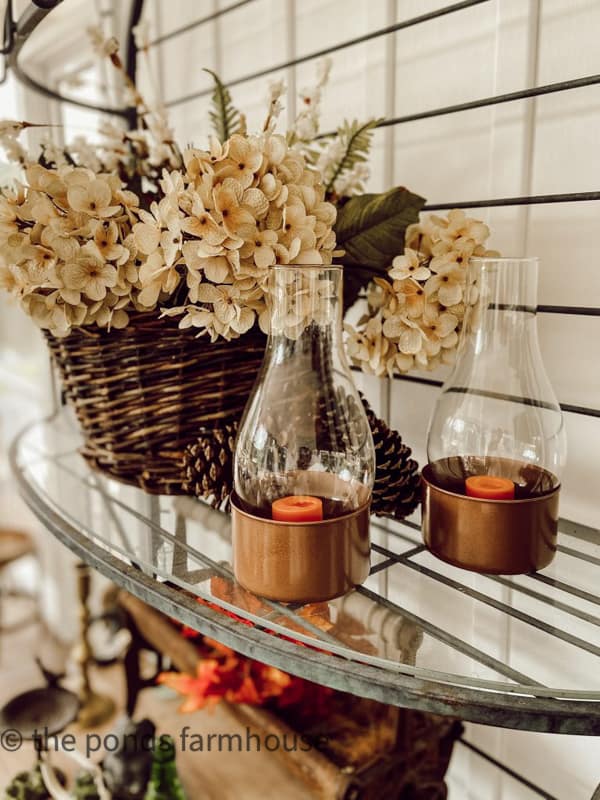
That led to other ideas for recycling tin cans like these copper candleholders.
Decorating with free decor can be addictive.
Supplies
This project worked so well that I got carried away and covered several tin cans. Here are the steps and materials I used.
- Chalk Paint
- Decorative Napkins
- Mod Podge
- Paint Brush
- Clean Tin Can
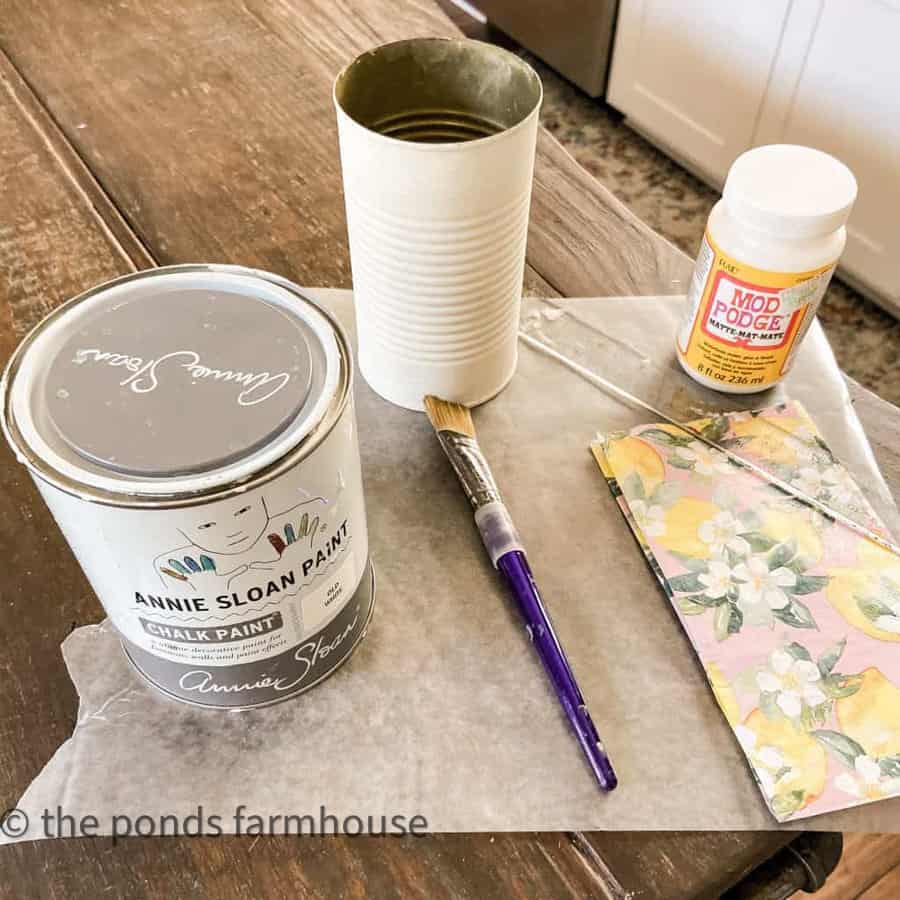
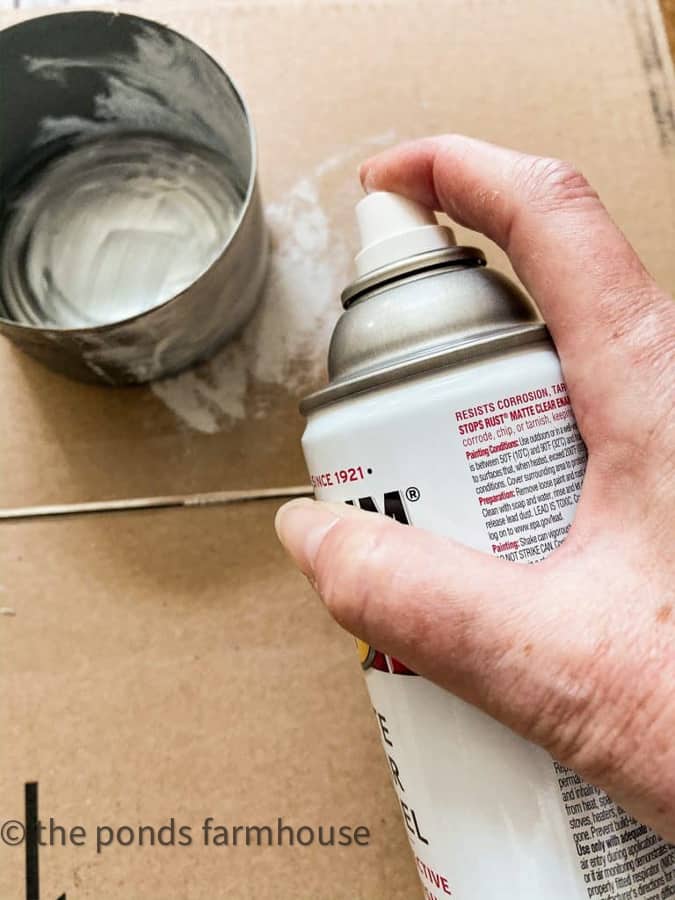
When I realized I wanted to cover several can, I decided to use Rust-oleum Chalk Paint spray to speed up the painting process. You just need to paint the exterior with a fast coat of paint. If you want your interior painted, you may need two coats for the inside finish.
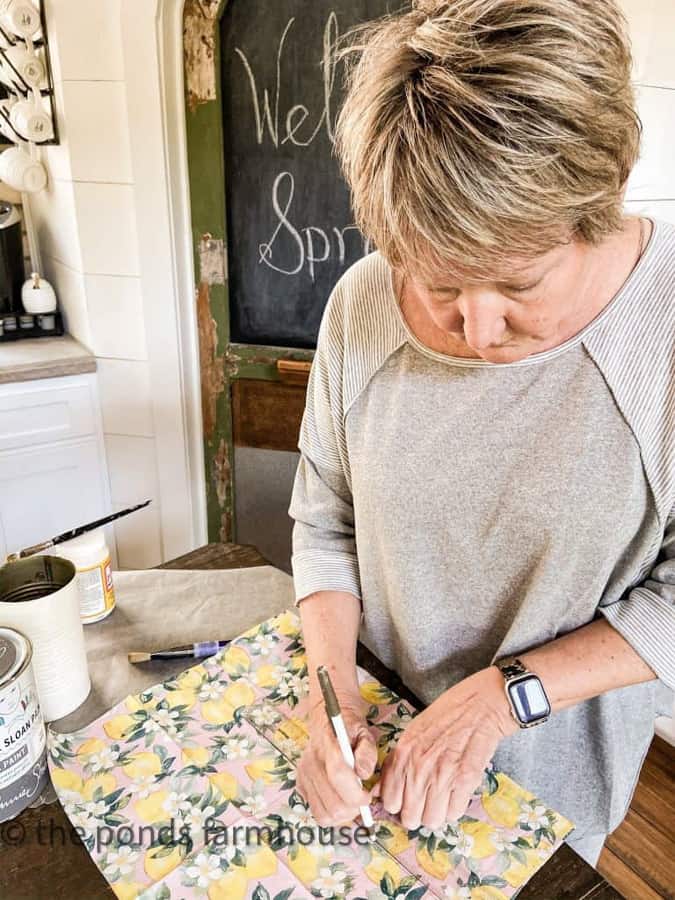
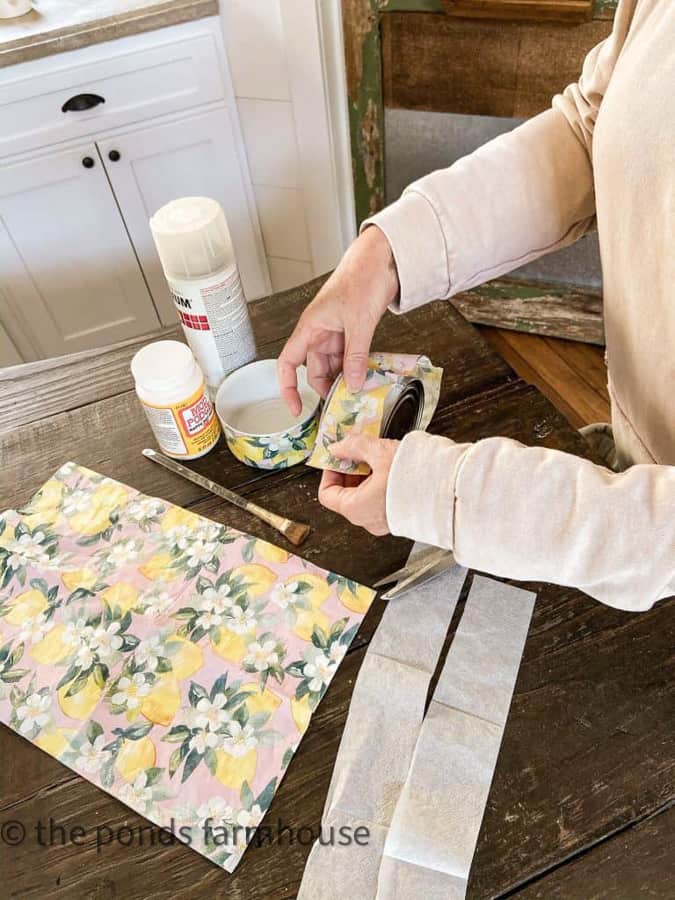
Because you need to cut the napkin to the height of your can and you need it to be even across, I use a ruler to mark a straight line. Then cut the napkin along the line.
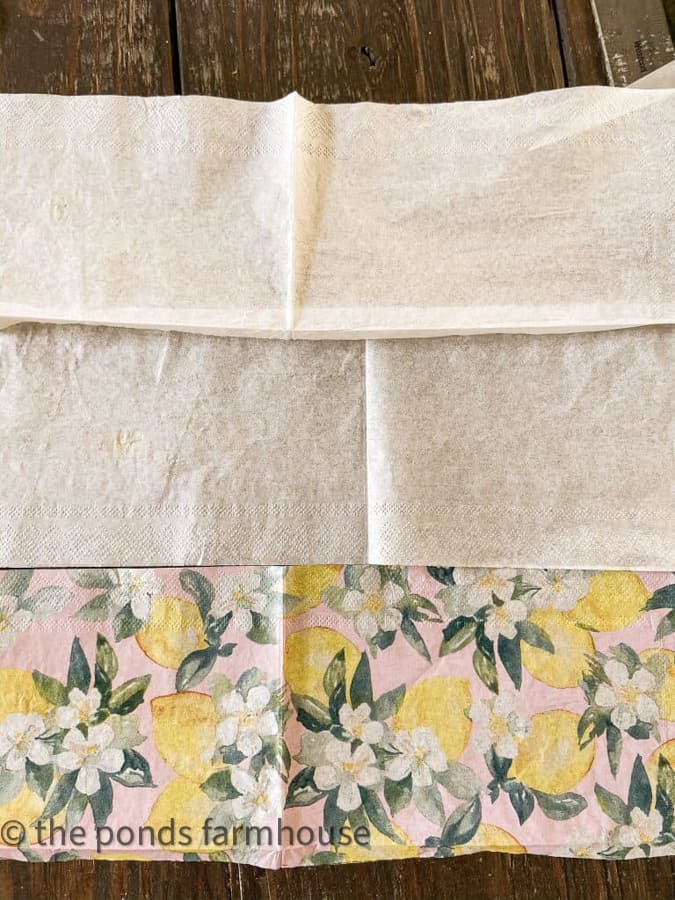
Most napkins are three ply. You will want to only apply the top layer.
Separate the napkin layers by applying tape to the back layers and gently pulling them apart.
Once your paint is dry, apply a very thin layer of mod podge to the exterior of the can. Apply to all areas you want to adhere to the napkin.
Being careful to keep the napkin straight, gently press it around the tin can.
Protect your Recycle Tin Cans
After the mod podge napkin is dry, then gently apply another thin coat of mod podge to the exterior of the napkin to seal. Note: you may see bubbles form. Don’t panic, these will smooth out once the piece is dry. Just be careful to use a light coat and move on. Over rubbing or brushing, while applying this coat, can cause the napkin to rip .
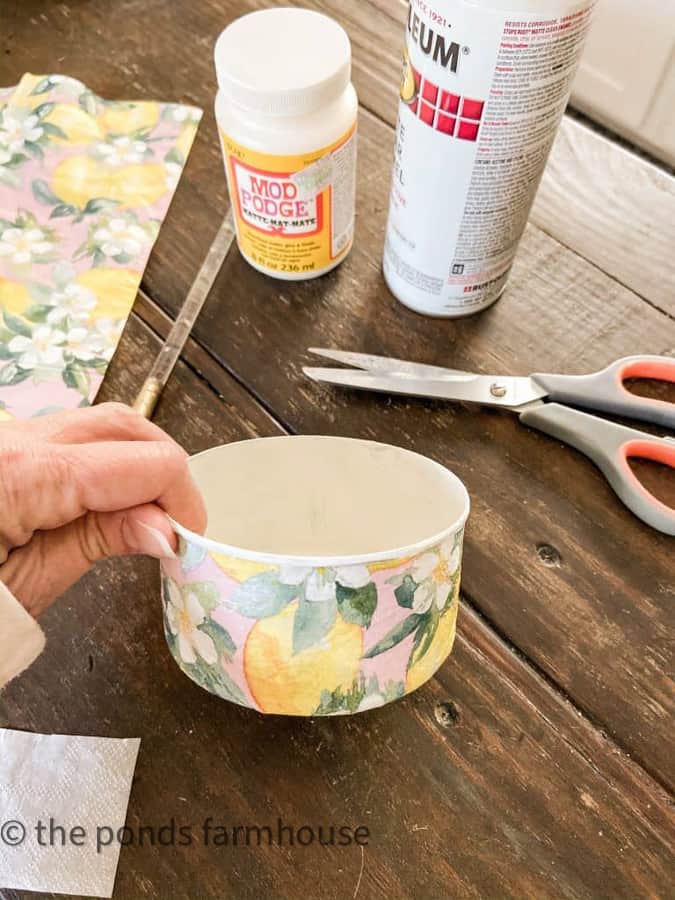
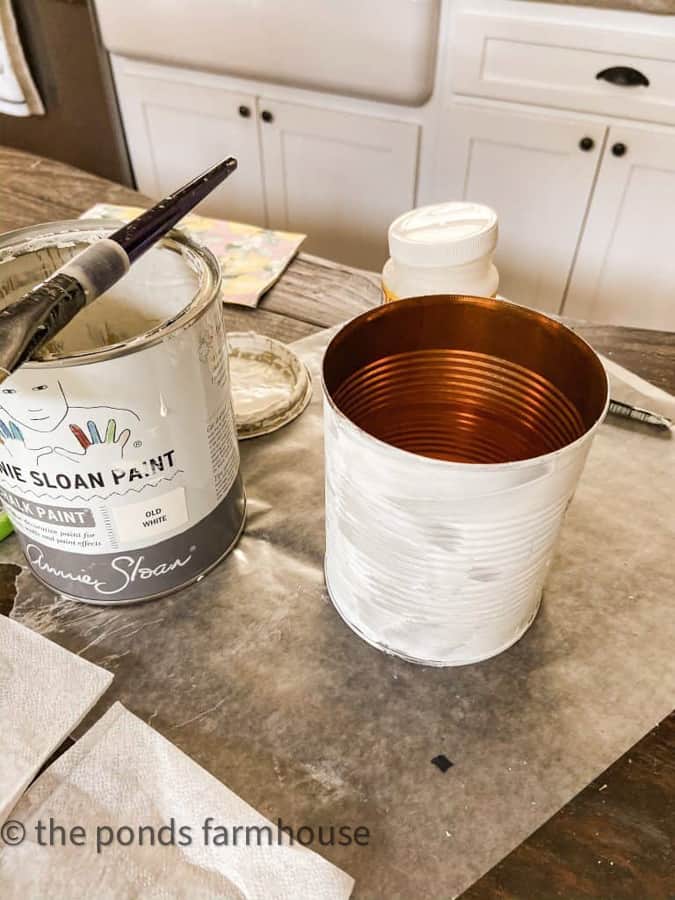
This is a large tuna can. I spray painted the interior with 2 coats of Linen Chalk Paint.
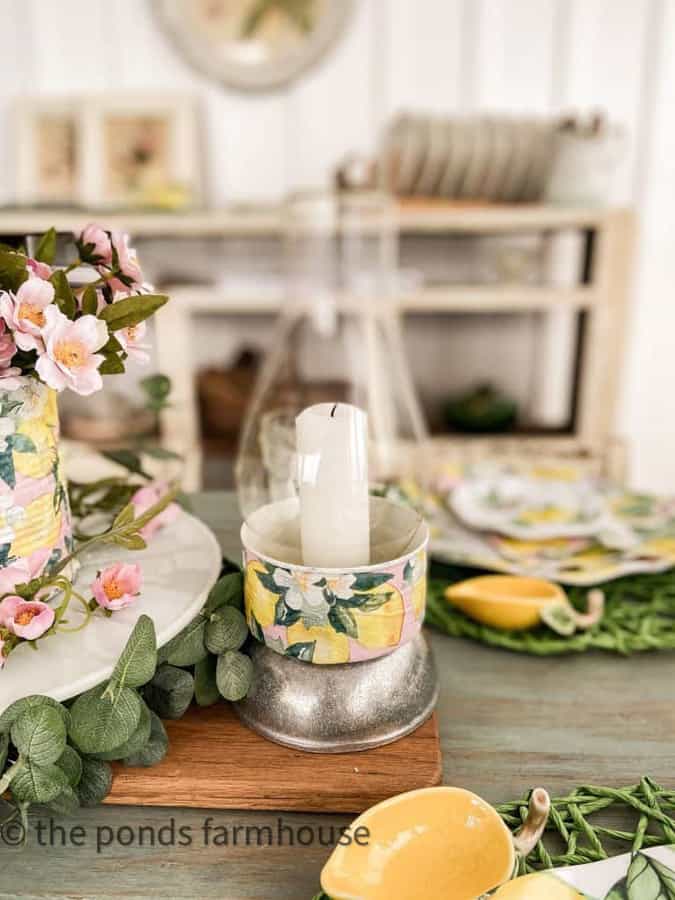
Recycled Tin Cans Centerpiece
These were just so cute! So I decided to add glass hurricane chimney’s and white candles to the tuna cans. I used a soup can to hold faux stems that mimic the flowers on the thrift store dishes.
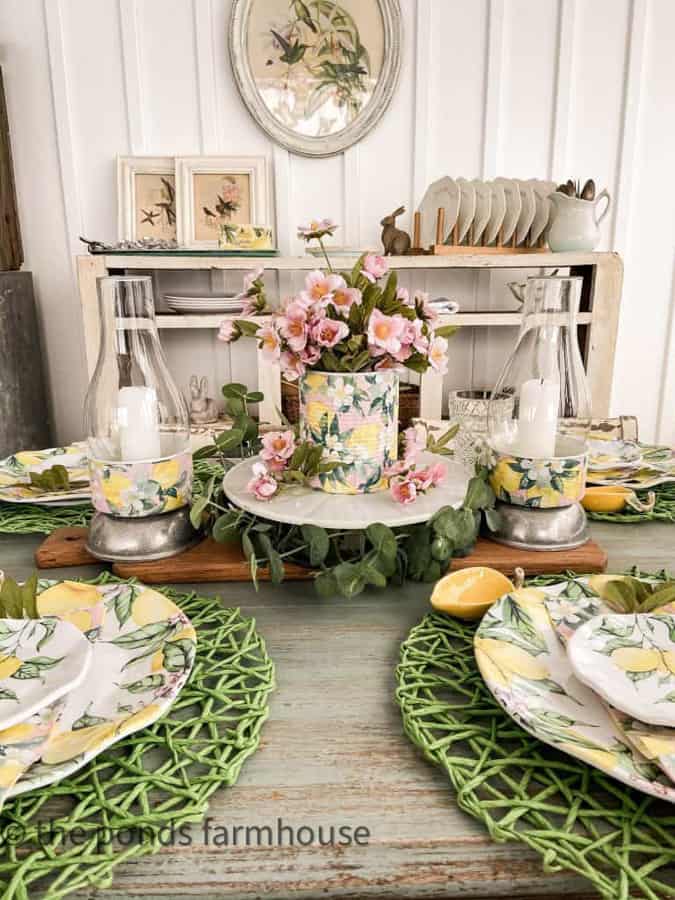
What an inexpensive way to use recycled materials for a gorgeous centerpiece
This project was so quick and easy, I couldn’t stop!. Here is my new brush holder. See how I added
This Recycle Tin Cans project can be used for any season by purchasing seasonal napkins. There are so many options.
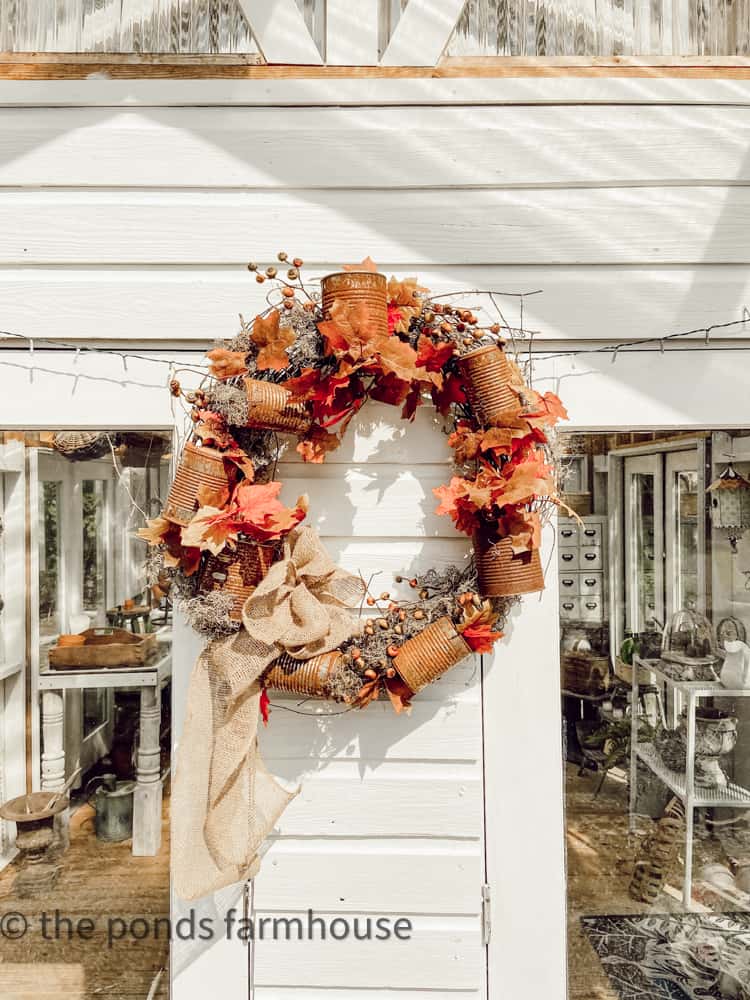
Don’t you just love a free project? See the 10 Tips for Free Fall Decorating, and this Rusty Tin Can wreath for Fall.
Other Napkin Decoupage Projects
- A Distressed Decoupage Lamp
- Updated Thrift Store Ginger Jar
- Chinoiserie Blue and White Napkin Rings DIY
- Recycle Tin Can Decoupage Decor
- How To Make A DIY Decorative Box
- Decoupage Eggs for Easter
- Napkin Decoupage Christmas Ornaments
- Decoupage Coasters for Gift Ideas
- Decoupage Dollar Tree Pumpkins
- No-Wrinkle Napkin Lampshade Makeover
Thanks for stopping by.

I hope this will inspire you to try think outside the box when planning your home decor. If you have any questions, please ask me here. I appreciate all comments. Be sure to subscribe to my blog, so you don’t miss any DIY projects.
Thanks so much for stopping by.
Hi Rachel, this is my first time by and I just wanted to let you know how much I love your covered cans with this adorable spring-y print. Love your home too, I hope you’ll come by to visit!
Debra,
Thanks so much for stopping by.
I appreciate your input and encouragement!
Rachel.
Hi Rachel,
Love this project and thank you for the inspiration.
Have a great day! Pinned for later.
Cindy
Cindy,
I really appreciate this. Thanks for your encouragement!
Rachel
Beautifical- I will give it a try-Thanks
Linda,
I appreciate your comments.
Rachel
Great job-so pretty-Thanks
Linda,
I really appreciate your input. thanks for stopping by.
I love this! Recycling and so pretty. I just found your blog and artwork. You are so talented! I pinned so I can do this later!
Gena,
Thank you so much for these lovely compliments.
I’m so glad you found me. I look forward to sharing more with you.
Rachel
Just found your site. Very Impressed! Did you do the dishes as well? Can you eat on them/wash them?
Helen,
I’m so glad you stopped by. Thanks so much for following along. No the dishes came that way. You would have to have a food grade washable sealer to use this technique on dishes.
have a great day.
Rachel, those tuna fish cans are so cute! What a great idea! Now you’ve got me thinking about this….
Mary,
Thanks
Very creative. They look so cute. You are definitely the queen of tin can art. Hugs to you, my friend
Renae,
Thanks. You know I love free.
Omg this table is beautiful I love the yellow, lemons, placemats in green just love this
Debbie,
I’m so glad you liked this table. It was so fun to do.
This is so adorable Rachel and I love how they match your plates.
Wendy,
I’m so glad you liked this.
Hello, Rachel, Love the upcycle reusing of cans idea! I cannot see the pewter-looking bases under the cans in the discussion. They add so much. Was this something you had or made, too? I think the cans needed something to elevate them to be in proportion with the shades, so I wanted to know what you used, please.
Susan,
thank you! Those are just some small pewter bowls that I turned upside down to raise the candleholders. You could also use a pillar size candlestick to elevate them.