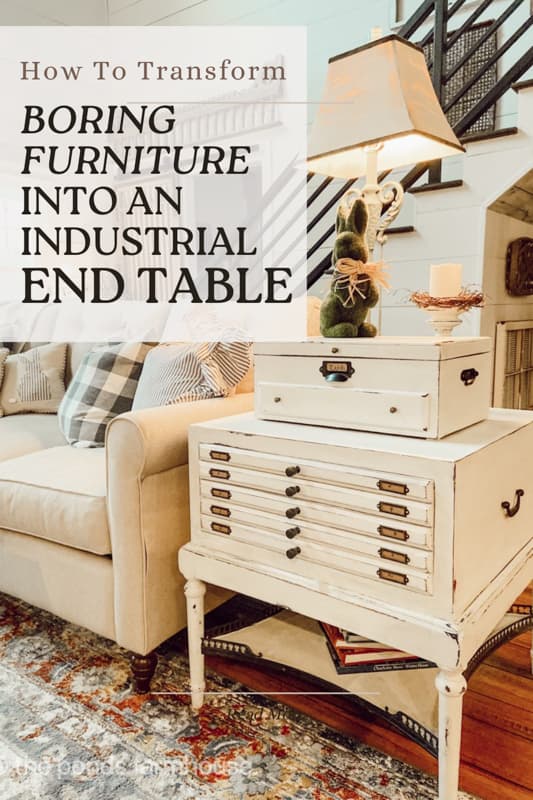
My #1 Industrial Farmhouse Furniture Transformation.
If you love a good before and after furniture makeover, wait until you see this industrial transformation. Instead of buying a new side table, I transformed a dull side table into my #1 industrial farmhouse furniture transformation. You’ll be amazed at how much money you can save by up-cycling, repurposing, or recycling pieces of furniture. Plus, we can create unique one-of-a-kind pieces, let me show you how.
Why Tranform Old Furniture?
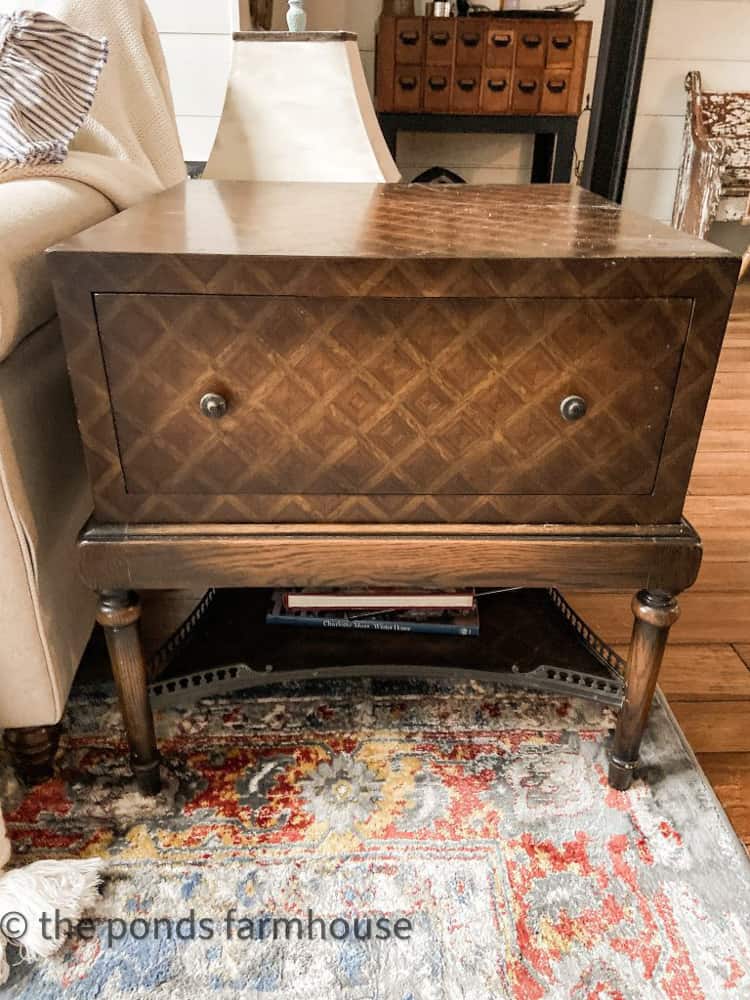
When we moved from a traditional home to The Farmhouse, I had a few pieces of furniture that I couldn’t leave behind, even though they didn’t have a farmhouse look! The quality of the piece would be hard to replace. Vintage furniture is usually constructed of solid wood and of much better quality than the more recent disposable furniture manufacturing.
Because I love vintage pieces with tiny drawers and doors, I decided that I’d like to create a faux front on the single drawer that appears to be multiple small drawers. Here is a step-by-step tutorial showing how I transformed this side table.
(Posts on The Ponds Farmhouse may contain affiliate links. As an Amazon Associate, I earn from qualifying purchases. See the full disclosure details here.)
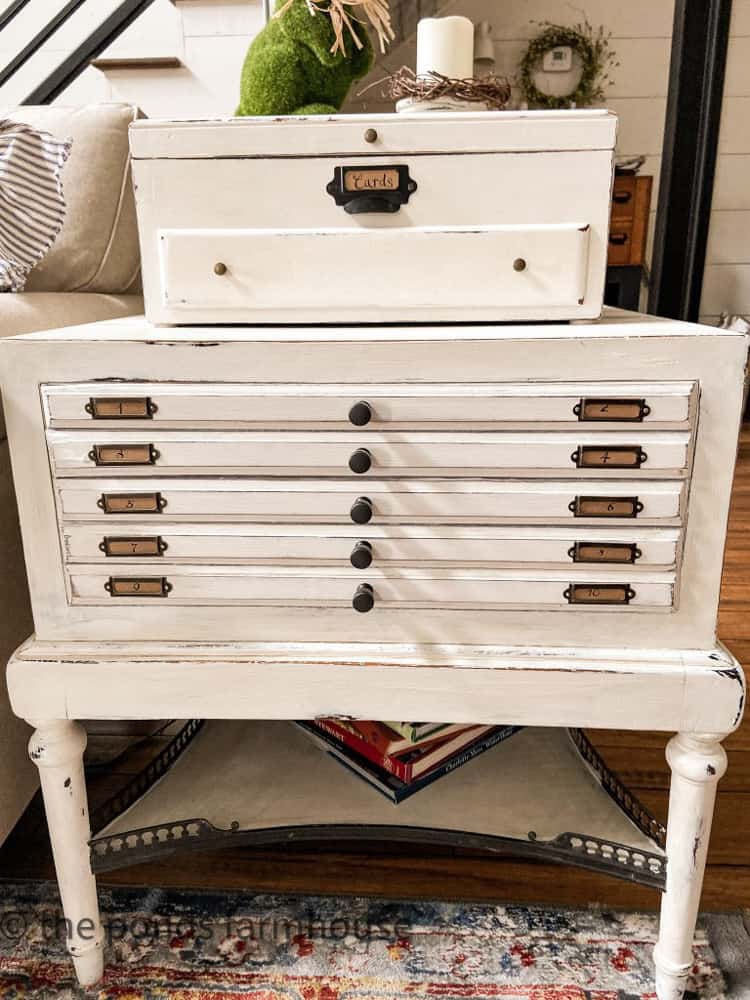
This is what the side table looks like after the transformation. I used chalk paint to create a distressed painted finish and you can see this easy tutorial on how to use chalk paint.
Cut Casing for Drawer Front
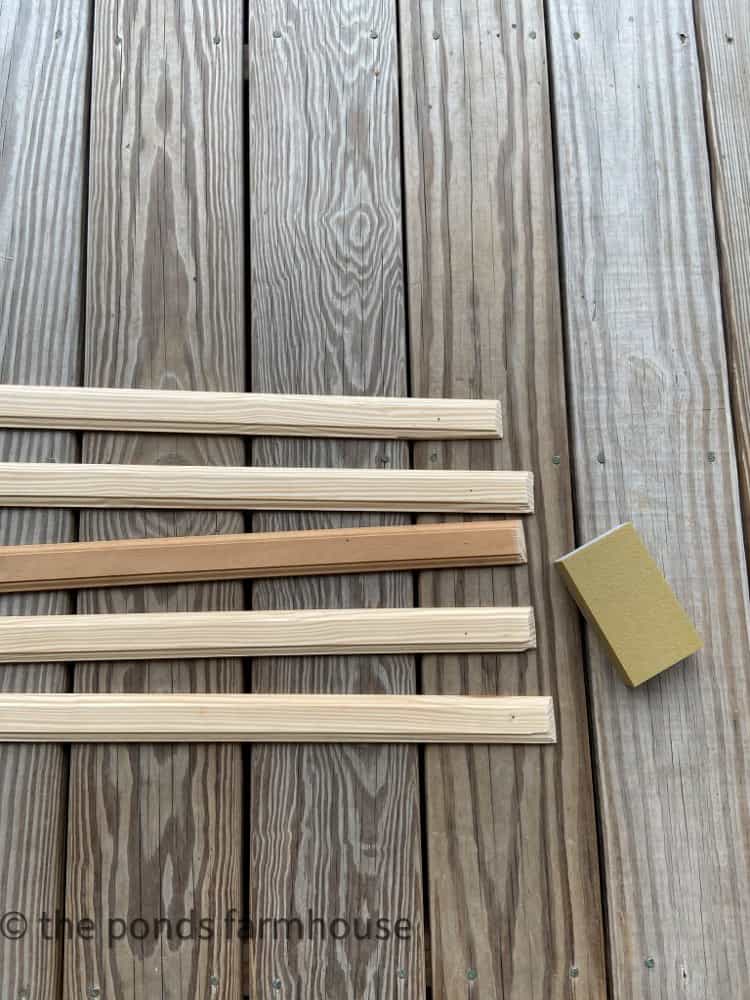
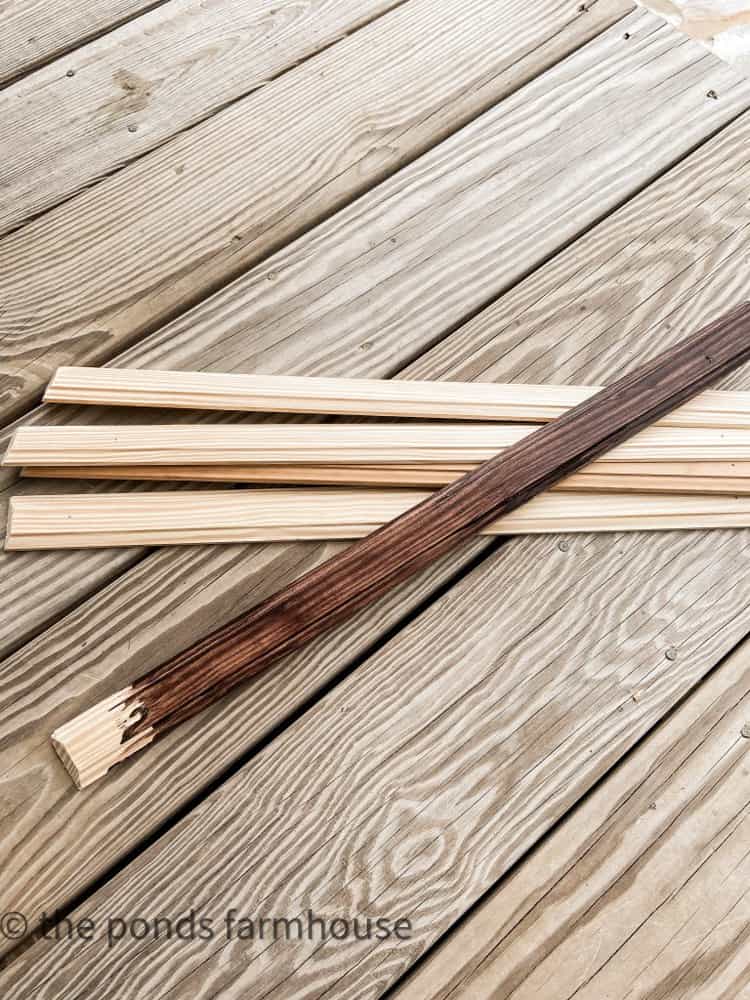
This project begins with five stripes of 1 1/2″ Interior Pine Wood Casing cut to the length of the drawer front.
First of all, my husband helped me cut the casing, allowing for a 45-degree angle on the ends to match the shape of the casing.
Then I drilled small pilot holes in the trim to allow for the tiny screws. I also sanded the edges and around the pilot holes with Fine Grit Sanding Block
Stain Wood Casing Strips
Because I wanted the new wood trim to match the original table stain, I applied a Walnut Gel Stain to the raw wood. Although it wasn’t a perfect match, it will work perfectly for the planned painting technique.
Attach Casing to Transform Drawer Front
Next, I applied a small amount of wood glue to the back of each strip and aligned the wood molding on the drawer front using match sticks as spacers. This was not the most professional spacer, but it’s what I had on hand. LOL
The transformation is starting to get exciting because I’m beginning to see an industrial farmhouse chest appear.
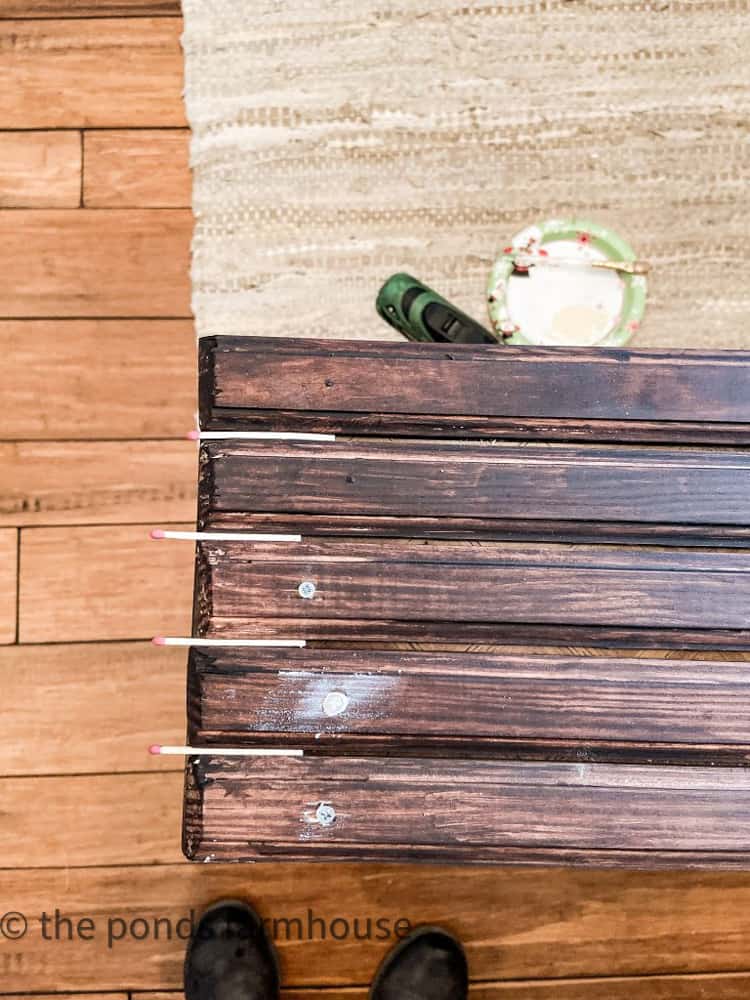
Then I used small screws to attach the molding to the drawer front. Once the screws were in place, I used a small amount of wood filler to cover the screw heads.
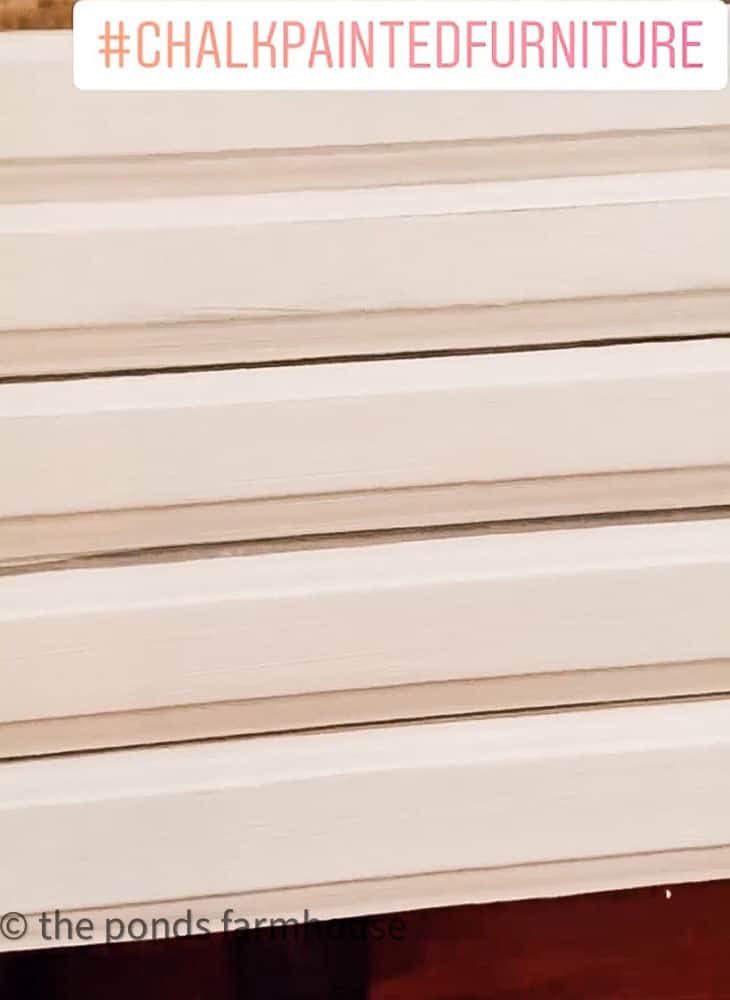
Paint Chest
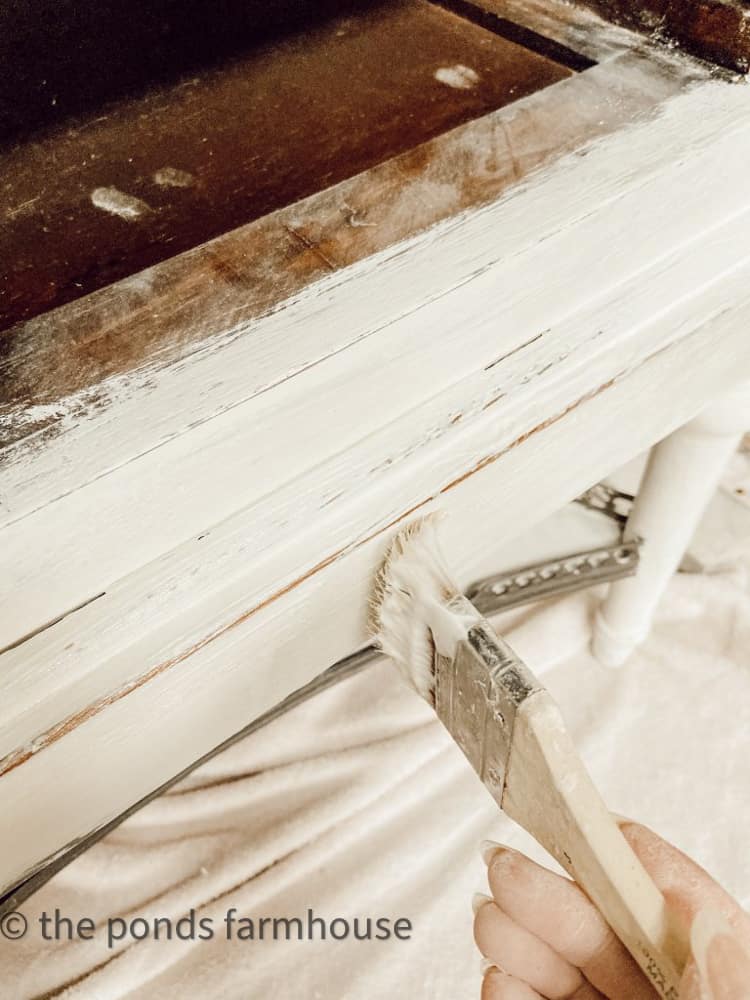
Once the stain and wood filler is completely dry, paint the chest. I used Old White Annie Sloan Chalk Paint for this project.
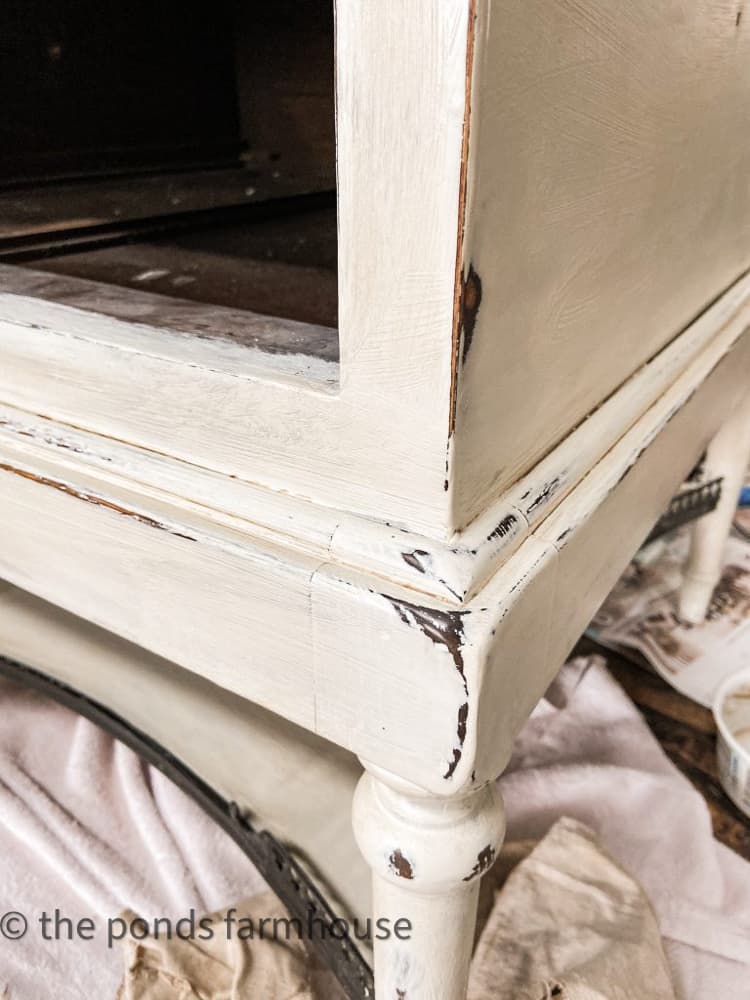
Distress for an Industrial Farmhouse Feel
I sanded away paint from the edges using my sanding block for a distressed look. This is the reason I stained the molding stripes to begin with. As a result, you see some of the original stain through the chalk paint.
Seal with Wax
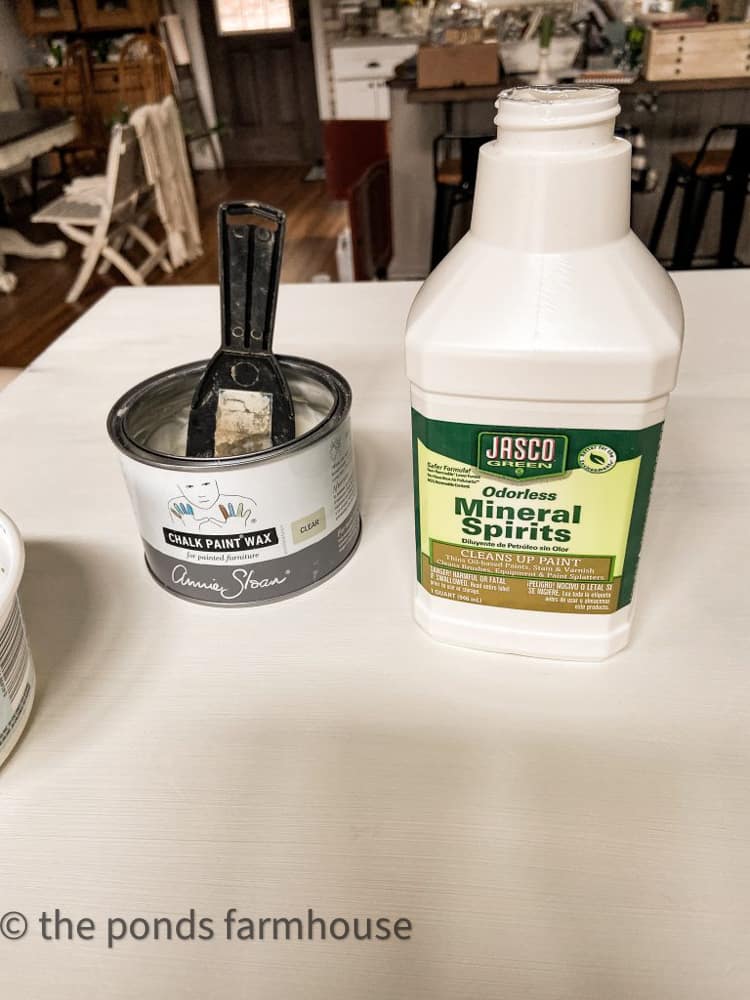
Next, I used Annie Sloan Clear Wax with a mixture of Mineral Spirits. I made a mayonnaise consistency mixture and used a chip brush to apply it to the painted piece.
I used a soft cloth to remove excess wax and allowed the wax to dry. Then, I used a piece of scrape drop cloth to buff out the surface.
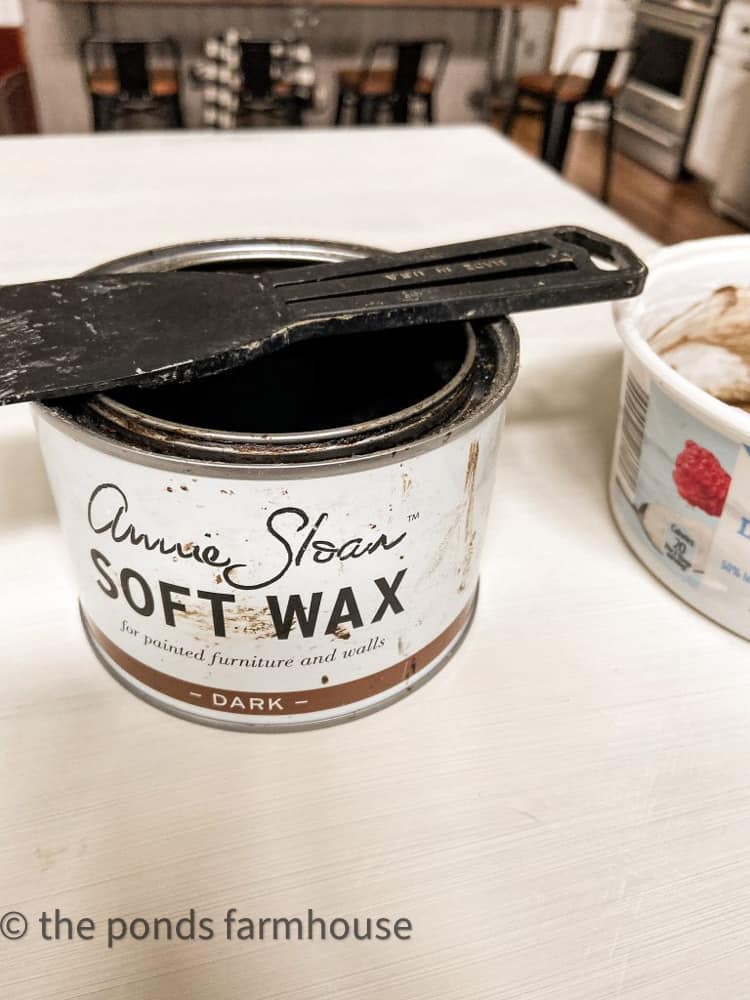
Finally, I added a coat of Dark Wax over the surface because I felt the color was a brighter white than I preferred. Note: If I were doing the project again, I would have mixed a small amount of dark wax with the clear wax from the beginning. This would have saved me some time.
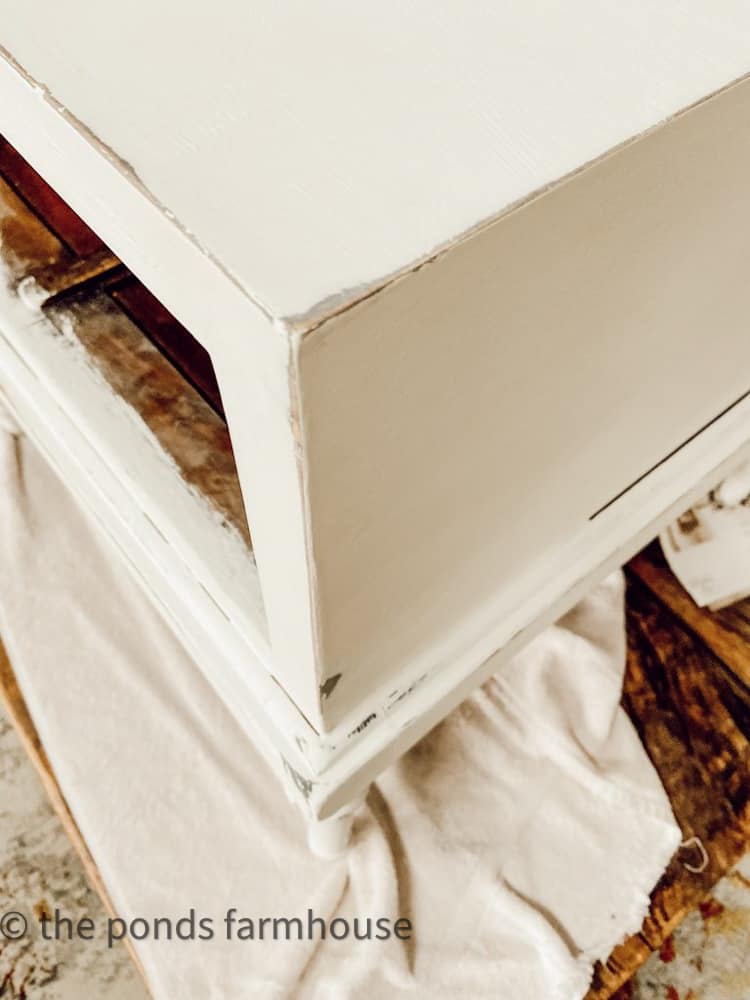
Now the color is a warmer shade of white. Don’t be afraid to make mistakes when attempting a project. This one still turned out to be one of my favorite projects.
Add Hardware for Industrial Farmhouse Transformation
Finally, it was time to add the hardware to the front. The front drawer now looks like five small drawers. I purchased the drawer pulls and label holders from D. Lawless Hardware. Using some craft paper card stock I had on hand, I hand-lettered the numbers for the label holders.
I previously shared this trash-to-treasure silverware box transformation of the box on the top. I’m loving the new look of this inexpensive makeover project.
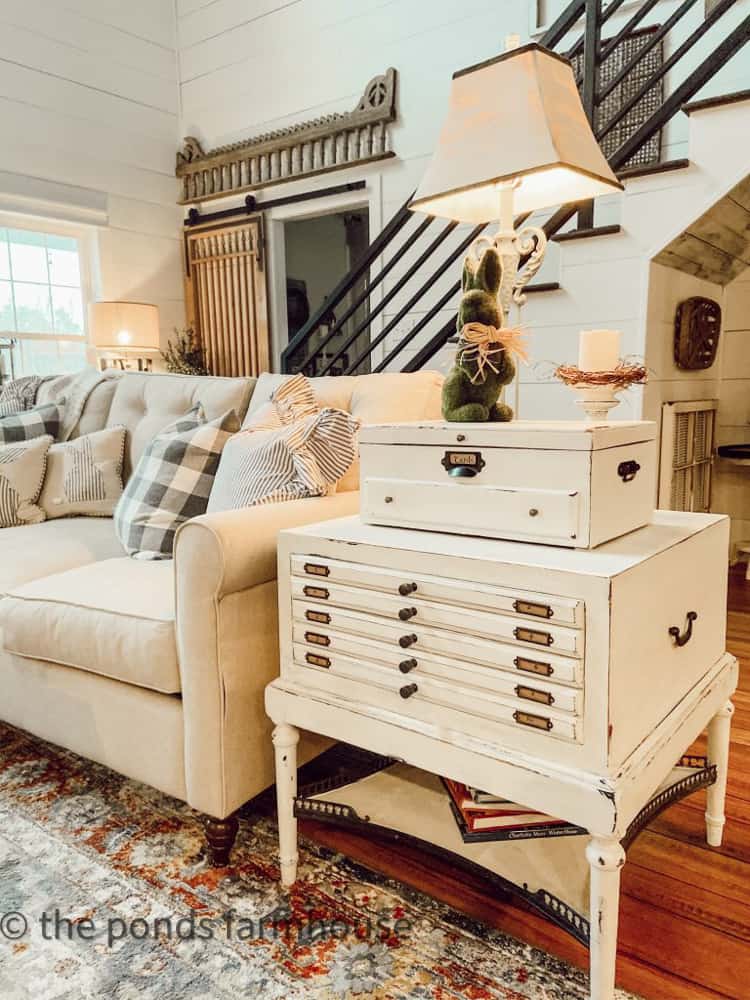
Now, this dull chest adds just the right industrial farmhouse vibe and works perfectly with the decor.
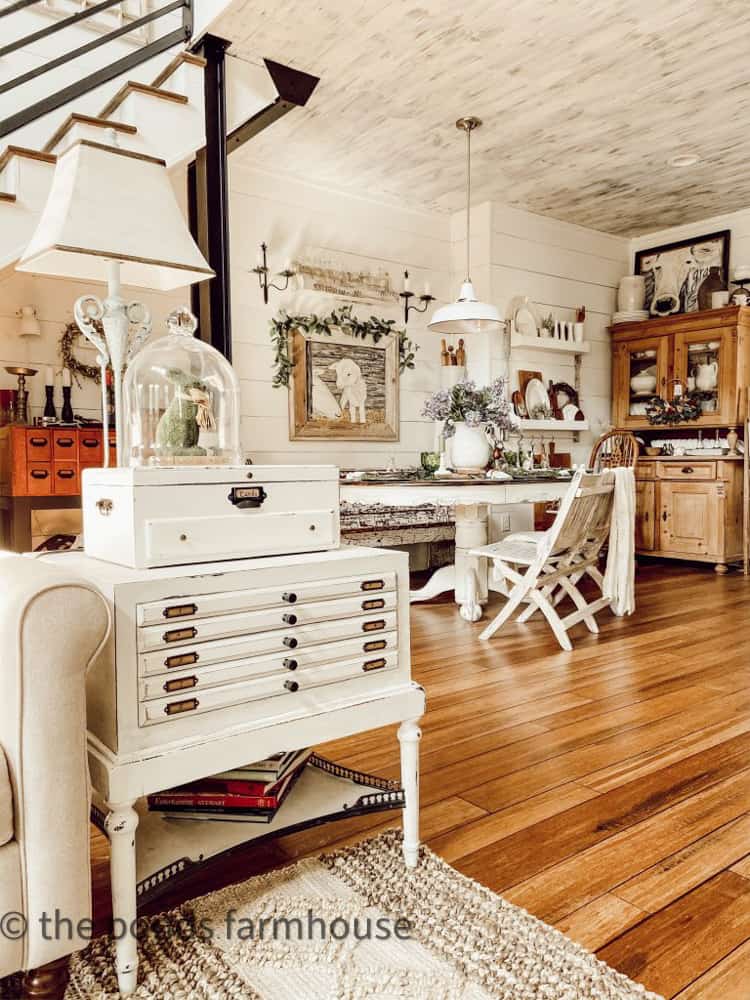
See how to make the DIY Plate Rack here.
Shop this rug here.
Cow Painting here.
Sheep Painting here.
More Industrial Transformations & Repurposed Furniture Tutorials.
- IKEA Storeage Cube Transformed Into A Unique Apothecary Cabinet
- Repurposed Sideboard Into Farmhouse Kitchen Island
- How To Make New Wood Look Like Old Barn Wood
- Easy 3 Step Furniture Chest Transformation
- Amazing Thrifted Chest Makeover

Thank you so much for stopping by today. I hope this will inspire you to look beyond the obvious when searching for the perfect decor piece.

Pin it to remember it


amazing transformation-very creative!!! I love the end result and never in a million years could I come up with such a clever way to change the look of a plain end table.
Liz,
Thanks so much for these encouraging words. I appreciate you for stopping by. I hope you’ll subscribe to my blog email list. This assures you never miss a post.
Wow – that’s brilliant Rachel! I agree with Liz – I wouldn’t have ever thought of that, but it’s perfect in that space! Beautiful job!
I love the way this turned out. You are so cleaver!!
Michelle,
I really appreciate your encouragement! I’m extremely happy with this piece as well. Thank you for taking the time to comment
Rachel
I found your post on a link up from The Painted Hinge. And im so glad I did : I love the transformation on your side table! and just had to subscribe for your emails. Looking forward to receiving future emails and looking through your previous ones.
Joan,
Thank you so much for making my day. I’ve just recently re-booted my blog and I’m so happy to have new subscribers. Your kind words are just the encouragement I needed today. I hope you have a blessed day!.
Rachel
What a lovely upcycle. I am not the world’s biggest “let’s paint it” fan, but this transformation is beautiful!
Kathy,
This means so much to me. Thanks for taking the time to comment and lift me up today. I appreciate it so much.
Rachel
Oh my goodness – I love everything about your transformation. Thank you for sharing!
Jacque,
I really appreciate your comments. Thanks for taking the time to share your thoughts.
Rachel
Spectacular transformation! And a deep drawer is so useful. Seeing the result first, I would never have guessed it’s origins. Have a great day!
Jeanne,
I appreciate your comments. I’m so glad you like it.
Rachel
What a lovely makeover! Perfect for your home! Visiting by way of Farmhouse Friday… congrats on your feature! We’d love to see you at Tuesday Turn About this (and every) week! Hope to see you there!
Julie,
Thanks for your sweet compliments. I will definitely check out your link party.
Rachel
The side table you started with was unique but your transformation is awesome. Good job!
Ann
I really appreciate your input
Wowza! This is fabulous!!! What a creative upcycle, I luuuv it👏👏❤️❤️
Marsha,
I really appreciate this. Thanks for stopping by.
Rachel
Oh. My. Word ❣️. This is amazing! I love rustic and farmhouse and Upcycling with all my heart. What a great idea. Excited to be able to follow you as well. Great instructions as well.
Ginger,
Welcome. Thanks so much for your kind words. I look forward to sharing more adventures with you.
Rachel
That WAS a beautiful piece of furniture. What a shame to destroy some craftsman’s work by painting over it.
Jerry,
I appreciate your input.
Rachhel
I am fairly certian you are genius!!! I have just found your blog, and facebook page. I will be having my morning coffee and instead of the depressing news.. I will be looking for what wonderfl thing you are doing today!!! It is a joy to see your vision for things! And I am not easily impressed. Love the greenhouse, the Ikea hack, the wreaths, the sidetable and silver chest!!! LOVE, LOVE you used window trim for drawer fronts!!
Just love it all. Thank you! Thank you for sharing such a creative genius with us!!! Start everyday with a smile, and a plan!!!
Cant wait to see whats next…. Happiest of New Years!!!!
Jodi,
Thank you so much for these encouraging words. You just made my day. I really appreciate you and all you said to keep me inspired to share more. Have a blessed day.