Easy DIY Wall Plate Rack
Today, I’m sharing a step-by-step tutorial for building a DIY Wall Plate Rack. This easy DIY Plate Rack is something anyone can make with minimal construction skills.
I’ve wanted a plate rack on my wall since we built the farmhouse.
I looked at many DIY Tutorials that seemed doable, but nothing was exactly what I wanted.
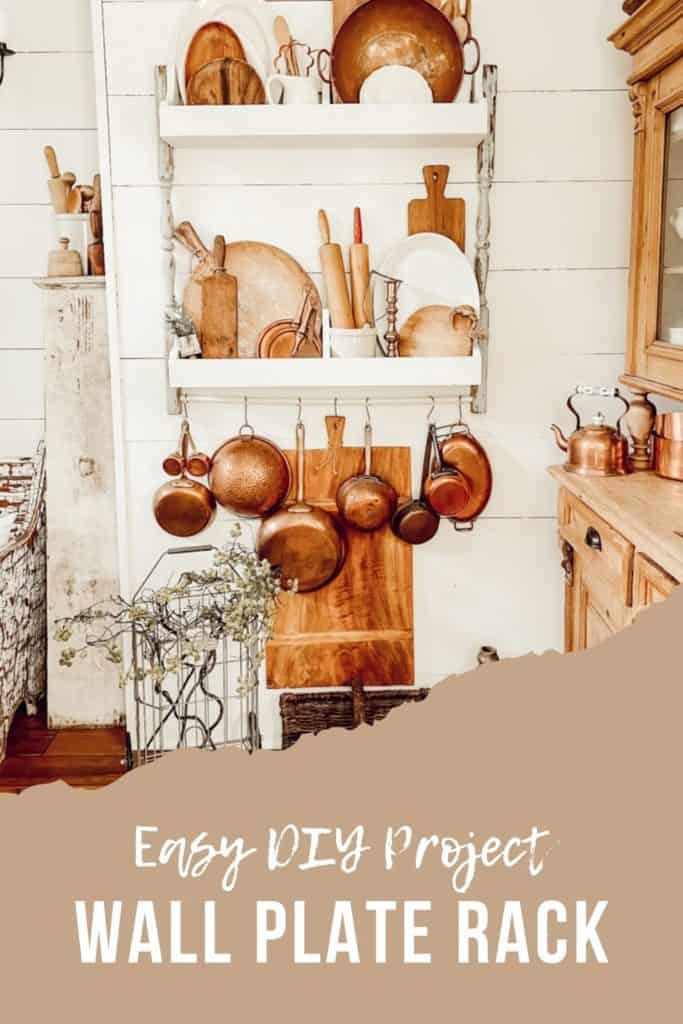
I love to layer dishes and breadboards, so the standard plate rack didn’t allow much layering. When I found a pallet-style shelf at Hobby Lobby, I decided to try it.
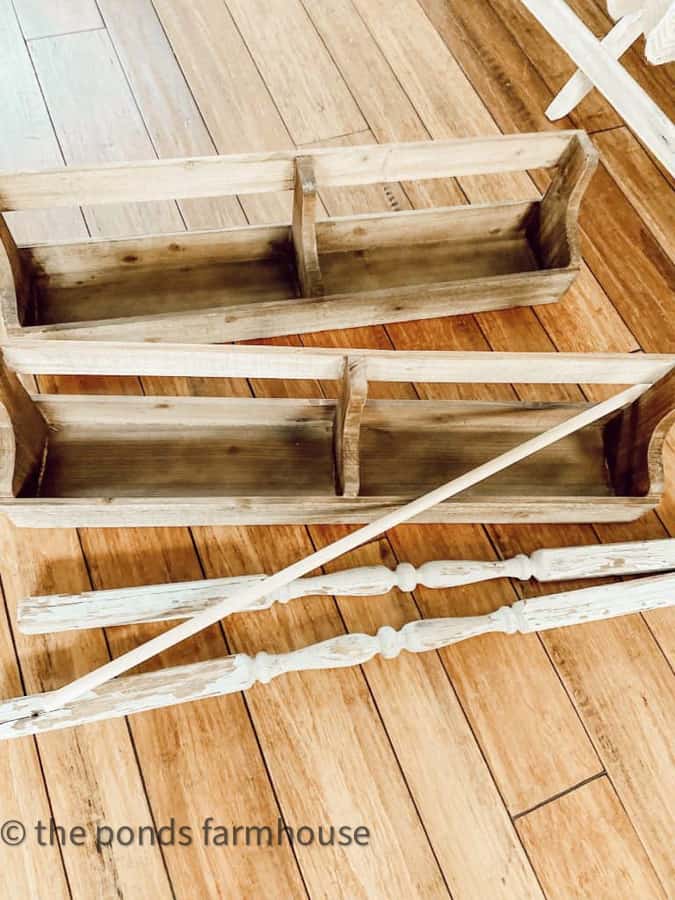
My inspiration for this Easy DIY Wall Plate Rack was a pallet-style shelf I found at Hobby Lobby. The base was 5 1/2 inches deep, with a lip that was 2 1/2 inches high. Perfect for layering.
(Posts on The Ponds Farmhouse may contain affiliate links. As an Amazon Associate, I earn from qualifying purchases. See the full disclosure details here.)
Wait For The Sale
Step one is to wait for the shelf to go on sale.
You will need two shelves, so with the sale, you can purchase two for the price of one. They are usually on sale approx—every other week.
All you need are these two shelves, two spindles, a dowel rod, and the supplies listed below.
Supplies
- Two side pieces cut 2 – 3 inches longer than the length you want your plate rack – additional details below.
- 1 dowel rod 1/2 inches in diameter cut slightly longer than the width of the shelf.
- Two shelves from Hobby Lobby
- Paint
- Wood Glue
- Wood Screws
- Drill & Drill Bit 1/2 inch.
- Level
- S hooks
- Paint
Next, you will need something to connect the two shelves so that it appears to be one unit. You could use any trim molding or a simple board attached to the sides.
I had a couple of old spindles with chippy blue paint that I decided to use. You can also purchase spindles at the hardware store or online if you don’t have access to vintage ones.
You will also want a dowel rod 1/2 inch in diameter.
I used the same paint color as my walls are painted, so I had plenty in storage.
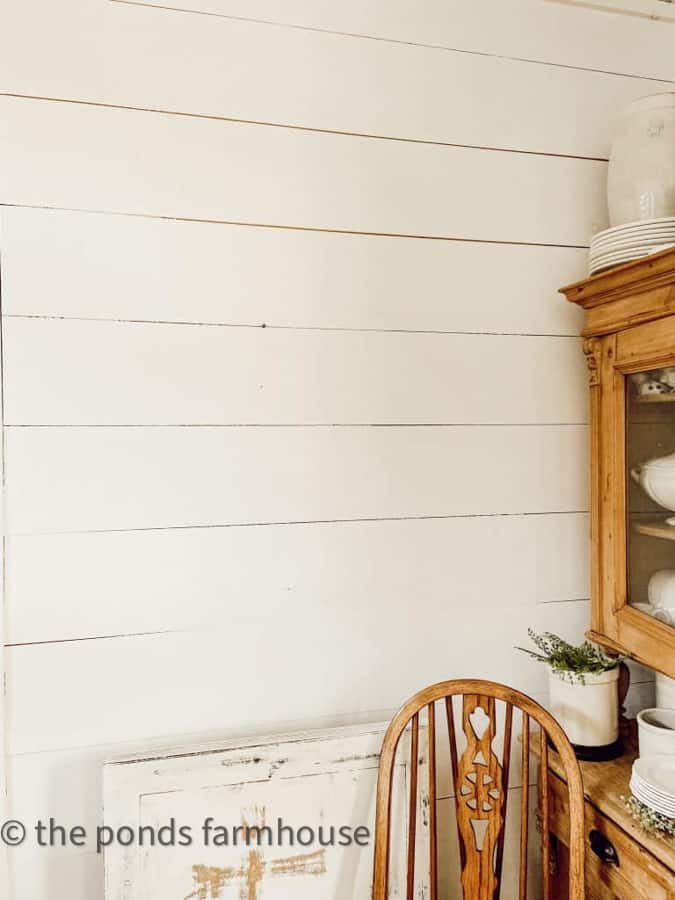
Use the same wall paint if you want your plate rack to match your wall. I used White Dove by Benjamin Moore because my shiplap is painted that color.
Paint Your Materials
Begin by painting the shelves and the dowel rod. If your side pieces are going to match, paint those as well.
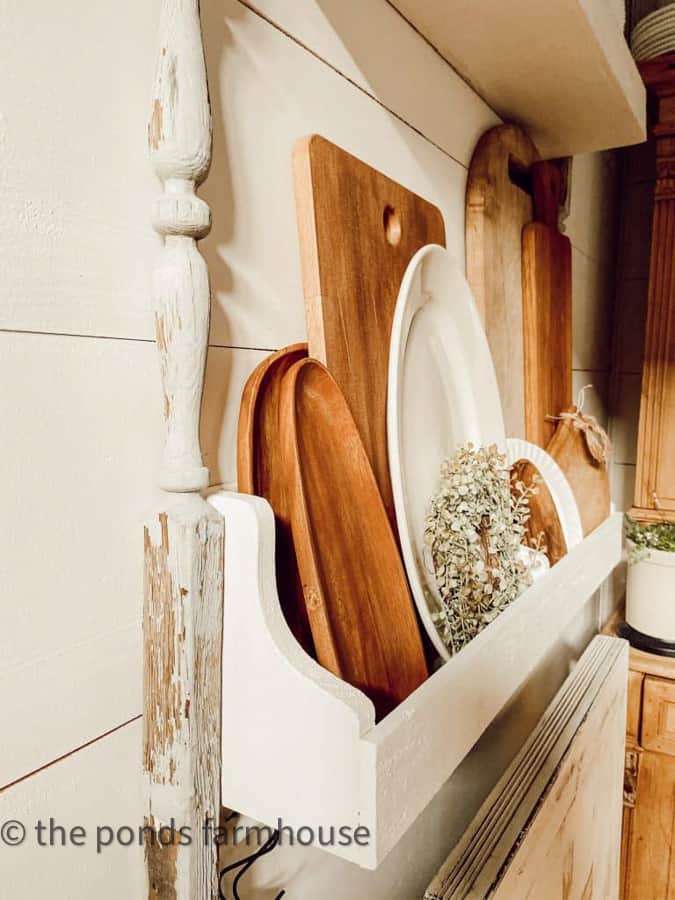
I decided to leave my spindles with the chippy blue paint instead.
Install The Shelves For Plate Rack
Once the paint is dry, install the two shelves, one above the other, with wood screws. To ensure your shelves are level and even, you should use a laser level before attaching the screws.
If you are working on sheet rock and cannot align your screws with a wall stud, be sure to use wall anchors.
The distance between your shelves is a personal preference or based on the length of your side material.
Since I was attaching spindles to the side, I had to allow 2-3 inches to hang below the bottom shelf.
Drill Holes For The Dowel Rod
Using a drill bit, drill a hole into the bottom of your side pieces from the inside. This will allow the dowel rod to be installed.
I think you should do this before installing the side piece. Just be sure the holes are the same distance from the bottom of your side piece and are in alignment.
You can skip this step if you don’t desire a rod at the bottom.
Attach Side Pieces To DIY Plate Rack
Using a drill and wood screws, attach your side pieces to the side of each shelf.
Remember to leave 2-3 inches below the bottom shelf of your plate rack.
Add Dowel Rod To DIY Wall Plate Rack
As an optional step, you can add a dowel rod to the DIY Wall Plate Rack for additional storage.
You can just run your dowel rod through the drilled holes at the bottom of your side piece.
You can add a drop of wood glue to each end to hold the rod in place. T
ouch up any area that may have been damaged during installation with your paint.
Add S Hooks if desired to hang additional items if desired.

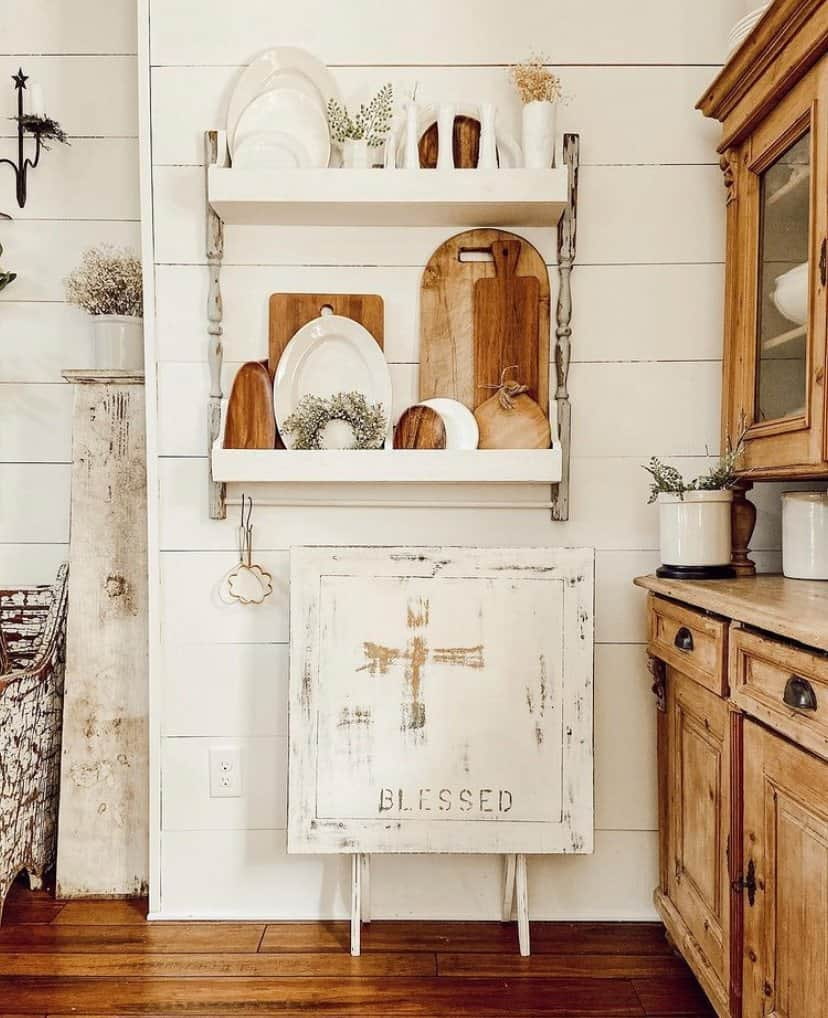
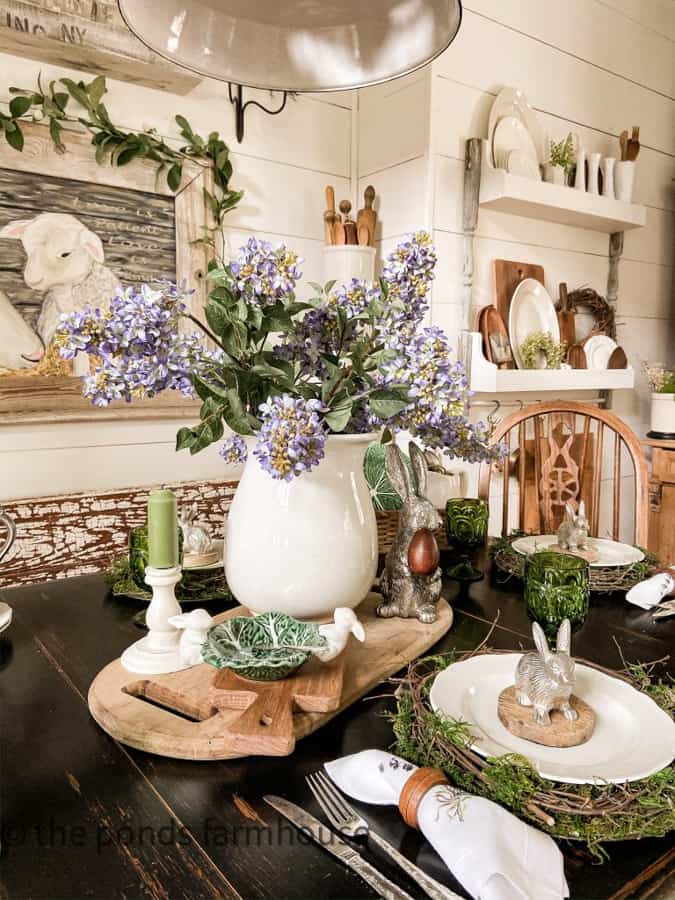
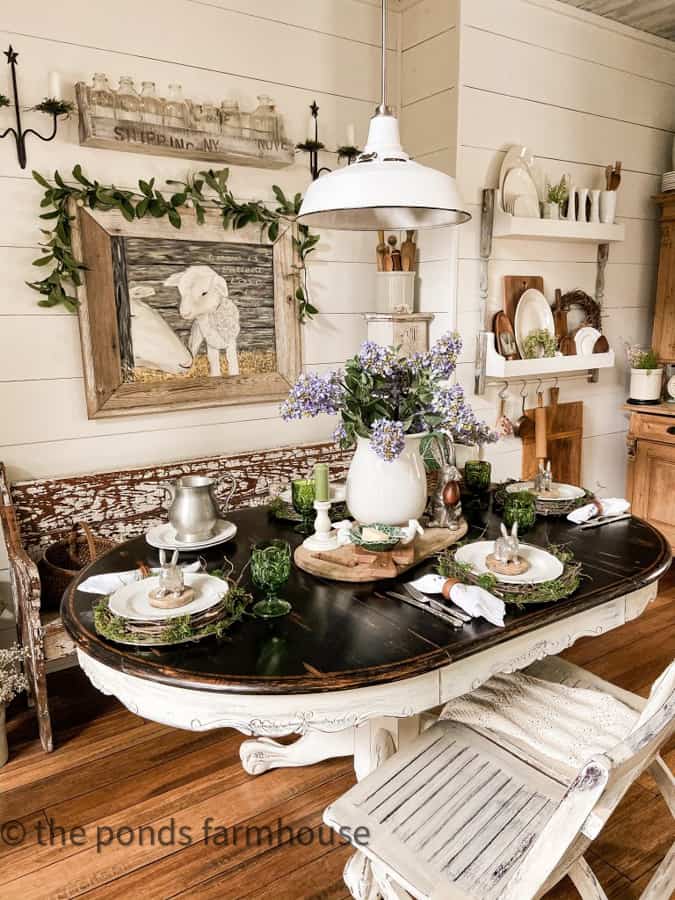
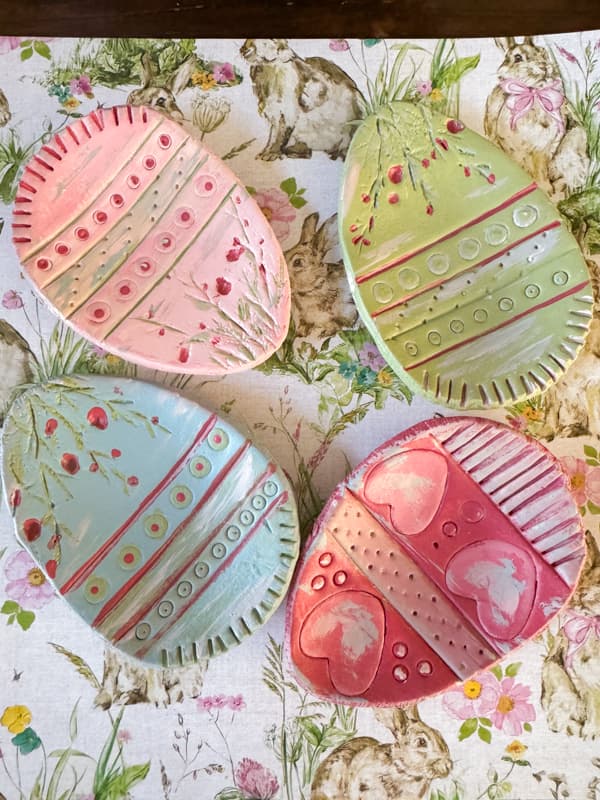
This Easter Tablescape and Bunny Tour showcases the newly installed plate rack. It also includes one of my original paintings – Mother’s Love Print.

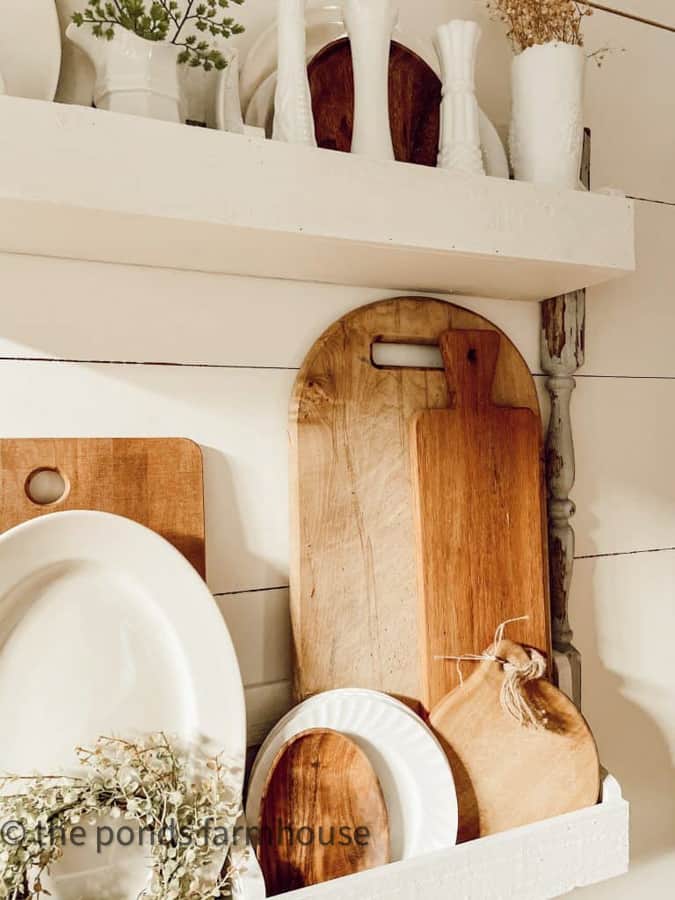
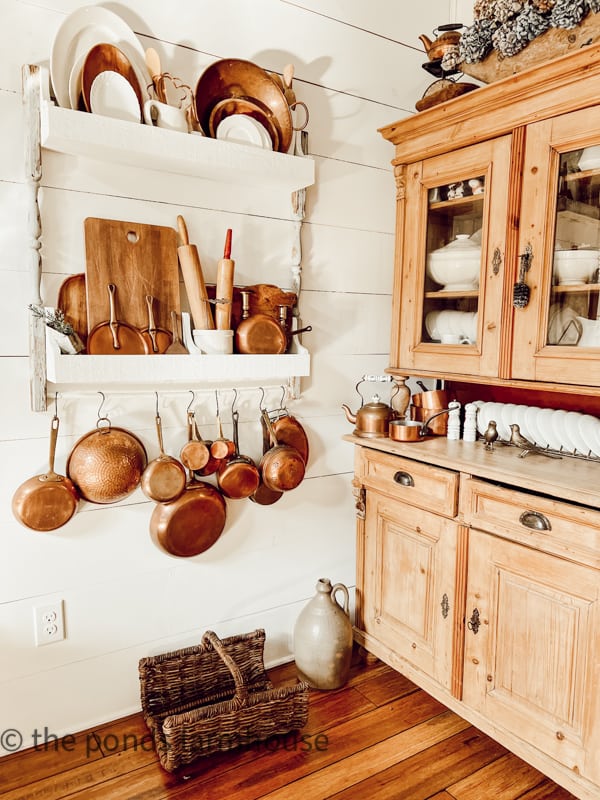
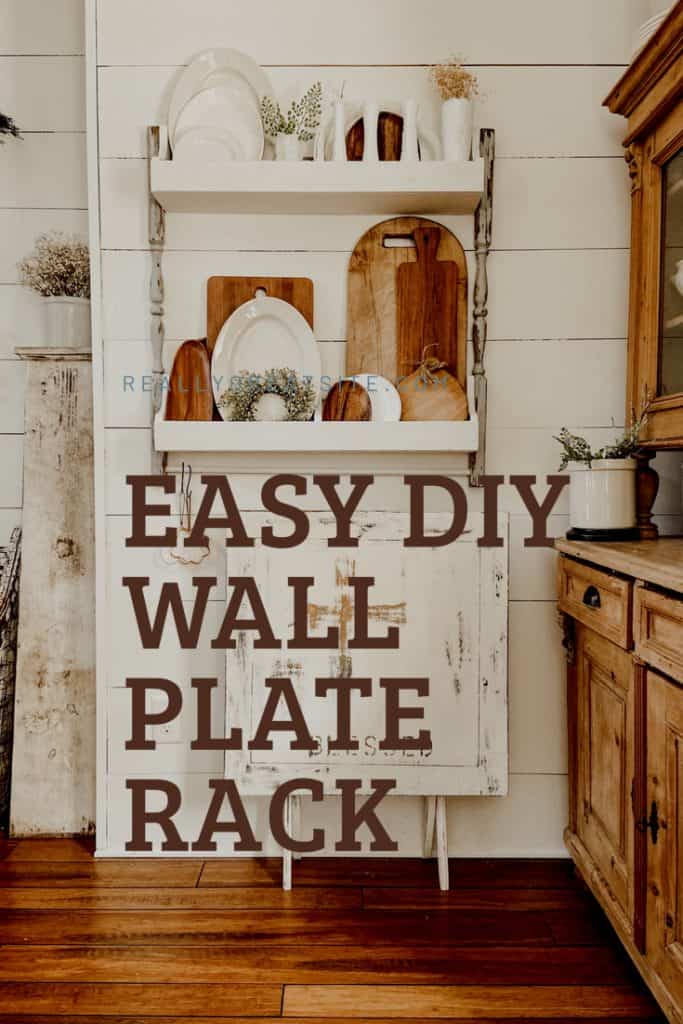
The deep shelf on this Easy DIY Plate Rack allows for layering plates, vases, breadboards, etc.
The Twig Plate Chargers DIY was one of my first projects on the blog.
As you can see, the plate rack continues to hold all my collections and constantly evolves.
How do you like it? I’m thrilled with the results. It’s exactly to look I wanted and add so much storage space as well. This is one of the easiest DIY projects I’ve done. If you have questions or any comments, please leave them below.
Other Ideas for Kitchen Decorating & DIY Ideas
- How To Decorate Above Kitchen Cabinets
- 11 Ways To Add Vintage Charm To a Modern Farmhouse
- Christmas Ideas for a Farmhouse Kitchen
- Best Modern Farmhouse Kitchen Ideas
- How To Build A Kitchen Island
- 5 Ways To Decorate A Plate Rack
Thanks so much for stopping by.

Pin It To Remember It
This is such a creative idea, Rachel! I would have never even thought to put these things together. They look so good. I love it all! Hugs, CoCo
CoCo,
I appreciate your encouragement and support. Thanks for stopping by.
Rachel
Hi Rachel, this is great!! Tge spindles add so much charm to this piece. Great job, love it!
Cindy
Cindy,
I really appreciate this. Thanks for stopping by.
Rachel
Brilliant!
Pamela,
Thank you so much for your comment.
Rachel
Oh my golly, I neeeeed one of these! I just need to find a place to put it. Great tutorial. Hope my HL has them. Pinned!
Cindy,
Thanks for this. I love mine. It’s supper easy.
Rachel
Rachel, this is so smart, and just lovely! The perfect farmhouse style diy plate wall rack!
Julie,
I really appreciate your comments.
Rachel
Well, I’m only 6 months late to this party!! Just ordered the shelves from Hobby Lobby at 50% off; I absolutely love what you did with them. I’ve been looking for some kind of shelving over my 1940’s stove and these will look great with the spindles as the “frame”.
Thanks for the inspiration Rachel.
Kate
Kate,
I’m so glad you found me. Better late than never. I appreciate you for sharing with me and best of luck.
I can’t wait to do this! Great tutorial. Can I ask how you did the ship lap, never done before.
Tonya,
We had the shiplap installed when we built the farmhouse. So our builder actually did this for us.
clever, love how you layer everything.
Karyn
I really appreciate this.
I love this DIY Rachel I want to make a plate wall too🤗🤗
Ann,
I love mine. You will too.
Love this, as I love all your DIY’s. Currently looking for a blank wall where I can pull this off. Got a question for you: the white table beneath the shelf—is this a DIY? Asking as I’ve got a side-of-the road table I’m considering doing something similar to…Thanks Rachel!
Gail,
Thanks so much. It’s a vintage card table and I painted it.
Beautiful WOW never would have tought of that ……
Eva,
I appreciate your kind words.
WOW, can I come shop at your house!?!
Oh you are so kind. Thanks for stopping by.