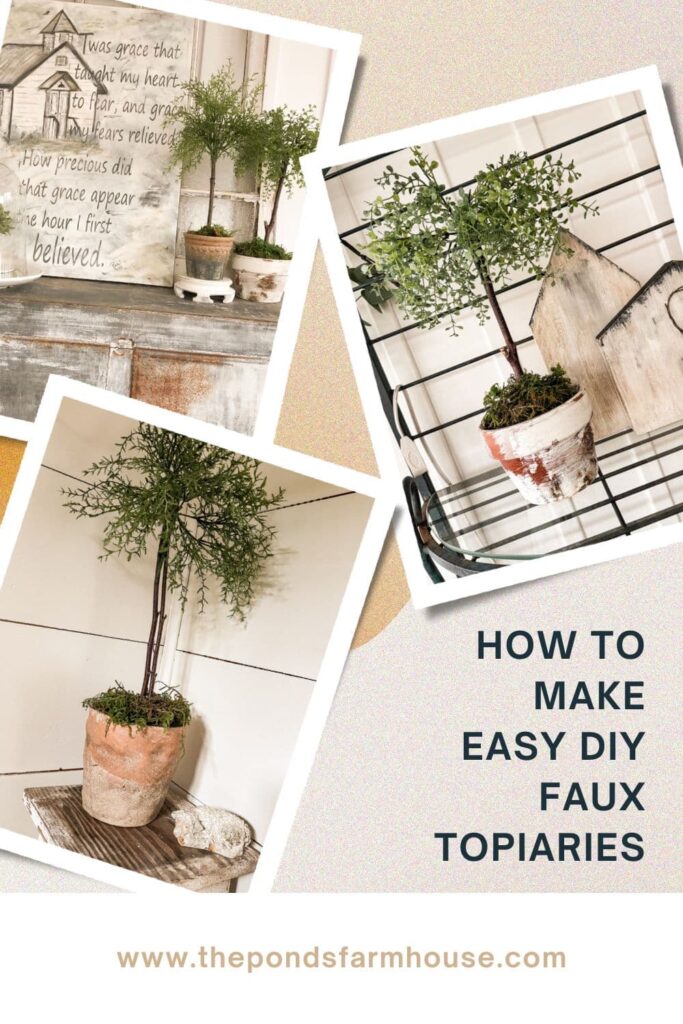
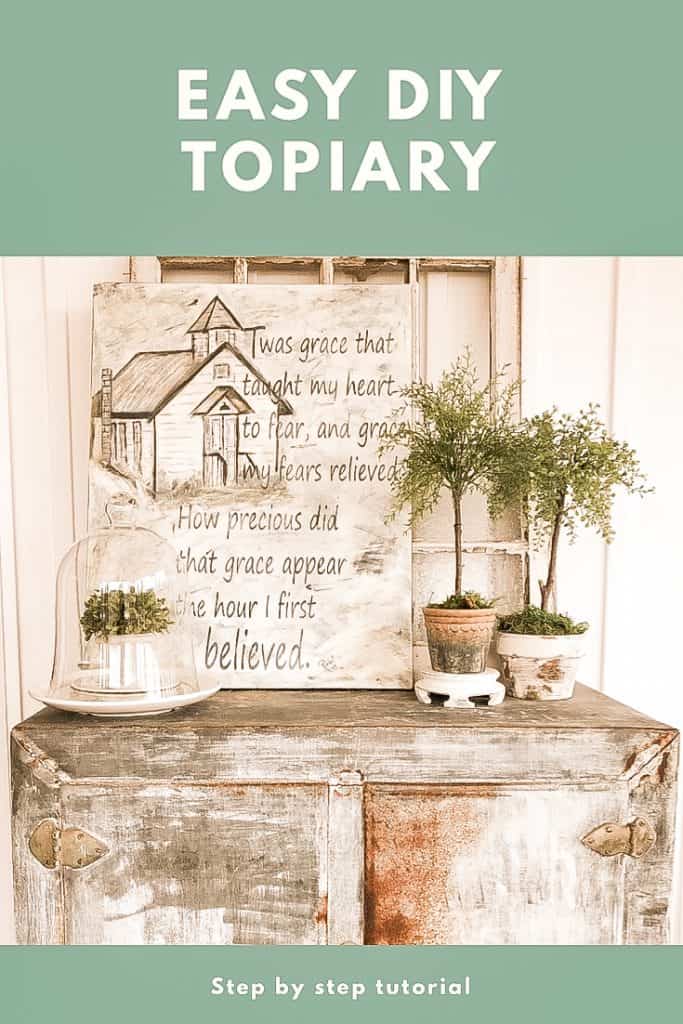
Easy DIY Faux Herb Topiaries You Can Make In Minutes
If you love the look of fresh greenery topiaries but struggle to keep them alive for more than a hot minute, you are going to love this project! These DIY topiaries look incredibly authentic, take only a few minutes to assemble, and—best of all—will stay green for years.
After searching everywhere for realistic faux herb topiaries without success, I decided to create my own. I was shocked by how lifelike they turned out! Let me share the simple details for making these budget-friendly topiaries so you can add that classic touch to your home.
Inspiration for DIY Faux Herb Topiaries
I had been wanting to make some natural herb topiaries, but I knew that I’d never keep them alive. As luck would have it, I spotted these mini greenery stems at Hobby Lobby. They were the exact look I had in mind. Then I spotted some cute little pots to put them in. With all the supplies for 50% off, I was all set to create budget-friendly toparies.
I
(Posts on The Ponds Farmhouse may contain affiliate links. As an Amazon Associate, I earn from qualifying purchases. See the full disclosure details here.)
DIY Topiary Tutorial
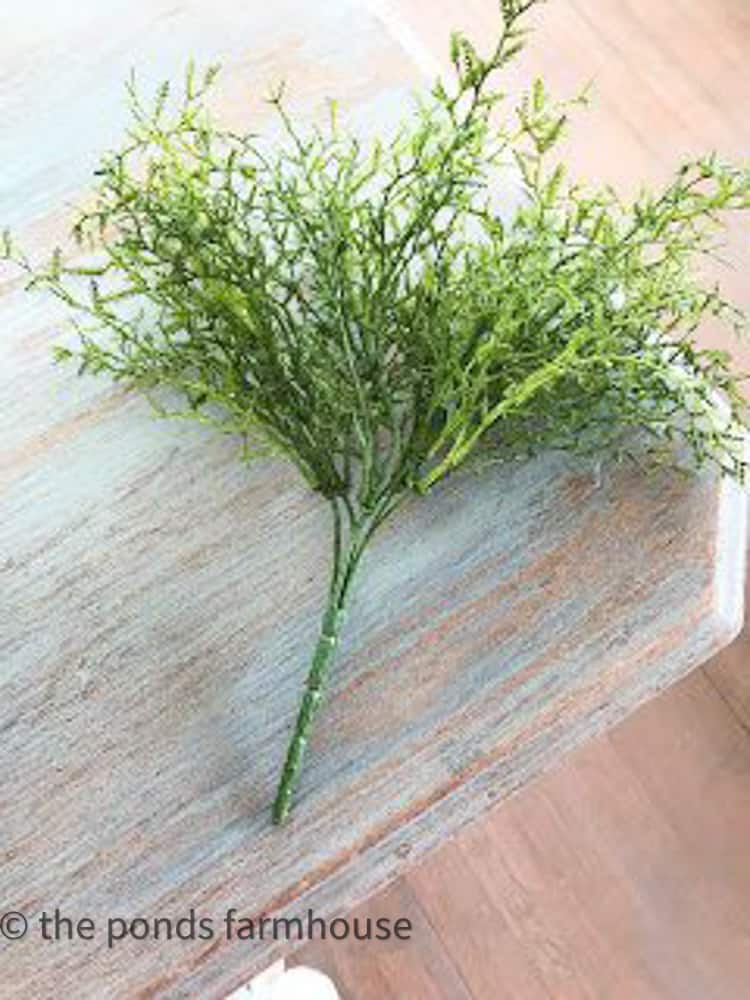
First, gather your supplies. For this project, I wanted the topiaries to look like real herbs, and therefore I looked for greenery stems in that style.
You may consider using ivy, olive, or eucalyptus stems
DIY Faux Topiary Supplies
- The greenery stems—Hobby Lobby had a good selection of mini stems. Note: For a similar online option, click to see Rosemary Faux Stems.
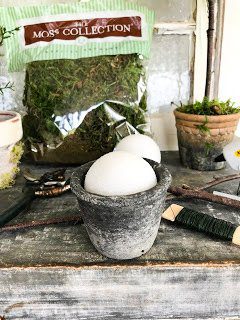
- Sheet Moss
- Styrofoam balls – I had these white ones at home but if I were buying, I’d probably choose green ones.
- Floral wire
- Hot Glue Gun & Sticks
- Straight sticks – I gathered these from my yard. You can purchase sticks at Hobby Lobby, but that will increase the project’s cost.
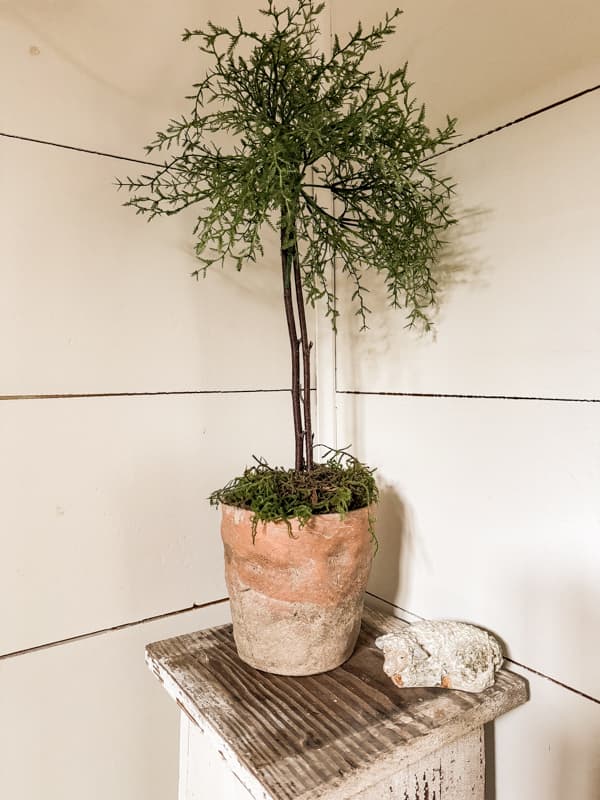
- Clay pots or other containers.

Prepare Your Supplies
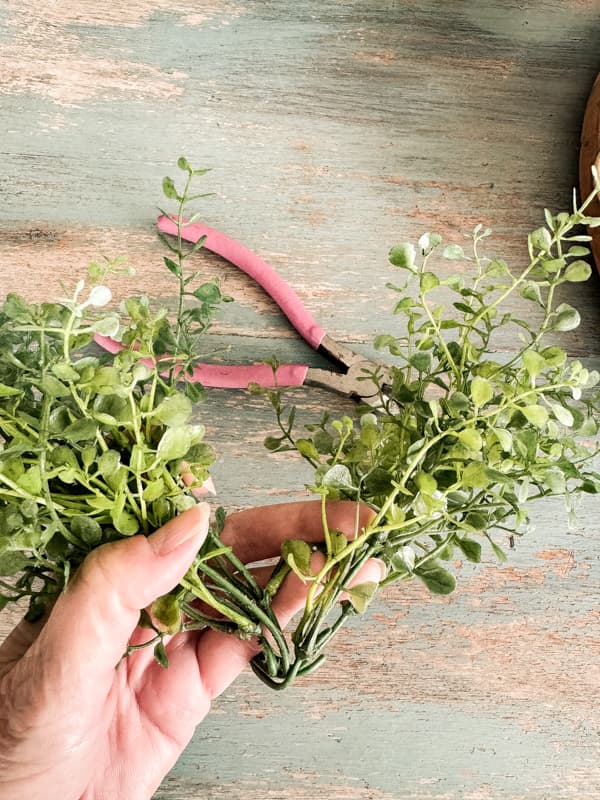
First, use wire snips to cut the greenery into smaller pieces. By dividing the pieces, you can create an authentic appearance with the stems.
Be sure that your styrofoam balls will fit into the pots. If necessary, trim to size.
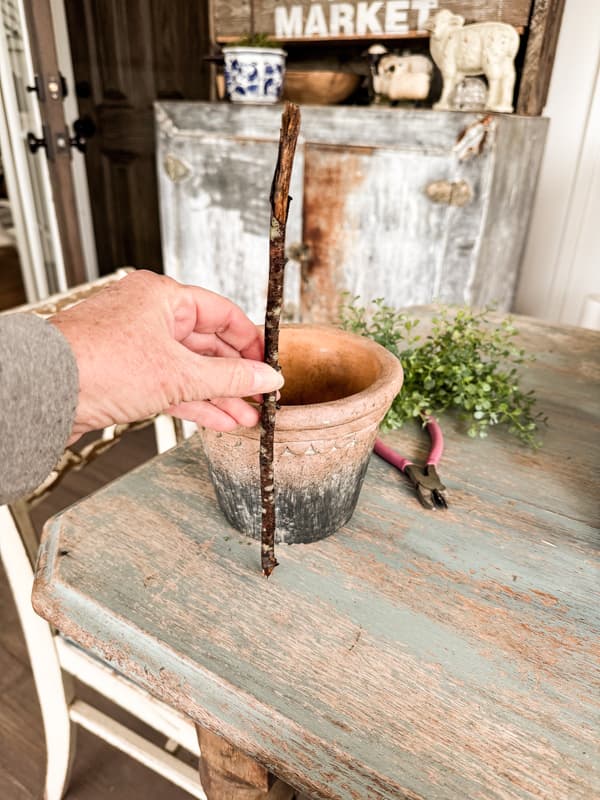
Gather your sticks for the topiary base. Choose ones that are as straight as possible. Measure from the bottom of the pot to decide how tall you want your topiary, and cut the sticks to the correct length. Be sure to allow for the attachment of the greenery.
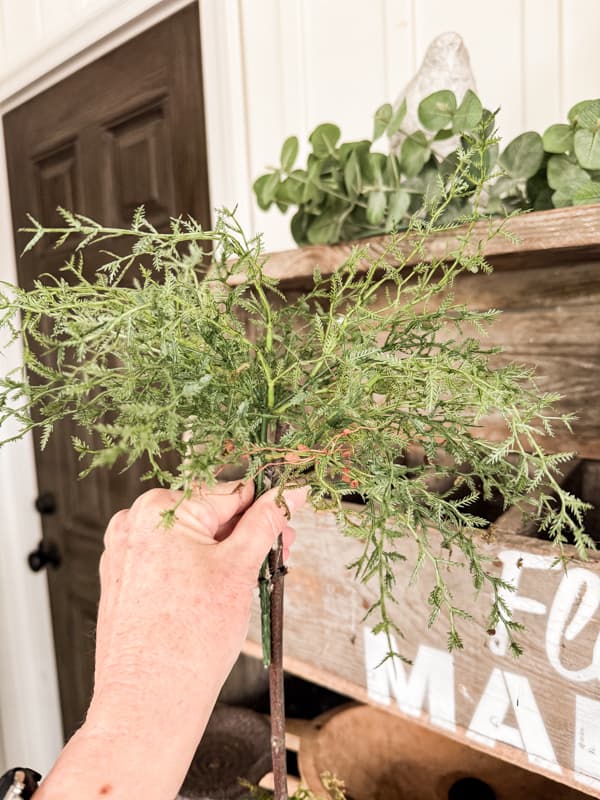
Separate The Greenery Stems to Apply
I began making my first topiary using a small pot. I cut the stems apart and used 1/2 for each small pot. For the larger pots, I left the stems intact and used one complete branch for each topiary. Spread the stems apart to create a more natural-looking full bush.
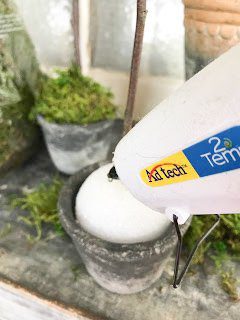
Attach Styrofoam to Pots
Next, add a bead of hot glue to the Styrofoam ball and press firmly into the pot.
How To Add Topiary Sticks to the Pots
Push the stick into the ball, keeping the stick straight up. Now, add a small amount of hot glue around the stick at the top of the ball.
Add Greenery Stems To Make Topiaries
Finally, cut the floral wire approximately 12 inches long. Hold the stems at the top of the stick, then begin wrapping the wire around them. Using the wire, keep wrapping until the stems are securely attached.
If it still feels loose, apply hot glue to the wire to keep it from slipping.
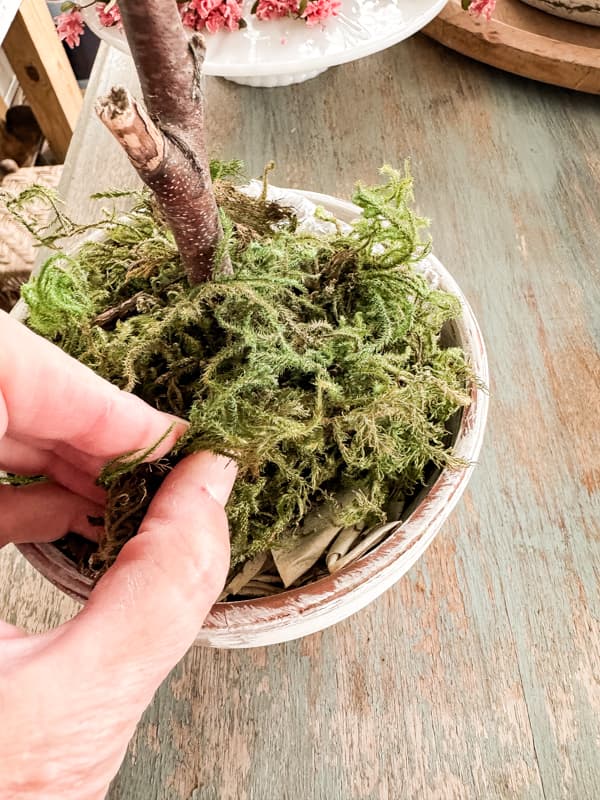
How To Add Moss to the Styrofoam Ball
To finish the DIY topiaries, apply a small amount of hot glue to the styrofoam ball and carefully add moss to cover it.
Be careful not to burn your fingers on the hot glue. I’m speaking from experience here! EEEEKKKKK!
I’ve learned to be safe around hot glue and recommend finger protectors.
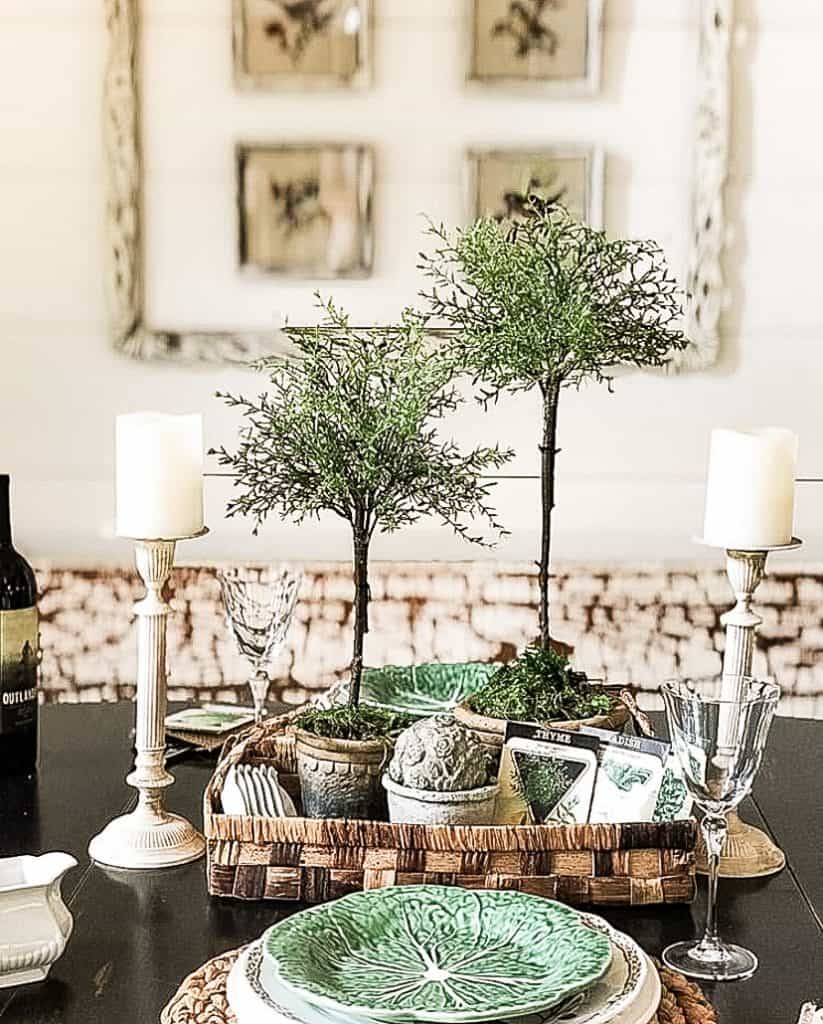
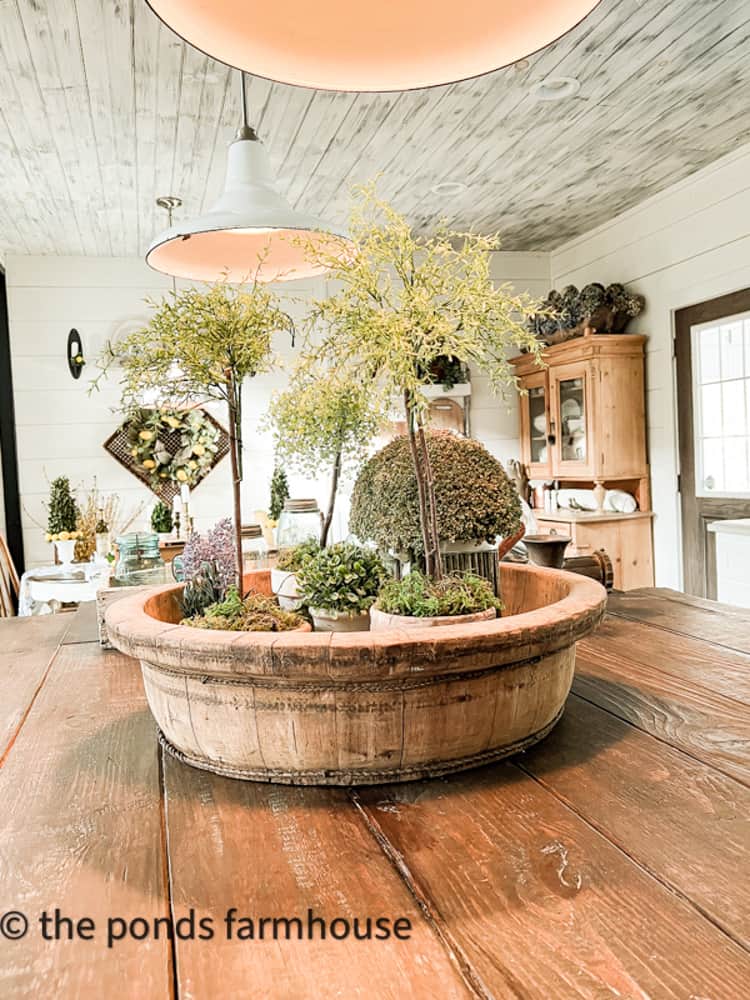
TA-DA – Long Lasting Herb Topiaries
You can separate and style the stems to your desired shape if necessary. I find that less styling gives them a rustic, organic appearance.
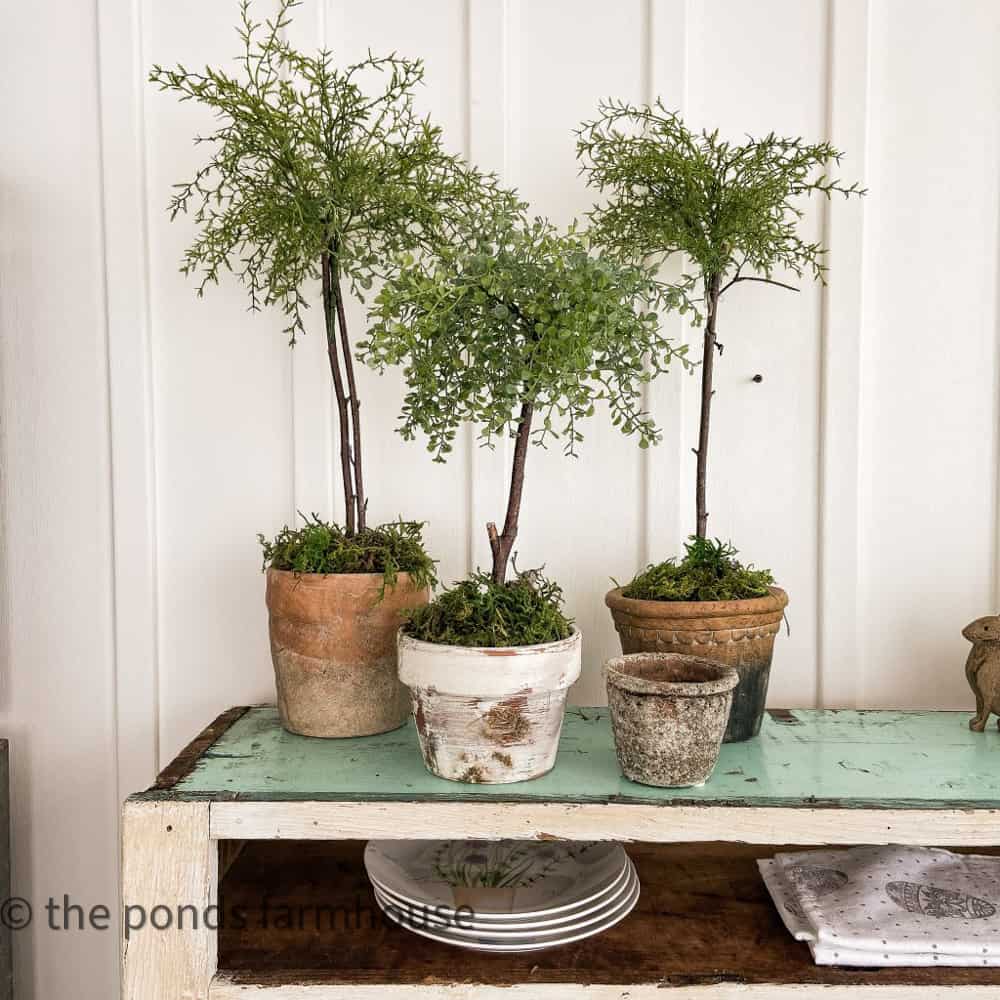
Here are the first two topiaries that I made. The small one cost me approximately $ 4.50, excluding the wire, stick, and hot glue I already had. The larger one was approximately $8.00 because I used the whole stem for the larger pot.
You may notice that I used a different stem style for the second topiary from the left. I also used one of my faux-aged pots; you can see the instructions below. Please feel free to ask any questions. I hope you enjoy experimenting with different stems and different-sized pots.
WARNING!! Creating these topiaries may be addictive! I now have them all over my home! I’m trying to resist the urge to make more. LOL! They are perfect on the porch and inside the house.
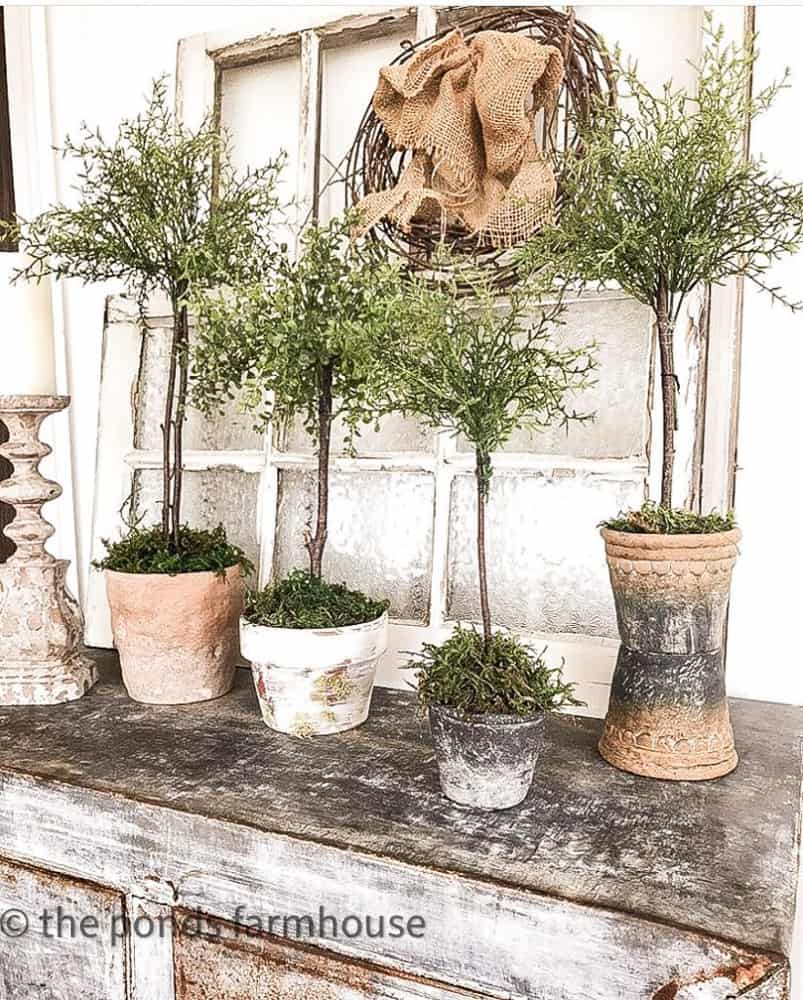
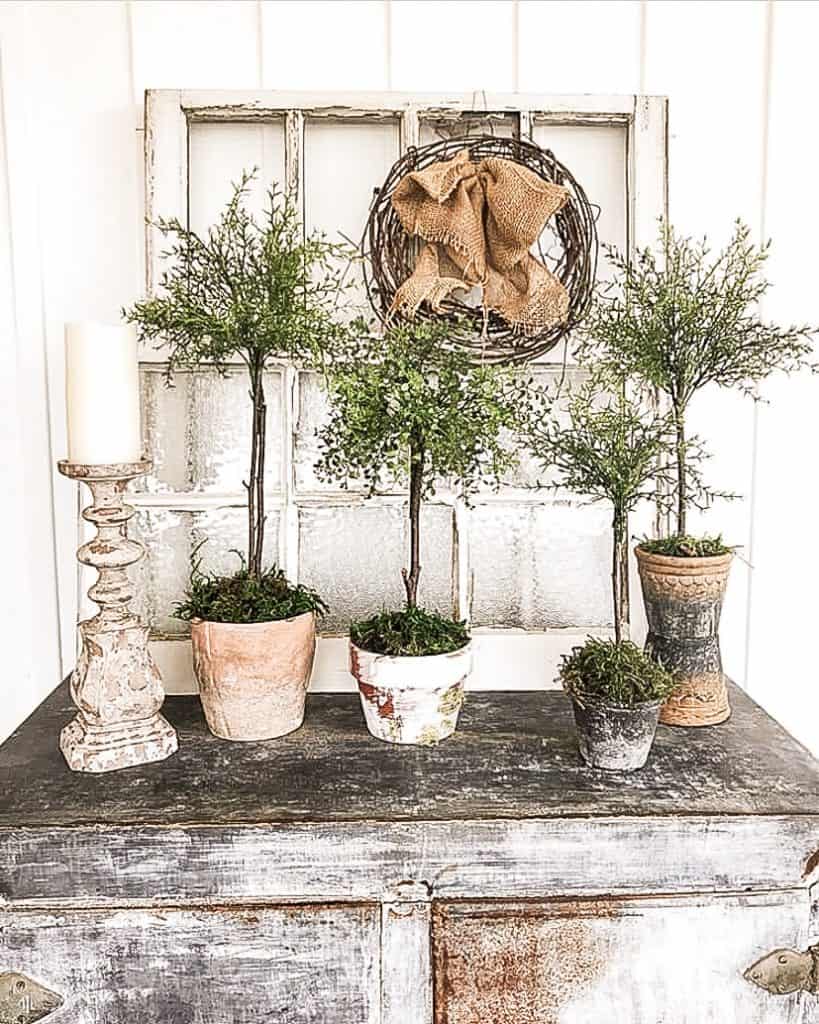
Old Project Revamp
Note: This is a re-post from my previous blog, but I felt it was worth repeating. I’m still using these topiaries all over my house. Some of the images are less than perfect as they are so old.
However, I am still using the original topiaries to decorate the Farmhouse, and here are some more recent pictures.
Additional DIY Topiaries Tutorials
- Corn Stalks Topiaries
- Fresh Boxwood & Lemon Topiaries
- Real Cedar & Orange Topiaries
- Grapevine Topiary
- Sweet Gum Ball Stems
More Related Articles
- How to Keep Preserved Moss Looking Brand-New for Years.
- Easy Way To Age New Clay Pots to Look Vintage.
I hope you enjoyed this DIY project. I appreciate any questions or comments. Thanks so much for stopping by.

Pin It To Remember It
Did you find some great ideas you’d like to save for future reference? Hover over the images you’d like to save and pin to your favorite Pinterest Boards when you see the PIN button.


Good Morning Rachel
LOVE these gorgeous topiary plants. I am going to make some. I love your projects. I try to make them all. Our Hobby Lobby is closed here but I bet I can get that greenery online. Thanks for a great tutorial on how to make these.
You make the best DIY projects* I enjoy every one of them
deezie
Deezie
After reading your post, I went back and added some online links for similar greenery. Thank you so much for always being so encouraging.
Rachel
How do you hide the floral wire? I wish there was a close up so I could see how that part looks. Thanks!
Kelly,
I used a light weight floral wire and because I’m lazy, just left it exposed. It’s hardly noticeable. However, a professional would suggest covering over the wire with floral tape which is easy to use and can be found anywhere they sell floral supplies such as Hobby Lobby, Michaels and online at Amazon. Hope this helps.
Rachel
OMG, these are so stinkin’ adorable! I love decorating and being creative, but I never thought to make my own topiaries. These are adorable and I certainly will be making some. Thanks for sharing!
I am so glad you like it! 😘 thanks for stopping by!
Rachel
I have never considered purchasing these; the greenery always seems so artificial. But these are perfectly charming. I’m inspired to make a few. Can you give me some idea of the proportions? How long should the stem be compared to the size of the pot?
Debbie,
I’ve seen them all sizes but I’d say at least double!
Thanks for stopping by and good luck with your project.
Rachel
Rachel…these are so adorable…I don’t think I can make just one ;P). Thanks so much for sharing so a doable idea! These would also be super cute doing them in spring/summer florals!
Many blessings!!
Cynthia,
I’m so glad you like these. They are so easy.
Thanks so much.
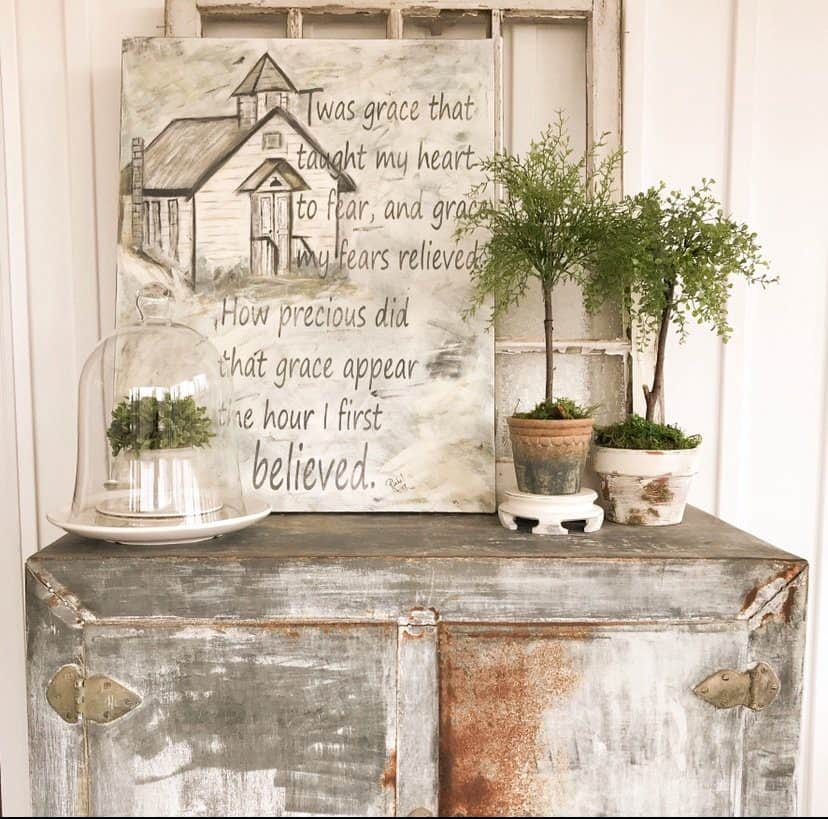
These are so cute. Im going to try them. My question is where did you get the picture
with church and saying was grace that taught my heart?
Betsy,
I see that you found the source Thanks so much for ordering the print.
Love these! I can hardly wait to try my hand at these. WHERE did you get the Amazing Grace picture??? That is beautiful!!
Thank you for my creative inspiration for today!
Peggy
Peggy,
Thank you so much. Grace was my first cow painting. I have prints available https://www.thepondsfarmhouse.com/store/Grace-p124641004
I’m so excited that you shared my DIY Topiaries. Thanks so much.
Rachel, I love this topiary DIY. Yours are so pretty! I just stumbled across this post this week, and would love to share it this week in my Saturday roundup!
Kim,
I appreciate this and would be happy for you to share. Thank you.