
DIY Rustic Corn Husk Topiaries For Unique Fall Decorating
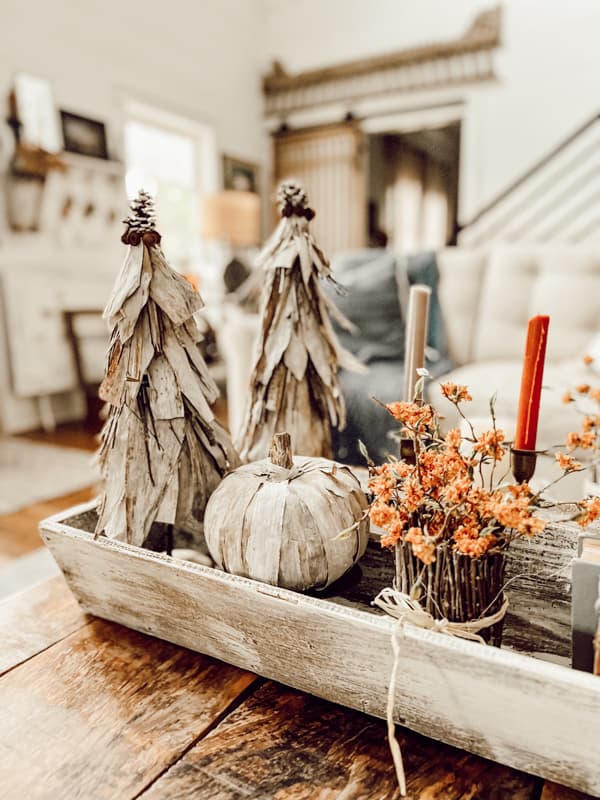
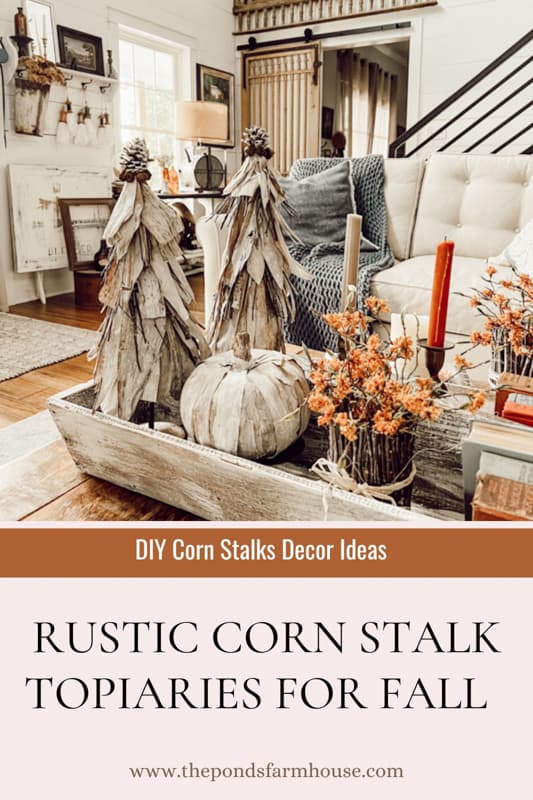
Y’all, I’m excited for you to see these adorable corn stalk topiaries I’ve made for fall decorating. If you are looking for a unique and inexpensive fall project, you will love this creative use of corn stalks and foraged materials. Decorating with corn stalks is a stylish way to add country chic charm to your home this Autumn.
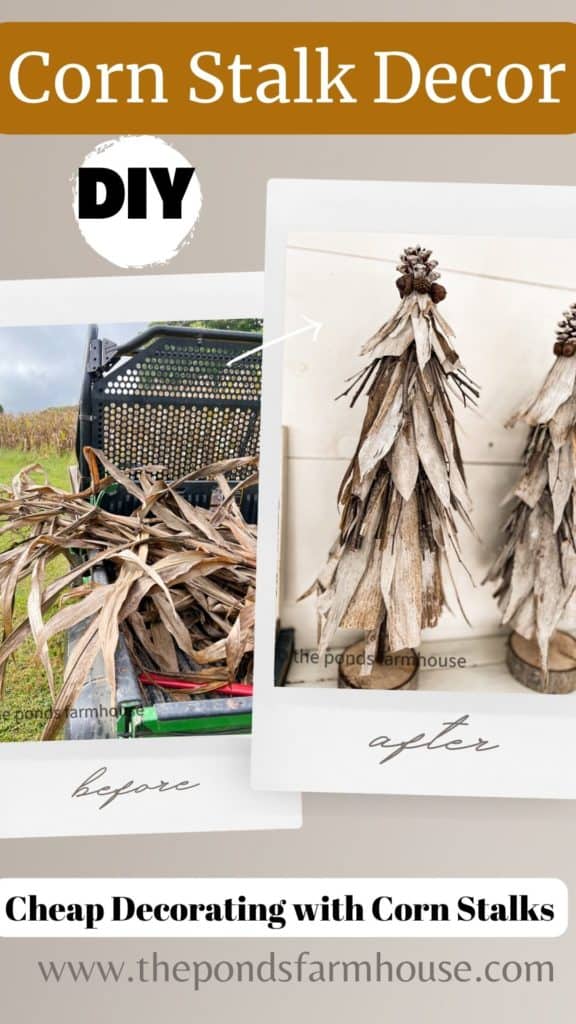
I love using corn stalks for fall decorating, and today, I’m sharing a DIY Tutorial for making these super-easy corn stalk topiaries. This is a budget-friendly project because everything is foraged except for a few items.
Why Decorate with Corn Stalks?
I shared this fall porch filled with corn stalks on 15 Ideas for Fall Decorating Outdoors. However, today I’m bringing the corn stalks inside for a fun project.
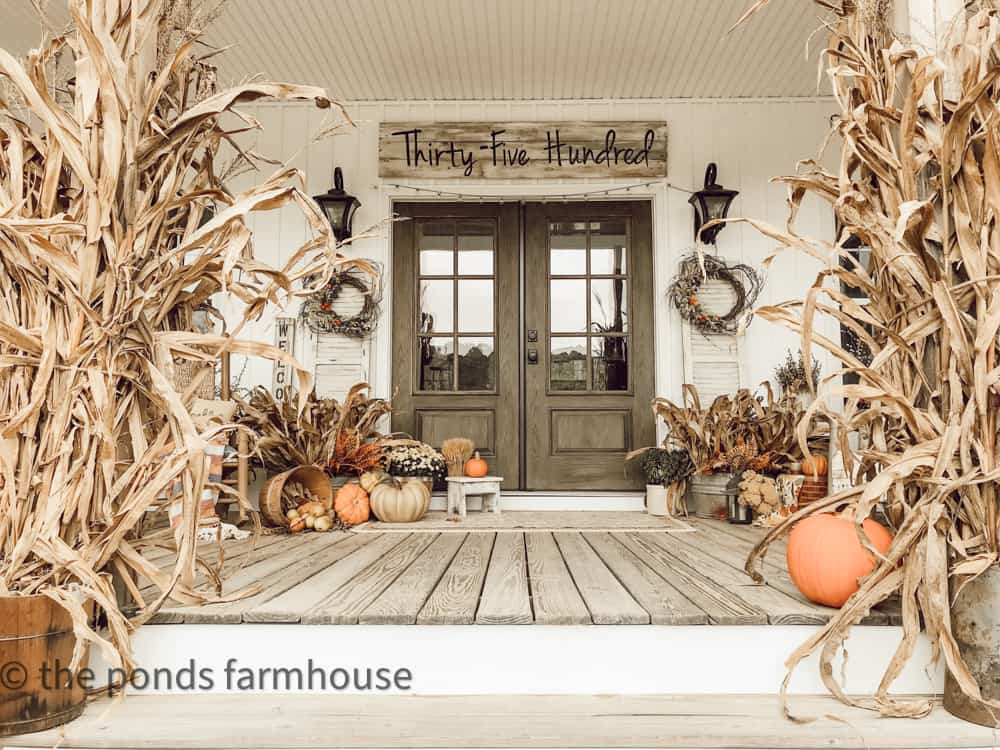
First, dried corn stalks are the first sign of fall if you live in the country. Just before the harvest, the stalks begin to turn brown, and rural roads are full of them.
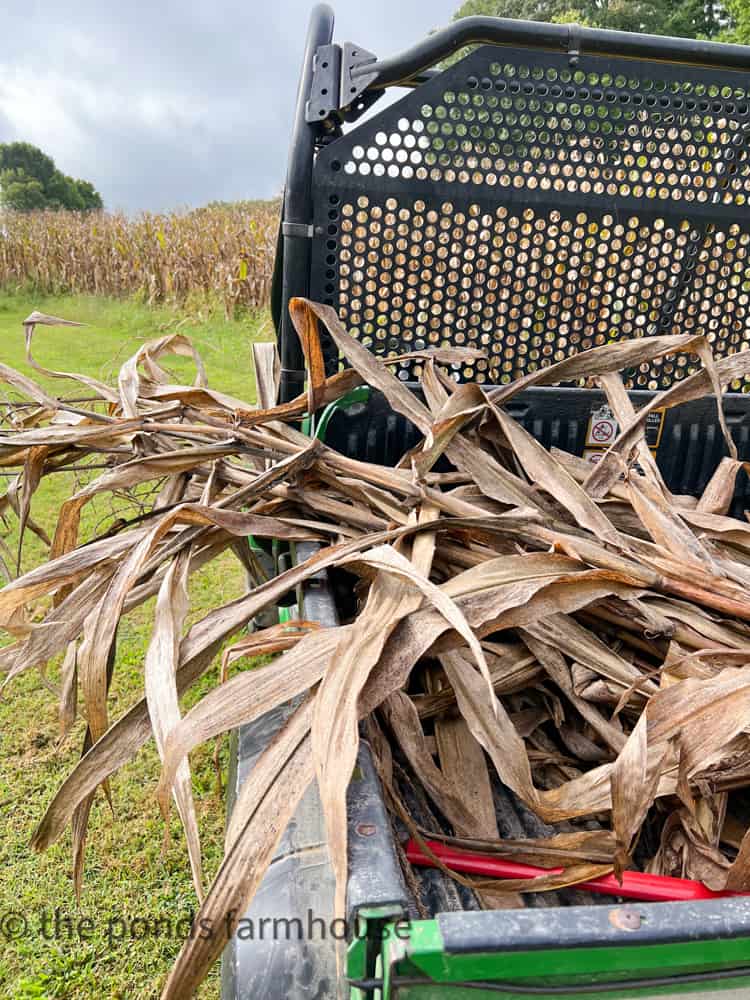
Secondly, if you know a farmer, you can most likely get the corn stalks for free. Just be sure to only cut those without ears of corn on them.
Usually, the stalks on the outer edges of the field will be less likely to have ears still attached because deer have already had a meal here.
(Posts on The Ponds Farmhouse may contain affiliate links. As an Amazon Associate, I earn from qualifying purchases. See the full disclosure details here.)

Supplies For Corn Stalk Topiaries?
You only need a few items that you can’t forage.
Foraged Supplies
I was able to forage my supplies. However, I understand this isn’t an option for everyone; therefore, I have added links to help you find all your supplies.
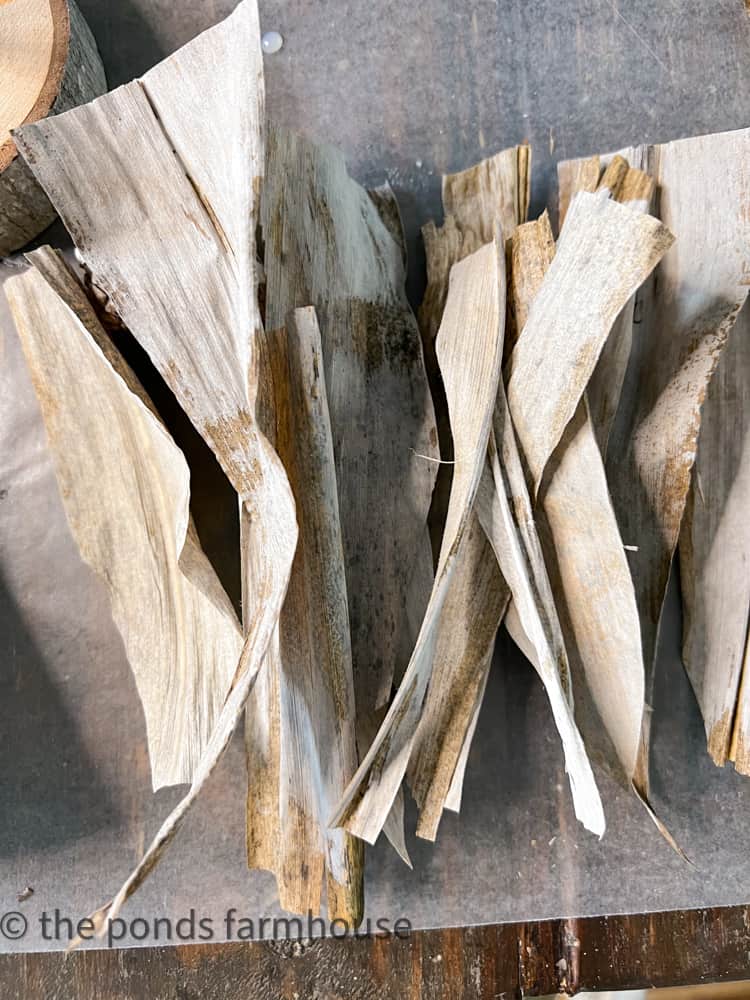
- Corn Stalks (cut husks into small pieces, approx. 4-5 inches long) (corn husks for purchase)
- Cut a few with flat edges and several with a pointed end. You will need more with pointed ends than flat.
Paint the Corn Husks
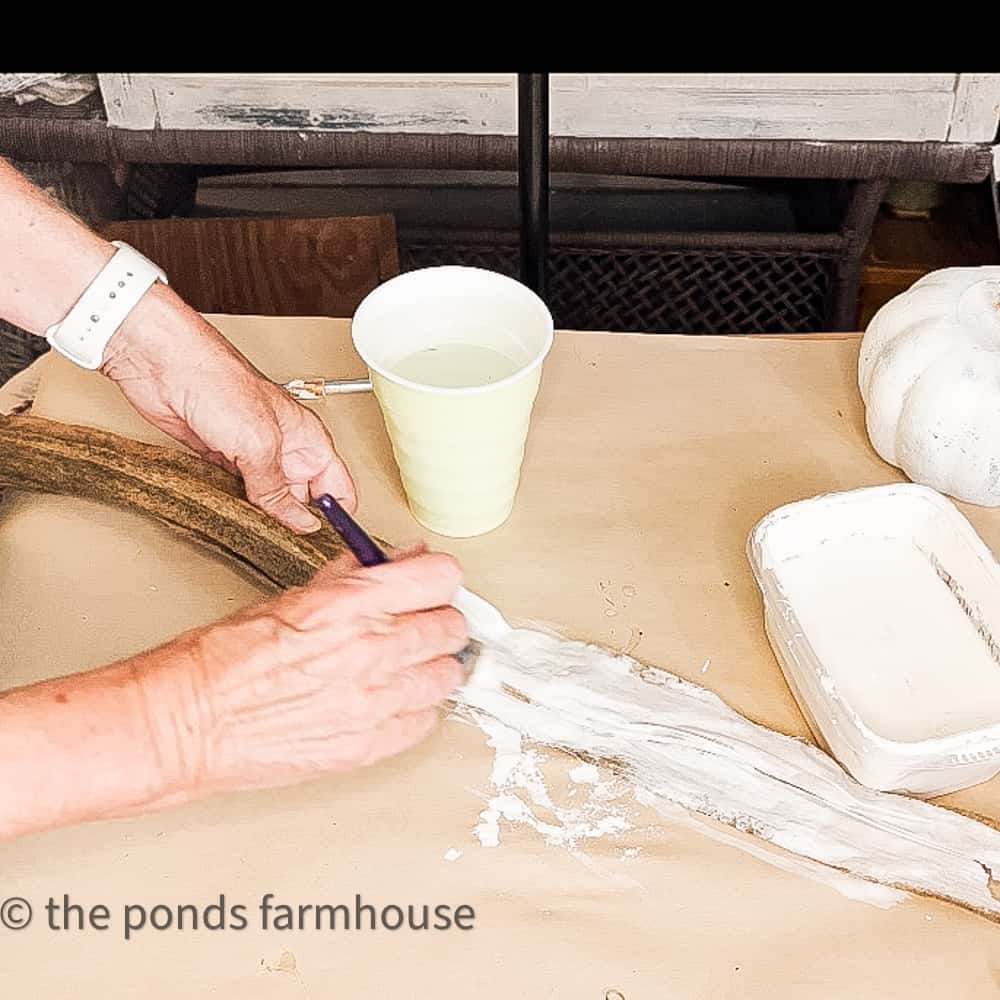
To add a whitewash to the corn husks, I used water and white chalk paint to dampen them. I don’t recommend using paint alone because it will dry quickly and be more likely to crack.
Paint the mixture on both sides of the husk. Before beginning to make the topiaries, allow them to dry flat.
Forage or purchase these additional items.
- Small Acorns (These mini acorns)
- 2 small pinecones (Small Pinecones)
- Small Twigs (Cut approximately 2-3 inches long)
- round base cut from a tree branch (approx. 5 inches in diameter and 1″ thick) (wooden Bases for purchase)
- 2 twigs cut at two different heights.
- You may want to see 8 Corn Husk Fall Decor Ideas
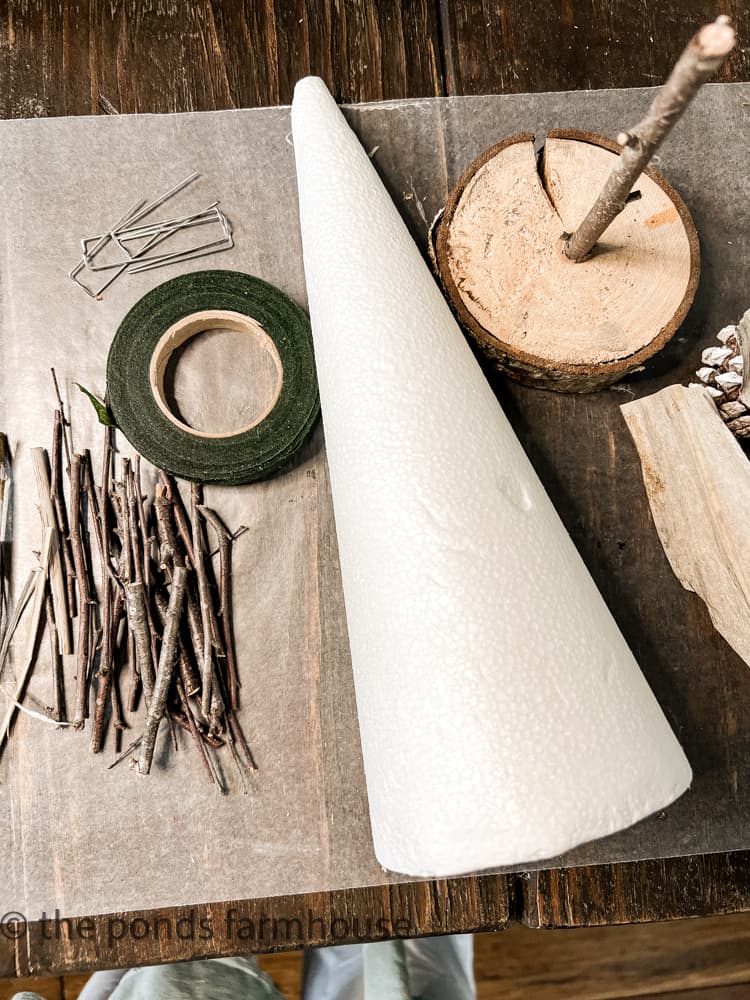
Upcycled Wooden Topiary Base
For this project, I recycled the bases I used for my DIY Real Cedar and Orange Topiaries. However, they are easy to make by cutting a 5-inch branch, approx. One inch thick, drill a hole to attach a small stick, and hot glue it in place. You can see full details here.
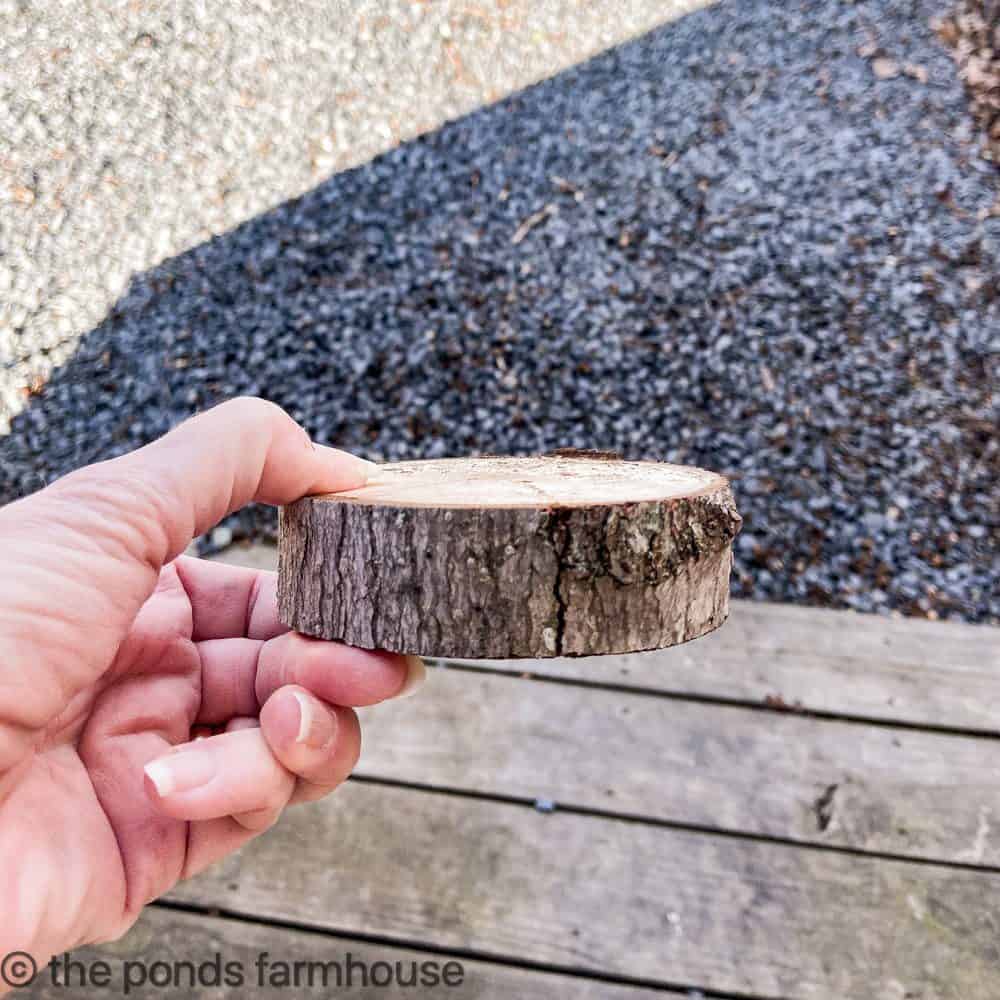
Corn Stalk Decor – Topiaries
After you have gathered your supplies, cut your corn stalks to size, and allow the whitewash to dry; it’s time to heat the hot glue gun and get started.
How to Attach Corn Stalk Husks
First, you will want to attach the corn stalks to the floral tape with hot glue. You can stick them directly to the styrofoam cones; however, the corn husks are fragile and will disintegrate if you’re not careful.
For the first layer, use the corn husks that are cut with a flat edge.
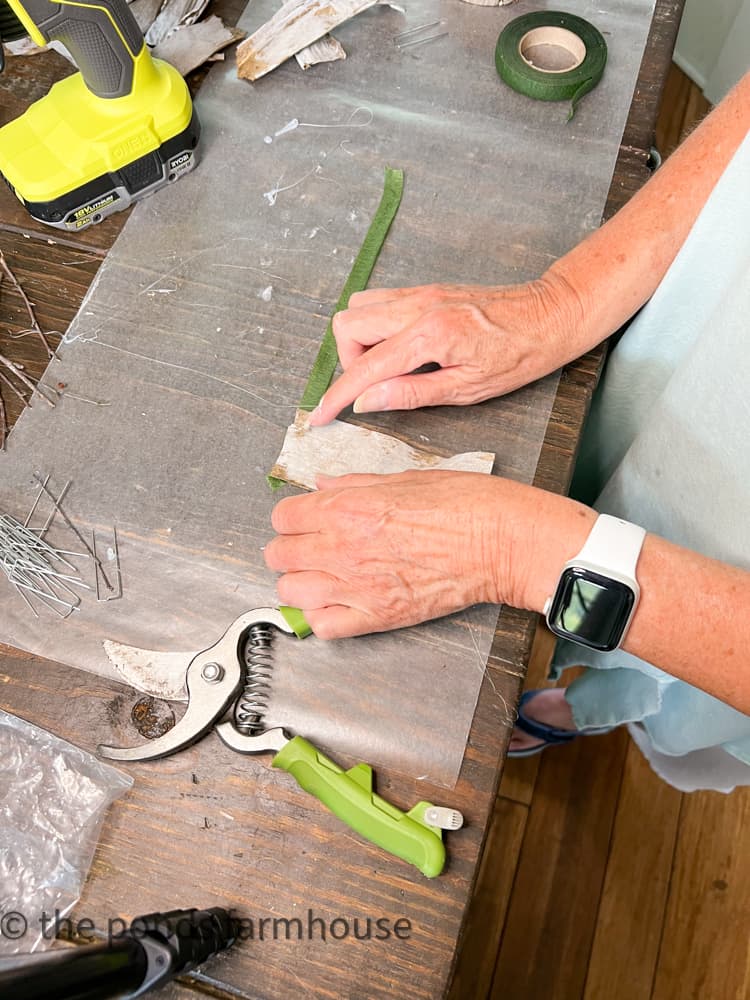
Then add a second row cut from the pointed end. The flat ends will
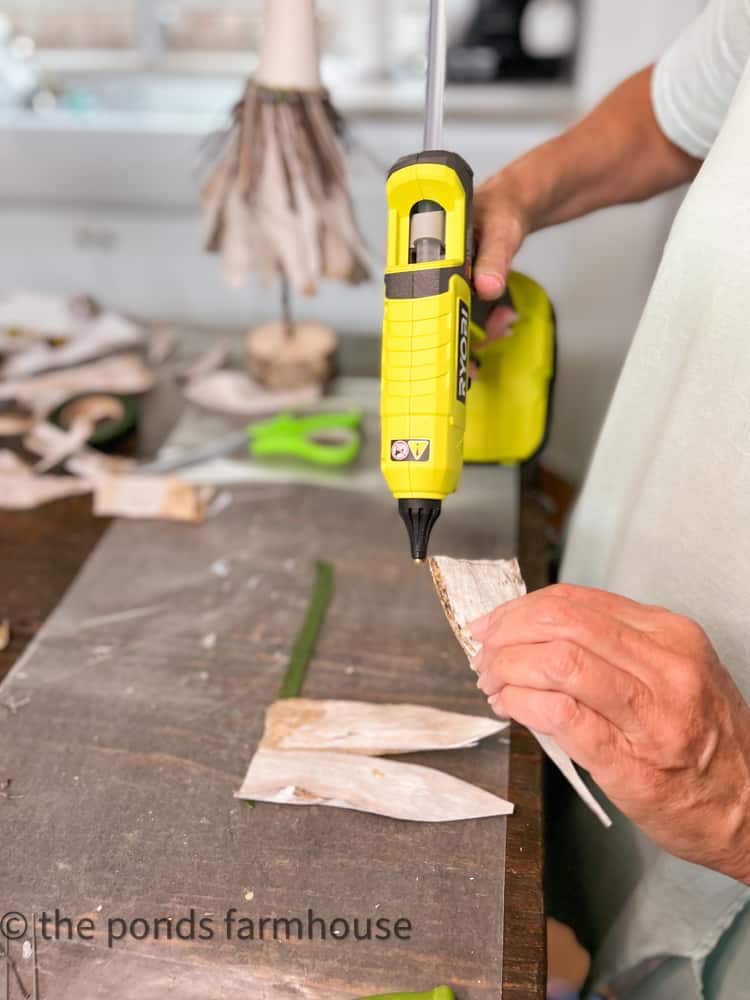
Wrap the two rows around the cone approximately halfway up from the bottom and secure with floral picks. The flat edges will fill most gaps so that the styrofoam isn’t exposed.
If you see that the styrofoam cone is showing, add more corn husks by attaching them with hot glue directly onto the topiary.
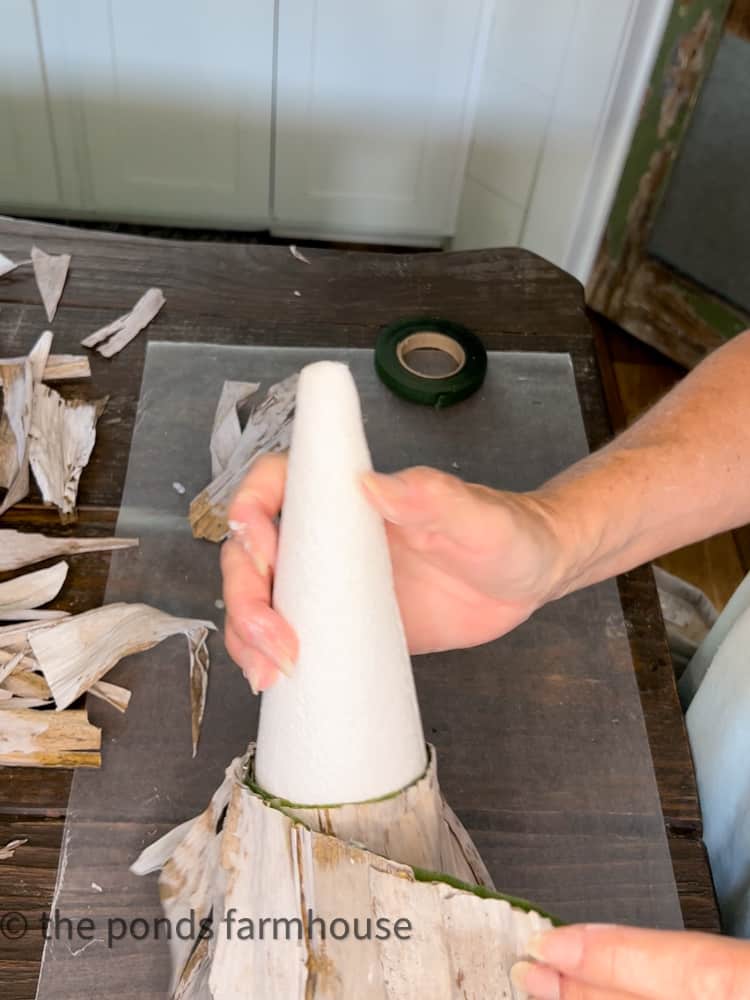
How To Add Twigs
Next, using the same technique, hot glue the twigs to a piece of floral tape.
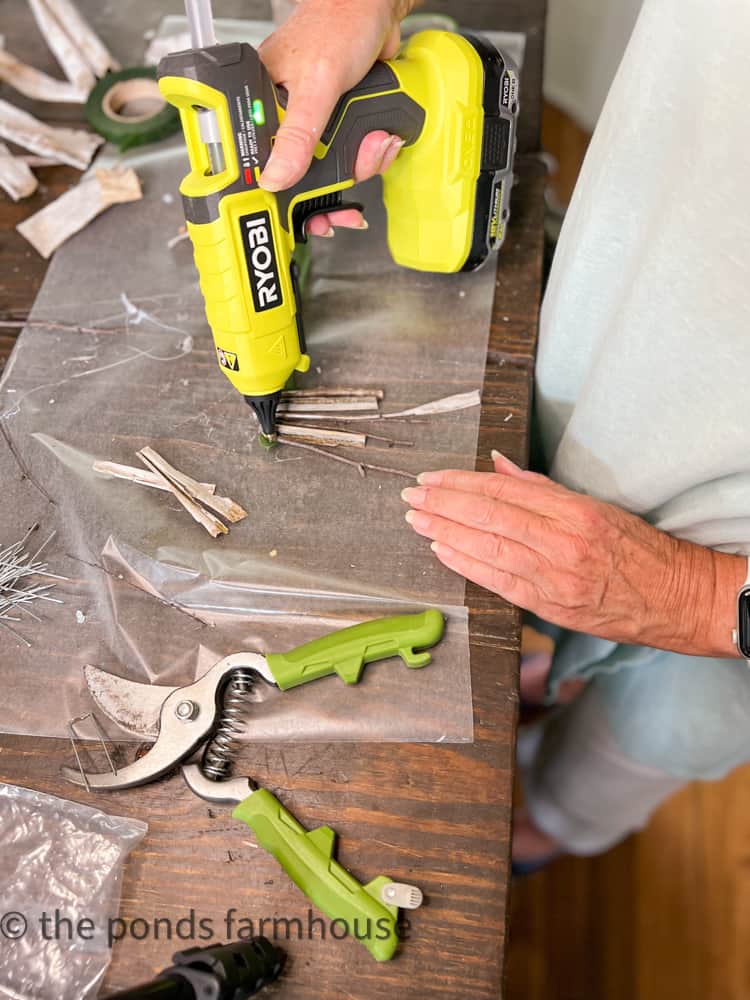
Wrap the floral tape (filled with twigs) around the cone, just above the corn husks.
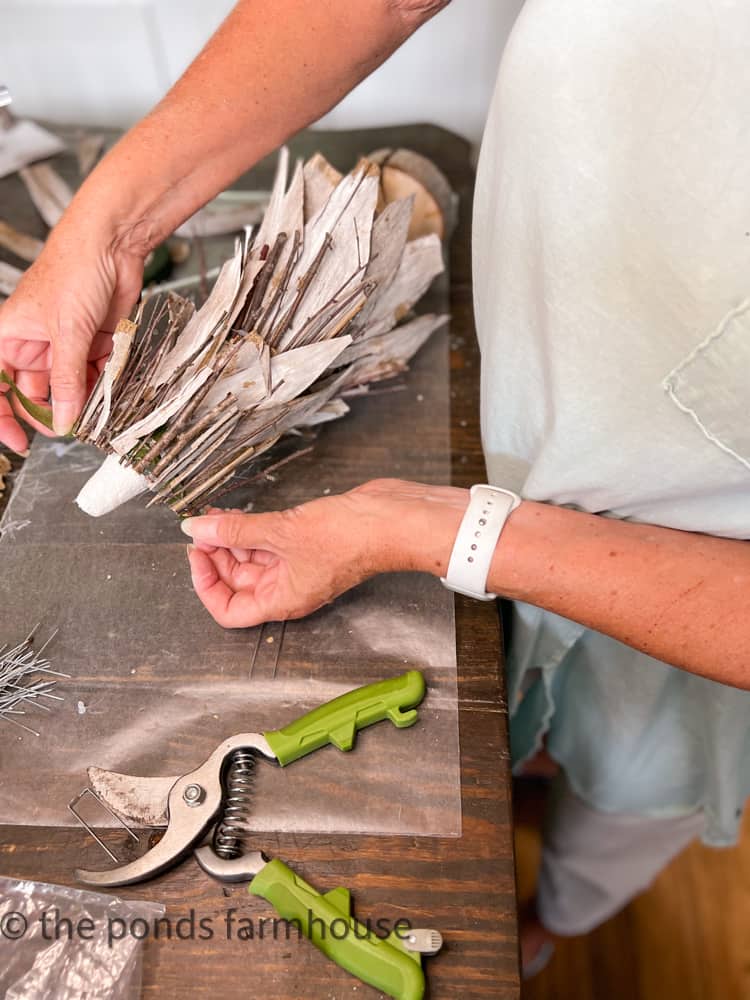
Round Two of Corn Husks & Twigs
Repeat this process once more until you have two identical rows of corn husk and twigs. This will leave approx.—1 1/2 inches at the top of the cone.
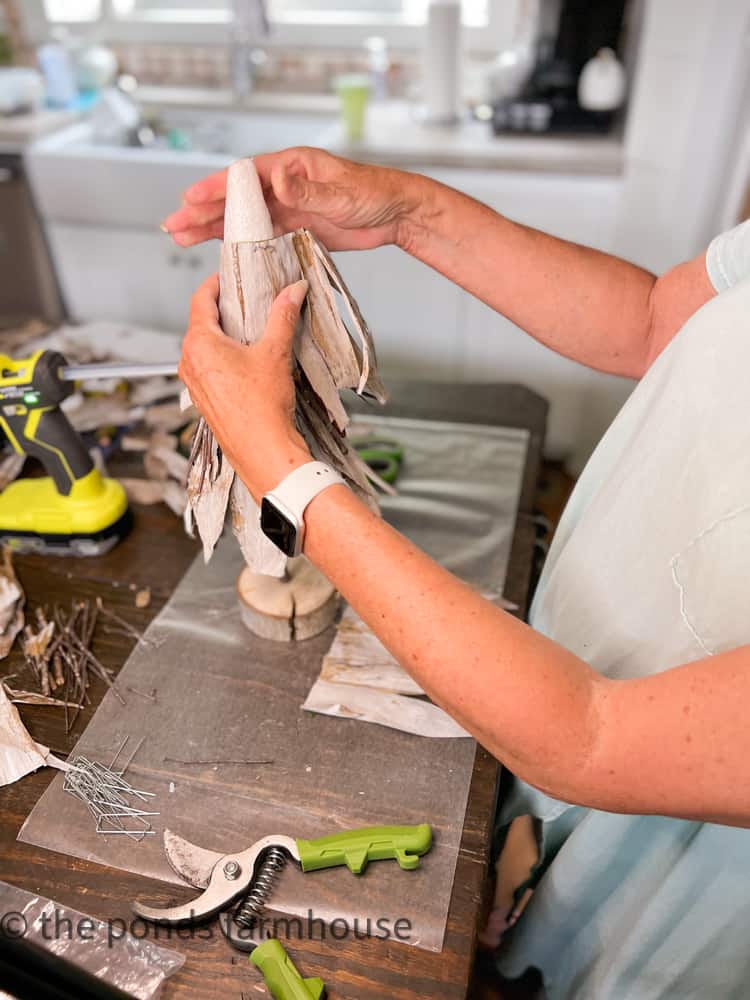
Adding a Third Row
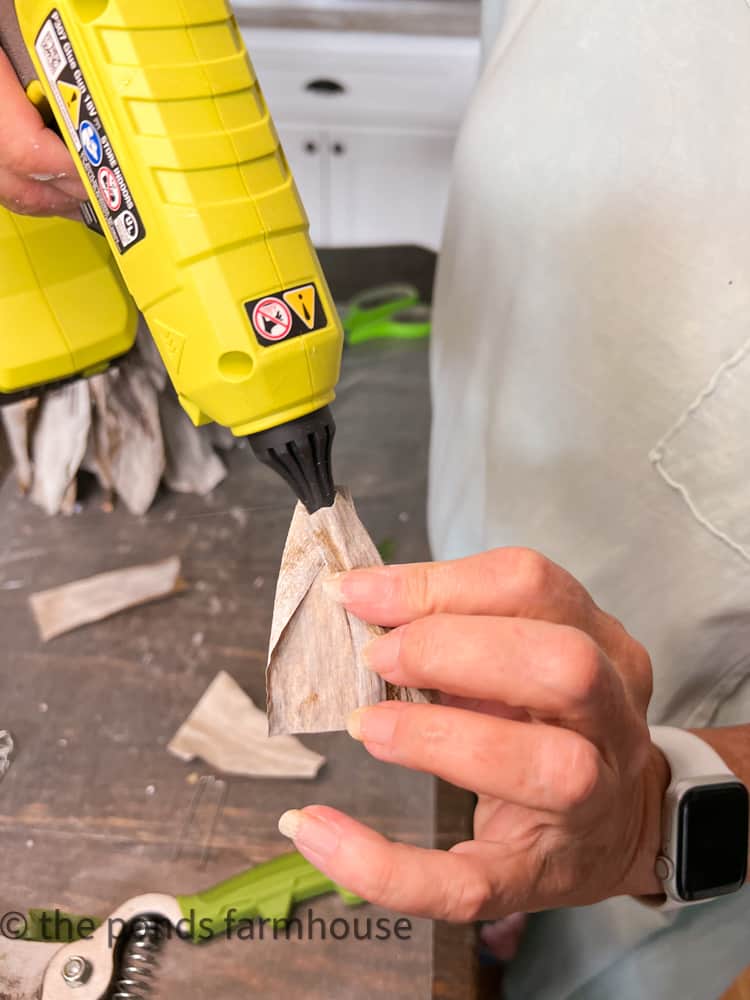
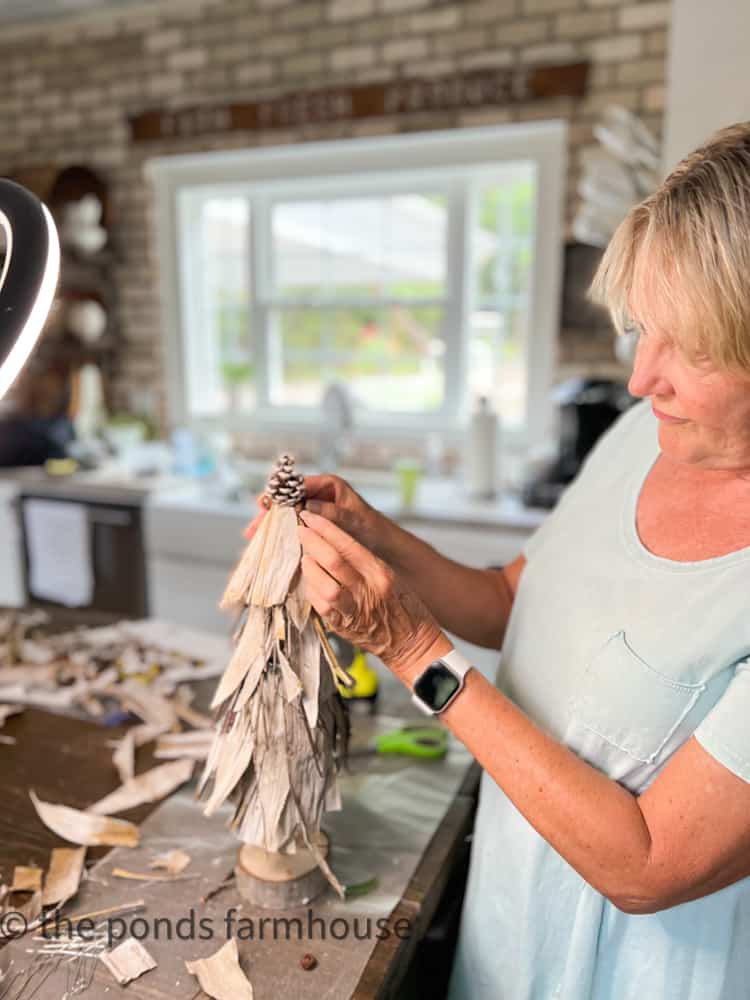
Next, cut several short pieces of corn husk to fill in at the top of the cone. Fold the top as shown in the image below.
Use hot glue to hold the hold in place and attach it to the top of the cone.
How To Attach The Topiary Base
It may be easier to craft the topiary with the wooden base attached. You can attach the base at any point by adding a drop of hot glue to the stick and pushing it into the bottom of the cone. Make sure the cone is level and hold until secure.
Finish Decorating with Corn Stalks
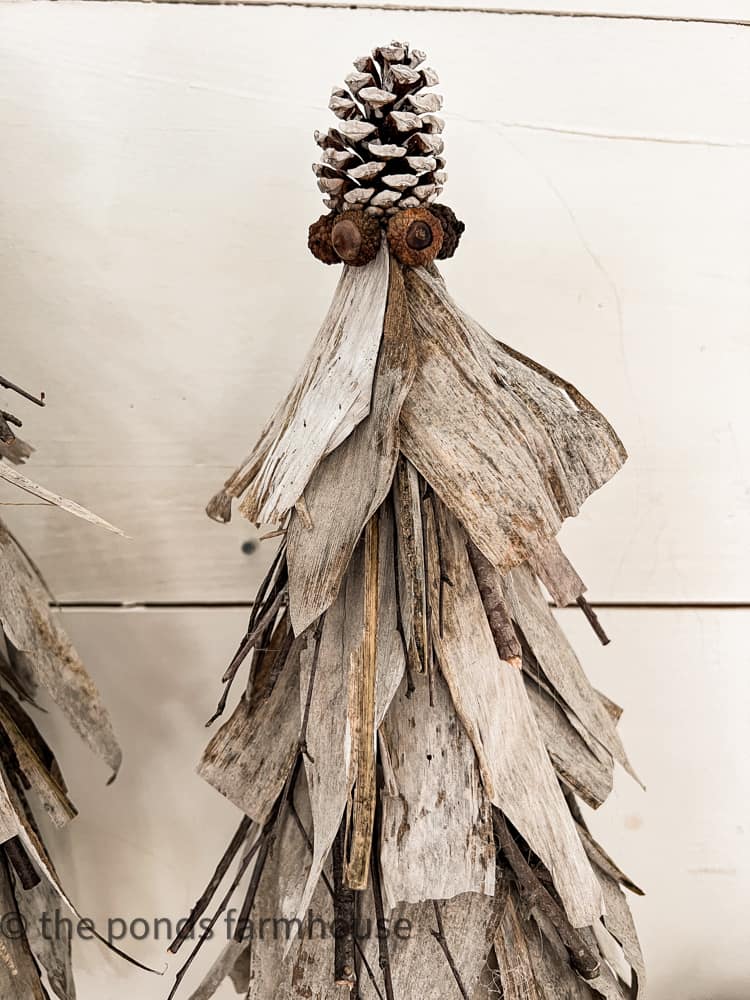
Finally, it’s time to finish decorating with corn stalks by adding a pinecone to the top of the topiary.
Add hot glue and hold in place until secure.
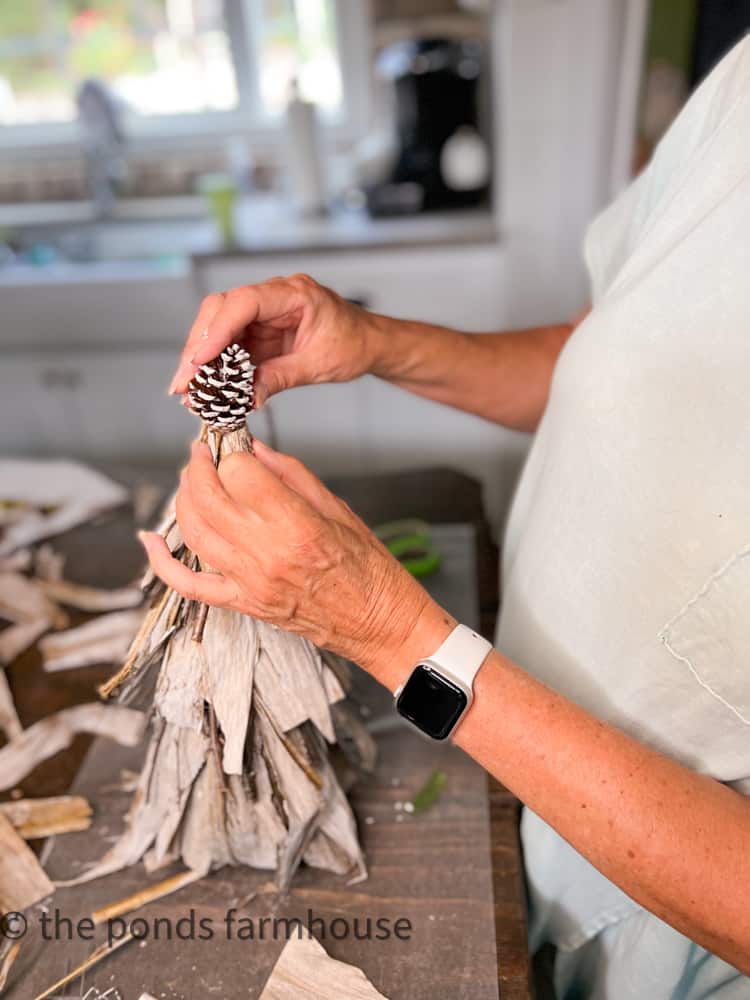
Lastly, add the tiny acorns around the base of the pinecone to finish the project.
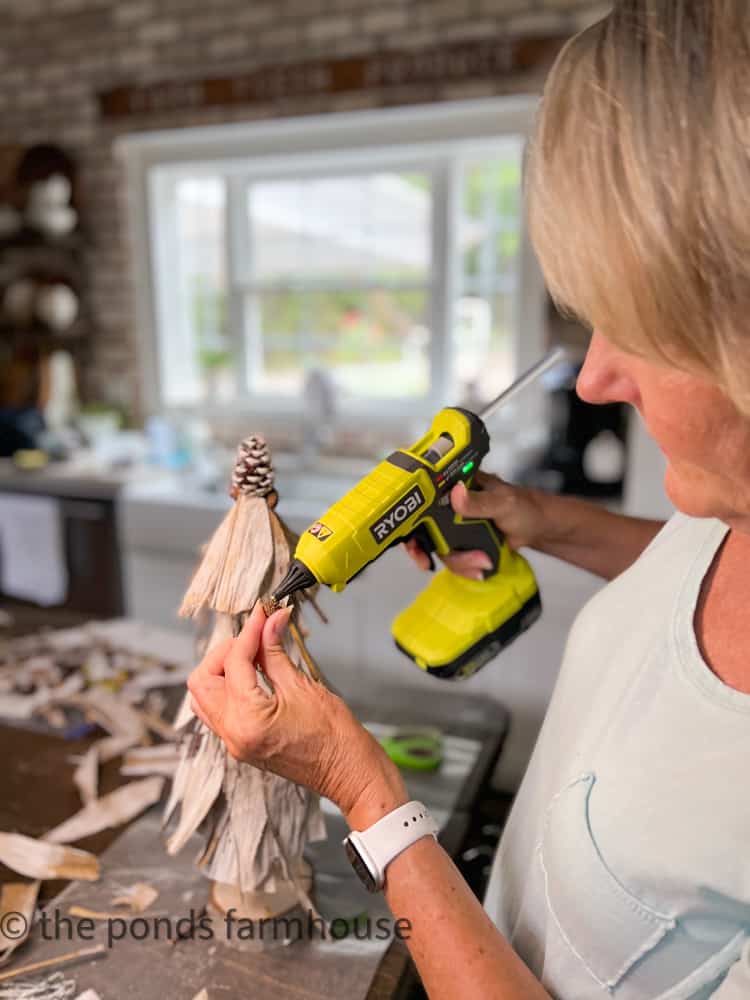
I added a little white paint to the tips of the pinecone before attaching it to the top of the topiary.
Insider Tip
You can use your own creativity to decorate the corn husk topiaries. You can add more pinecones or acorns to the layers or cover the base with them. So many options.
Decorating with Corn Stalk Decor
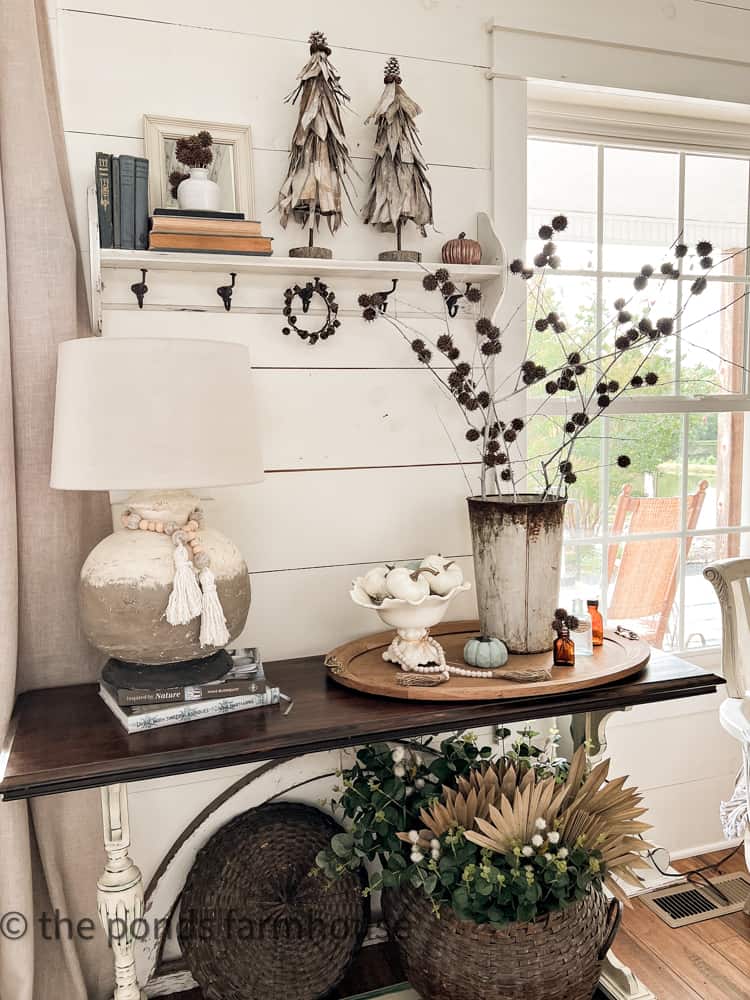
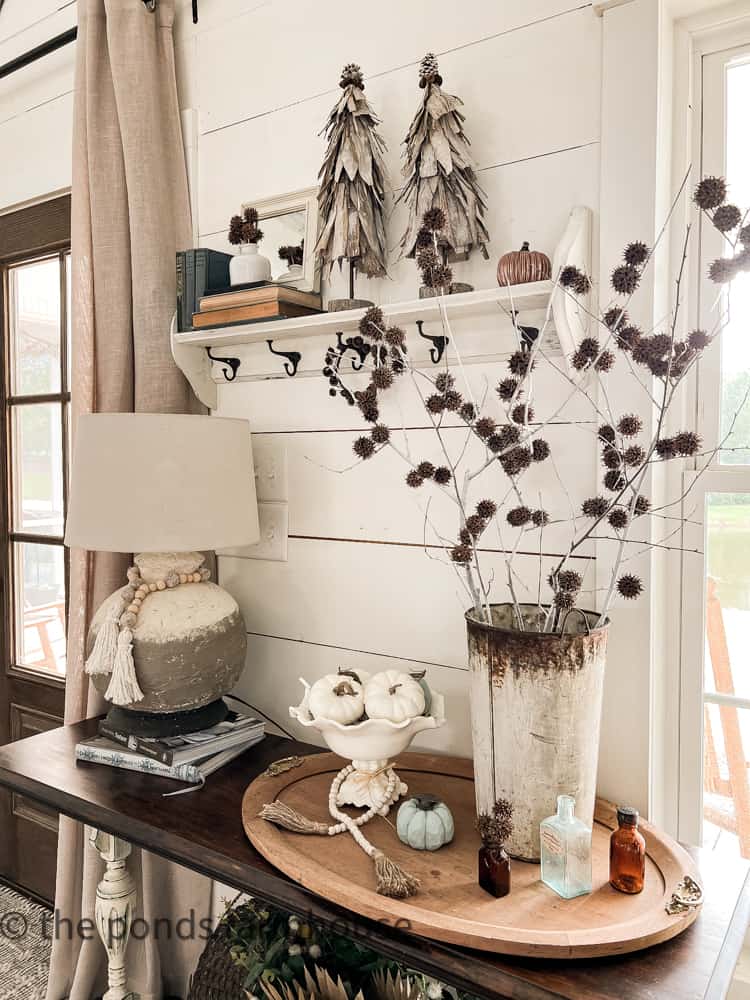
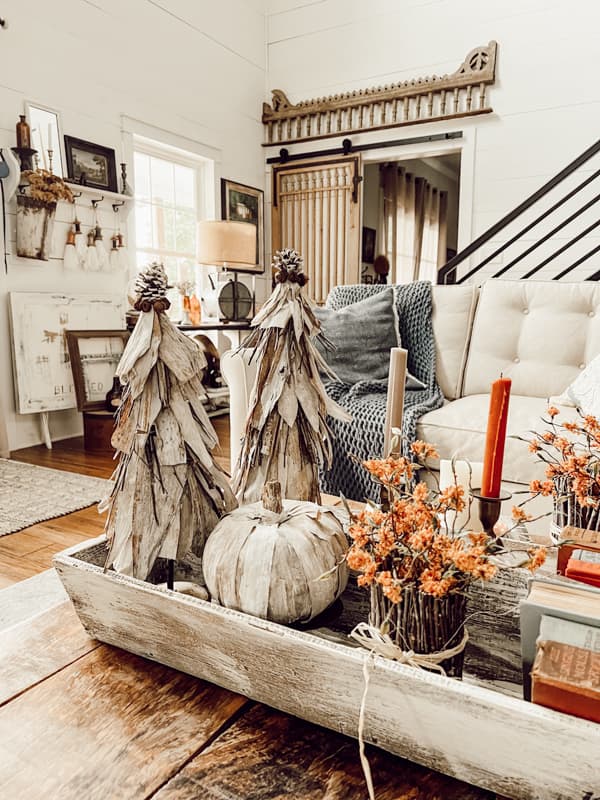
I chose to make two corn husk topiaries to add to my fall dining table. However, they also look great here in my entryway for fall. I’m sure they will be moved around several times. You will see that I was able to store the topiaries, and I’ve enjoyed using them for several seasons.
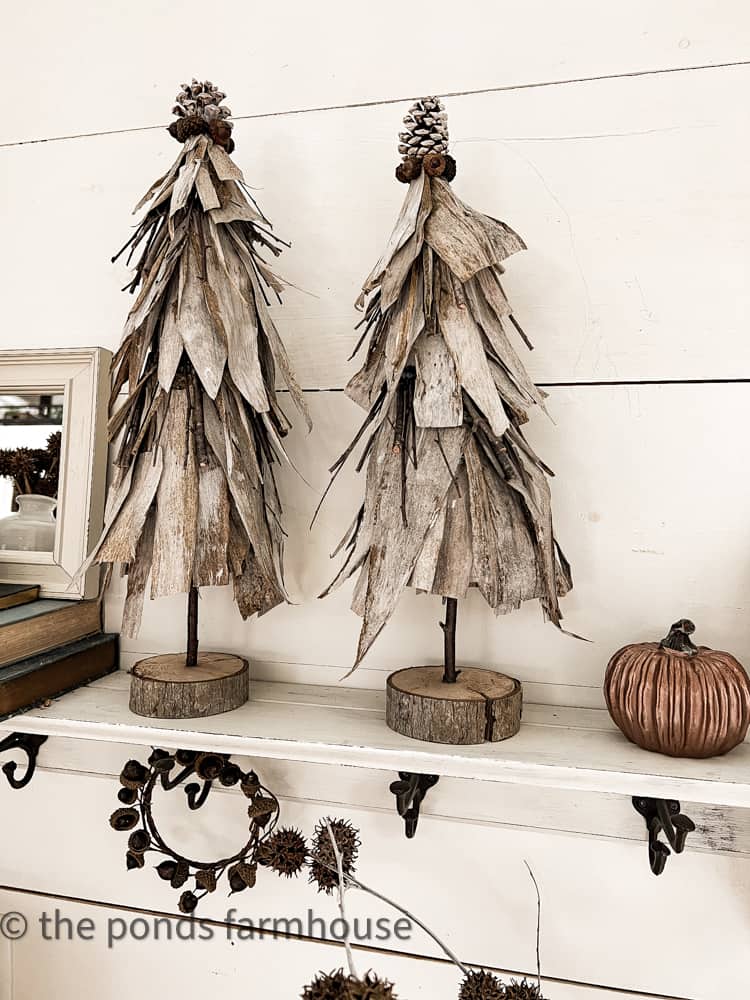
The corn stalk craft works well with the Sweet Gum Ball Stems that I shared earlier for fall.
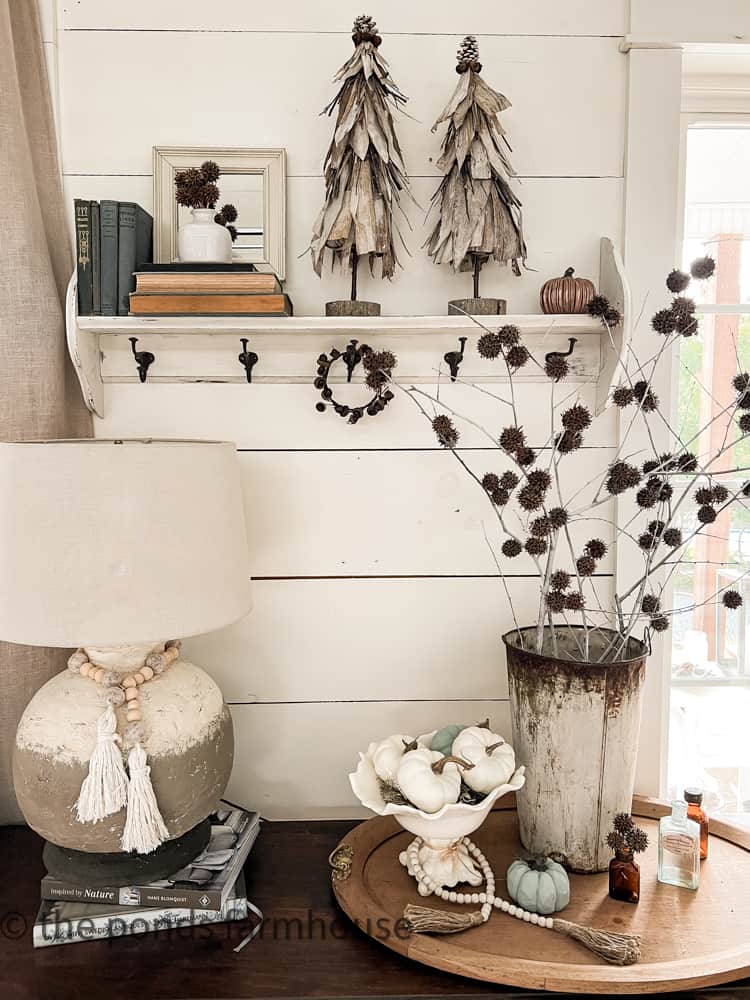
The fall entryway table is filled with neutrals and a little blue. The Easy Thrifted Lamp makeover and How To Use Chalk Paint Shelf Update combined with the antique table to create an inviting autumn vignette.
Stay tuned for more Decorating with Corn Stalks ideas for Fall.
Project Update: Will This Project Hold Up To Seasonal Storage?
Due to the fragile nature of real corn stalks, I was unsure about their stability. At the end of the fall decorating season, I couldn’t bear to toss these cute topiaries, so I stored them with all my other fall decorations.
I’m happy to report they look fabulous again in season two. Then, I’ve continued to use them each fall, and below you can see how stylish they still look this year.
I hope you will give this easy craft project a try. You will love the topiaries and the cute pumpkin, also.

Watch Video Tutorial
Other Corn Husk and Corn Stalk Decorating Ideas
Thanks so much for stopping by.

To Pin this Idea, just hover over the image and add to your Pinterest Boards for future reference.

What a cute idea! I love that I can made these for no money. I have everything on hand.
Diana,
That is great. I was the same way. No cost but my time.
Now ain’t you something! I just love that idea! Thanks for sharing Rachel 🤗
Margie,
I’m so glad you liked this idea. I woke up Sunday morning with a light bulb moment. LOL.
Very clever. It’s really great getting husks for free. Pinned!
Cindy,
Thanks for stopping by.
Wow, those turned out so cute and what a great idea! I’m hoping the cornstalks come out soon around here. We are always behind. Happy Fall! pinned
Cindy,
I’m so glad you like them.
Such a great idea. They are super cute!
Renae,
I’m so glad you like them.
These are so fantastic and add such a beautiful layer of texture to the space, Rachel. I swear your well of ideas never ceases to amaze me. Big hugs, CoCo
CoCo,
I really appreciate your words of encouragement.
Rachel these are so cool!!!
Stacy,
I really appreciate this.
These are the cutest idea! Can’t wait to try them myself and share with my followers in my weekend round up post tomorrow!
Kristin,
I’m so glad you liked this project. Thanks so much for sharing.
This is one of my favorite DIYs for fall that you’ve done Rachel. I can’t wait to try this.
Kim,
It was really easy once I wrapped my mind around how to attach them.
These are so cute! What a great idea.
Kim,
I’m so glad you liked this.
Thanks so much for sharing.
Popping back in to say thank you for sharing these on Farmhouse Friday. I’m featuring them tomorrow. Always love your DIY’s! pinned
Cindy Thanks so much.
Wow, this is a stupendous post, totally am in love with your projects and the methods you are using. Our Grandgirl is going to be 12 now, so I have to up-age her crafts and this would be doable. However—-battling the ads on your blog barely made it worth it, sorry to say, aggressive and intrusive the ads are, here. But, amazing crafts and photos. Sandi
SAndra,
I’m sorry you had a bad experience with the ads. You can click them off or switch to read only mode. Thank you for your kind compliments and I hope your granddaughter enjoys this project.