There’s just something about leaves in the Fall. This inexpensive DIY Fall Leaf Garland is quick and easy to make. Plus, the autumn leaves garland is made with kraft paper for a cheap DIY Autumn garland Idea.
It’s super easy and inexpensive to make, and I can’t wait for you to see the results.
(Posts on The Ponds Farmhouse may contain affiliate links. As an Amazon Associate, I earn from qualifying purchases. See the full disclosure details here.)
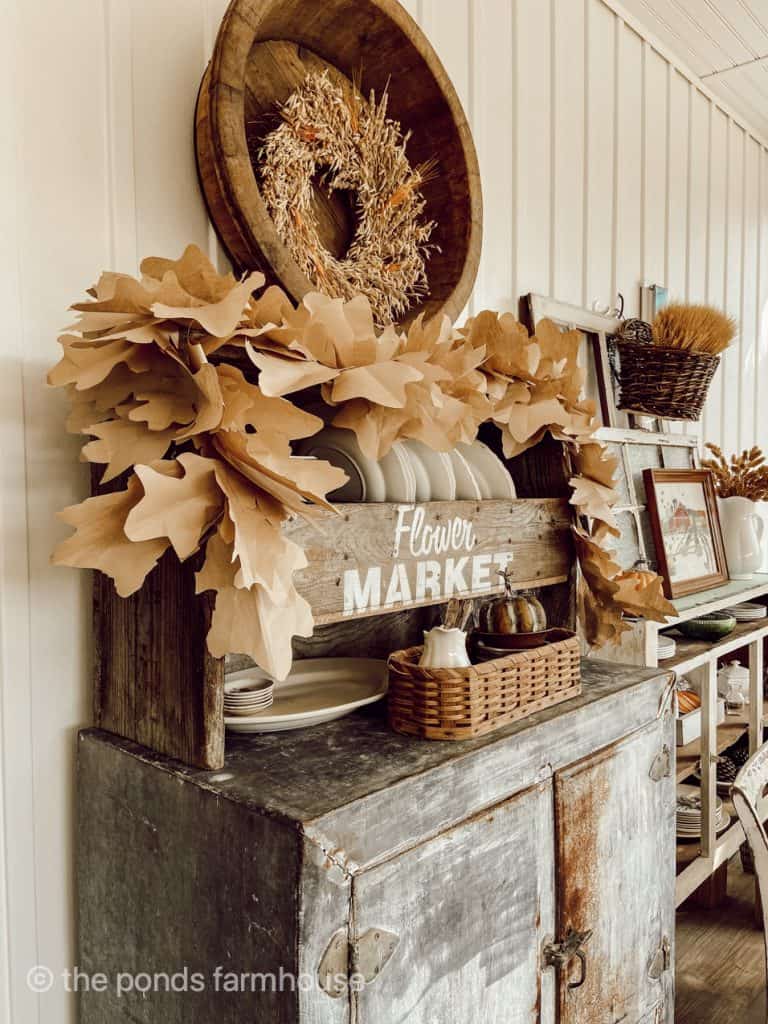
Table of contents
Supplies for Fall Leaf Garland
- Brown Craft Paper – This is a full roll! I use craft paper for everything, especially now.
- Vine Wire
- Wire Snips
- Scissors – I prefer these razor edge scissors for this project.
- Hot glue gun & Glue
- Finger Protectors
- Yard Stick
- Pencil or Pen
How to Make a DIY Leaf Garland
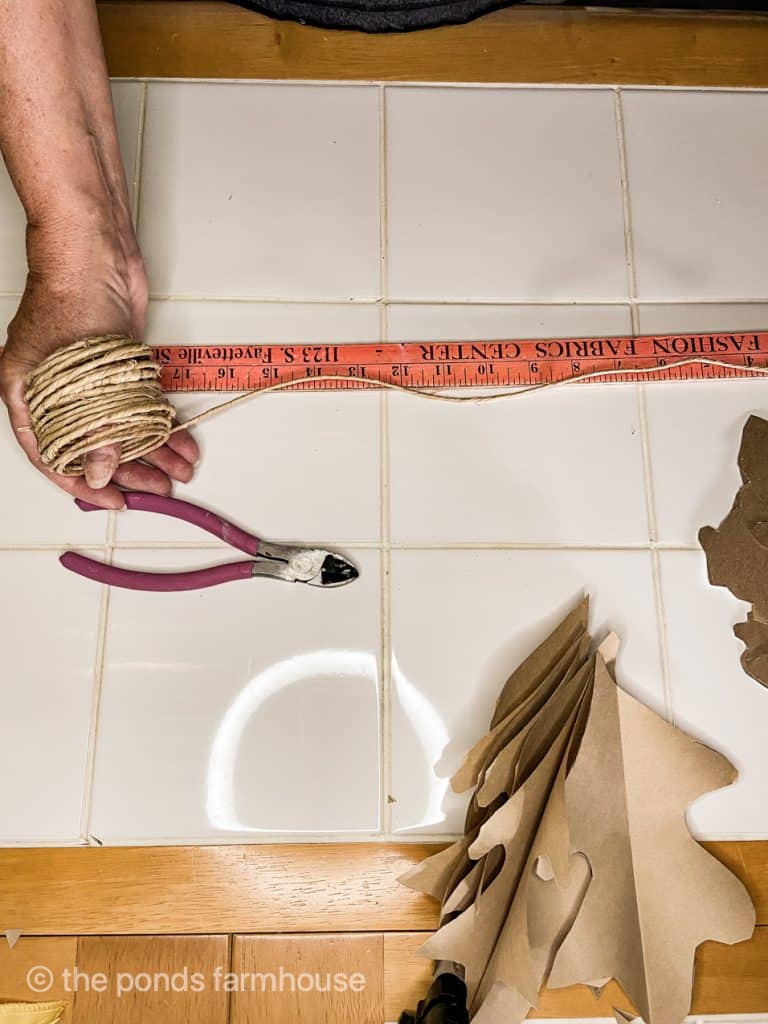
First, to begin this fall craft, you must determine how long you want your garland to be.
I wanted a six-foot garland, so I cut my Vine Wire 6 1/2 ft. This allows 3 inches on either end to use for attaching if needed.
Design and Cut Leaves
There are a few ways to create your DIY Autumn Garland leaves.
First, create a template for your leaves. I made five different shapes and sizes using a piece of lightweight cardboard.
If you don’t feel comfortable creating your own templates, you can trace actual leaves or print a leaf shape from a book or online to copy.
Please make sure to keep your patterns simple for ease of cutting. With several angles and sharp details, you will spend more time cutting the leaves than you like.
You will want to cut more than one leaf at a time, so cut the length of your craft paper and fold it several times.
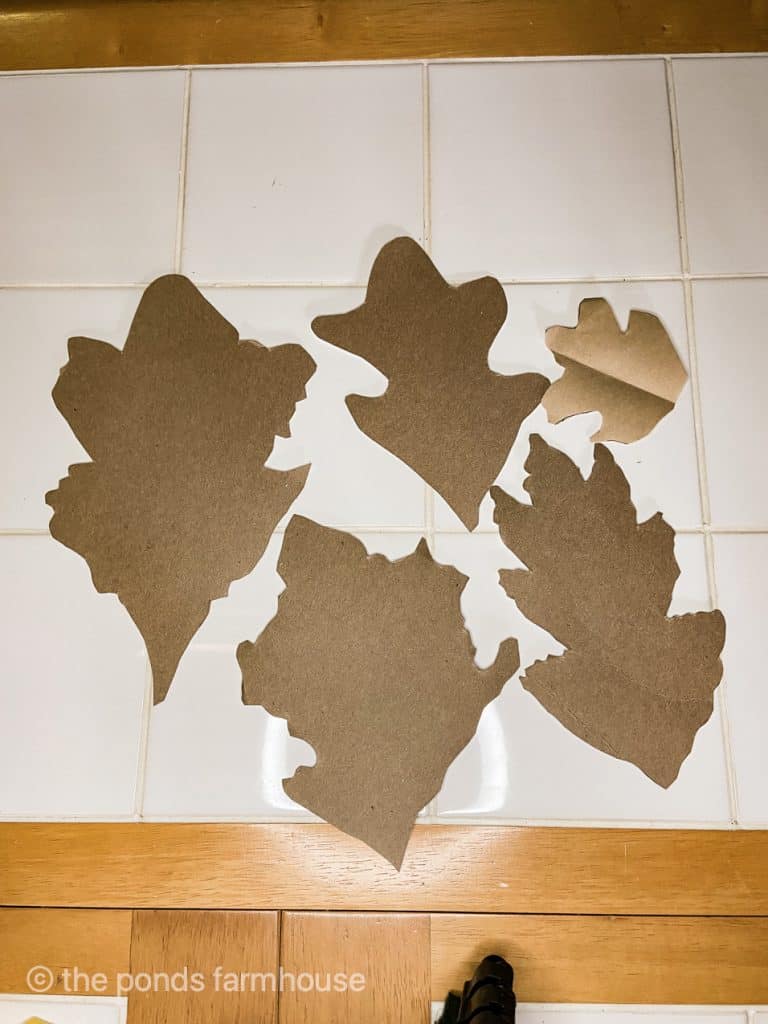
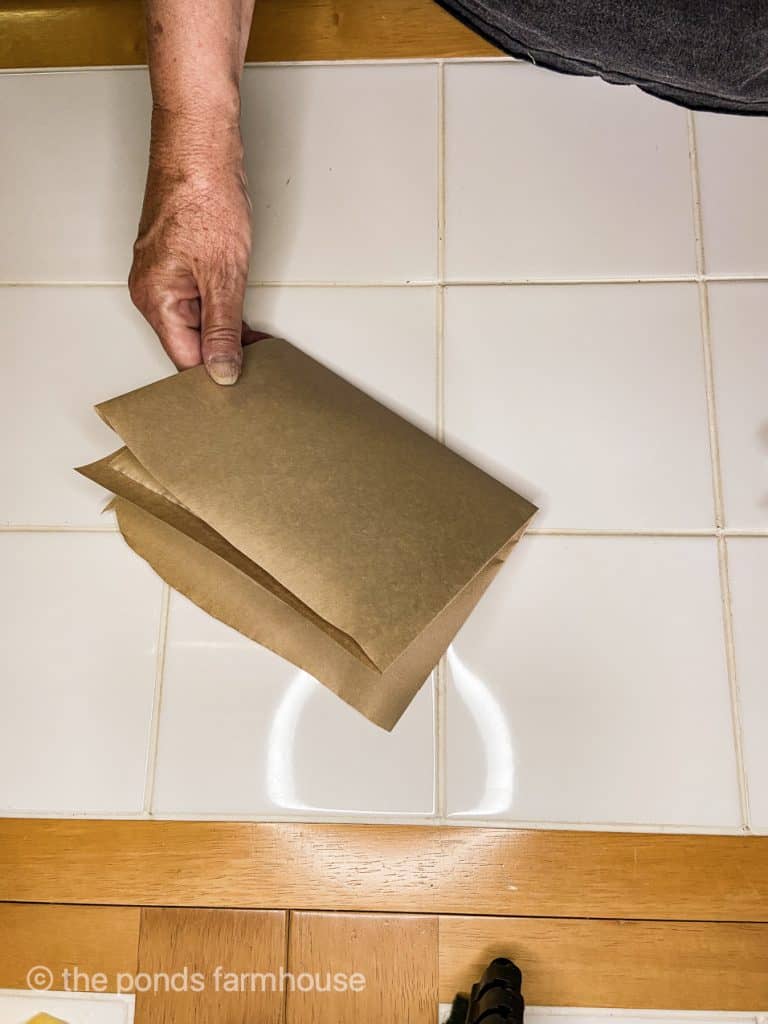
Now you are ready to trace your leaf designs and cut them out. I used these razor-edge scissors, which worked great to cut the more minor details on some leaves.
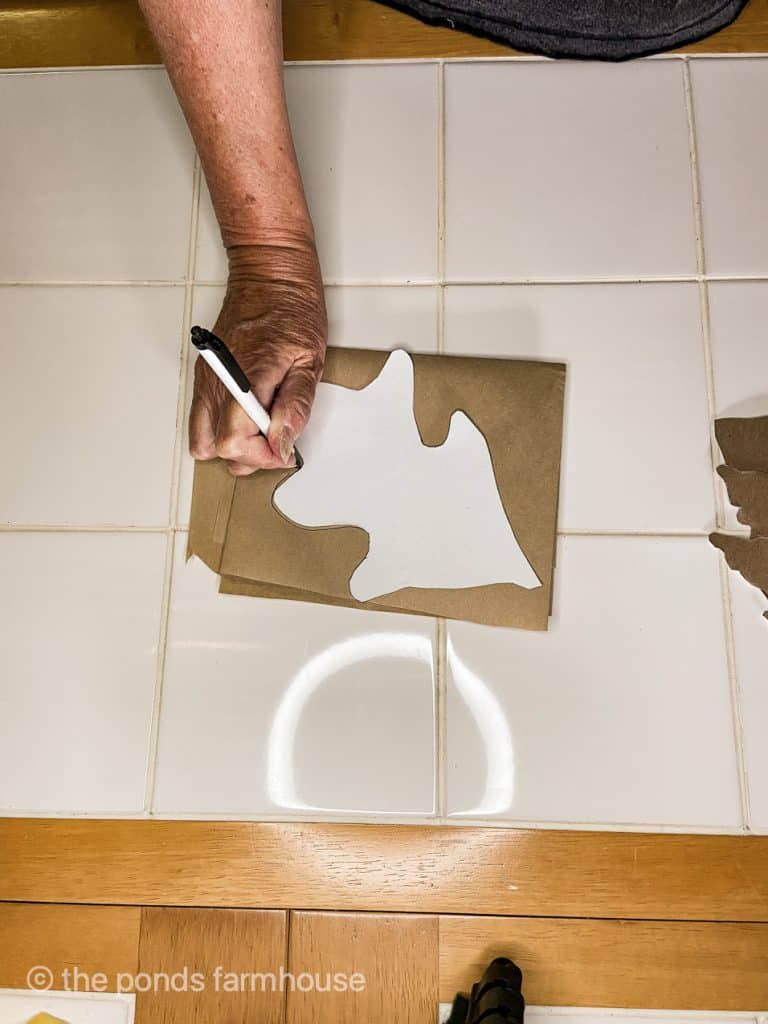
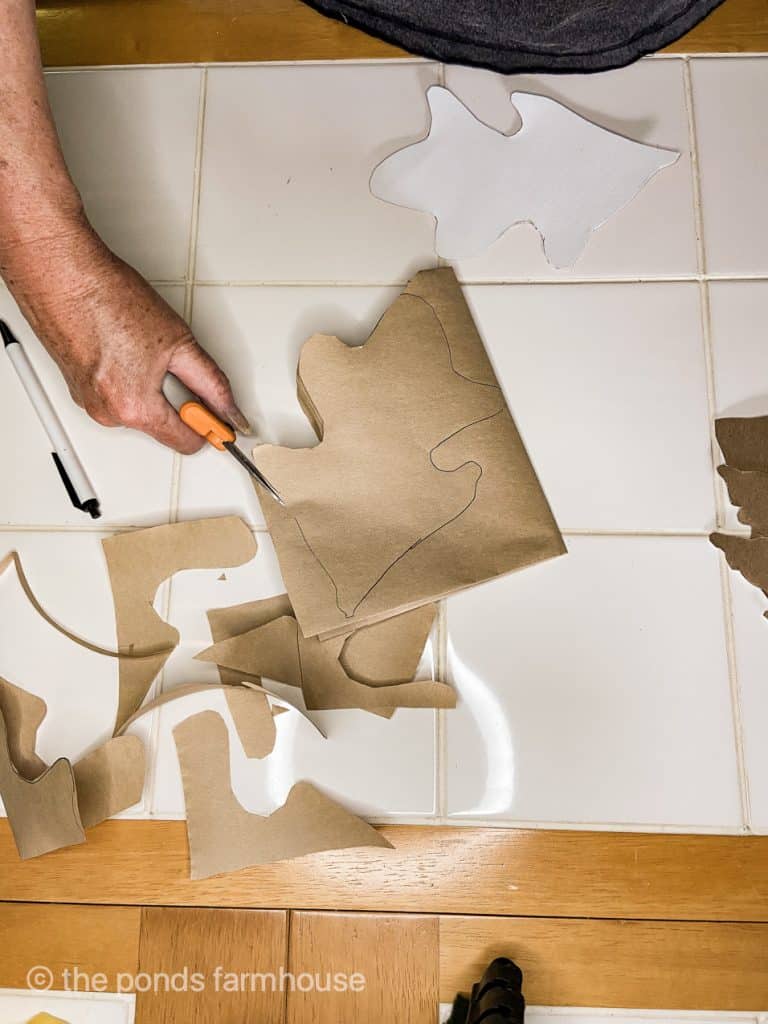
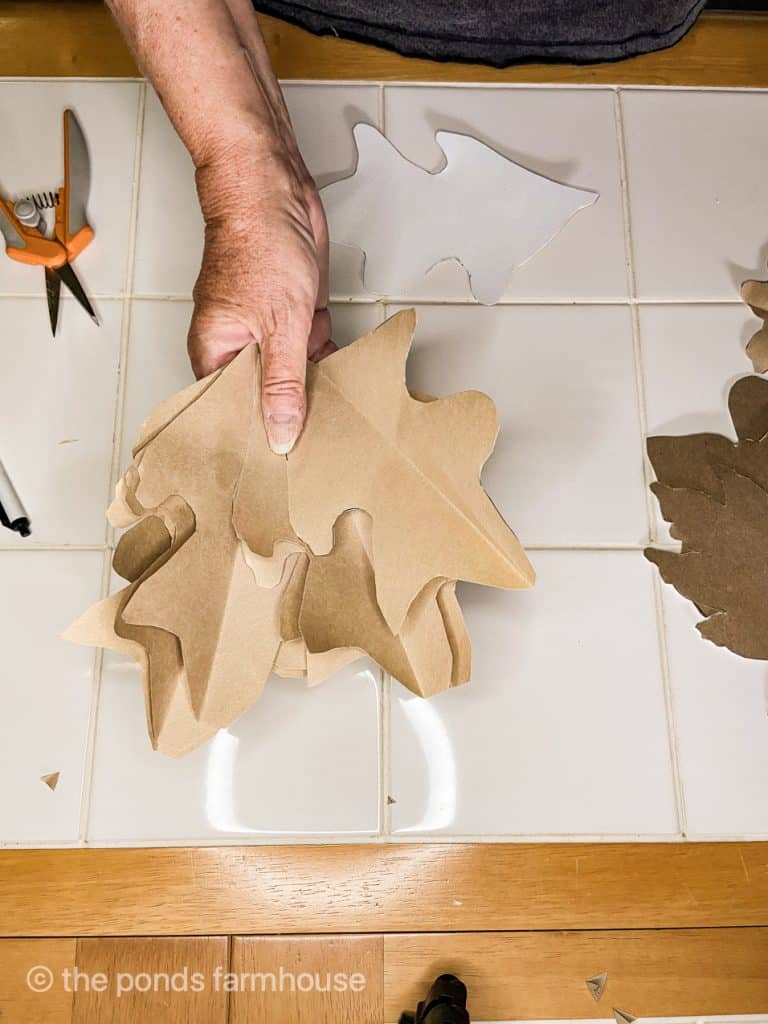
You can easily cut six to eight leaves at a time. There is no need for each leaf to be the same, so don’t worry about the paper slipping when cutting your pattern.
Cut several of each leaf design. I’m not sure how many leaves I used, but you can always cut more if you run short at the end.
Assemble Fall Leaf Garland
Now, you are ready to assemble the DIY Autumn garland.
First, start approximately 3″ from the end of your vine wire and begin attaching the paper leaves to the wire using hot glue.
Place a line of glue at the bottom edge of the leaves and wrap around the wire.
Insider Tip
CAUTION: I recommend placing your glue gun on a low setting, but still be cautious when pressing the leaf around the wire. It is easy to burn your fingers with the hot glue.
Use hot glue finger protectors for added precaution.
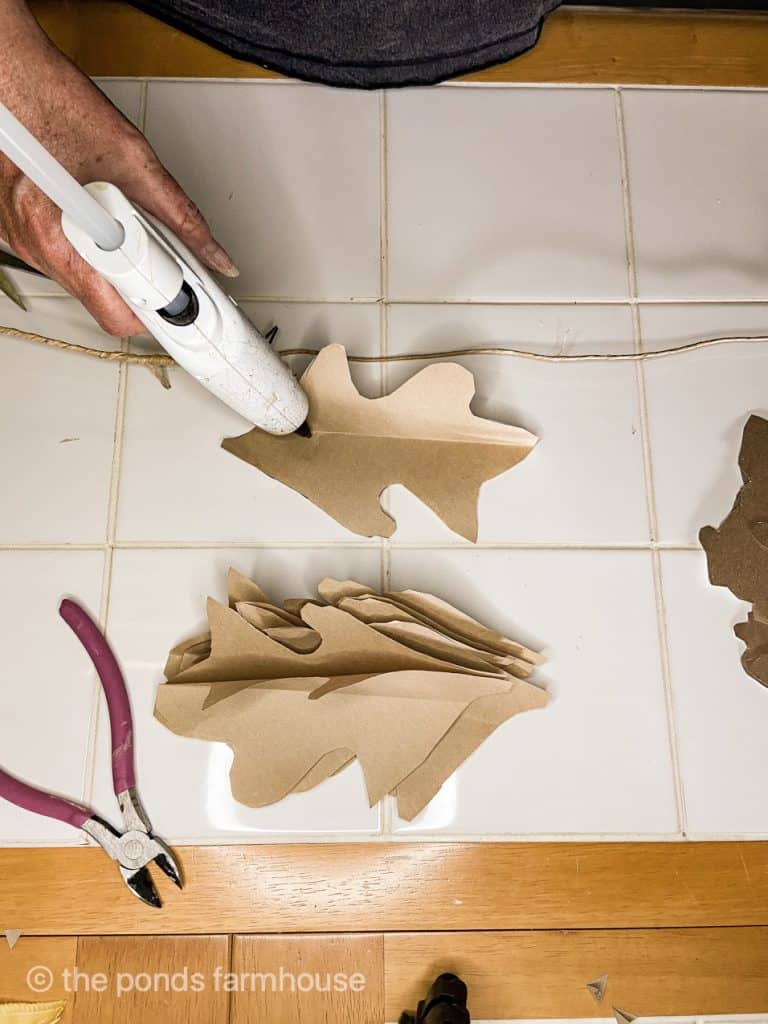
Be sure to alternate the leaf designs as you assemble along the wire.
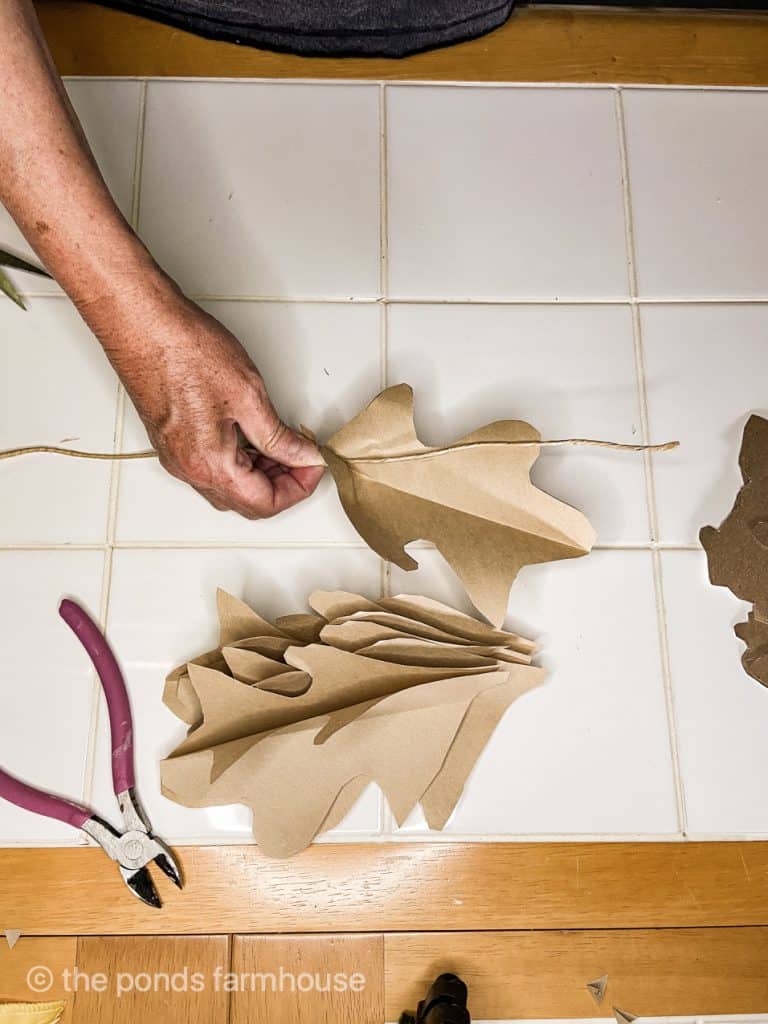
I recommend placing them, first on one side and then the next on the opposite side, as you see below.
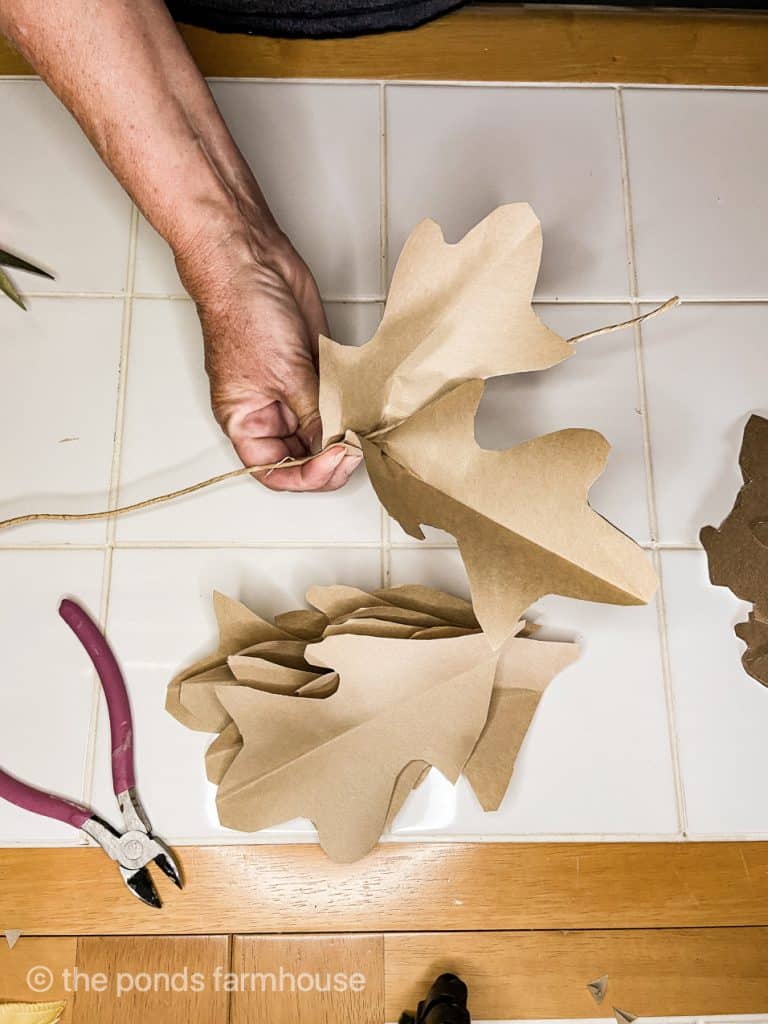
Autumn Leaves Garland
I was amazed at how quickly the Autumn leaves garland came together. I did have to cut approximately eight more leaves to finish the project.
The garland was ready to use immediately after the last leaf was in place.
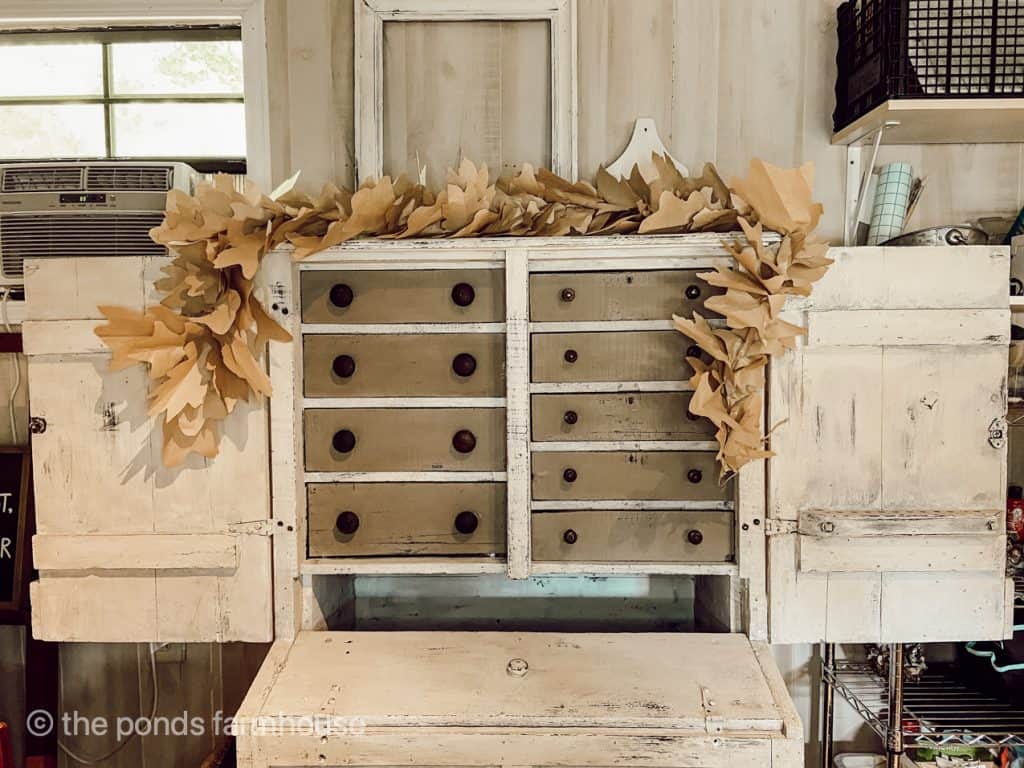
The vine wire allows the garland to be easily bent, where needed, to curve around your mantel or shelf.
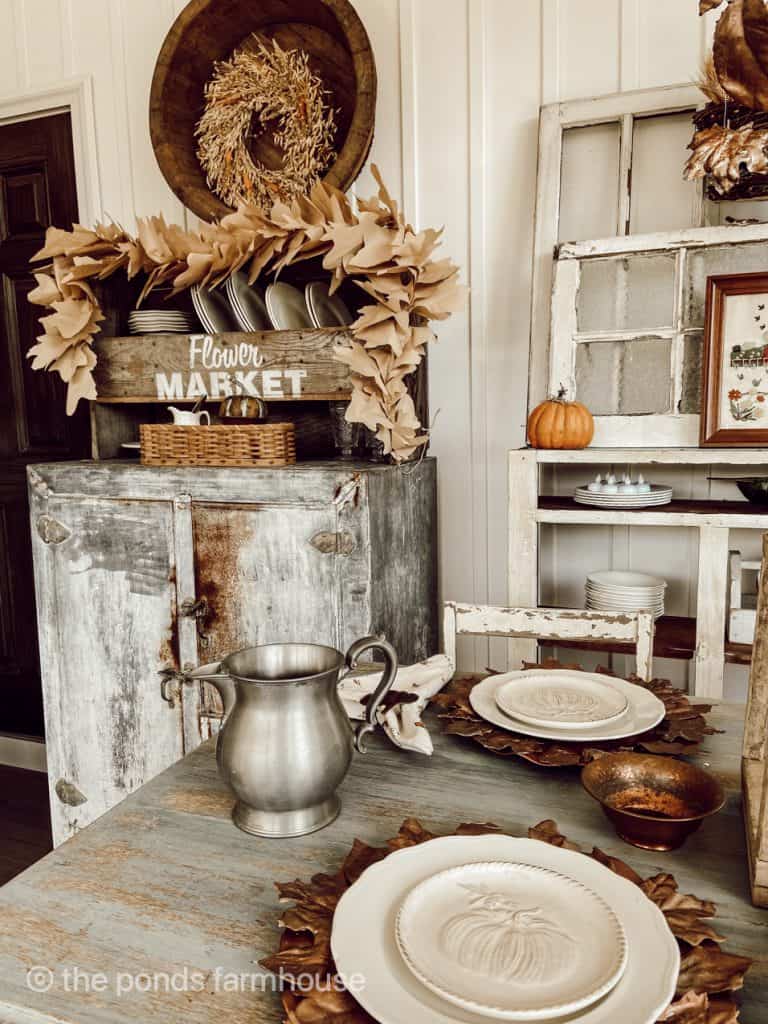
Do you remember when I found this cabinet? I’m still trying to fill all the little drawers. You can see the details on this treasure here.

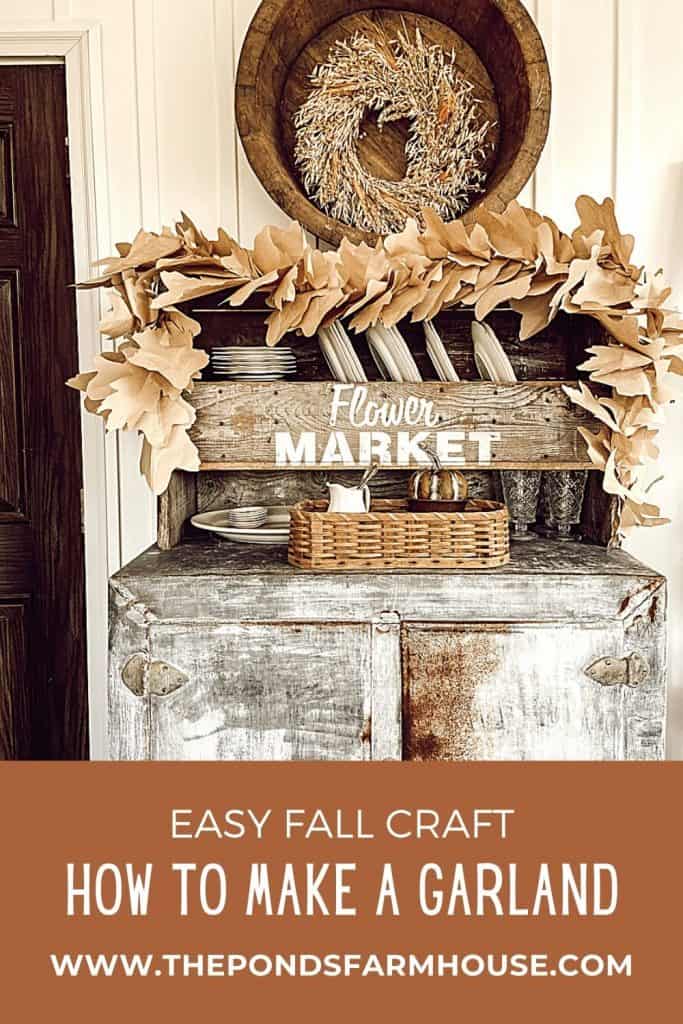
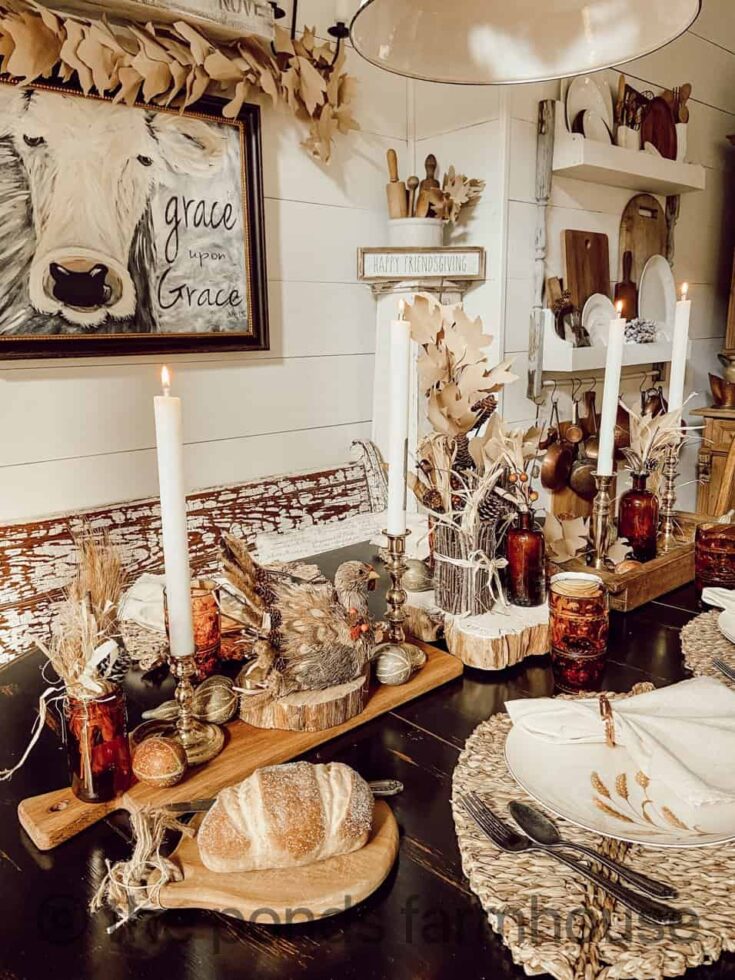
I added the garland to our screened porch’s top shelf. The rustic feel of the kraft paper DIY autumn garland works perfectly with the wheat wreath.
You can see the fall table view of this porch here.
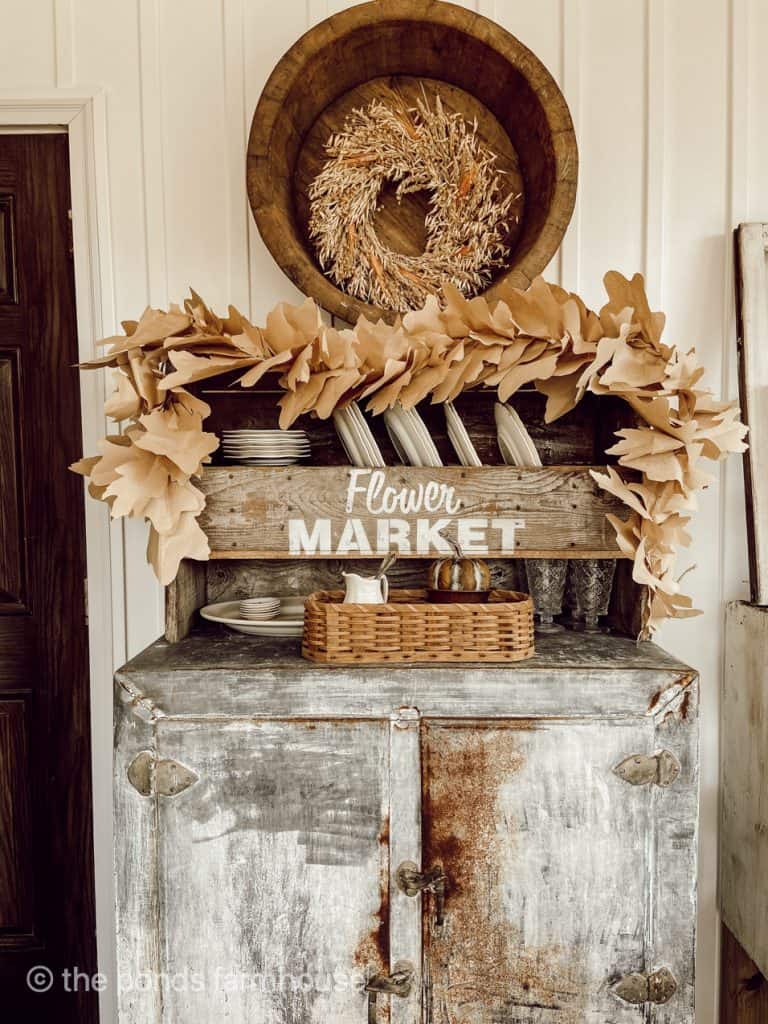
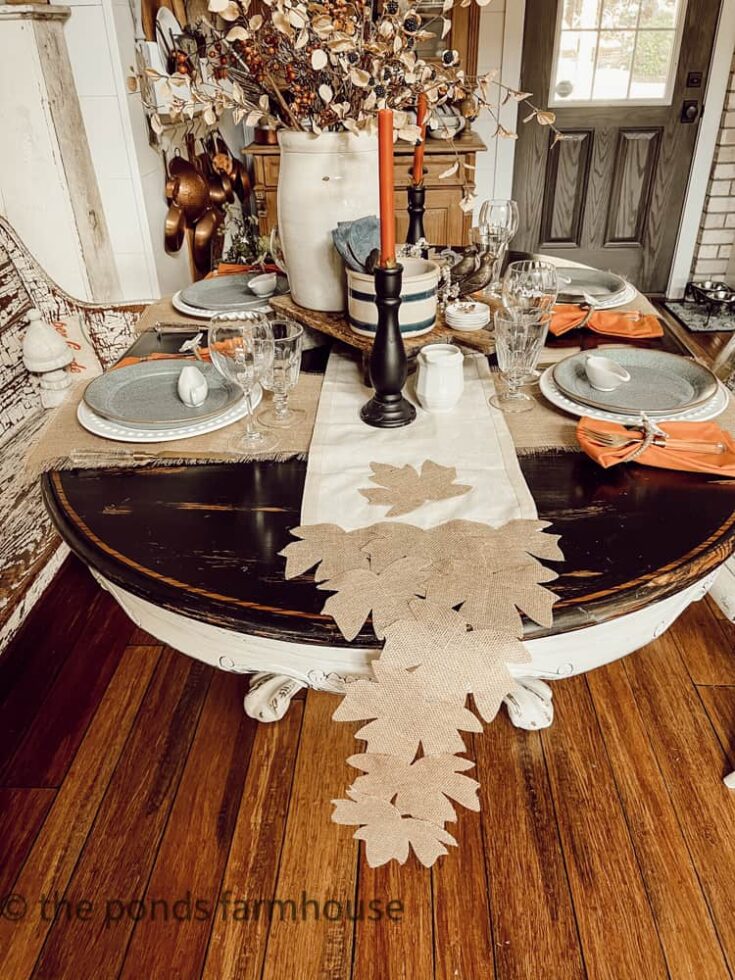
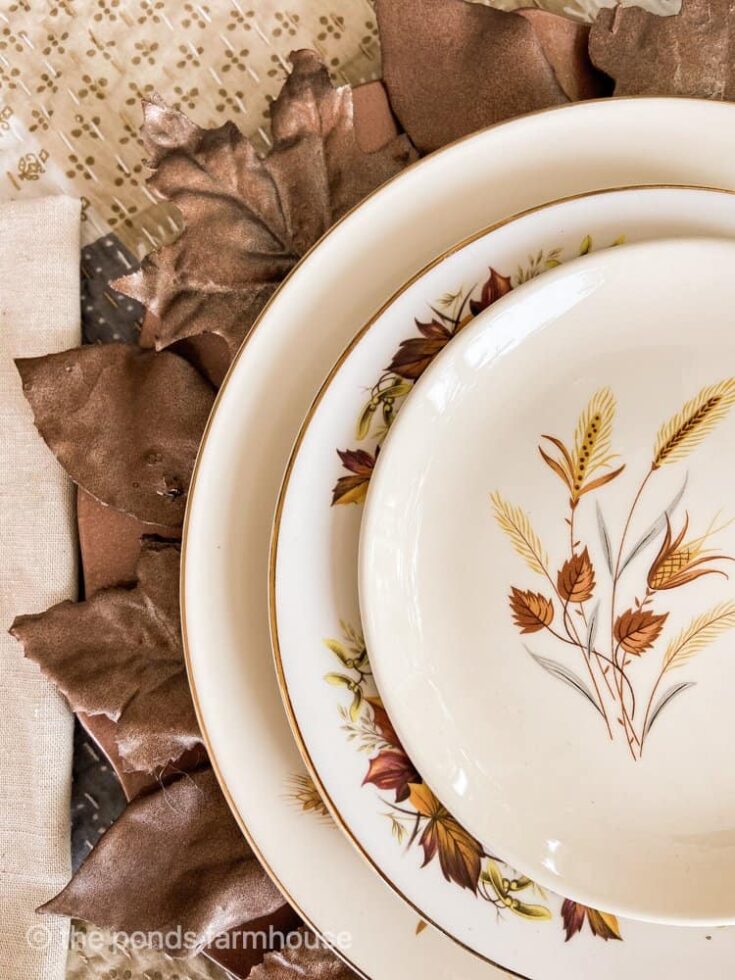
Did you see how I made these Leaf Chargers and the Plaster Leaves hanging on the light fixture? Click on the red highlighted items to link to those tutorials.
I hope you enjoyed this simple tutorial on How to make a Fall Leaf Garland. It is an inexpensive and straightforward project. I hope you give it a try.
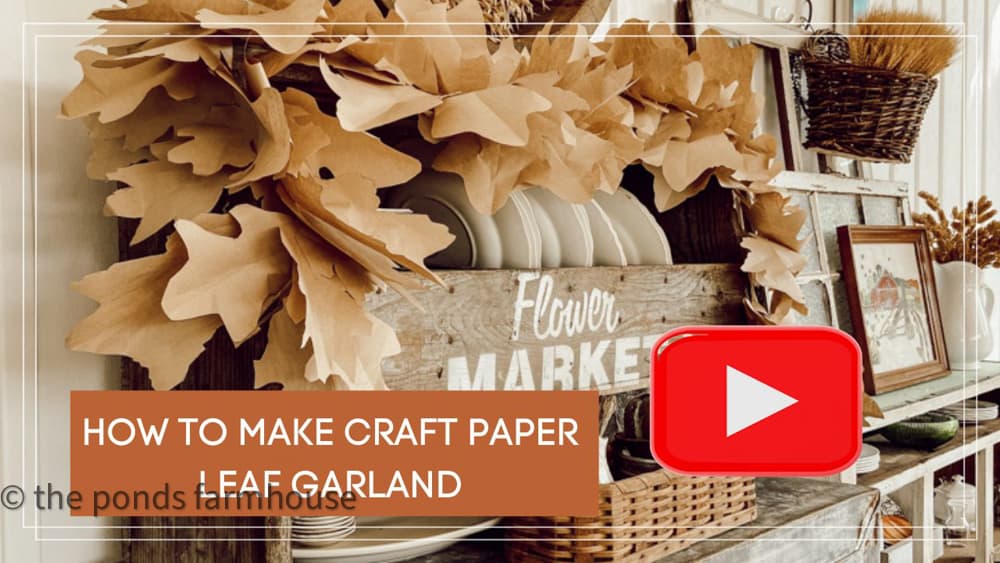
See Video Tutorial
Fall DIY Leaf Projects
Additional Fall Leaves Projects for stylish Autumn Decor
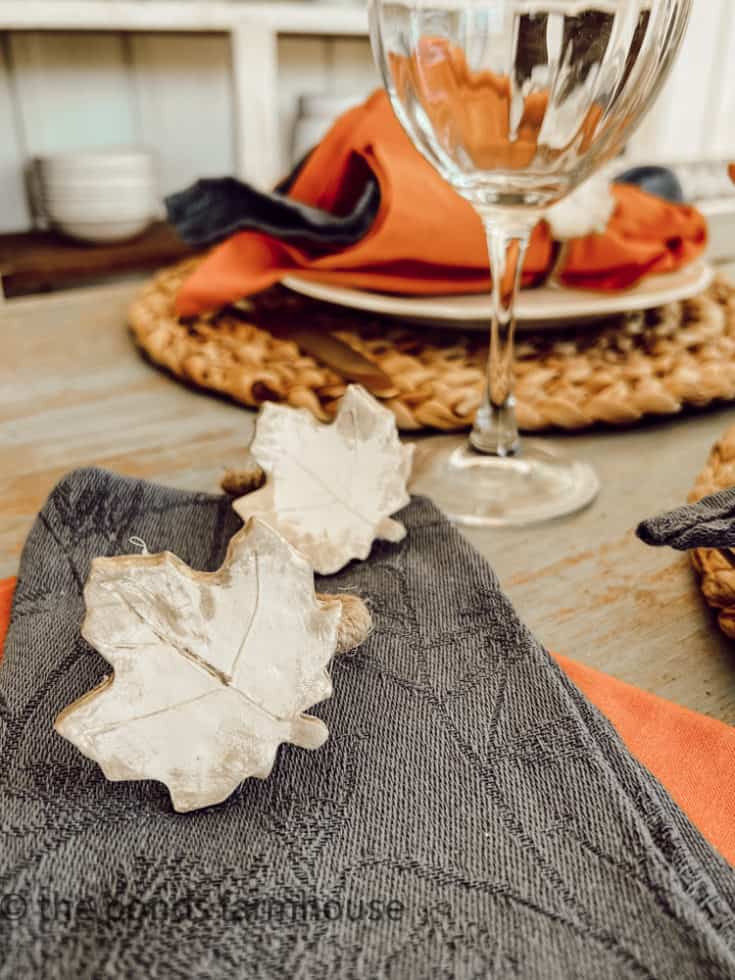
Inexpensive Budget Friend Pottery Barn Napkin Ring Hack
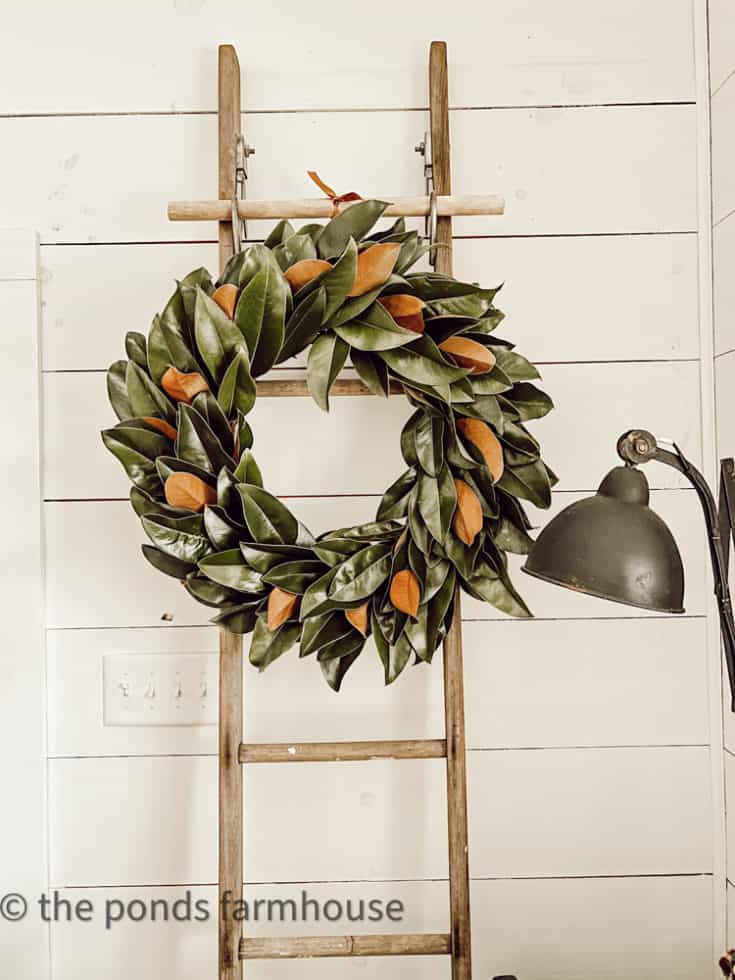
Easy Wreath with magnolia leaves that can be made in one hour and is almost free. Recycle an old grapevine wreath, and you'll never know it's recycled.
Thanks so much for stopping by today. I look forward to sharing my next adventure with you.

Pin It To Remember It
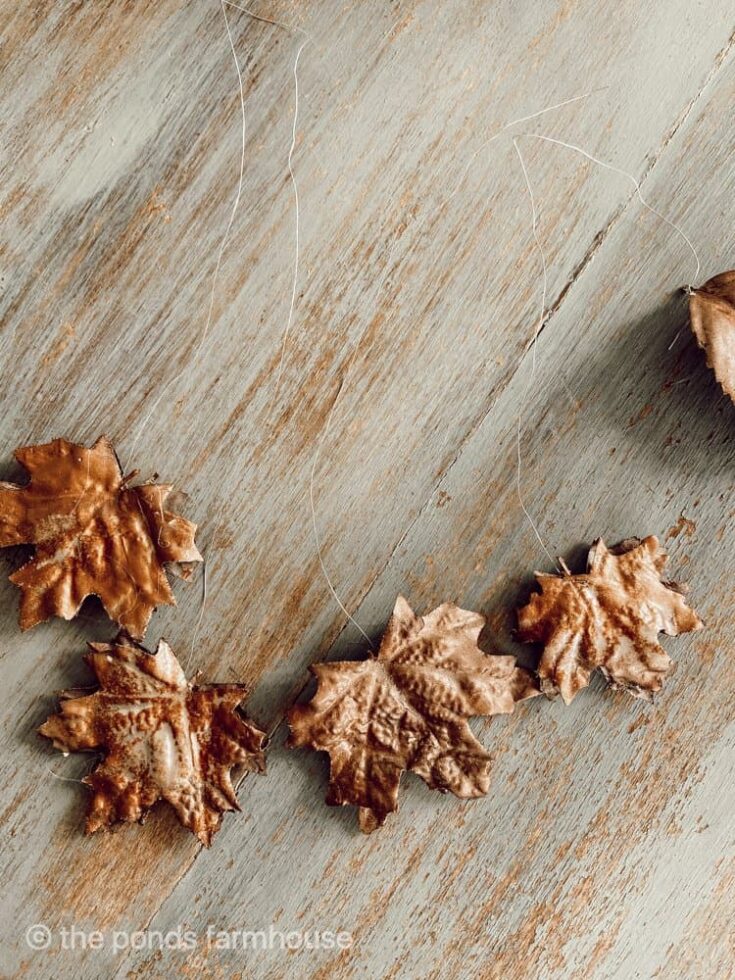
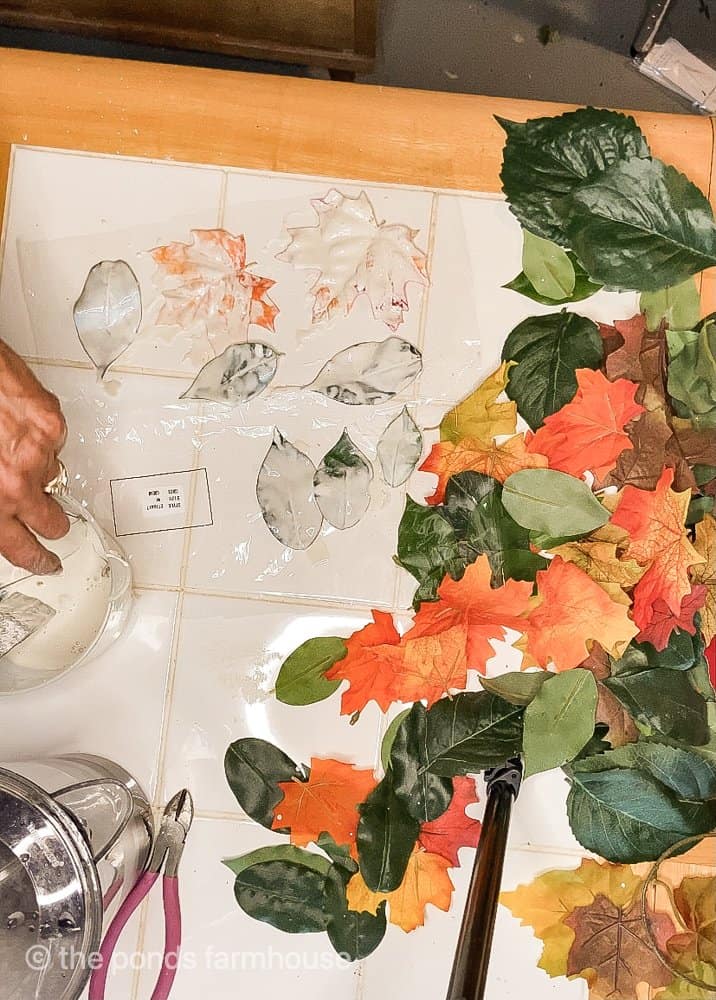
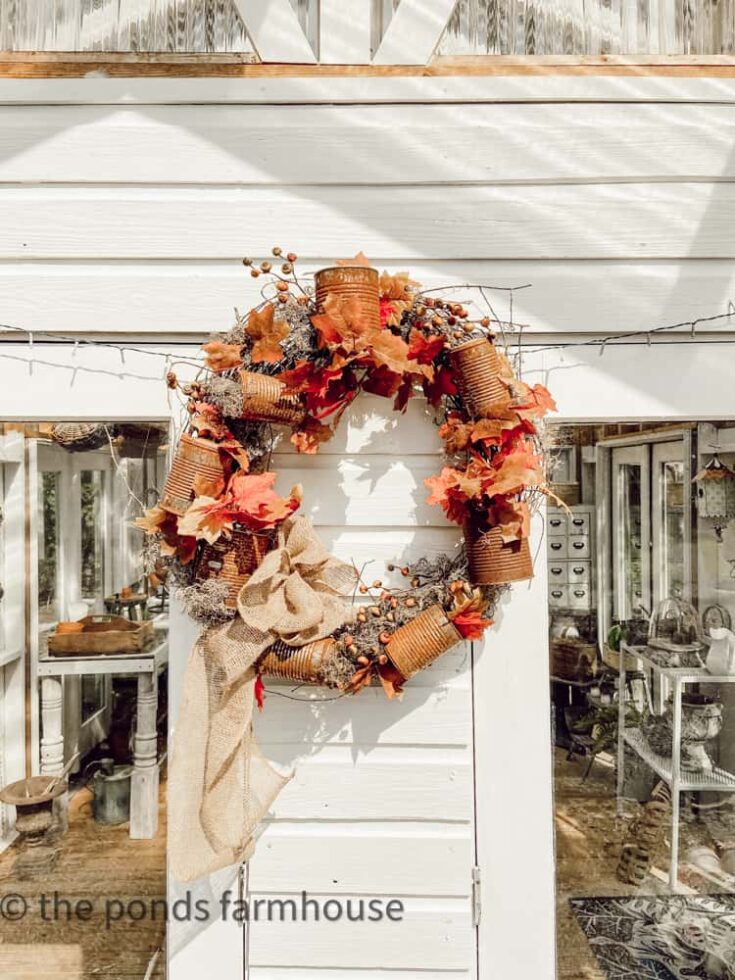
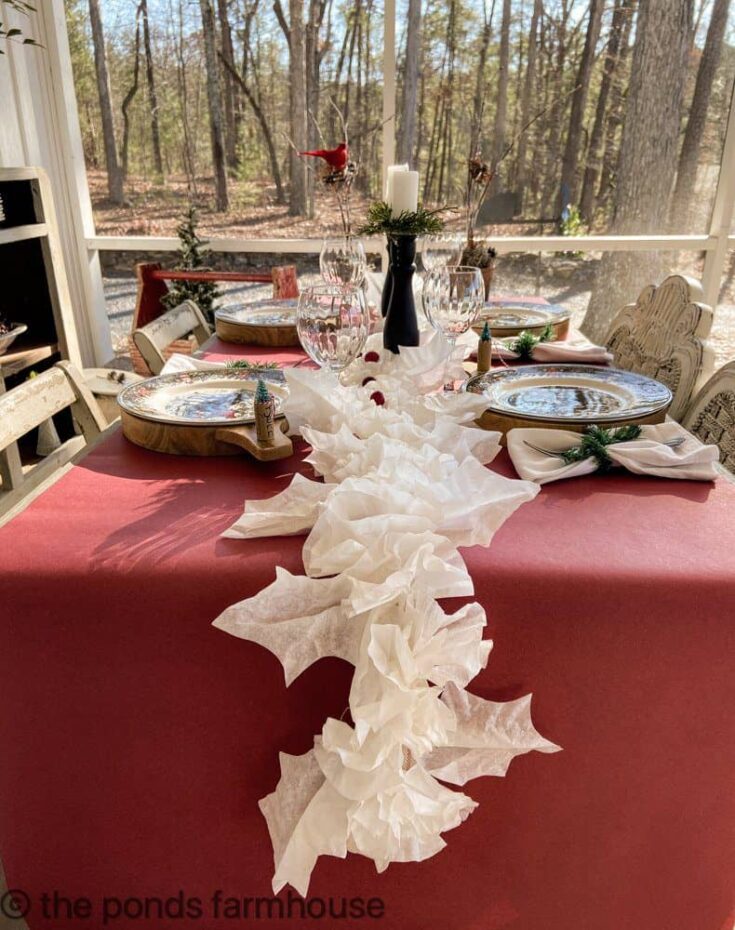
Did you find some great ideas you’d like to save for future reference? Hover over the images you’d like to save and pin to your favorite Pinterest Boards when you see the PIN button.

Renae
Monday 11th of September 2023
I love this garland. It's such a great idea.
Rachel
Tuesday 12th of September 2023
Renae, I really appreciate your comments.
Anne from Simply2Moms
Monday 11th of September 2023
This is such a great idea! Love how it looks so realistic.
Rachel
Monday 11th of September 2023
Anne, Thank you so much. It's a fun project.
Stacy
Friday 16th of September 2022
Love this garland it’s so cool!
Rachel
Saturday 17th of September 2022
Stacy, I appreciate this.
Wendy McMonigle
Friday 16th of September 2022
Just love this and will be sharing tomorrow.
Rachel
Saturday 17th of September 2022
Wendy, I appreciate this so much.
Renae
Friday 16th of September 2022
I love this idea. It looks amazing!
Rachel
Saturday 17th of September 2022
Thanks so much.