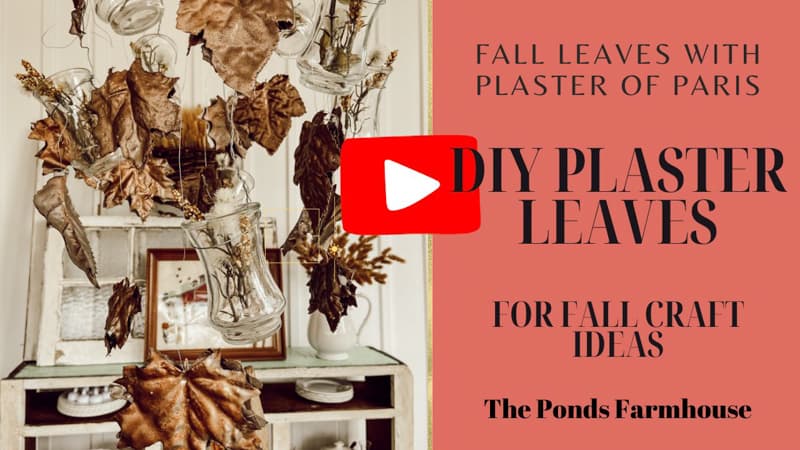
Crafting Autumn Magic- DIY Plaster Leaves Tutorial
Fall is a time for magic. The leaves change color, inspiring craft ideas that incorporate them. I was inspired to make several projects with DIY Plaster Leaves. Today’s tutorial will teach you step-by-step how to make your own plaster leaves DIY projects for Autumn.
These leaves are easy to make and can be customized to your liking. You can use different colors and various types of leaves and even add glitter or other embellishments. With a little bit of creativity, you can create beautiful leaves for multiple craft projects.
For today’s project, I used various-shaped artificial leaves and copper spray paint to create elegant leaves for fall crafts.
Crafting DIY Plaster Leaves DIY
Y’all might remember that I shared How to Save a Faux Ficus Tree some time ago. I saved all those ficus leaves because I knew I’d want to make a craft project with them someday.
Then I pulled out some old, faded fall stems and recycled them with the ficus leaves.
The old leaves were inspiring a few new craft ideas for fall.
But I’m getting ahead of myself.
Before I can share the projects that I used the recycled leaves for, I have to share how I made plaster leaves DIY.

(Posts on The Ponds Farmhouse may contain affiliate links. As an Amazon Associate, I earn from qualifying purchases. See the full disclosure details here.)
Supplies for Fall Craft
- Plaster of Paris
- Faux Leaves
- Water
- Mixing Bowel
- Plastic or Wax Paper
- Spray Paint – Copper
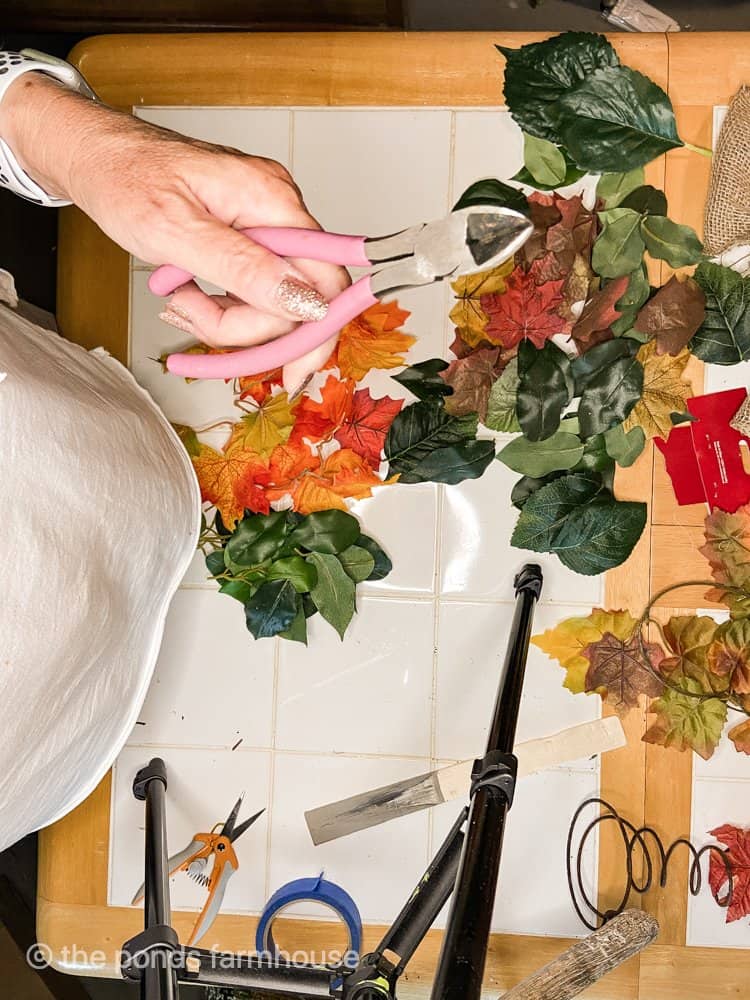
- Wire Snips
Prepare for Space for Crafting
First, I want to say this project is a little messy and you need a good amount of space to work in.
You will want to cover an area for your leaves to dry. I used plastic, but you can use wax paper or any material the leaves will not stick to.
The area needs to be large enough for all leaves to be spread out to dry.
Plaster of Paris for DIY Plaster Leaves
Now you are ready to begin mixing your plaster of Paris.
In a large mixing bowl, add a small amount of plaster of Paris and just enough water to achieve a thick consistency, similar to mayonnaise.
Insider Tip
PLASTER OF PARIS IS TRICKY TO WORK WITH BECAUSE IT DRIES FAST.
YOU DO NOT WANT TO MIX MORE THAN YOU CAN WORK QUICKLY WITH. ONCE IT STARTS TO DRY, YOU WILL NOT BE ABLE TO USE IT.
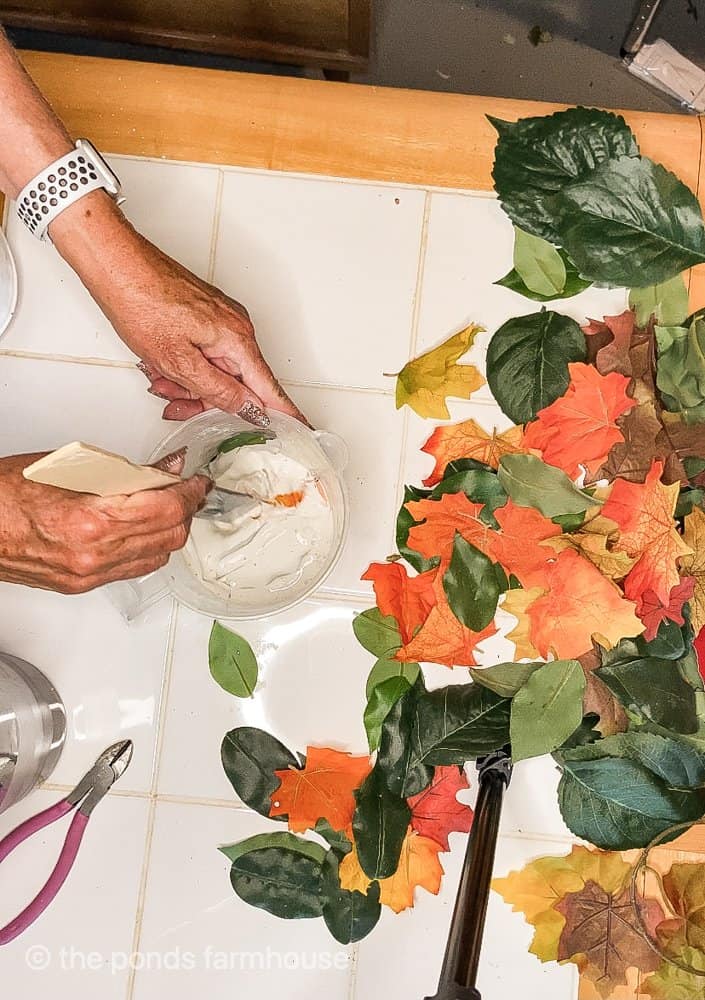
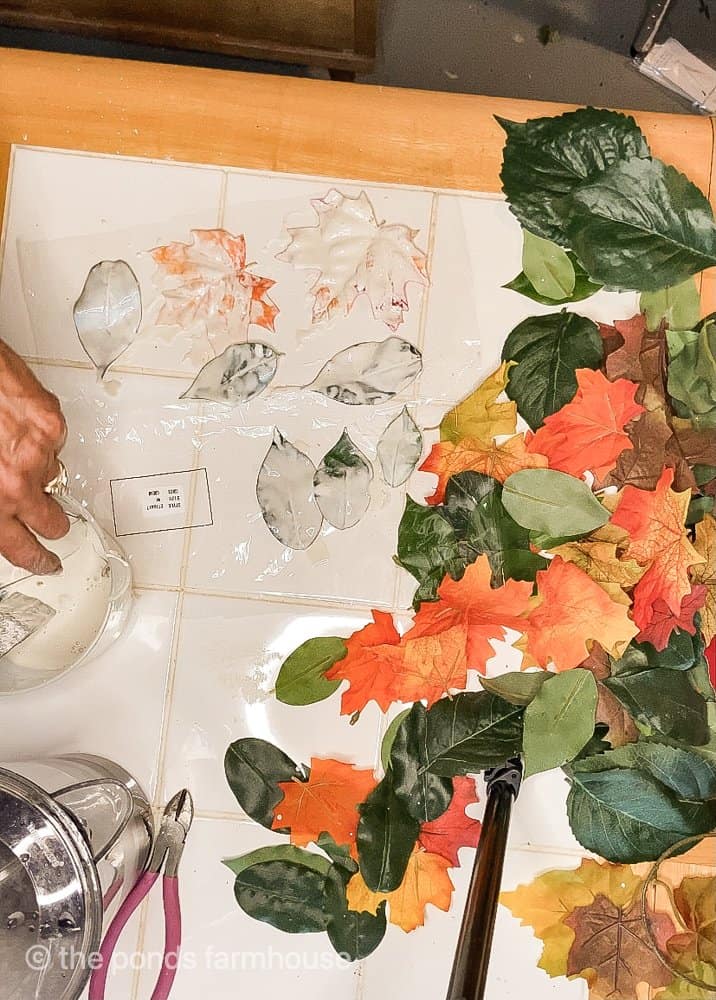
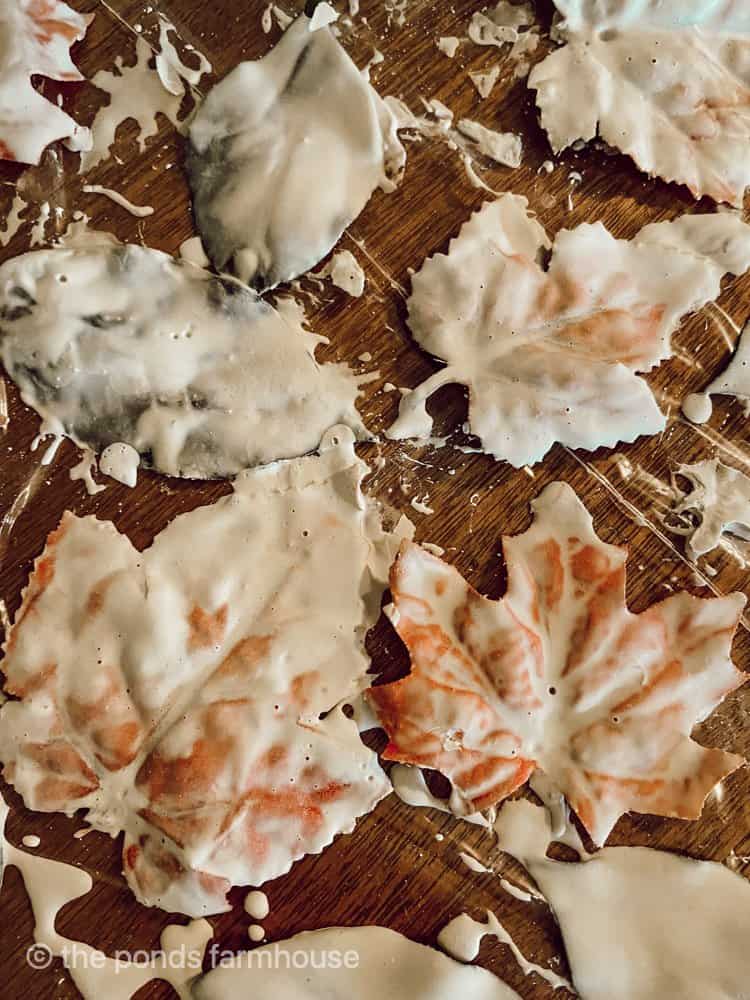
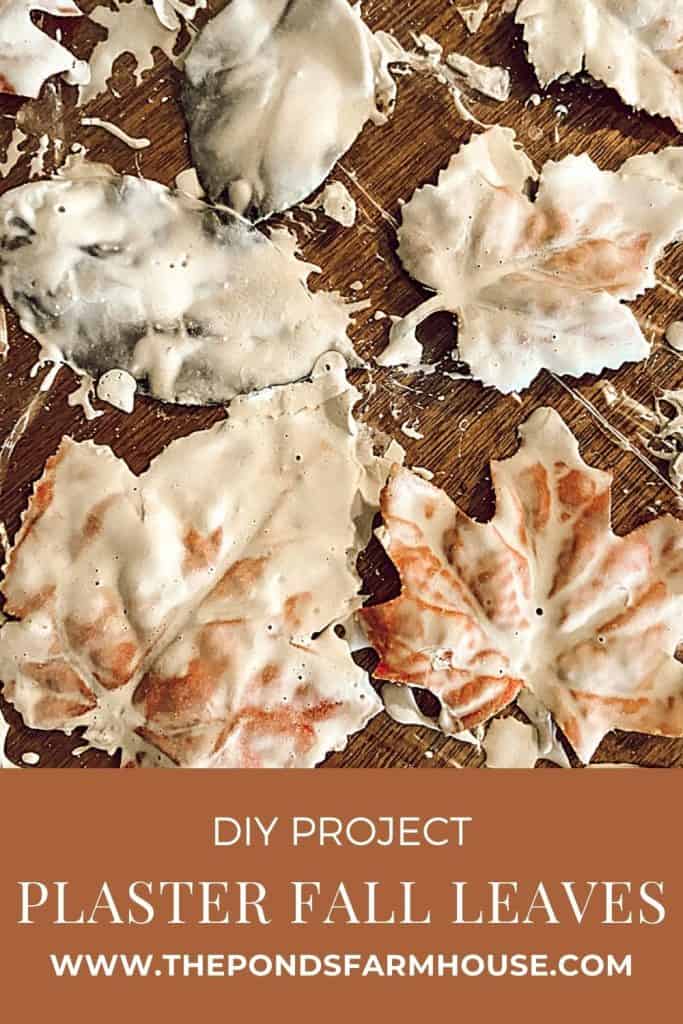
I added the faux leaves right into the mixture and stirred around to get a good coating on the leaves.
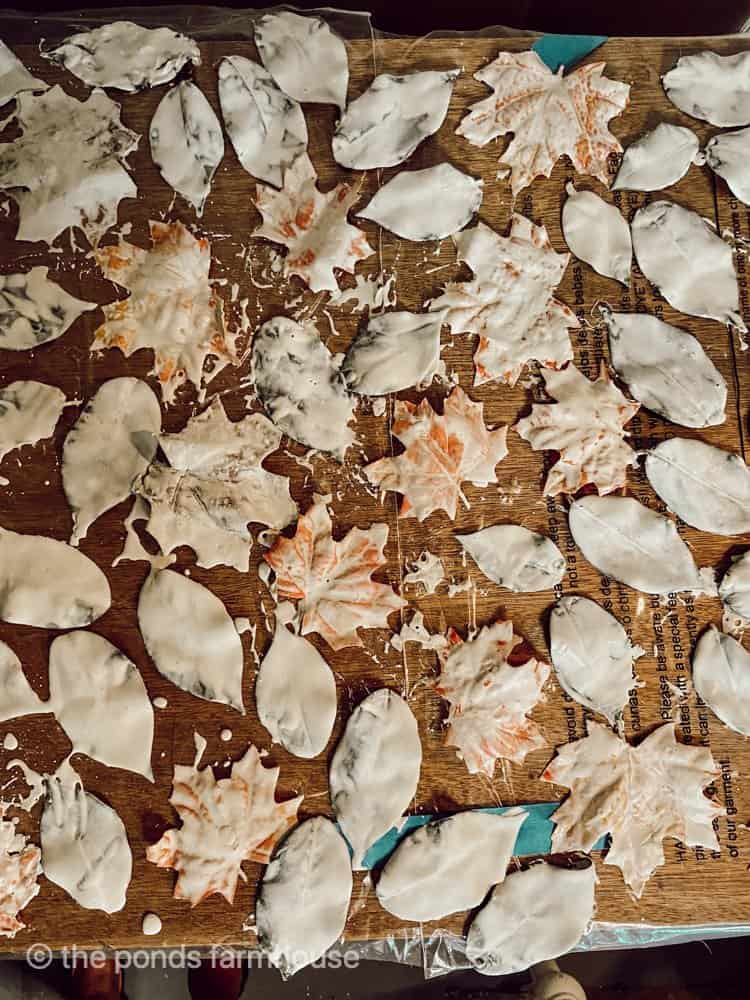
Then I pulled each leaf from the plaster and spread them onto the plastic wrapped table.
If some leaves are not coated well, you can use a brush to add more plaster to each side.
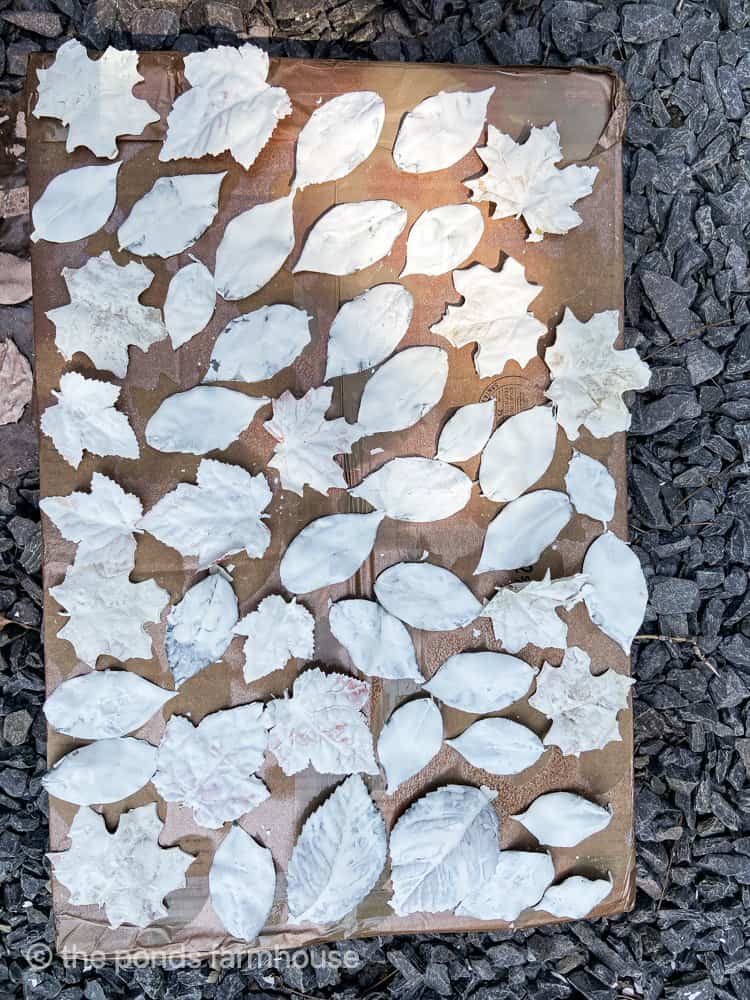
Allow to Dry
Be sure that your plastered leaves are completely dry before painting. I waited two days. However, 24 hours should be sufficient.
Paint Your Plaster Leaves
For the next step, transfer your leaves to a well-ventilated area or outside if you are using spray paint.
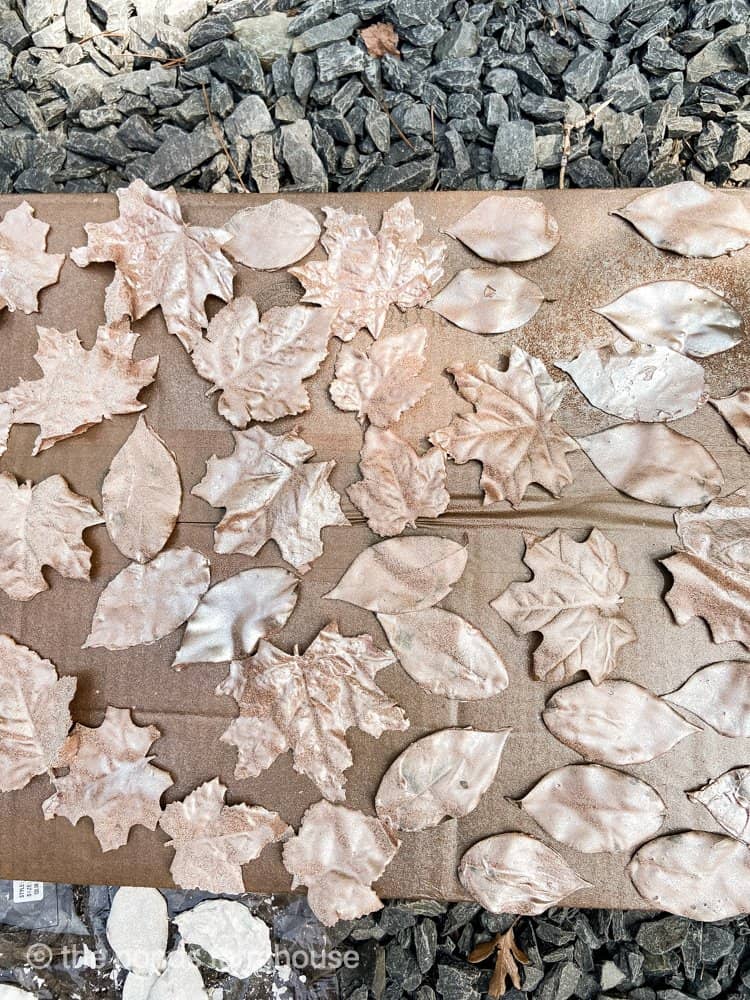
I moved mine outside, and I used Rust-oleum Hammered Copper to paint my leaves.
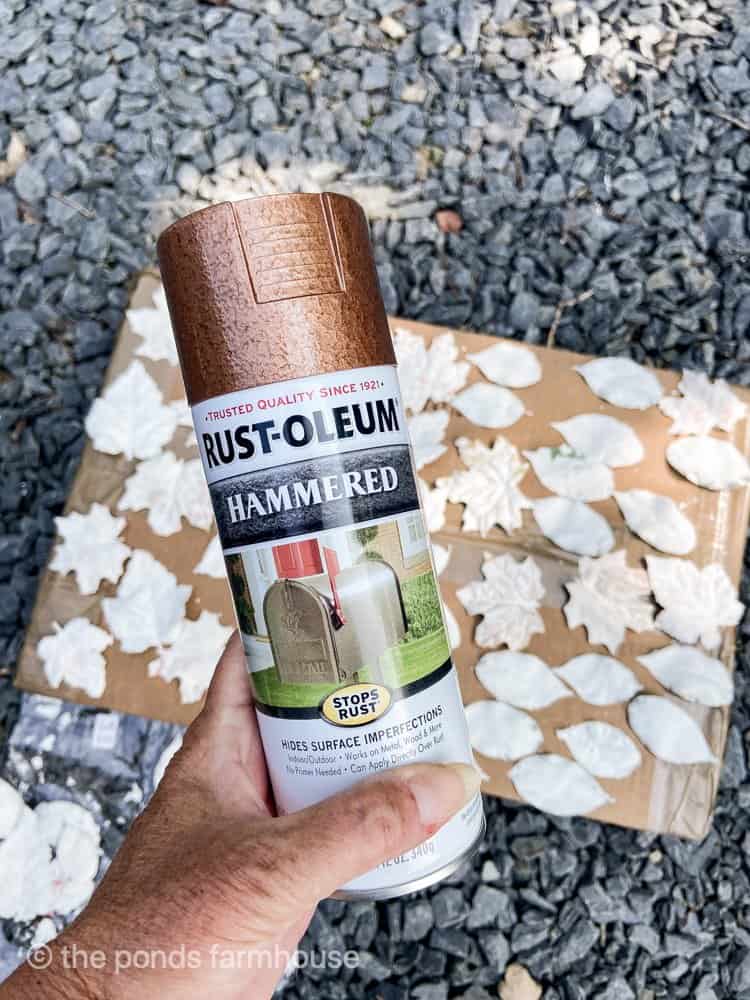
You can also paint each leaf with a brush, however unless your project is small, this will take some time to do.
After your leaves are dry, turn over and paint the back sides.
Insider Tip -Mistake I Made
This was my first attempt at this project and here are a few things I would do differently.
- Ensure that both sides of the leaf are thoroughly coated with the plaster. Some of mine were thinly coated, and therefore, they were fragile. Those with a good, heavy coating were perfect for my projects.
- Paint both sides of the leaf. I originally only painted the front side, and this left the plaster on the backside flaky. After I realized my mistake, I quickly applied a coat of paint to the back side as well.
Plaster Leaves DIY Projects
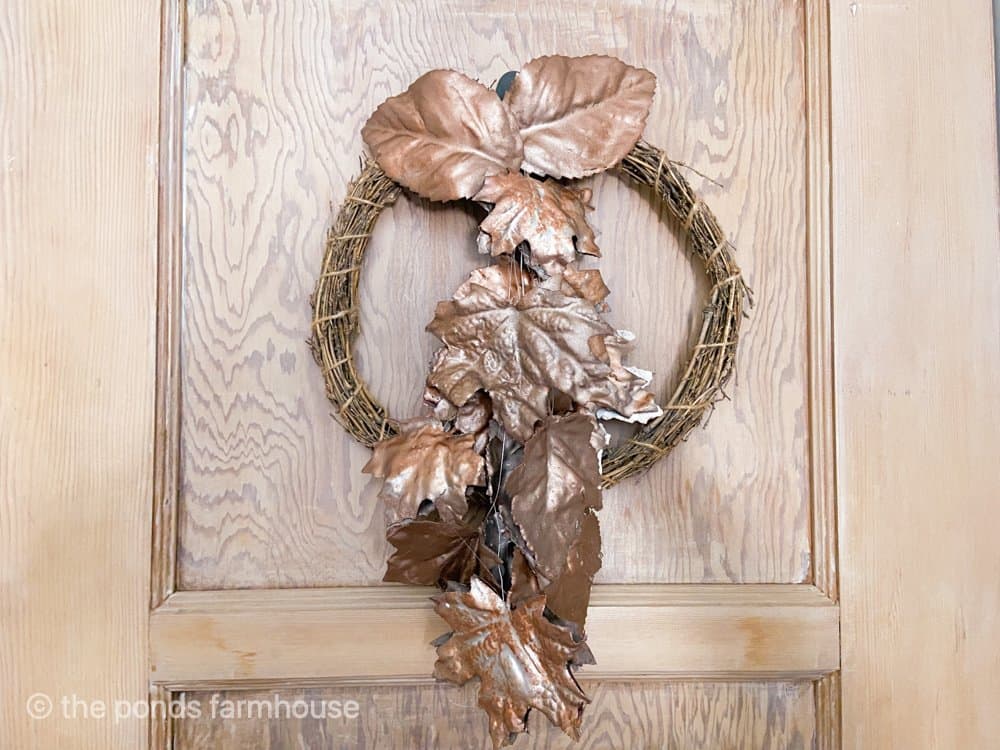
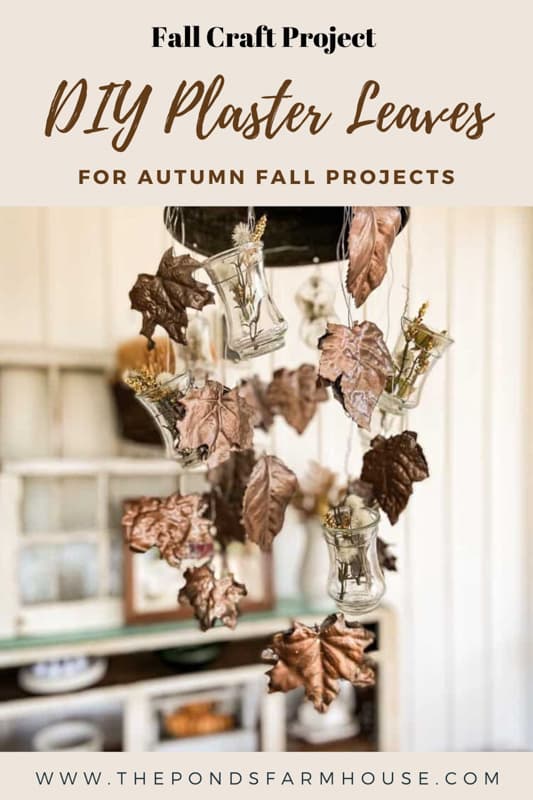
You might be wondering at this point what I plan to do with all these plaster leaves. Actually, I have three projects. First, you can check out this hanging leaf wreath tutorial.
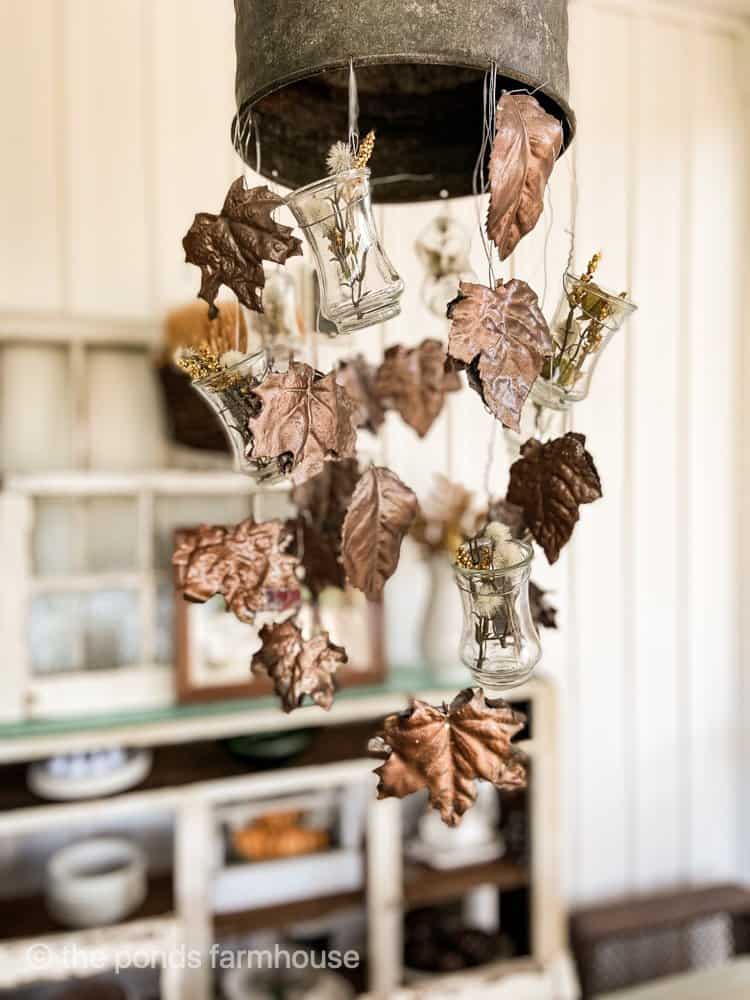
In addition, I plan to use these same hanging leaves on my screen porch light fixture for a Fall Harvest Tablescape.
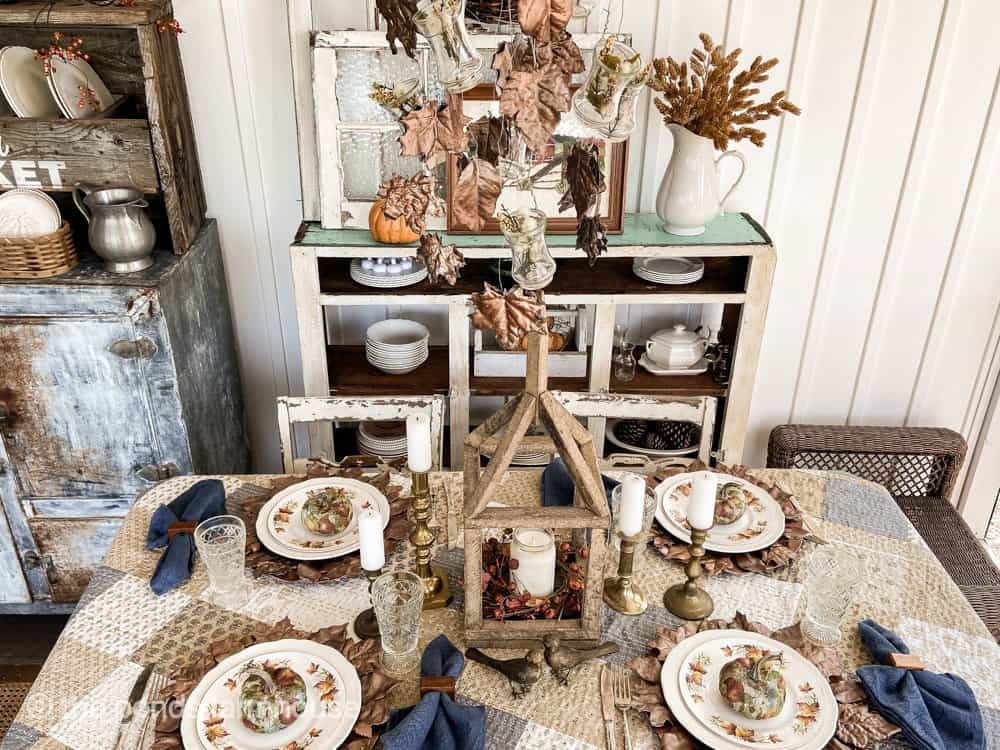
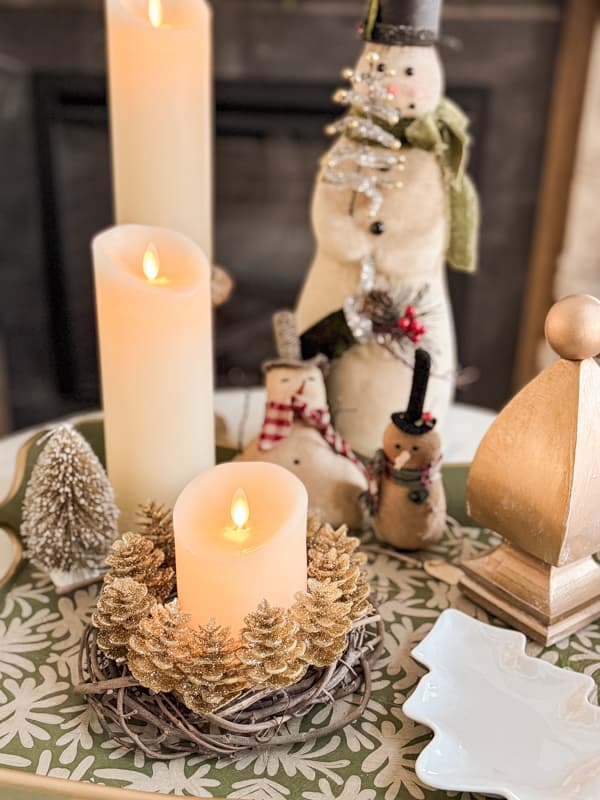
Then I took the remainder of the leaves and made these DIY Charger Plates for my fall dining table.

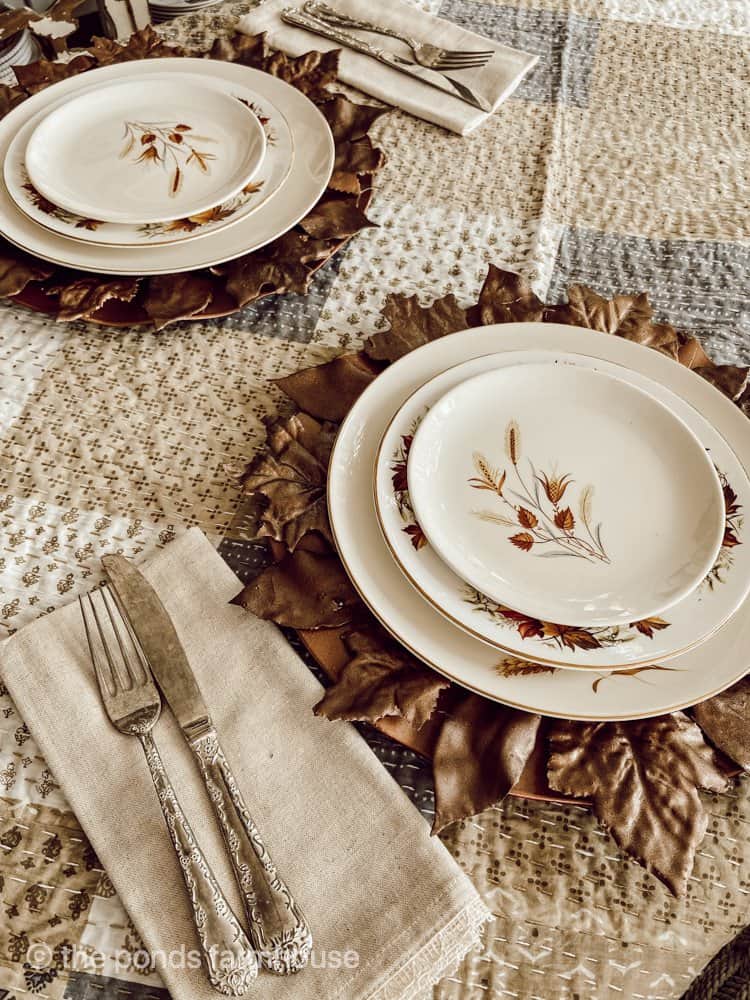
See how well the Copper DIY Plaster Leaves work together for a fall table setting!
Video
Click below for video tutorial.
Thanks so much for stopping by. I look forward to sharing my next adventure with you.

Pin It To Remember It
Did you find some great ideas you’d like to save for future reference? Hover over the images you’d like to save and pin to your favorite Pinterest Boards when you see the PIN button.


That’s a fun idea! Love the color. Happy fall decorating friend!
Cindy,
Thank you so much.
How did you achieve different shades of colour when using only one spray paint?
Anne,
It’s a metallic paint and I guess the light reflections create the illusion of different shades of color. It is just one paint color.