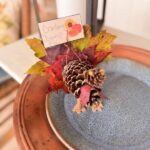
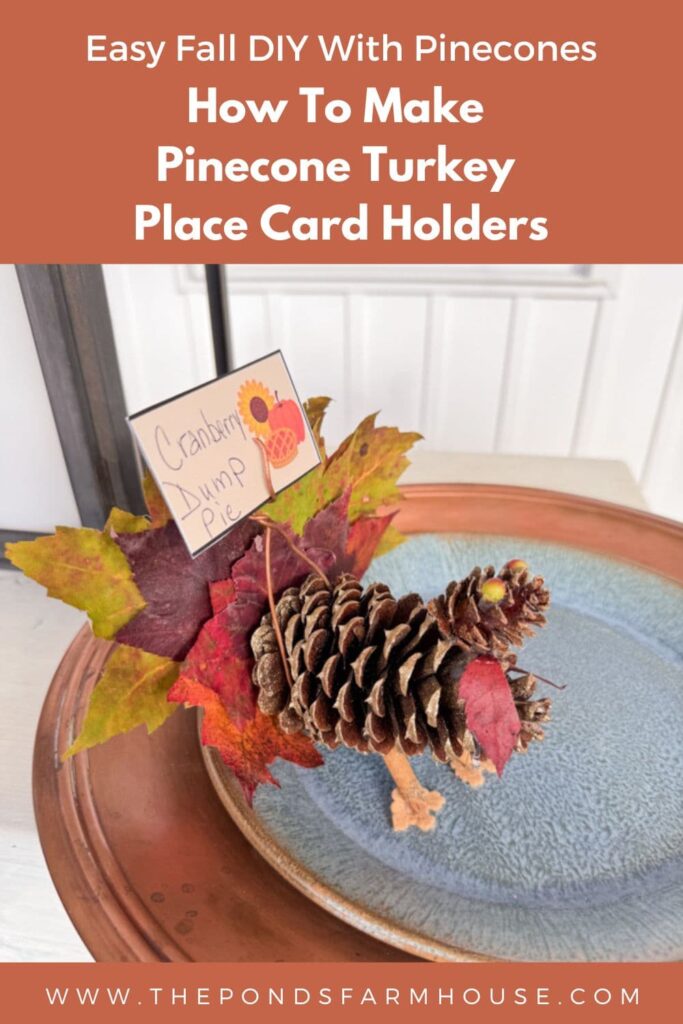
Pinecone Turkey Place Card Holder: A Budget Thanksgiving Craft
Looking for a fun and festive Thanksgiving craft to dress up your table? Look no further than this cute, foraged pinecone turkey place card holder! This easy pinecone turkey craft is perfect for a beginning crafter, and it’s a great way to add a touch of personality to your table without breaking the bank. Download the FREE Thanksgiving Place Card printable to add to your pinecone turkey.

(Posts on The Ponds Farmhouse may contain affiliate links. As an Amazon Associate, I earn from qualifying purchases. See the full disclosure details here.)
What Are Pinecone Turkey Place Card Holders?
These cute and inexpensive turkey place card holders are made using almost 100% foraged materials.
Use pinecones, berries, and maple leaves to create a simple Thanksgiving Place Card Holder for your upcoming holiday entertaining.
How To Make A Pinecone Turkey Craft
The fun aspect of this pinecone turkey craft is that you can forage for materials and make them for free.
There are always variations to a craft of this nature, and I’ll share some of the options with you today.
You can make several of these cuties with a minimum amount of time.
Foraged Materials for Thanksgiving Craft?
First, let’s talk about the foraged materials you can use.
- Medium size pinecones
- Small pinecones
- Berries
- Fall Foliage (Maple Leaves)
Optional foraged materials
- Acorns
- Sweet Gum Balls
- Oak Leaves
Additional Supplies and Options For Turkey Place Card Holder
For this craft, I only used a few other supplies.
- Glitter Blast Paint or, as an option, you could paint the pinecones white, red, copper, or any color you choose.
- Cinnamon Sticks for legs, or you could use foraged twigs as well.
- Tan Felt for feet and (optional red felt for the gobble)
- Copper Wire for card holder
- Hot Glue Gun
- Wire Snips
- Hot Glue Finger Protectors
- Scissors
Here is an option if you want to use faux leaves for the tail feathers. Faux Fall Maple Leaves. Also a source for Medium Pinecones and Small Pinecones.
NOTE: I strongly recommend the finger protectors for this project.
Pinecone Turkey Tutorial
Press Leaves for Tail Feathers
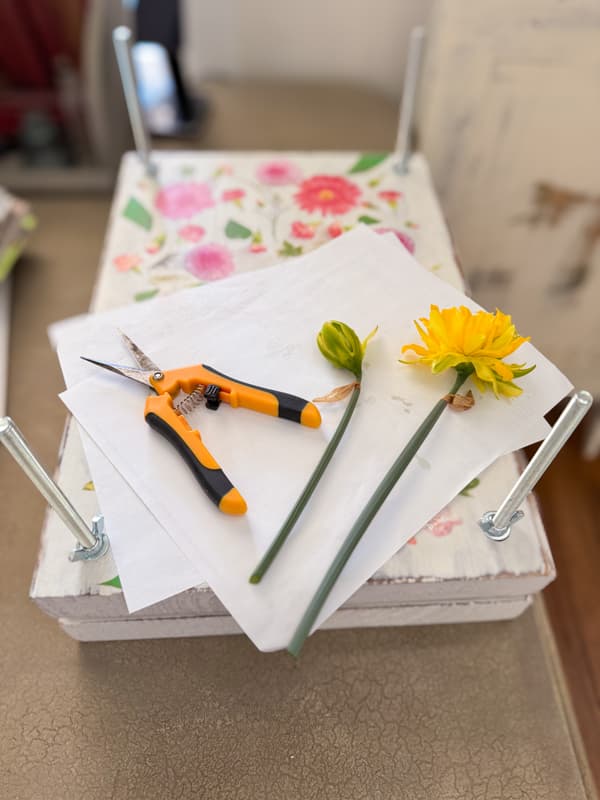
The first step is to gather your materials. Gather three sizes of maple leaves to use for the tail feathers.
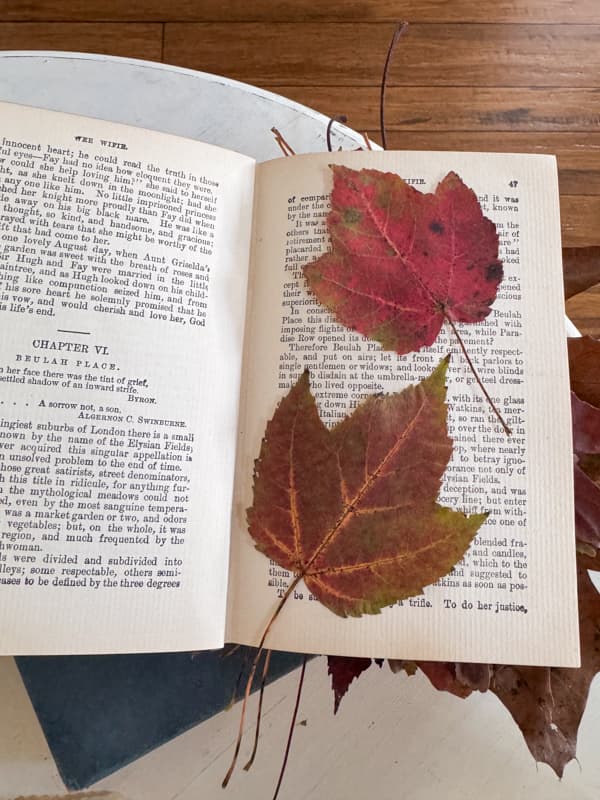
Place the leaves inside a book or foliage press to allow them to dry flat if you don’t want them to curl as they dry.
If you gather fallen leaves, they will quickly dry overnight for this project.
Insider Tip
I made the mistake of using freshly fallen leaves for my first turkey. By the following day, the leaves had dried and curled. It still looks adorable, but if you want the leaves to stay flat, press them in a book overnight before applying them to the pinecone.
Fallen leaves will dry overnight; however, if you pull the leaves from the tree, allow two to three days to dry.
You can see the difference in the image below. Notice the press-dried leaves on the right didn’t curl compared to those not pressed on the left.
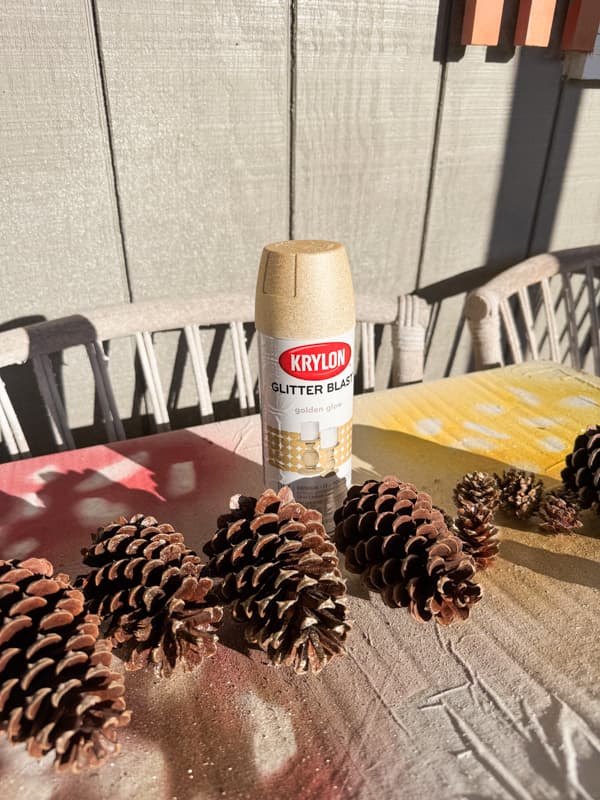
Next, gather your medium and small pinecones and give them a light coat of glitter blast. This will make the pinecones shimmer slightly.
If you prefer a heavier coverage, paint the pinecones a solid color first and then add the glitter.
How To Make A Wire for Turkey Place Card Holder
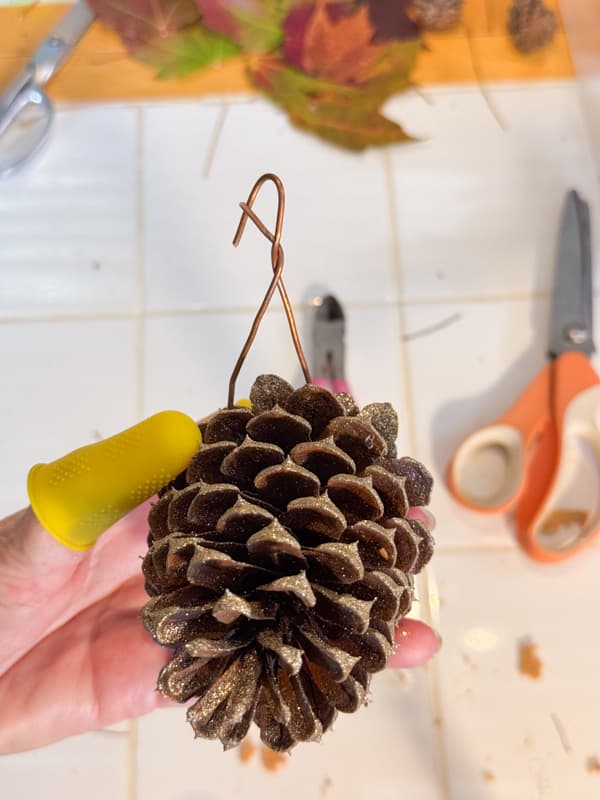
Once the glitter has dried, you can add wire to the Turkey place card holder to the pinecones.
Use wire snips to cut copper wire approximately ten inches long to wrap about the larger end of the pinecone. Pulled the wire in amongst the pinecone scales to secure it.
Allow enough length to twist the wire and create a holder for the place cards.
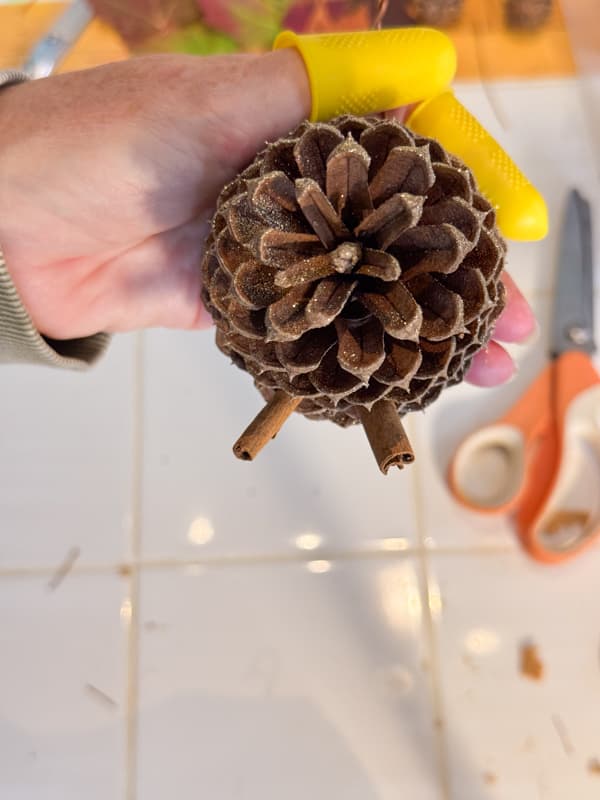
How To Add Legs to Pinecone Turkey
The pinecone turkey needs legs to keep it steady on your table.
There are a couple of options to add legs.
First, I used cinnamon sticks that I already had on hand. However, you could easily use twigs or sticks for this step.
Cut your cinnamon stick or twig approximately 1 inch long.
Tuck the sticks into the pinecone and secure them with hot glue.
Once the glue is set, add turkey feet. Just cut a small piece of felt and attach it with hot glue to the ends of the sticks.
Inside Tip
OPTION: If you don’t have felt, the feet can be cut from cardstock or any heavy-weight paper. You only need a tiny amount, so you can be creative and cut them from old magazine covers or other junk mail paper.

Adding Turkey Head and Gobble
Now you are ready to add the turkey gobble and head.
To make the gobble, remove the center of a small maple leaf, leaving the two edges.
Add a drop of hot glue to the smaller end of the pine cone, slightly behind the top.
Press the cut leaf onto the pinecone.
Next, add hot glue to a small pinecone and press it just behind the maple leaf. Hold in place until the glue dries.
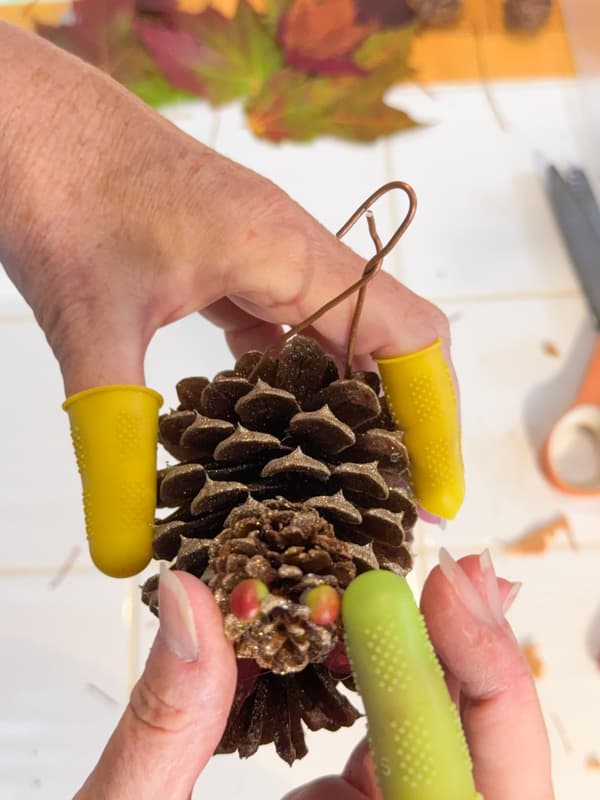
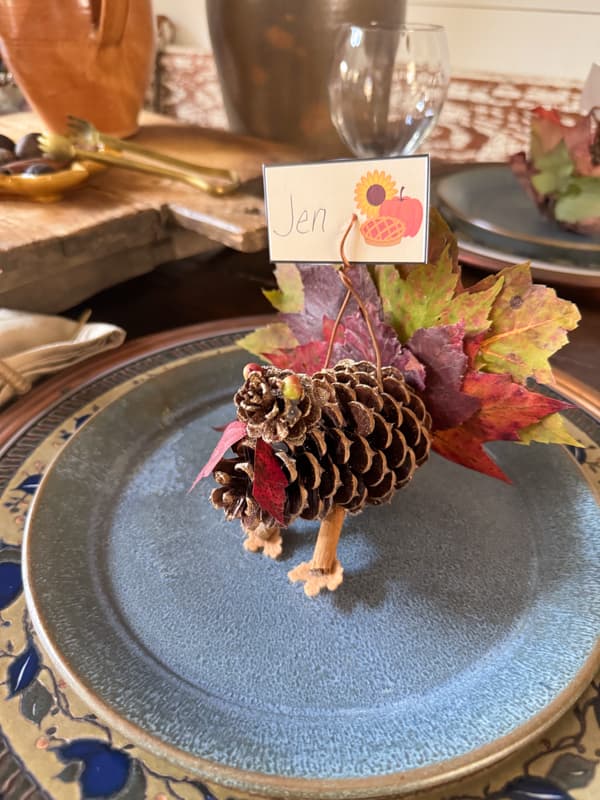
Finally, add two berries for the eyes. I used nandina berries from my landscape.
To attach, add a drop of hot glue to the area where you would expect to see eyes and press a berry into the glue.
Insider Tip
OPTION: If you prefer, you can use red felt to make the gobble.
OPTION: The eyes can be made from pinheads, small beads, faux berries, etc. Any small round object will work.
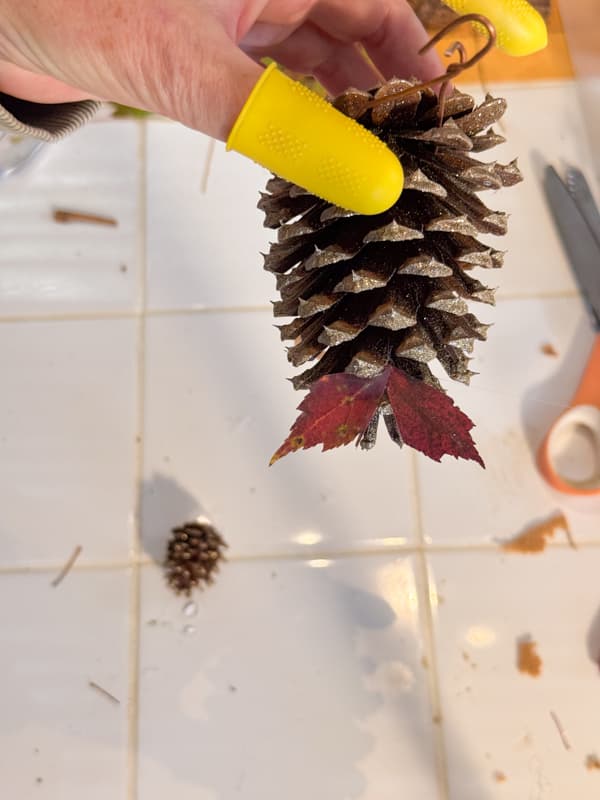
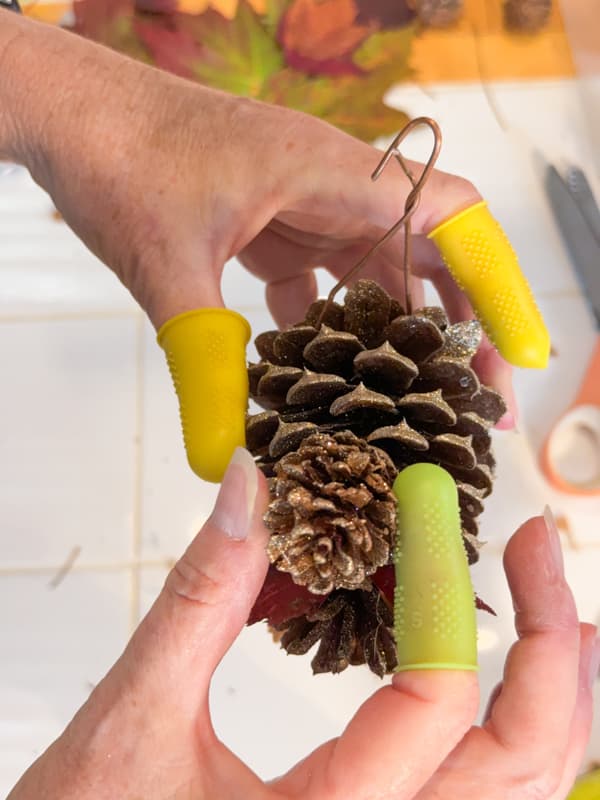
How To Add Leaf Tail Feathers
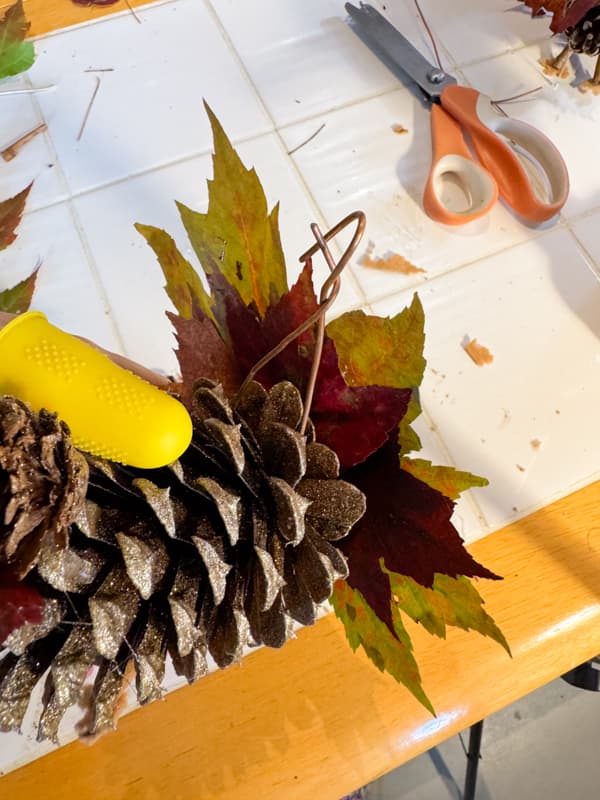
Now it’s time to add the tail feathers to your pinecone turkey.
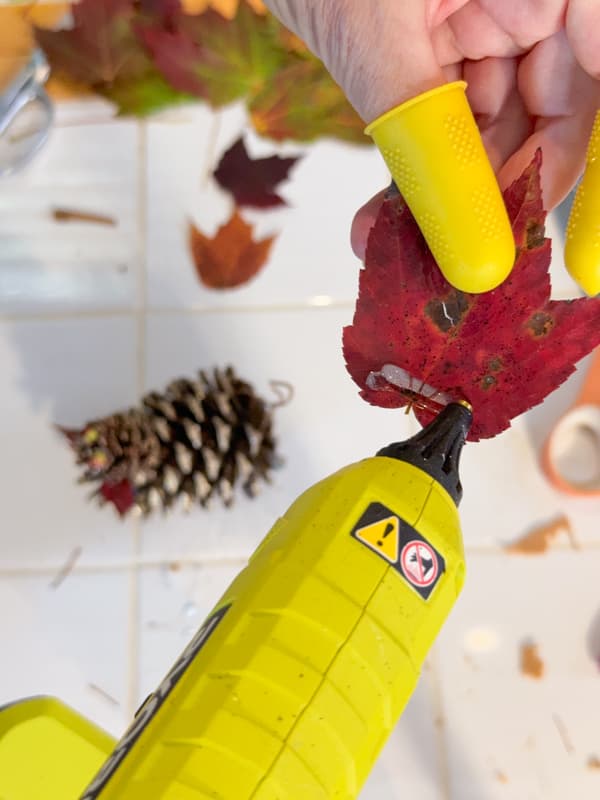
Begin with the smaller maple leaves and add hot glue to the front lower side.
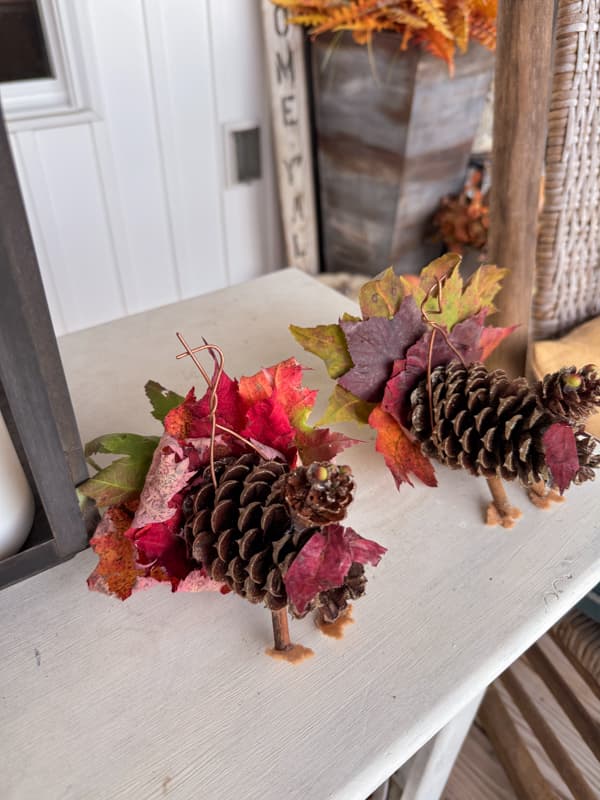
Fan out approximately three smaller leaves at the bottom of the pinecone. Then follow up with a row of slightly larger leaves. Finish with the largest leaves to create three rows of tail feathers.
Thanksgiving Place Card Printables
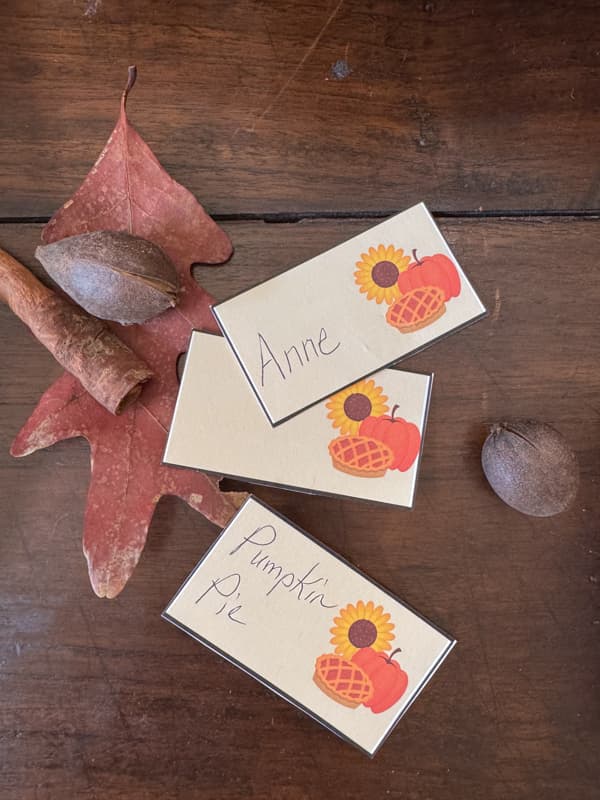
In addition to the pinecone turkey tutorial, I’ve included a FREE printable of a Thanksgiving place card for your convenience.
You can download the FREE Printable HERE.
How to Add Thanksgiving Place Card Printables
Once your place cards are printed, you can add them to the wire attached to the turkeys. The wire needs to be bent to clamp over the Thanksgiving place card printables. Continue to twist and bend the wire until you have a secure hold.
How To Use Turkey Place Card Craft
Now that you have the cutest, budget-friendly place card holders, how are you going to use them?
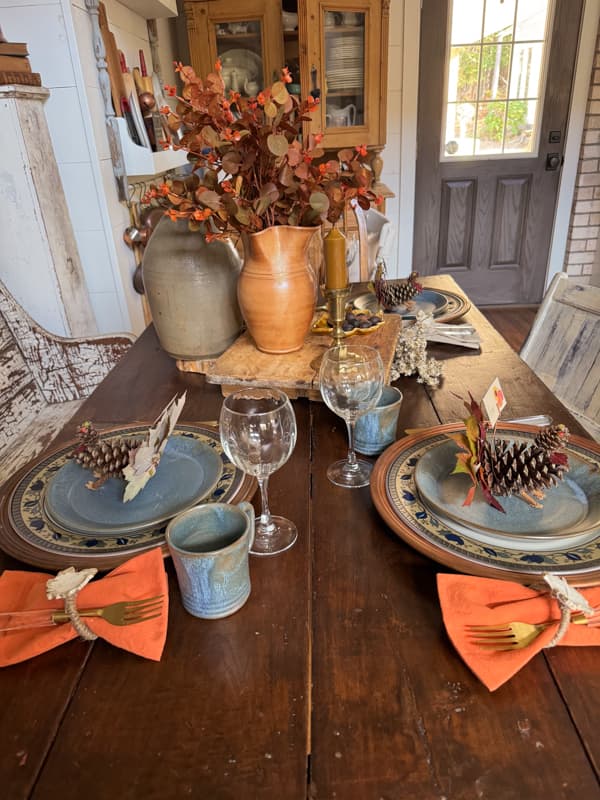
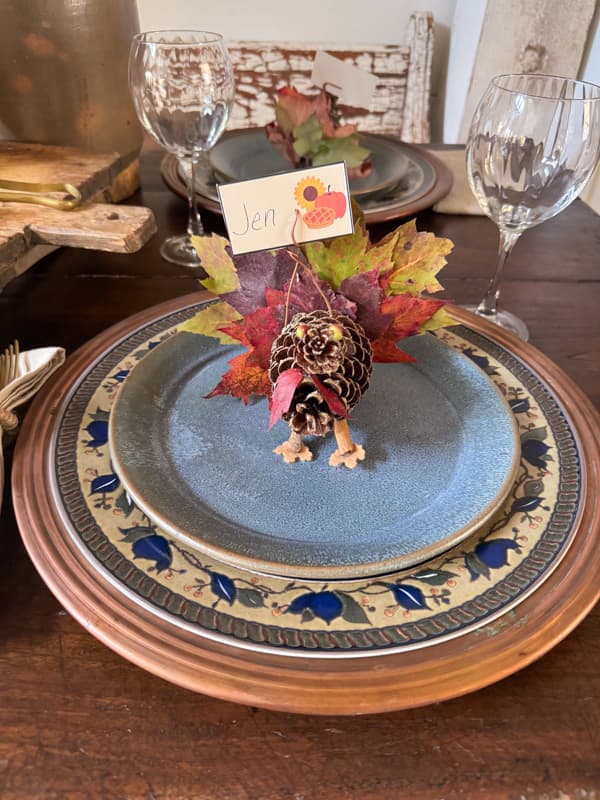
First, they will look adorable on each place setting at your Thanksgiving or Friendsgiving dinner table. They will also make a great take-home gift for each guest.
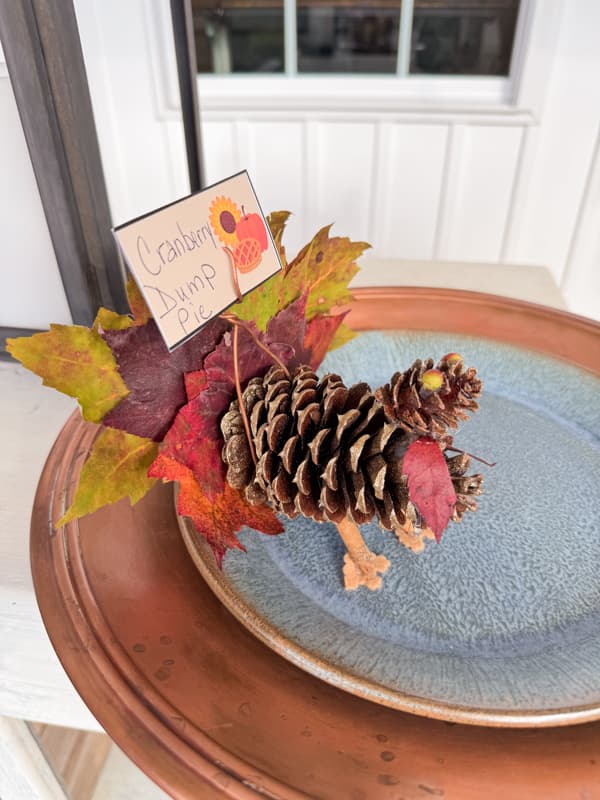
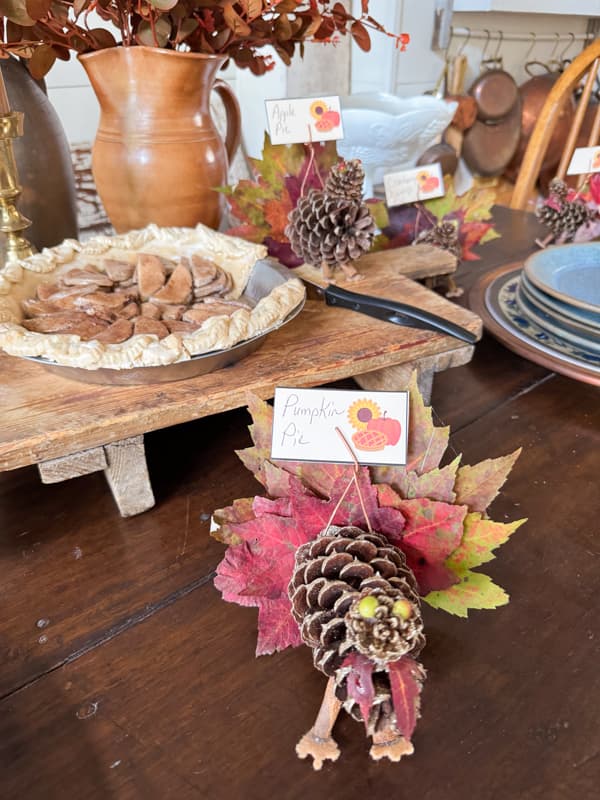
The pinecone turkey craft also works great for a buffet-style meal. Use the place cards to identify the names of each dish on the buffet.
Insider Tip
You can offer the place card holders as take-home gifts for your dinner guests or keep them to add a touch of whimsical fall decor to your home.
The wire place card holder is easily removed if you prefer to decorate with them on a bookshelf or kitchen countertop.
DIY Pinecone Turkey Place Card Holder Tutorial
Equipment
- Hot glue gun
- Finger Protectors
- Wire snips
- Scissors
Materials
- Medium Size Pinecone
- Small pinecone
- 2 berries or small beads
- Approx. 9 Fall Maple Leaves
- 10 inch long copper wire
- cinnamon stick or foraged twigs
- Small pieces of tan felt
- Glitter Blast Spray Paint
Instructions
- Place gathered fall leaves in a book to press and dry.
- Spray paint the pinecone with glitter blast and let it dry.
- Add wire to the bottom end of the pinecone to form a card holder.
- Cut the cinnamon stick into 2 – 1-inch pieces and tuck into the center of the pinecone. Add hot glue to secure.
- Attach a small piece of tan felt to the end of each stick with hot glue to create turkey feet.
- Cut a small leaf to create a turkey gobble. Hot glue to the small end of the pinecone.
- Add the small pinecone behind the gobble with hot glue.
- Add the berries or beads as turkey eyes with hot glue.
- Attach the maple leaves to the bottom of the pinecone. Begin with the smaller leaves and fan in layers of three. Apply the next-sized leaves and end with the largest leaves. Attaching three layers.
- Add Free Thanksgiving Place Card Printables.
Video
I hope you enjoyed this fun pinecone turkey craft. I hope you’ll share your creations with me.
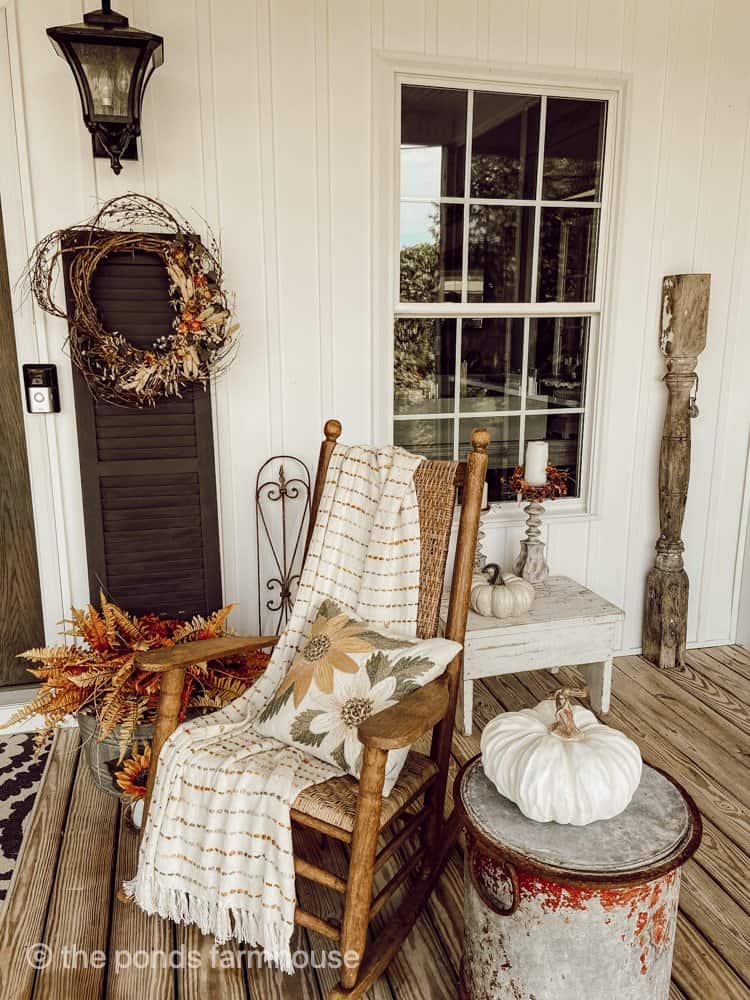
Additional Fall Craft Ideas
Here are some additional Fall crafts you may want to consider.
- How To Make A Fall Leaf Garland
- DIY Plaster Leaf Charger Plates
- DIY Old Book Page Oak Leaves
- How to Make Oak Leaf Wreath with Foraged Leaves
- Easy Fall Dollar Tree Burlap Leaves Table Runner
- Dollar Tree Burlap Leaves Wreath
- Preserved Magnolia Leaves Fall Wreath
- Rusted Recycled Tin Can Fall Wreath
- Dollar Tree Pumpkins with Napkin Decoupage
- 6 Easy Ways To Use a Dollar Tree Pumpkin Frame
- Pottery Barn Inspired Leaf Napkin Rings with Air Dry Clay
- Old Book Page Dollar Tree Pumpkin Craft
- Corn Husk Dollar Tree Pumpkin Ideas
- Easy Scape Fabric Pumpkin Pillow Cover
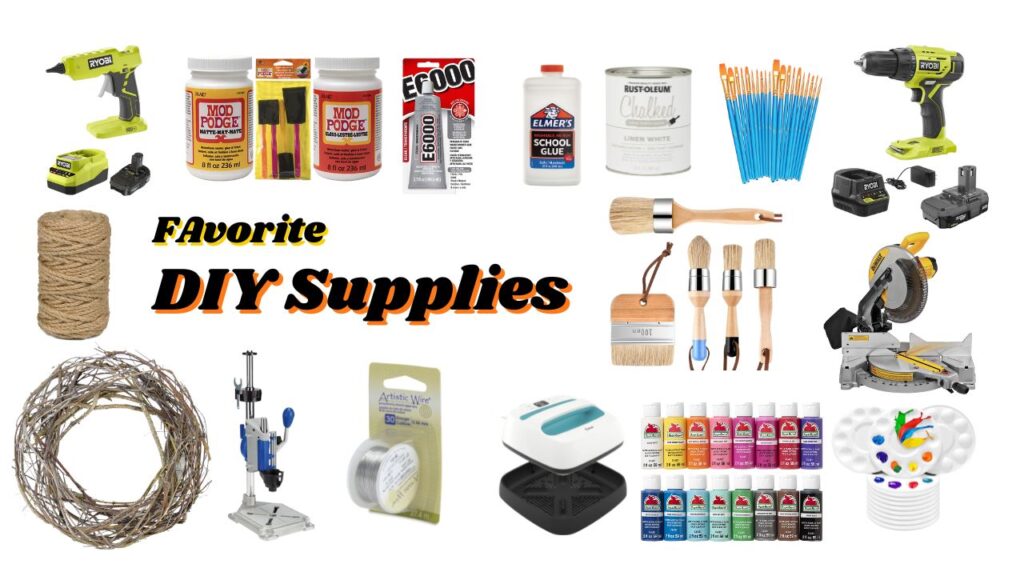
Resources
Click the images below for craft resources.

Pin It To Remember It
Did you find some great ideas you’d like to save for future reference? Hover over the images you’d like to save and pin to your favorite Pinterest Boards when you see the PIN button.


Love this post….so many good ideas to try.
Thank you…you have such great ideas.
Oh I’m so glad you like it. Thanks for stopping by.
Such a cute idea. I love it.
Oh thanks Renae!