How to Napkin Decoupage Dollar Tree Pumpkins For Fall
Looking for budget-friendly ways to update old pumpkins for fall decorating? Would you like to make cheap Dollar Tree Pumpkins look like designer high-end fall decor? Check out this easy Dollar Tree Pumpkin napkin decoupage tutorial. It’s perfect for beginners, and it makes a great craft project for kids.
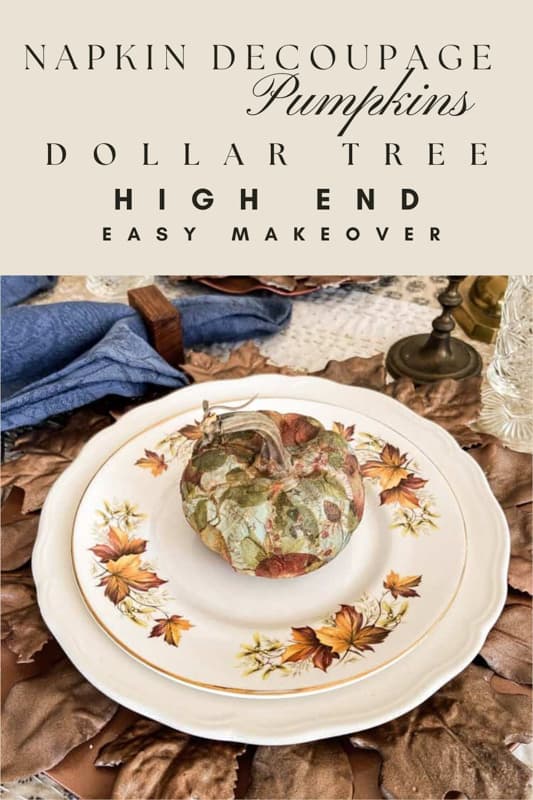
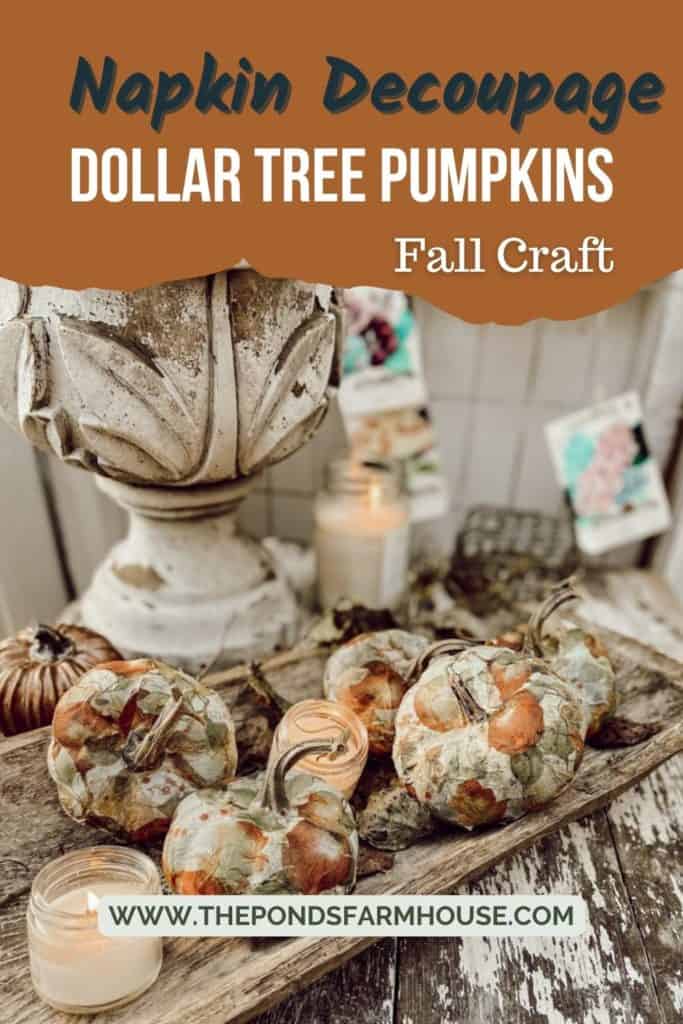
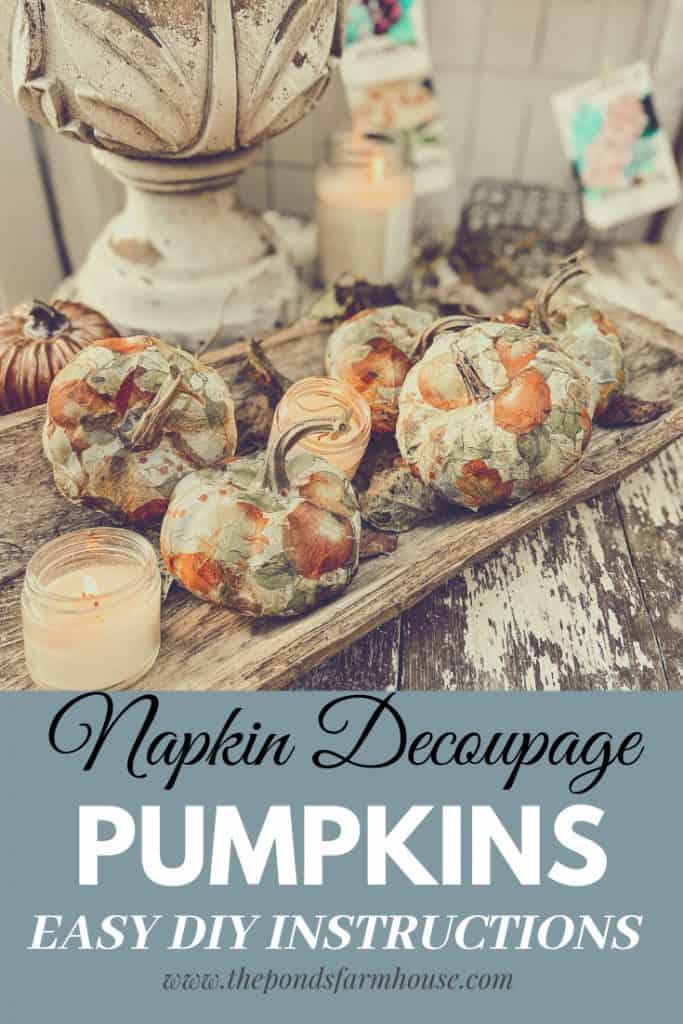
Pumpkins are a favorite way to decorate for Fall, and I’ve collected my fair share over the years. Several of mine are cheap Dollar Tree versions, which have received several coats of paint over the years. When I found some cute Fall napkins, I decided to decoupage some of these cheap pumpkins for a pretty, updated look.
With this easy napkin decoupage technique, you can turn cheap Dollar Tree Pumpkins into fabulous fall decorations.
Additionally, I have a couple of tips that I’ve learned to help you avoid making the same mistakes.
(Posts on The Ponds Farmhouse may contain affiliate links. As an Amazon Associate, I earn from qualifying purchases. See the full disclosure details here.)
What Supplies Are Needed For Napkin Decoupage Pumpkins?
- Dollar Tree Faux Pumpkins, or Click here for more small pumpkins
- Mod Podge
- Paper Napkins – See Large Selection of Fall Napkins Here.
- Paint Brush
The First Mistake I Made
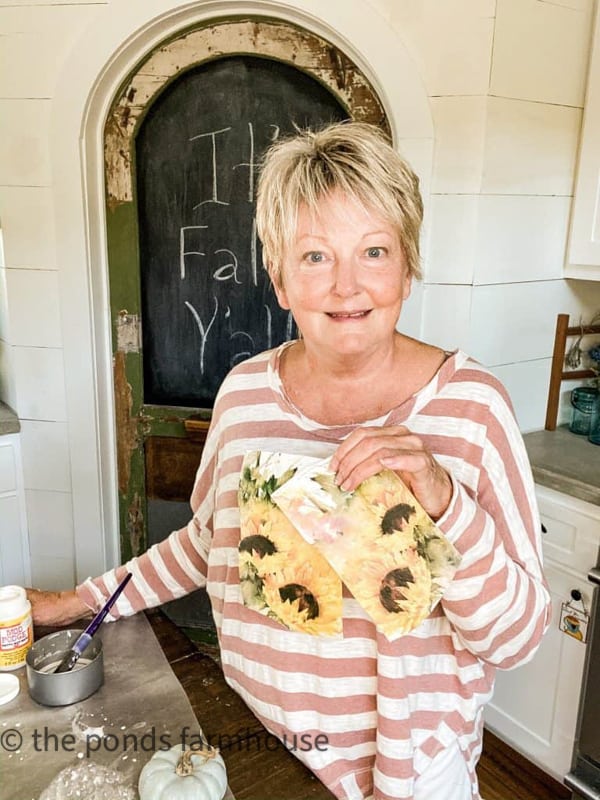
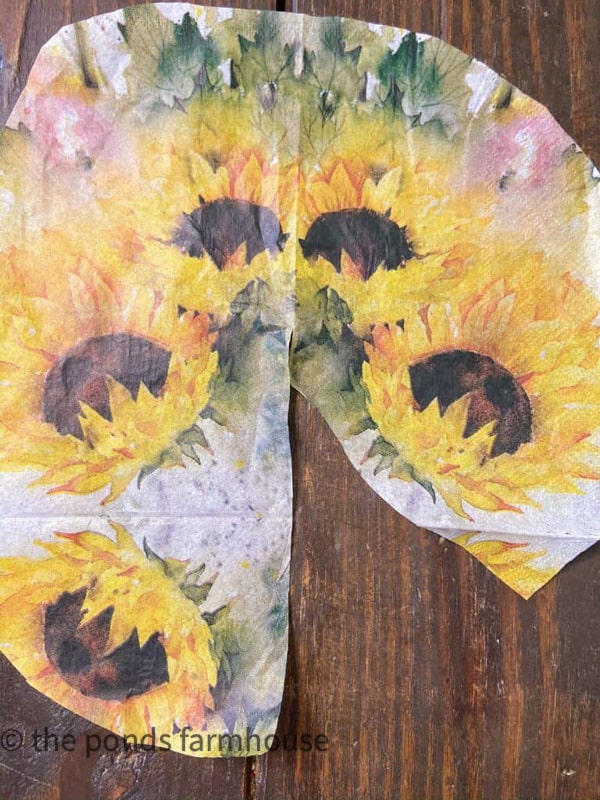
I was so excited about these cute sunflower napkins and thought I’d put them on all the pumpkins. Unfortunately, they didn’t look so great on the small pumpkins. After making a couple, I quickly removed the original napkin and Mod Podge because they were not very pretty.
Therefore, it’s essential to consider the scale of the pattern on your napkin in relation to the size of your pumpkin. I found that a large-scale print, such as the sunflower pattern, works best on a larger pumpkin. A smaller-scale pattern works much better on the smaller pumpkins. I will share both versions.
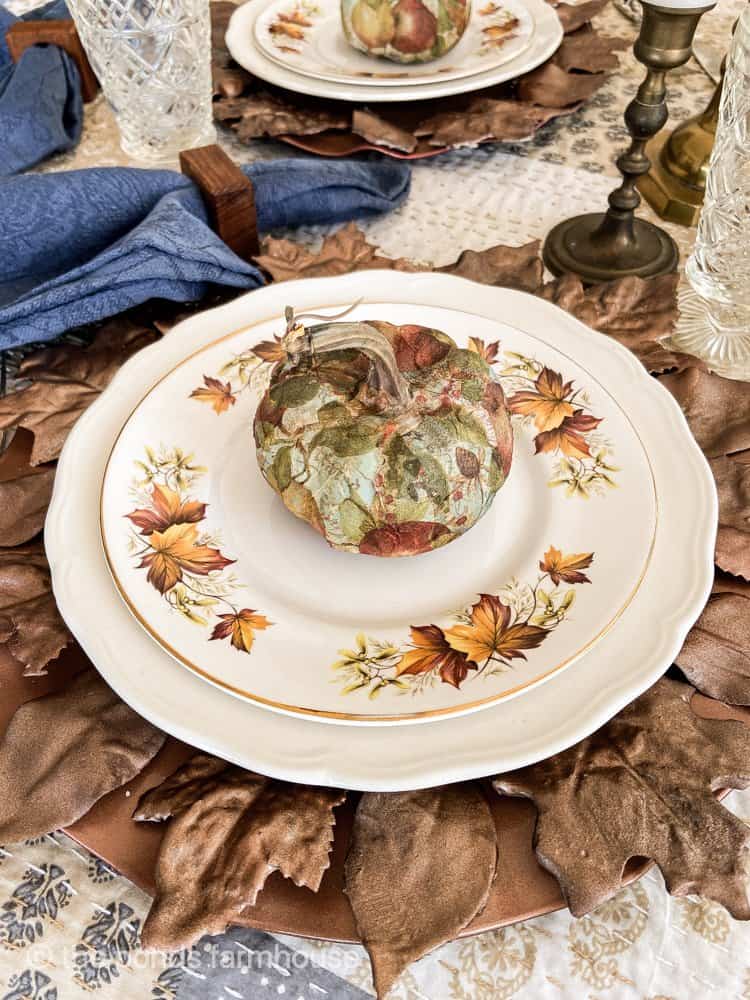
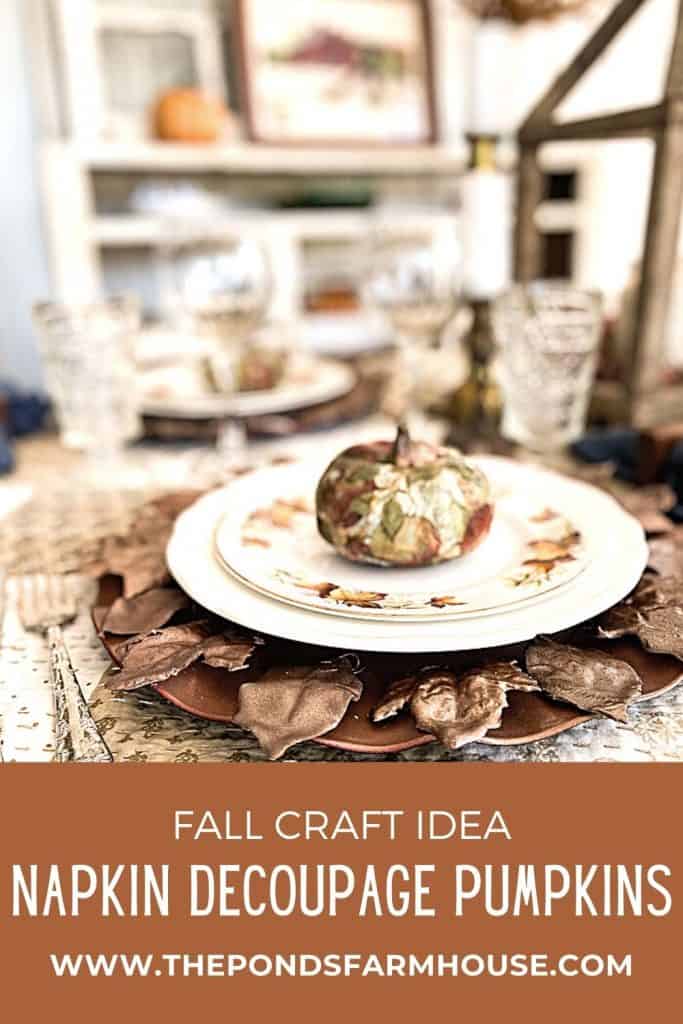
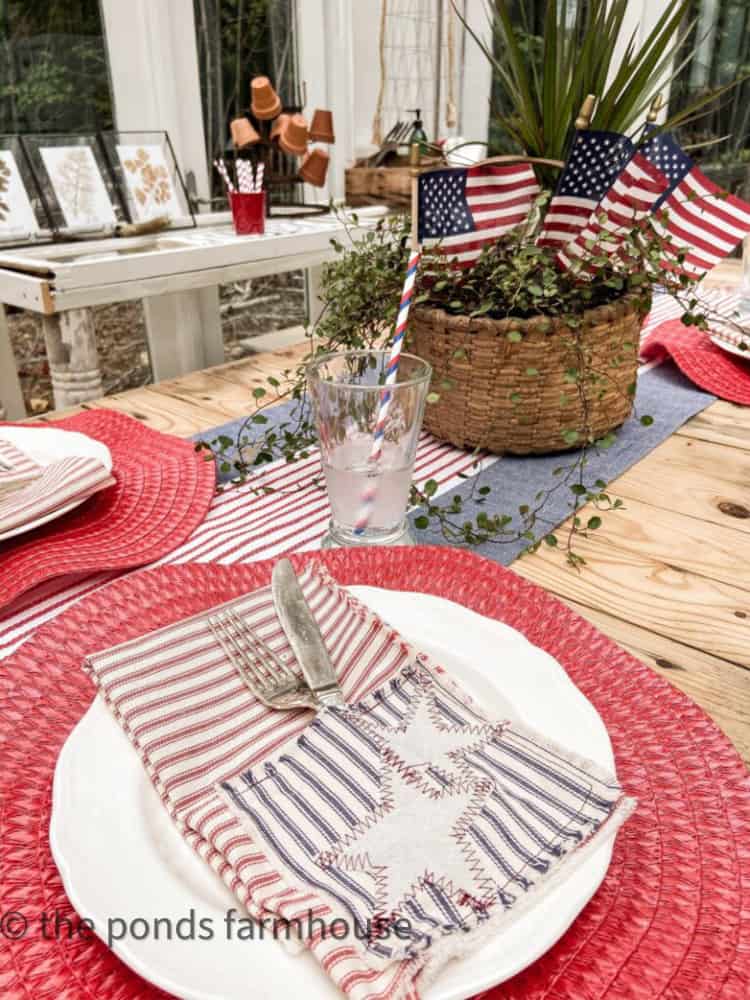
Here is a small pumpkin with a small patterned napkin. This size works well on my fall tablescape.
You can see the DIY Plaster Leaf Plate Chargers Tutorial to make your own.
Prepare the Napkins
The first step is to separate your napkins. Most paper napkins are three-ply and all three layers need to be separated to begin.
A friend shared a tip to make separating the napkins much easier. Apply a piece of tape to the napkin along the edge and gently lift the layers apart. Why didn’t I think of that? LOL

Cut Napkins
There are a few options for this next step. You can choose to cut a design out from the napkin and apply the design randomly on the pumpkin, or you can cut the napkin into sections to use all over the entire pumpkin. In addition, you can place a hole in the center of the napkin to allow the stem to pass through and basically drape the napkin over the pumpkin.
Because I wanted the design to cover the pumpkins completely, I chose to cut the napkin into sections.
Insider Tip
When covering my first pumpkin, I began using large pieces because I thought the pattern would be more visible and visually appealing. However, using smaller pieces makes the process quicker and easier and you can’t tell where the napkin pieces are joined. You can make the process easy on yourself because, you really can’t make a mistake with this easy DIY.
Apply Mod Podge & Napkins to Dollar Tree Pumpkins
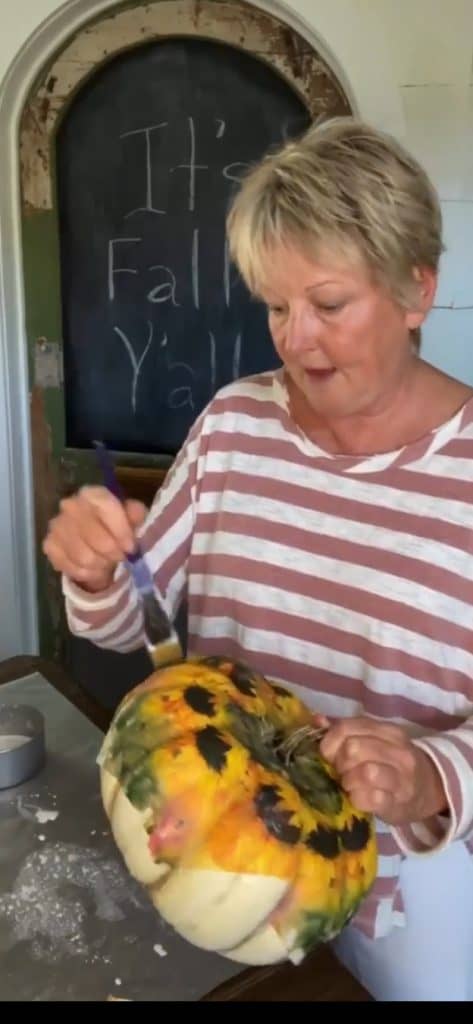
Now you are ready to begin applying the napkin to the pumpkin. Using a paintbrush, apply the Mod Podge over the surface of the pumpkin. If you are working with a larger pumpkin, you should do this in small sections to avoid the glue drying before you can apply all the napkin pieces.
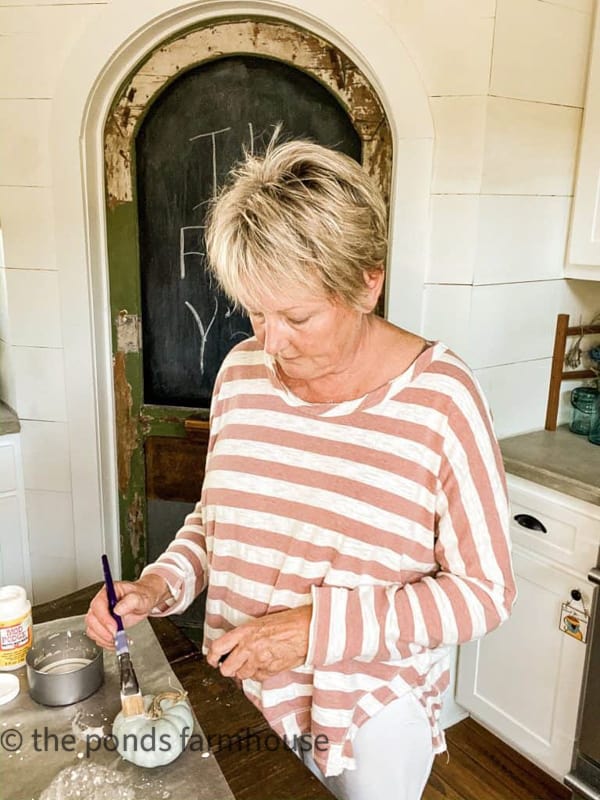
Next, begin placing the napkin pieces onto the pumpkin, being sure to press the napkin into the creases of the pumpkin in order to maintain its shape.
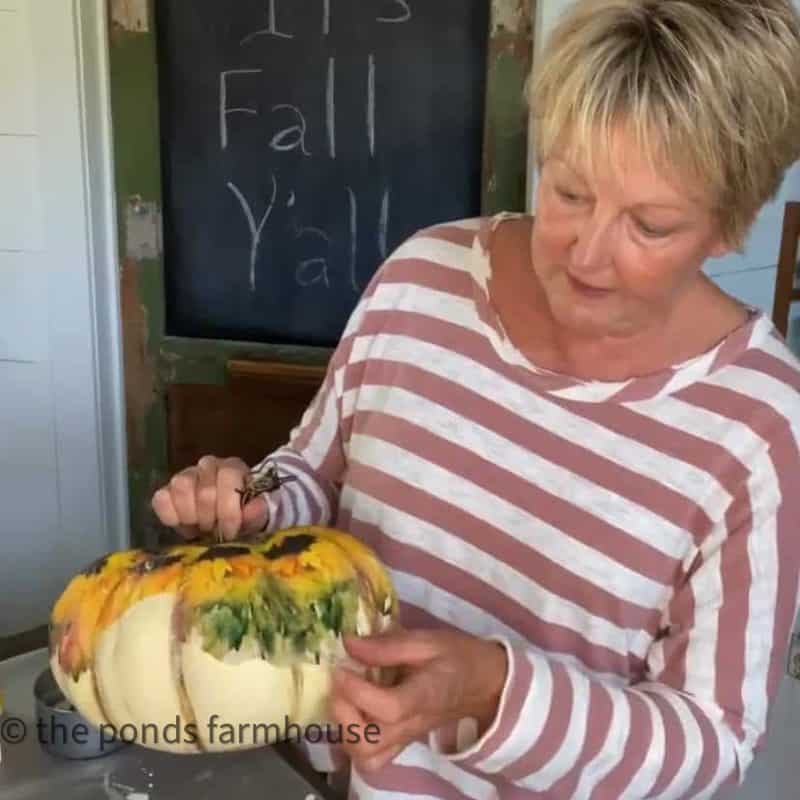
Continue until the entire pumpkin is covered or until you are satisfied with the design.
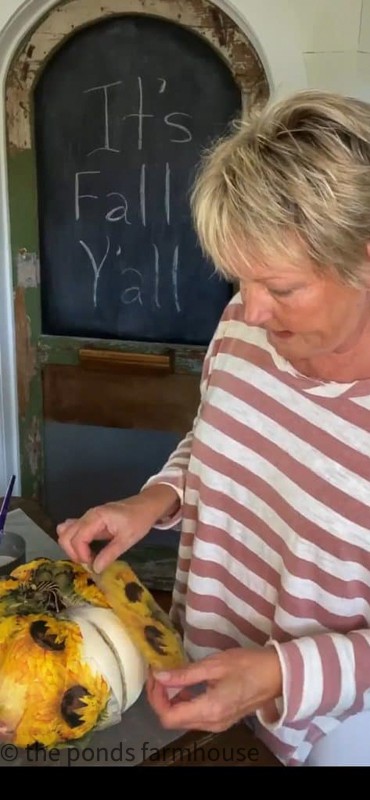
Using the paintbrush and Mod Podge, you can continue to smooth the napkin by gently brushing it.
Allow to Dry Thoroughly
Once your pumpkin is dry, you may want to apply another coat of Mod Podge to preserve it for future seasons.
The sunflower pumpkins dried beautifully and had a velvet appearance when displayed.
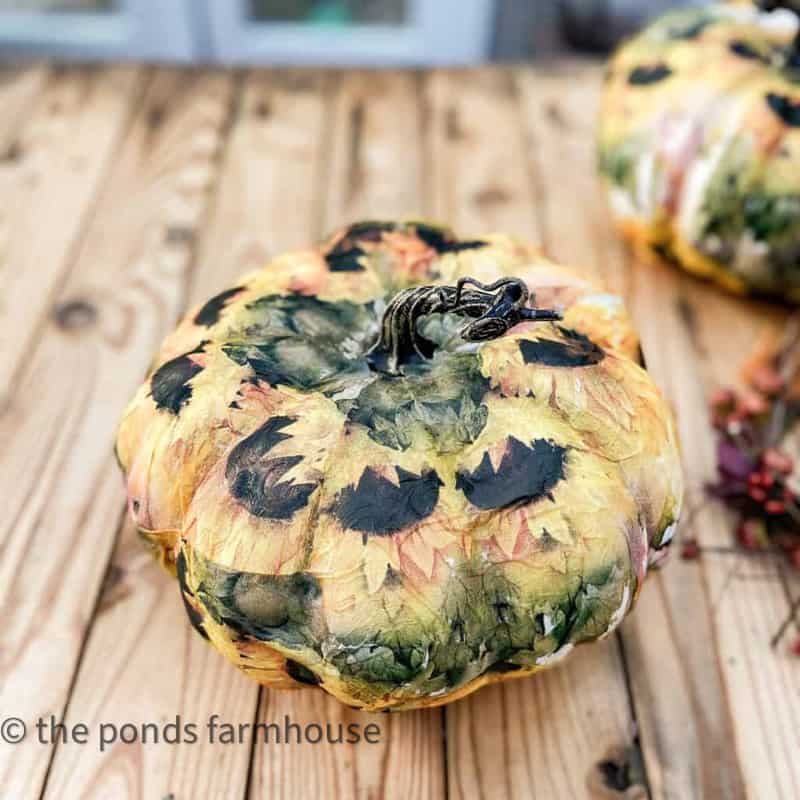
They look like high-end pumpkins with their new coats.
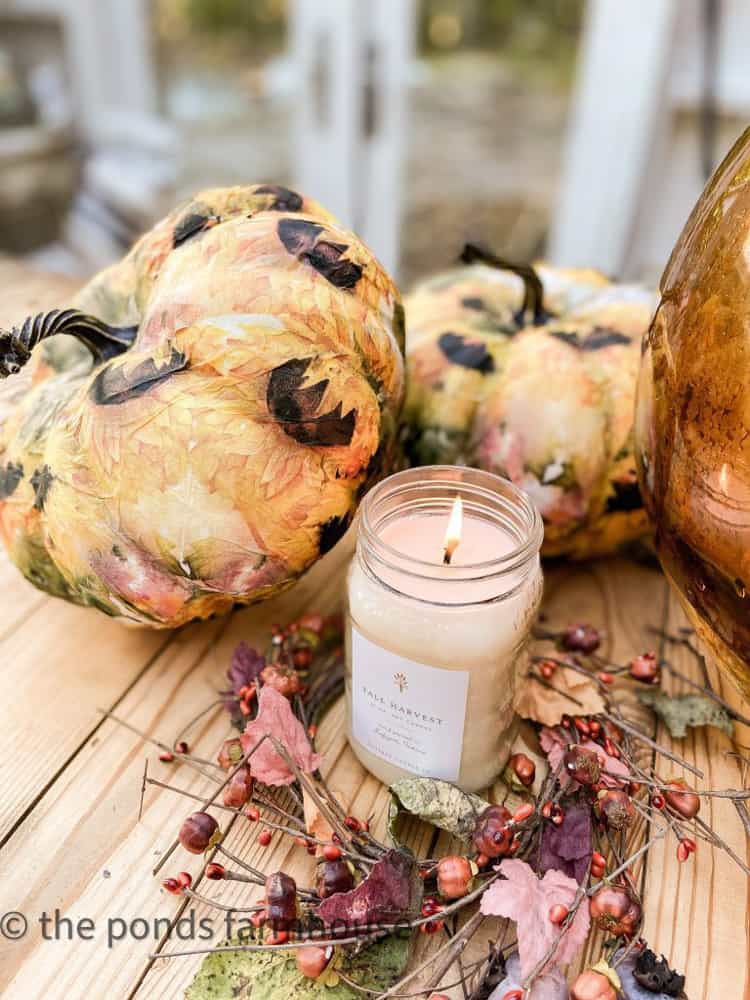
Dollar Tree Pumpkins Transformed
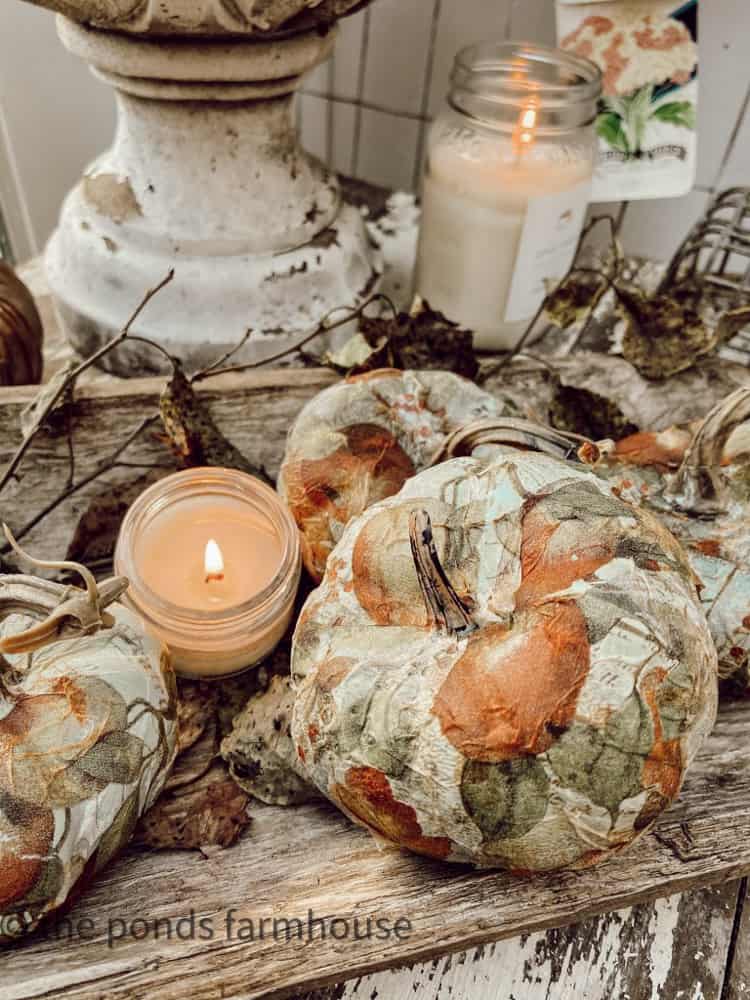
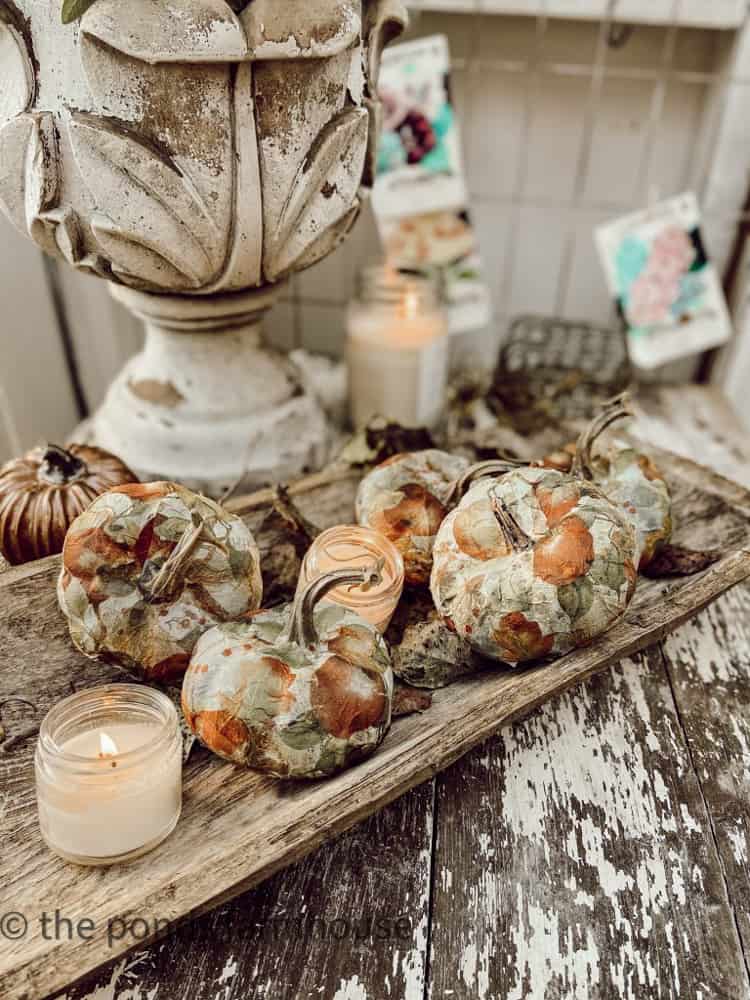
The smaller pumpkins were covered in a small-scale fruit napkin, and I couldn’t resist making several to display together in a wooden dough bowl.
The Dollar Tree pumpkin looks stunning on a thrifted candlestick for fall.

Arrange in the smaller Dollar Tree Decoupaged Pumpkins in a dough bowl for more impact.
The possibilities for using napkin decoupage are unlimited.
Additional Decorating Ideas
See tin cans dressed with napkin decoupage here.
Easy Napkin Decoupage Christmas Ornaments.
Decorative Box Transformation with Napkin Decoupage.
See these 10 free fall decorating ideas for more budget-friendly ideas.
You will also love this $1.00 Thrift Store Lamp Decoupage Transformation.
You might like to see my Pumpkin Craft with wool Dryer Balls.
Thanks so much for stopping by today!

Pin It To Remember It
Did you find some great ideas you’d like to save for future reference? Hover over the images you’d like to save and pin to your favorite Pinterest Boards when you see the PIN button.


Wonderful pumpkin DIY! Love it!
Kristi,
Thanks for stopping by. I’m so glad you liked this.
Rachel
Great tips on using smaller pieces. Love how these turned out!
Cindy,
I really appreciate this. Thanks for stopping by.
Rachel
Such a great idea! I love it.
Renae,
I’m so glad you like this. Thanks for stopping by.
These are beautiful!
Susan,
Thanks for stopping by. I appreciate your comment.
Love this project! You are so inspirational!
Marci,
I appreciate your encouragement and kind words.
Hi Rachel! I love these decopauged pumpkins. So pretty. Thank you for all of your inspiration that you share with us.
Cheryl,
I really appreciate this. I’m glad you like this project.
Rachel, you are truly the decoupage queen. I still remember your lamp and now pumpkins! They look fabulous and what a great idea.
Mary,
I’m so glad you like the pumpkins. They are a favorite of mine.
I’m definitely going to do this! I love it.
Renae,
I really appreciate this.
Beautiful! And I love the tin cans centerpiece. You never disappoint. Thanks, Rachel.
Miche,
You are so sweet to say this. Thanks so much for your encouragement.
Love these! But I want to know about the leaves under the plates?
Lynette,
They are a DIY project also. You can see the DIY plaster leaves plate chargers at https://www.thepondsfarmhouse.com/diy-plate-chargers-fall-leaf/
Rachel, your decoupage pumpkins are so pretty! I love the paper napkins that you used! Thanks for the great tutorial! You have made it sound so simple!
Mary-Ann,
Thank you. They are really easy to make. I hope you give it a try.
Super cute pumpkins!
Renae,
Thank you! They are easy to make.
Absolutely stunning! I gotta do this. You made it look easy. That’s for your step by step instructions
Ivory,
It’s very easy and I know you can do it. Thanks for taking the time to comment. It mean a lot.
Beautiful! Did you try to keep the pattern true or did you apply without worrying about continuing the pattern?
Kitty,
I didn’t worry about the pattern. It’s so busy, I didn’t feel it mattered. Hope this helps.