How to Chalk Paint Furniture
Here is how to Chalk Paint furniture and thrift store finds. It’s a super easy and quick way to transform old wooden pieces into chic farmhouse-style décor.
Have I told you that I previously did faux finishing part-time? That was back in the day when you spent hours & hours using expensive products to achieve a distressed look on walls and furniture. Thankfully, there is an easier way to achieve those same results on furniture.
First, I’m sharing a wall shelf transformation with easy step-by-step instructions that even a beginner can follow.
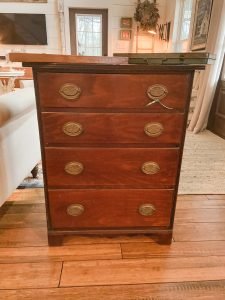
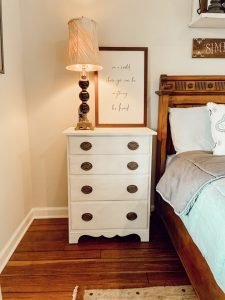
In addition, I’ll share some larger pieces of furniture for more examples.
(Posts on The Ponds Farmhouse may contain affiliate links. As an Amazon Associate, I earn from qualifying purchases. See the full disclosure details here.)
The Before
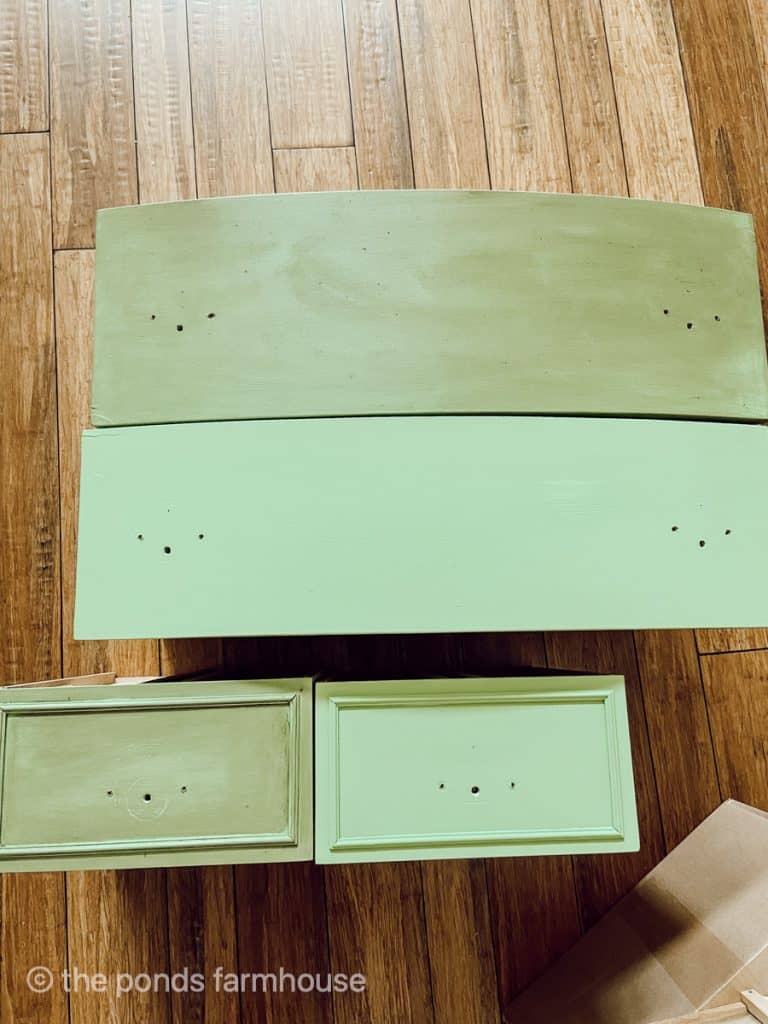
This wooden shelf was a great thrift store find for only 4.00; however, it needed a minor update to work in my farmhouse décor.
Step 1 – Clean in preparation for Chalk Paint
Although I’m working on this small shelf today, the instructions are the same for all furniture.
Begin by washing or wiping down your piece before starting. Remove any stickers and sticky residue from the wood. With chalk paint, you only have sand on the surface if you want a really shiny finish on the wood. A light sanding to roughen the surface will be enough if there is.
Step 2 – Protect your surface
Next, if you are working on a surface that needs protection, place something under the item you are painting. Here, I’ve just used a sheet of wax paper and some of my trusty tuna cans to elevate the shelf off the table and protect it from my sloppy painting.
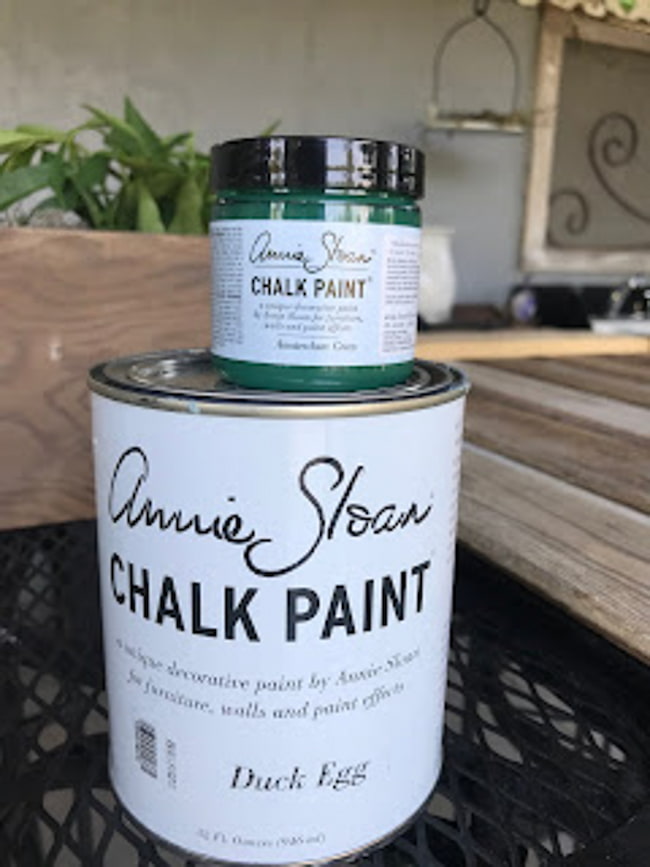
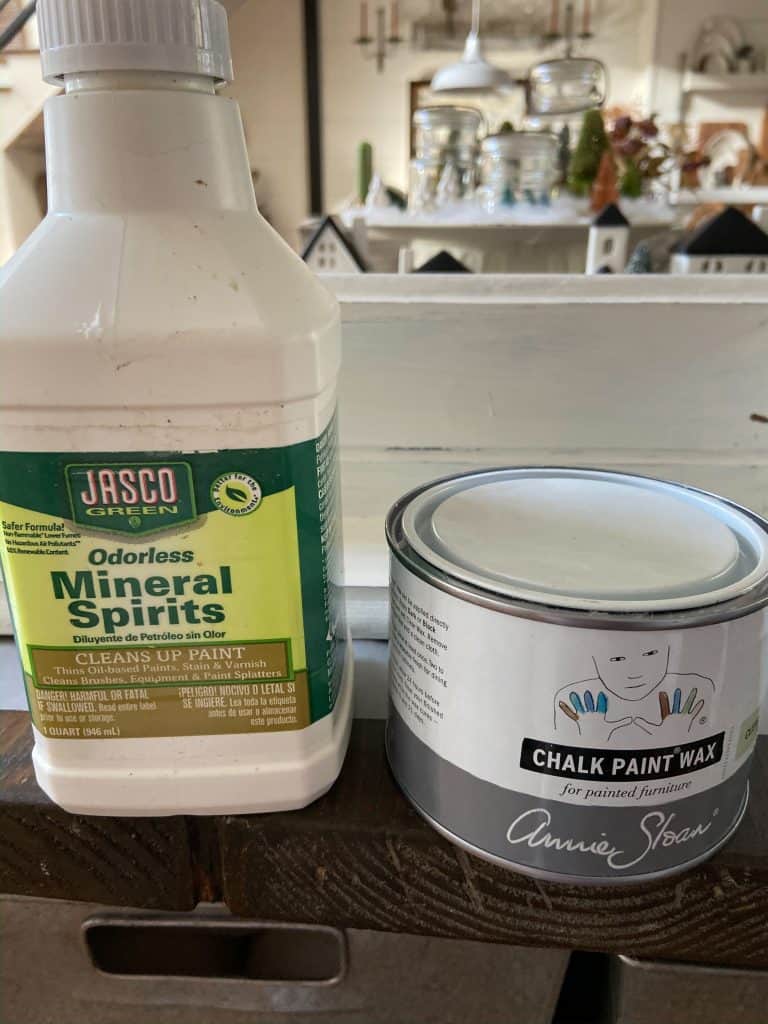
I prefer to use Annie Sloan Chalk Paint for most of my projects. It works exceptionally well and will adhere to almost any surface, including metals, fabrics, glass, and ceramics.
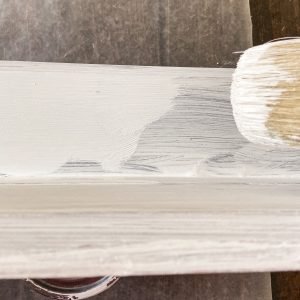
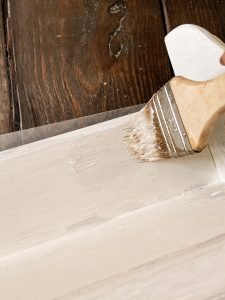
Step 4 – Paint a light coat over the entire surface
For this step, you don’t need a heavy coat. I attempt to paint in the direction of the wood grain, but it’s optional.
It is so easy to use chalk paint for many projects because it’s forgiving and dries fast.
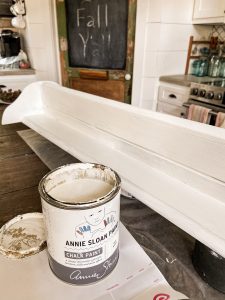
I like to use the Annie Sloan paintbrush for ease of application, especially for larger projects.
Once the project is completely covered with paint, close your paint can and protect your paint brush from drying out. The next coat can be applied as soon as the paint is dry to the touch.
Tip: To keep the brush from drying between coats, place it in a zip lock bag or wrap it in plastic wrap. If you can’t apply the second coat within a few hours, please put the wrapped brush in the refrigerator to protect it.
Step 4 – Apply a second coat of Chalk Paint
Once the first coat is dry to the touch, you can apply a second coat of paint. Usually, two coats of Chalk Paint will be sufficient, especially when you want a distressed appearance for your project.
Note: Three coats may be necessary if you don’t want a distressed appearance.
If your original piece is unfinished wood, see this technique to stain your wood before applying the paint.
Step 5 – Finish Wax for Chalk Paint
This final step can be done in a couple of different ways. You can use clear wax or dark or colored wax, depending on the desired finish. I’m just warning you: a dark wax will grab the chalk paint, resulting in a very dark finish. If you want a tint, mix the dark wax with clear wax for a lighter finish.
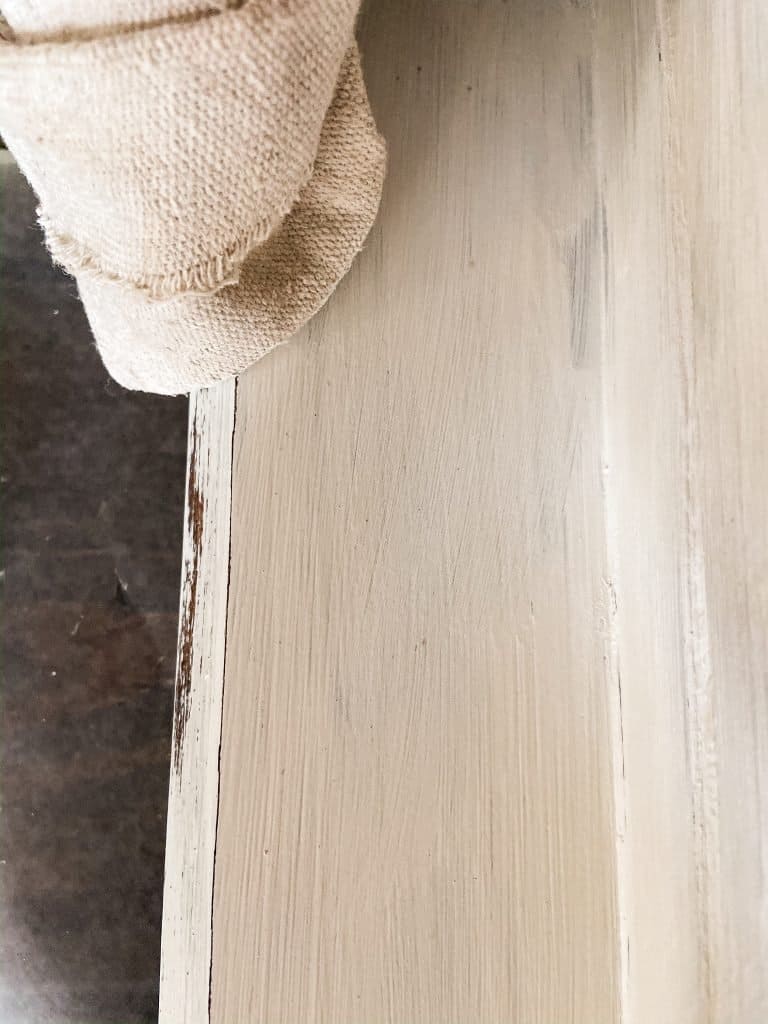
- This is the first option. Apply the wax with a soft cloth over the surface of your project in small sections, allowing the wax to dry slightly. Then, buff the waxed surface with a different soft cloth until you achieve a gloss appearance. This method will not remove the paint while waxing.
- Option 2 is my preferred method because I like a distressed finish on most chalk-painted projects.
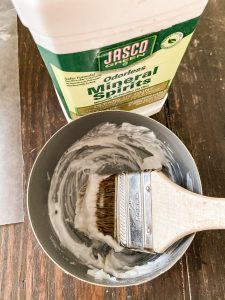
- Mix your wax with a small amount of mineral spirits resulting in a mayonnaise-like consistency.
- Use a chip brush to apply the mixture over the project and wipe away any excess with a clean cloth.
- Once the wax mixture has dried, begin to buff until you have a gloss finish.
- Note: This method may result in removing thin areas of paint, causing a more distressed look.
Buff off the wax mixture with a ruff cloth and remove some paint for a distressed look. If you want more paint removed, use light grit sand paper around the edges.
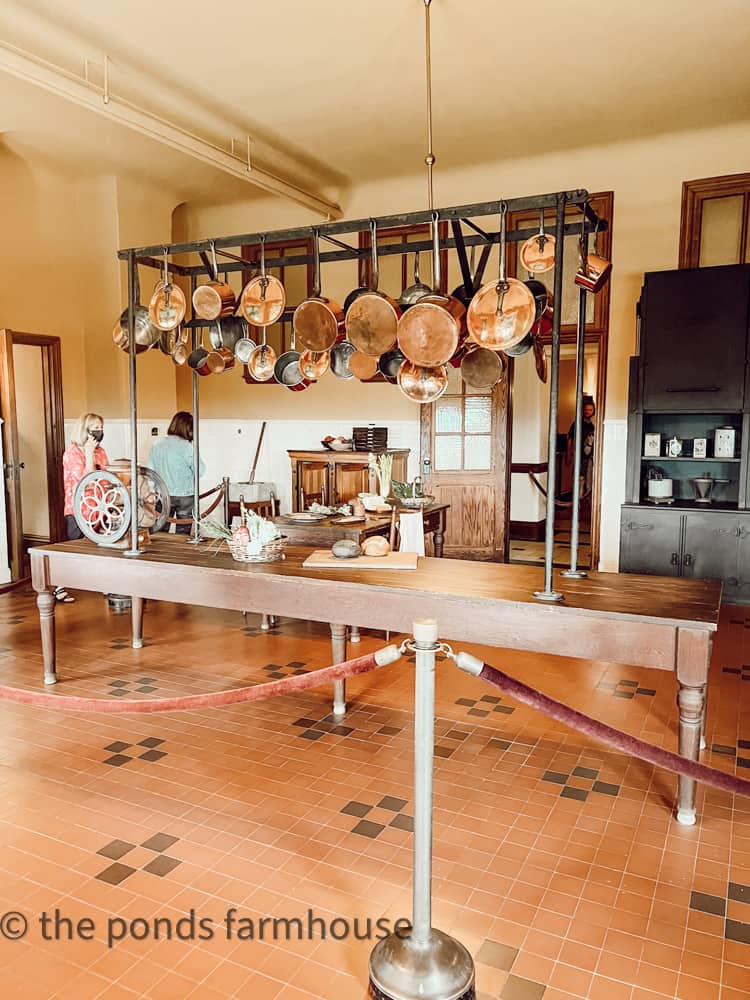
Wax can totally transform the appearance of chalk paint. Please look at the kitchen island makeover and how the addition of wax changed the island from yikes to wow.
I did not use any mineral spirits with this wax because I didn’t want a distressed look on the kitchen island.
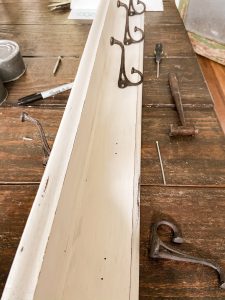
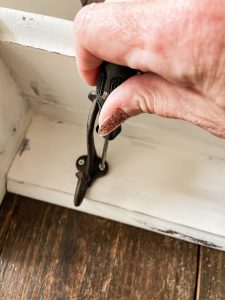
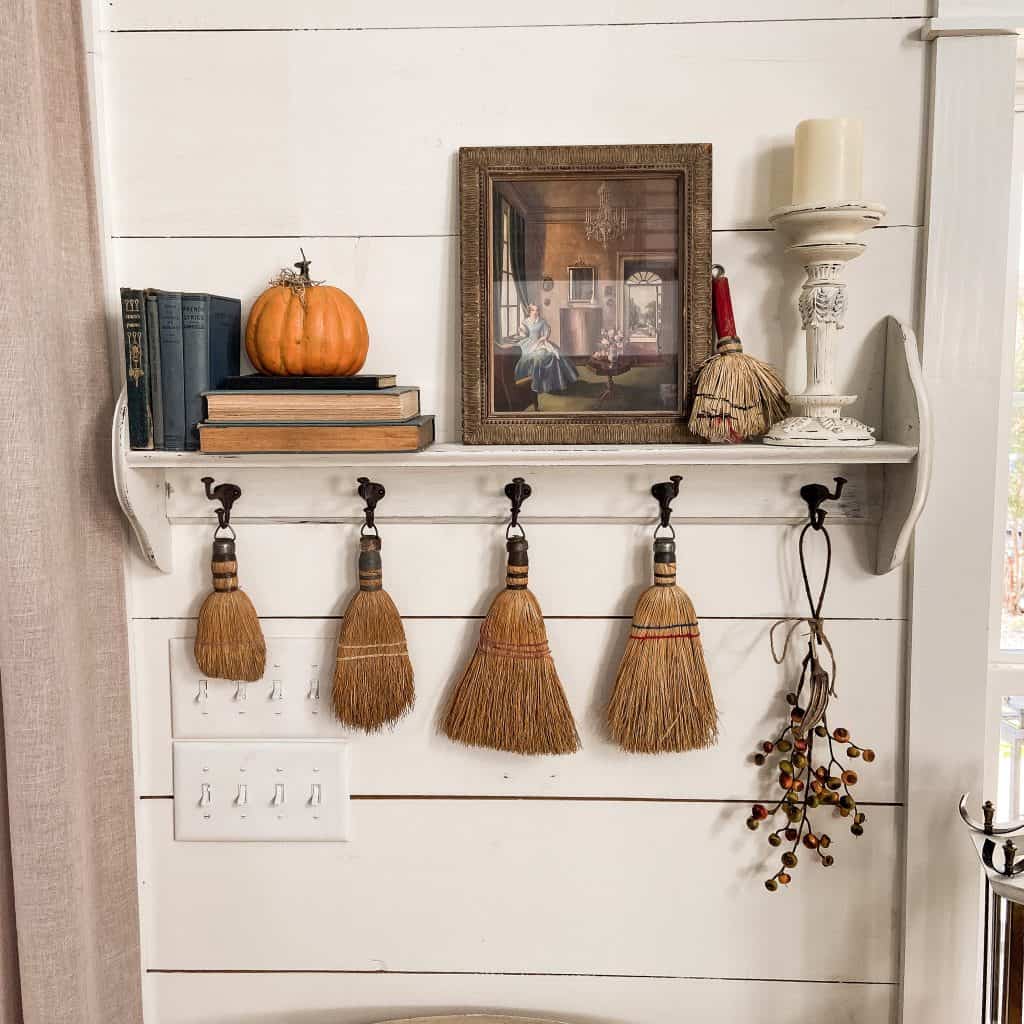
Add Some Hardware to the Chalk Painted Shelf
Let’s add some hardware to dress up this thrift store shelf. I purchased these fun hooks for cheap and knew I’d find a use for them.
First, measure the location for each hook and screw them to the board underneath the shelf.
Since I didn’t have matching screws, I used what I had on hand and then used a sharpie pen to color the silver screws. You don’t even notice them now.
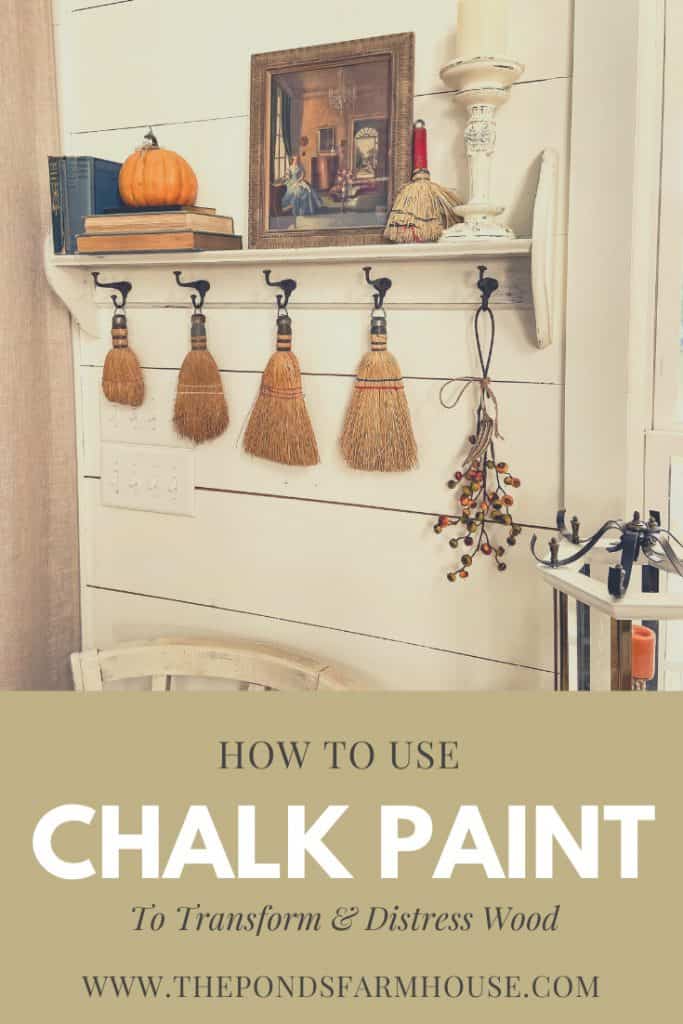
Finished Chalk Paint Transformation
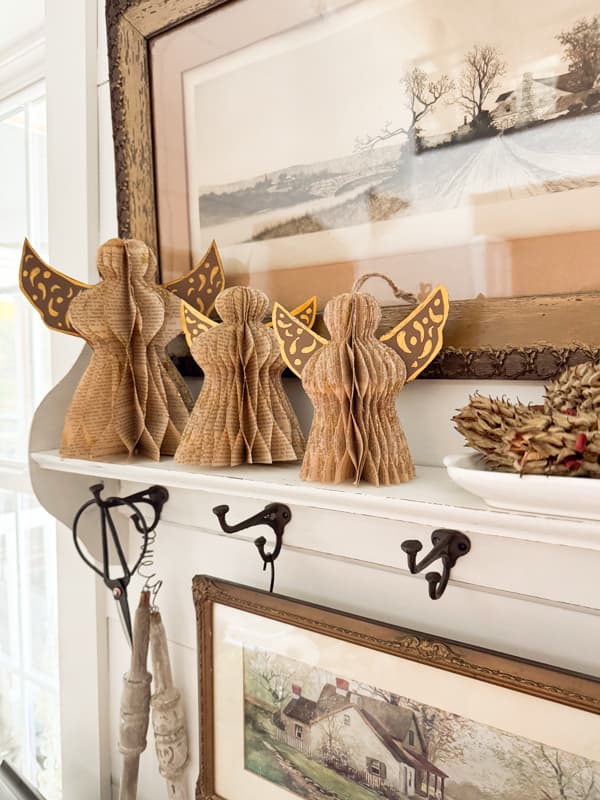
The transformation is complete, and I quickly styled the painted shelf for your approval. I hope you like it.
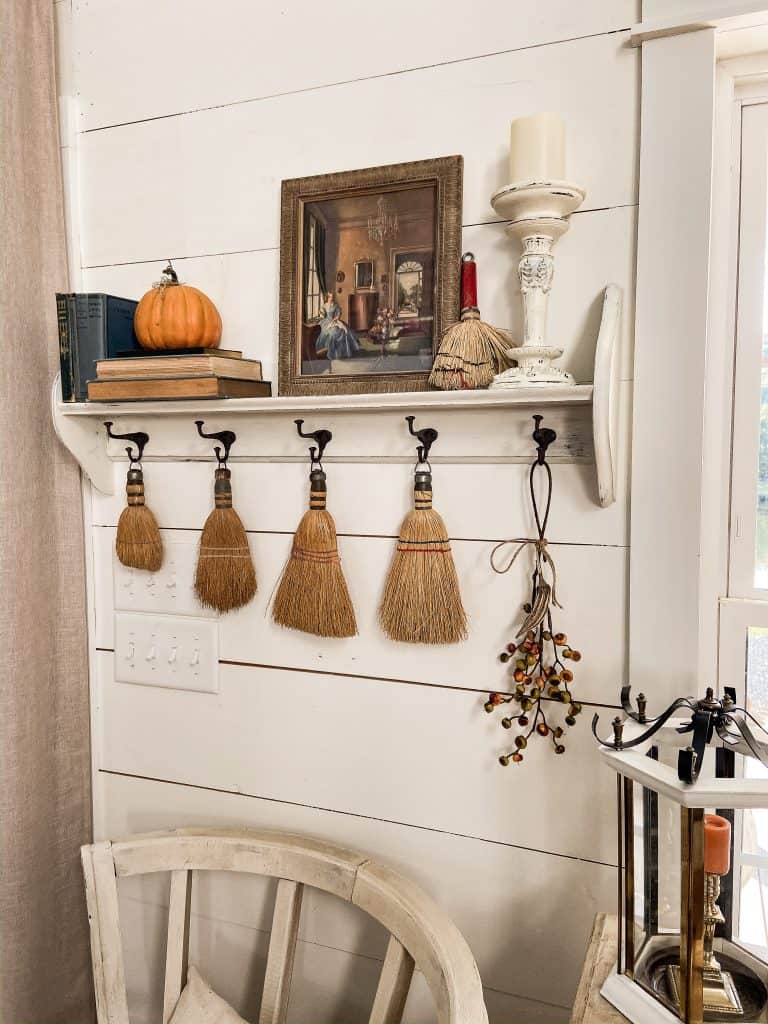

I can’t wait to style it for Christmas! It’s in such a fun spot, and I know you’ll see a lot of this shelf.
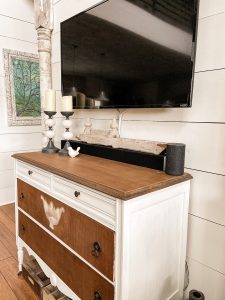
Previous Projects with Chalk Paint
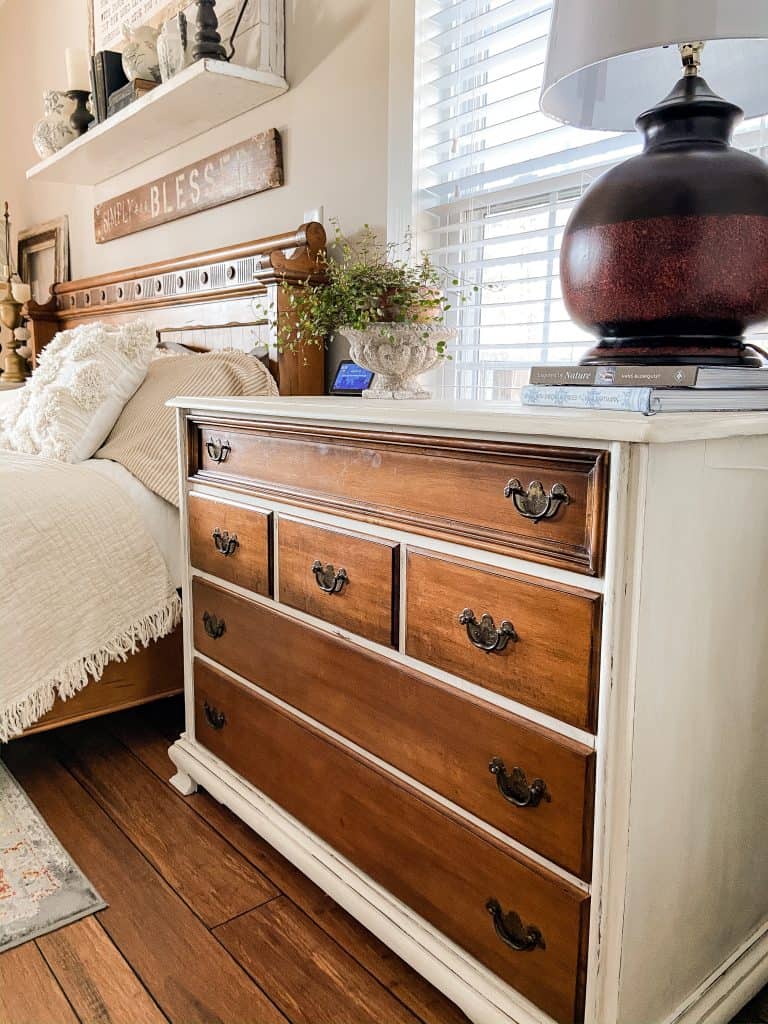
I did a quick makeover with Chalk Paint and then decided to do a complete transformation. Please take a look at all the details at Amazing Furniture Transformation.
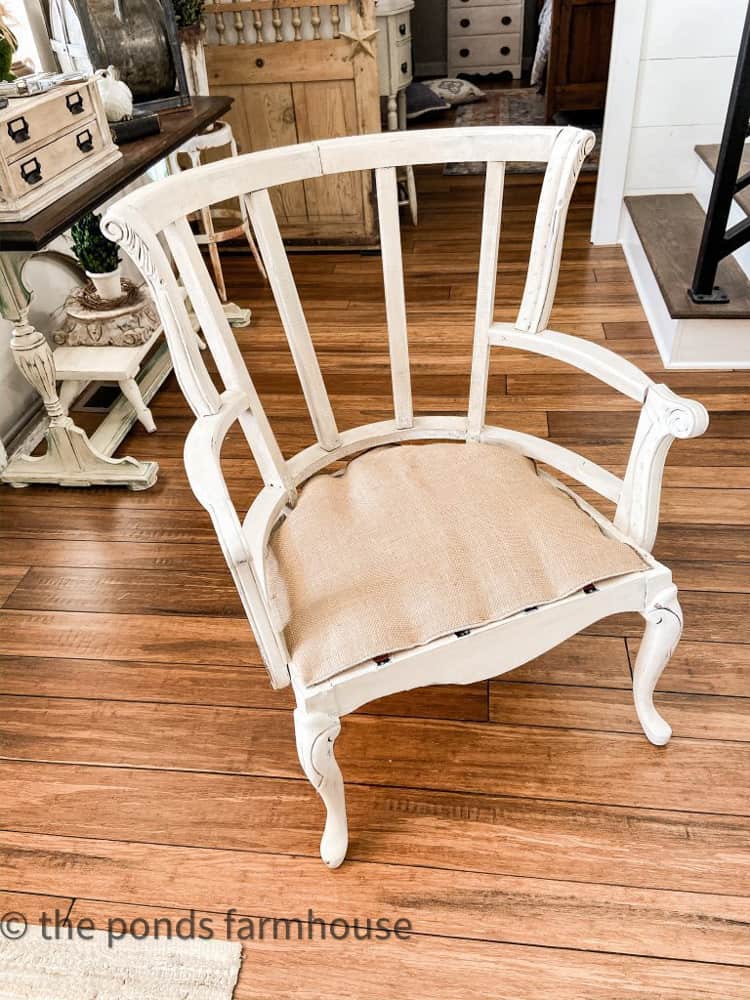
Even my deconstructed chair received a fresh coat of Chalk Paint. Please look at The Real Truth About Deconstructing a Chair for all the details.
Here is a 3 Step Furniture Makeover that was quick and easy.
Here is another trash-to-treasure transformation of a thrift store find. You can also learn more about shopping thrift stores here.
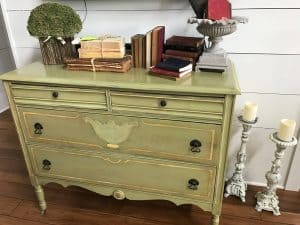
You can see this 2-hour Makeover and this Easy Table Riser Project! Both were accomplished by using chalk paint. My most recent post is a Simple Chalk Paint Makeover for Vintage Furniture.
THANKS FOR STOPPING BY! IF YOU HAVE QUESTIONS, I’LL BE HAPPY TO ANSWER, JUST LEAVE A MESSAGE BELOW.

PIN IT TO REMEMBER IT


Love this post, Rachel! Darling shelf. Now I think I’m ready to give chalk painting a try. 🙂
Oh Dori,
Thanks for making my day. It is so easy.
Rachel
Dear Rachel: I look forward to your posts most of all and you never disappoint! I love this shelf re-do and the scenario you created with it! I learned several chalk paint techniques and now I’m chomping at the bit to find a sad but workable shelf at Goodwill! It’s a perfect item to transform since it can be used over and over in different ways for different seasons, holidays and other occasions! Congratulations on this conversion! I love the hooks and what possibilities they hold for fun stuff to hang! Best, Sandra
Sandra,
I really appreciate your kind words. thanks for stopping by.
Rachel, what a great makeover. Great thrift store find. Can’t wait to see it dressed up for the holidays. 🎄
Bernadette,
Thanks so much. I can’t wait either. Rachel
Wonderful makeover! The instructions were very easy to follow. PINNED! Thanks! ~Kristi
Kristi,
Thank you so much. glad you found this helpful.
Rachel
That’s a great transformation, and I love your collection of brooms. Thank you.
Hey Miche,
Thanks for stopping by.
Rachel
We are on same page today! Great blog Rachel!
Stacy,
I appreciate you for stopping by.
I’ve not thought to use Mineral Spirits. I’ll have to try that! Love your collection of little brooms too. Everything turned out so cute! Pinned
Cindy,
You are so sweet. Thank you for this.
Rachel
Cindy,
Thank you so much.
Rachel
I really enjoyed this post!!! It was very informative for when I do my next chalk paint project!!!
Renee,
I’m so glad you found this helpful
Hi Rachel! I have that same shelf floating around here somewhere! I’ve been buying some supplies so I can start doing all this cute stuff. Oh, I’m new, just today, so I’m still learning to navigate your pages. When I first come in, it always asks me to sign up and all that, can I bypass that? (wonder how many times I’ve signed up, geez!) Anyway, refurbishing, repainting and doing a cedar plank wall in my living room. THEN I GET TO DECORATE ALL OF IT WITH YOUR FUN IDEAS!!! I’m excited about it, can you tell? Oh , also, I’m an avid Antique Farmhouse shopper, that’s where I found your name. Anyway, looking forward to all your cool stuff, thank you! Denita
Denita,
I’m so happy you are here! I can’t wait to see all your projects. Please keep me informed. As for the sign up page, that should stop appearing after you’ve signed up. There may be one that float up occasionally. I so excited to have you following along.