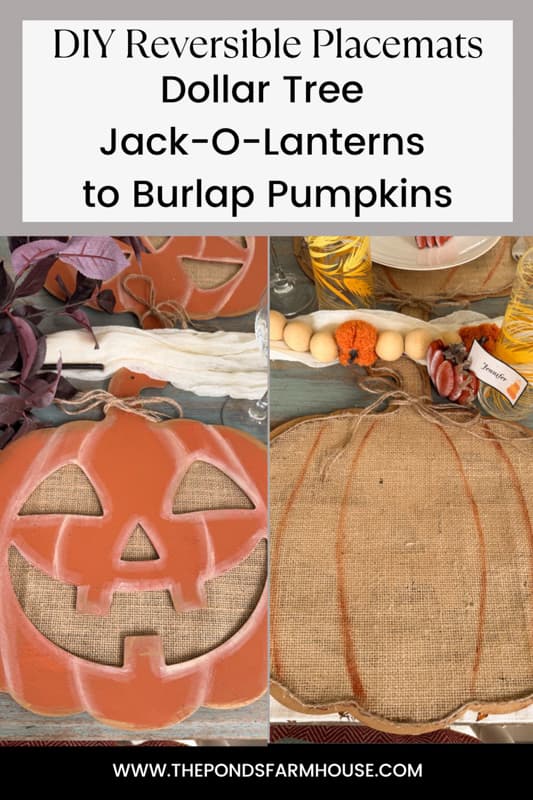
Create DIY Reversible Placemats: Dollar Tree Jack-O-Lanterns to Burlap Pumpkins
If you are like me and love a great deal, you will love my latest Dollar Tree craft. I found these large wooden jack-o’-lantern cut-outs on my last visit and immediately thought they would make adorable placemats for Halloween. Then I decided I could use them all fall if I made them reversible. So hang onto your hat and let me show you how to create burlap pumpkin and jack-o-lantern reversible placemats for your fall tablescapes.
(Posts on The Ponds Farmhouse may contain affiliate links. As an Amazon Associate, I earn from qualifying purchases. See the full disclosure details here.)
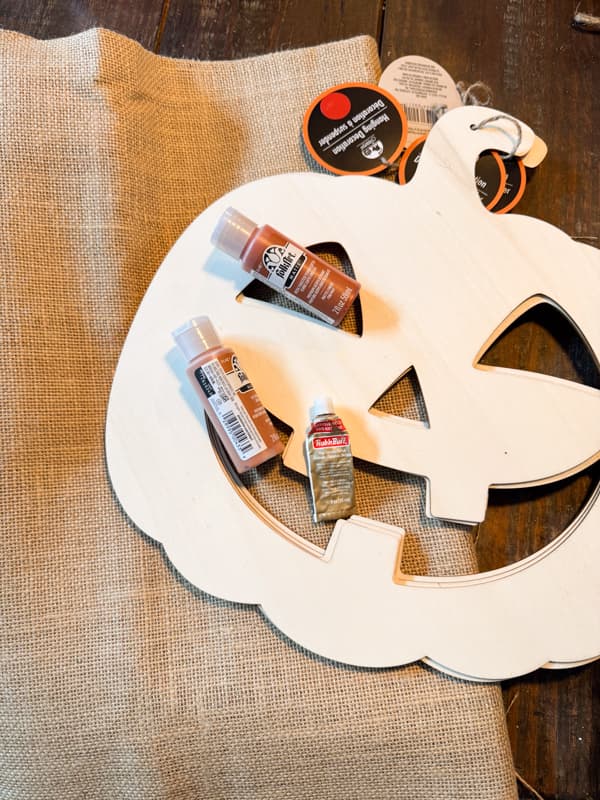
Supply List
- Dollar Tree Large Wood Jack-o-Lantern (if you can’t find these at Dollar Tree, here is a large pumpkin cut-out and the jack-o-lantern can be painted on one side.
- Craft Paint – Terra Cotta , Toasted Terra Cotta & Vintage White
- Burlap Fabric – I purchased 1 yard for 4 placemats.
- Jute Twine
- Antique Gold Rub N Buff
- Hot Glue Gun
- Hot Glue Finger Protectors
How To Make The Dollar Tree Jack-o-Lantern Placemats
To make the jack-o-lantern side of the placemats, you will only need paint and Rub N Buff.
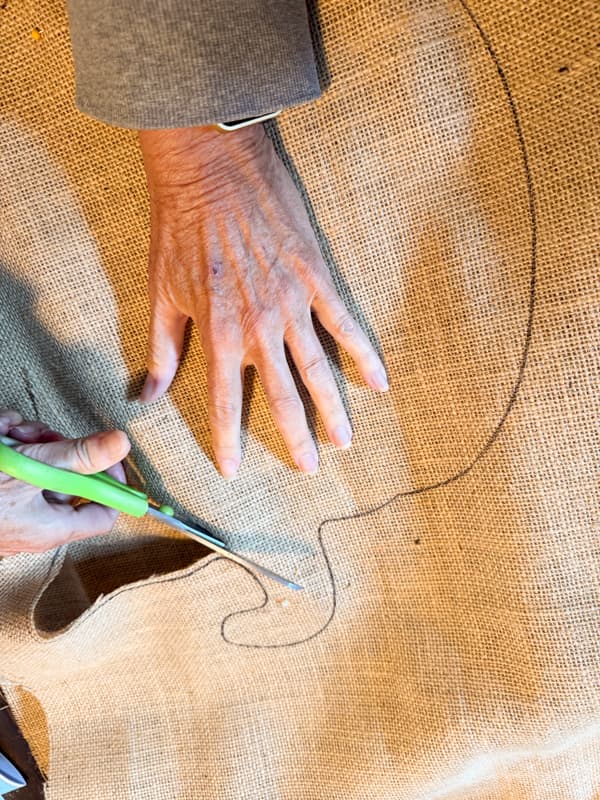
Step 1 – Cut Out Pumpkins From Burlap
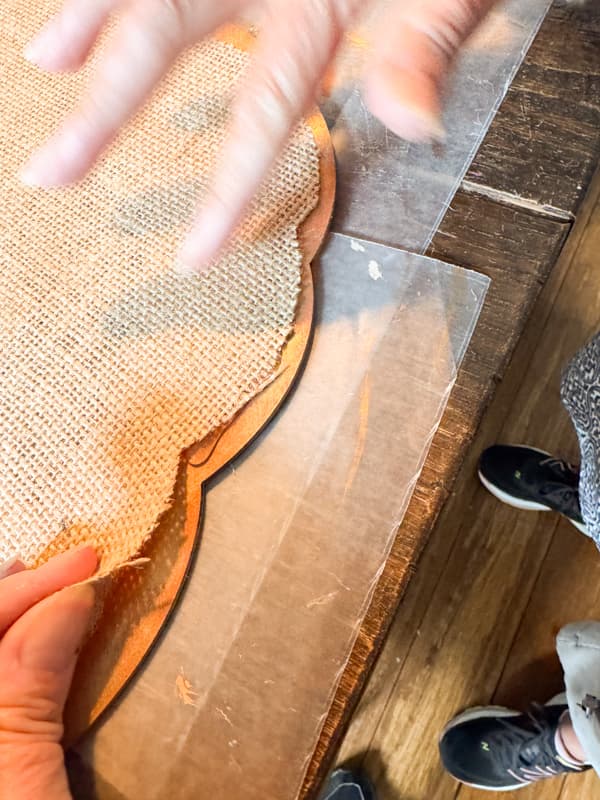
Before painting the jack-o-lantern side of the placemats, I recommend using the cut-out as a pattern to make the burlap pumpkins. I used approximately 1 yard of burlap for the 4 pumpkins.
Lay the Dollar Tree jack-o-lantern on the burlap fabric and trace the outline of the pumpkin with a Sharpie pen. Then cut the burlap pumpkin just to the inside of the drawn lines. You want the burlap to be approximately 1/8 – 1/4 inch smaller than the wood pumpkin.

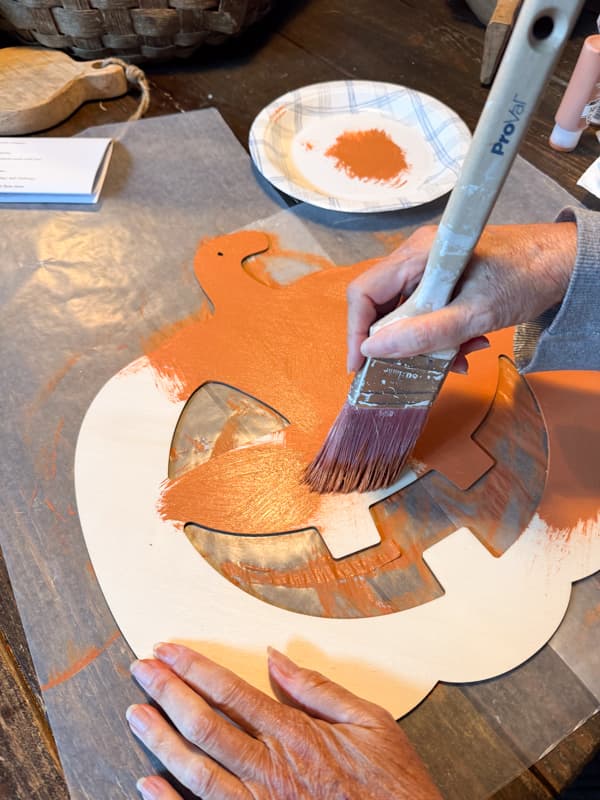
Step 2 – Paint The Jack-o-lantern
Next, I painted the wooden jack-o-lantern with the terra cotta paint. Cover one side completely and allow it to dry. I used wax paper to protect my work table.
Then I used the vintage white paint to add details to the face of the jack-o-lantern. Use a dampened brush, and I applied the paint to one side of the bristles, allowing the lines to fade as you brush on. You only want to see a faint color on the face. Go around the eyes, nose, and mouth with the same technique.
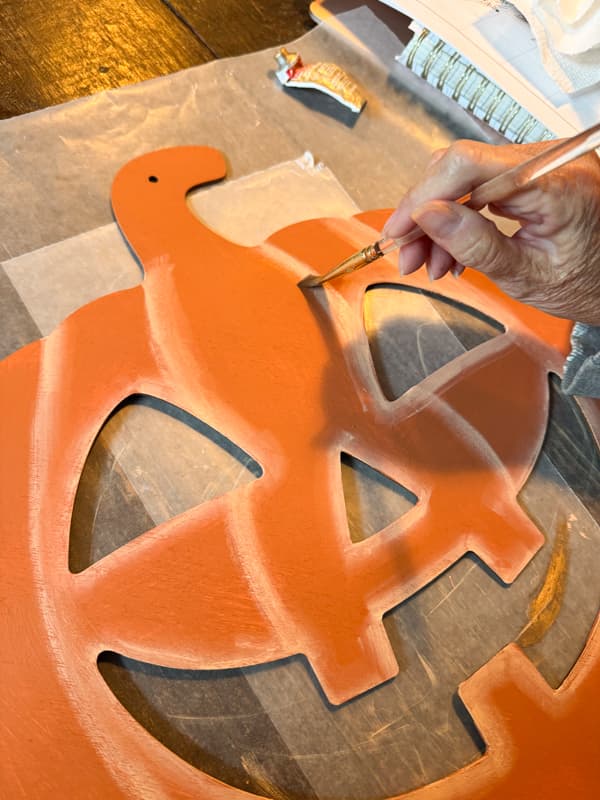
Finally, I added a rim of antique gold Rub N Buff around the outside edge of the jack-o-lantern. I applied the Rub N Buff to a paper towel and rubbed around the outside edges. I also added a little gold to the edges of the teeth.
Allow this side of the wood cut-out to dry completely before proceeding..
How To Make a Pumpkin Placemat With Burlap
Once the jack-o-lantern side is dry, you can begin to make the Dollar Tree Pumpkin placemats by adding burlap fabric.
Step 1 – Paint & Add Rub N Buff To Pumpkin Side
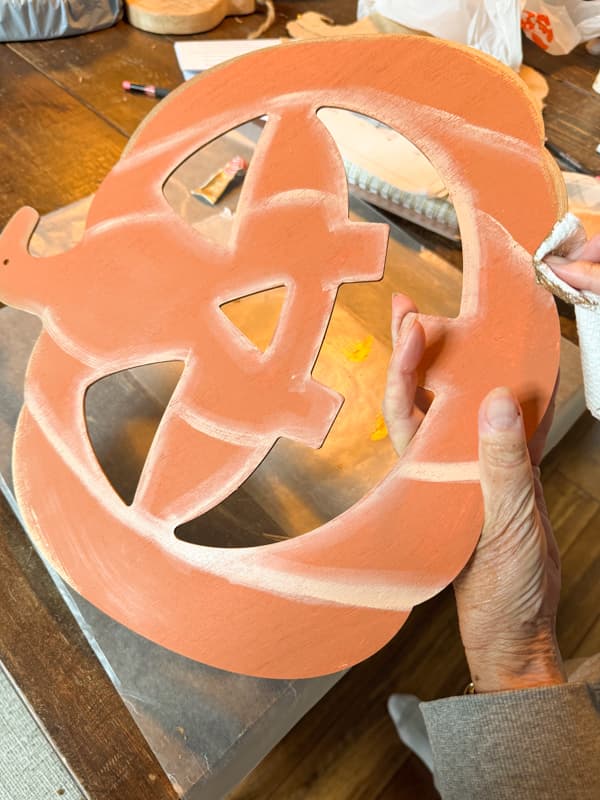
First, I added a small rim of paint around the outside edge of the other side of the Dollar Tree cut-out. Once the paint was dry, I then covered it with antique gold Rub N Buff.
I used an old brush to apply, but you can also use a napkin for this step.
Step 2 – Attach Burlap To Wood Cut-out
Next, I placed the burlap pumpkin on the wood cut-out to ensure a proper fit. I found it necessary to trim some areas so that a portion of the wood was exposed around all the edges.
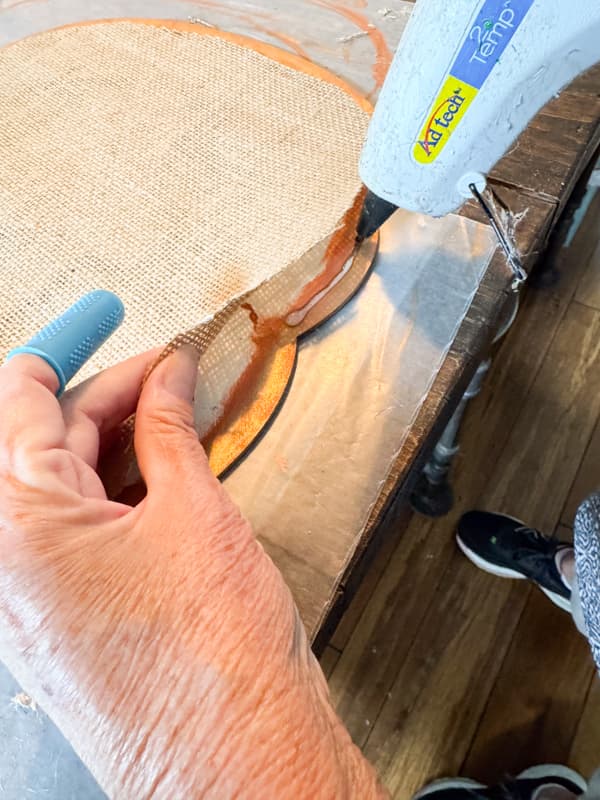
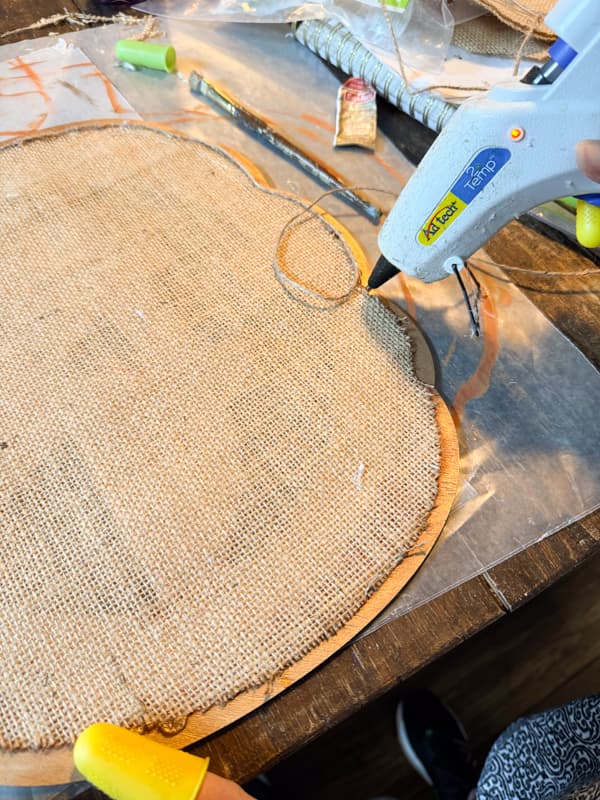
I applied a line of hot glue along the edge of the painted section to attach the burlap. Ensure that the burlap is pulled tight as you go and that it covers all the unpainted wood. If necessary, you can fill in any gaps with more paint and Rub N Buff.
Step 3 – Apply Jute Twine Over Burlap
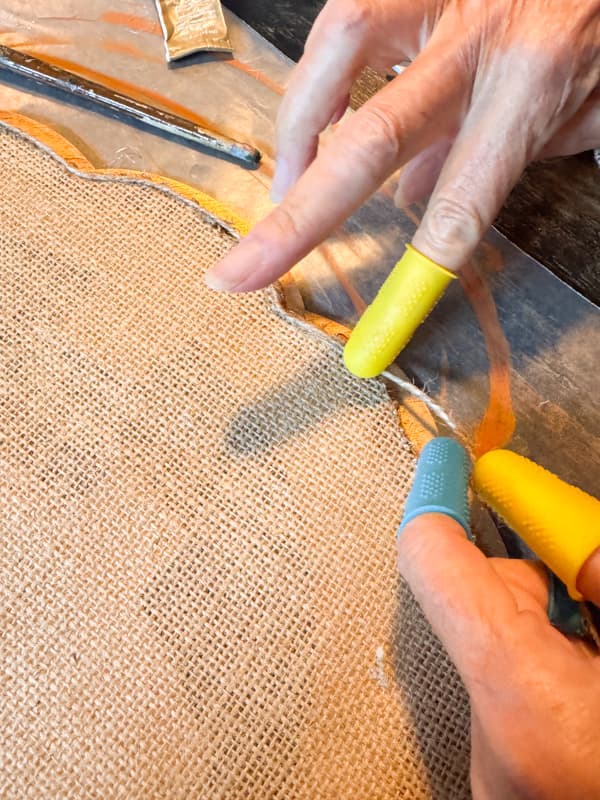
Next, I added the jute twine to cover the raw edges of the burlap. Begin with a bead of hot glue and press the twine into the glue, covering the edge of the burlap.
Note: To avoid burning your fingers, I recommend using finger protection.
Step 4 – Paint Pumpkin Design on the Burlap
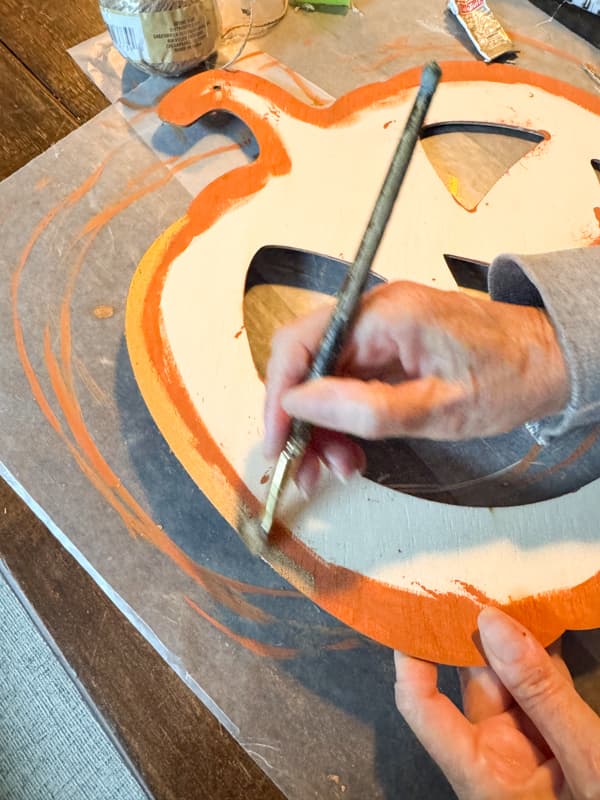
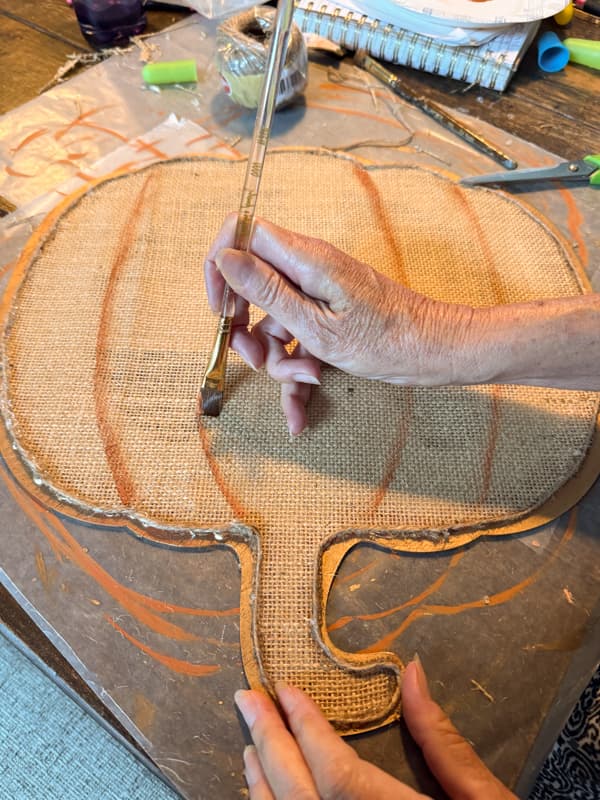
Finally, I am using the terra cotta paint to create the pumpkin design on the fabric and using the same wet brush technique with the paint only on one side of the brush bristles. Allow the paint to dry, and then they are ready to use on your table.
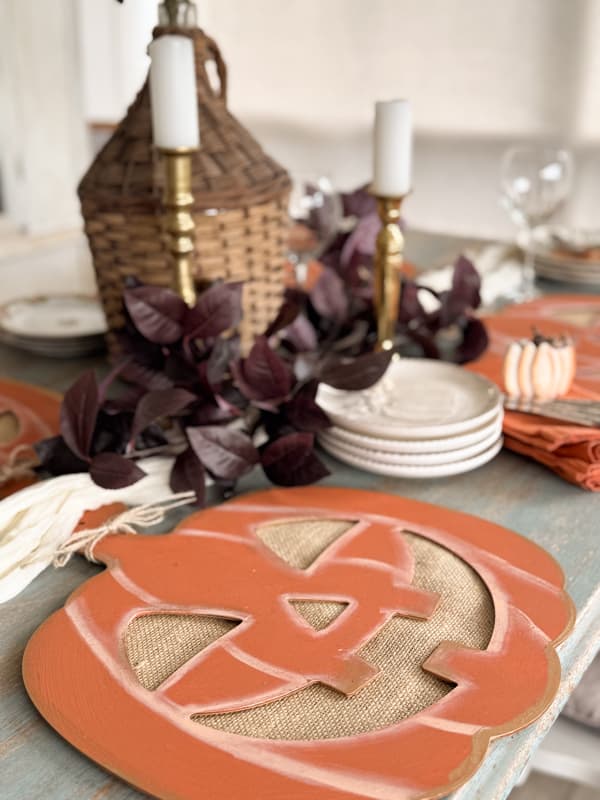
Reversible Fall Placemats From Dollar Tree Wood Cut-Out
Both sides of the placemats are perfect for fall tablescapes. The jack-o-lantern will be adorable leading up to Halloween. Once all the ghosts and goblins are gone, just flip the placemat over to reveal the burlap pumpkin that will carry you through Thanksgiving.
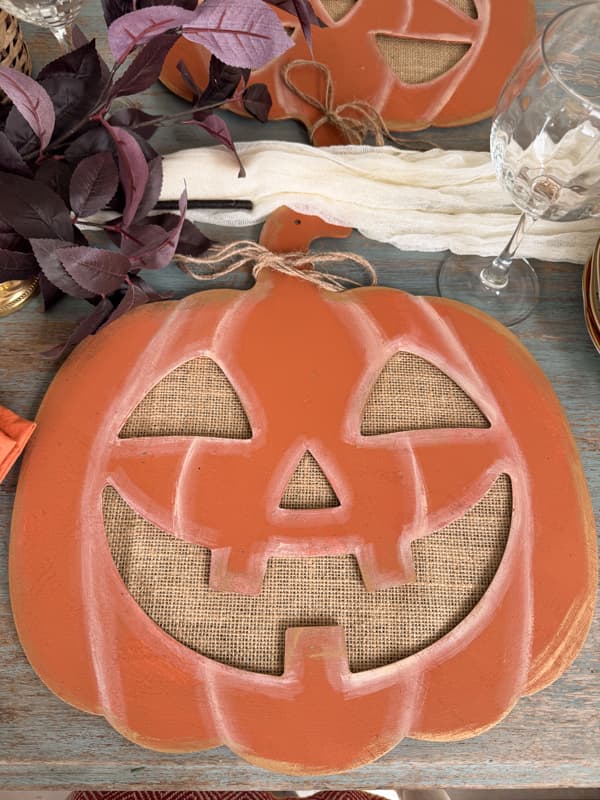
Dollar Tree Jack-o-Lantern Placemats
Although Halloween is supposed to be spooky, I love the sweet face of this Jack-o-lantern placemat.

They make the table fun and inviting for kids and adults alike. I can’t wait to use them as Halloween approaches.
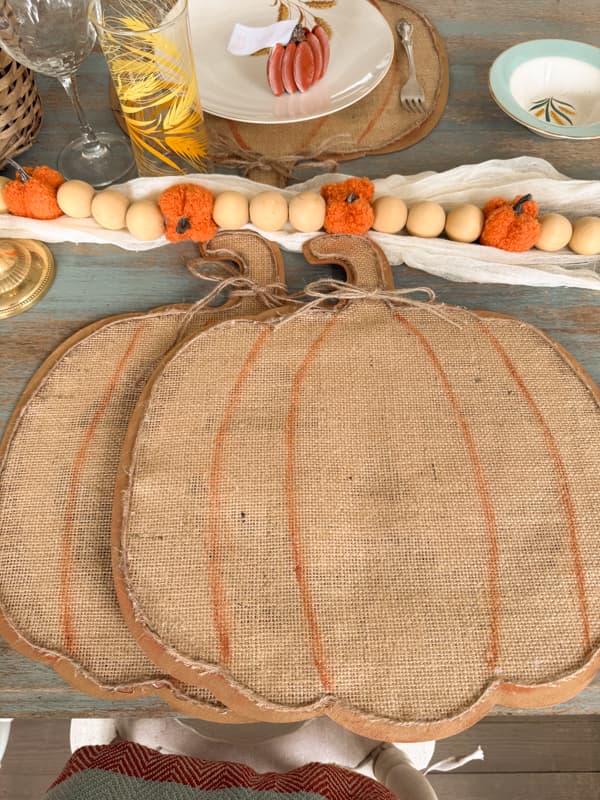
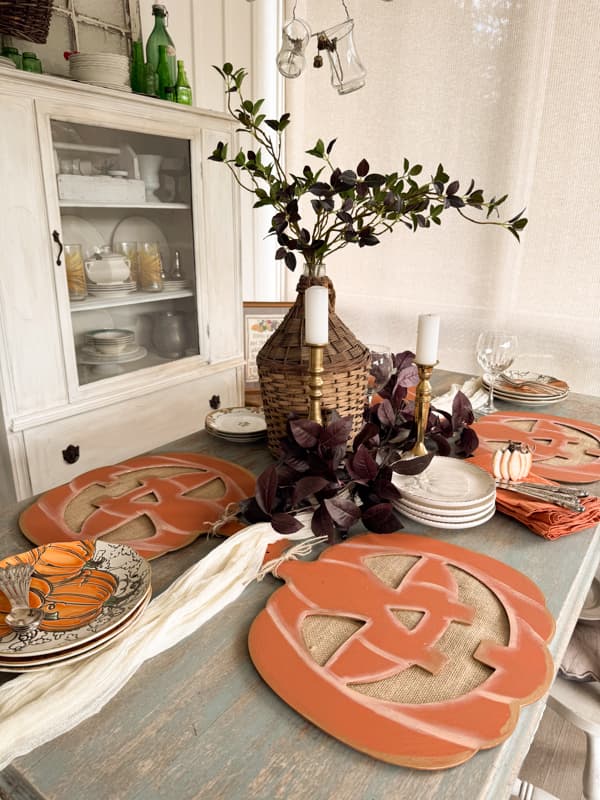
Fall Dollar Tree Pumpkin Placemats
Once Halloween is over, you don’t need to store your jack-o-lanterns; just turn them over to reveal this rustic burlap and wood pumpkin placemat. They will be a stunning addition to any fall table setting.
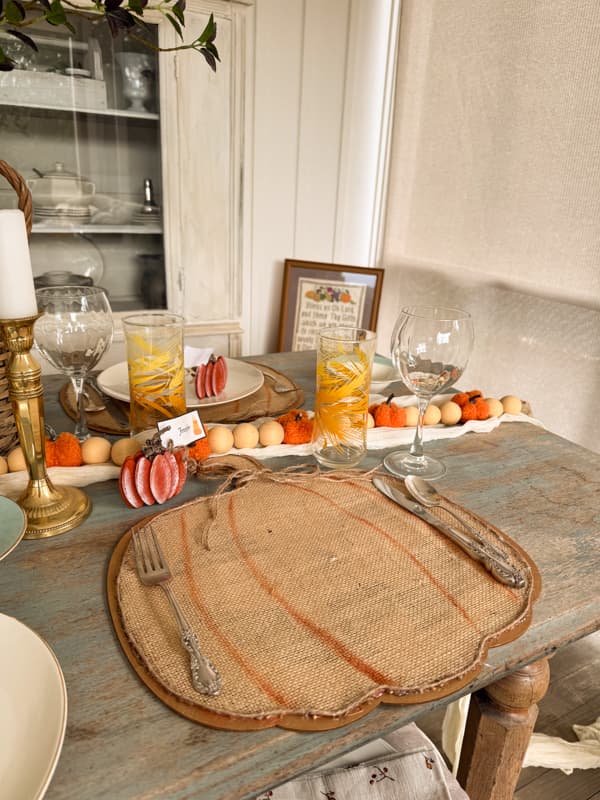
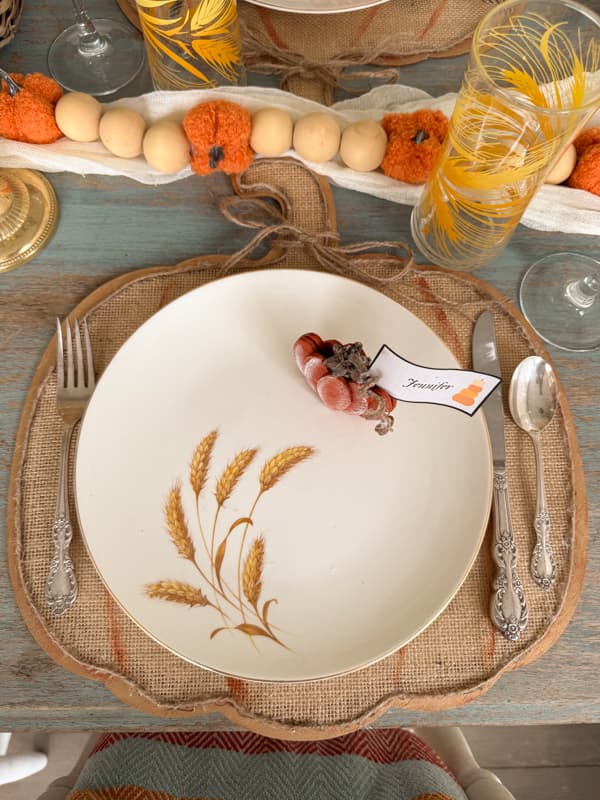
To give you an example, I set an early table with the pumpkin placemats combined with my favorite thrift store vintage golden wheat dishes and glasses. In addition, I used my DIY Wood Pumpkin Placecard Holders and the Pumpkin & Wood Bead Garland as a table runner that I shared earlier for fall decorating.
Although I don’t have all my fall decor unpacked yet, I couldn’t resist playing around with both sides of the placemats. Don’t you think both tables look stunning with my meager decor options? It’s amazing how easy it is to decorate on a budget with thrift store finds and DIY craft projects. Don’t miss seeing My Favorite Fall Thrift Store Finds and How I Styled Them.
I hope you enjoyed today’s budget-friendly Dollar Tree craft idea. Stay tuned for more exciting fall ideas.


Praise God! He answered all of the prayers. So happy you’re home. I wish you a speedy recovery.
Gina,
Thank you! I appreciate you and all your prayers. I’m so blessed to have you cheering me on.
I too have cancer, breast cancer, and I am in the treatment stage then later a double mastectomy. I have prayed for you every morning and every night and now I am seeing the answer to those prayers! Praise the LORD for bringing you through and no doubt He will continue your healing! I am so glad you are home now and the worst is behind you! God is so good! Praise His holy name.
Belinda,
Thank you for these words of encouragement and for your prayers. I pray that your treatments are going well and you will soon have your surgery behind you. I will add you to my prayer lists. God bless you!
Love this idea Rachel! I bought one of the jack o lantern wood cut outs, but wasn’t sure what to do with it!
Cindy,
I’m so glad you like this idea.
Yes, praise God!! Healed in Jesus name!!
Rachel so glad that you’re home!!
Continued prayers to lift you up and strengthen you! Thank you so much for sharing your journey with us, you are a great witness and testimony to our Lord
And Savior…. your story has touched all of us and has helped many of us now and many years to come, we will look back on your journey and draw strength from your story…truly thank you for sharing🥰
Claiming your complete and total healing!
Love following you, sweet friend
Kim,
Kim
Thank you so much for your prayers and encouragement. I am so blessed to have you cheering me to good health. Have a blessed day.
I am so Thankful the surgery is done and you and your husband are home! Continuing to pray for complete healing and strength daily to fight through the pain! God is so good!❤️🙏🏻🙏🏻
Lorri,
Thank you for your support and prayers. Have a blessed day.
Your darling husband has been so great about keeping us all up to date on your recovery. I think of you every day and continue to pray for your complete recovery. Hang in there gal. I know it’s tough but you got this!♥️
Connie,
I appreciate your kind words more than I can express. Thank you for your continued support. Have a blessed day.