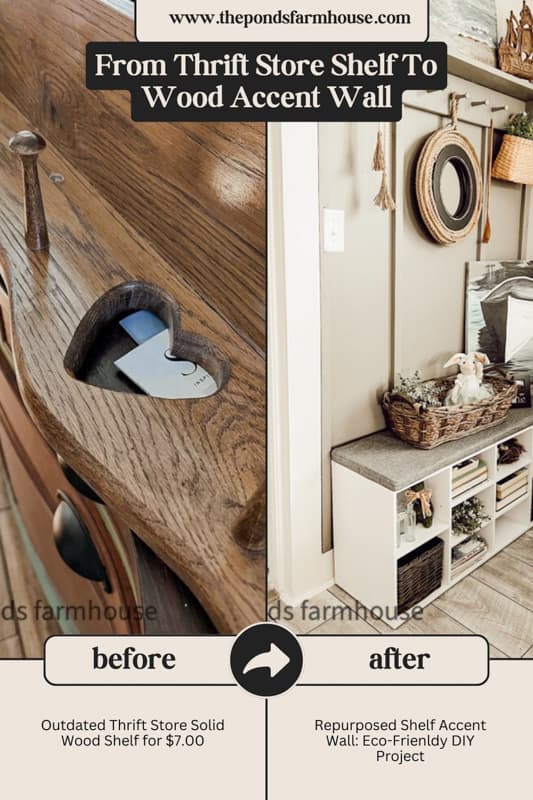
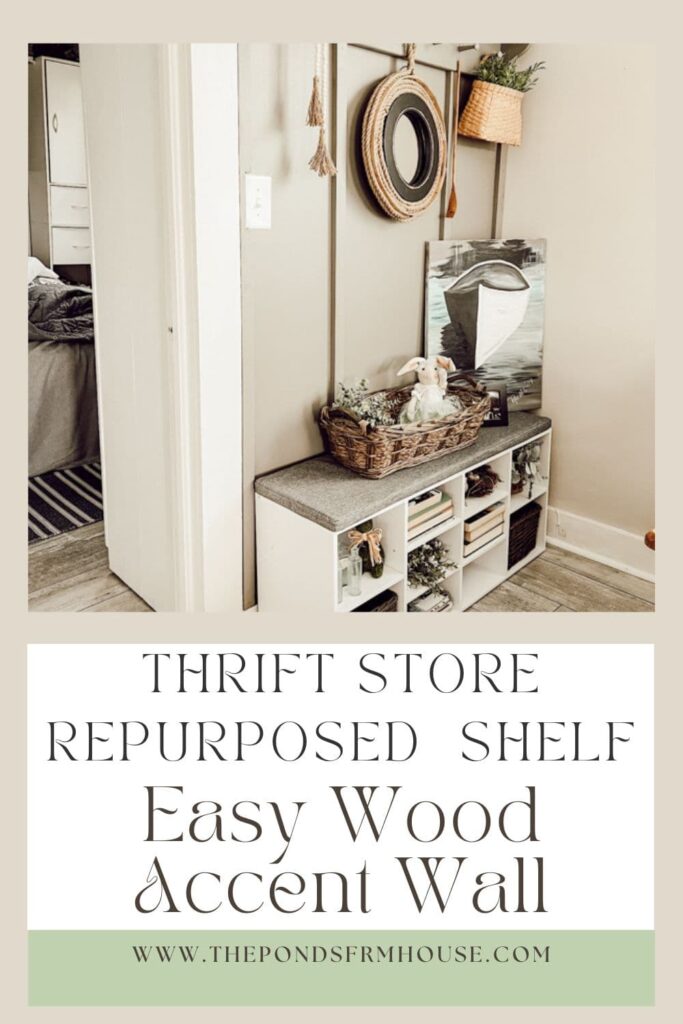
From Thrifted Shelf To Stunning Wood Accent Wall: Eco-Friendly DIY
Give your home a unique and eco-friendly DIY Wood Accent Wall makeover with this simple project! When we were looking to add an accent wall at our beach cottage, we found an outdated wood shelf at a thrift store. Instead of purchasing new lumber, we repurposed the old shelf. It not only saved money but also gave new life to old materials. If you’d like to add character to a boring wall in your home, let me show you how you can save money, too.
Why Add An Accent Wall?
We have been remodeling our beach cottage, and once the remodel was coming together, there was one problem area.
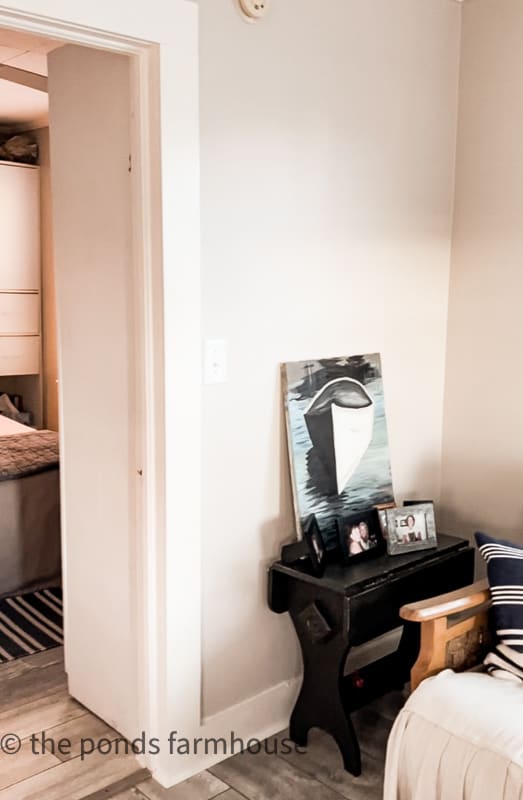
This side wall didn’t have room for furniture because of the sofa, and I decided the space would benefit from an accent wall. I found a hardwood pegboard shelf while thrifting. It was the perfect size for this space, and with a little creative repurposing, it made the perfect topper for the accent wall.
This is an easy and inexpensive way to make a huge impact on a problem area in your home.
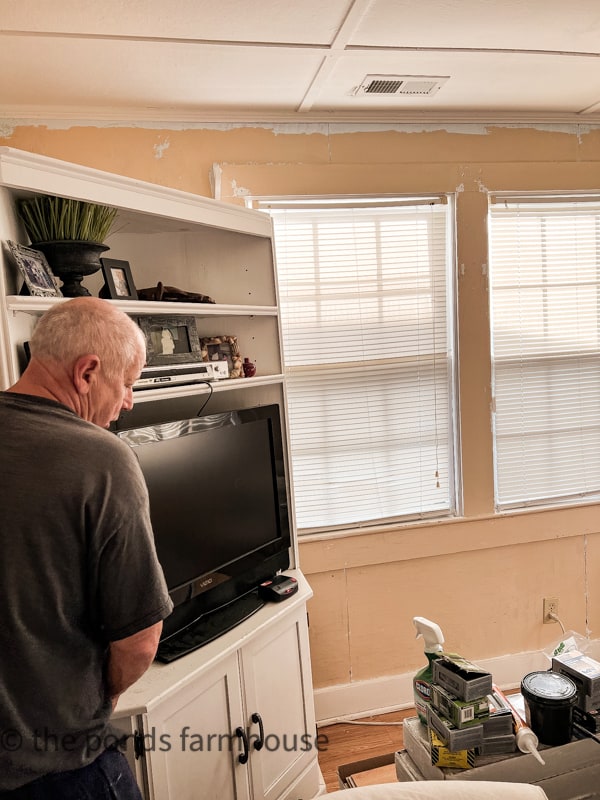
This corner piece that held the TV was previously on the opposite wall. The cabinet was moved to another spot in the room, leaving this corner empty.
(Posts on The Ponds Farmhouse may contain affiliate links. As an Amazon Associate, I earn from qualifying purchases. See the full disclosure details here.)
Repurposed Shelf – Wood Accent Wall
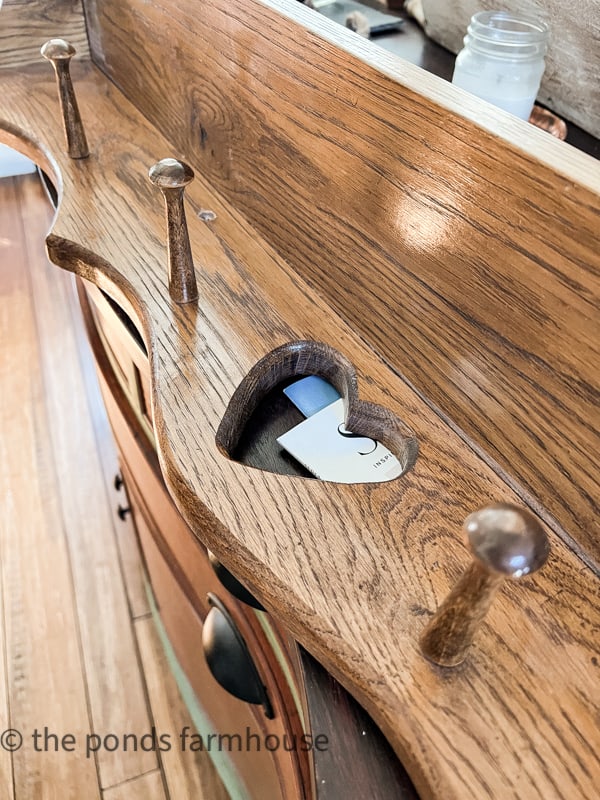
This project began with a repurposed solid wood thrift store shelf for only $7.50. Fortunately, it was almost exactly the size needed for the accent wall.
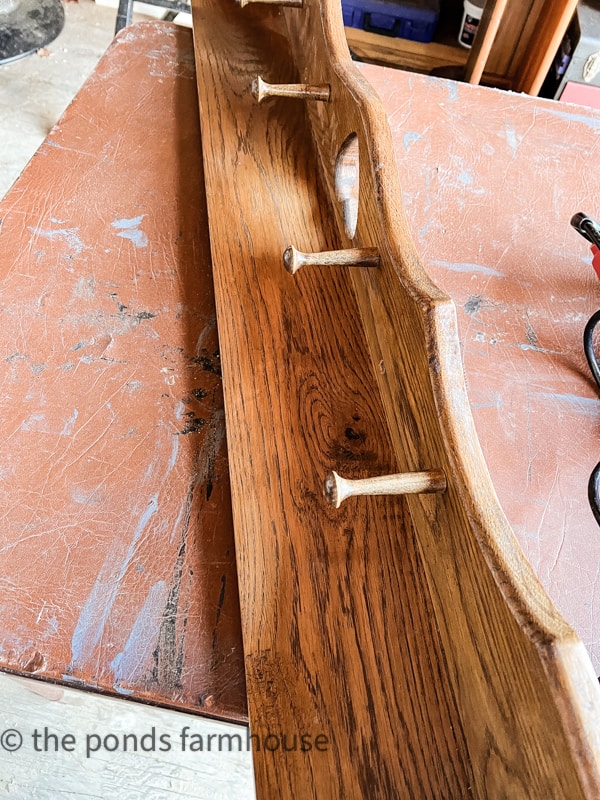
Although the dated heart cutout needed to go, I knew it would be an easy fix. In addition, I planned to paint the shelf so mixing the materials wouldn’t be a problem.
How To Repurpose The Wood Shelf
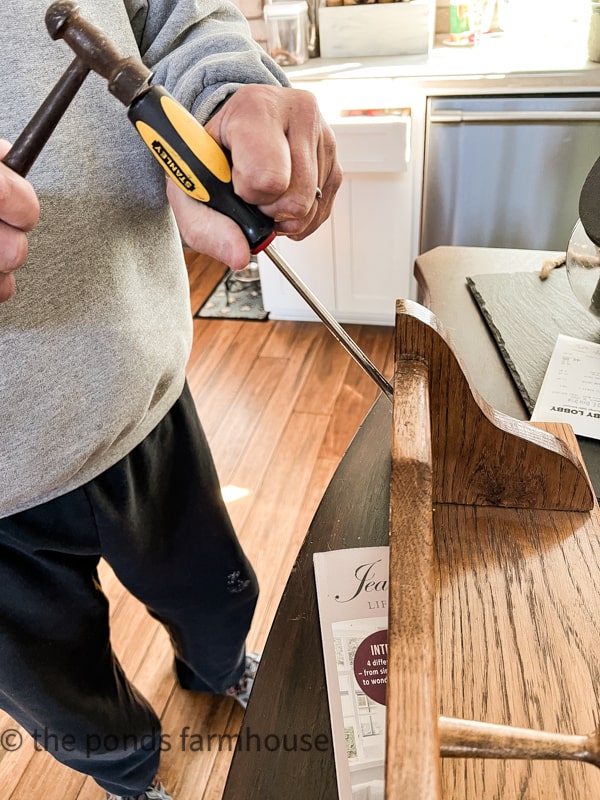
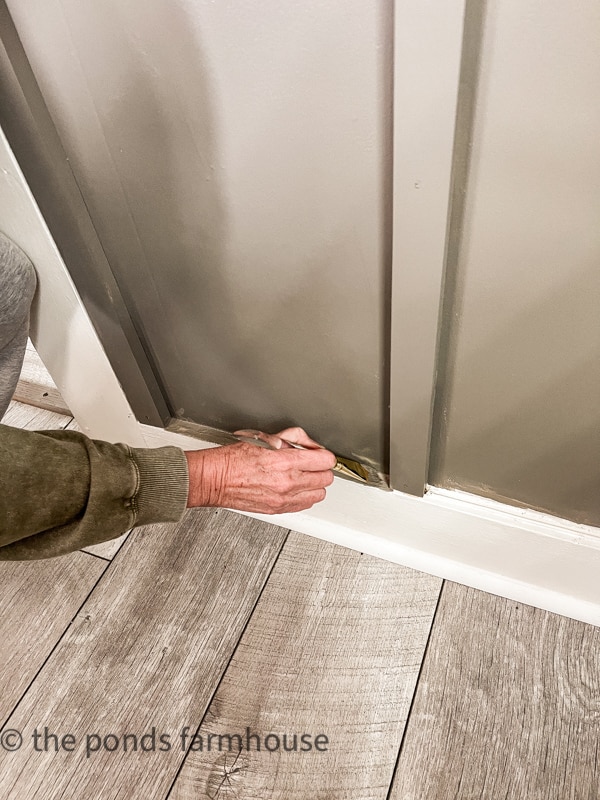
First, we need to get rid of the heart peg rack. Brad loosened the rack from the brackets with a flathead screwdriver and a hammer.
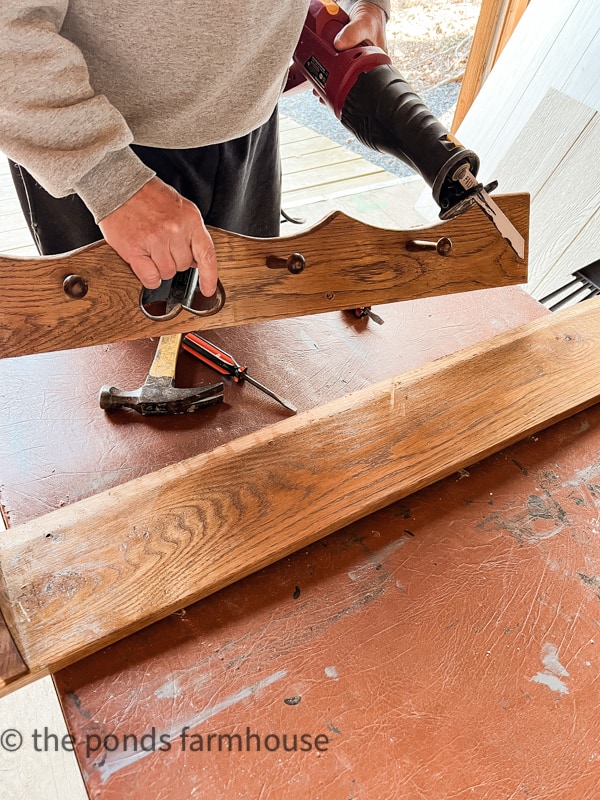
Next, he cut the nails using a Saw All with a metal cutting blade.
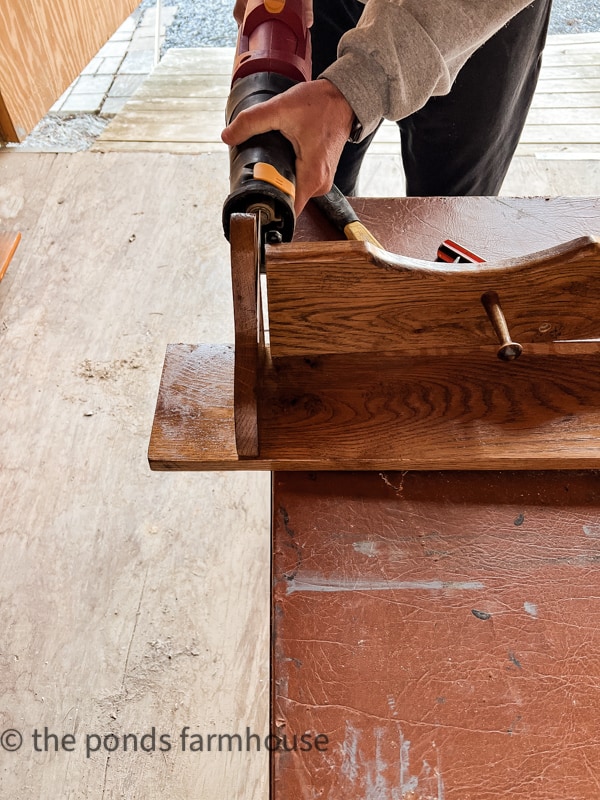
This allowed the support brackets to remain in place and easily removed the rail.
How To Make The Shelf Fit The Accent Wall
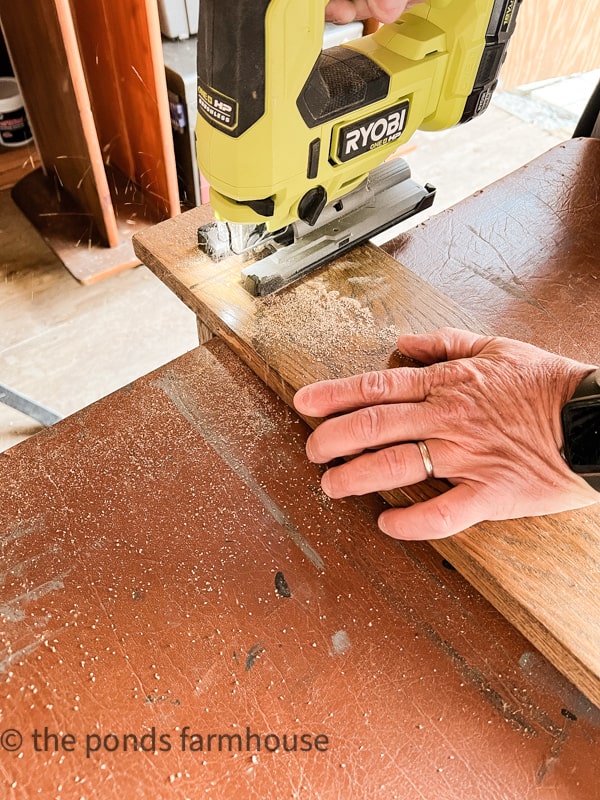
Since the bracket placement was perfect for the wood accent wall, Brad cut the excess wood from the ends using a Ryobi jig saw.
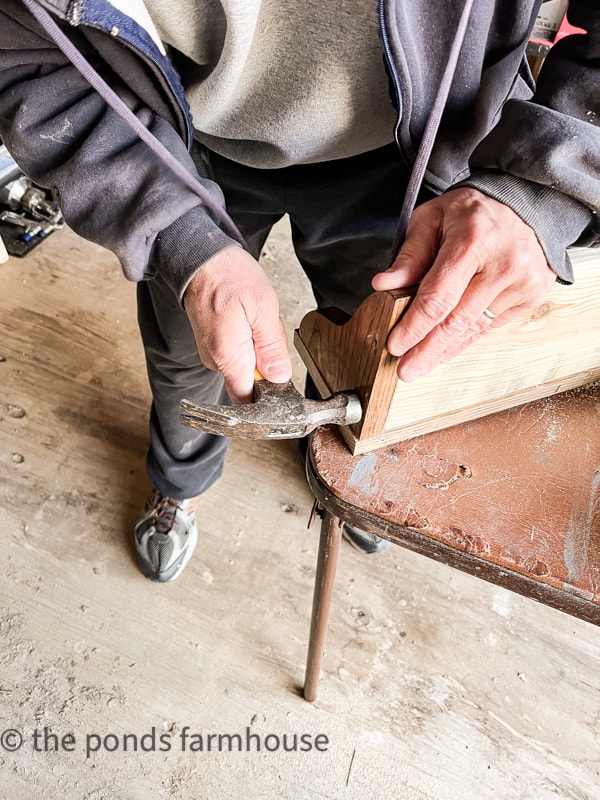
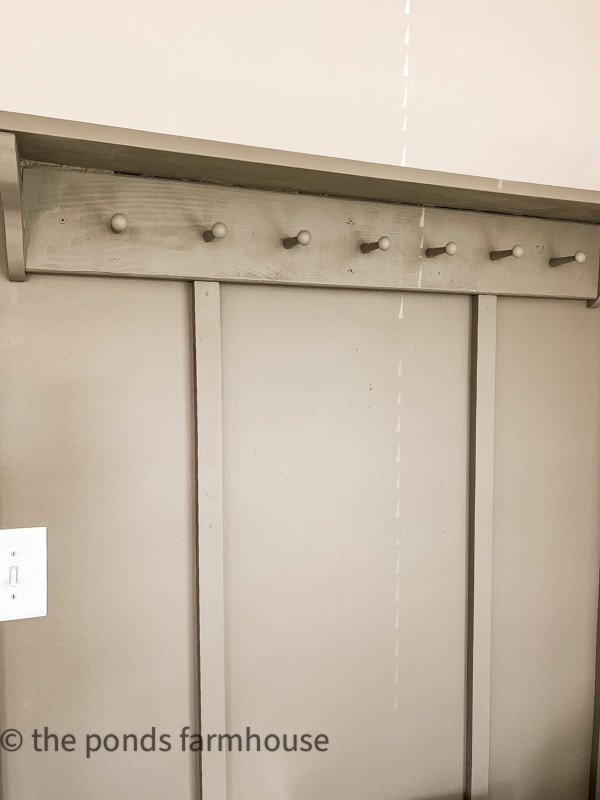
I still wanted a peg rack on the shelf, so we cut another piece of wood to fit where the previous peg rack had been and attached it with nails.
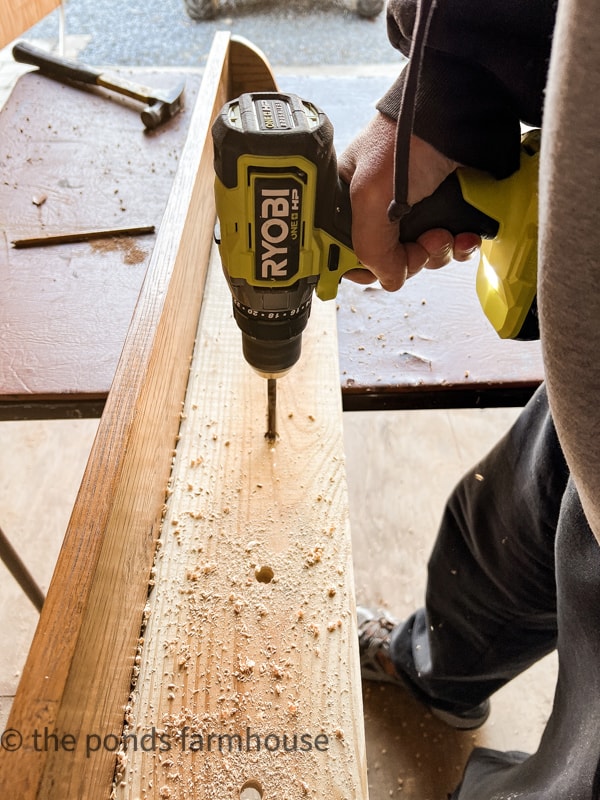
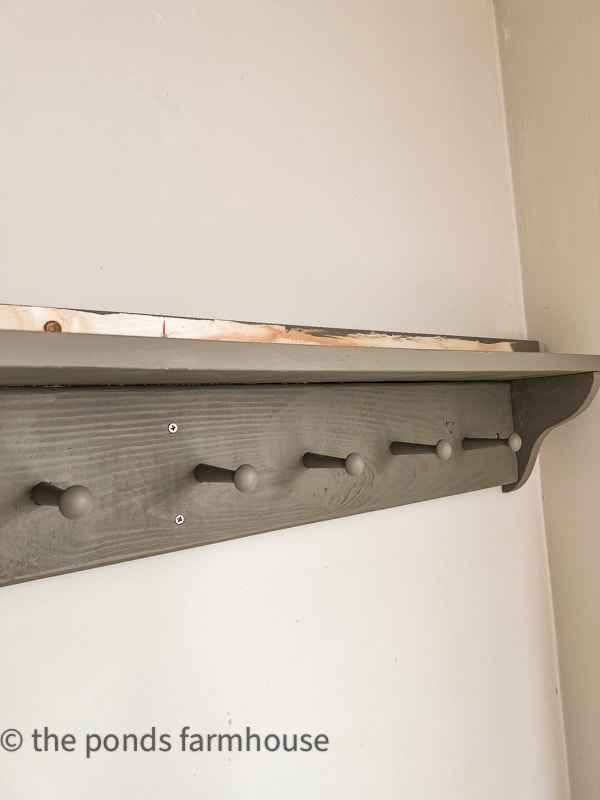
After carefully measuring the shaker peg placement, we used a Ryobi Cordless Drill to drill seven holes for the pegs.
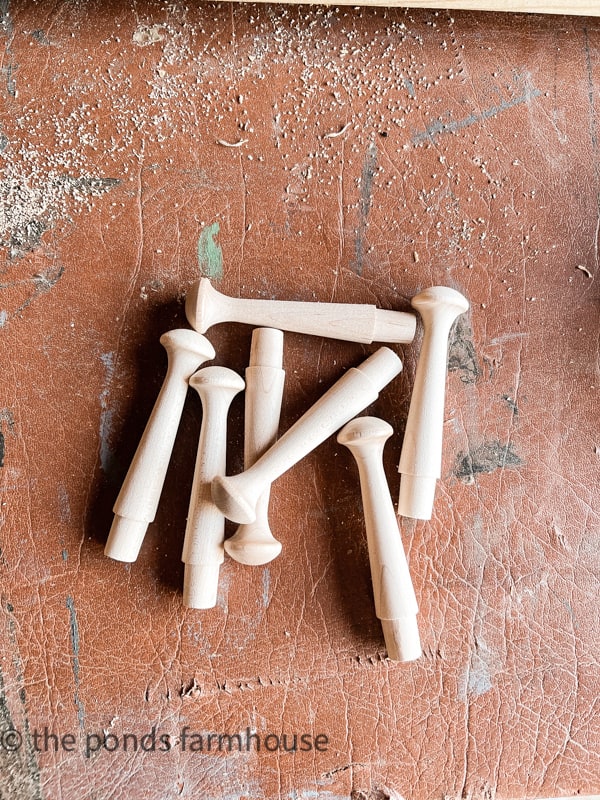
The shaker pegs were attached to the repurposed shelf with wood glue. Now, the top of the accent wall is complete, and we are ready to add additional wood and create our accent wall.
Building Wood Accent Wall
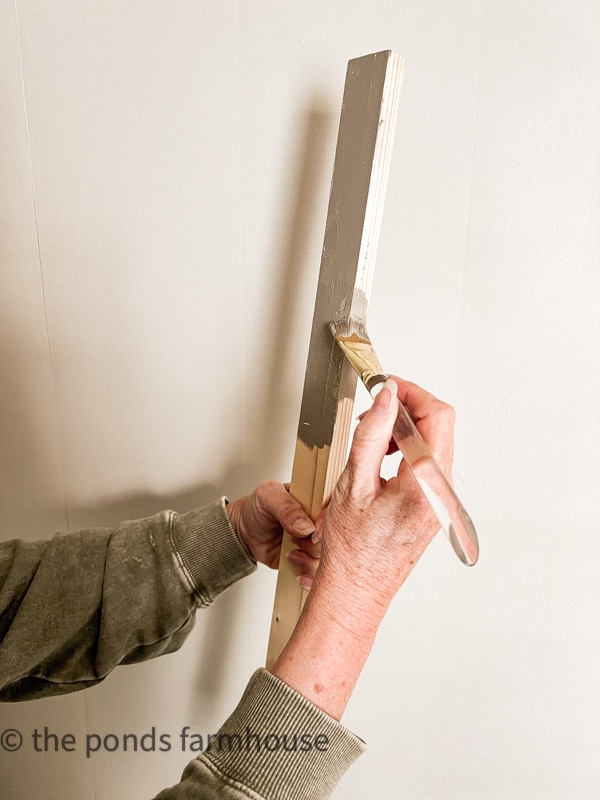
First, we purchased 5- 1 x 3 x 6 pine boards to use as trim pieces, and I had some trim paint mixed to match the French Linen Shade of Chalk Paint I had used on some of the furniture in the cottage.
In addition, to avoid getting trim paint on the newly painted walls, I painted the edges of the boards that meet the walls before attaching them.
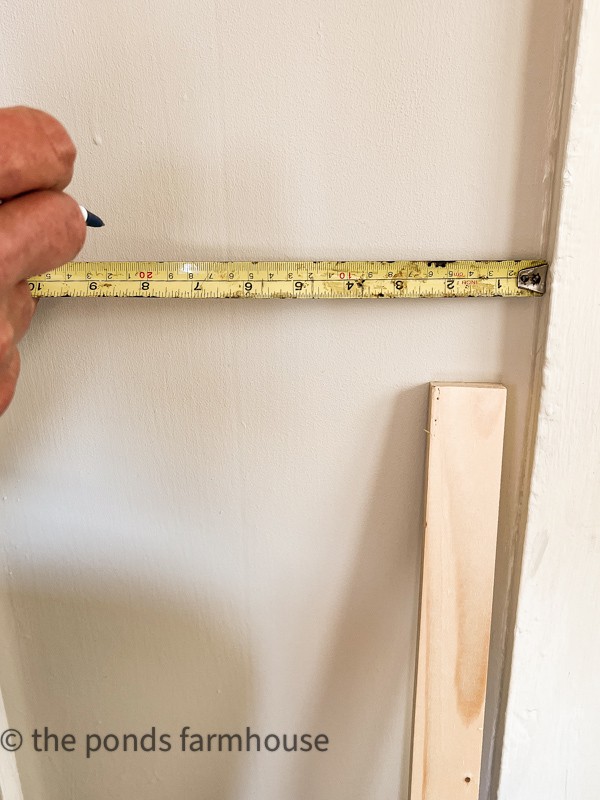
Measure for the accent wall trim boards
Next, using a tape measure and a level, measure and mark the placement of the trim pieces. We added one trim piece at the top of the wall horizontally, and the remaining four pieces were installed straight up and down vertically.
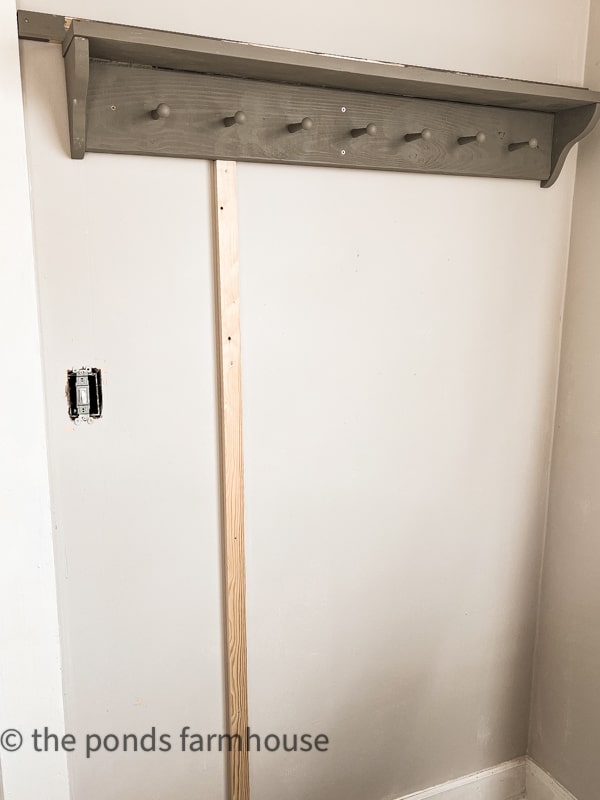
Also, the wooden shelf was previously painted to speed up the installation. Using wood screws, the shelf was screwed to the wall just below the top trim board.
Next, the vertical trim boards were cut to attach under the shelve and down to the baseboard. They were easily attached using finishing nails.
The entire wall, within the accent area, was painted with the accent color paint that was a custom mix.
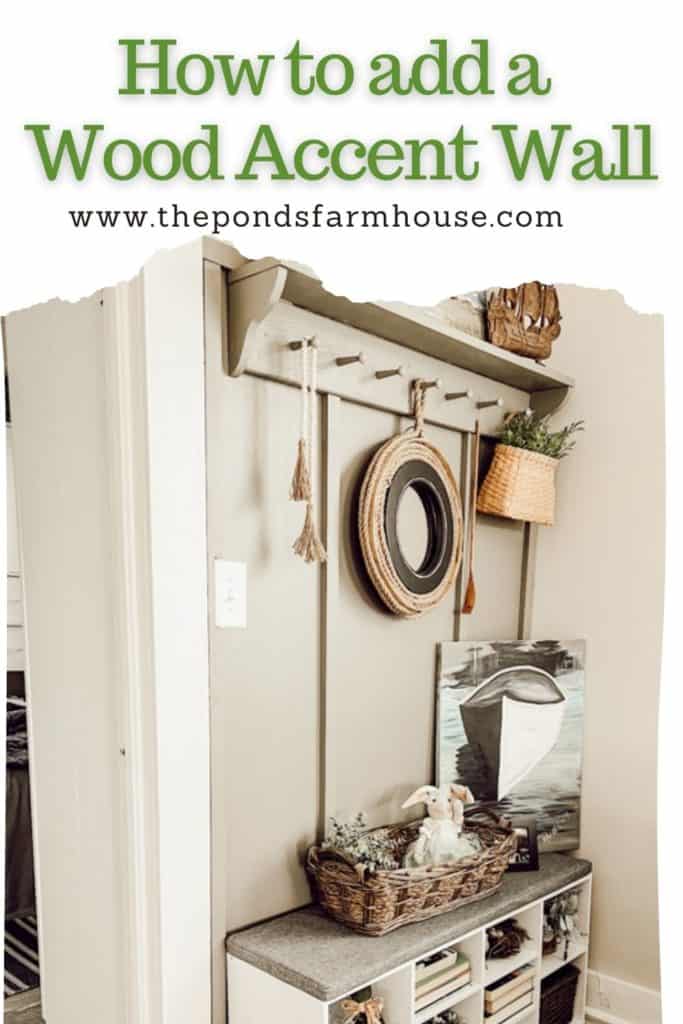
Added Depth To Room With Accent Wall
Initially, I was concerned that the darker accent wall would make the room feel smaller. However, the opposite was true.
The accent wall actually adds so much depth to the room.
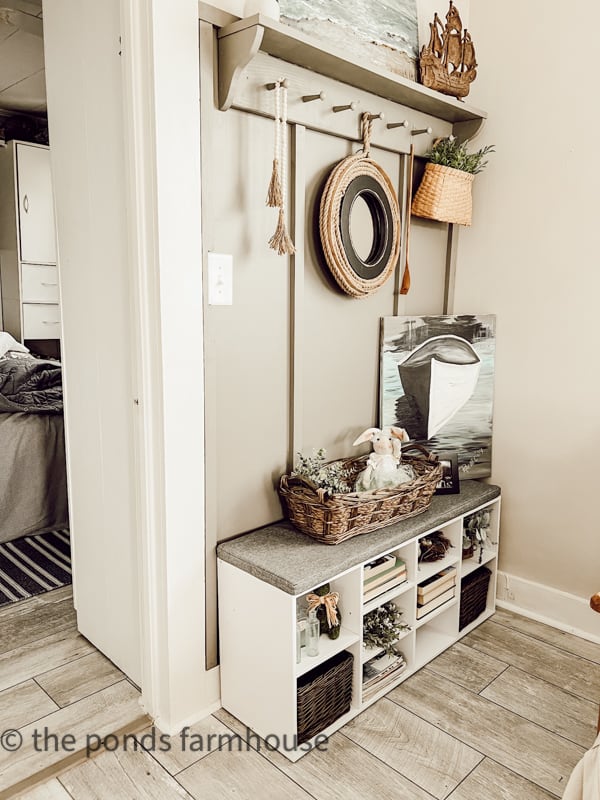
Now it’s time to decorate and add the bench to the accent wall.
Adding a Storage Bench
This Shoe Bench Storage Cabinet from Vasagle Furniture was added to complete the wall and add much-needed storage.
The storage bench holds extra books, magazines, games, and photos and provides seating if needed.
It’s the perfect petite size for the limited space in the beach cottage.

Decorate the Wood Accent Wall
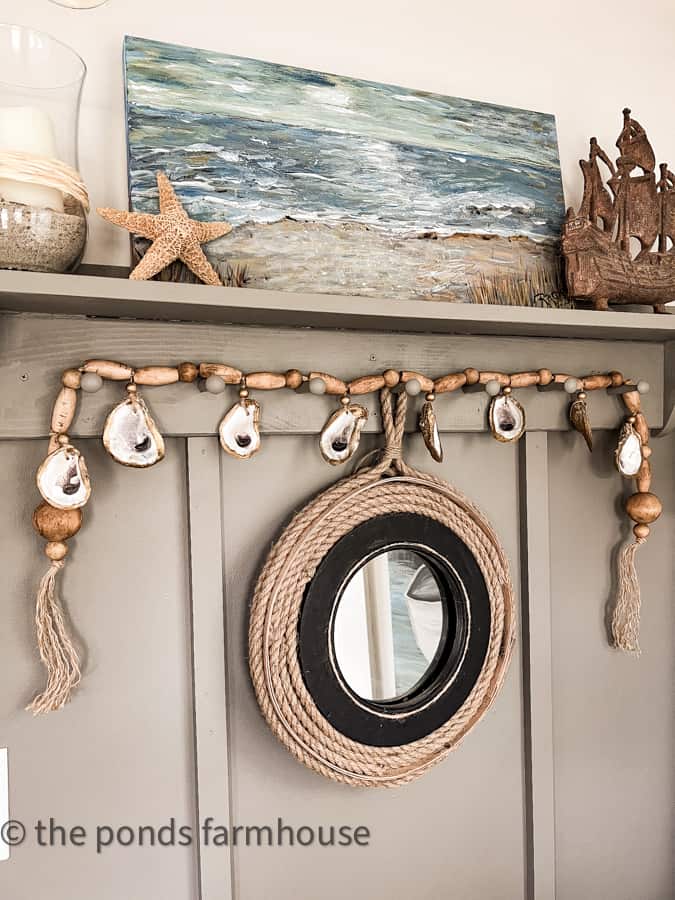
The DIY Nautical Mirror I shared earlier this week is perfect for the accent wall.
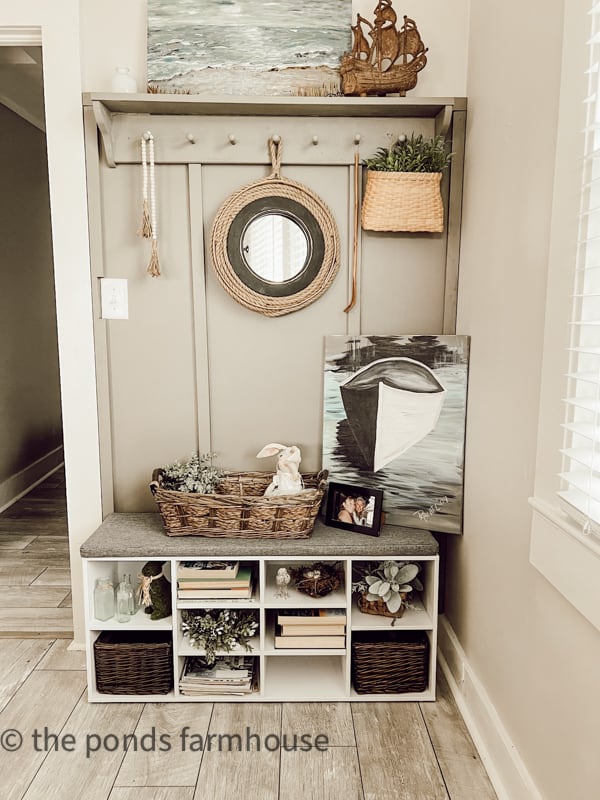
The wall shelf, shaker pegs, and storage bench all combine to hold a combination of paintings, vintage pieces, and thrifted finds.
Several DIY accessory pieces have been added to decorate the wall seasonally. The DIY Oyster Shell and Cork Garland looks good year-round, while the Upcycled Can Star Garland is perfect for our patriotic holidays.
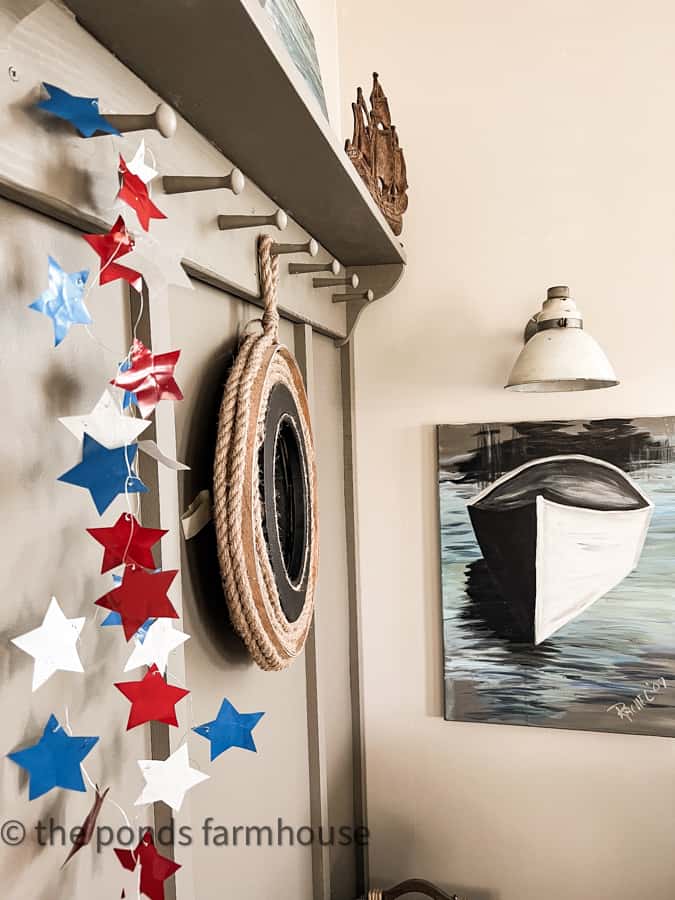
The previously difficult-to-decorate wall now holds many treasured pieces, adding depth to the tiny room.
I hope you enjoyed seeing how easy it is to add a Wood Accent Wall. It’s amazing how this wall changes the feel within the tiny cottage.
More Budget-Friendly Remodel Ideas
See additional projects for the Tiny House Beach Cottage Remodel.
- Tiny House Ideas for Beach Cottage Before & After
- 7 Creative Small Bedroom Ideas
- How To Build An Open Kitchen Cabinet
- Thrifted Coastal Farmhouse Decor on a Budget
- How to Make A DIY Nautical Mirror
- How To Use Wall Stencil To Create Faux Wallpaper
- Small Bathroom Budget-Friendly Remodel for under $500.
- Clever Ways To Add Lighting Without Wiring
- DIY Oyster Shell and Cork Garland

Thanks so much for stopping by today!

Pin It To Remember It
Did you find some great ideas you’d like to save for future reference? Hover over the images you’d like to save and pin to your favorite Pinterest Boards when you see the PIN button.


Hi Rachel, Just wanted to say Thank you for sharing all of your projects, recipes and DIY inspirations. Everything just makes me feel right at home. I am all about the rustic and farmhouse look and I like to shop for antiques. I just love the new hardware on the French doors and the way you have your porch decorated. I have to tell you that I fell in love with one of your prints “Sophie” The Silent Night cow. She belongs on my wall. I will be definitely be purchasing her this year. Thanks again
Frankie,
You are so kind. I’m so glad that you feel right at home because that’s what I try to accomplish with my blog. I want you to find inspiration and feel welcome. I appreciate your kind words so much.
Very nice! It’s always helpful to have extra places to hang and/or store things. I have to say ( no disrespect intended) I never quite get putting books in backwards ( but then books are my weakness, along with gardens, pictures, antiquing, crafting, chickens …🥴🤣) so you can’t see the spines with the names…even if they aren’t for reading they add something to the decor. But different decorating ( different anything) is what makes this world so interesting, isn’t it?
Hey Cindi,
That’s so funny because my husband feels the same way about the books. It’s just a design trend to keep things neutral and I’m sure I’ll be turning them around before you know it. Thanks so much for stopping by. I appreciate your comments.
Love it all! The shelving in the bench is wonderful allowing for more storage plus sweet to the eye. Great job!
Pam,
I’m so glad you like this project. It’s really easy to do and makes such an impact.
Just wonderful. To purchase a unit like this would be four or five hundred dollars or more and would never have the charm yours does. This is creative knocking it out of the park. So happy I found your site. You inspire hundreds or perhaps thousands of people.
Diana
You are so sweet. I appreciate your comments so much. I’m so glad you like this project. We are so happy with it ourselves.
A lot of work went in to transforming that heart peg shelf but it looks perfect! What a great team you both make. That boat and sea art really make the space. Your mirror is an original great creation. I love it!
Lori,
You are so sweet and I appreciate all your comments. Thanks so much for stopping by.
Some great ideas here. Thanks so much, Rachel!
Dori
I’m so glad you like it.
This looks amazing. Thank you for sharing this beautiful idea.
Debbie,
I’m so glad you like it.
What a great idea! Love how it looks!
Stacy
I really appreciate thiis.
OH, how I wish I had a spot in my house to add this cute idea. You are so creative!
Jean,
I didn’t think I had a spot but this empty wall turned out perfect. Thanks so much.
Rachel, your husband is a gem! What a transformation. I really love the paint color too. You are so creative. Each week I am in awe!
Mary,
You are so kind. I appreciate your encouragement.
I love everything about this accent wall. It’s perfect. Please share it on The Fabulous Friday Link Party. You can find it on my website. Hugs to you.
Renae,
Thanks so much sweetie. I have shared.
So creative Rachel!! I’m wondering what color the walls are?? Love them.
Jo,
the walls are Balboa Mist by Benjamin Moore.
Such a great idea and wowza, it turned out fabulously! And those paintings – my stars they are gorgeous!
Oh you are so sweet. I appreciate the compliment.
Such a great idea! It turned out so beautiful! I love seeing your beach cottage come together!
Kristin,
I really appreciate this.
Thanks!
I’m just loving how this turned out Rachel. Great job.
Kim,
Thanks for your encouragement.
Another beautiful use of space, Rachel! I LOVE this so much. The color you chose and all the accents not only make it warm and inviting but functional too. I can’t believe you found that rack for $7.50 either. It doesn’t even look like the same piece. We need a similar shelf for our laundry room so I’m going to be on the lookout for a shelf now too. Everything you’ve done is so fabulous! Hugs, CoCo
CoCo,
I couldn’t resist that hardwood shelf. It was a steal with wood prices the way they are today. Thanks for stopping by.
Love this!!! Great job love how it turned out!! Geeat extra seating too!!
Thank you Debbie!
Your accent wall is charming. Everything you do is inviting and makes your friends feel welcomed when they come to visit.
I think the purpose of “home” is to say, “please come in and visit”.
Diana,
I love this! Thank you for sharing.
I LOVE THIS. IT’S SO PRETTY!
Thanks Renae
I missed this the first go around. Those shelves with heart were everywhere at that time.
You made it look brand new.
Darker colors can make a small area look grand.
Cindy,
Thanks for your comments. Yes, the shelf was a steal because of the heart.
Looks SO good Rachel!!! Love how you up-cycled the heart peg shelf!!!
Heather,
Thank you so much. It turned out great and saved us money on materials.
I love this! It looks beautiful. Such a great idea.
Renae,
Thanks!
Looks good! I think you need to do a feature on your husband because of all his handiwork we see. You both hare talented.
Marilyn,
Awe. Thank you! I’m mention this to him.
Good ideas. It looks so nice.
Angie,
Thanks!