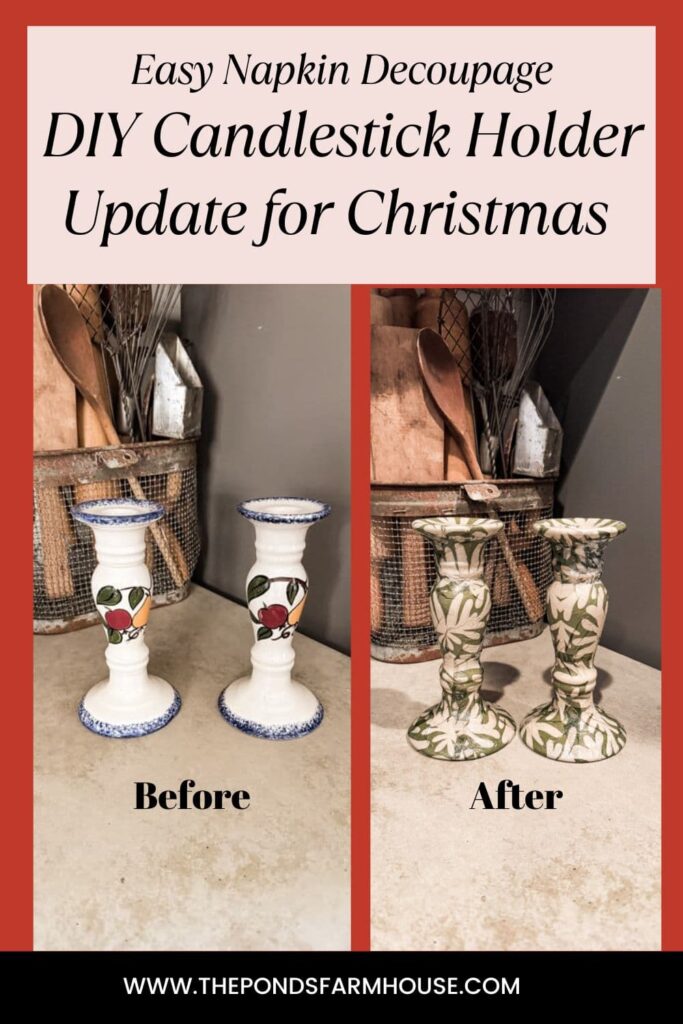
Easy DIY Decoupage Candlestick Holders For Christmas and Beyond
Looking for a creative way to update old candlestick holders? Check out this easy, budget-friendly, DIY candlestick holder craft with decoupage Christmas paper napkins. You may remember when I found these outdated candlestick holders at a flea market for only $1.00. I’ve decided to update them with green and cream napkins for Christmas and beyond. Do you remember when I used these same napkins on a thrifted decorative tray a few weeks ago? Let me show you how easy it is to update these candlesticks with the same lovely napkins.
(Posts on The Ponds Farmhouse may contain affiliate links. As an Amazon Associate, I earn from qualifying purchases. See the full disclosure details here.)
Thrifted Candlestick Holder
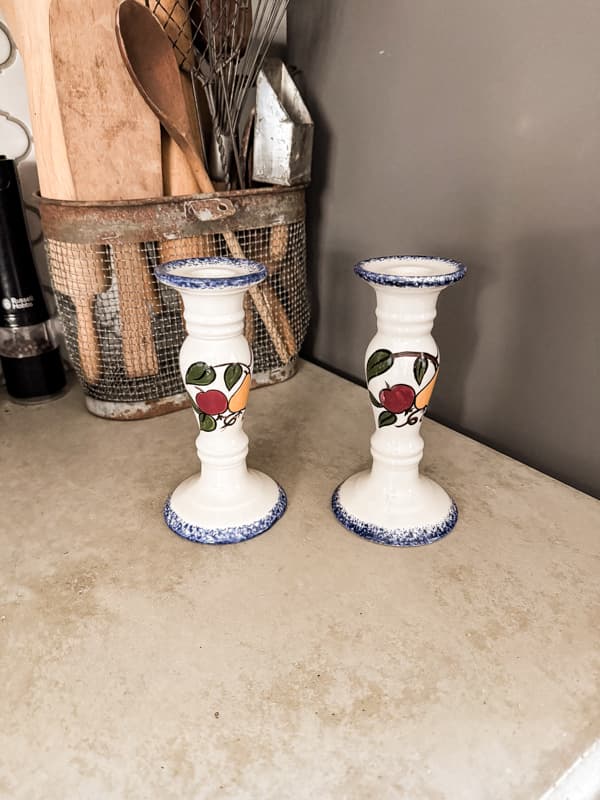
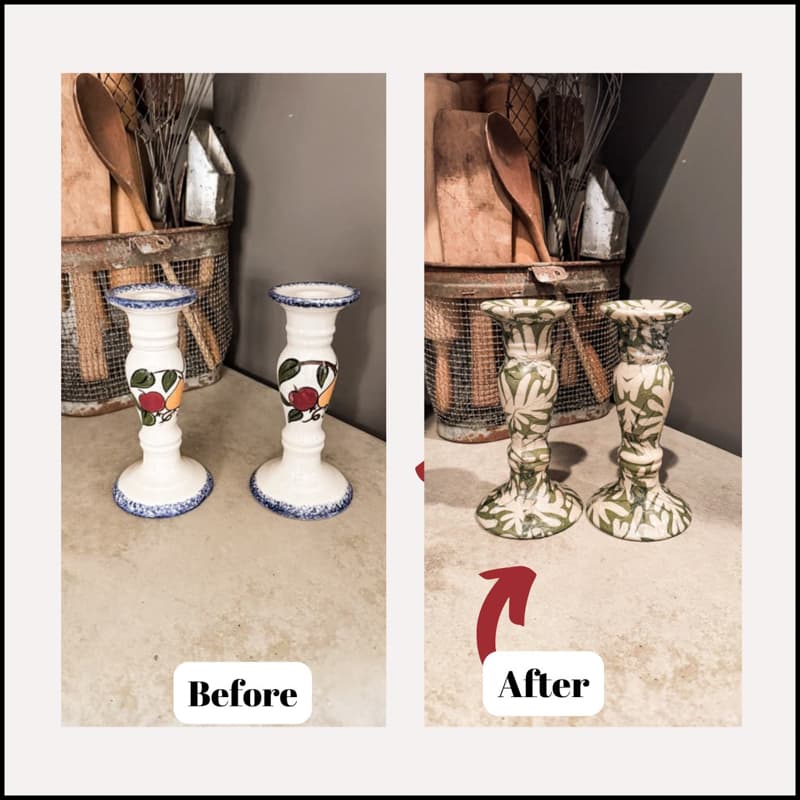
Y’all, can you believe I found these ceramic candlestick holders at a flea market for only $1.00? They are a good size and very sturdy. I knew I could update them to work with my Christmas decor. So here’s what I did.
How To Update Thrifted Candlesticks?
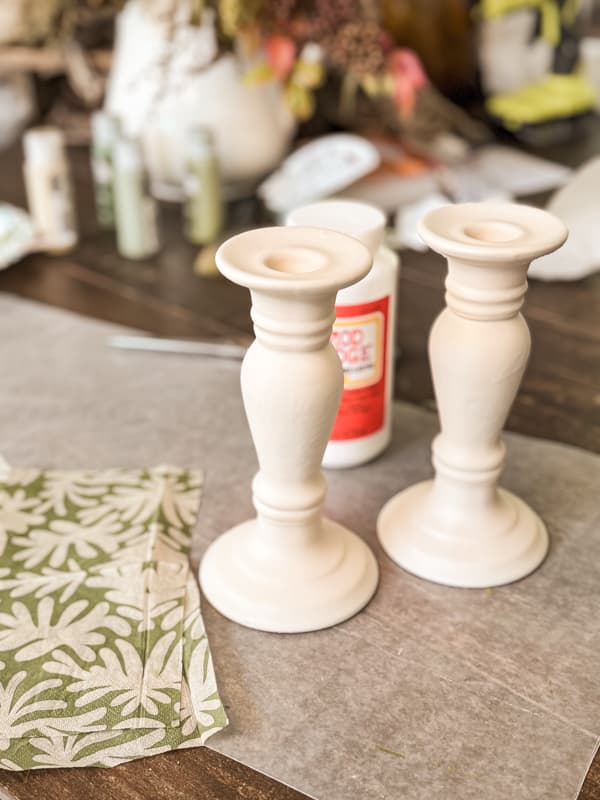
Because these candlestick holders have a decorative design, they needed to be painted before applying the decoupage technique. I used two coats of Chalky White Spray Paint to cover the candlestick holders’ design. Once the decorative design was covered and the paint dried, I was ready to begin the napkin decoupage.
How To Decoupage With Paper Napkins
I am addicted to paper napkins! There are so many beautiful patterns to choose from, and you can update many of your thrift store finds with these easy techniques.
I wanted to update the candlestick holders with decoupage Christmas paper napkins. I already have these green and cream napkins, which I am using as inspiration for this year’s decorations. I know they will be perfect for this project.
Prepare The Napkins
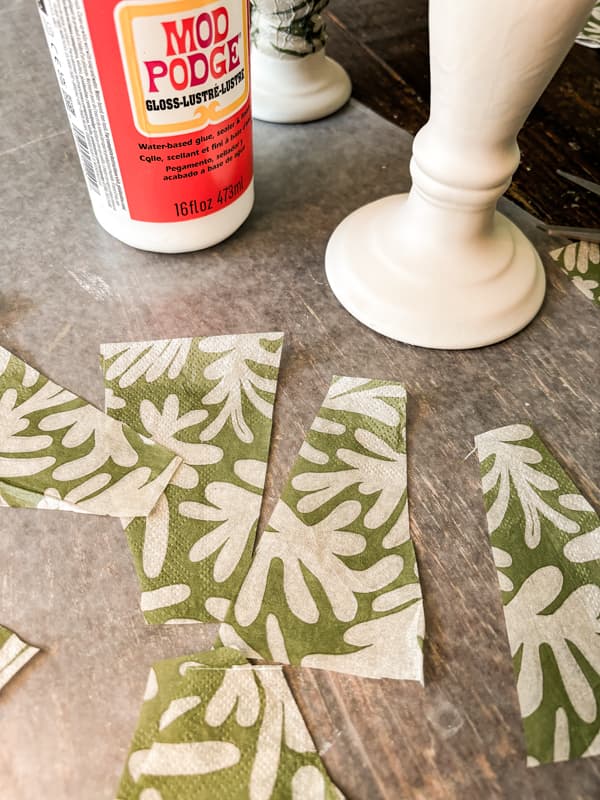
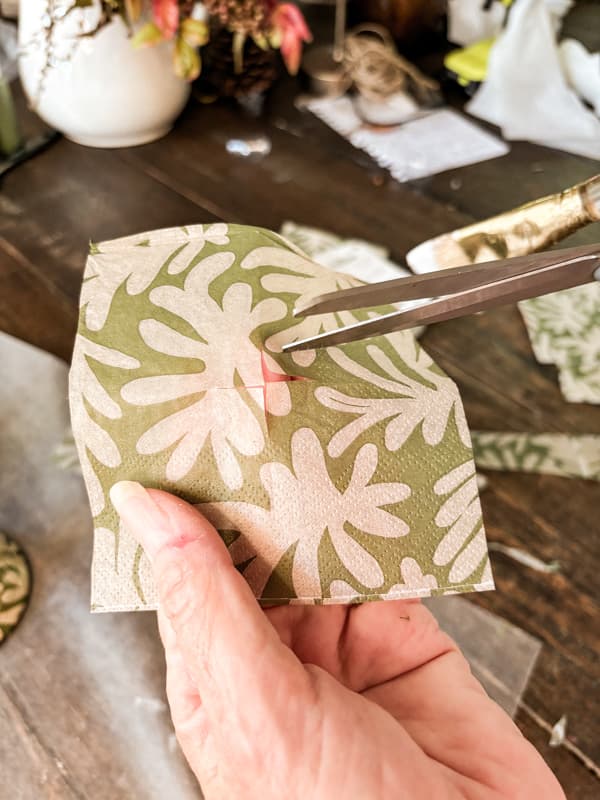
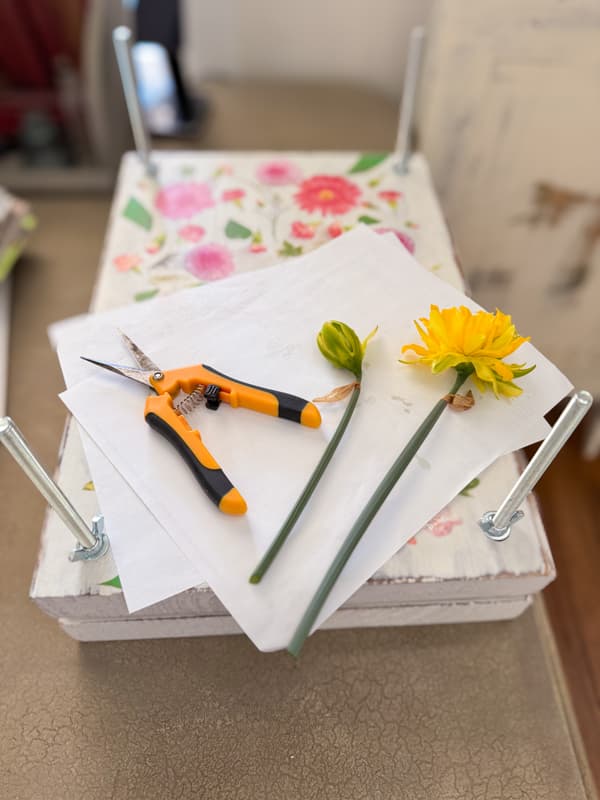
To prepare the napkins for decoupage, I first separated the napkin layers until I had just the top decorative layer. Then, I cut the napkin into pieces that would fit more easily around the candlestick holders.
How To Apply Napkins
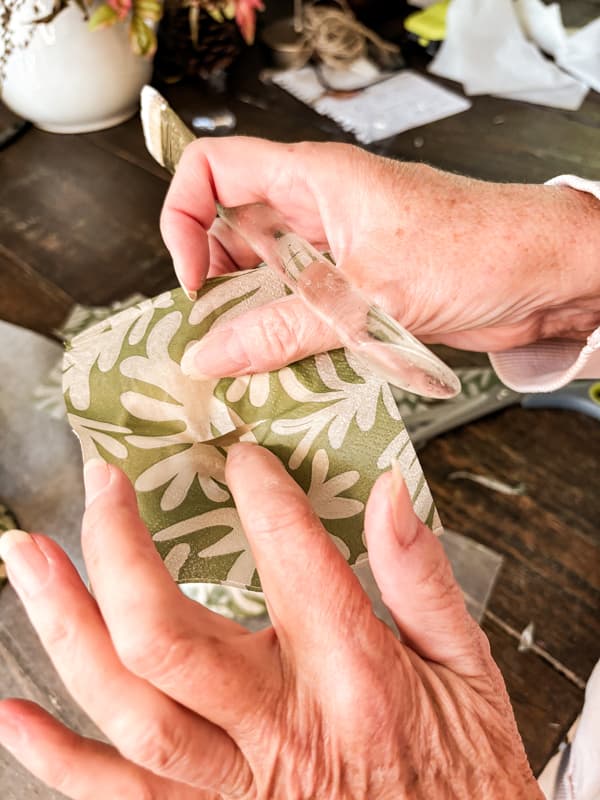
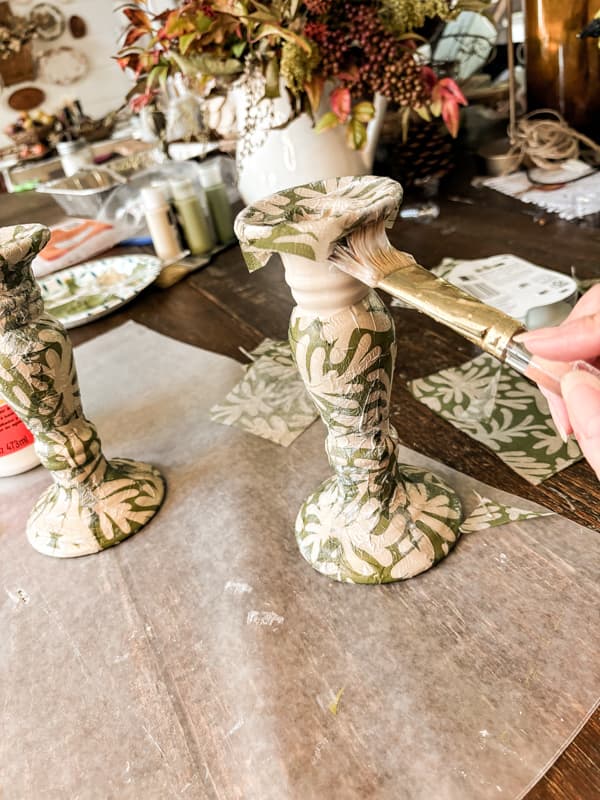
It’s easy to decoupage Christmas paper napkins onto the candlestick holders. Begin at the base of the stick and apply a coat of Mod Podge, where you plan to place the napkin pieces. Gently spread the napkin into place, then use more Mod Podge over the top. Work out any bubbles as you smooth the napkin with your brush. Continue working up the center of the candlestick holder, cutting small pieces and applying them.
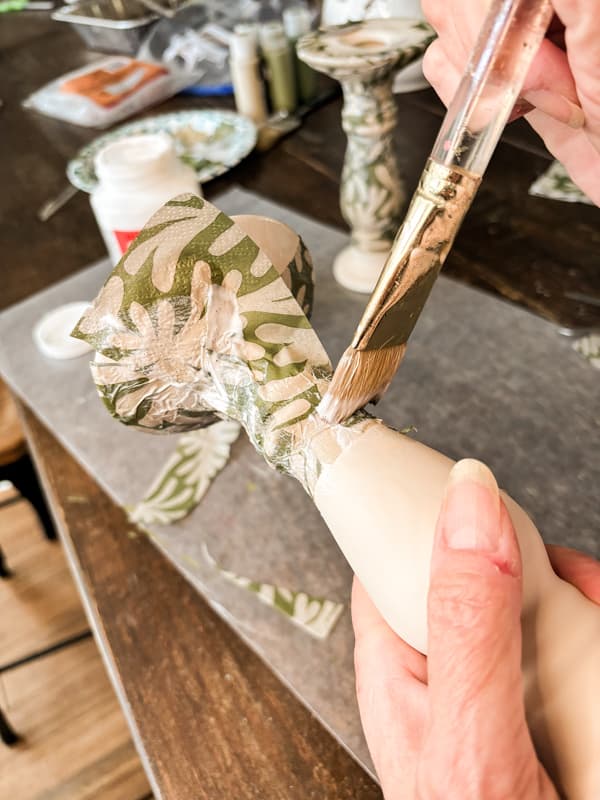

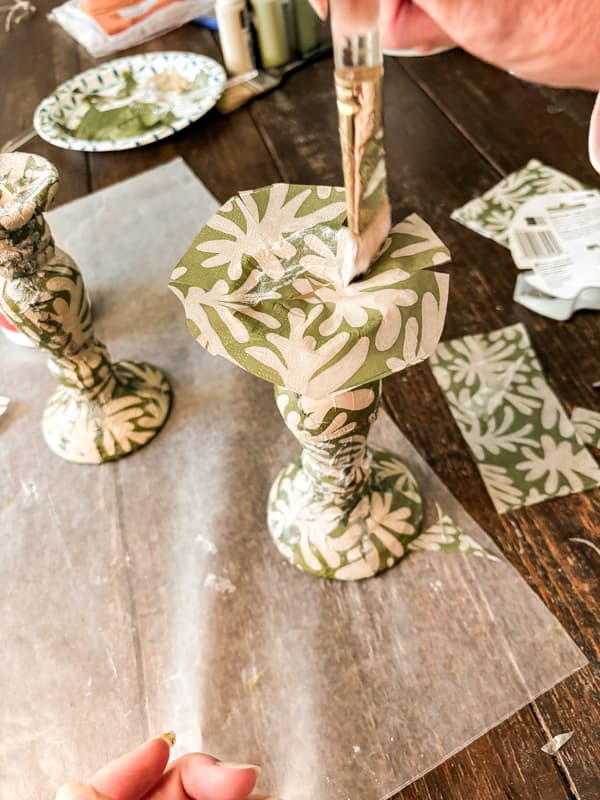
Once you get to the top, cut a round piece covering the candle holder’s top. Cut slits the size of the candle hole, as shown below. Then, cut approximately 1/2 inch into the edges of the circle so it will wrap easily around the top.
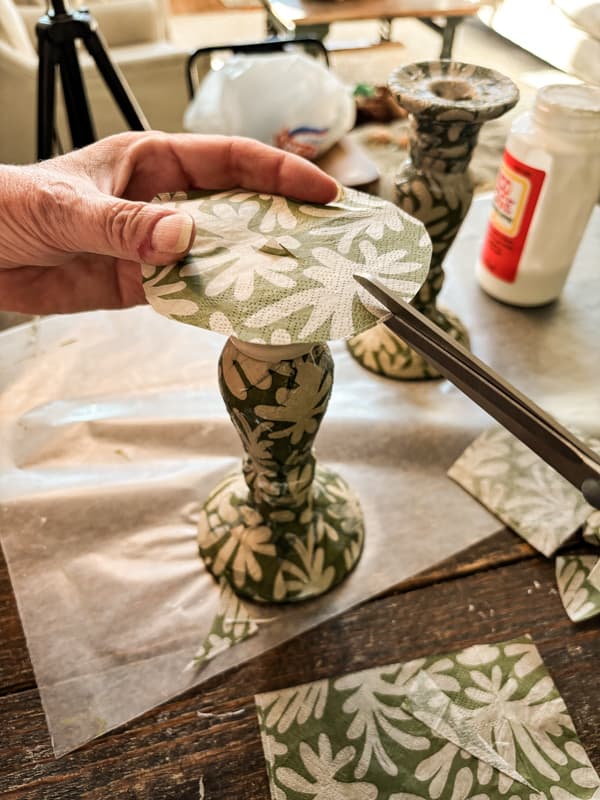
Use your brush to push the napkin’s ends into the hole, then gently wrap it around the underside of the top. Finally, check for any gaps and fill them with small pieces of napkin as needed. Once the DIY candlestick holder is covered, set it aside to dry.
DIY Candlestick Holder Before and After
Don’t you love the transformation? And it was so quick and easy to do.
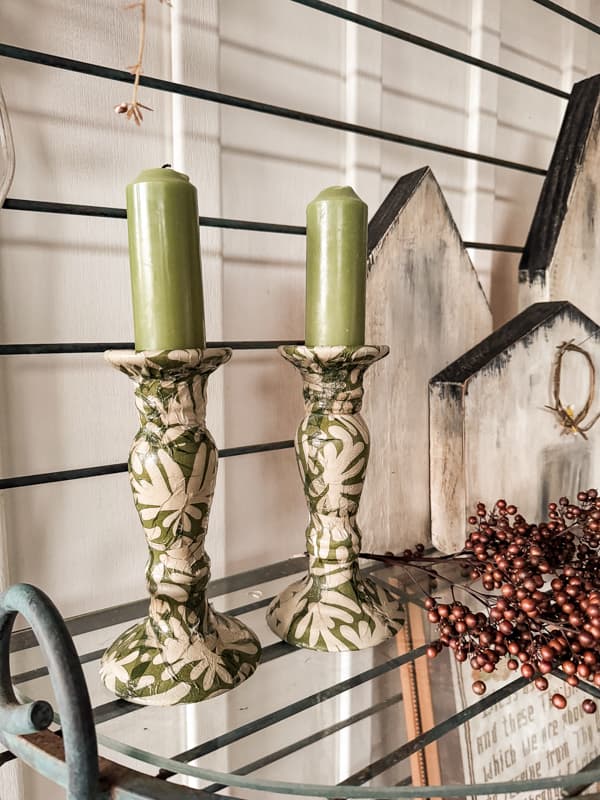
Although I plan to use the green and cream napkins decoupage candlesticks for Christmas, they will be fabulous year-round.
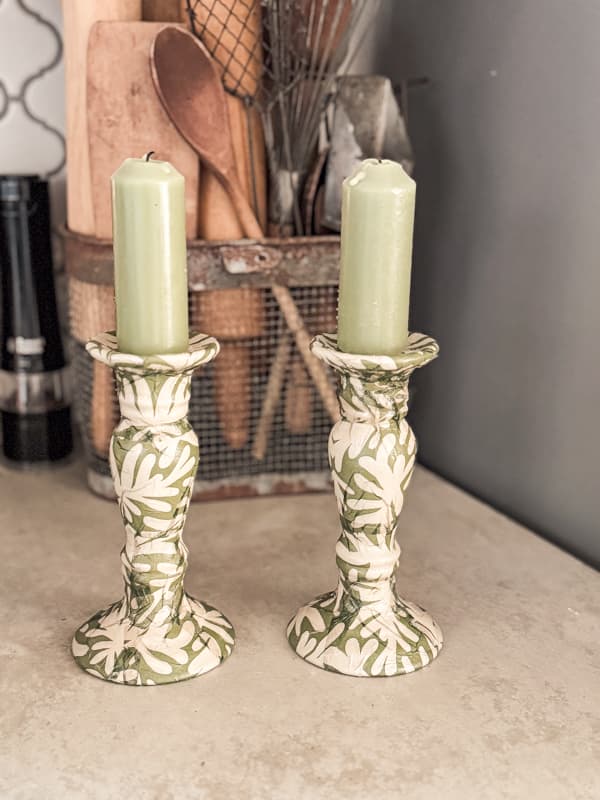
This easy decoupage craft took only a few minutes to complete and cost less than $2.00. The candlestick holders look stylish and festive for the upcoming holiday season. What colors are you using this holiday? Can you imagine some candlestick holders in your color scheme?
Oops!
I am so sorry, but I don’t have a video tutorial for this project. If you can believe it, I thought it was recording the beginning of the project and didn’t have the camera on! Yikes. I have a few sections at the end that I’ll use for my Instagram video, but they are not enough for a full tutorial. I’ll make some more ornaments soon and share that video with you. My apologies.
Related Articles
You will also like these related articles if you enjoyed this decoupage candleholder idea.
- Decorative Tray Update with Napkin Decoupage
- Thrifted Ginger Jar Makeover with Decoupage
- Lampshade Makeover with No-Wrinkle Decoupage
- Don’t miss this adorable and easy idea – How To Turn Dollar Tree Vases Into High-end Glass Candle Holders.
Resources
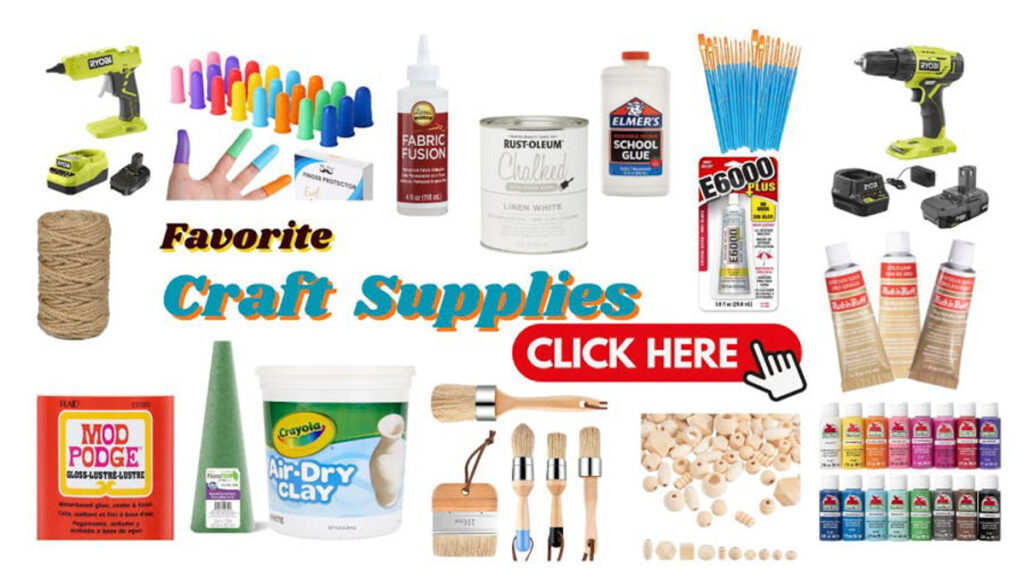
See this project’s favorite craft supplies and resources by clicking the image below.
Thank you for stopping by today, and I look forward to sharing my next adventure with you.

Pin It To Remember It
Did you find some great ideas you’d like to save for future reference? To save, hover over the images and pin to your favorite Pinterest Boards when you see the PIN button in the upper left-hand corner.

So pretty! I love that you can use them all year! Now I have to go on the hunt for some candlesticks! Our thrift stores here are not at all like what you have! Have a great day, Rachel, and thanks again for the great idea.
Mary-Ann,
I hope you find some candlesticks. Just keep looking and I’m sure they will show up. I’m so glad you like this idea. Thank you for your sweet comments. Have a wonderful week.
Oh my goodness – you have the most creative mind ever! Where others see junk ,you see treasure . You know that’s really how God sees us! And speaking of seeing treasure …I am obsessed with that blue and pink crab sweater, I’m sure its no longer available since you added the lobster sweaters on your LTK ,but if it is, PLEASE forward me the info on it .
Thanks, Marilyn S.
btw – you are as cute as a button in that outfit!!!
Marilyn,
Thank you for your encouragement and kind words. Yes, before I could post that sweater it was out of stock. I’m trying to find something close to it and will let you know if I find it. I appreciate you for your support. Have a blessed day!
What a great idea! The new version looks so pretty! Thanks for sharing!!
Ashley,
I’m so glad you like this idea. Thank you for stopping by and have a blessed day.