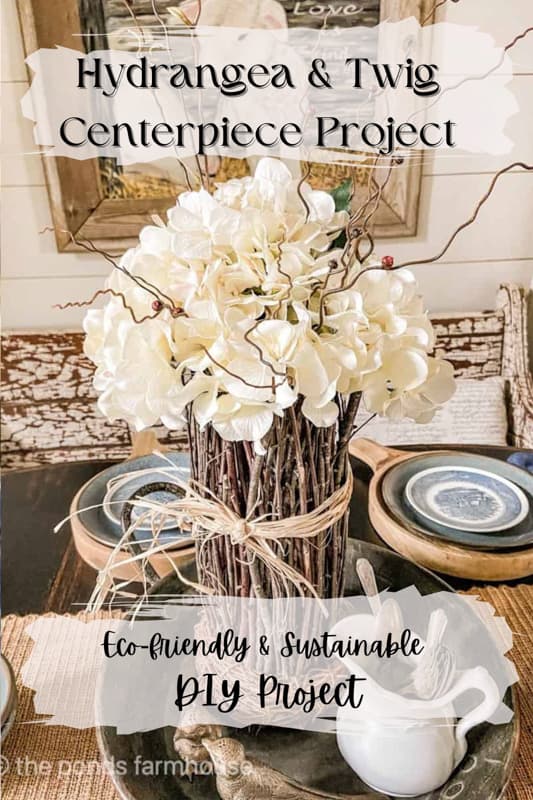
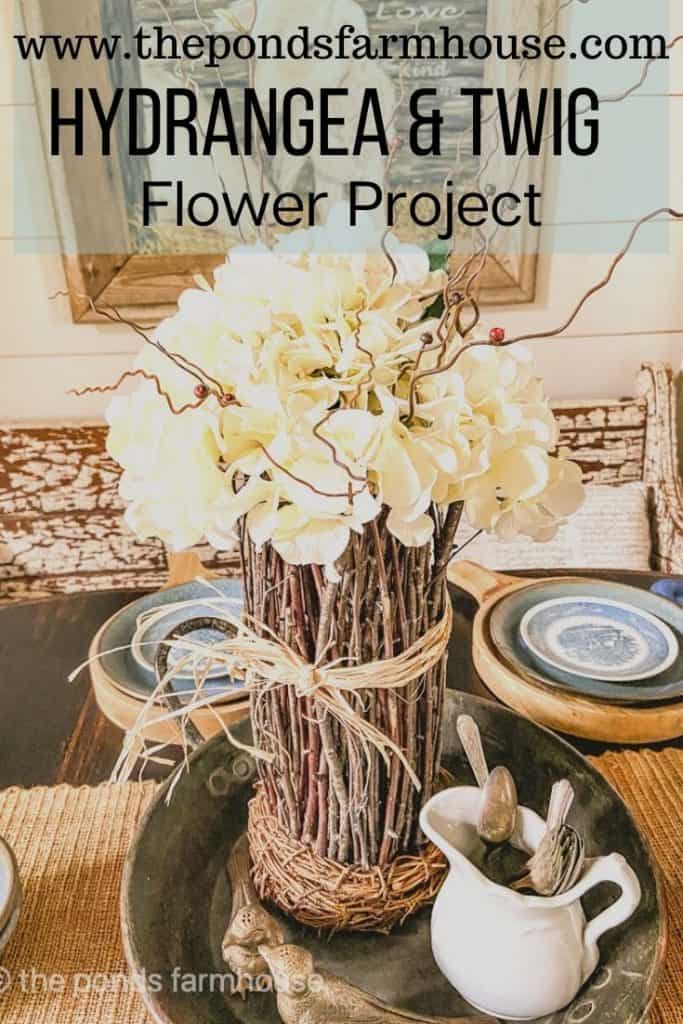
DIY Hydrangea Arrangement & Twig Vase Centerpiece
Do you love hydrangeas as much as I do? Check out this hydrangea centerpiece in a DIY twig vase. Learn how to make the twig vase with gathered materials and how to add artificial hydrangeas that can be easily switched out for real ones while in season. It makes a beautiful centerpiece, and the project includes some foraging, thrifting, and good old DIY.
Y’all, I have a big problem. When I see something I like, I talk myself out of purchasing it because I think I can make it for less. This doesn’t always work out for me. Because either I never get around to making it, or it’s a flop. However, I’m excited to share that this one did turn out just as I anticipated, maybe even better.
Let me show you how I made it.
(Posts on The Ponds Farmhouse may contain affiliate links. As an Amazon Associate, I earn from qualifying purchases. See the full disclosure details here.)
How To Arrange Hydrangea Blooms
Hydrangea Flower Arrangements are among the easiest to execute. The blooms are large and don’t require much filler. Today’s project is made using faux blooms; however, they can be substituted for real blooms when in season.
Therefore, if you are using fresh blooms, follow these simple rules
- Remove leaves below the waterline.
- Then use sharp shears to cut stems at an angle before adding them to the water.
- Begin with smaller blooms around the perimeter of the vase and fill in with larger blooms as you reach the center.
- Add more flowers or stems to fill any gaps.
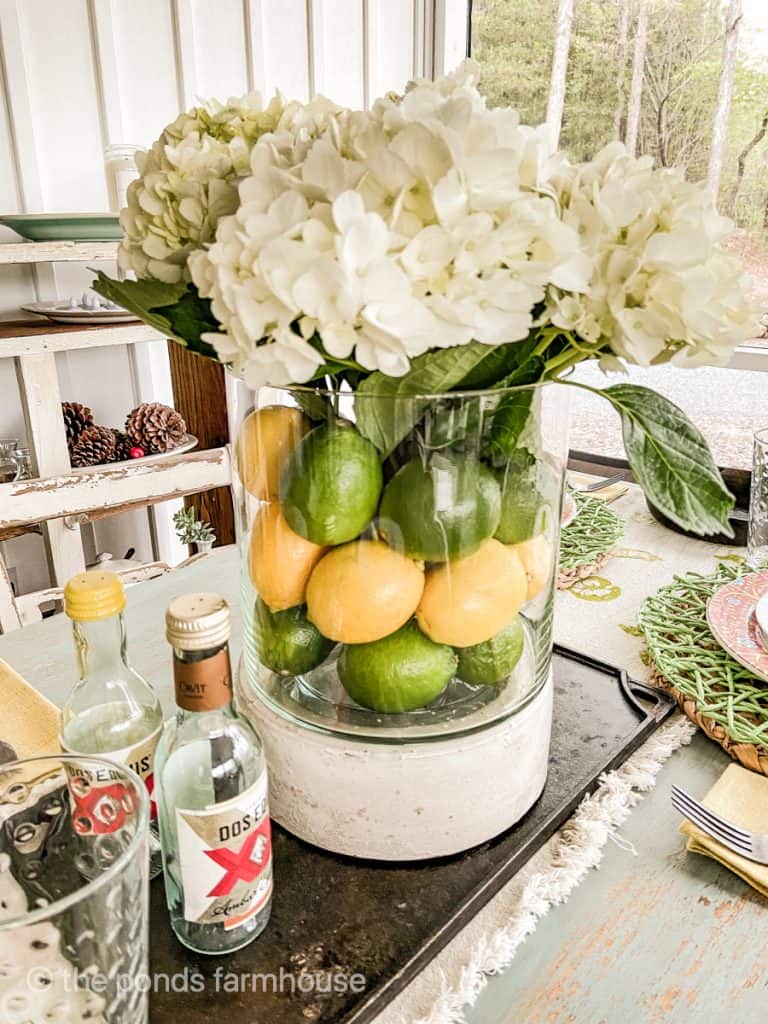
See this fun hydrangea-and-fruit centerpiece created for Cinco de Mayo.
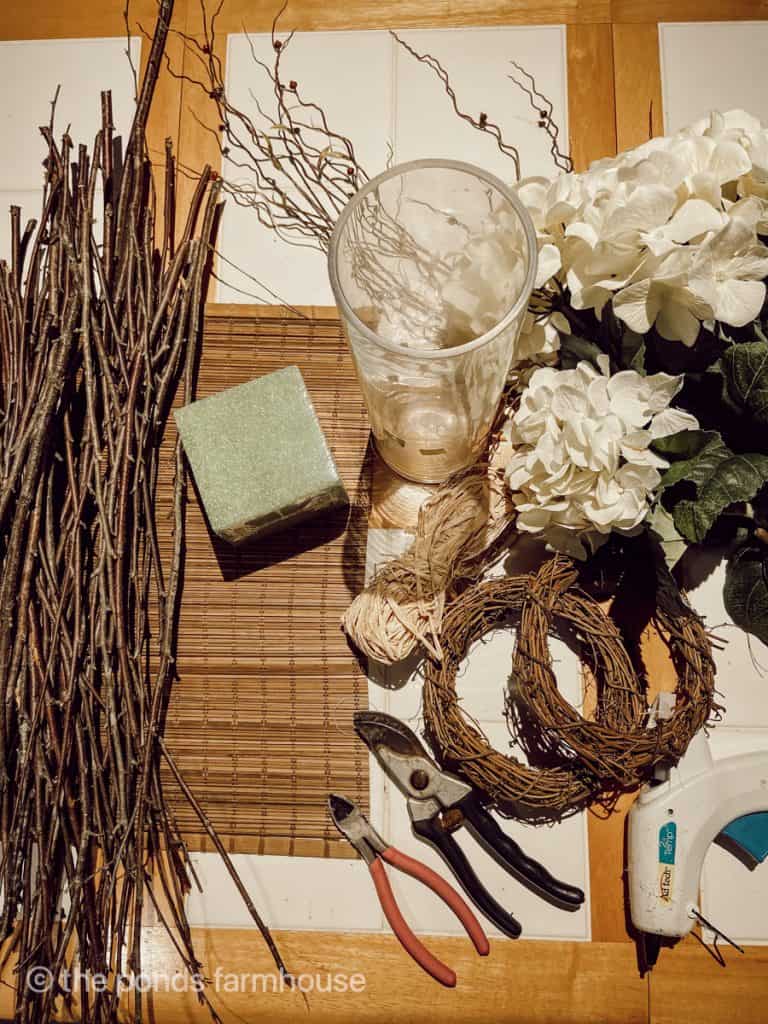
Supplies Needed for Hydrangea Arrangement & Twig Project?
I could forage all my twigs because we have a River Birch tree that drops stems like crazy. The glass cylinder container, placemat, and grapevine wreaths were all thrift store finds, so this project was inexpensive.
- Tall glass cylinder-shaped vase at least 10-12 inches high. If you had a tin can this tall, it would be perfect for this project. See How to Cover A Tin Can with Twigs.
- Twigs
- Something to cover the glass vase with. I found some used placemats that were perfect for the project. You could use craft paper or Brown felt if necessary.
- 3 Grapevine wreaths, approximately the diameter of the glass cylinder or a slightly larger size
- Faux Hydrangeas – approximately seven – you can also use dried hydrangeas and can even switch out the faux for real when in season.
- Faux Twig stem
- Styrofoam
- Hot glue
- Raffia
Thrift Store Finds & Resources
Begin by shopping thrift stores for supplies. Fortunately, I found all these items in one day at two different thrift stores. Sometimes, it just feels like it was meant to be. However, if you don’t have time to search for your supplies, I’ve included links to similar items as well as the hydrangeas I used.
Twigs can be easily foraged by cutting branches from a tree if you don’t find any fallen limbs. The grapevines can also be foraged if you have wild grapevines in your area. I’ve made several small and large grapevine wreaths from a foraged vine.
If you are a DIY fan, shopping in thrift stores can save you money on many items. You might enjoy reading Top Ten Tips for Successful Thrift Store Shopping.
DIY Hydrangea Arrangement & Twig Project
Begin by adding a piece of Styrofoam to the inside of your glass vase. Add a drop of hot glue to hold it in place.
Note: The styrofoam is optional. After adding the stems, I realized that they are very secure without styrofoam and can be removed and changed seasonally. In addition, without the styrofoam, you can easily add water for fresh flowers.
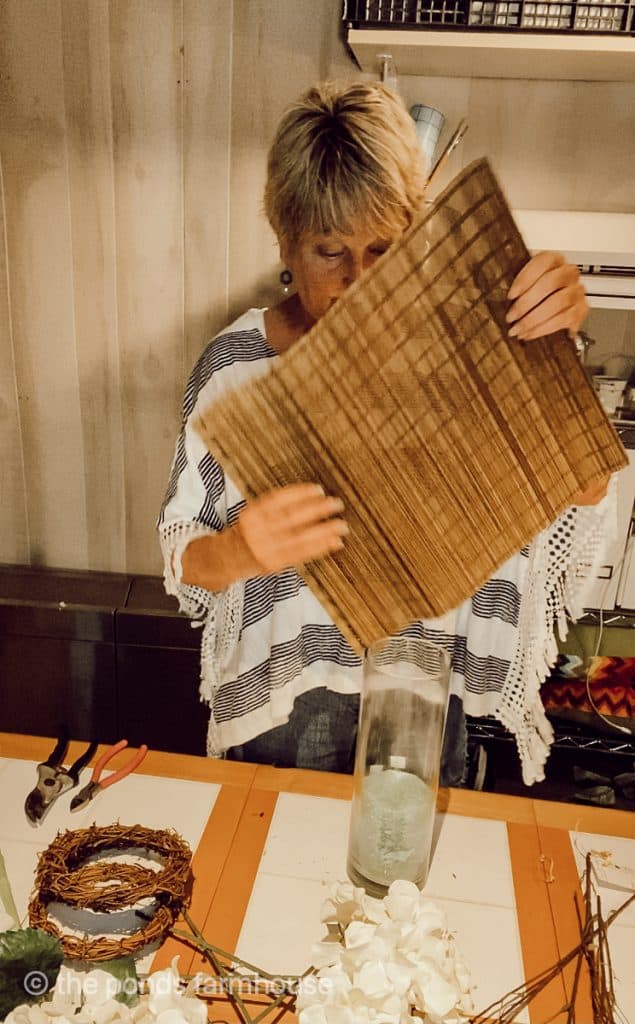
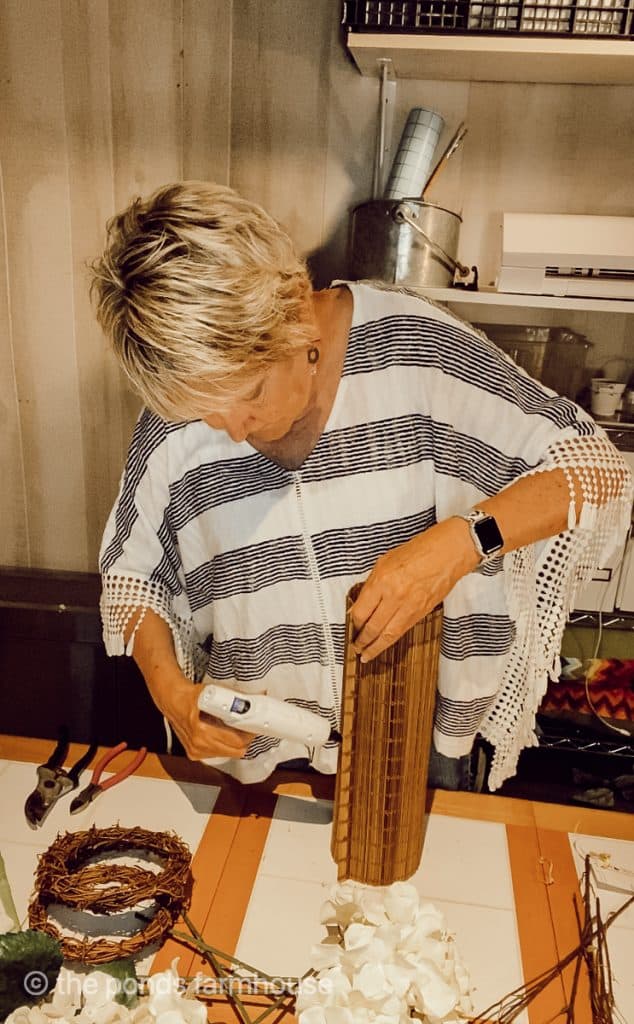
How To Cover the Vase
Since the vase is clear glass, you will want to cover it so that the twigs will have a dark background. Begin by covering the container with your choice of material. To do so, wrap the placemat, fabric, or paper around the container until the glass is no longer visible. Use hot glue to secure it in place.
Another option would be to use a tin can or a ceramic vase instead of glass. Then you can spray-paint your vase the color of your twigs.
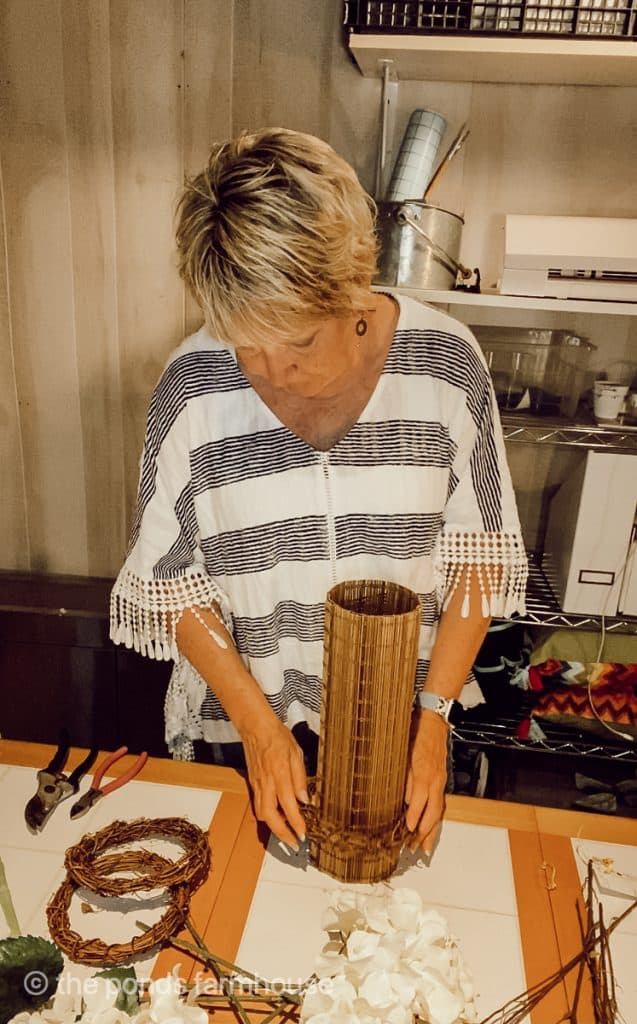
How To Add The Grapevines To The Vase
Next, add the three grapevine wreaths over the covered vase. Just stack all three at the bottom of the vase. Adding the wreaths is optional, but it adds a stylish decorative appeal to the twig vase.
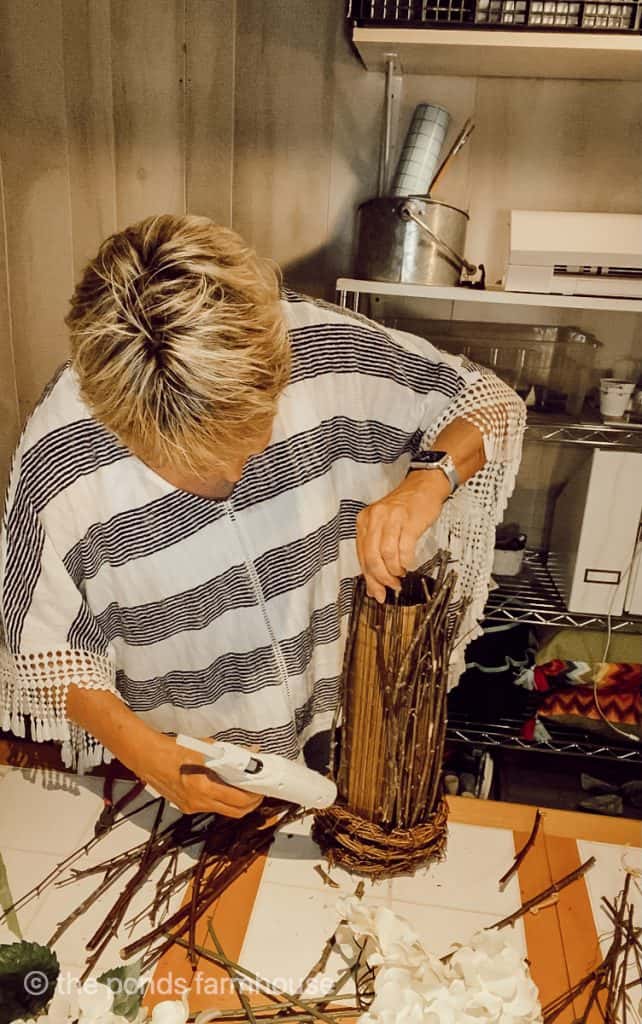
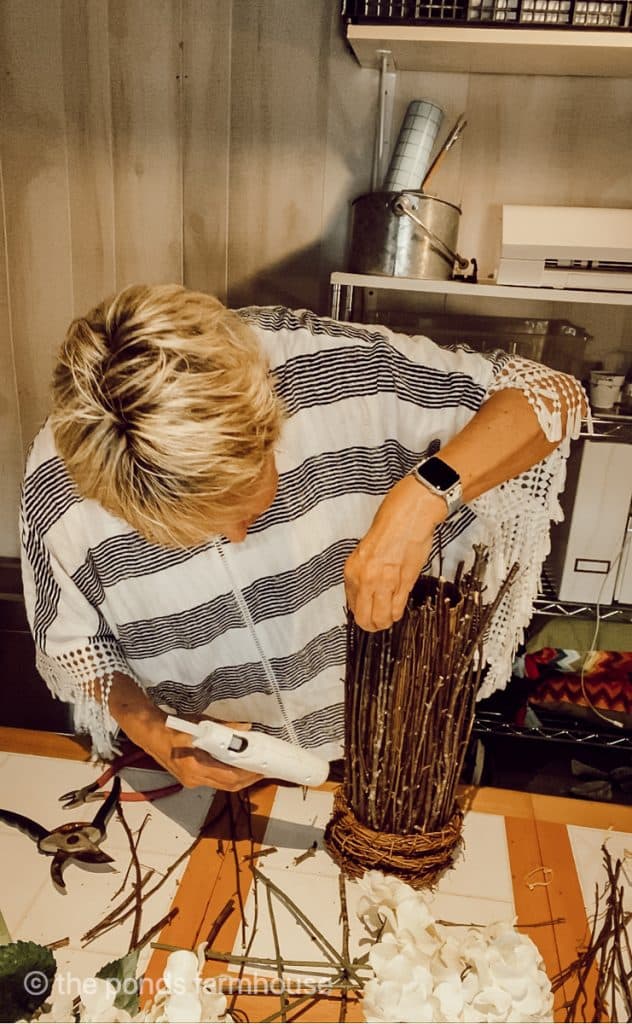
How To Apply Foraged Twigs
Lastly, you will add the twigs vertically to the outside of the vase to complete the covered vase. Here are the helpful tips.
- Be sure to cut the twigs to the correct length so they reach the top of the container.
- To attach the twigs, apply hot glue at the bottom of each twig to hold it in place.
- Add additional glue at the top where necessary.
- To finish, wrap the glass container’s circumference until it’s completely covered in twigs.
It may be necessary to fill in gaps with smaller pieces of twigs and secure them with hot glue.
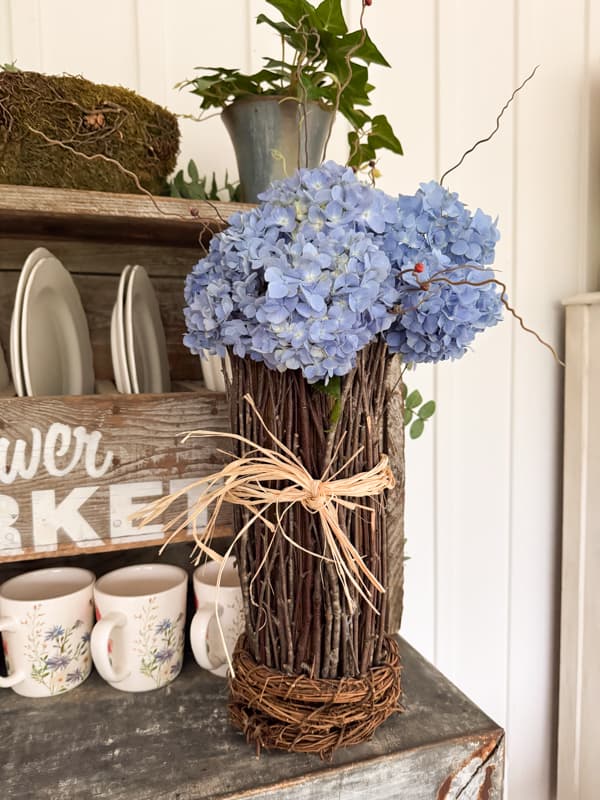
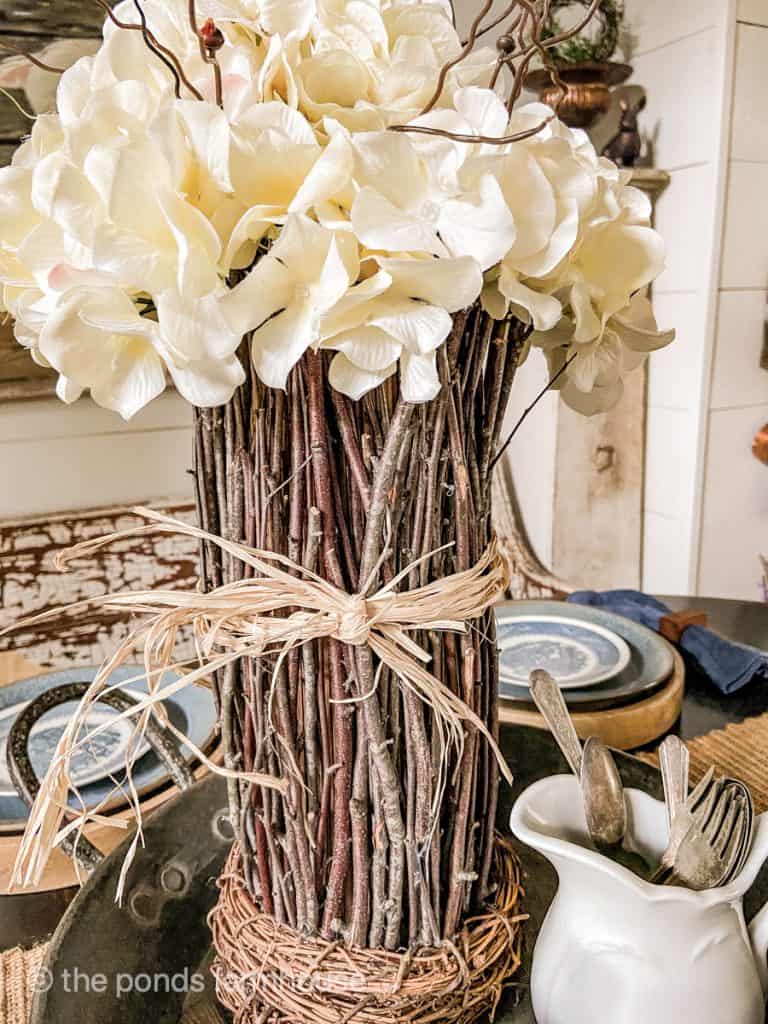
Decorate the Twig Vase
As a finishing touch, I added several pieces of raffia ribbon around the twigs and tied them into a bow to decorate the vase.

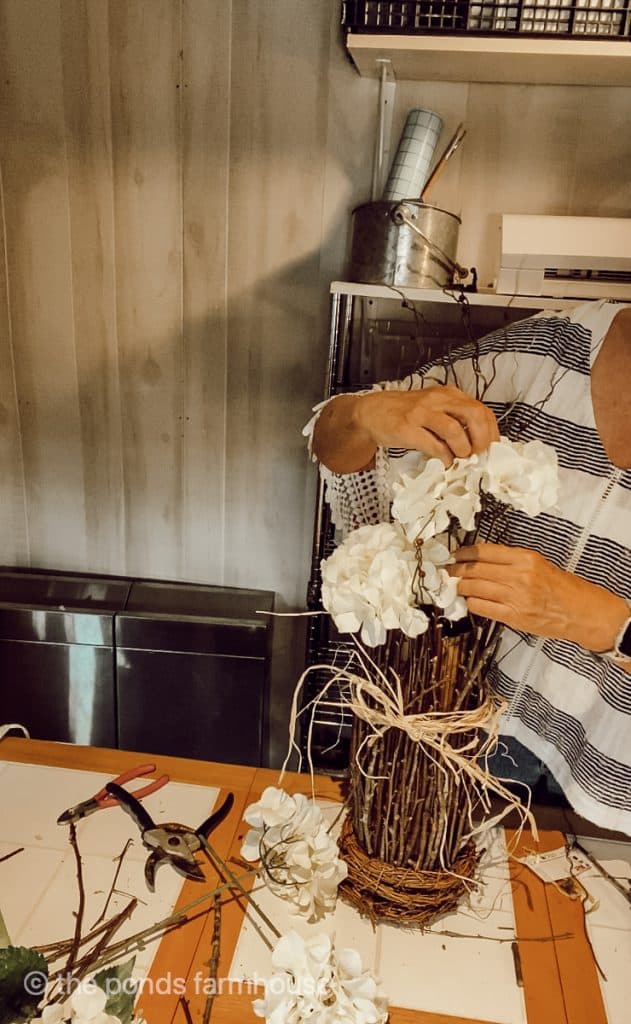
Creating a Hydrangea Flower Arrangement Tips
Now you are ready to fill your twig vase with a beautiful hydrangea flower arrangement.
- Begin by removing the majority of leaves from the hydrangea stems.
- Cut the stems so that the blooms rest at the top of the twig vase. Then, completely fill the vase with hydrangea blooms.
- Next, add real or faux twig stems to the center of the arrangement.
- As you add the twigs, allow them to branch out away from the center of the arrangement so that one last bloom can be added.
- Finally, add the one final bloom to the center of the twigs and allow the twigs to intermingle with the last bloom.
I found that not all the stems need to be secured to the styrofoam. Because the arrangement is tightly packed, the blooms will easily stay in place as long as the first few stems are secured.
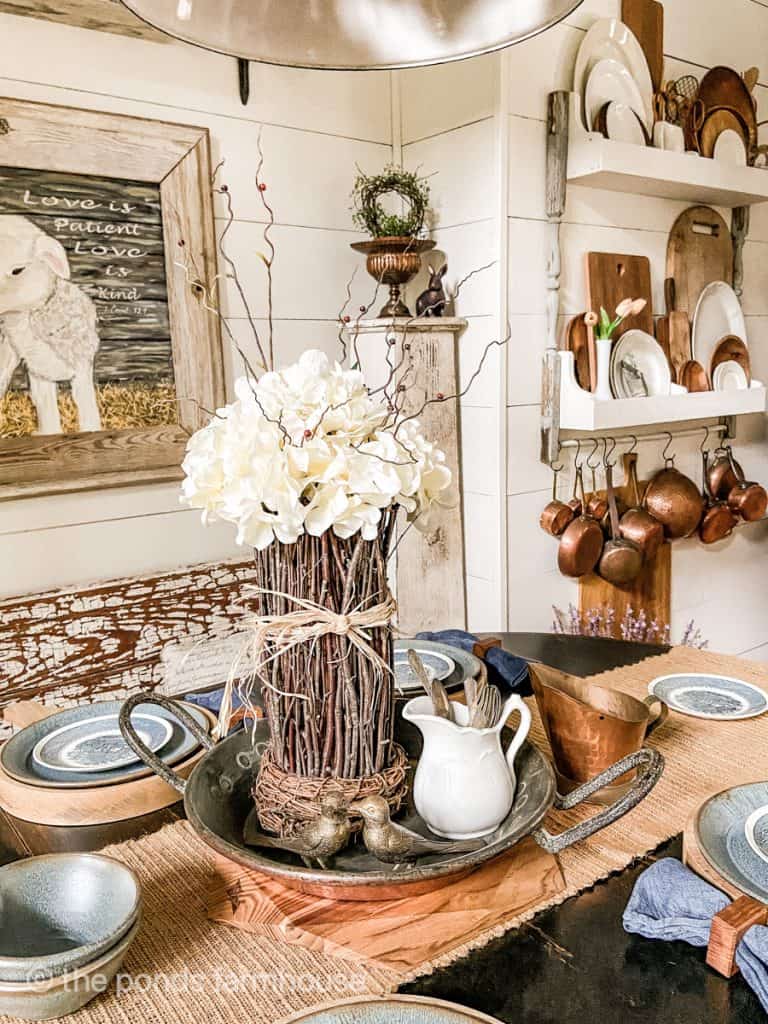
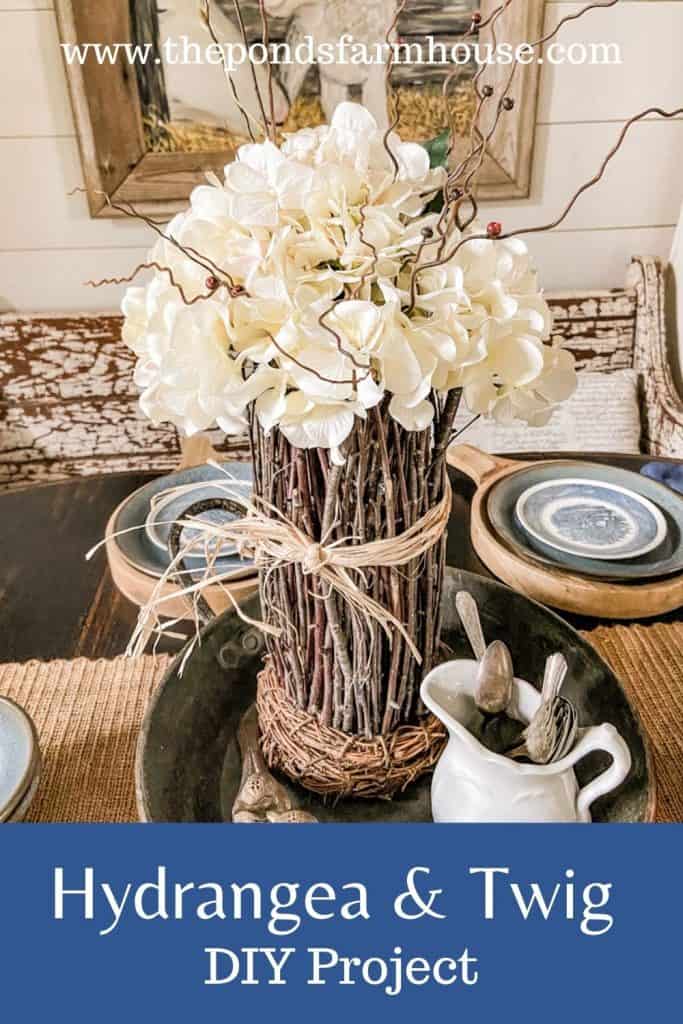
Hydrangea Flower Arrangement & Twig Centerpiece
The DIY hydrangea centerpiece adds rustic charm to the dining table. This stylish addition can also be added to any room in your home.
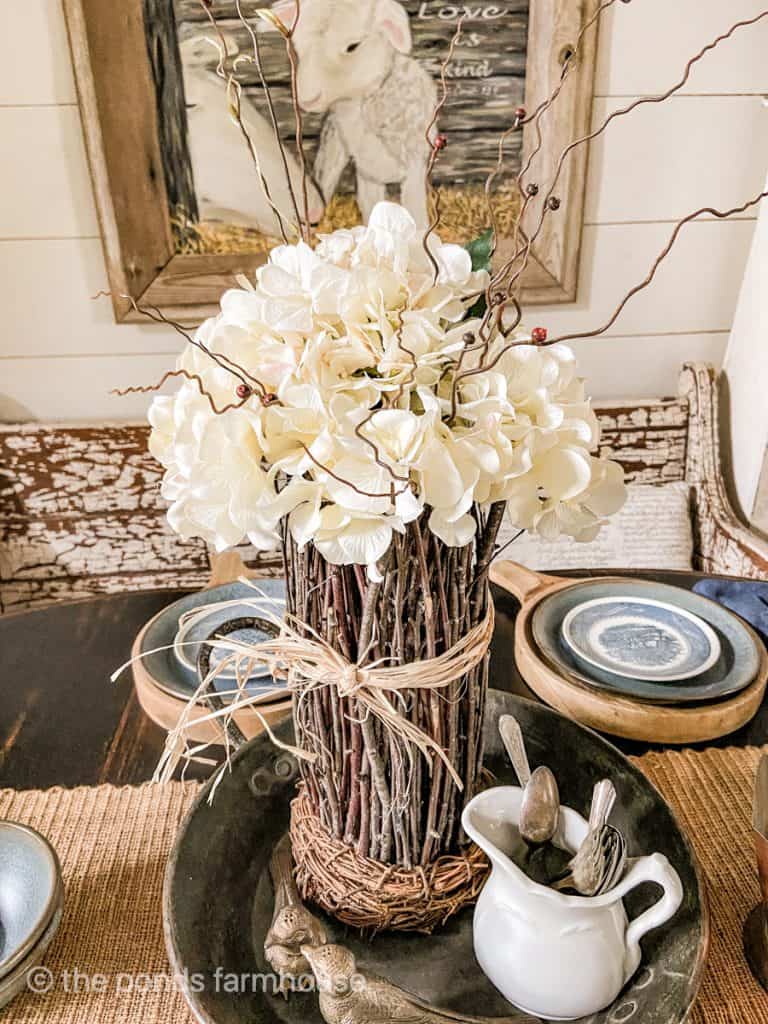
It’s hard to believe I only spent $18.00 on this project, which was very easy to make. The hardest part was gathering and cutting the twigs to size.
If you are willing to search thrift stores for bargains, you can save a lot of money. Be sure to join me each month for our Thrifting with the Gals series. My friends and I share tips on where to shop, what to shop for, and how to use your bargains.
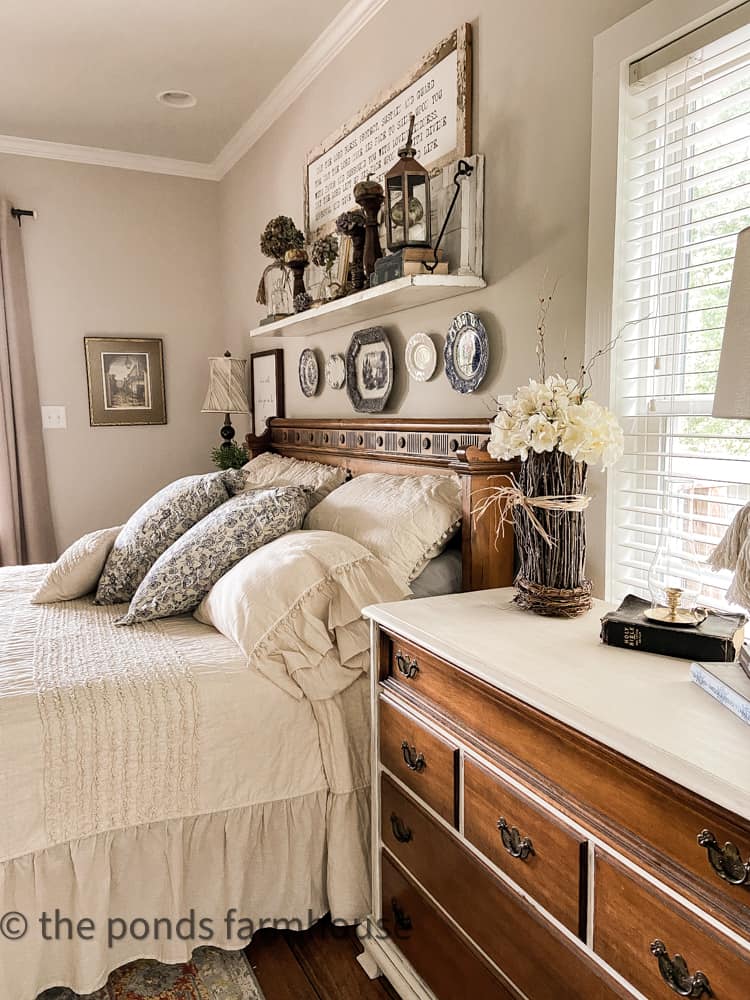
The hydrangea flower arrangement looks great for any season. The faux hydrangea works well with the dried hydrangeas above the bed.
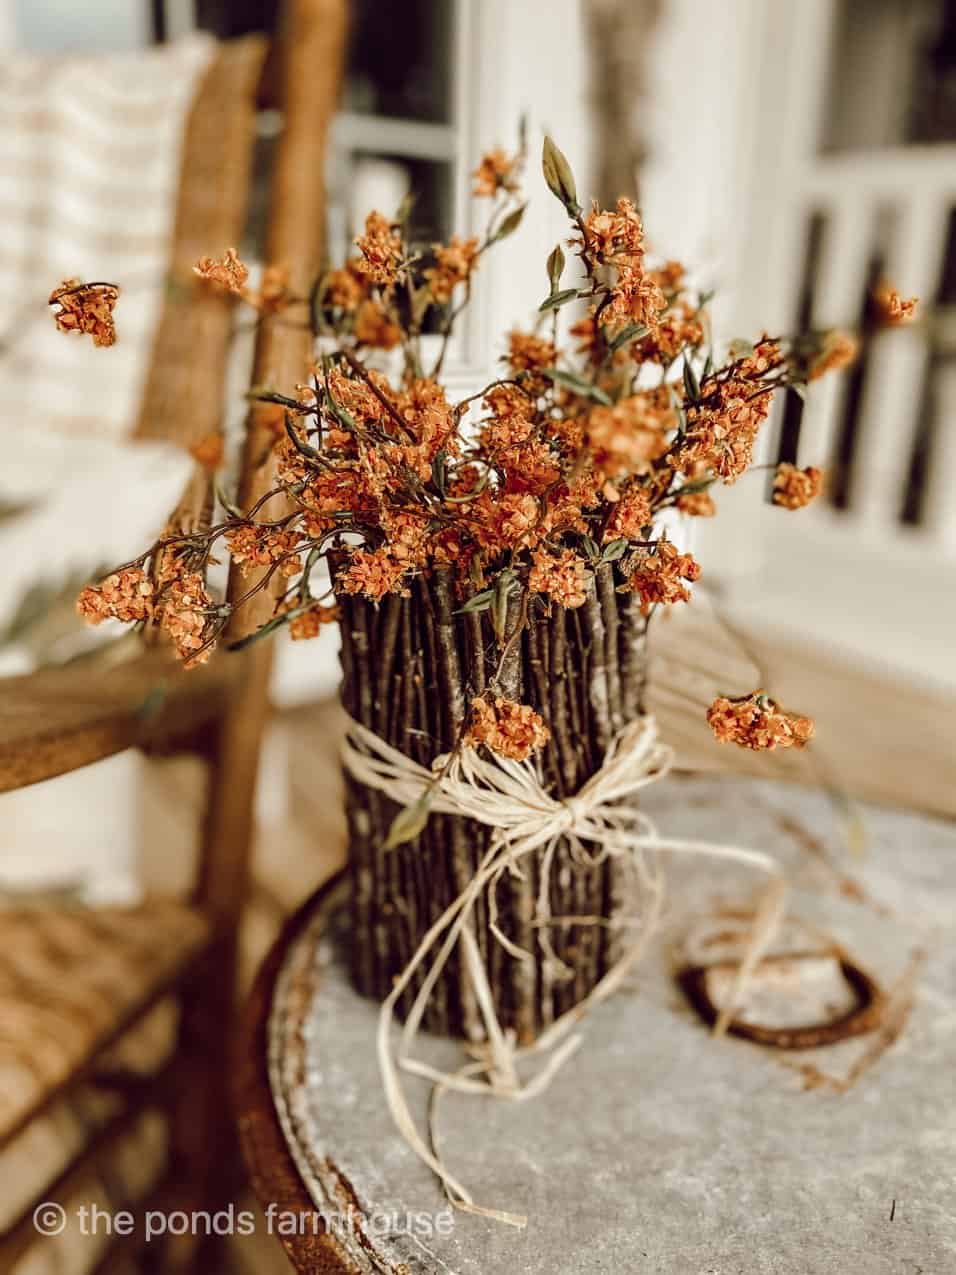
How To Use a Twig Vase With Fresh Hydrangeas
I love it when my garden is filled with fresh hydrangea blooms, and I love to bring them indoors. The twig vase is perfect for adding fresh blooms while they are in season. Just remove the faux stems and replace them with gorgeous fresh ones. Fill the glass vase with water, remove the lower leaves from the stems, and ta-da, you have a rustic, fresh arrangement. Set aside your faux stems until the season ends, and then add them back to your twig vase.
Watch The Video Tutorial for The DIY Hydrangea Arrangement and Twig Project.

More DIY Projects
Here are some other fun projects:
- How To Cover Tin Cans with Twigs
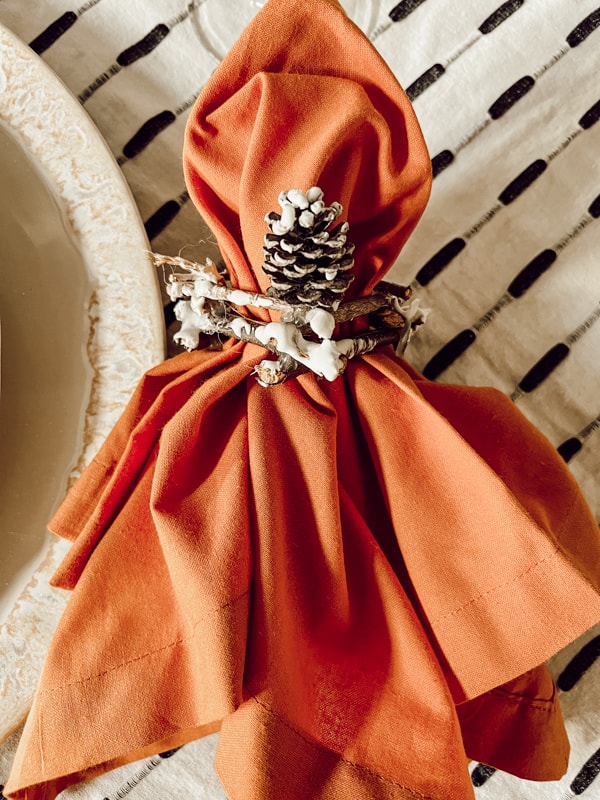
- Easy Twig Napkin Rings Tutorial
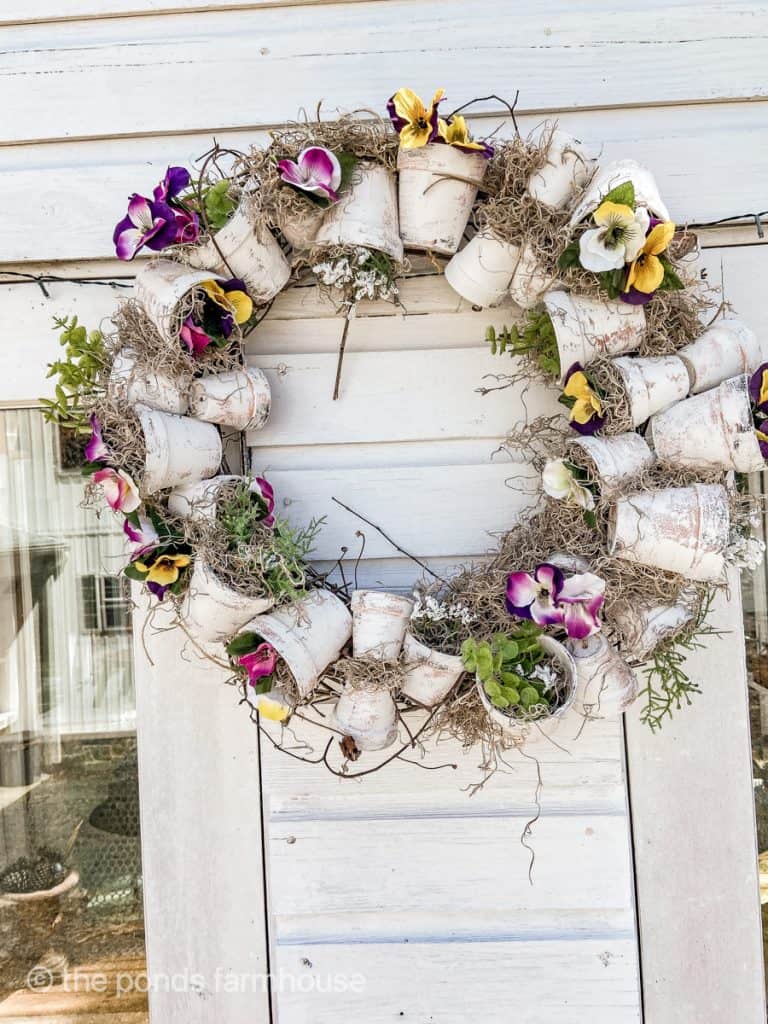
- DIY Terra Cotta Pot Wreath made with a large grapevine wreath.
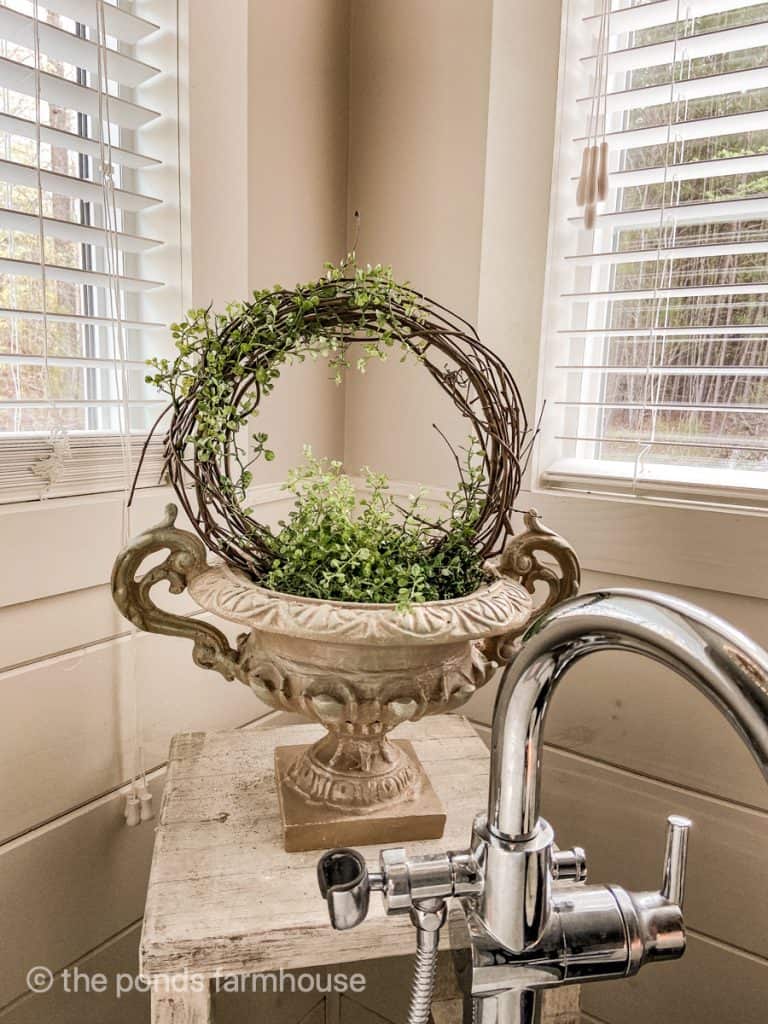
- The Grapevine Topiary can be made with any size grapevine wreath you choose.
More Thrifting and Floral Ideas
- DIY Forage Candle Ring
- How to Recycle a Wooden Ice Cream Churn
- Easy Decoration Ideas for a Coffee Table
- Top Ten Tips for Successful Thrift Store Shopping.
I appreciate you stopping by today.

Pin It To Remember It
Did you find some great ideas you’d like to save for future reference? Hover over the images you’d like to save and pin to your favorite Pinterest Boards when you see the PIN button.


Hi Rachel – This hydrangea and twig arrangement is outstanding. Anytime you think you failed, go ahead and send it to me. You are one talented lady. You and your husband are so blessed to have each other and to enjoy (well, I’m sure most of the time) working together on so many projects.
Also, I was overwhelmed to see you have a lilac. I was told they won’t grow this far south. Could you please tell me the name of the one you have?
We had lilacs in Illinois but I’ve lived on the east coast of Virginia most of my life and I’ve always wanted to have a lilac small bush.
Have a nice weekend.
Diana,
I have no idea of the name of my lilac. I thought I was planting something else. LOL. I’ll try to find out.
Oh my goodness sakes!! This DIY is so cute! Thank you so much for posting all the details and the video! So very helpful for visual learners! Please keep the projects coming! Love them all!!
Thanks for the encouragement.
This is just the cutest DIY project Rachel. I only wish I could come up with these amazing ideas. I will be sharing this in my wrap-up on Saturday.
You are so sweet Kim.
I saw this in stories yesterday. I loved it then and love this now. Loving using sticks found in the yard for décor. They add tons of texture, interest and they are free.
Cindy,
Thank you for stopping by and lifting me up today.
Gorgeous flower arrangement for spring and summer. I adore white hydrangeas.
I subscribed to your YouTube channel.
Have a wonderful weekend,
Kippi
Kippi,
I really appreciate this.
Adorable and so rustic. Love it.
Miche,
Thanks so much sweetie.
Rachel what a great project! I love all the organic elements you use! it’s beautiful!
Stacy,
Thanks so much.
I love hydrangeas and the twigs are a great display idea.
Thanks so much sweetie!
This is so gorgeous and such an easy and inexpensive DIY! What’s not to love? Thanks so much for sharing it at Farmhouse Friday – we’re featuring you at tomorrow’s party!
Michelle,
You are so sweet. Thanks for this honor.
Jennifer,
I’m so glad this inspired you. Thanks so much for sharing.
So so pretty! It looks so easy but I know exactly what you mean about not knowing how to do it all…lol! I’ve had many fails in my lifetime when it comes to crafting but I’ve also had many good things happening too. I personally think it takes patience and a love for what you are doing. I bet your arrangement would also be pretty using all branches and no vessel. When I first saw it, that’s what I thought it was. I’ll have to give it a try…
Yours is just gorgeous!
Shirley,
Yes there are so many ways to get this look.
What a great project!
Stacy,
I really appreciate this.
Couldn’t see the whole finished project because of the ads. Perhaps you should do a small long shot of your finished projects so we can at least see the whole thing.
Suzanne,
You can always click the ad off to remove it from the screen.
Rachel, this is gorgeous! I definitely want to make this. Hugs to you.
Renae,
It’s so easy. Thanks so much.
I love this project so much Rachel! What a great use of thrifted supplies!
Cindy,
I really appreciate this. thanks for stopping by.
I love it! I can see me doing something similar using my dry hydrangeas.
Pinned
Cindy,
Yes! I have tin cans covered with twigs and after Christmas I used the dried hydrangeas from my Christmas tree and filled the cans.
It looks lovely and so easy to get many of the items at the thrift stores. I, too, am always amazed at what I find there, usually just the thing(s) I have been wanting to find ! Serendipity for sure.
I am trying to pare down all my belongings so there is less clutter for my kids to clean out after I am gone. I did use some lovely, fake, white peonies to attach to my (costly) Michaels Christmas pinwheel twig wreath and am so glad to be able to use it for more than one season on my front door.
Joan,
that’s great. Thanks for sharing and I agree Serendipity works for me as well.
Rachel, I love this idea. It would be perfect for decorating vases for a party. Hugs to you, my friend.
Renae, thank you for stopping by!
I absolutely love this project Rachel! Thank you for the inspiration. I also LOVE the top you are wearing in the pics – would you mind sharing where it was purchased from? Hope you and your family have a wonderful Memorial Day holiday! Thank you.
Barb,
Thanks so much for stopping by and I’m so glad you loved this project. I had that top in my shop probably 3 years ago. Sorry I don’t have a source.
So pretty, my friend. I love it
Renae,
Thanks so much.
This is so beautiful oh my goodness,I love everything that you do but I am in love with this,maybe because I grow a lot of hydrangea, thanks for sharing and as always please keep posting more.
Mavis,
You are so kind. I do plan to keep posting. I appreciate your encouragement.
Thanks for sharing.
Love this Rachel, such a great way to use your thrifted items.
Wendy,
I appreciate this and I”m so glad you like it.
I love this. It is so beautiful, my friend.
Renae,
Thank you
Another fabulous DIY, Rachel! Thanks, so much! I absolutely love your twig vase with the hydrangeas — just so beautiful! The only item I need to check the Dollar Store for is the placemat, I have a placemat here that I could use but I don’t want to take away from our set of 4! Anyway, the Dollar Store will have a good “brown/beige” selection! I like how you added the raffia to your vase — as usual, such a great idea you have! I am going to use the faux hydrangeas that I have as you can’t tell they are faux. I have had them for years. I ordered them from Amazon. Everyone who sees them, can’t believe they aren’t the real deal! Faux flowers are wonderful! Praying your week goes well for you and that the chemo side affects will ease. Chemo is not great but necessary. I, too, thought all the zaps I felt were fighting all my horrible cancer cells. I had my chemo on Day 1 and Day 7 of each month. I was supposed to have 6 months of chemo but ended up only having 4 months as the chemo did such a wonderful job that my doctors were afraid that it was going to affect my heart. I was so thankful for my team of doctors who met with me on Day 21 — plus I had to go in for bloodwork every day. I found it energy zapping to have to drive in from our home at the lake for 1 1/2 hours to get to the Cancer Foundation in the city. However, my precious husband always told me that this was necessary and that there was light at the end of the tunnel! Some days, I didn’t appreciate hearing this! Ha! Ha! So, Rachel, you just hang in there and go day by day as this is the best way to go through all this necessary stuff! Thinking about you and keeping you in our prayers, dear friend! You are loved!
Mary Ann,I’m thankful you like the hydrangea arrangement and coffee table styling. I also appreciate you sharing your cancer journey with me. I appreciate all you do.