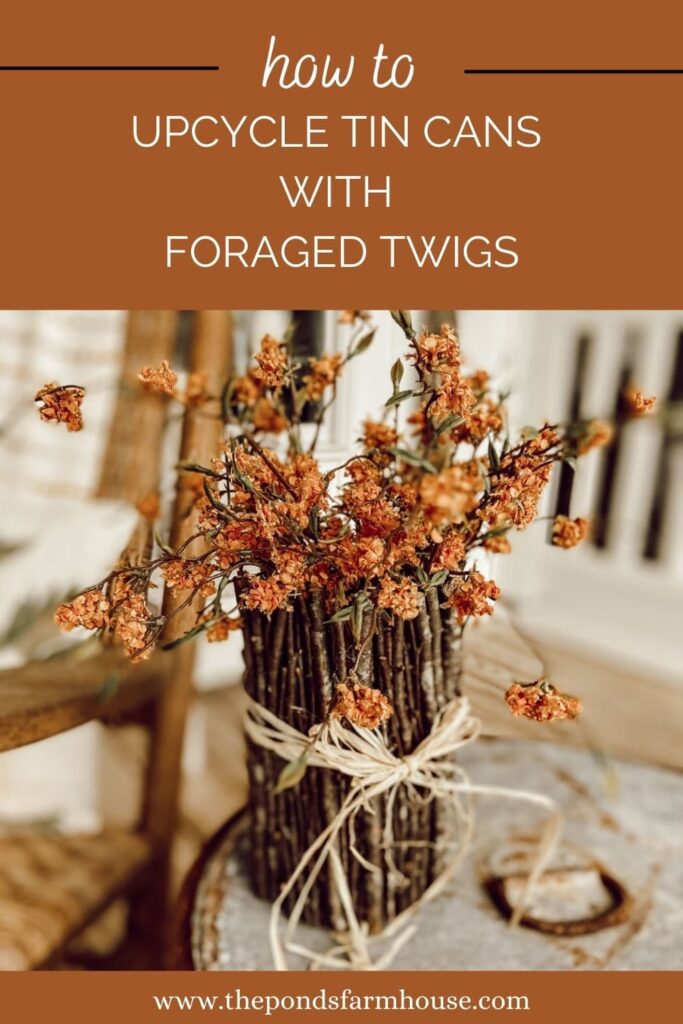
How to Upcycle Tin Cans with Foraged Twigs
Are you looking for ways to upcycle tin cans into usable home decor? You will love this rustic DIY project, which uses recycled tin cans and foraged twigs for free Fall decorating. The cans can be used for a beautiful fall centerpiece or alone with fall stems. This easy tutorial will be a fall favorite and can be used year-round.

(Posts on The Ponds Farmhouse may contain affiliate links. As an Amazon Associate, I earn from qualifying purchases. See the full disclosure details here.)
Table of contents
How to Upcycle Tin Cans with Twigs?
This is a simple and almost free project, plus it’s great for recycling tin cans.
First, you need to save cans. I always have a collection ready and waiting for a project. I use them to hold my paintbrushes, pens, scissors, and other craft supplies between projects.
- Clean Cans
- Hot Glue Gun
- Foraged Twigs
- Dark Spray Paint such as Rust-oleum
- Raffia Ribbon
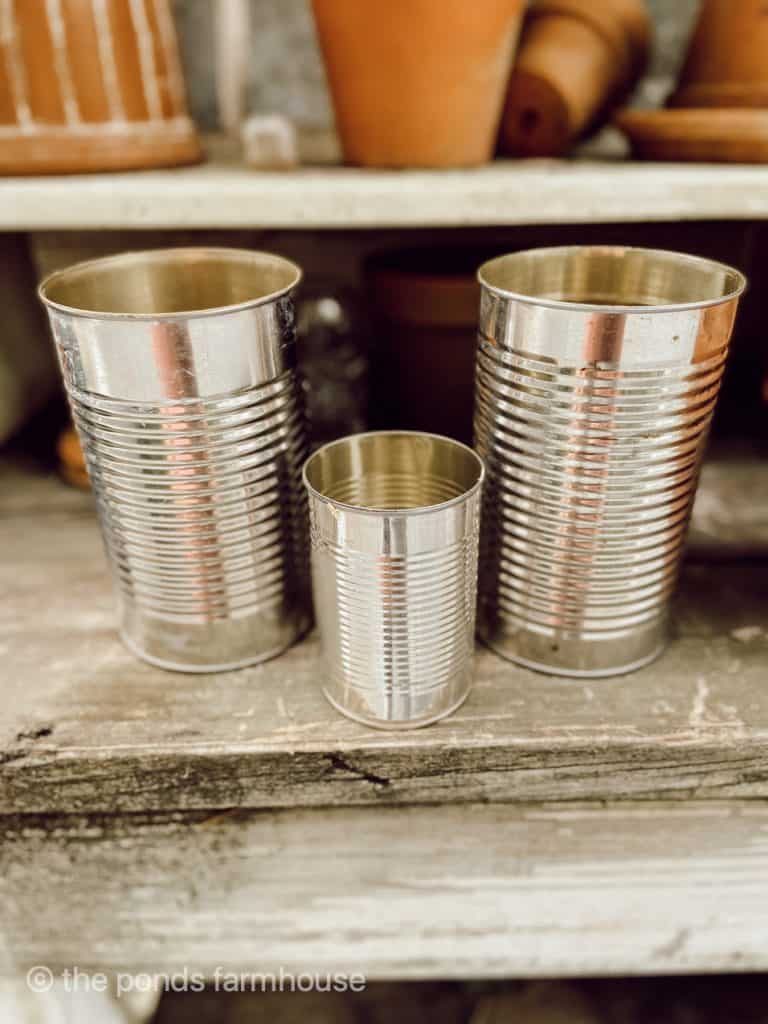
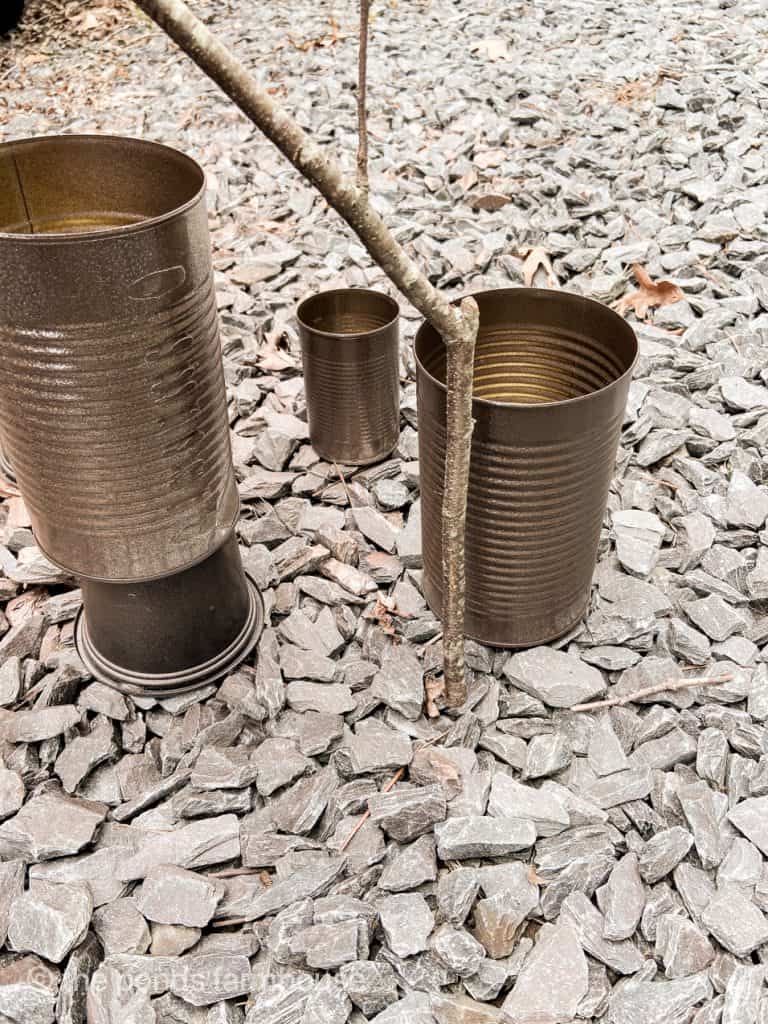
Begin with clean tin cans in a variety of sizes of your choice.
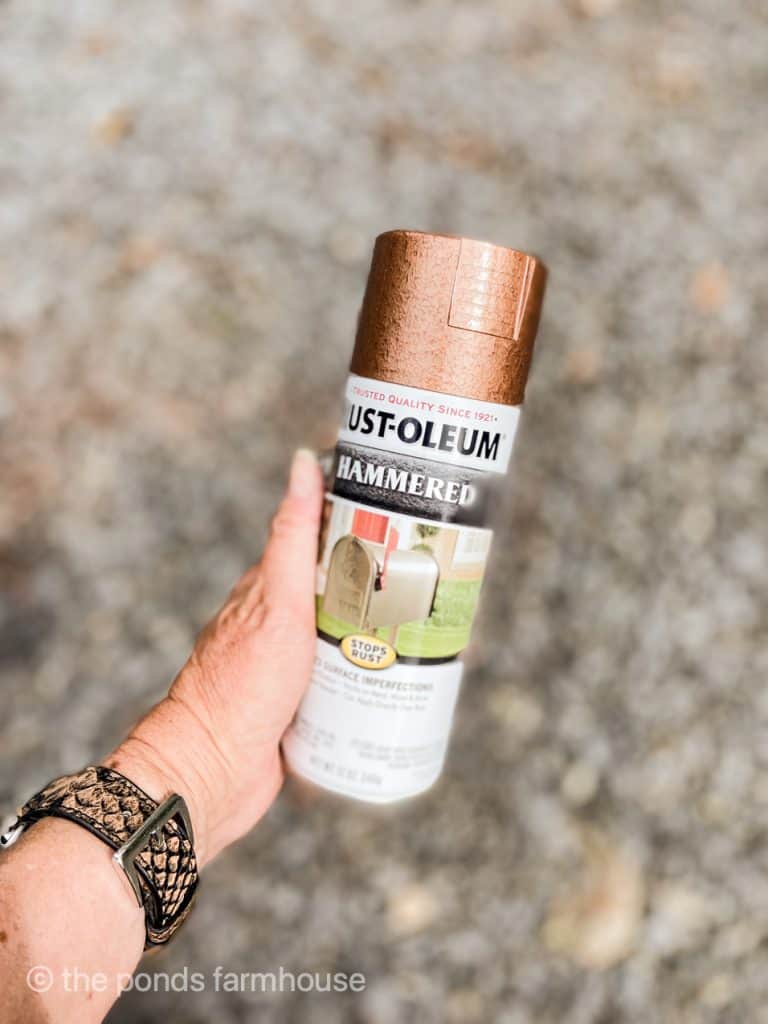
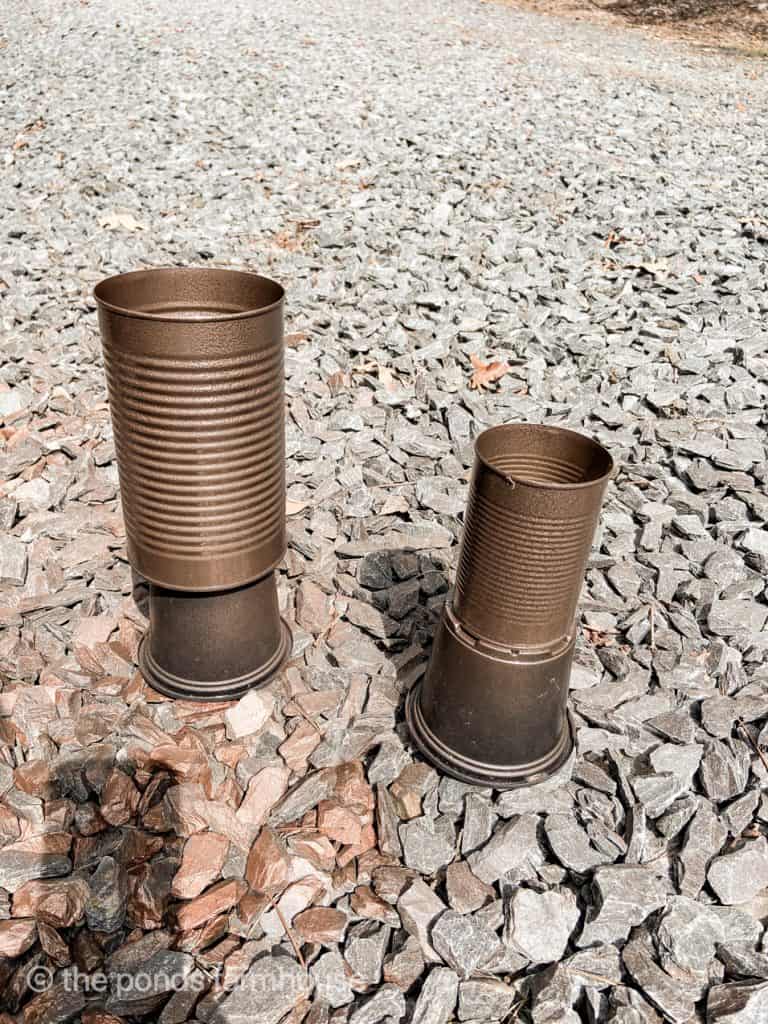
Paint Tin Cans
Next, you will want to paint your cans dark so the shiny metal will not be exposed. I used Hammered Copper by Rust-oleum, but brown or black works fine.
You can see how to paint various cans for free projects here.
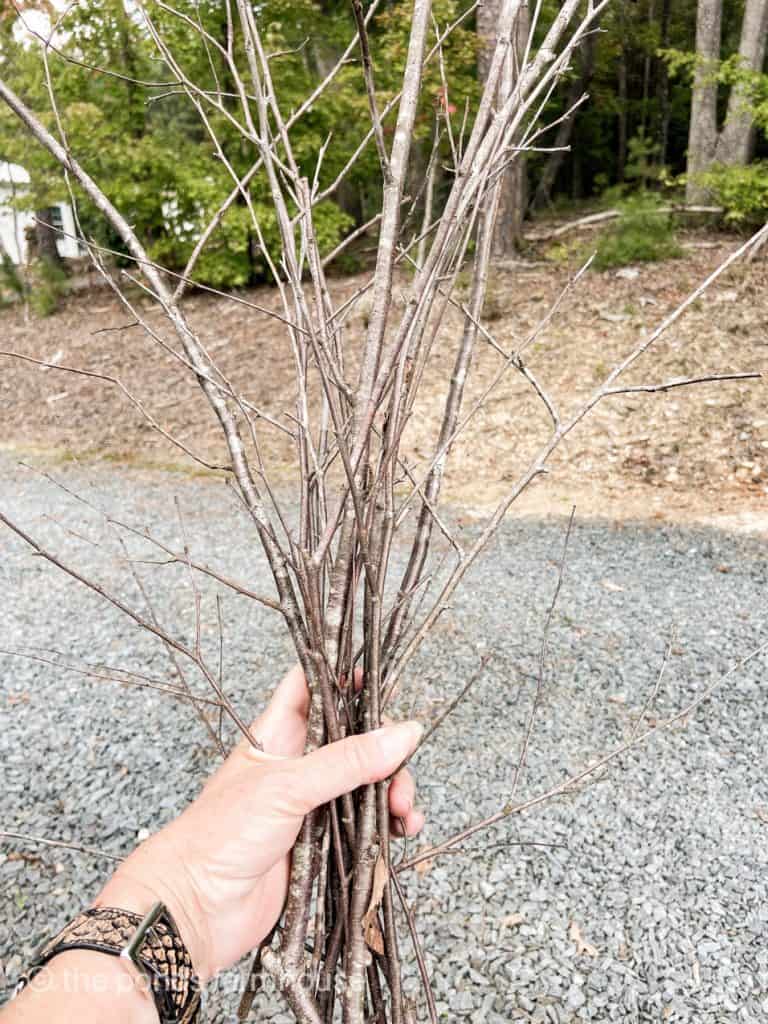
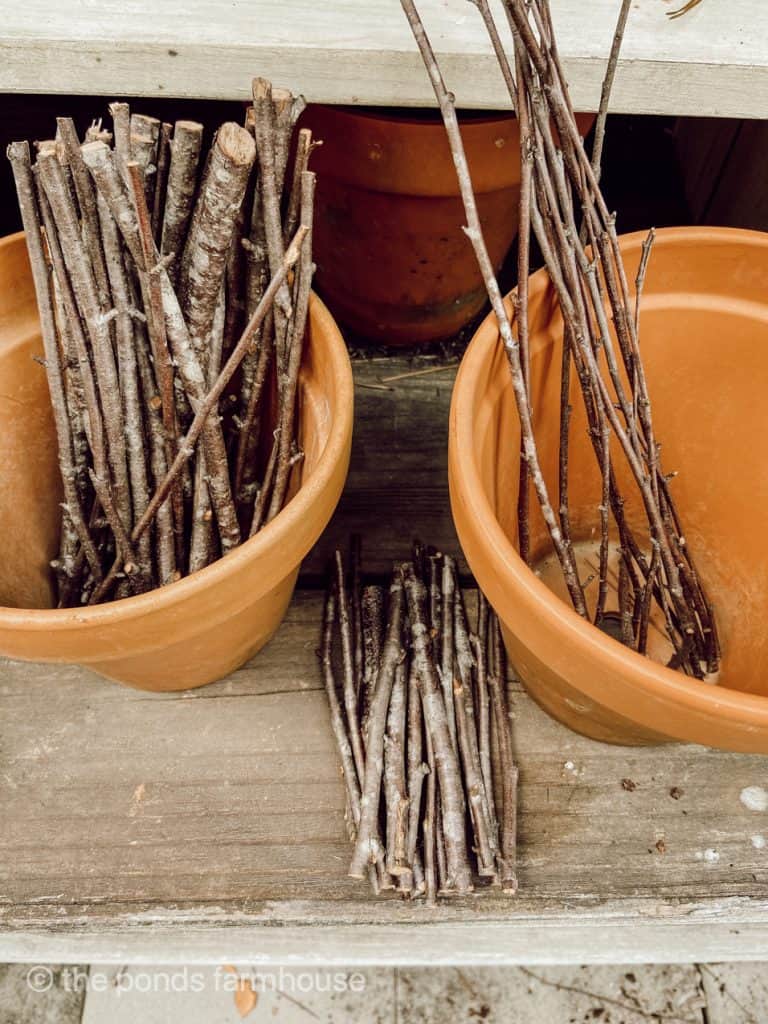
Gather Twigs
Hunt and gather twigs for your project. You want to select small to medium-sized twigs that are relatively straight.
Then, measure the height of your cans and cut the twigs to those lengths. I added approximately 1/4 of an inch to the twigs, which allowed them to extend above the top of the tin can.
Once you have a good selection cut, you can add twigs to the cans.
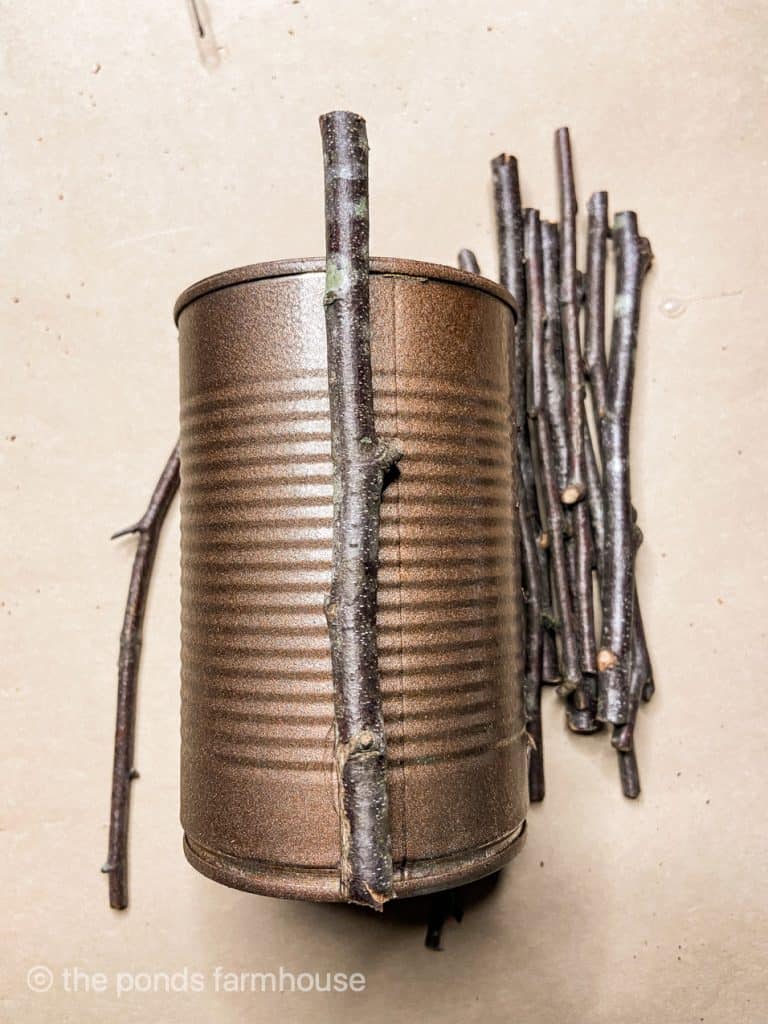
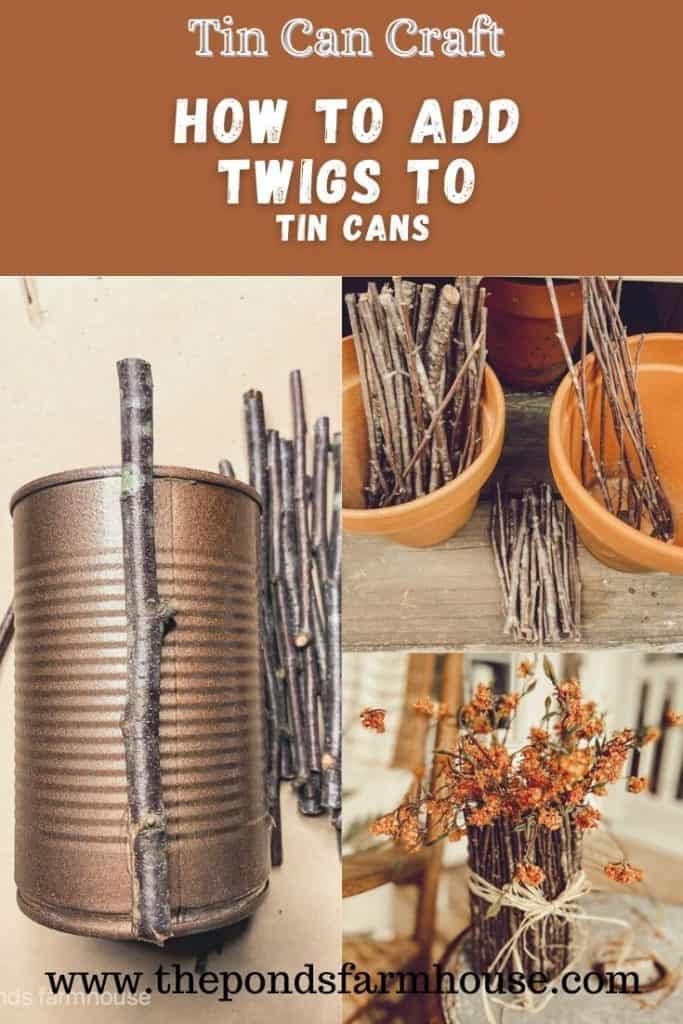
How To Add Twigs To Tin Cans
Begin by adding a bead of hot glue to the flat side of your twig. The most challenging part is finding a flat side; many will not have one. Don’t worry if it doesn’t lay flat because everything will work out.
Continue around the can until the twigs meet. You will see gaps between the twigs, so filling them in with smaller twigs will be necessary.
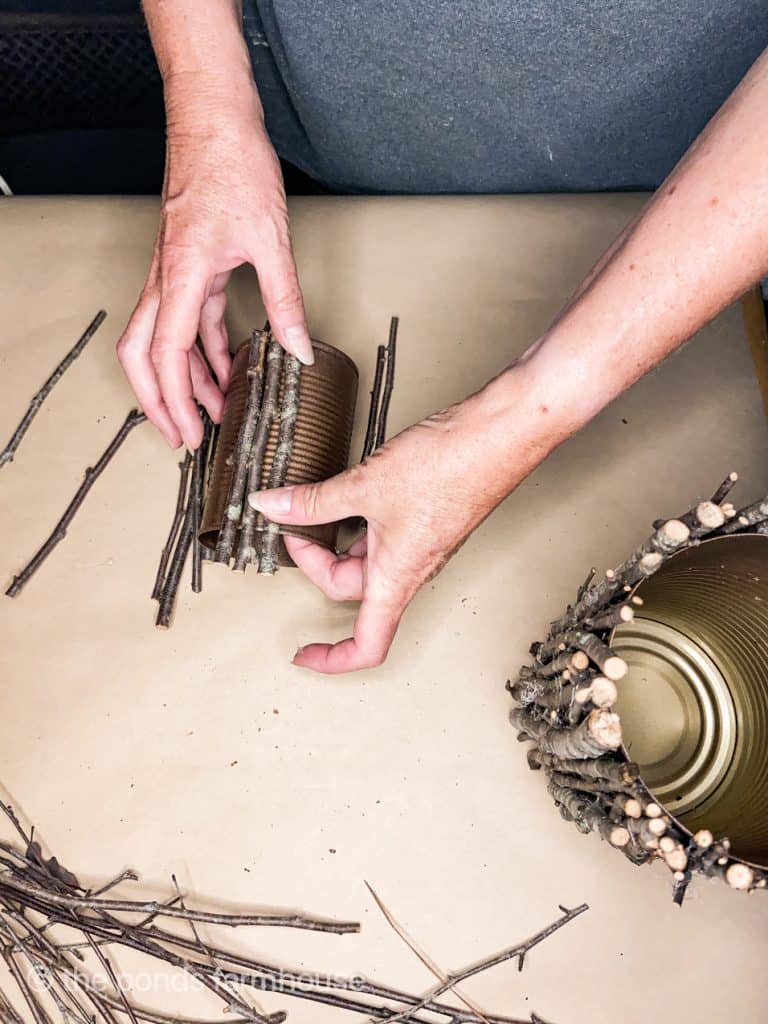
Keep adding until there are minimal gaps between the twigs, as shown below.
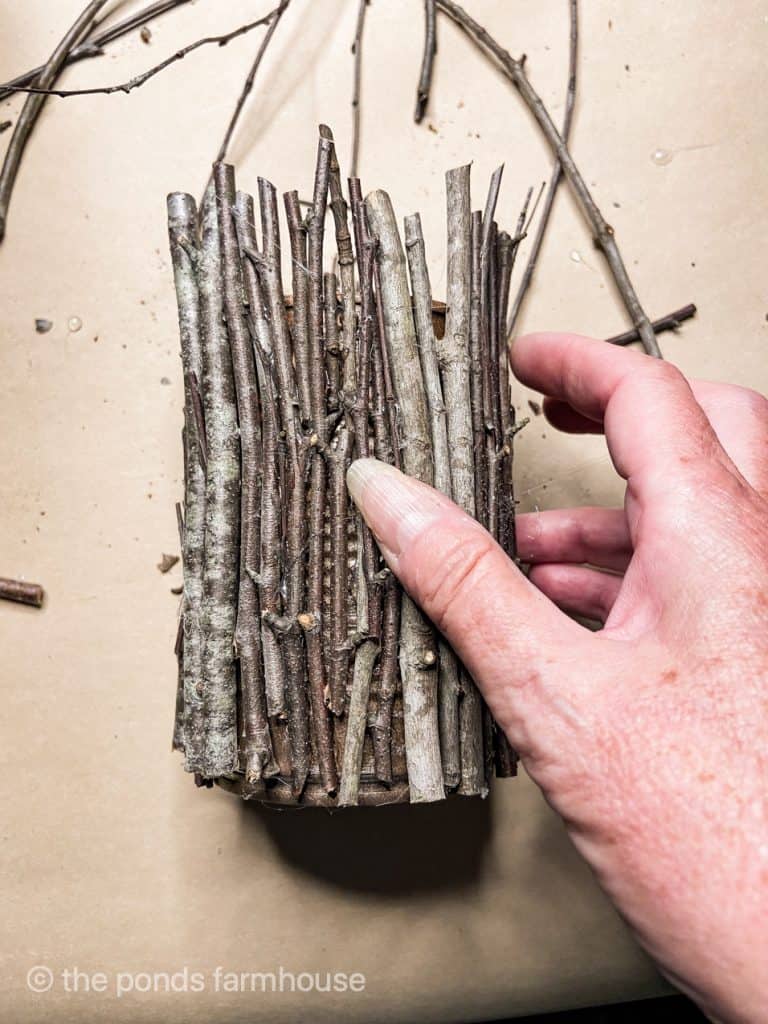
You will also notice some areas where the twigs curve, and you can fill in between with shorter lengths.

Upcycled Twig Cans
To finish the cans, I tied a length of raffia around each one and tied a simple bow.
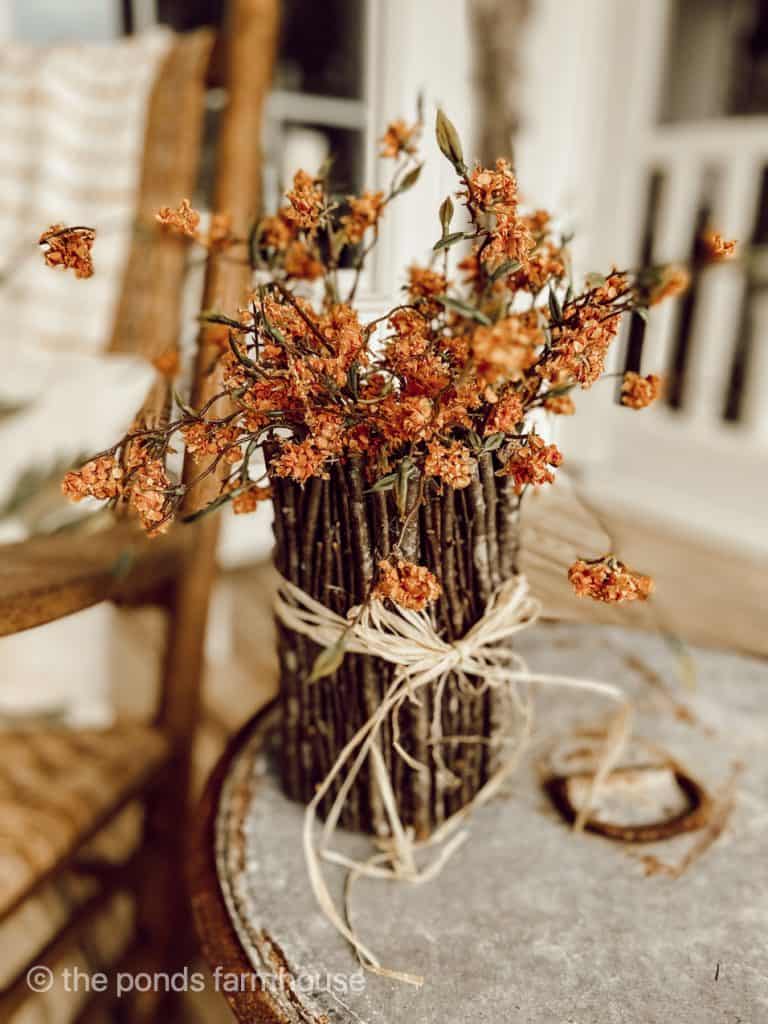
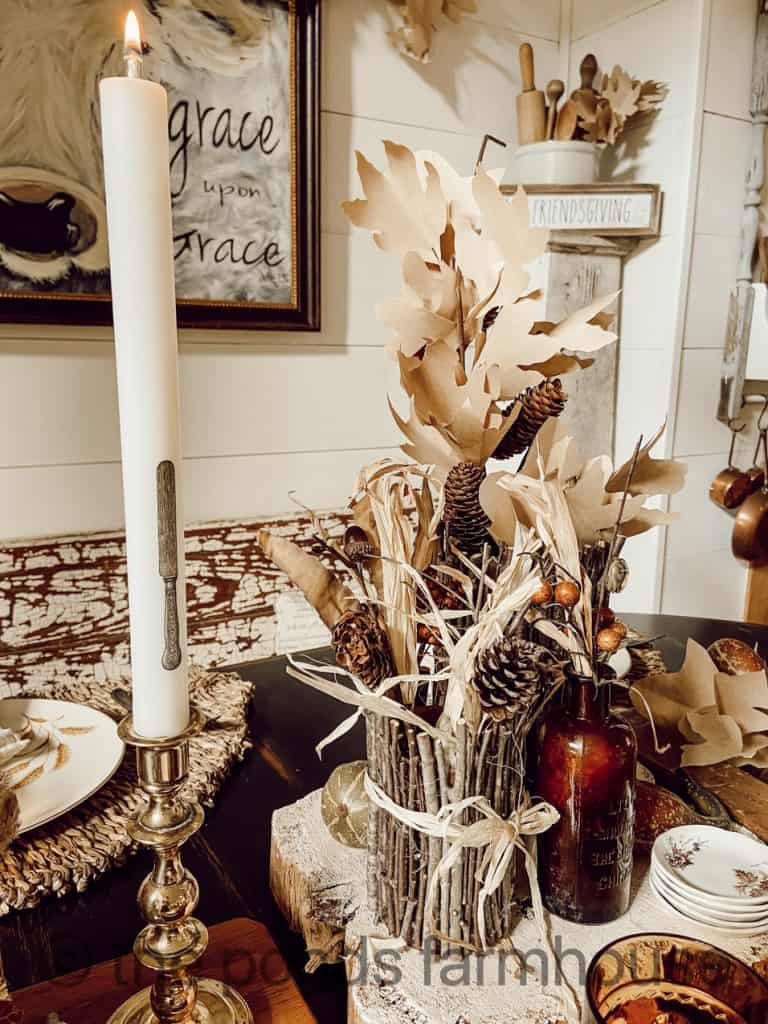
Although I plan to use these tin cans on a Fall Table Centerpiece, they look good with simple faux stems.
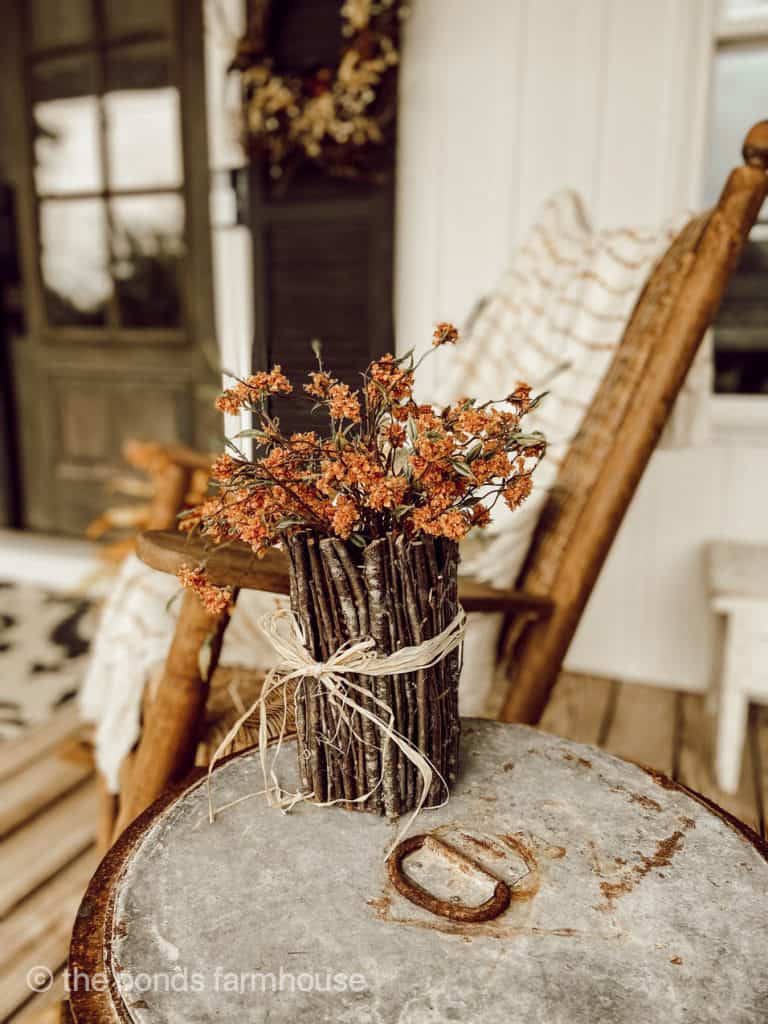
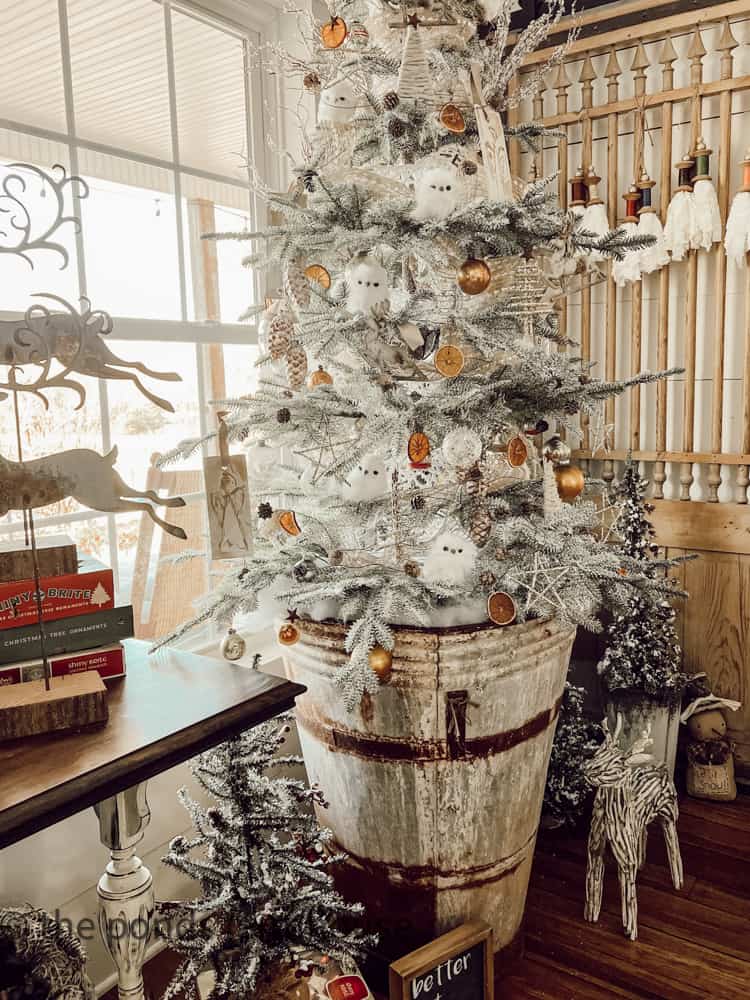
As I look at this photo, I already envision them with a wash of white paint for the holidays—there are so many fun options.
I hope you enjoyed How to Cover Tin Cans with Twigs and that you can use this tutorial for a project yourself.
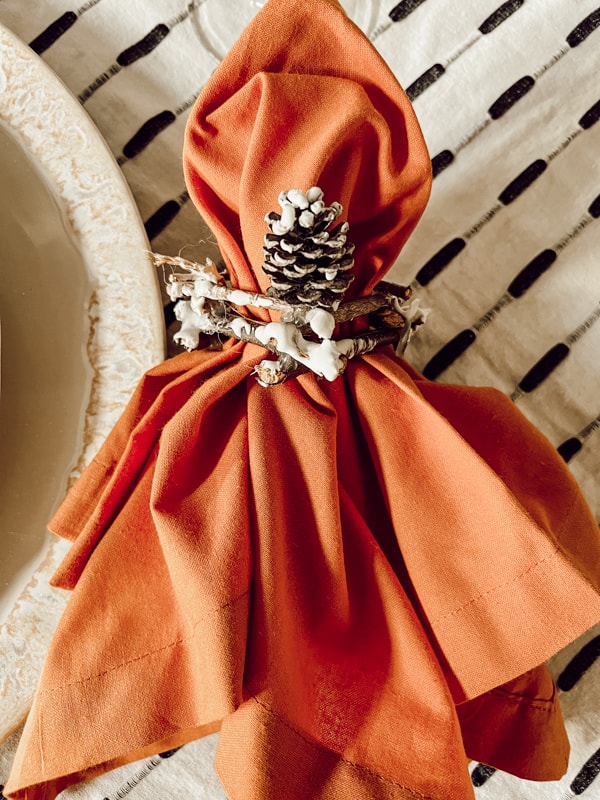
I recently made these Twig Napkin Rings, which are so easy to make.
How To Make Twig Containers Using Recycled Tin Cans Video Tutorial Here

If you missed How Rust Tin Cans or my DIY Fall Wreath made with Rusty Tin Cans, click the highlighted links. For another creative twig arrangement, check out DIY Hydrangea & Twig Arrangement.
You will want to see Ideas for Friendsgiving Table Centerpiece using this project.
You might also enjoy How to make a tin can Christmas lamb.
Favorite Craft Supplies
Be sure to visit my Amazon Storefront for my favorite craft supplies. I updated the storefront with the best deals on craft and DIY supplies.

Thanks so much for stopping by today! I look forward to sharing my next adventure with you!

Pin It To Remember It
Did you find some great ideas you’d like to save for future reference? Hover over the images you’d like to save and pin to your favorite Pinterest Boards when you see the PIN button.


So nice and makes a wonderful fall statement and the whitewash for Christmas will be so sweet.
Love everything you do.
Diana,
Thanks for stopping by. I can’t wait for you to see the table arrangement. Yes! I’m already thinking about adding some white paint for Christmas.
I love the organic vibe of this one. It’s perfect for a flowers and foliage.
Stacy,
Yes, I agree. Glad you like it.
I love this. Thanks so much for sharing this idea.
Laura
Laura,
I’m so glad you like this. Thanks for stopping by.
love these, so autumn
Terri,
Thanks for stopping by. So glad you like them.
You are so clever- always such good ideas! Thanks for sharing.
Patty,
I appreciate you so much. Thanks for this sweet compliment.
I love that idea! thanks for sharing Rachel!
Margie,
I appreciate you for stopping by. I’m so glad you like this.
Always love the way you make something beautiful out of what others would discard and for pennies you can create lovely decor!
Kimberly,
I appreciate you for saying this. I love thinking outside the box and I’m so glad you appreciate my efforts.
Love this and plan to try for table arrangement for Thanksgiving.
Love all your ideas. Thank you for sharing.
Blessings,
va
I appreciate your sweet compliments so much.
Hi Rachel! I love this idea. Cheap and rustic is right up my alley. Thank you for sharing and givinge souch inspiration.
Cheryl,
Thanks for stopping by and I’m so glad you like this idea.
Jennifer,
Thanks for sharing.
Hi!I’d like to make this project, but I’m wondering where you get such tall tin cans? Maybe it’s just the photo, but they seem really tall.
Kelli,
These are regular 15-16oz. cans that black beans or pinto beans come in.
This is so clever Rachel and I love the end result.
Wendy,
I appreciate this. Thanks for stopping by.