
How To Rust Metal Fast With These 3 Household Ingredients
If you like the look of a rusty tin can for rustic decorating, you’ll love learning how to rust metal faster with these simple ingredients. Tin cans and other metals will rust naturally when exposed to moisture and oxygen. However, the process isn’t fast, but you can quickly turn a new metal piece into a vintage-inspired treasure with this technique.
I wanted to use rusty tin cans for fall decorating but only had a couple that had rusted naturally over time.
I decided I needed to speed up the process, and here’s what I did.
Why Rust Tin Cans?
Y’all know I’m all about recycling tin cans, and I’ve used them for many projects.
A few of my cans had been left outside over the summer and had aged naturally. When I noticed the patina, I knew they would be perfect for fall decorating. I had a few project ideas but would need several rusted cans to achieve my desired results.
(Posts on The Ponds Farmhouse may contain affiliate links. As an Amazon Associate, I earn from qualifying purchases. See the full disclosure details here.)
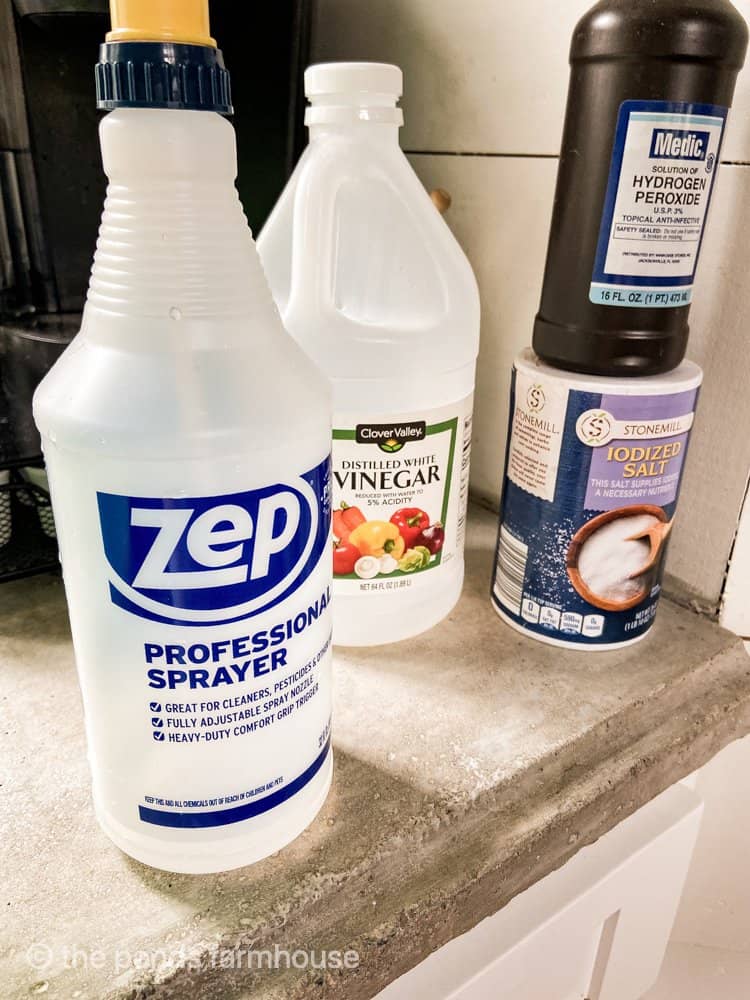
How to Rust Metal Supplies
How To Mix Ingredients To Create Rust On Tin Cans
- Add 1 cup of hydrogen peroxide to your spray bottle.
- Next, add three tablespoons of vinegar.
- Two tablespoons of salt.
- Place the cap on the bottle and shake until the salt is dissolved.
- Be sure your metal is clean and that any oils have been neutralized.
- Break up the surface of your metal with steel wool. The more you scrub the metal, the quicker the rust will appear.
How To Set Up A WorkSpace
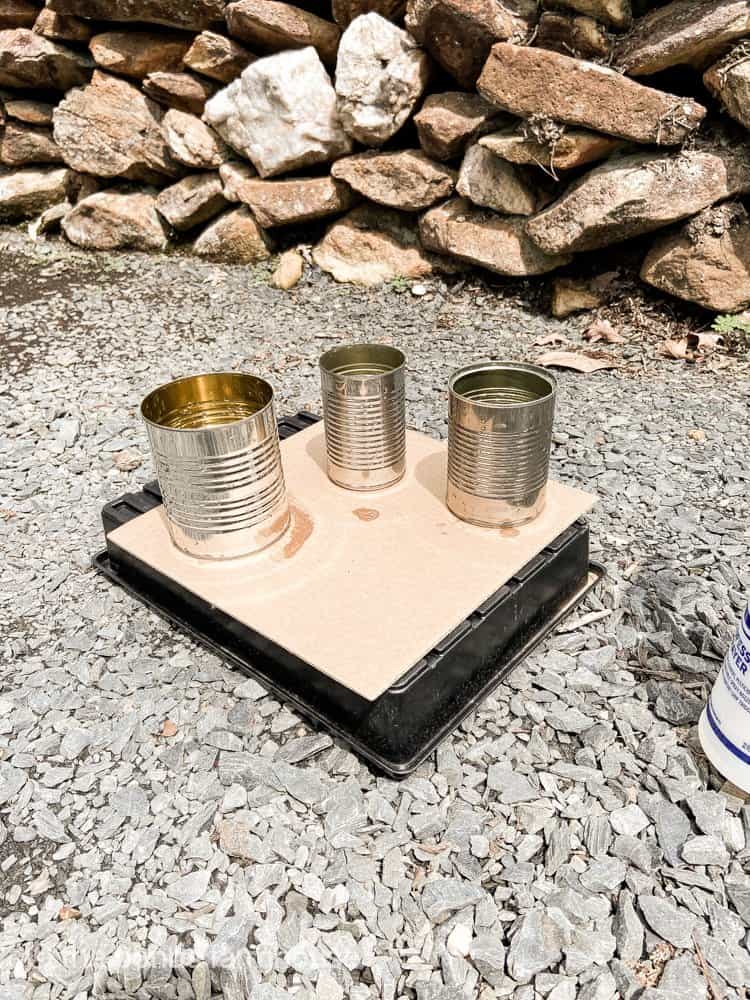
It’s important to take safety precautions when applying the chemicals to the tin cans. I recommend taking your metal outside and placing it on a protected surface.
I used a simple piece of cardboard and set it on the gravel drive.
Be sure the area around your workspace is open and that nothing that could be damaged is nearby.
You also want to protect your hands and eyes because the spray will splatter. Wear protective goggles, heavy-duty gloves, and old clothing that you don’t mind damaging. The ingredients can stain or bleach fabric colors.
How To Apply Chemicals To Create Rusty Tin Cans
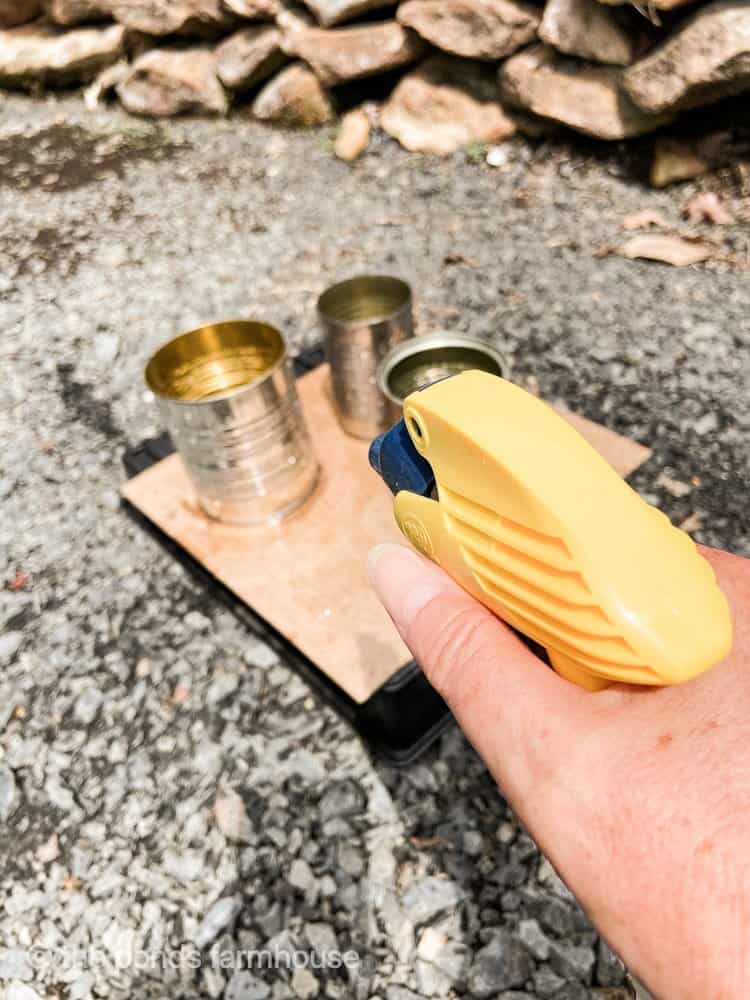
To create rusty tin cans, spray the chemical mixture over your metal pieces or tin cans until completely covered.
Leave the cans to dry in the sun if possible. The heat from the sun will help to speed up the process.
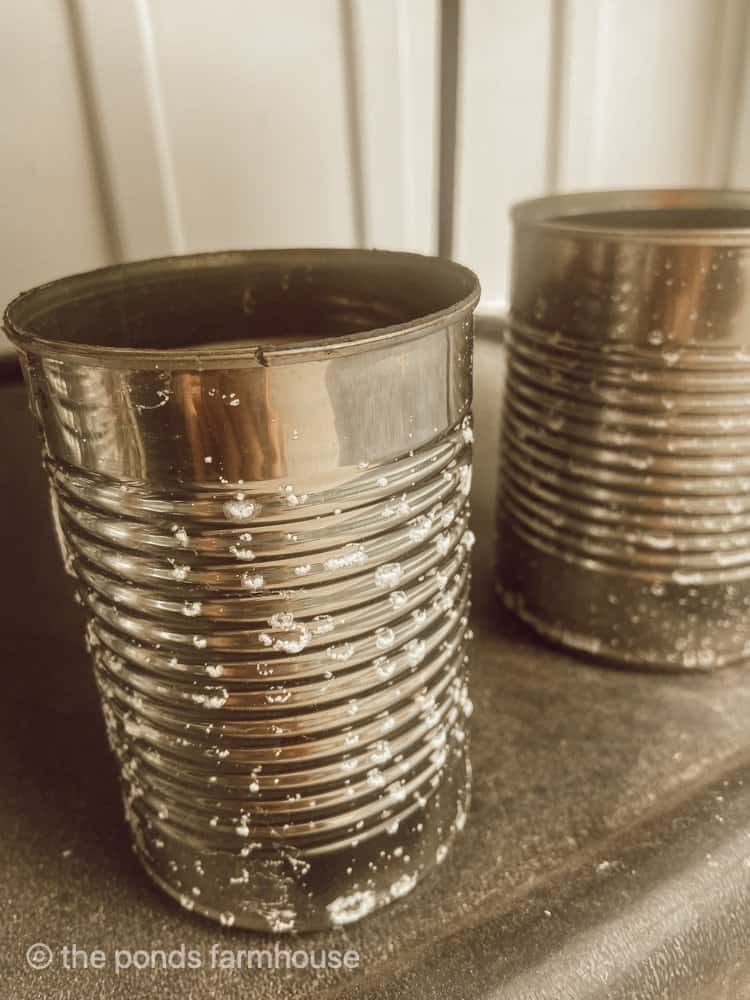
What Metal Looks Like After One Application
This is what my cans looked like after the first application. I was less than impressed.
However, I knew it would be necessary to repeat this process several times.
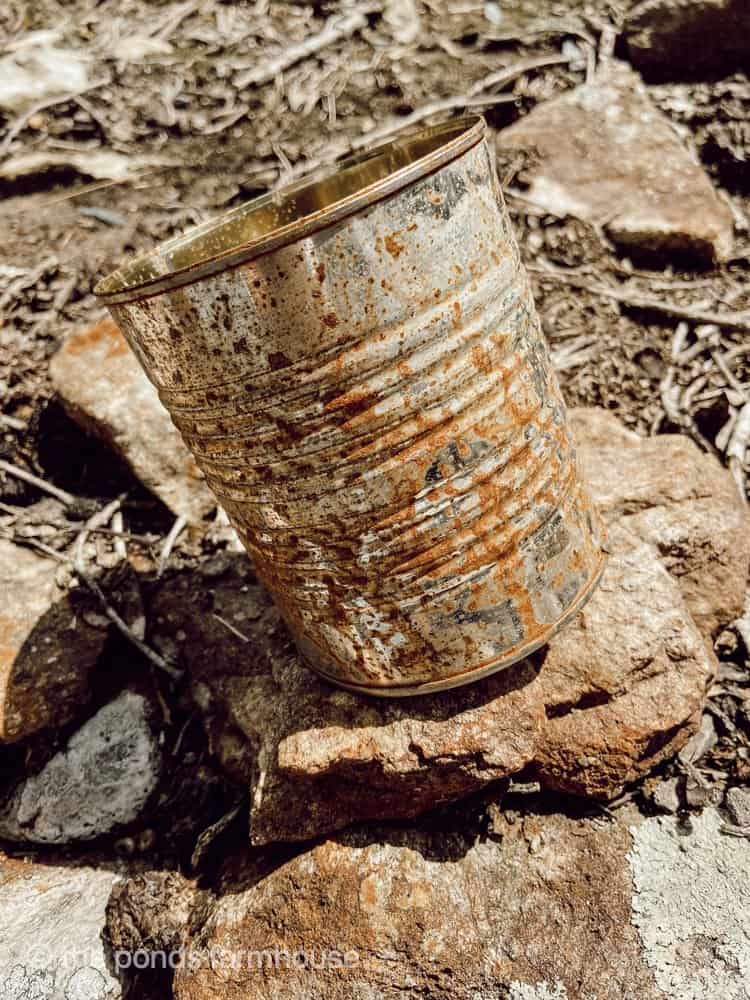
After Two Applications
I was more impressed after the second application, and you can see the results below.
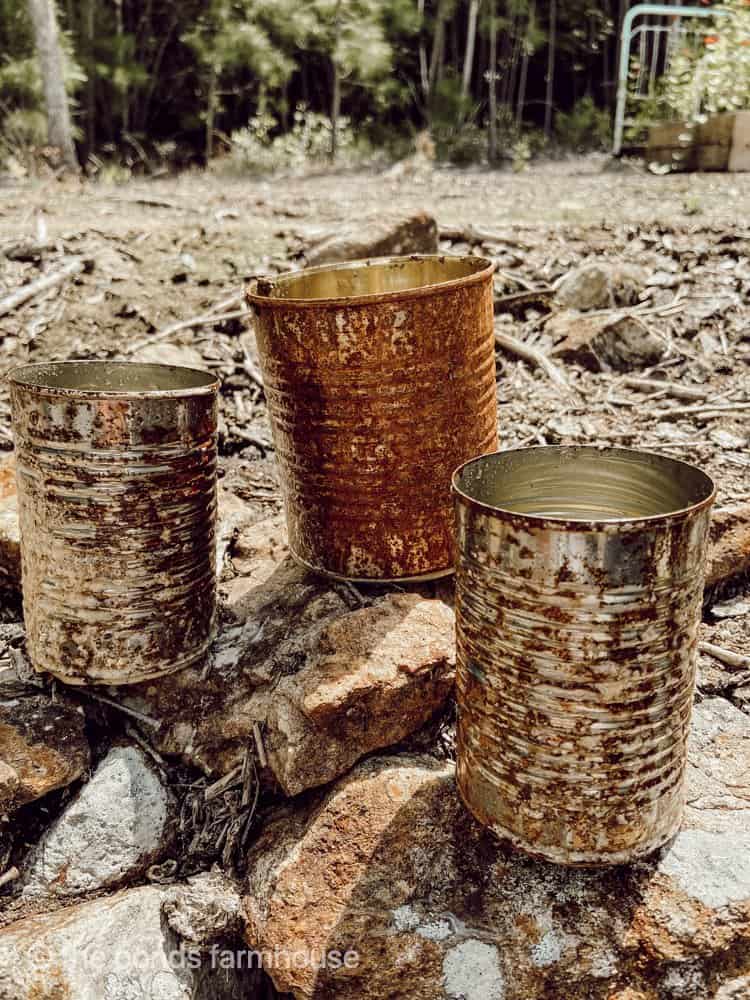
After Four Applications
After 4 applications, I was getting somewhere, but not all tin cans are created equal, and you can see what I mean below.
All 3 cans have received the same treatment, but two are slower to show the results. It would have been a good idea to use more steel wool on these cans. Next time I will know better.
Mistakes I Made
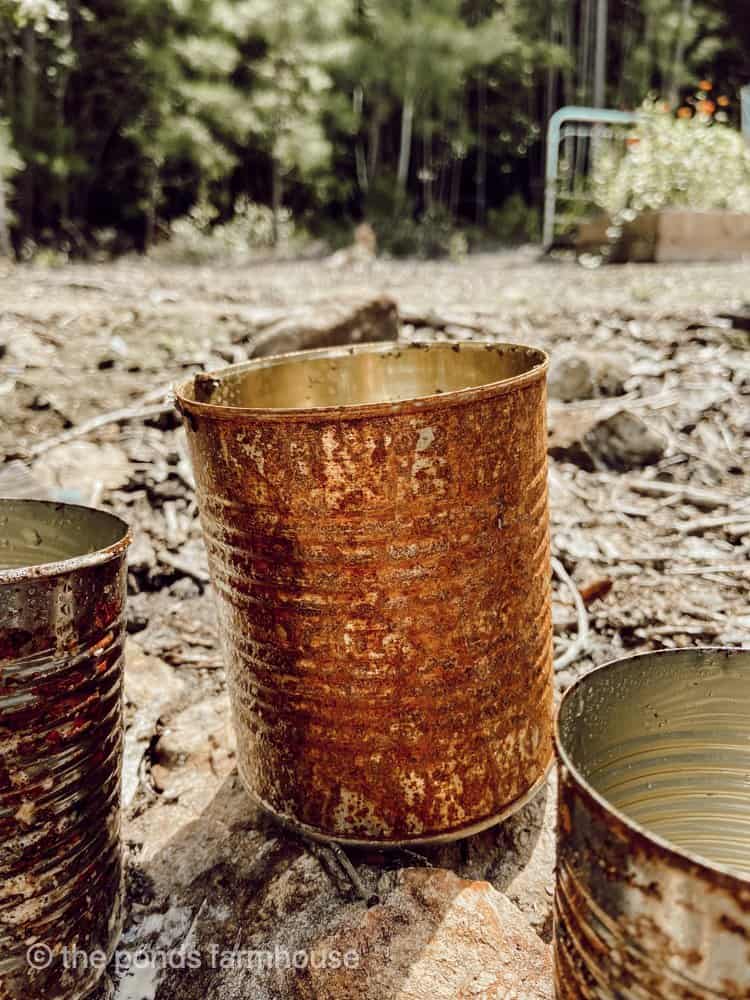
After seeing how this process works, I feel I made some mistakes and would have had less time involved if I had done these things differently.
- I should have scrubbed the metal with the steel wool more vigorously. The more you break up the surface, the quicker the chemical reaction will be.
- I left the cans outside in the rain between applications. It took 4 days to get the results I wanted. I feel the rain washed away the chemicals and slowed the rusting process.
Insider Tip
Here’s what I learned about rusting metal.
First, I want to say that not all metals rust as quickly as others.
Especially items like tin cans, which may have a protective coating, and if so, you will want to break the surface with sandpaper or steel wool.
Note: I barely scratched these cans, and therefore, my first application was a slow start.
I also learned that not all tin cans are created equal and, therefore, some will rust much more quickly than others, regardless of your process.
Optional Indoor Use
I plan to use my rusty cans outdoors, so I didn’t seal them. However, if you plan to use them indoors or want to prevent further rust, you may want to apply a sealer to prevent rust flakes from flaking onto your tables or countertops. I would use a matte clear sealer to preserve the rustic appearance. I don’t recommend a gloss sealer for this project.
My Conclusion For Rusting Metal Fast
I believe that I made some mistakes in my judgment, and if I had taken additional time, this method would have been a simple and cost-effective way to accelerate rusting of metal.
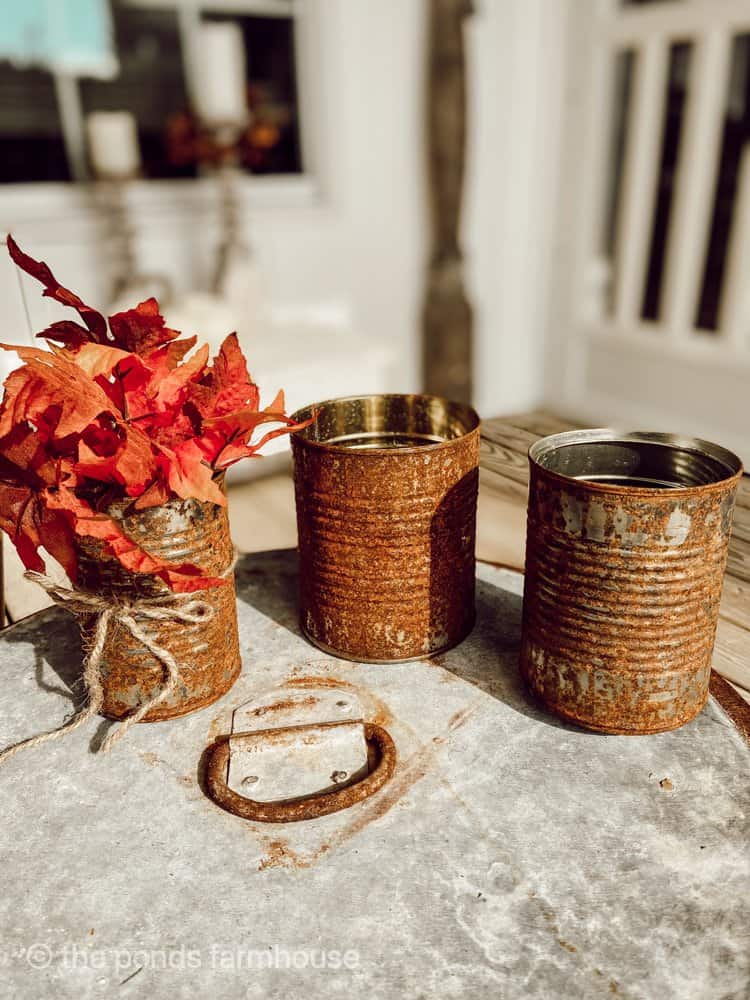
How To Decorate With This Rusty Tin Can Project
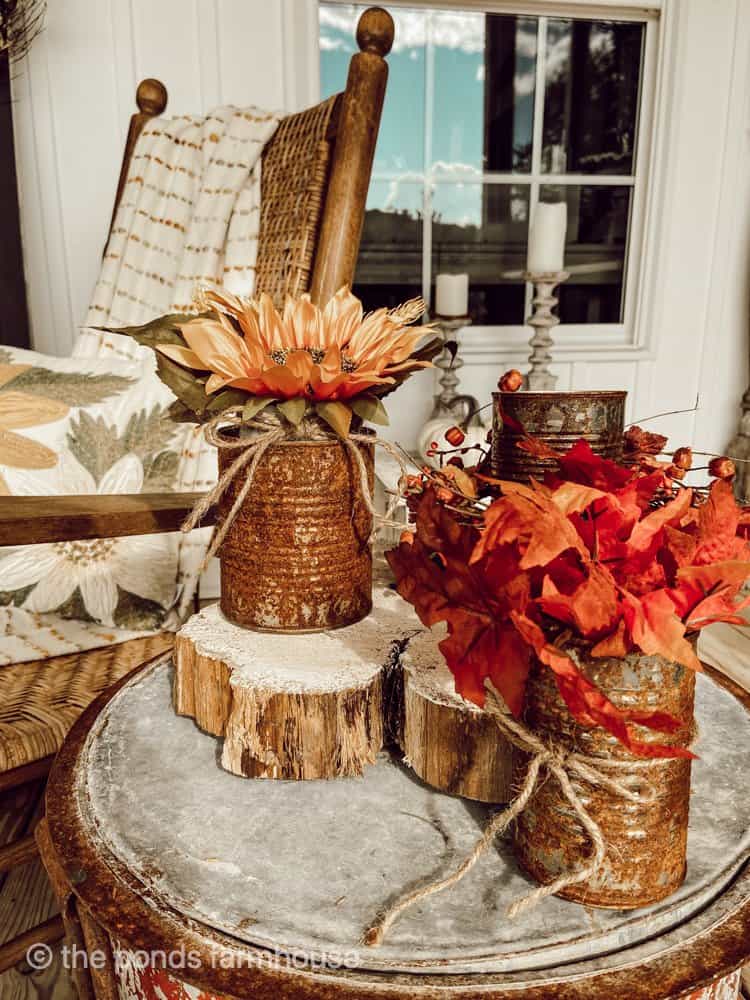
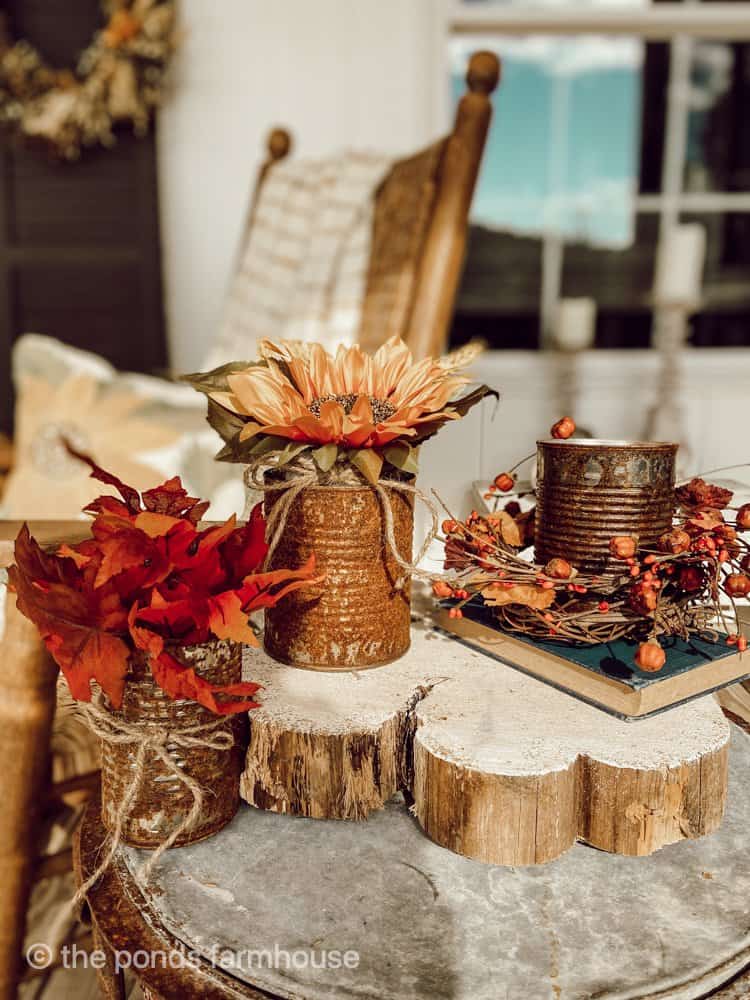
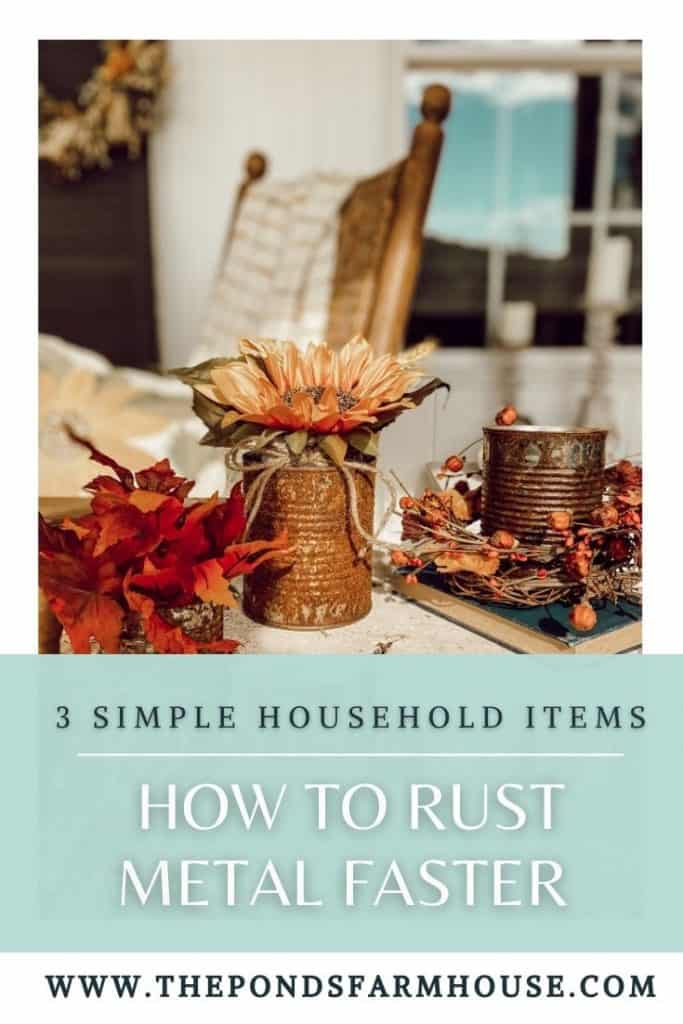
The rusty tin cans are perfect for Fall decorating. You can use them indoors or outdoors to decorate your tabletops, kitchen countertops, or shelves. I used a few and then filled them with flowers to decorate our front porch. I tied jute twine bows around the cans and added a fall candle ring to one. They look adorable grouped on a side table on the porch.
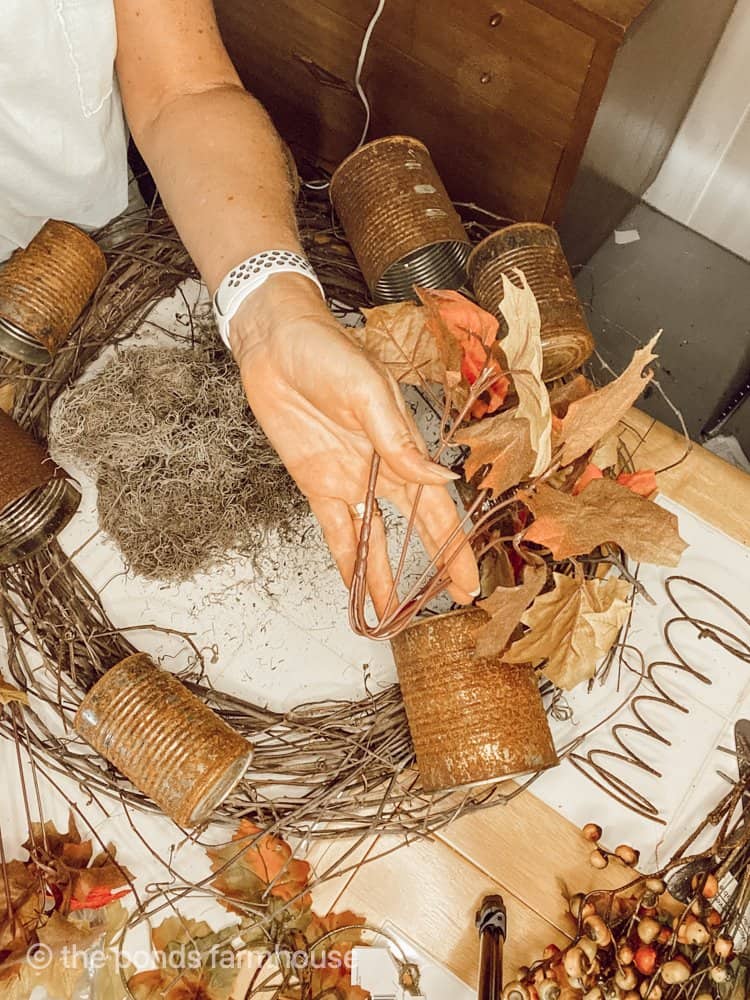
I love how the cans look on their own, but wait until you see what I did with them for a DIY Fall Wreath. Here is a preview of the DIY Rusted Tin Can Wreath project.
Other Tin Can Projects
- How to Cover Tin Cans With Twigs
- Gorgeous Tin Can Centerpiece with Napkins
- How to Make DIY Plant Pockets with Tin and Aluminum Cans
- 7 Eco-friendly Recycle & Reuse Projects
- DIY Rusted Can Fall Wreath Tutorial
Thanks so much for stopping by today! I look forward to sharing my next adventure with you.

Pin It To Remember It
Did you find some great ideas you’d like to save for future reference? Hover over the images you’d like to save and pin to your favorite Pinterest Boards when you see the PIN button.


What a cute idea Rachel, perfect for fall
Ann,
Thanks so much for stopping by.
Rachel what a great idea! I need to do this!
Stacy,
It’s easy and they turned out great on the project I’m sharing on Thursday.
I love these! Perfect for fall. Thanks, Rachel.
Miche,
I’m so glad you liked this.
Those are really cute and you could use them for so many seasons. Thanks for sharing
Chas,
Thank you for your sweet compliments.
I love this. Such a great idea.
Renae,
I’m so glad you like it.
Love this! Thanks so for showing us the quick way to get that “old” look. Can’t wait to try this on some cans I have for Fall projects.
Laurie,
I’m so glad you liked this. Thanks for stopping by.
these are really cute, pinning this. Love those big chunky wood slices, too!
Debra,
I really appreciate this.
I have always wanted to learn this, Rachel! I can’t get over how natural they look too. These are fantastic and will be so much fun to decorate with this season. Hugs, CoCo
CoCo,
Thanks so much for your kind words.
Great tip! Thanks for sharing at Vintage Charm!
Cecilia,
Thanks so much.
I had forgotten about this trick. Thanks for the reminder. xo Laura
Laura,
I’m so glad you found this useful.
What a great idea!
I love those rusty cans for fall.
Happy Fall, Kippi
Kippi,
Thanks so much.
What a great idea. I want rusty cans everywhere this fall!
Kim,
Thanks so much.
Love this, I found a couple things that help in the rust process. I first put the items through a cycle in my dish washer. If they are small I soak them in a jar with apple cider vinegar and a rustyold steel wool pad or sos pad.
Marianne,
Thanks so much for these additional tips. Anything to speed up the process.
This is great. I will have to try it.
Renae,
It’s super easy.
Super cute Rachel. Love the wreath.
Wendy,
Thanks for stopping by.