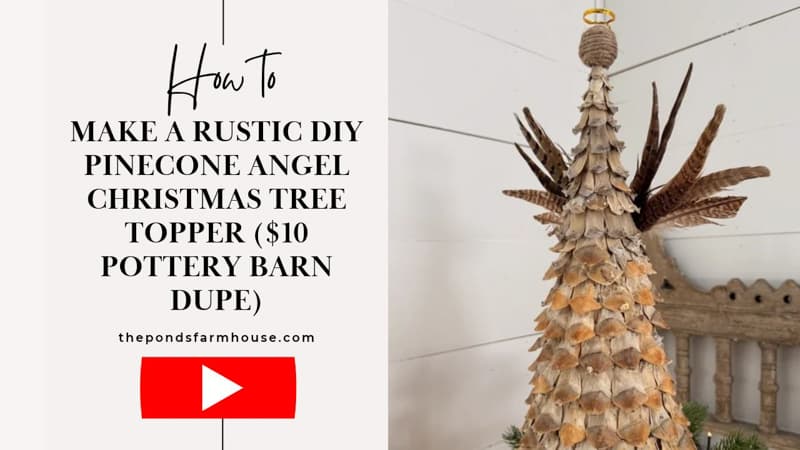
How to Make a Rustic DIY Pinecone Angel Christmas Tree Topper ($10 Pottery Barn Dupe)
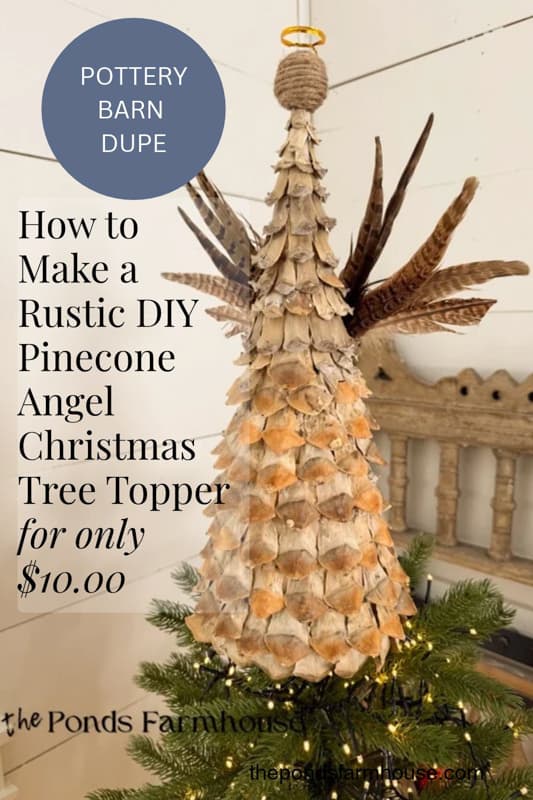
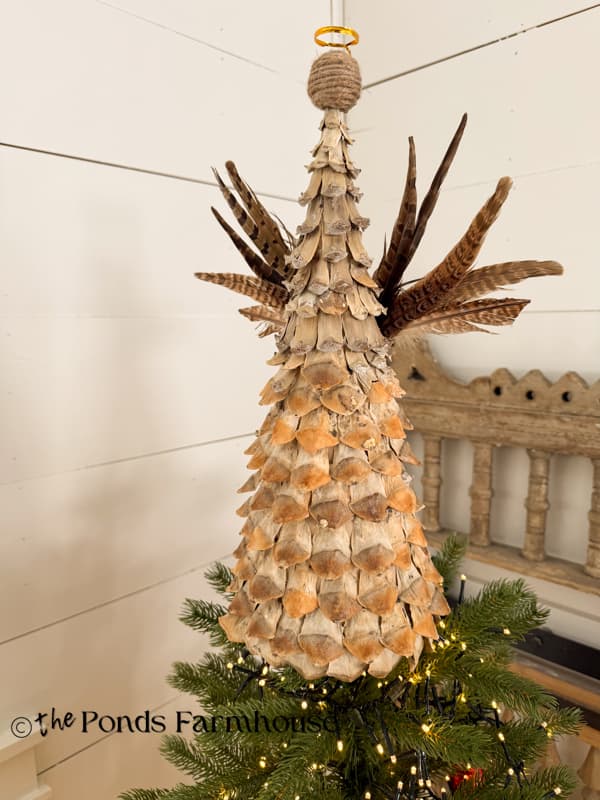
While I was looking for a Christmas tree topper for this year’s larger tree, I fell in love with a gorgeous rustic angel at Pottery Barn for almost $100.00. Since that was well out of my budget, I decided to create my own budget-friendly Pottery Barn dupe! Instead of birch bark, I used bleached pinecones from my collection to give her a soft, natural look.
With a simple papier-mâché cone, hot glue, and a handful of pinecone scales, this DIY rustic pinecone angel tree topper came together beautifully for under $10.00!
Today, I’m sharing the step-by-step tutorial so you can make your own high-end pinecone angel tree topper for a fraction of the price. Let’s get started.
(Posts on The Ponds Farmhouse may contain affiliate links. As an Amazon Associate, I earn from qualifying purchases. See the full disclosure details here.)
Supply List
- 16″ Paper-mache cone (I purchased three sizes for $800 at Hobby Lobby.) Walmart has three for $22.00 that are 17″ tall cones.
- Bleached Pinecone Scales
- 8 – 10 Pheasant Feathers ( I had these from a previous Christmas)
- 1 1/2″ wooden ball drawer pull (with small hole). I had this one from another project.
- Hot Glue Gun & Glue Sticks
- Jute Twine
- Pruning Shears
- Gold Twist Tie for Halo – This is something I had in my stash.
How To Get Bleached Pinecone Scales
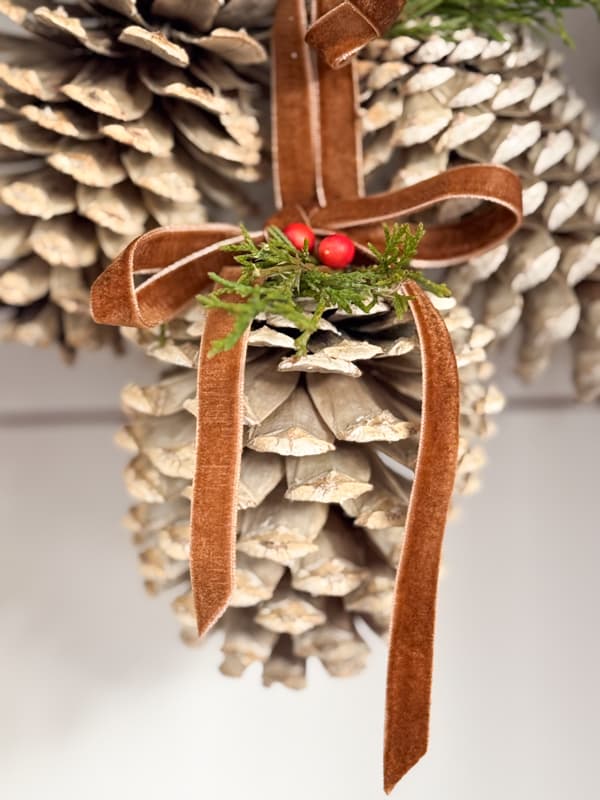
You will want to find the largest pinecones available to bleach. The larger the pinecone, the larger the scales, and it will take less time to cover the cone.
If you don’t have bleached pinecones, this is your first step. It takes several days to bleach and dry out the cones. You can see all the details at How To Bleach Pinecones: The Complete Guide to Pros and Cons.
Don’t worry so much about the cons, because you are not looking for perfect pinecones but just perfect scales. After they dry out, the scales are much easier to remove from bleached cones.
Insider Tip
If you need to speed up the bleached pinecones’ drying time, you can place them in a 200-degree oven for 20-30 minutes at a time. Put them in the sun in between. I only use the oven at the end if possible.
How to Attach Pinecone Scales to Paper- mache Cone
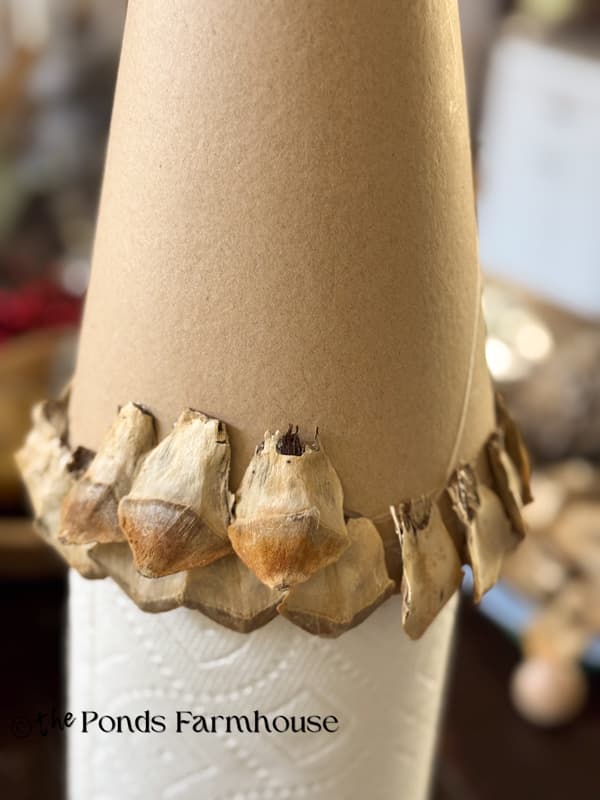
You will first want to cut away any sharp curves at the tip of the pinecone scale with pruning shears. This will allow the scale to lay flat or almost flat on the cone. If there is too much curve, the next layer of scales will not fit properly.
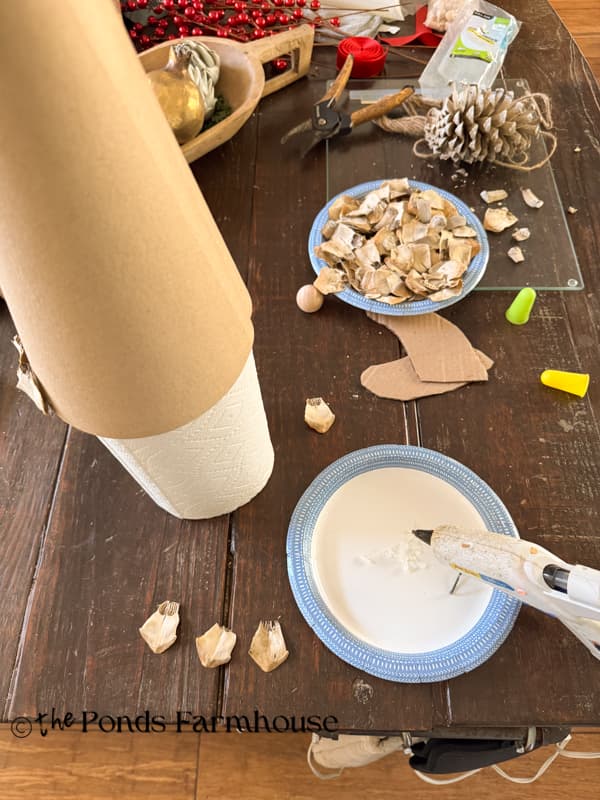
You will also want to find something to insert inside the cone to elevate it so that the scales will not break off. I used a roll of paper towels. LOL
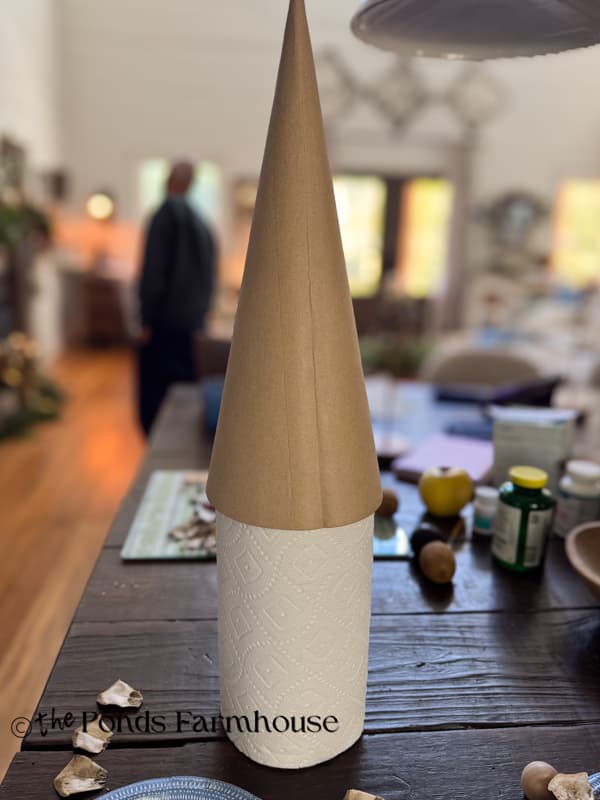
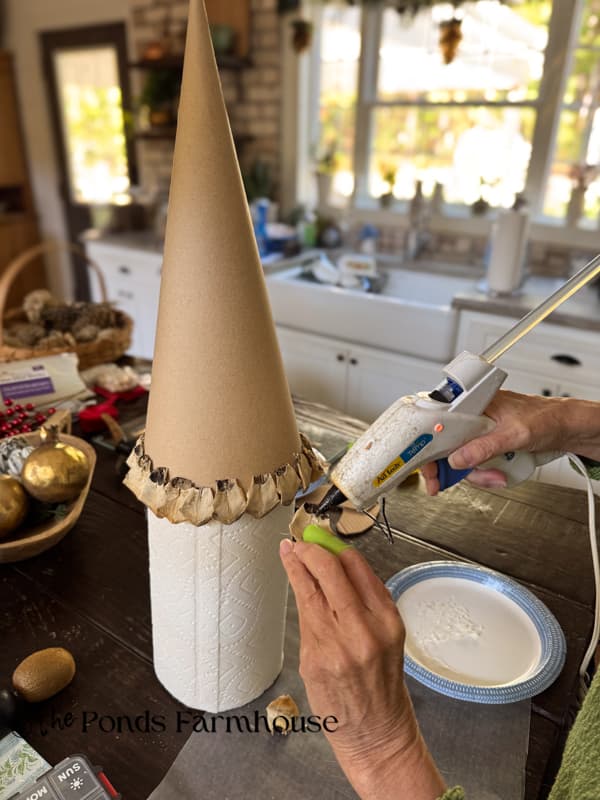
To attach the scales, begin at the bottom of the cone and use hot glue to secure. Allow the scale to drop slightly below the cone and place each one as close together as possible to cover the cone.
I found that adding the hot glue directly to the scale and holding it in place for a few seconds worked best.
Work around the bottom of the cone until you meet the first one applied.
Insider Tip
Use your largest pinecone scales at the bottom until you need to switch to smaller ones. The smaller scales work best as the diameter of the cone is smaller.
Add Second Row of Pinecone Scales
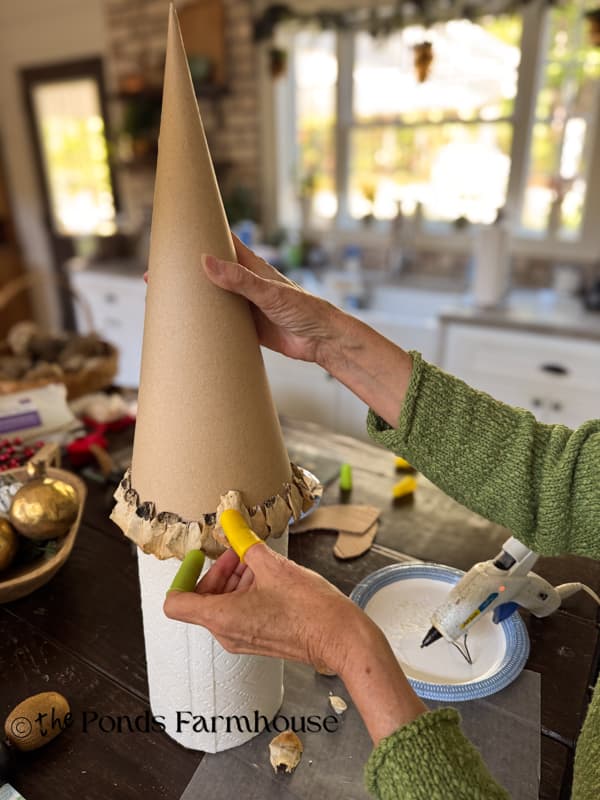
For the second row, you will overlap the tops of the first row. You’ll notice I turned the scales over for the second round. I wanted the first row to curve under, but from that point upward, I wanted them to curve outward.
Continue adding rows of scales until you reach the point where you want to add the angel wings.
How To Add Angel Wings To Tree Topper
Determine at what height you want to add your wings and stop adding scales until they are secured. I had originally planned to use cardboard covered with the scales. However, I realized they would be heavy and hard to attach.
My husband, Brad, came up with the idea to use feathers. He had seen that I had some in my Christmas totes so I wouldn’t need to run to the store.
I just took 5 feathers for each side and spread them out in a fan shape. Then I used hot glue to hold the pattern. After they were dry, I added them to the back of the cone with hot glue. To secure them, I placed pinecone scales over the center of the wings, where they meet in the back.
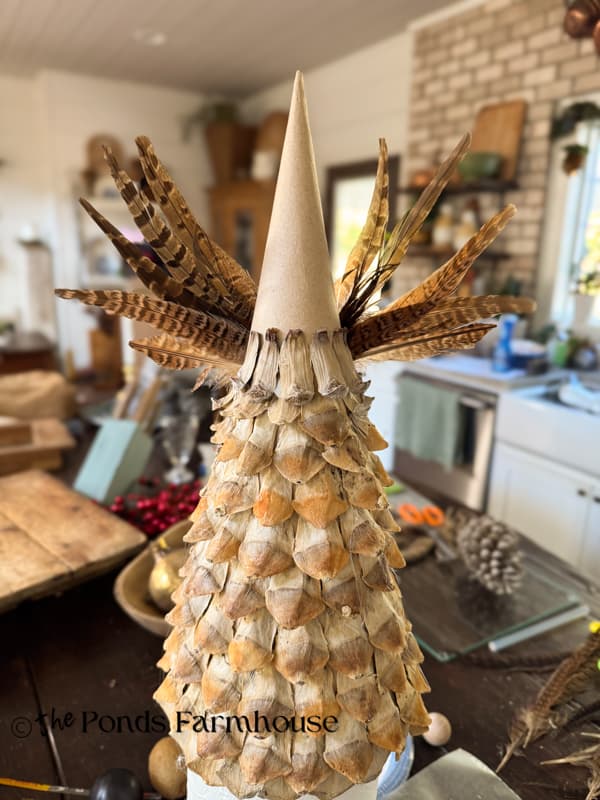
After the wings are secured, continue adding pinecone scales as before, fitting them around and under the wings. Continue until there is just a tiny point at the top to fit the head on.
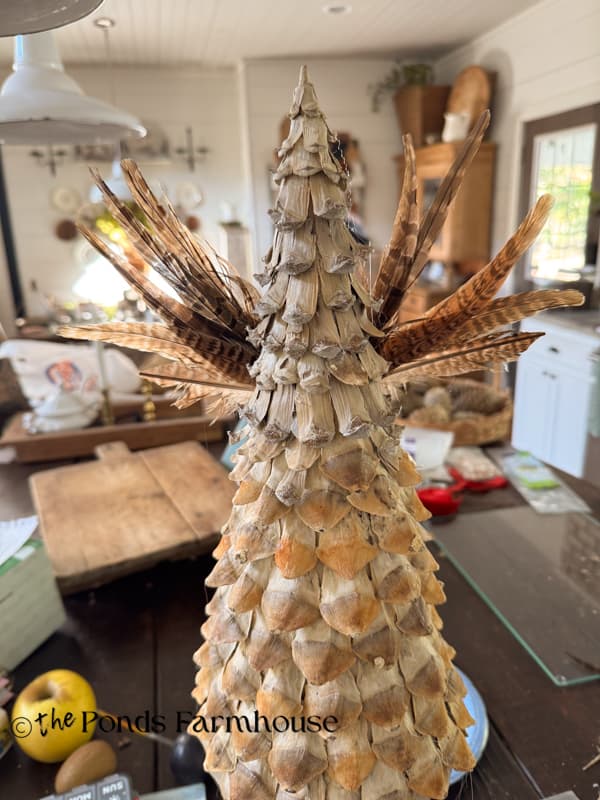
How To Add The Angel Head
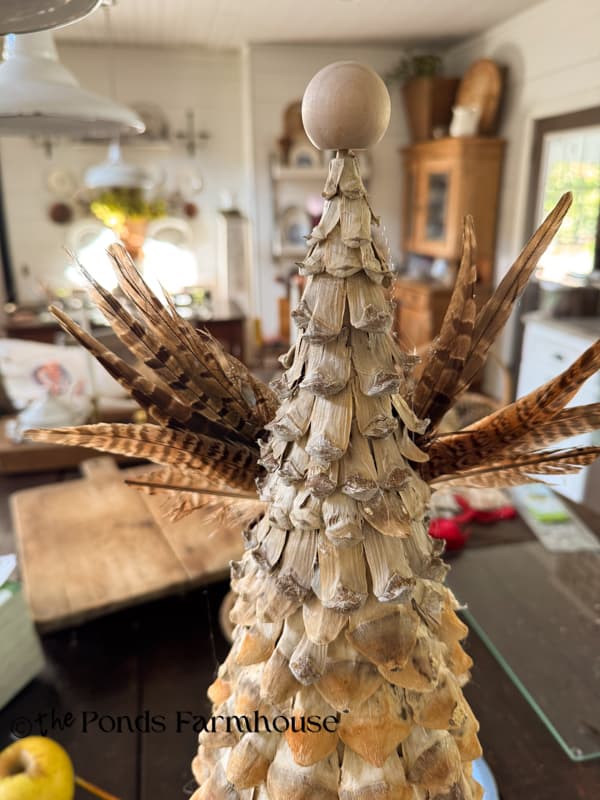
I already had this wooden ball in my stash, but I think it can be used for drawer pulls. It has a small hole on one side. You can also use a wooden bead with a hole all the way through. The hole would be convenient for attaching the halo. But here’s how I used what I had on hand.
How To Wrap The Head
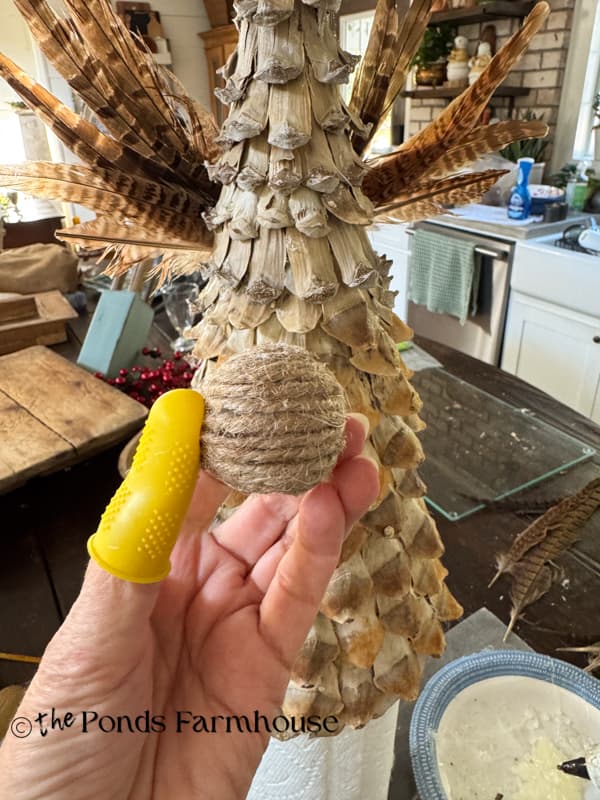
I didn’t want just a wooden ball for my angel head, so I used jute twine to cover it. It’s a little tedious but easy if you follow the instructions.
- Begin at the bottom edge of the ball and add a drop of hot glue
- Secure the end of the twine in the glue, allowing it to dry thoroughly
- Begin to wrap the twine around the bottom edge, adding small drops of glue to keep it in place.
- Continue to wrap and glue as necessary so that it doesn’t separate.
- Once you are at the top, cut the twine and use the glue to secure the end in the center at the top of the head.
How To Make A Halo
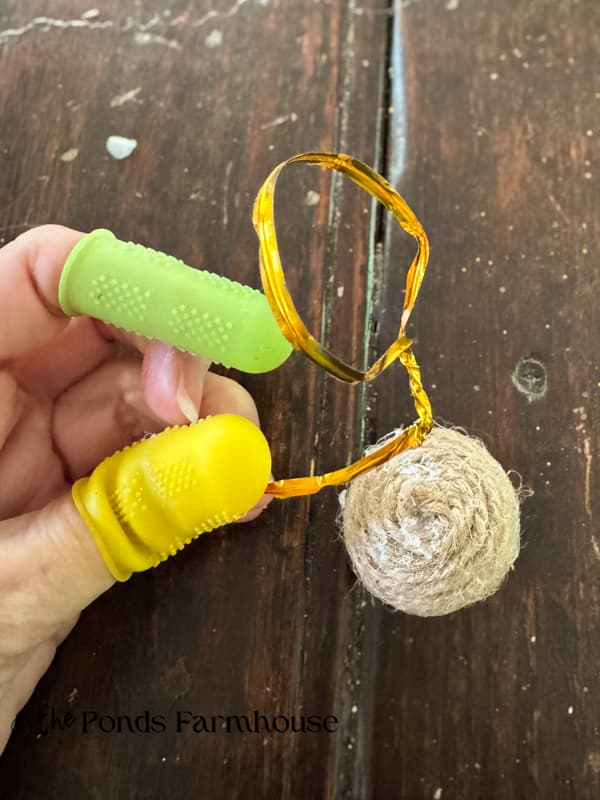
Okay, for this one, I just happened to have a metallic gold twist tie. I don’t know where I got it, but I knew it would be perfect and easy to work with.
I just made a circle and twisted the ends together, leaving a long tail so that I could attach it to the back of the head.
Use hot glue to attach the long end of the halo to the backside of the wooden ball head.
Adding DIY Pinecone Angel to Top of Christmas Tree
Now it was time to add my DIY Pinecone Angel to the top of the Christmas tree. Since someone had to stand at a distance to see when it was level, Brad volunteered to climb the ladder.
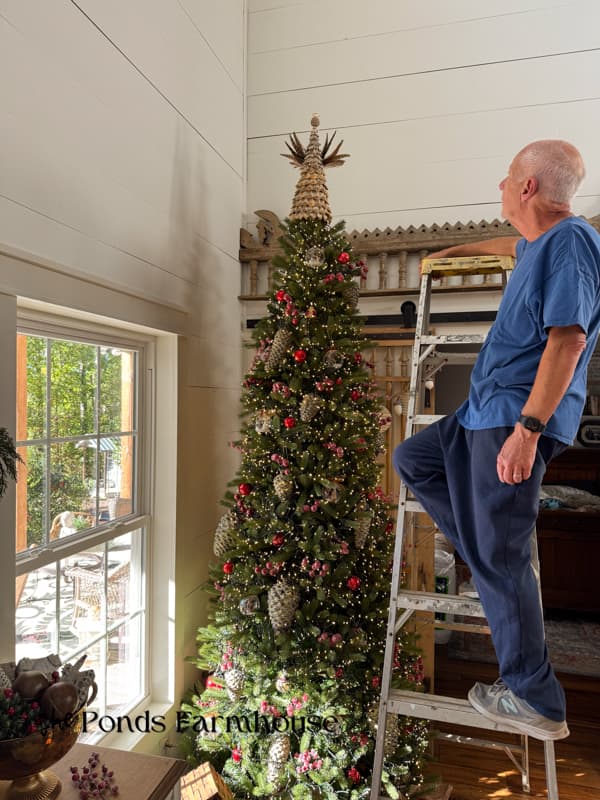
It took a few adjustments, but isn’t she cute? She cost less than $10.00 to make, and I think she’s just as sweet as the Pottery Barn version for 10 times the price.
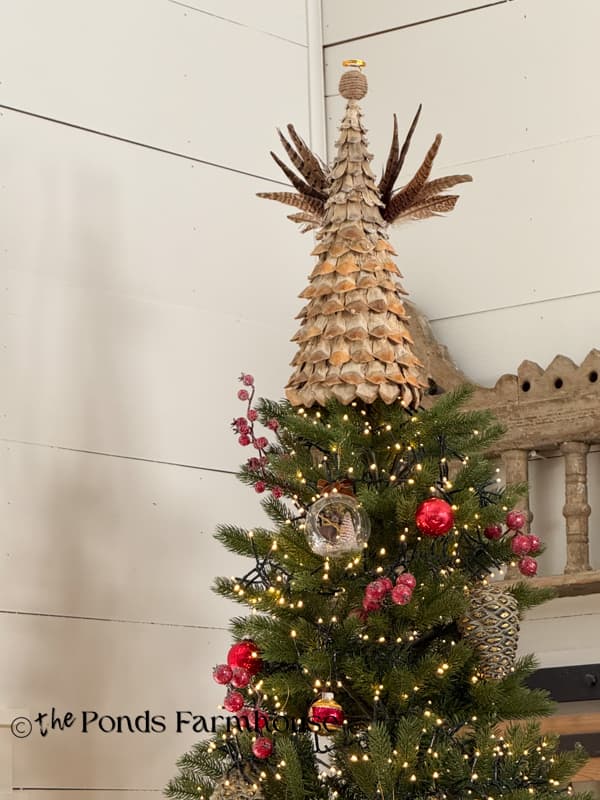
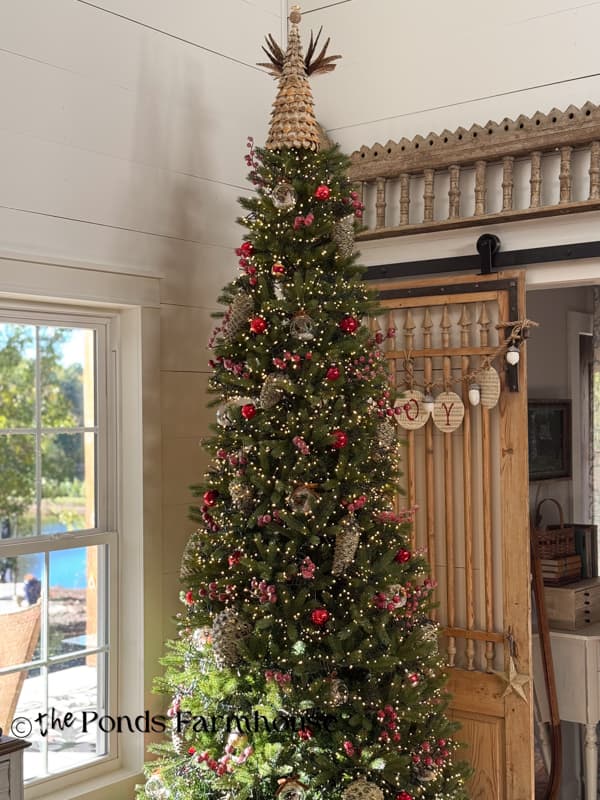
It’s hard to get a good picture from the floor with a 9′ tree. But I think she looks better in person than in the pictures. I guess she’s just not very photogenic like me. LOL.
FAQ
Video Tutorial
Thanks for stopping by and I look forward to sharing my next adventure with you.

Pin It To Remember It
Did you find some great ideas you’d like to save for future reference? To save, hover over the images and pin to your favorite Pinterest Boards when you see the PIN button in the upper left-hand corner.