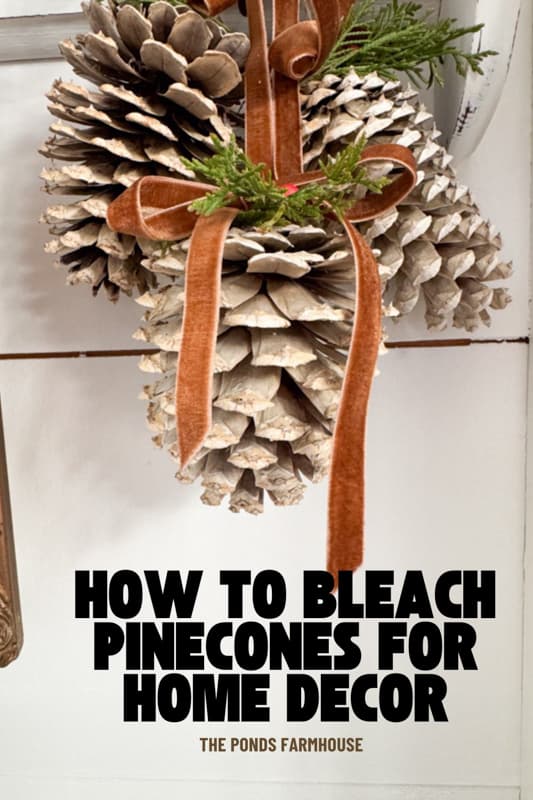
How To Bleach Pinecones: The Complete Guide to Pros and Cons
Hey friends, I decided to try my hand at bleaching pinecones this year for my Christmas decor, and I couldn’t be happier with the beautiful, naturally lightened result. It turns out that this easy technique has a few crucial pros and cons you need to know about before you start. Is bleaching pinecones worth the effort? I’ll show you exactly how to do it and lay out the complete guide to the pros and cons so you can decide for yourself! Let’s get started.
(Posts on The Ponds Farmhouse may contain affiliate links. As an Amazon Associate, I earn from qualifying purchases. See the full disclosure details here.)
First, the Pros Of Bleaching Pinecones: Beautiful Aesthetic
This is my first experience, and the reason I wanted to attempt this project is the beautiful aesthetic. I’ve admired the look of beached pinecones for years, so I wanted to see if I could achieve the same results I’ve seen online. I’ll share both the pros and cons with you so you can decide whether to attempt this yourself.
Achieving a Natural, Authentic Light Pinecone For Decor
You just can’t beat the natural, authentic look of the bleached pinecones. They would look great for coastal decor, winter decorating, and obviously Christmas. I’ve painted pinecones in the past, and well, you can tell it’s paint. These are so authentic-looking, and I love the overall neutral vibe they instill in this year’s decorations.
Adds Dimension and Creativity To Decor
I love using pinecones in my decor just as they are; however, this creamy, light version will add dimension to your holiday decorations. I plan to add mine to the garland on my mantel. The area isn’t well-lit, so the lighter accent pieces will help draw attention to this focal point in my home.
The light bleach look of the pinecones sets them apart, creating a unique decor style that some will not take the time to achieve.
Natural Sanitation
Obviously, when you forage for pinecones, you run the risk of bringing mold or bugs into your home. The bleach will sanitize your pinecones naturally so you don’t have to worry.
Cons For Bleaching Pinecones
From time investment to potentially damaged pinecones, is bleaching for you. Here are the cons I discovered.

Potential Unsightly Results & Damage
One thing I learned is that not all pinecones may bleach evenly. I used two types of cones, and there is a slight color variation between them. However, it’s not enough to be a problem for me.
Secondly, you want to bleach more cones than you need, as some may be damaged in the process. I did not expect the bleach to damage several of the pinecones. It appears that the bleach shredded some of the scales. I tried to pick up only sturdy cones, but some may have been more fragile than others. I’m unsure what causes some to work perfectly while others are damaged. However, it wasn’t terrible because out of approximately 22 pinecones, only five were damaged beyond use. A couple were slightly tattered but still usable.
Time Investment
I allowed my pinecones to soak for 48 hours, and then it took over a week for them to dry. Even if you decide to dry them in your oven, the process is a little time-consuming. The good news is you can leave them in an out-of-the-way place and do other projects in between. The time investment didn’t bother me, but if you are pressed for time, this may not be a good choice for you.
Safety and Handling Risks
You do want to take safety precautions when working with bleach. If you are working with large quantities, wear safety glasses and gloves to prevent splashing into your eyes and onto your body. Wear clothing that you don’t mind bleaching, as you may get splattered.
You want to safely dispose of the bleach mixture after removing the pinecones. Not a big deal, but precautions are recommended. I shared how I disposed of mine under soak time.
Overall Impression
Although I experienced a few things I wasn’t expecting, I’d definitely do this project again. I love the soft color of the bleached pinecones. It’s so much more natural than using paint (which I’ve also done). Here are the key takeaways you should know if you plan to bleach pinecones.
- Allow plenty of time for soaking and drying.
- Have a large, sheltered space to dry your cones.
- Bleach more pinecones than you think you need.

How To Bleach Pinecones Tutorial
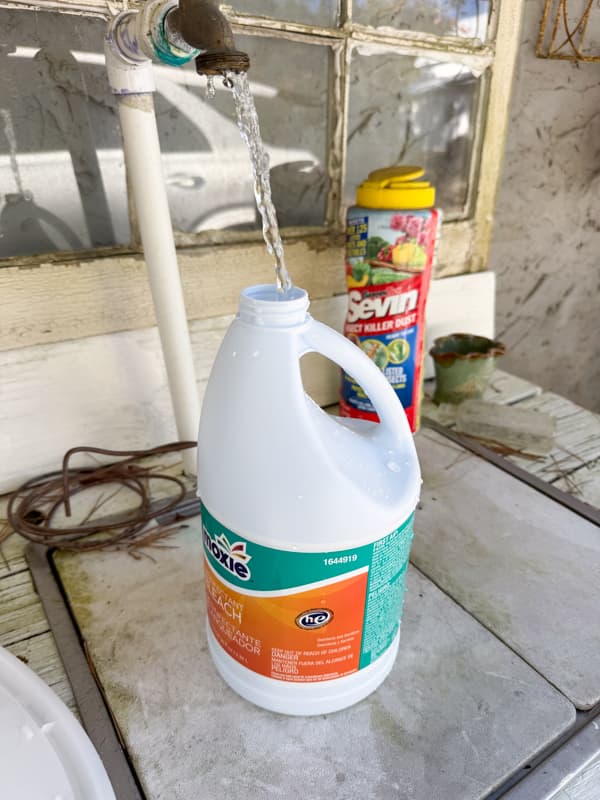
I saw several tutorials on bleaching pinecones and decided to take the middle-of-the-road approach. So I mixed the bleach with equal parts water. I read that less could cause uneven coloration or spotty bleaching. And too much can cause even more damage to the cones themselves.
Materials To Bleach Pinecones
Supply List
- Gathered Pinecones
- Large Bucket to hold all cones.
- Bleach
- Water – equal part to bleach.
- Garden Hose To Rinse
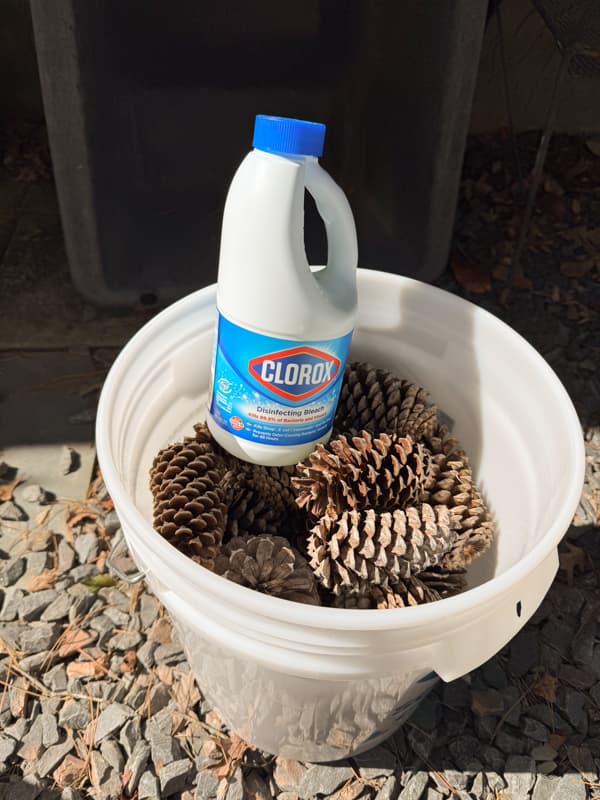
Place the pinecones in a large bucket and add equal parts water and bleach. Stir to mix. The pinecones will float, so you need to put something on top to weigh them down. I used an old pie plate with a brick on top. It fit perfectly in the bucket.
You will find that once the pinecones close, they shrink, and you don’t need as much liquid. I just left mine alone and didn’t drain the excess liquid.
Soak Time
I saw a lot of variation in soak time, so I decided once again to go with middle-of-the-road suggestions and soaked mine for 48 hours. Once they are soaked for the allotted time, you need to drain the bleach and water safely. Do not pour straight down your drain. Instead, dilute the mixture with additional water and pour slowly while allowing the water to run at the same time.
I then used a garden hose to rinse the pinecones outdoors. I drained that water in the same manner. Finally, I spread the cones on the ground in a graveled area and rinsed them again with the hose.
Drying Time
After the pinecones are rinsed, spread them out to dry. I put mine on a gravel part of our drive first. They were in the sun for a day, and then it started raining. I moved them to a table in our outdoor kitchen, which was covered. Due to several days of rain and damp conditions, they stayed closed for the most part.
Finally, the rain ended, and I transferred them to a table without a cover for approximately 4 days. I pulled them back under the covered table each night so that the dew wouldn’t slow down the process.
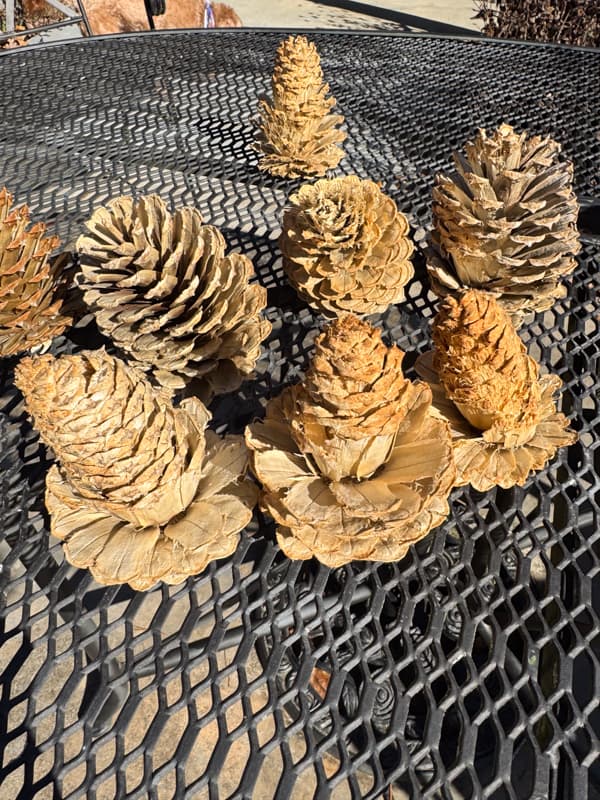
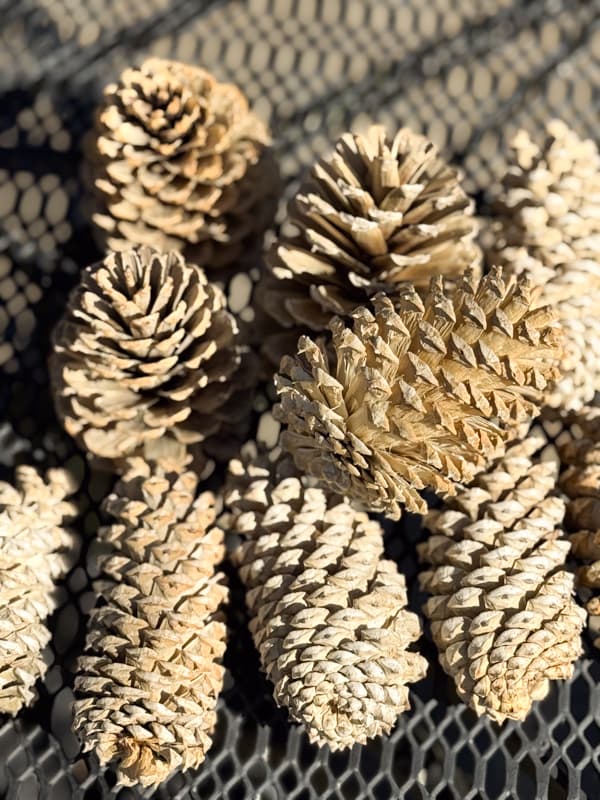
Due to the rain, it took over a week for mine to open fully. Here are the ones that opened without damage. I’m very happy with the colors. The long shaped cones came out lighter than the fatter cones. I don’t know why.
Another option is to place them on a baking sheet and bake at 200 degrees to speed up drying. Note: I haven’t tried this option, but I’m sure it would work well.
How To Decorate With Bleached Pinecones
The good news is that once they are finished, you have so many options for using them in your decor. They are not just for Christmas; however, that is why I decided to attempt this project now.
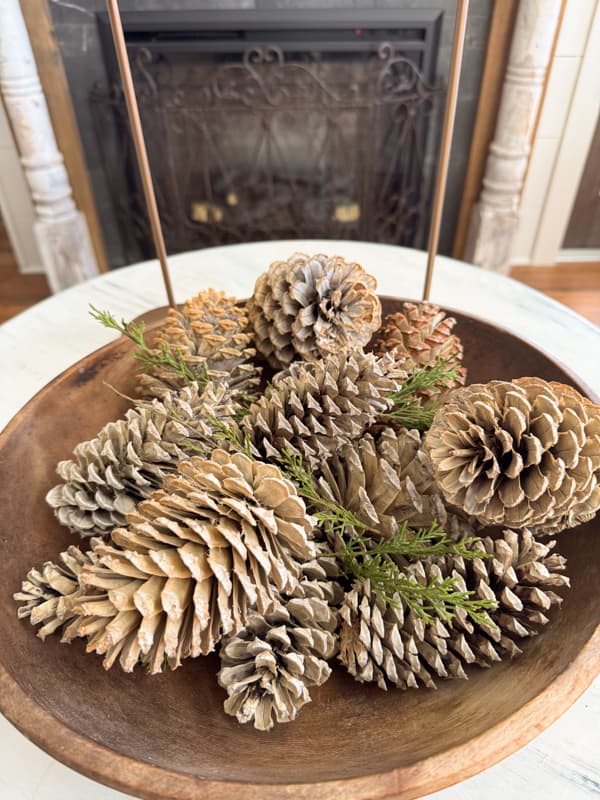
First, they make lovely bowl fillers. Just fill up a large bowl and add some sprigs of cedar or pine for the holidays.
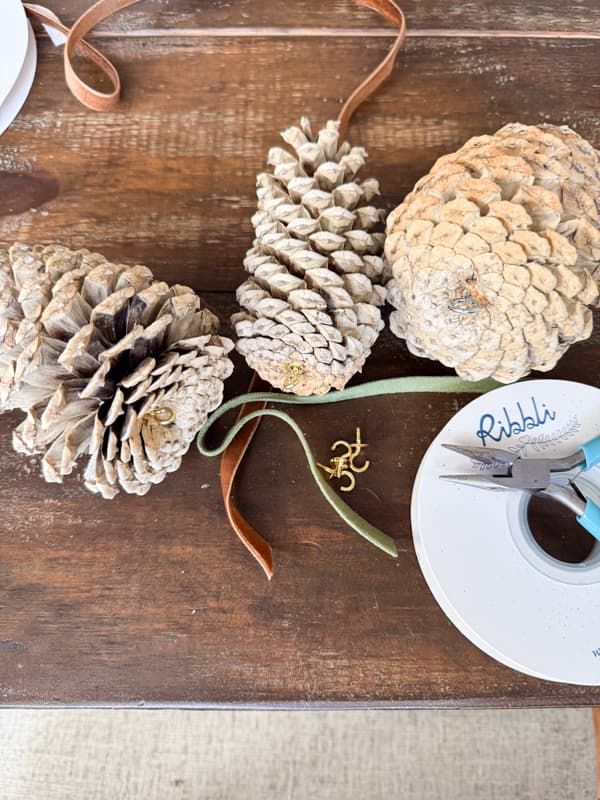
How To Make Them Hangable
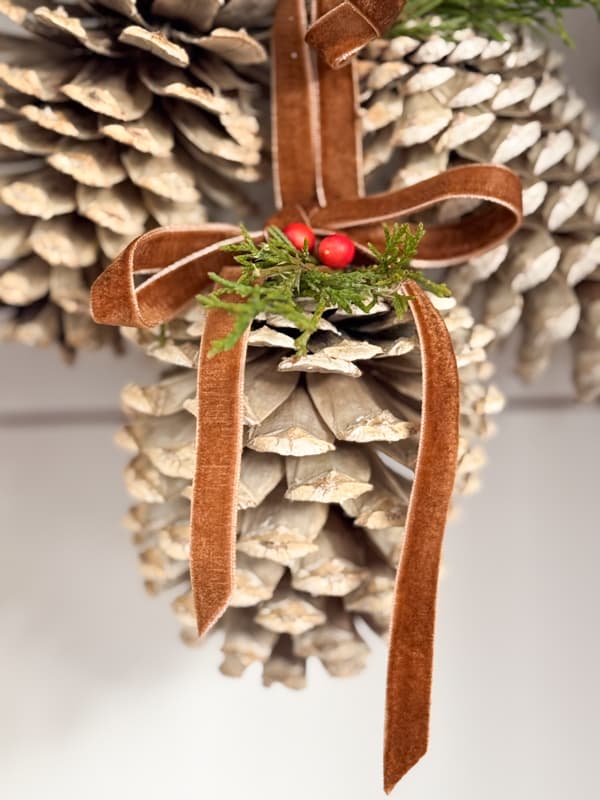
Another option to hang your bleached pinecones. To do so, you will need to add an eye hook or small cup hooks (in this case) to attach the ribbon. When I finished the pinecones, I had a few eye hooks and some tiny cup hooks, so I used both, and they worked great.
Just screw the hooks into the base of the cones and attach the ribbon of your choice. I used a brown velvet ribbon for this year’s Christmas decor.
You can hang them grouped on a peg hook or on a garland. I added some cedar stems and berries to enhance the holiday look. Just add a drop of hot glue to attach.
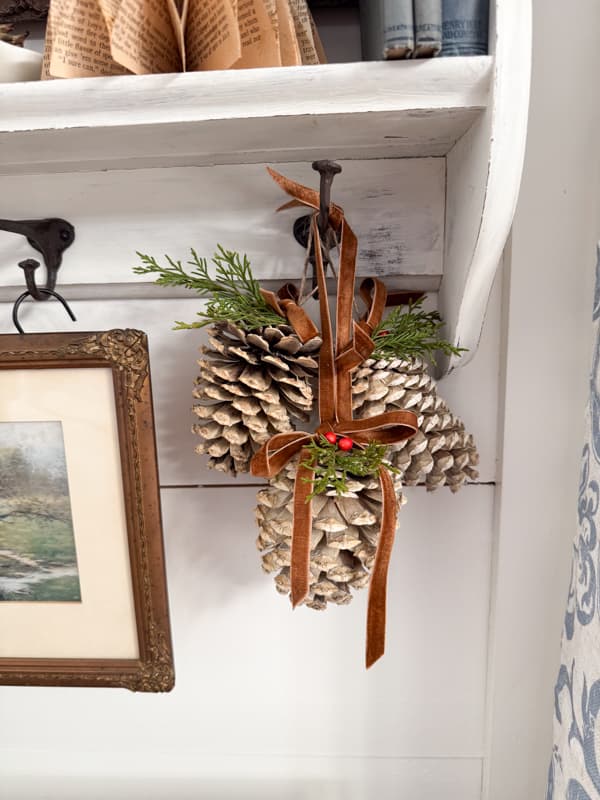
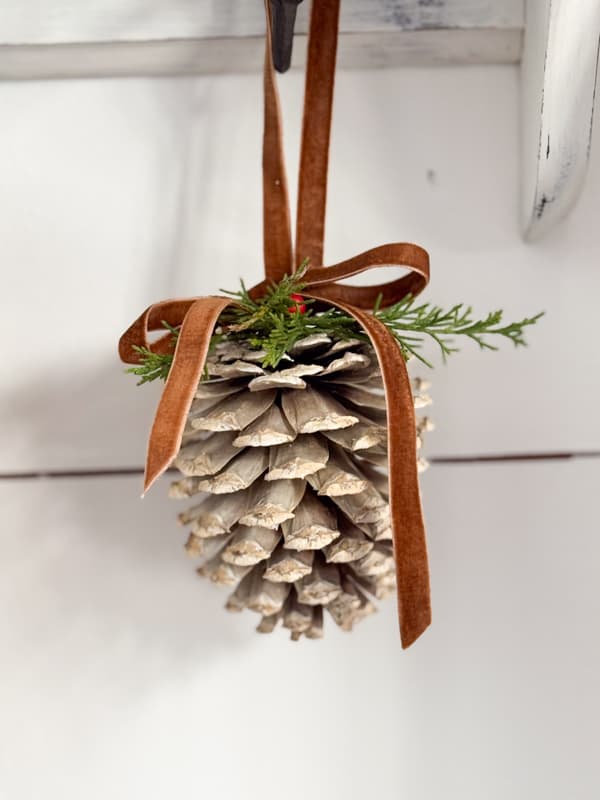
They also look great hanging individually. You can use them on a Christmas tree, tie them to a garland on your mantel, or wherever you choose.

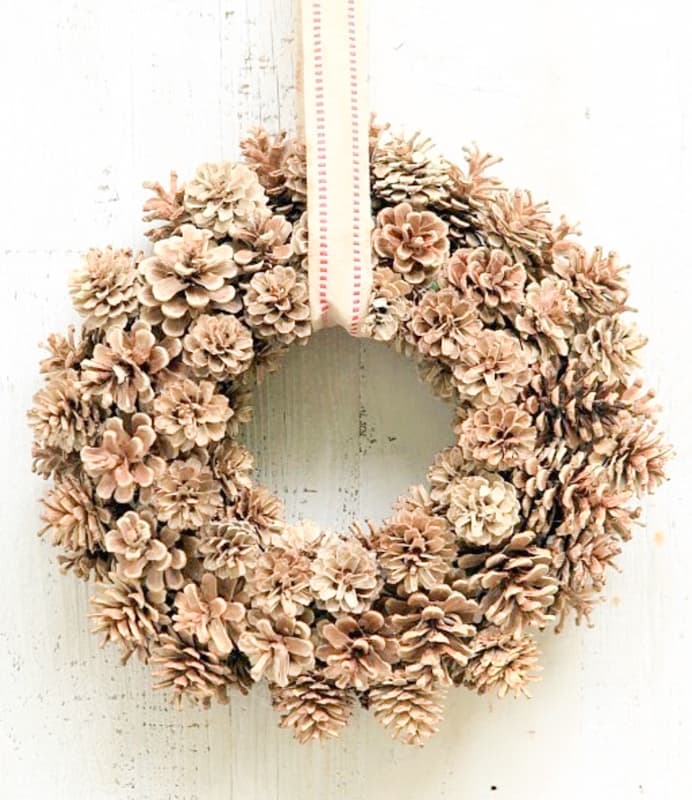
They would also make a stunning pinecone wreath. This one from @garden_therapy on Instagram is lovely. I want to attempt one of these at a later date.
Final Conclusion and Other Options
I’m loving them so far. So yes, I’d certainly recommend this project if you like the look too. As I finish this post, I’m thinking of other ways to enhance these bleached pinecones. Here are a few options.
- Add glitter to the scales.
- Use hot glue to attach berries between the scales.
- You could add faux snow to the tips of the scales. See How To Add Fake Snow To Christmas Decor in 2 Easy No Mess Steps for details.
- Mix bleach cones with seashells for a bowl filler.
- Bleach larger cones that can stand alone to create a Christmas tree effect on your shelves.
What are some ideas you have? I’d love to hear. Just leave me a comment.


Loved this post!! I have a ton of pinecones on my property and gonna give this a go… Thanks for the inspiration! Also, I’ve been following your journal and I pray each day that your doing well.
Dotte,
Oh thank you for following along. I certainly appreciate your prayers. Let me know how your pinecones turn out. I just started another batch. I’m loving them. Have a blessed day.
I LOVE these and have always wanted to try them. Maybe this is the year?! Thank you for sharing it on Farmhouse Friday. I’m featuring it tomorrow. pinned
Cindy,
They are really easy if you have a good space to dry them. Thank you for the feature. I appreciate you.