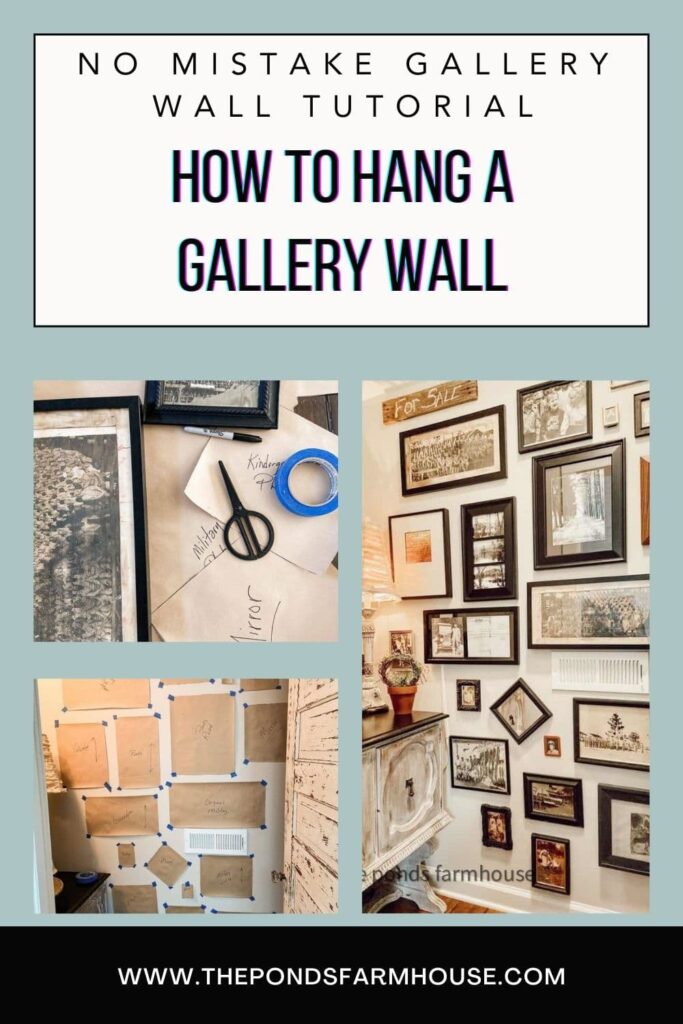
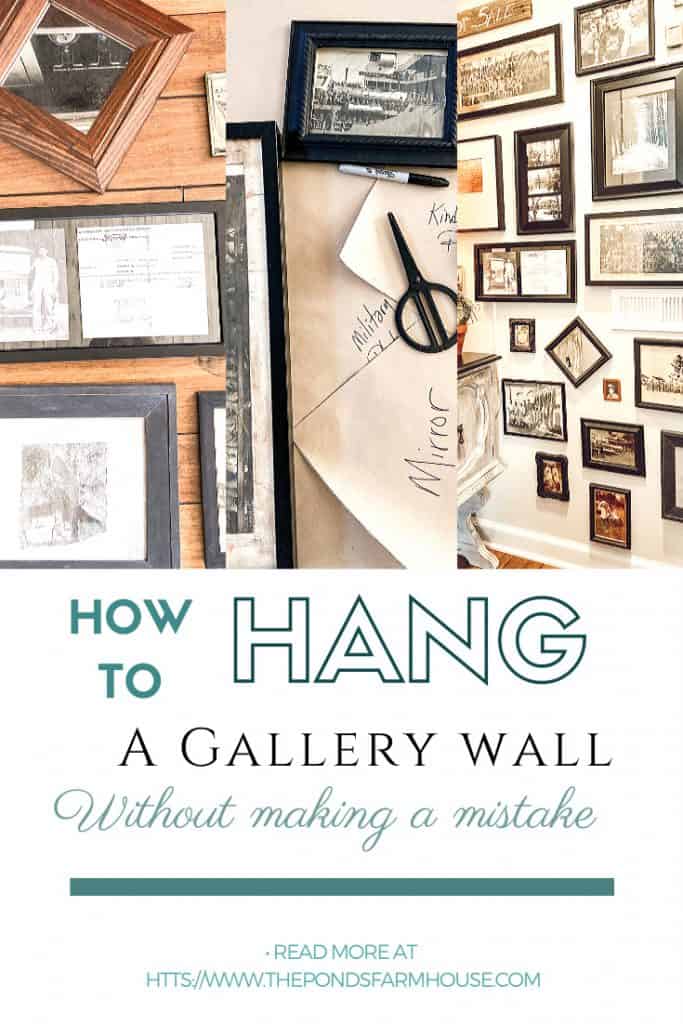
How to Hang a Gallery Wall Without a Mistake!
Want to learn the best way to hang a gallery wall without damaging your walls? Hanging pictures with different-sized frames can be particularly scary. I had that same fear, but as I planned my gallery wall, I realized there was a foolproof way to get it right the first time and avoid unnecessary damage to my walls. Here are my tips for damage-free ways to hang a gallery wall. By following these techniques, you can do the same.
(Posts on The Ponds Farmhouse may contain affiliate links. As an Amazon Associate, I earn from qualifying purchases. See the full disclosure details here.)
Step 1 – Decide on a Theme
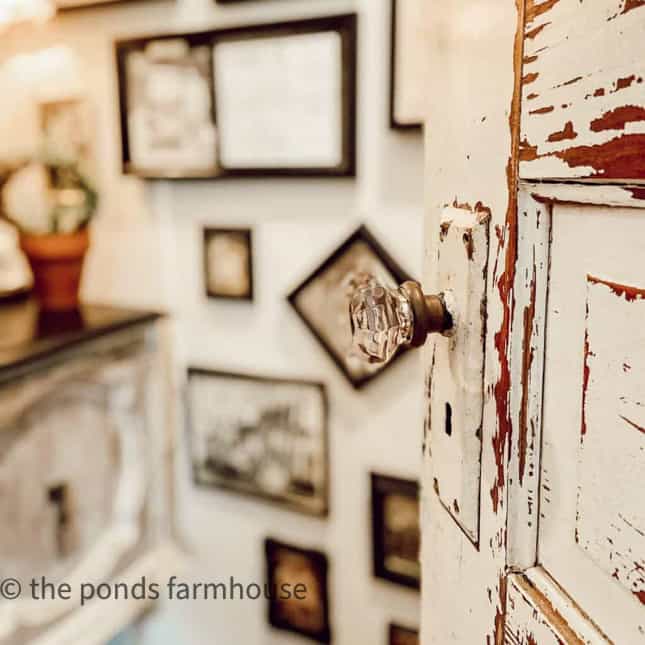
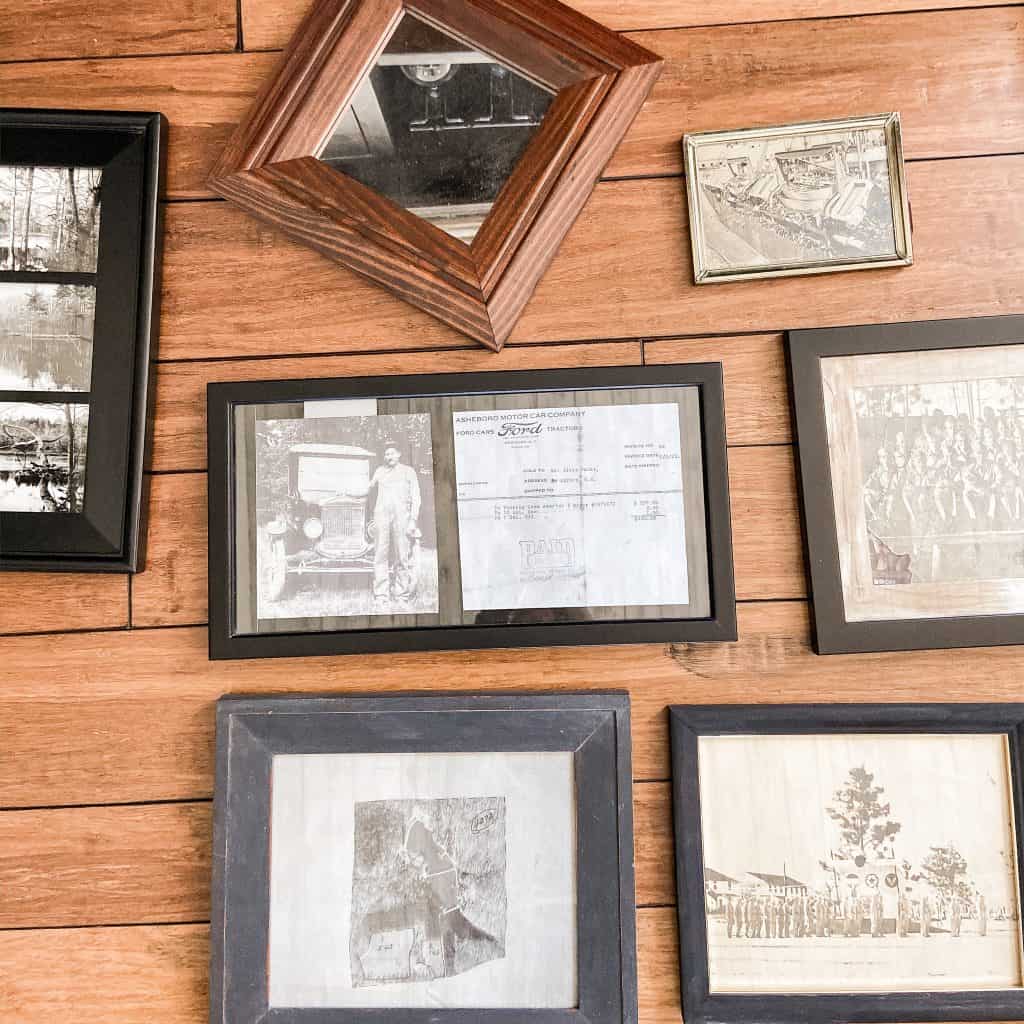
A gallery wall should have a theme. You could use children’s photos, vacation photos, memorabilia, botanical prints, or vintage family photos. Since I recently inherited a lot of old family photos, I used those to create my gallery wall. All the frames are different sizes and shapes. I created this wall during the COVID pandemic in 2020 and relied on upcycling old frames that I already owned. I used paint to make them more cohesive for the gallery wall.

Insider Tip
If you are using old family photos that are irreplaceable, they can fade and become damaged when exposed to light. If this is a concern, make copies of your photos to create a picture collage wall. I am using my old photo’s in a powder room with no windows so I used my original images.
Whether you use different-sized frames will likely depend on your theme. I love both uniform-sized frames, like I often see with botanical prints. My friend Jennifer created two different gallery walls in her home. One is the uniform-sized frames for a botanical print gallery wall, and the other is a picture collage of different-sized frames. Both are stunning.


Step 2 – Gather The Proper Supplies
Always remember that you need some basic tools to do the job properly whenever you hang a gallery wall. But if you missed the 5 Tips to Hanging Art Perfectly Every Time, you may want to refer to it first.
I also needed frames for my father’s panoramic photos from WW2. I ordered these frames from Amazon, but the mat was not working with vintage photos when they arrived. I created a custom frame, and you can see all the details at DIY Custom Photo Mat With Unique Vintage Touch

Supplies
- Craft Paper
- Hammer & Art Hanging Kit – I went old school with art hanging kit. However, there are other options. See below.
- Tape Measure and/or yardstick
- Sharpie, Painter’s Tape & Scissors
- Level or Laser Level
- Painter’s tape
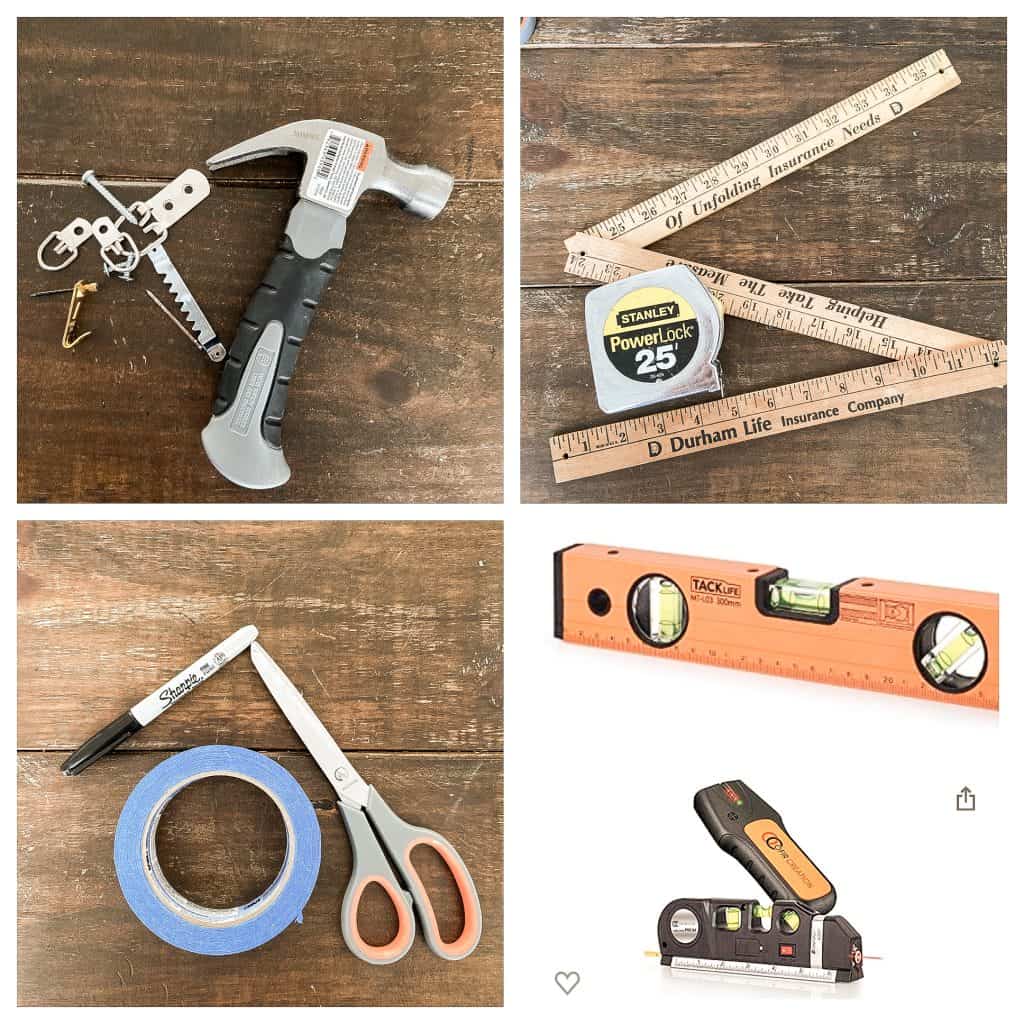
You can substitute craft paper for old wrapping paper or newspaper if you prefer.
Hanging A Picture Collage Options
Traditional Picture Hanging Methods
- Nails and Picture Hooks (Artwork Hanging Kits) – Good for a stable arrangement for lightweight art.
- Screws and Anchors – Heavier artwork, especially on drywall where you can’t hit a stud. Anchors provide extra support in hollow walls.
- D-Ring and Wire—These frames have pre-installed D-rings on the back. The wire is strung between them and hung on a hook or nail.
Damage-Free or Minimal Damage Methods – I use these with caution. I have wood shiplap walls and find the adhesive may not be 100% effective. I revert to the more secure methods when hanging heavy or valuable pieces.
- Adhesive Strips and Hooks (example: Command Strips) – Can be effective for lightweight to medium-weight frames. Ensure you get the correct weight capacity when purchasing.
- Picture Hanging Strips with Interlocking Fasteners (e.g., Velcro Command Strips) are slightly heavier than regular adhesive strips. They often have a higher weight capacity and provide a more secure interlocking hold, but it is still important to check the weight capacity.
- Picture Rails are a versatile and elegant solution, especially in older homes with picture rail molding. Hooks are attached to the rail, and wires or cords hang down to support the artwork. If your home doesn’t already have this rail, installing it can be costly. However, you can install a gallery rail kit.

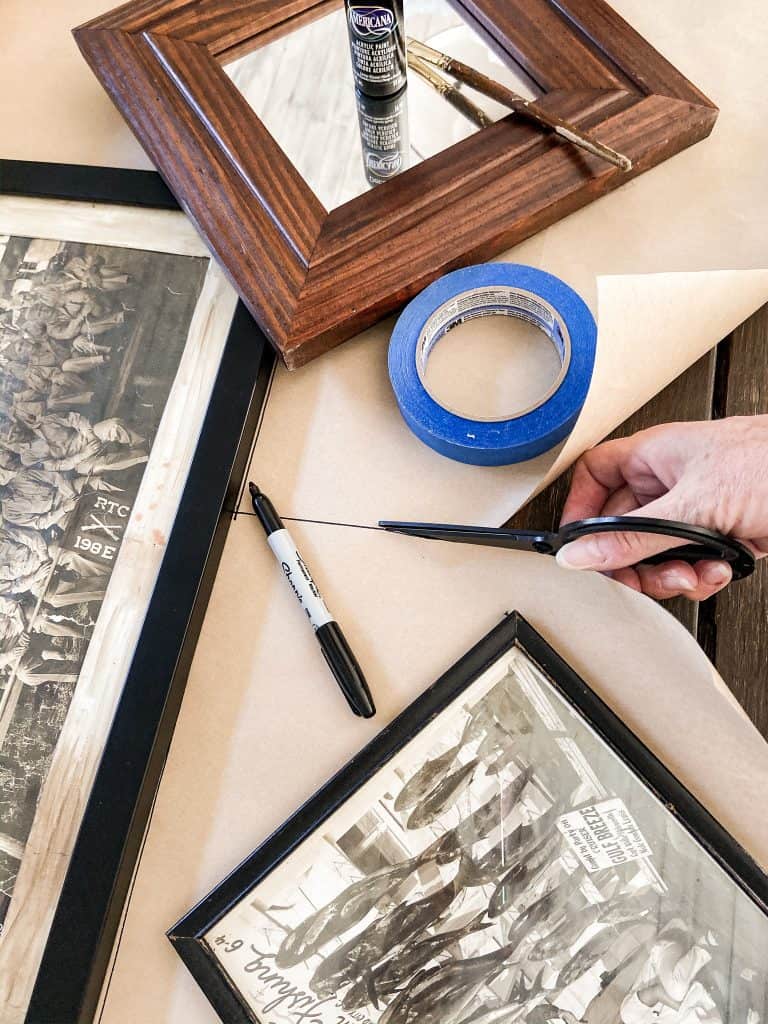
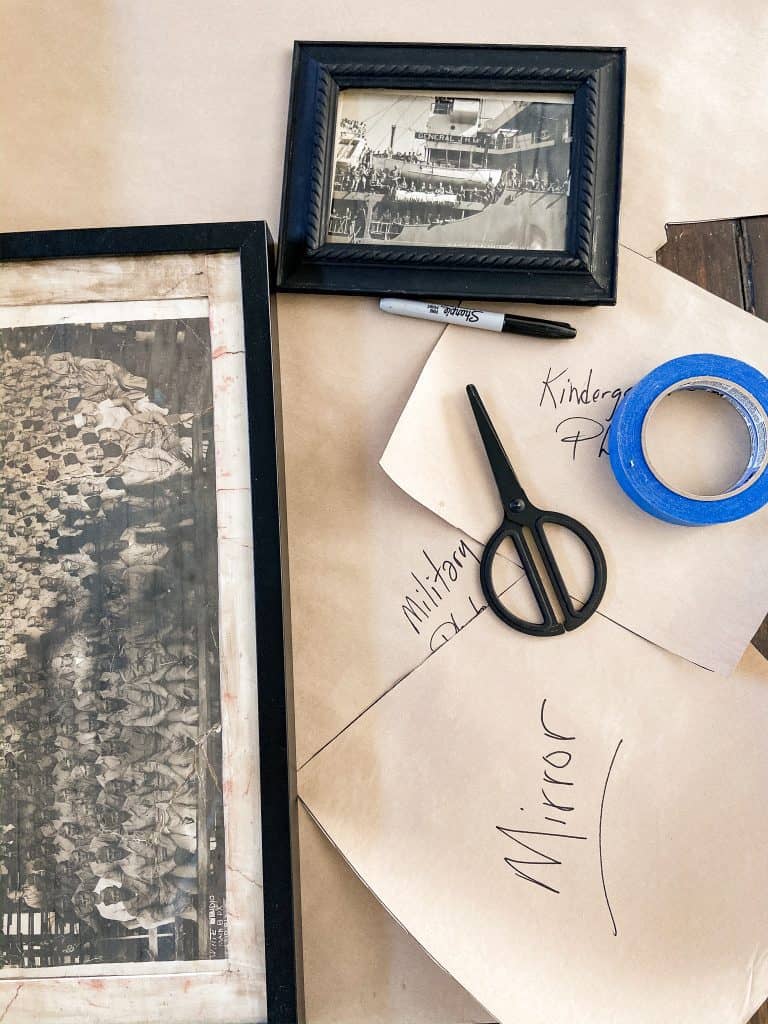
Step 3 – Trace Each Frame onto the Craft Paper
Trace each of your frames onto the craft paper to create a template. Cut out the traced paper.
Insider Tip
Be sure to document each frame as you trace it. I promise you will not be able to distinguish them once they are all cut out. Include a description of the print and arrows to determine vertical placement.
Step 4 – Decide On An Arrangement
Next, decide how to best arrange a hanging wall of pictures.
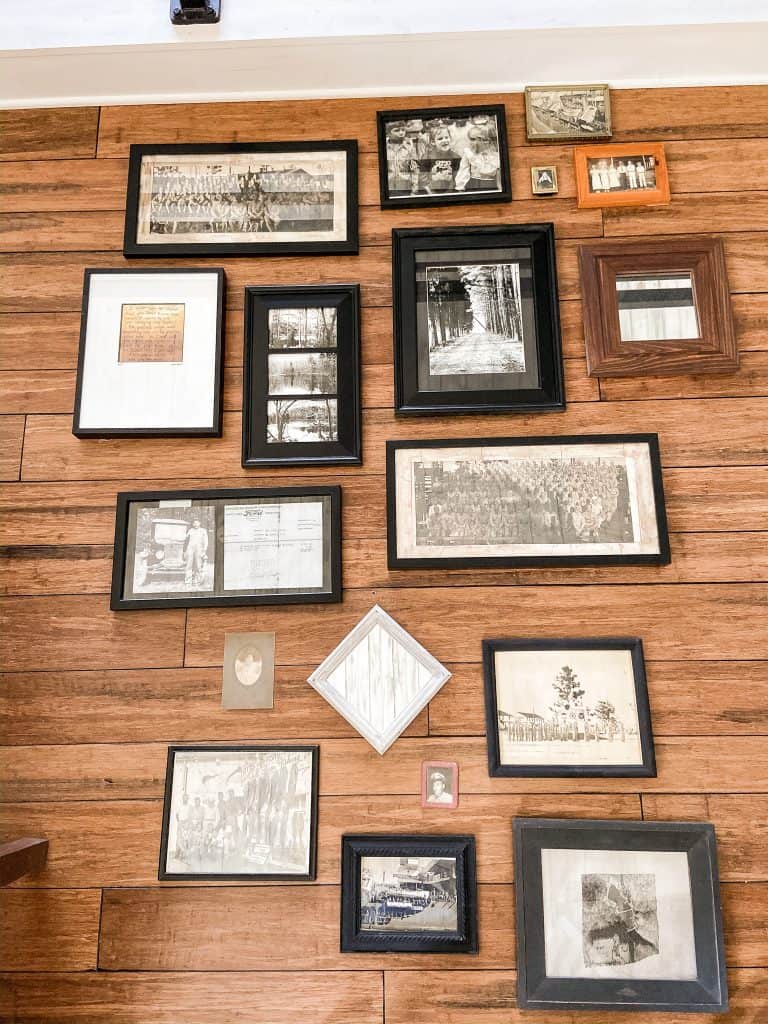
If you use identical frames of a consistent size, hanging a wall of pictures isn’t as difficult. Because I used multiple sizes and shapes, deciding on an arrangement beforehand is crucial. Keep in mind that you want approximately 2 inches between each frame.
I laid the frames on the floor to find the arrangement, but it didn’t work. So, I began adding the template photos to the wall using painter’s tape to hold them in place instead.

Using painter’s tape to hold the templates in place allowed me to easily shift their placement without damaging the wall. Since I didn’t want my photos to hang on an angle, I used a level to ensure that each template was level in both directions.
Step 5 – Double Check Your Placement
Once the templates were placed in a pleasing arrangement, I laid the photos out on the floor in an approximate arrangement I planned for the wall.
This step ensured the arrangement was eye-appealing and nothing looked out of place. The arrangement was acceptable at this point by switching a couple of the smaller pieces.
Step 6 – How To Hang A Picture Collage Wall
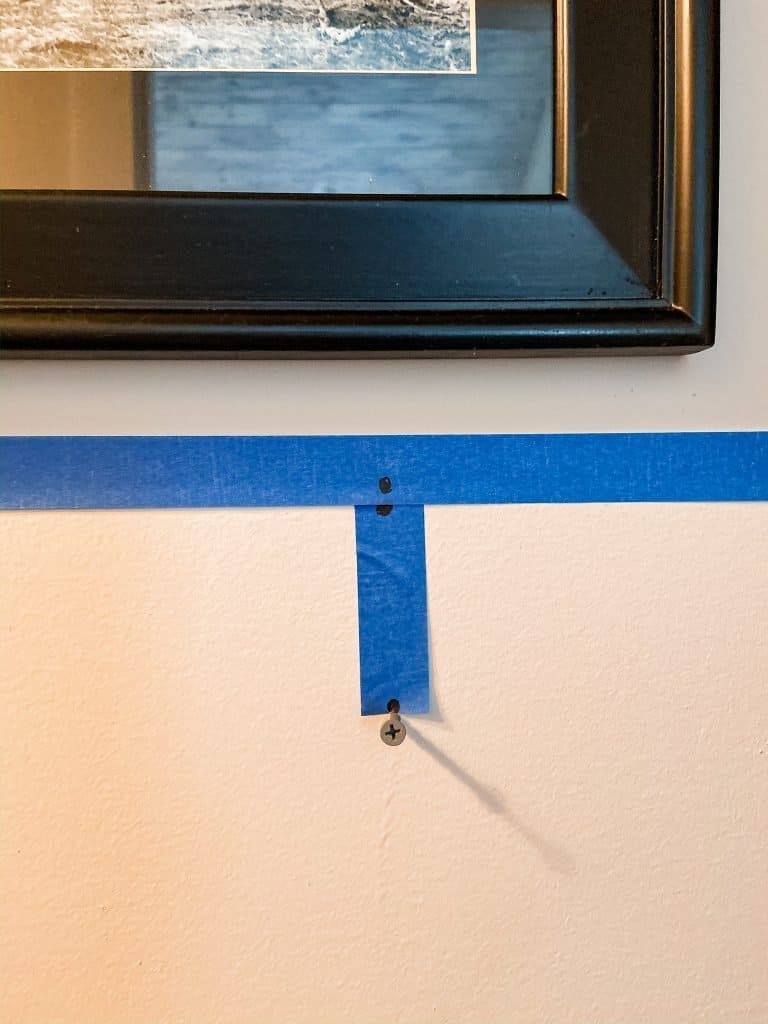
Don’t remove the paper templates from the wall. This will ensure that all the frames remain level, and it is a crucial tip for hanging a picture on a wall.
Next, you want to place your nails! This is the scariest part of hanging art. First, I’ll refer back to a previous post. Here is a tutorial with step-by-step instructions for hanging art. If you use your painter’s tape to mark the hanger placement and then use your wall template, you will place the nail perfectly every time.
Insider Tip
Now you have your gallery wall hanging perfectly on the wall but then a few days later, you notice they have shifted and are cock-eyed. Some of my frames hang straight without any assistance. For those pesky frames, I use Wall Bumpers (Clear Adhesive Dots or Pads) and in a pinch, I’ve used Tacky Putty (example: Blu-Tack, Fun-Tak). If you are working with shiplap walls, you can used a foam backed double stick tape.
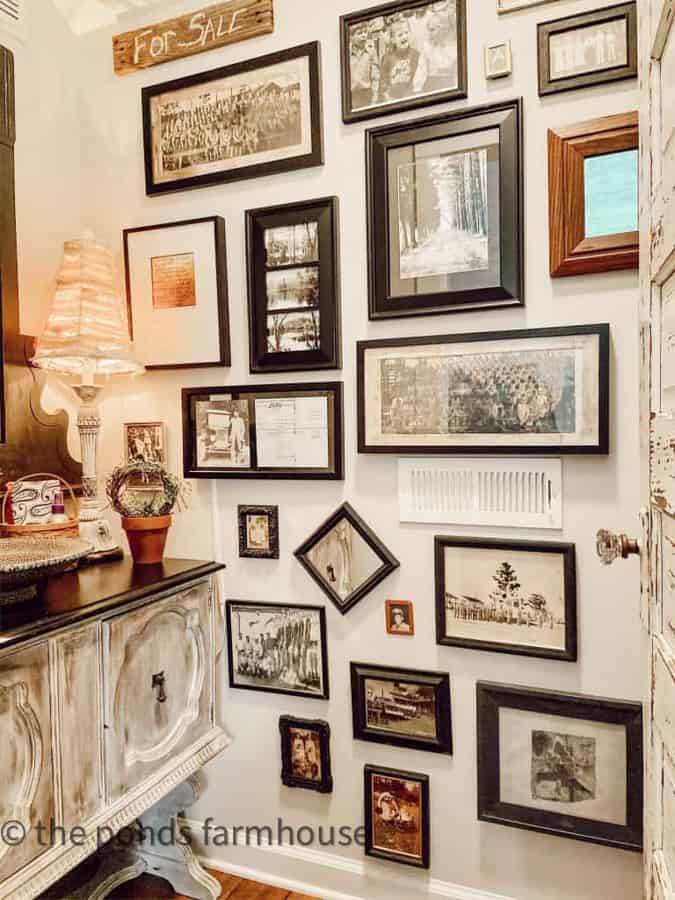
Step 7 – Step Back and Enjoy Your Gallery Wall
Hanging a picture wall has never been easier. I hope you picked up tips that will give you confidence in hanging a gallery wall of your own.
Resources: Shop This Post
Related Articles
- How To Hang Art
- What To Do With Inherited Family Photos
- How To Create A Custom Photo Mat for Vintage Images
Thank you so much for stopping by. I hope you’ll be inspired to hang a gallery wall. I love mine. Please feel free to ask any questions, and as always, your comments are greatly appreciated.

Pin It To Remember It
Did you find some great ideas you’d like to save for future reference? Hover over the images you’d like to save and pin to your favorite Pinterest Boards when you see the PIN button.


Thanks, Rachel! I enjoyed your post so much! I have been holding off on doing my walls in our long hallway because I just wasn’t sure how I was going to go about it. Now, I know exactly what I have to do. Your idea of the kraft paper is excellent. I would never have thought of this so you have come to the rescue! You have made this picture hanging job look so easy! Now I can just get busy and get all our pictures hung.
In our patio home, I did things the hard way with many picture hook nails on the wall — which my dear hubby fixed up. I also like to use the Fun Tac to keep the picture straight.
How are you feeling, Rachel! We continue to keep you in our prayers as you go through your chemo, By the way, I forgot to mention to you that I was glad to see that picture of you in your wig. You look so pretty with it. It was so good that you went and purchased your wig before your chemo started. I, too, went and bought my wig — a surgical one that had a soft net with lots of holes in it so that the scalp would not get so irritated. I bought it from the Cancer Foundation as they had a shop in the hospital so it was so convenient. The doctors told me that I would probably start to lose my hair after my first month of chemo, They also suggested that I should consider having my hairdresser shave my head. Well, I decided that I was not going to shave my head and that I would just go through losing my hair whenever that started to happen, As things went, a week after my very first chemo treatment, I started losing my hair. This was difficult but I started tying a pretty scarf on my head. I never did look at myself when I had no hair. I always wore my scarf and would close my eyes whenever I put it on my head. I had several scarfs and always tied them on the side of my face with a big bow. I only wore my wig whenever I went out. At the end, I donated my wig to the “wig bank” at the Cancer Foundation.
Rachel, just go a day at a time! This is what I tried to do — although, at times, it was hard to not think about “tomorrow”,
You have a wonderful hubby and family and friends and they will be there for you. It is such a blessing to have such a wonderful support team — plus wonderful doctors. I’m so happy for you, Rachel. You also have the prayers of so many of us who read your posts and desire only the best for you! You are loved by so many as you have become such a very “special” friend and are such a part of our life. I am so thankful for you, Rachel!
Mary Ann,
I can’t tell you how much I appreciate you sharing your cancer journey with me. It’s been a hard week and I got my hair cut short but could go so far as to shave it yet. It’s been a week today and so far no hair loss, but I feel it will happen. I didn’t think it would brother me but just getting my hair cut short was an emotional day. I’m so glad that you found the gallery wall helpful. I love how mine turned out. I actually did mine during covid and it was a great distraction from all the worry at that time. Mary-Ann, your kind words lift me up and give me courage. Thank you for your comments.