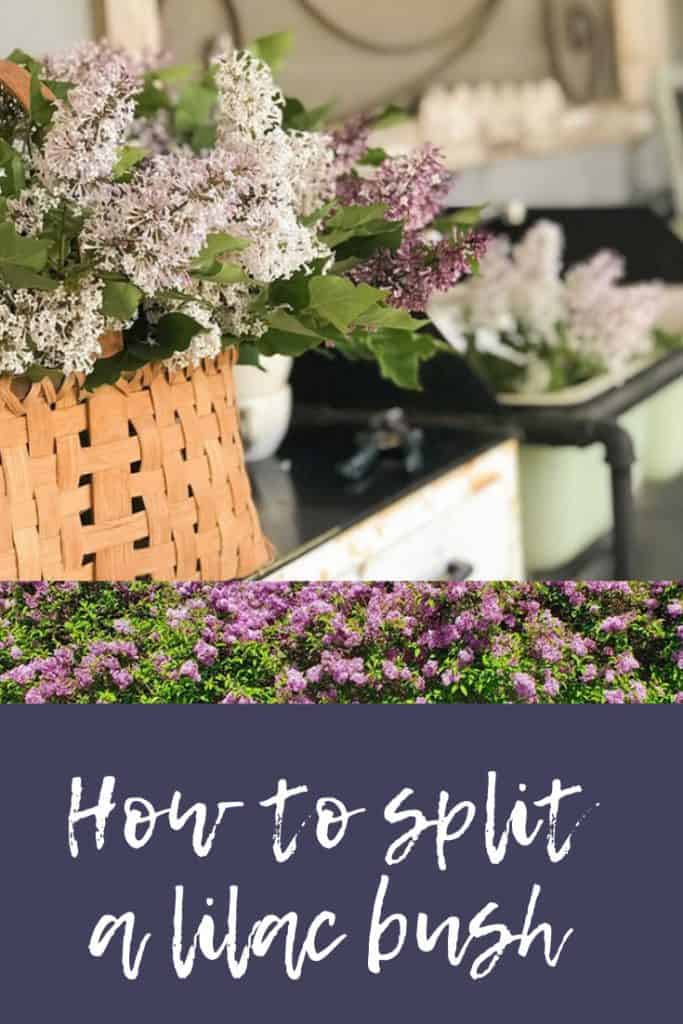
How to Split a Lilac Bush or Propagate Lilacs The Old-Timey Way
If you wish you had more lilac bushes, this post is for you. This is how my mama taught me how to split a Lilac Bush to spread around your property or to share with friends. This old-timey method has worked flawlessly with my existing plants, and it’s a free and budget-friendly way to generate more plants
(Posts on The Ponds Farmhouse may contain affiliate links. As an Amazon Associate, I earn from qualifying purchases. See the full disclosure details here.)
You’re probably wondering about this departure from my usual DIY decorating posts, especially after I proclaimed not to have a green thumb and even posted about The Best Way to Save a Faux Ficus Tree.
Because we’ve been unable to buy new plants during this time, I’ve been splitting plants and transplanting them around my yard, just like my mama taught me.

Although I don’t know the names of most of the plants, if I like them, it gets split and transplanted. It dawned on me that I might have something to share with other gardening wannabes.
(Posts on The Ponds Farmhouse may contain affiliate links. As an Amazon Associate, I earn from qualifying purchases. See the full disclosure details here.)
Why Should You Want More Lilac Bushes?
I love having fresh lilacs each Spring, and I needed more of these lovely plants in my yard.
Here’s why you should also want more lilac bushes.
- They have gorgeous Spring Blooms.
- Lilacs smell wonderful.
- Lilacs make beautiful floral arrangements by themselves and mixed with other flowers.
- They are easy to grow.
Here is my tried-and-true, old-timey method for splitting and transplanting a healthy new lilac bush.
They make the house smell wonderful and are perfect to pair with other Spring Decor like this cow print “Faith”

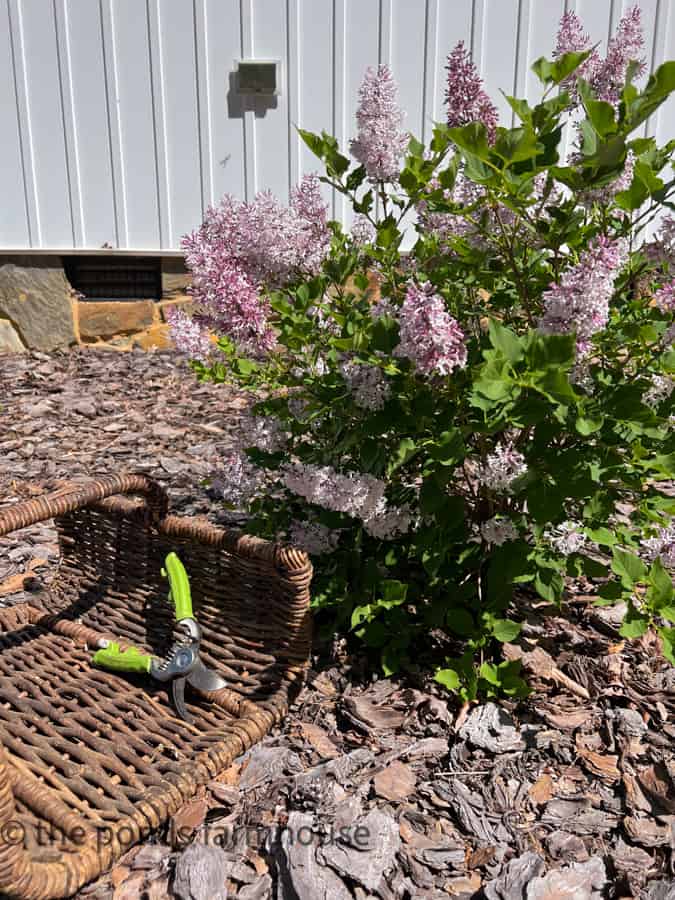
When To Split A Lilac Bush
Once the lilacs are no longer blooming and the blooms have faded, it is a great time to split the plant and start a new bush. Now would also be an excellent time to trim or prune the lilac bush to keep it small for this area.

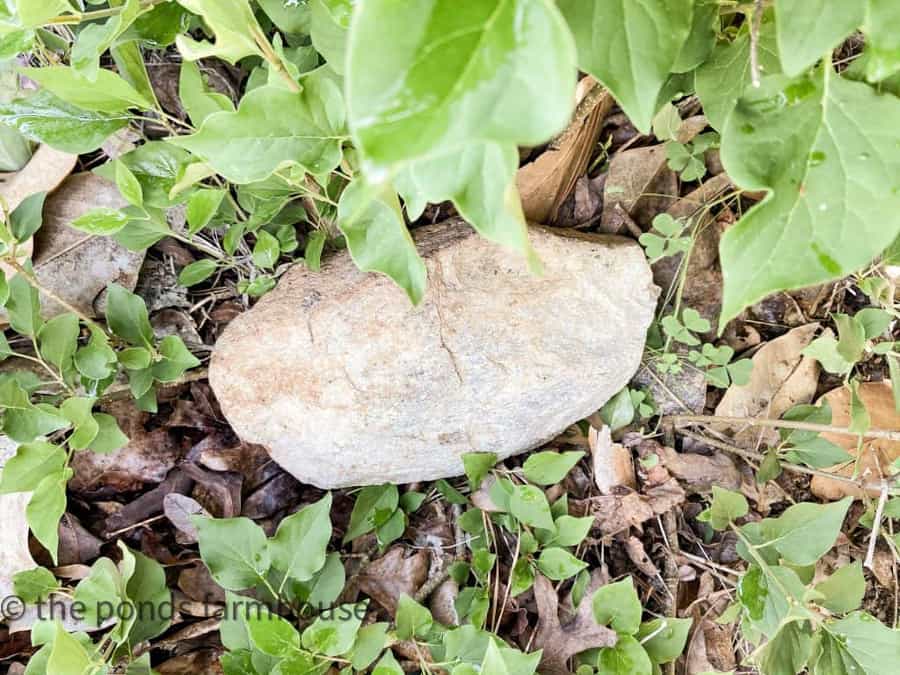
All You Need Is A Rock To Propagate Lilacs.
Yes, that’s all you need. First, identify a low-lying branch and determine where it will lie on the ground without breaking it from the Mother Plant.
To ensure a good root, you should disturb the ground beneath the limb with a gardening tool. Just loosen up the soil, lay your branch against the ground, and lay a rock on top to hold it in place. Here is what my rock from last spring looks like today.
OK, I Have A Confession
Although this is a simple method that almost always produces a new, healthy bush, the process isn’t quick. You must leave the rock on the branch for at least six months. Mine has been on my branch for one year.
You might get lucky when you begin to look for a low-lying branch; you may find one already rooted to the ground. When a lilac stem propagates on its own, it’s time for a happy dance.
Also, lilac bushes can produce suckers. These usually grow close to the Mother Plant’s root. Although these provide immediate results, they are more fragile and harder to dig than a root located a distance from the original root.

Time to Split Your Lilac Bush
Now that it’s been six months, it’s time to split your lilac bush. Wow, that went fast! LOL
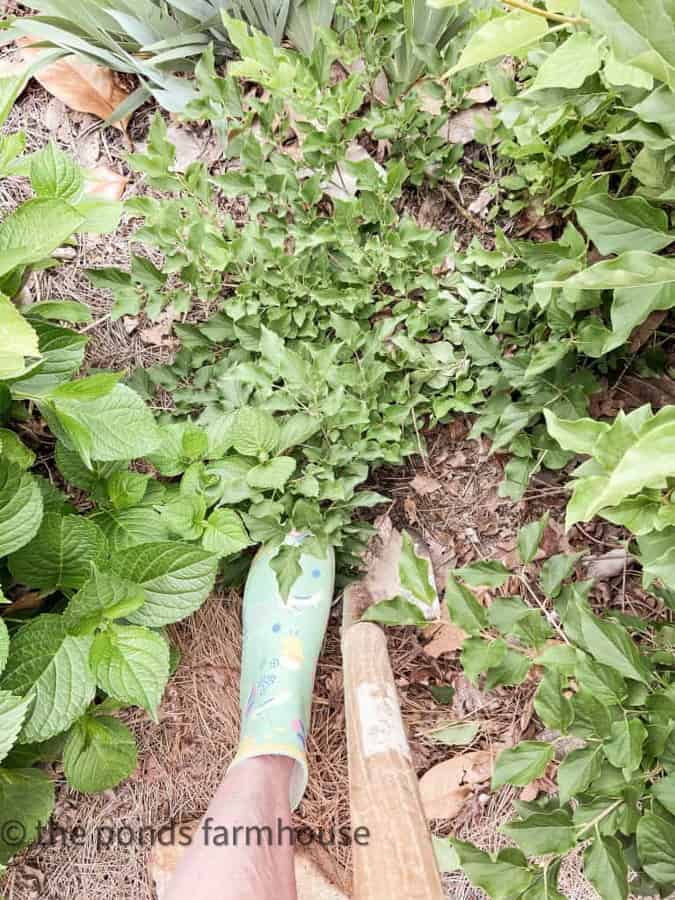
First, remove the rock and ensure your branch has rooted to the ground, or that you have propagated your lilac. You want to dig up your new lilac bush with a sharp shovel.
Dig approx. 4-5 inches around the outer edges of the rooted area and bring up as much soil as possible with the propagated lilac bush. Use your pruning shears and cut the branch away from the mother plant, as close to ground level as possible.
This will allow the Mother Plant to reshape; you’ll never know you removed a cutting.
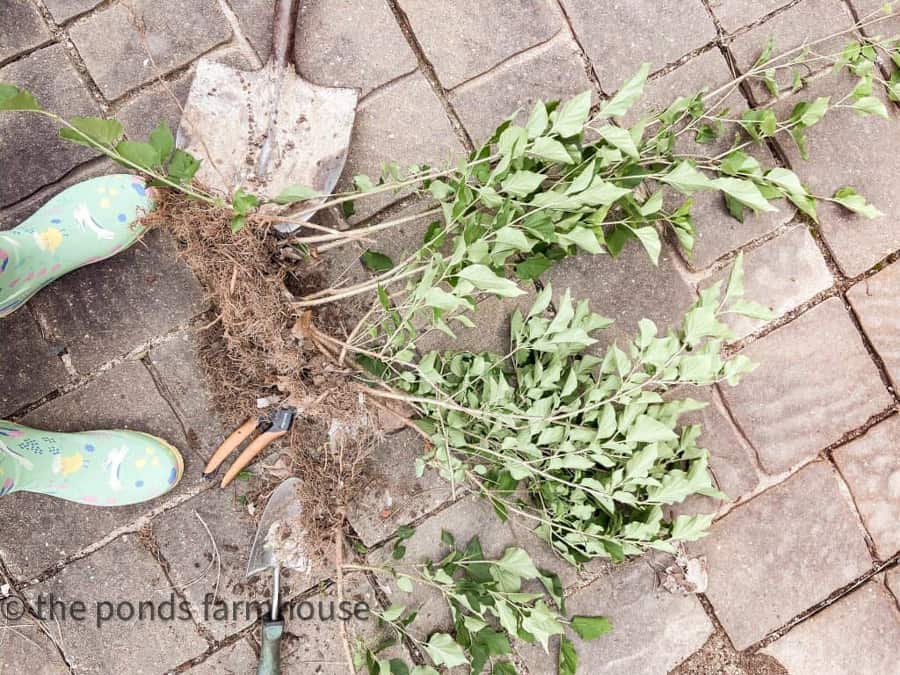
Wow, look at what I was able to dig up. I had left mine under the rock for one year, resulting in multiple shoots.
Now you are ready to transplant
If you have your perfect spot, you will want to transplant immediately.
- Dig a hole about the diameter of a gallon potting container or larger
- Fill with potting soil about half full
- Place your split lilac bush into the soil, keeping all the roots downward.
- If you soil fell away from the roots, add that original soil next to the roots.
- Water your plant thoroughly.
- Now, fill the hole completely with potting soil and ensure the plant is stable.
- Apply mulch over the top.
I’m Not Ready To Plant!
If you are not ready to plant your new lilac bush, follow these steps to ensure your new plant lives until you can get it in the ground.
One reason for splitting the lilac bush was to have new plants around my greenhouse, which was under construction at the time. I decided to place all my split plants in containers. Also, some friends might get a surprise gift because I have many unexpected plants.
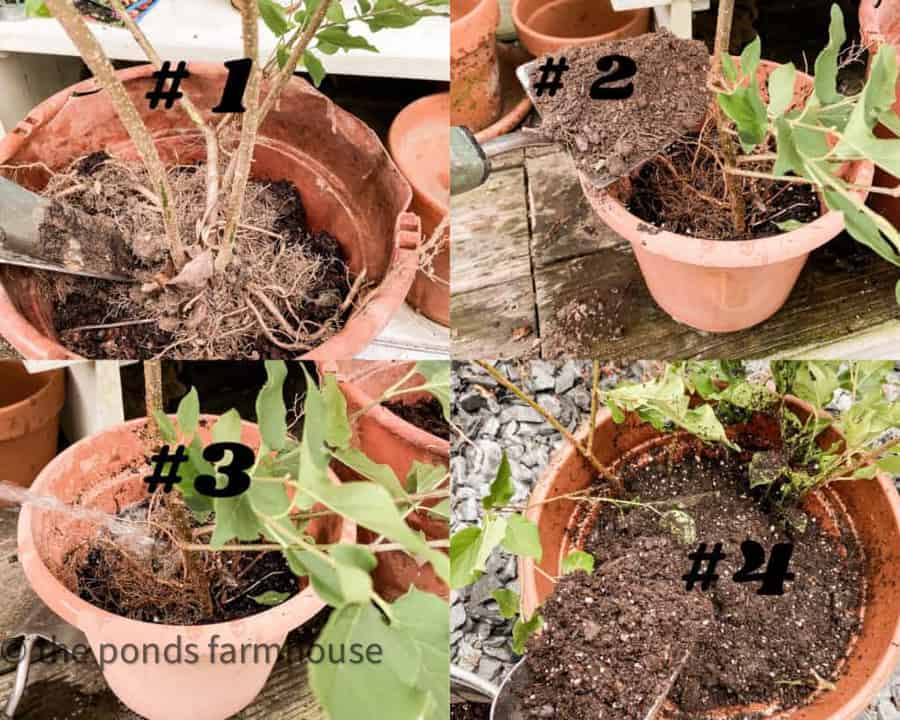
- First, fill a container that will hold your root approximately. 1/2 full of fresh potting soil.
- Second, add some of the original soil that fell away from the root.
- Third, water your new lilac bush.
- Fourth, fill the rest of the container with fresh potting soil and ensure your new lilac bush is securely in place in the container.
This Is A DIY Post!!!
It just dawned on me that this is a DIY post.
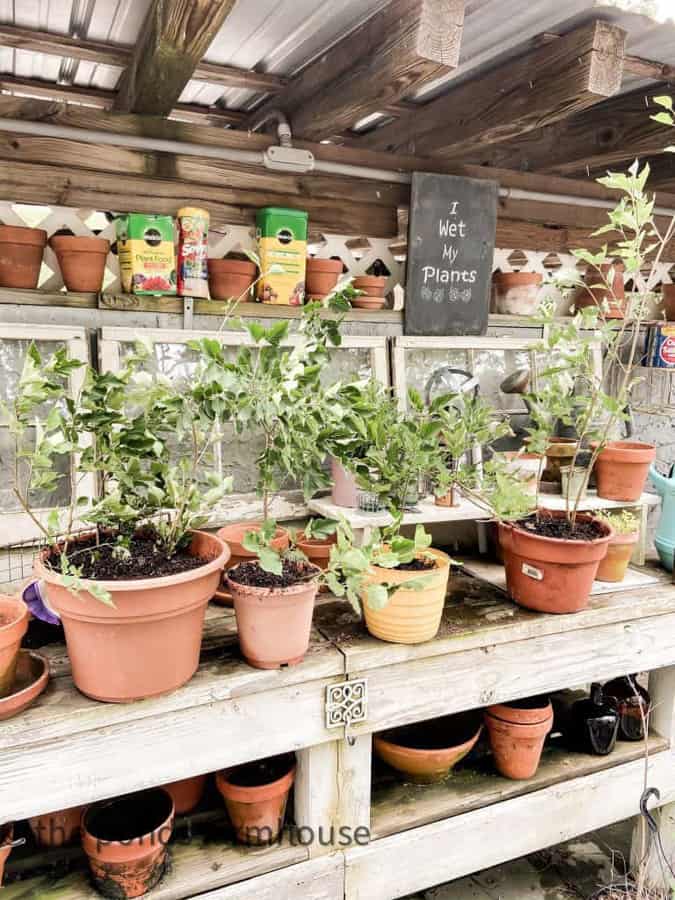
Do you see how many new lilac bushes I have? This post is all about how to DIY plants for those who wish they could garden. LOL
But seriously, after close examination, I believe one of the shoots was a volunteer sucker. Because it was unattached to the branch that had been placed under the rock, it most likely came up on its own. Always be sure to look for these volunteer suckers as well. These may be more difficult to dig if they are close to the plant. They are also less likely to survive if damaged during digging, so be gentle.
Here is a split lilac bush that was transplanted the previous year using this plant-splitting method.
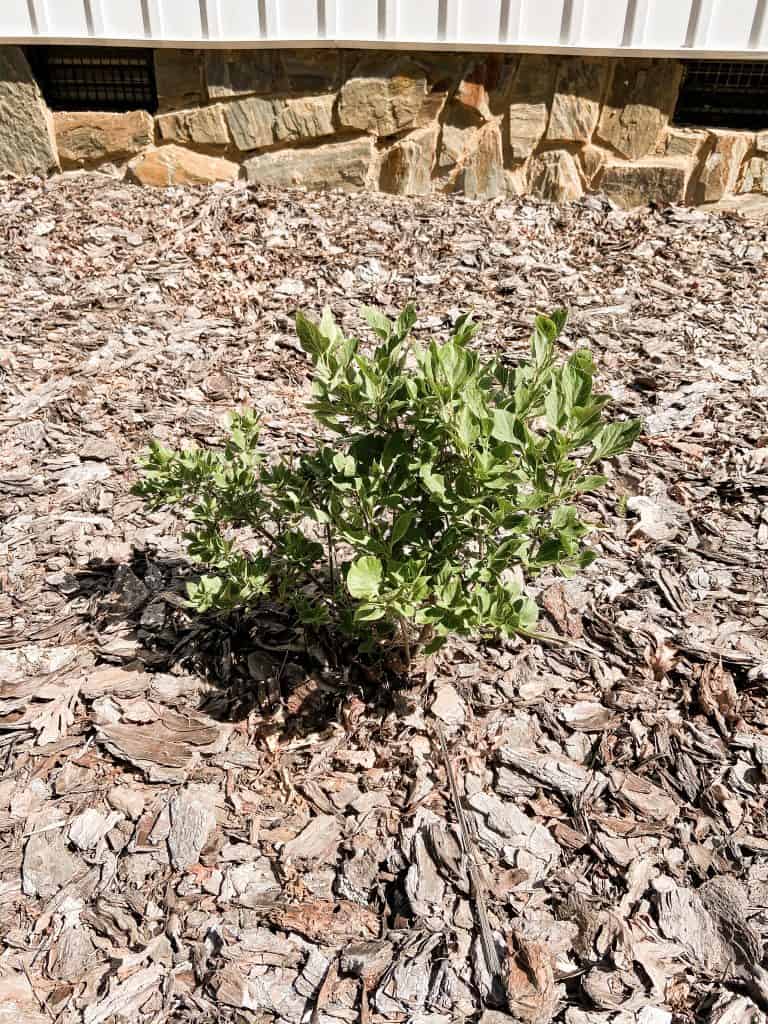
Because it was a new plant that first spring, there was only one bloom. I was still proud of it, after all.
Here’s what it looks like the next year. Can you see my happy dance?
Can I Use This Old-Timey Method For Other Plants?
I have had success with hydrangeas, roses, and lilacs. However, any bushy plant has the potential to root in this manner. Just put a rock on it and see what happens.
Disclaimer
This blog post is not intended to be a gardening guide. My Mom taught me these methods of splitting plants, which have worked well for me over the years.
Different climates and soils may have completely different results. This blog is for entertainment purposes as I share what works for me. If you decide to try it, what have you got to lose? Just put a rock on it and see what happens.
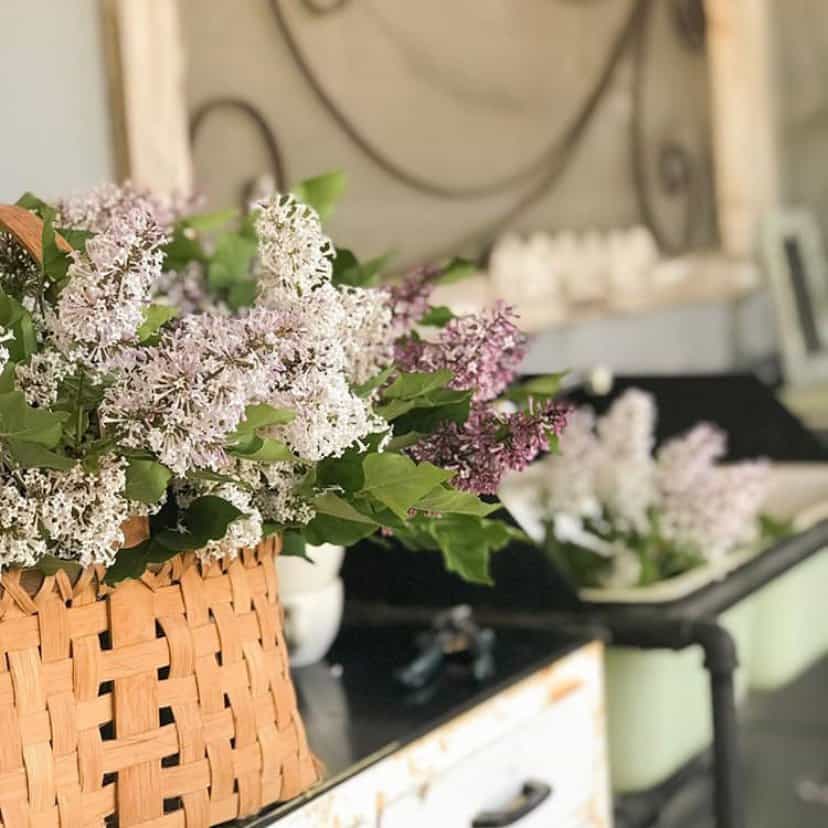
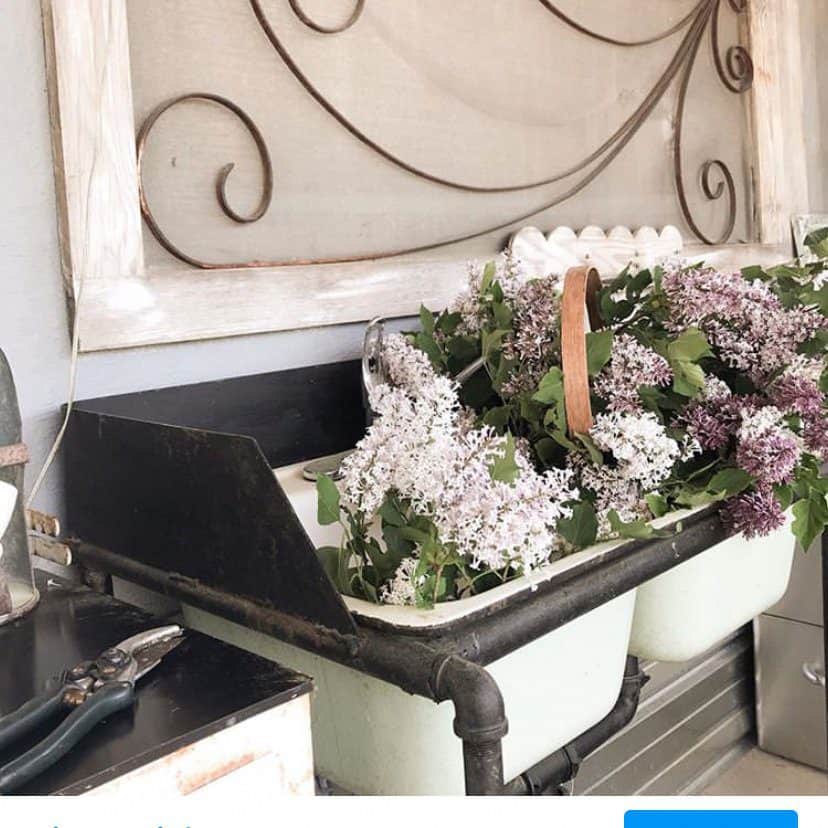
I’m looking forward to many lilac arrangements next Spring.

Here is my harvest, and I’m sharing more details about lilacs, including how to arrange them in a basket.
See 3 Reasons You Need A Lilac Bush. You may also enjoy the Easy Hydrangea Basket tutorial.
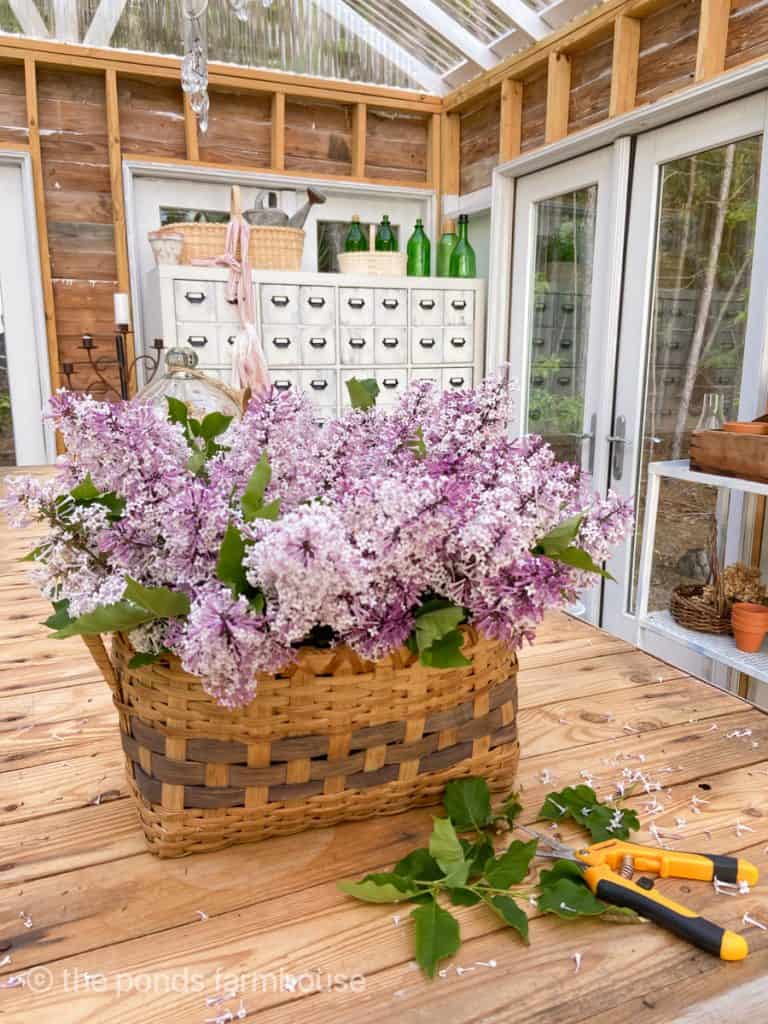

As you can see, we finished our DIY Greenhouse, and the lilacs look lovely here. To see more about the greenhouse, check out How to Build a DIY Greenhouse.
Thank you so much for stopping by. Although this is a departure from my usual decorating and DIY posts, I hope you enjoyed it.
Please let me know if you try this technique of splitting a lilac bush. Feel free to ask me any questions, and as always, your comments are greatly appreciated.

Pin It To Remember It
Did you find some great ideas you’d like to save for future reference? Hover over the images you’d like to save and pin to your favorite Pinterest Boards when you see the PIN button.


Good Morning Rachel
I have never ever heard of this* What a fantastic idea. I have some lilac bushes that are new to me but I really want more so I will be trying this. I am actually going to go outside this morning and do this. Thank you so much. I learn so many cool things from you.
enjoy your day Rachel
deezie
Deezie,
I’m so glad you found this helpful. Good Luck with your transplanting.
Rachel
This is the same way my stepmom roots her snowball bushes.
Cynthia,
Yes, this method has worked for me with many plants including Roses, hydrangeas, and more.
Thanks you for your input. I appreciate you for taking the time to comment.
Rachel
Personality quiz results. . A-2 and B-4
Edna,
I knew you would be Traditional but I’m a little surprised that the Modern added in. Thank you so much for subscribing.
Rachel
One of my faves! I need to plant more here.
They are great!
Rachel, I have such fond memories of lilacs growing up in Connecticut. Unfortunately, it hurts my heart to say this but they do not grow in Phoenix. Groan. I can almost smell your lilacs through your photos. Great post and makes me yearn for this luscious plant.
Mary,
I just wish they lasted longer. thanks for stopping by.
Thanks so much for sharing this Mary.
Thanks so much for sharing Mary.
This sounds so easy. I’m going to try this out. I have a “Beauty of Moscow” lilac that starts with pink buds that turn white upon blooming and the fragrance is noticeable easily 15 feet away from the bush! I’ve had this bush for 15 years and have never seen or found one like it before.
Vicky,
I hope this helps. Thanks for stopping by.
Thank you for this info. I’ve used the rock method for forsythia but didn’t know I can use on lilacs
Time to put epsom salts on lilac roots – post bloom
Gail,
Yes, forsythias are so easy to root. Thanks for the comments.
Hi Rachel = Yes I do this with hydrangeas except I also put soil on top of roots and then the rock. Propagation is the true gift that keeps on giving.
Please tell us about your new greenhouse.
Sound exciting!!!!
Diana,
Yes, I’ve also done this with hydrangeas. Thanks so much and all the details about the greenhouse are on my blog.
Rachel this is exactly the way my granny taught me to split bush plants. Don’t get crazy! I’m old😂 but my poor momma could never get the hang of splitting a plant. So it was my granny who led me through the exhausting path of Waiting for my new babies and Lilacs are my most favorite.
❤️ ♥️
Shirley,
It’s a tried and true method.
This is amazing! I had no idea that you could propagate like this. Great idea.
Renae,
It works great.
I was just wondering how you keep your cut lilacs fresh in your home. Whenever I make an arrangement for my kitchen, the flowers wilt in a days time.
Cheryl,
I just put the in water immediately and they last about 5-7 days.
This method also works with hydrangeas!
I’m lucky my lilac is an old variety that spreads seeds and creates lots of new baby bushes. Some people may find that annoying, but I never do. I just dig them up and move them or give them away. There’s always someone who will take a free lilac bush!
Kyra
Yes, I agree. I love spreading the lilacs around.
So much great information!!! I hope to try this since I have a wonderful mature lilac. 🙂 Blessings
Susan,
Good luck. It should work beautifully.