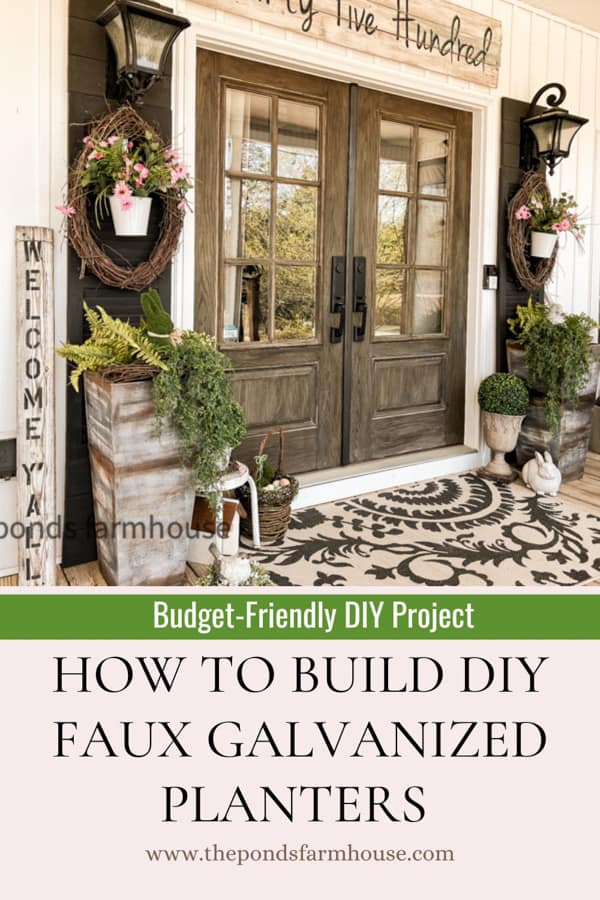
How To Build Faux Galvanized Planters – A Budget-Friendly DIY Project
Do you love the look of vintage galvanized planters? Old galvanized planters are a great way to add rustic charm to your home. However, they can be expensive to buy. If you’re on a budget, don’t worry! You can easily make your own faux galvanized planters with this DIY Planters Tutorial.
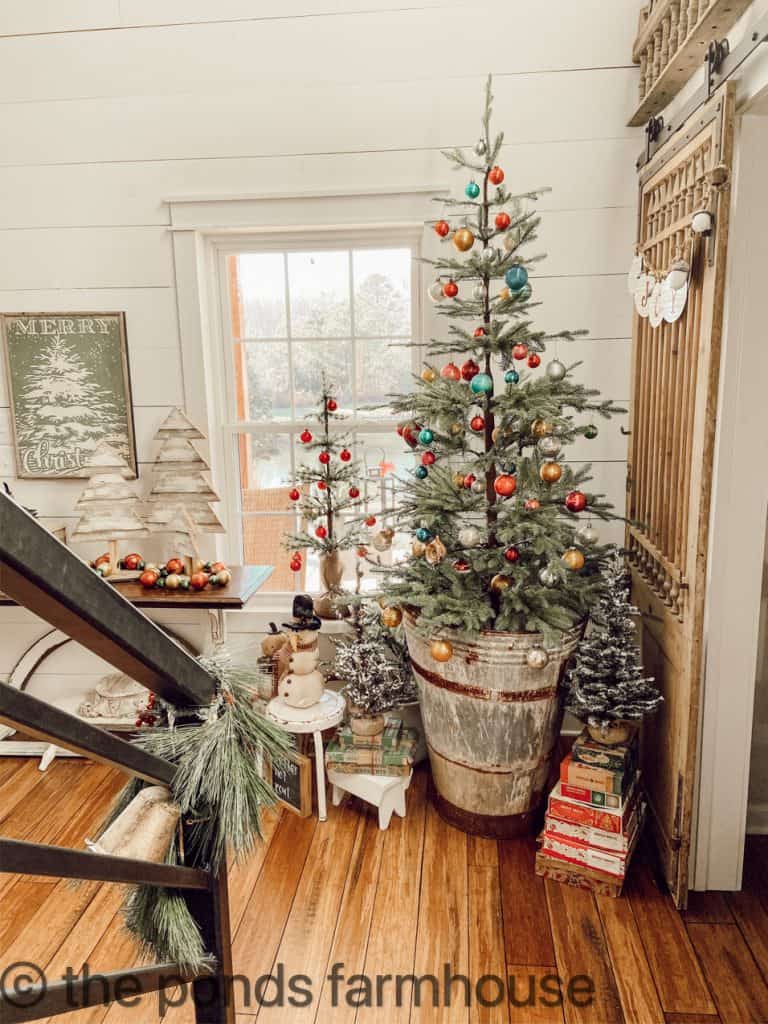
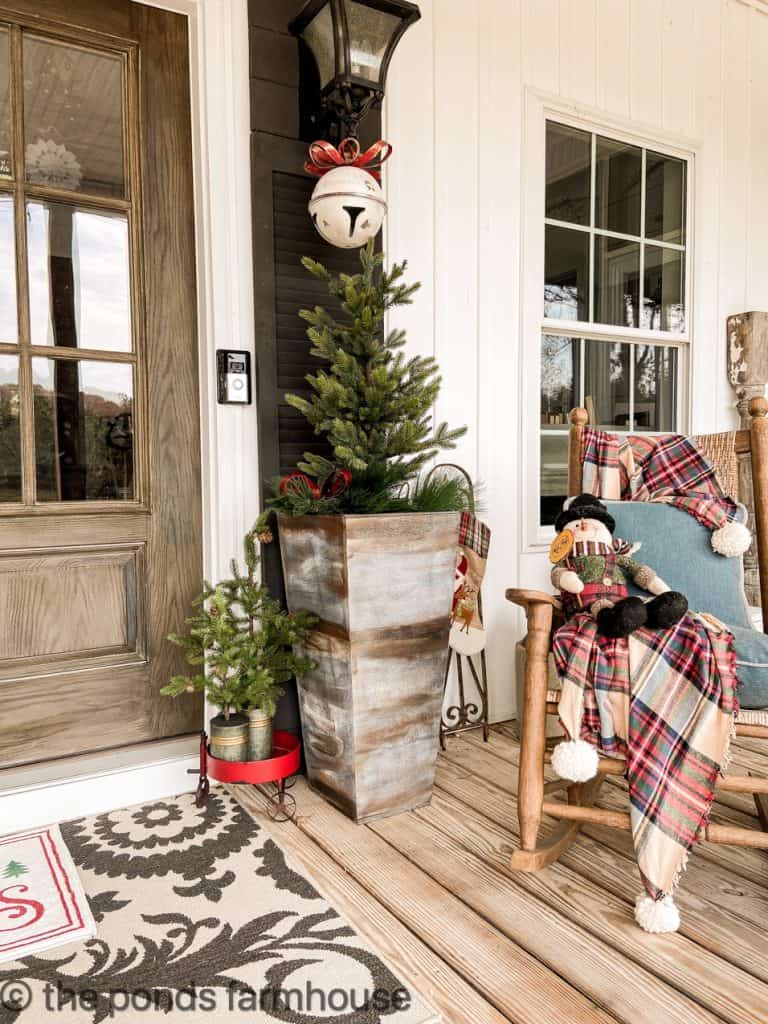
Because I get so many questions about my Christmas Tree Container, I decided to see if I could build something similar. The container is a European Antique and very hard to find.
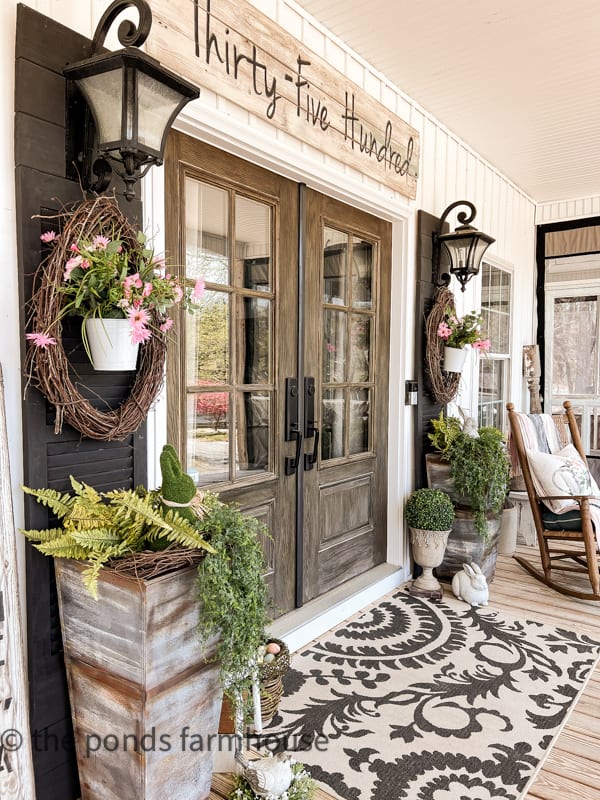
This is how to build faux galvanized DIY planters that are similar to the European antique. These are smaller versions that can be used as planters on your porch.
(Posts on The Ponds Farmhouse may contain affiliate links. As an Amazon Associate, I earn from qualifying purchases. See the full disclosure details here.)
Table of contents
Materials for Galvanized Planters
You can get two complete planters from one piece of 4 x 8 plywood.
- 1 – 4′ by 8′ sheet of heavy-weight plywood
- finishing nails
- wood glue
- narrow finishing trim
- metal galvanized strap 1 inch wide
Tools
How To Design and Build DIY Planters
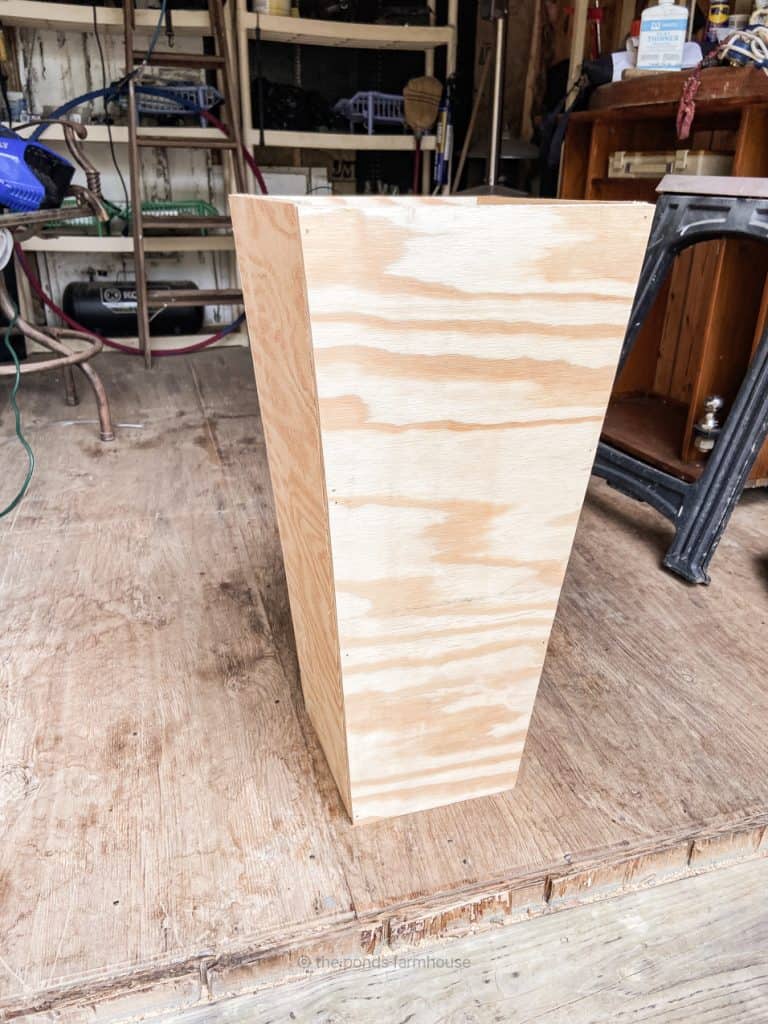
To design the DIY planters, you should measure the area you plan to use them. Because I will use the planters on my front porch, they need to be 30″ tall, 14 inches wide at the top, and 9 inches wide at the bottom.
How To Add Design To The Plywood
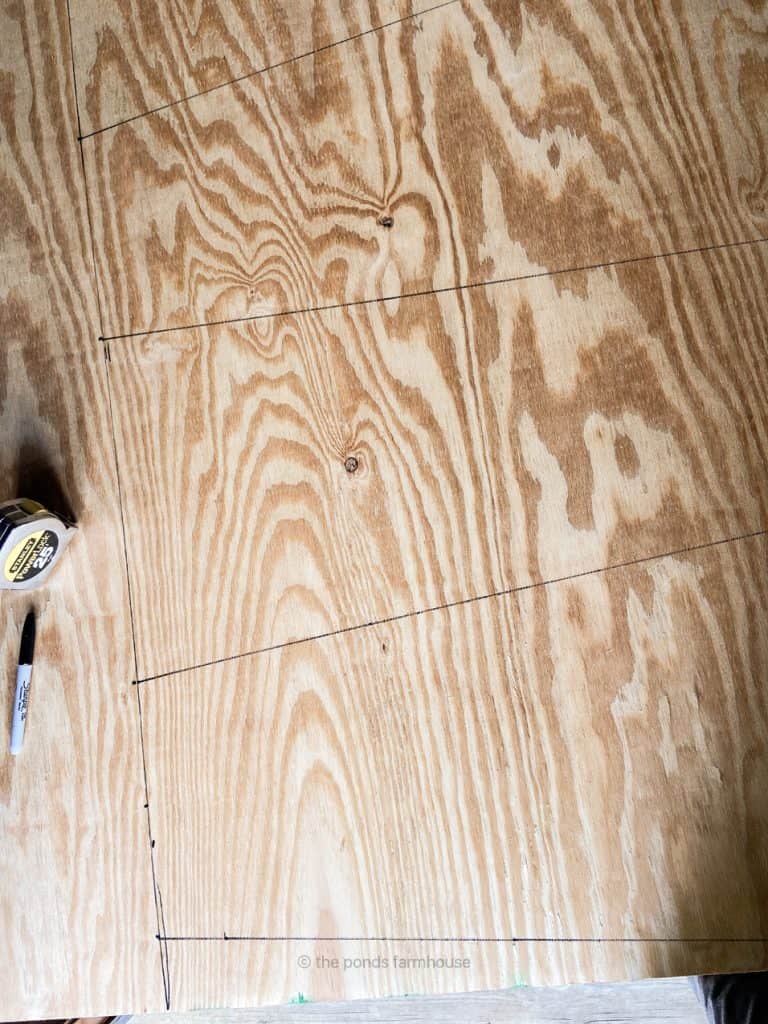
Begin by drawing your design onto the plywood using a tape measure and a good marker.
First, determine the height and mark the board. Then measure the width at the top and draw a straight line to the width at the bottom.
If you draw the design alternating the wide and short width across the board, you can easily get two full planters from one sheet of plywood.
You will have eight sides if you are making two planters.
Cut Each Side
If you are making your planters based on my specification, you will need to cut 18 inches of the unmarked side of the plywood. This will leave the pattern drawn on the plywood for a 30″ planter.
Some home supply stores will make this cut for you within the store. Be sure you know what height you desire before asking them to cut the plywood.
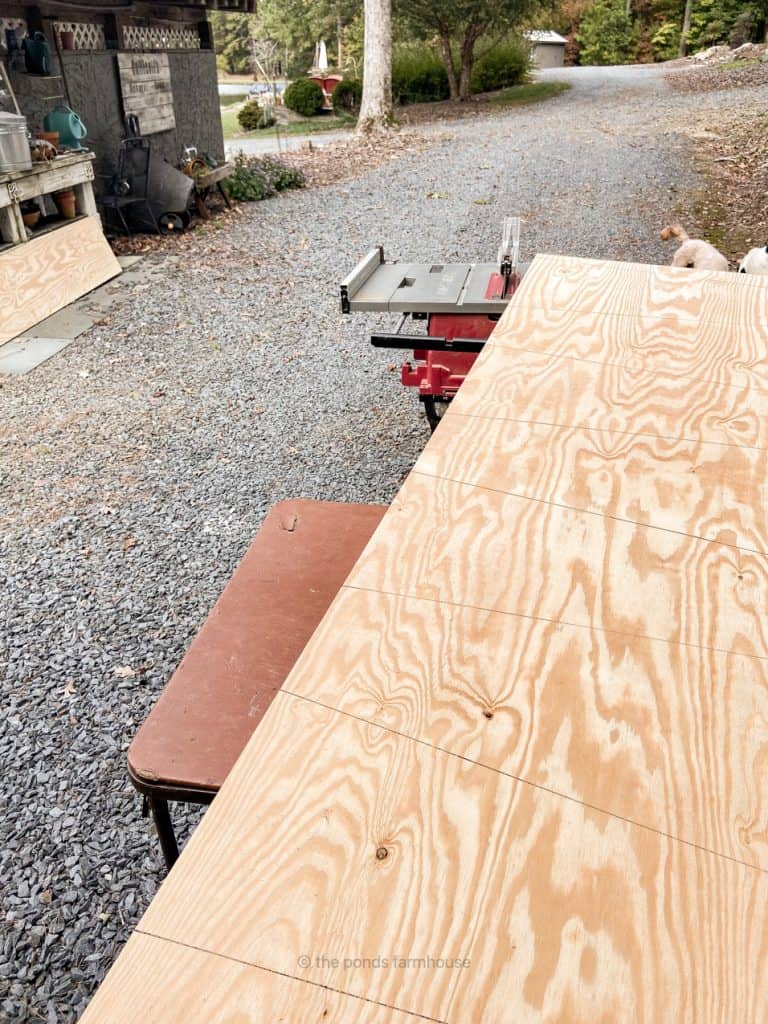
Next, using a circular saw, cut the planter sections along the drawn pattern.
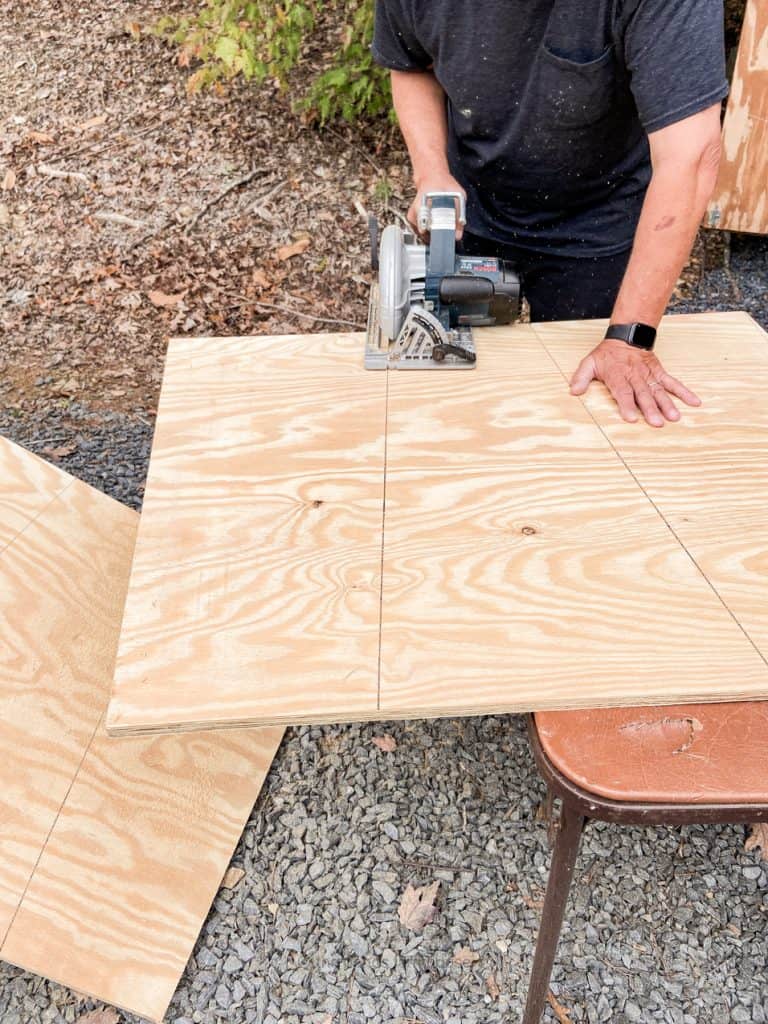
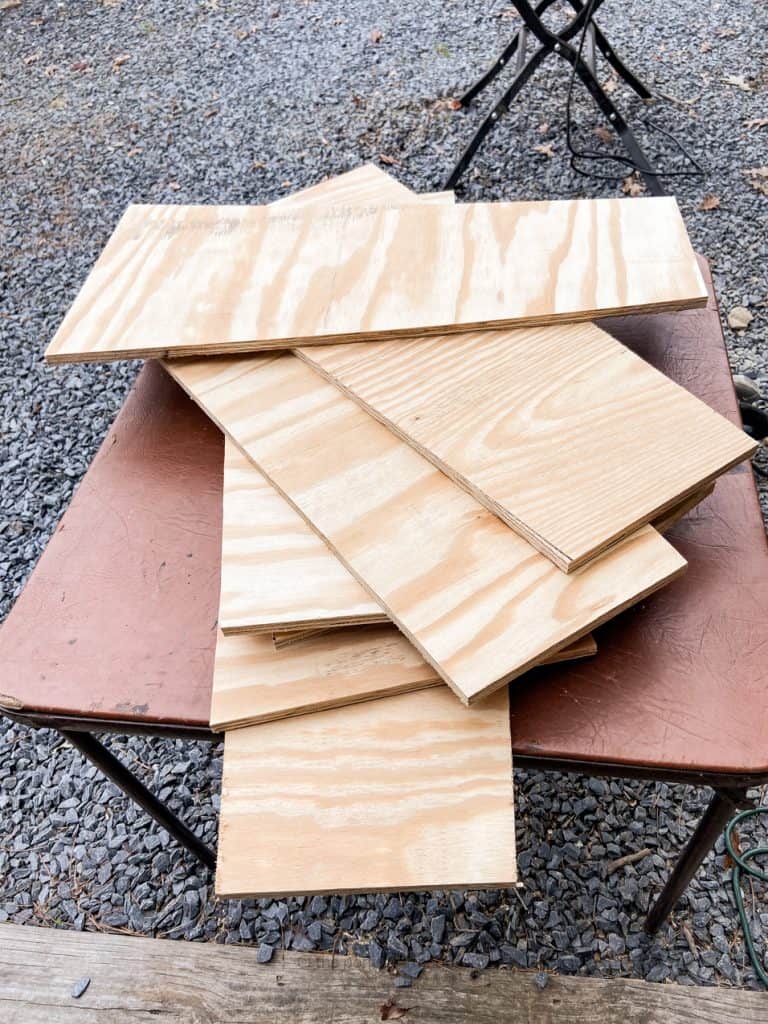
You will have 8 identical pieces of plywood once all pieces are cut.
How To Assemble The DIY Planters
Begin by adding a bead of wood glue along one edge of the planter plywood. Holding the two corners together, use the finishing nails to attach the edges.
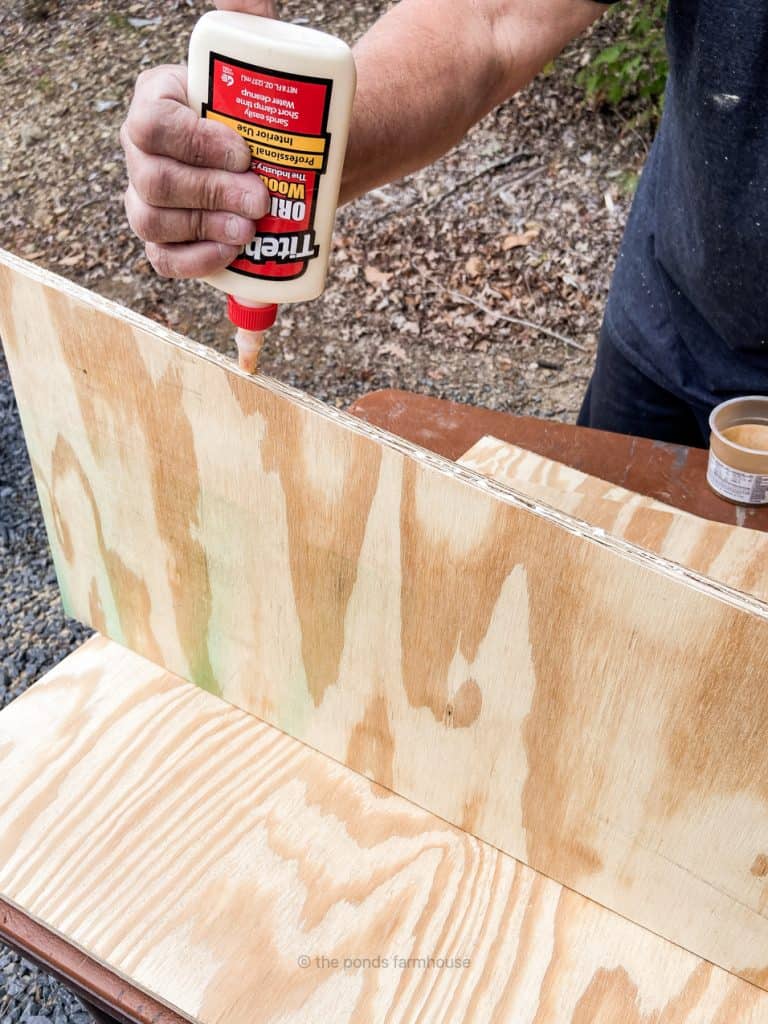
Continue to add the sides together in the same manner as above until you have a box that is larger at the top than at the bottom.
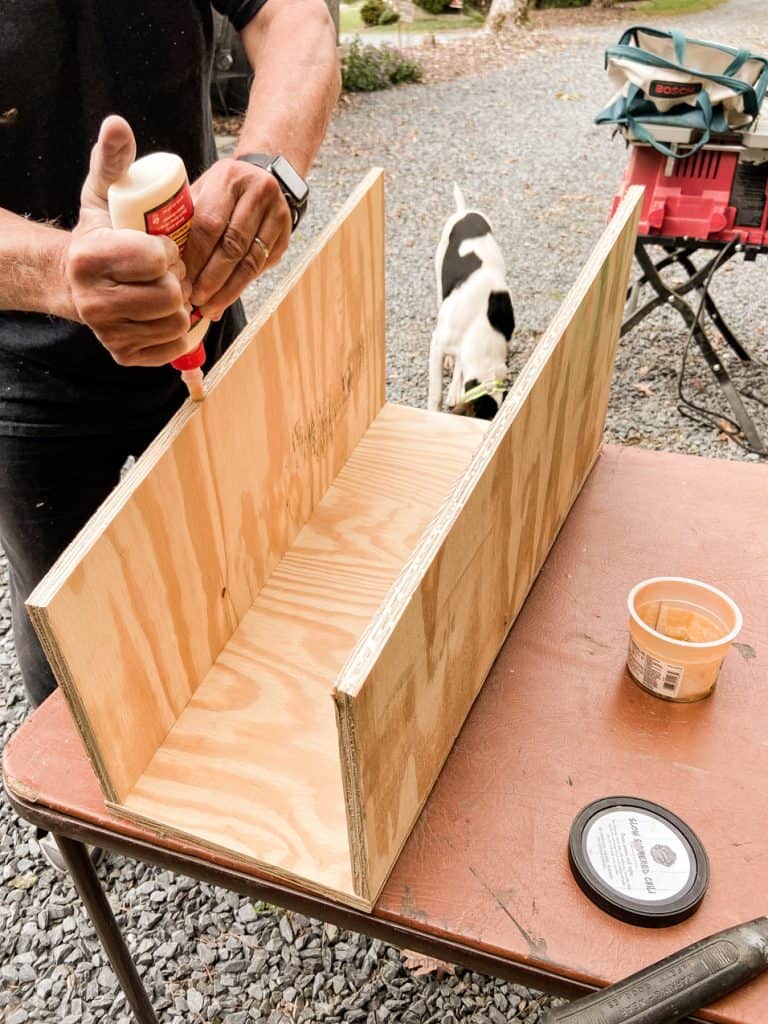
For this project, I choose to allow the front and back sides to overlap the two side pieces. Therefore, the front and back side of the planter is slightly more narrow than the side pieces once assembled.
If you prefer to have a square planter, you can alternate the pieces.
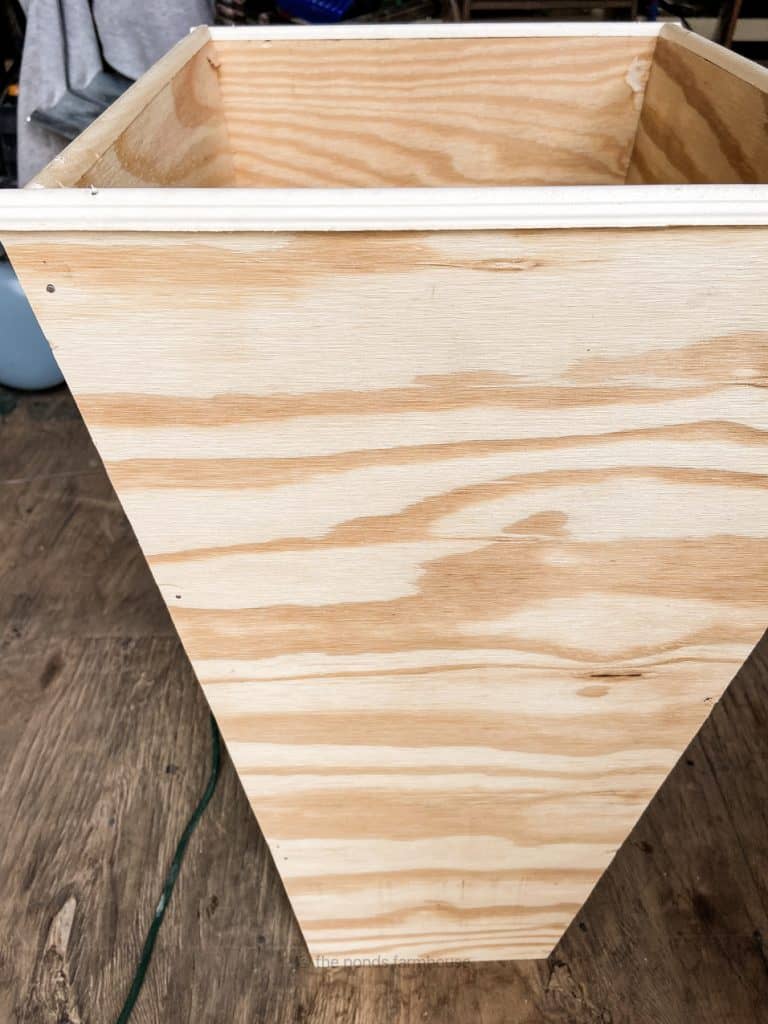
How To Add DIY Planter Trim Pieces
Next, using a miter box or miter saw, cut the wood trim pieces to be added to the top of the galvanized planters.
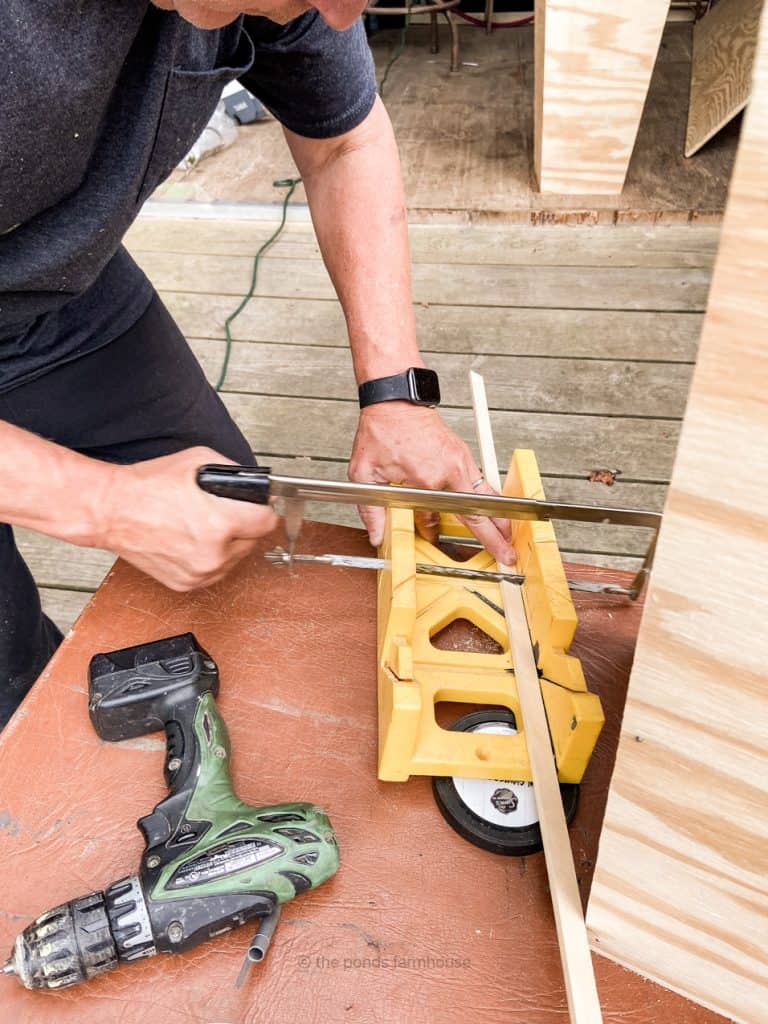
Using wood glue and small finishing nails, apply the trim pieces along the top edge of the planters.
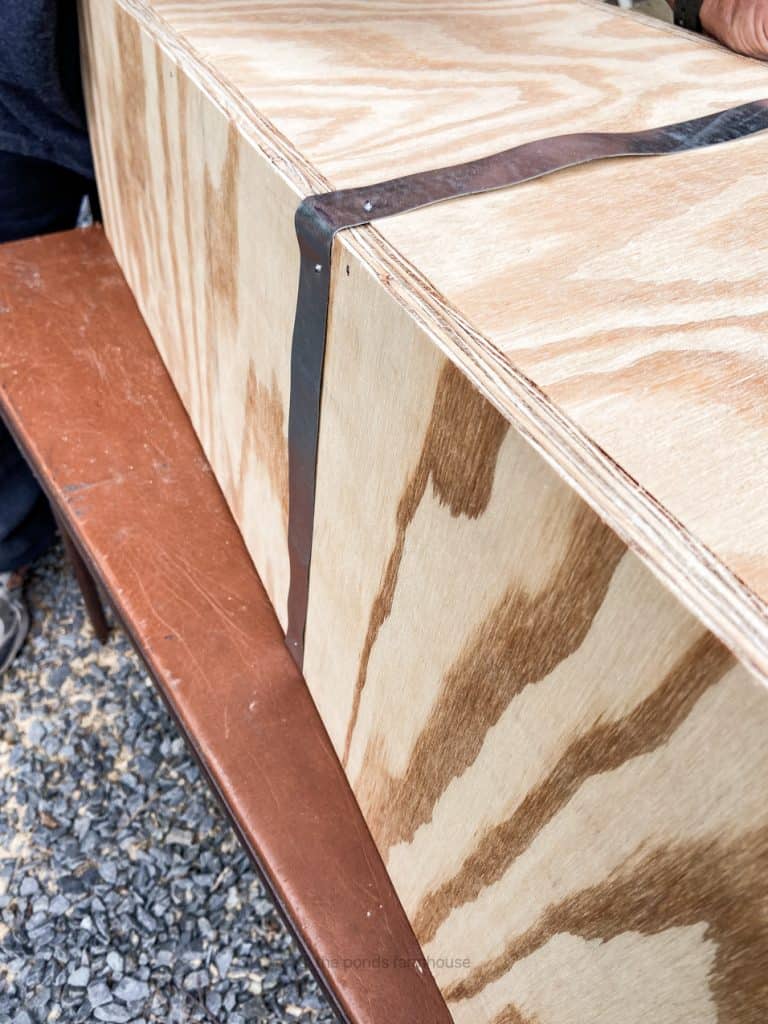
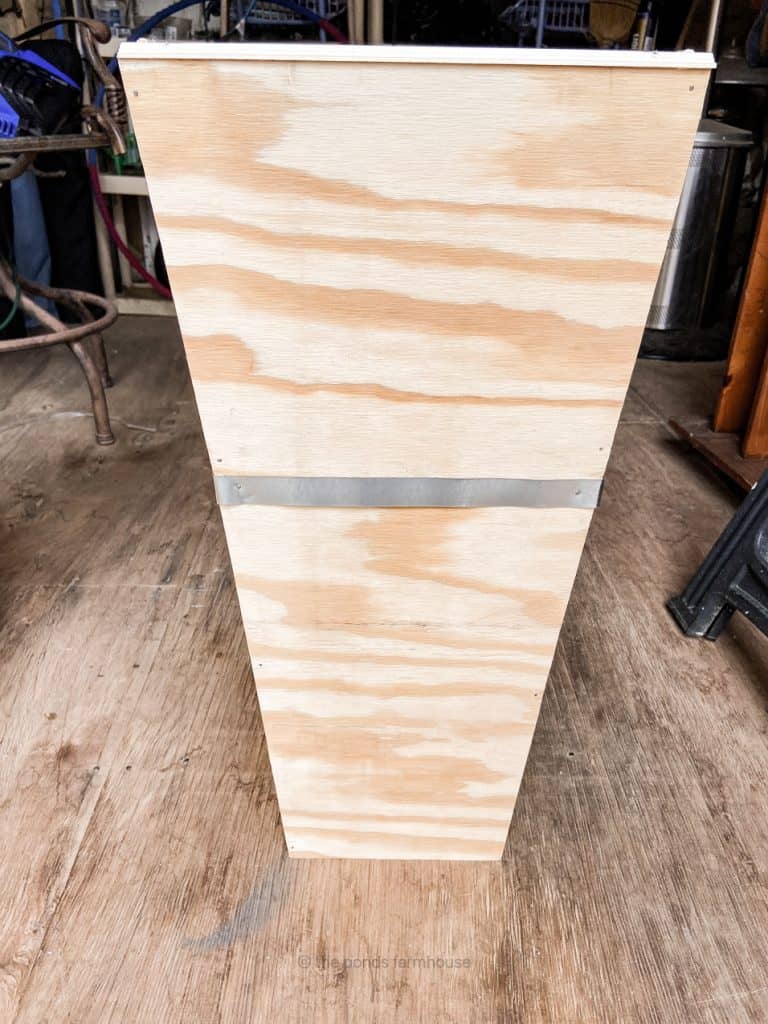
Add Metal Straps to Galvanized Planters (optional)
Because I wanted to copy the large galvanized container, I added a metal strap around the side of the planters. This is an optional step, however, it adds to the authentic style of the DIY planters.
Determine where you want to add the strap and bend the strap around each corner.
Use finishing nails to attach the straps to the planters.
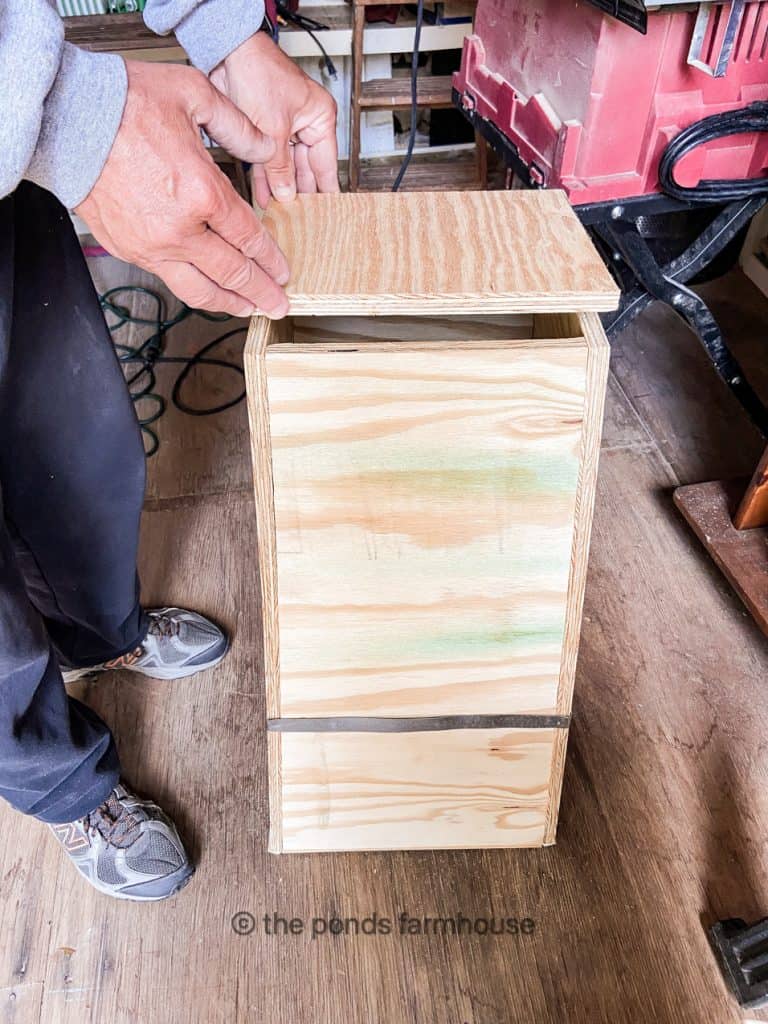
Add A Bottom To DIY Planters
The final step is to attach a bottom to the planters. Cut a piece of plywood the exact size of the bottom. Use wood glue and attach it with finishing nails as you did when attaching the side pieces.
Now you are ready to paint your DIY galvanized planters.
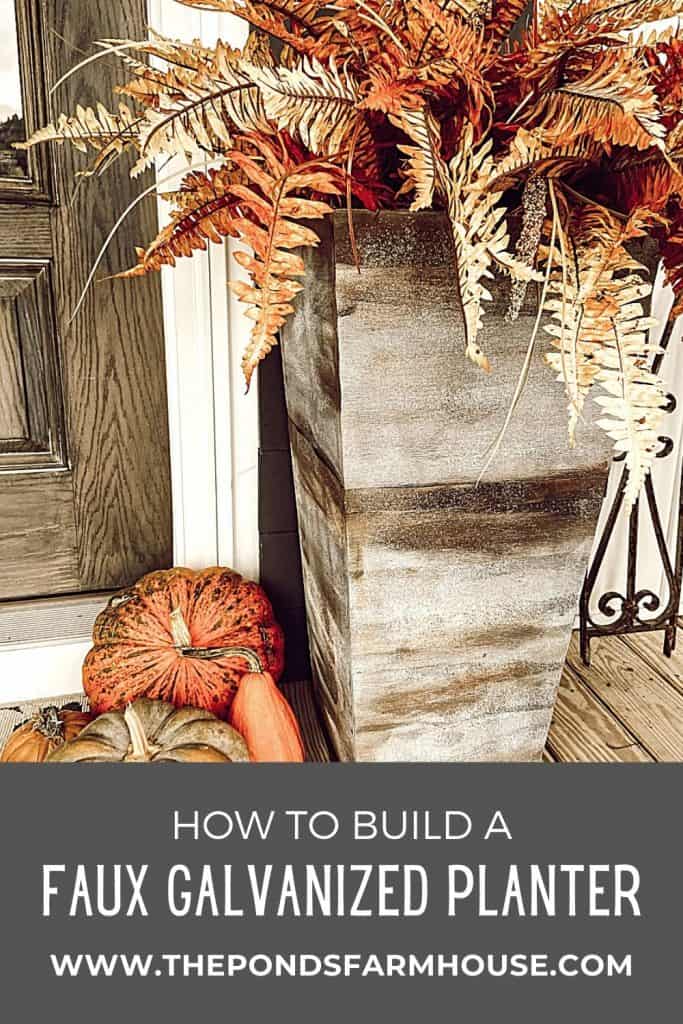
How To Add Rustic Galvanized Planters Faux Finish
Now it’s time to make these wooden DIY planters look like rusty, crusty galvanized containers.
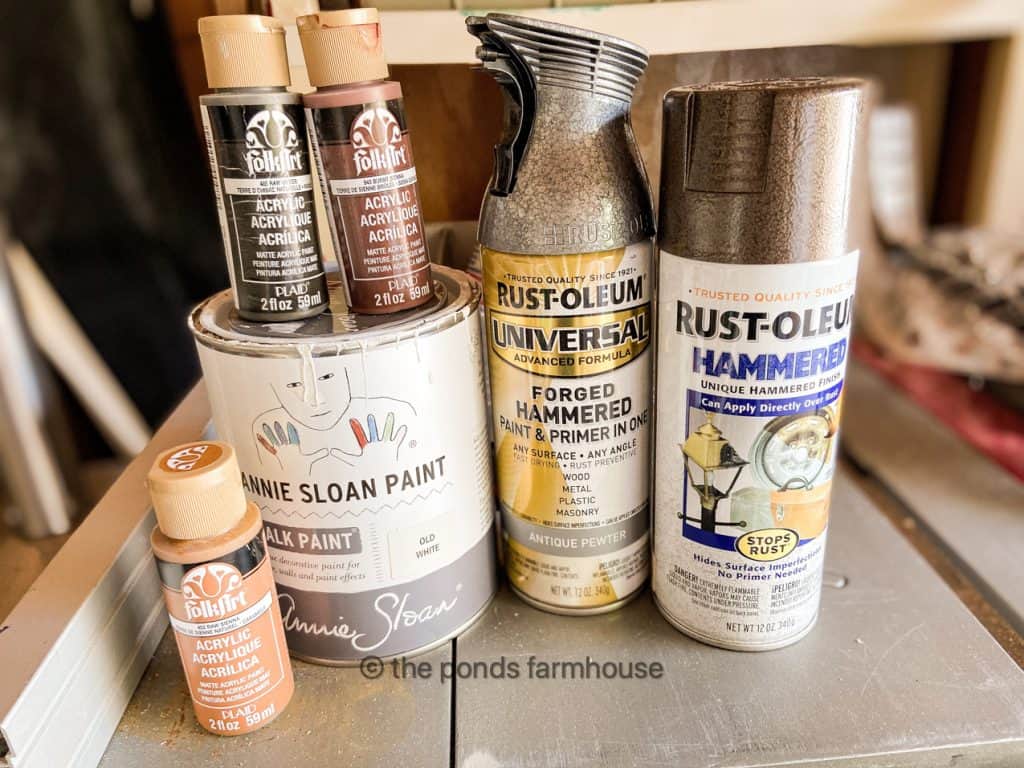
I used a combination of all these paints to achieve the look I wanted.
- Rust-0leum Forged Hammered Antique Pewter
- Rust-0eum Hammered Brown
- Annie Sloan Chalk Paint – Old White
- Folk Art Craft Paint in Raw Umber, Burnt Sienna and Raw Sienna
Begin by spray painting the entire planter with Antique Pewter. I used two coats.
Next, use brown spray paint to darken the metal band and around the edges of the planter.
Then add old white chalk paint randomly around the planters to make the galvanized areas look old.
Finally, add the rust using a combination of the 3 craft paints.
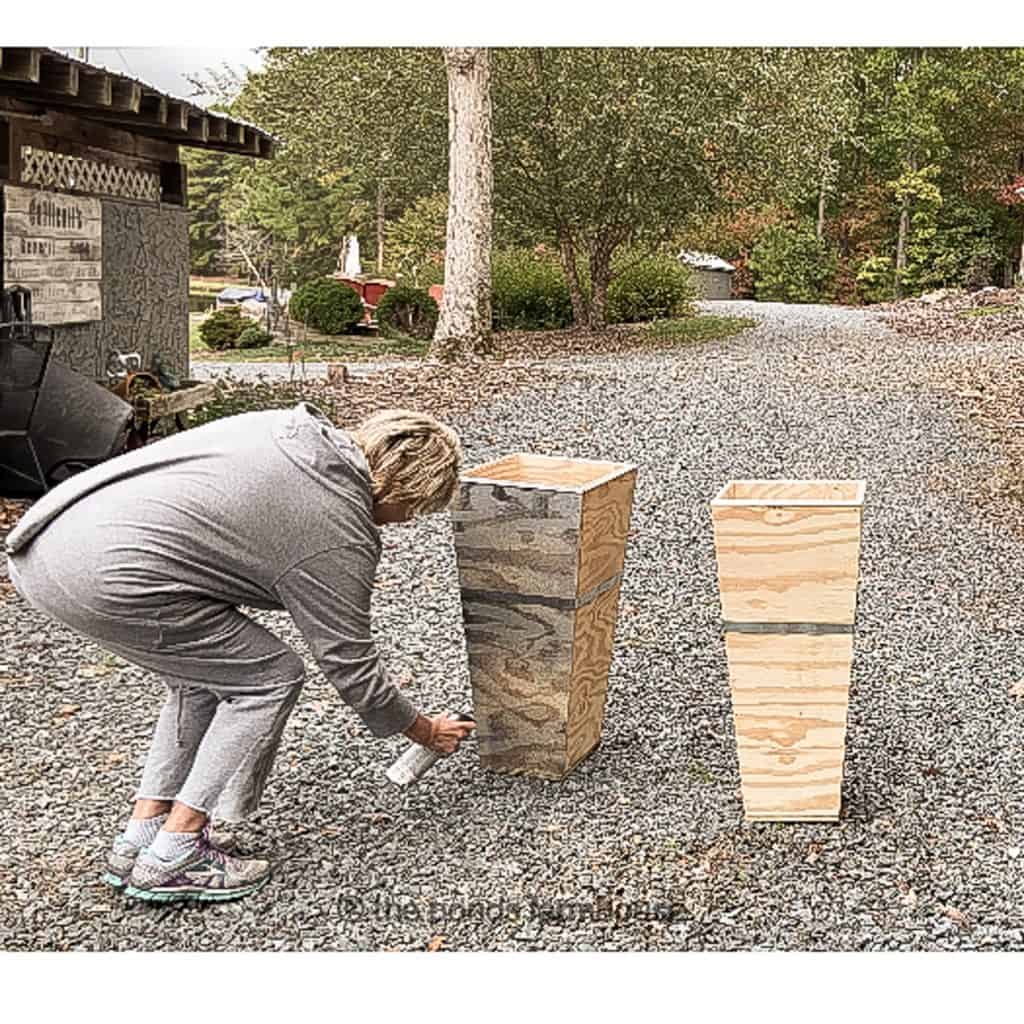
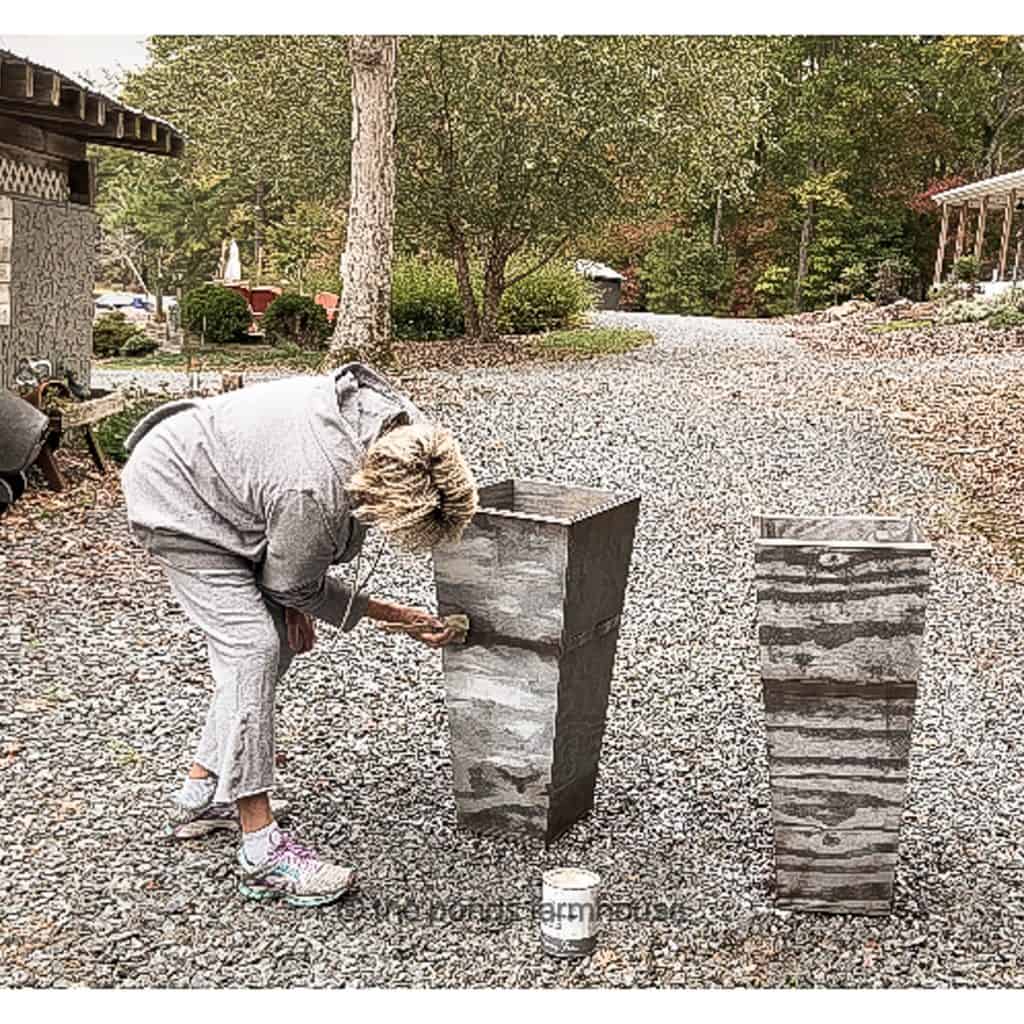
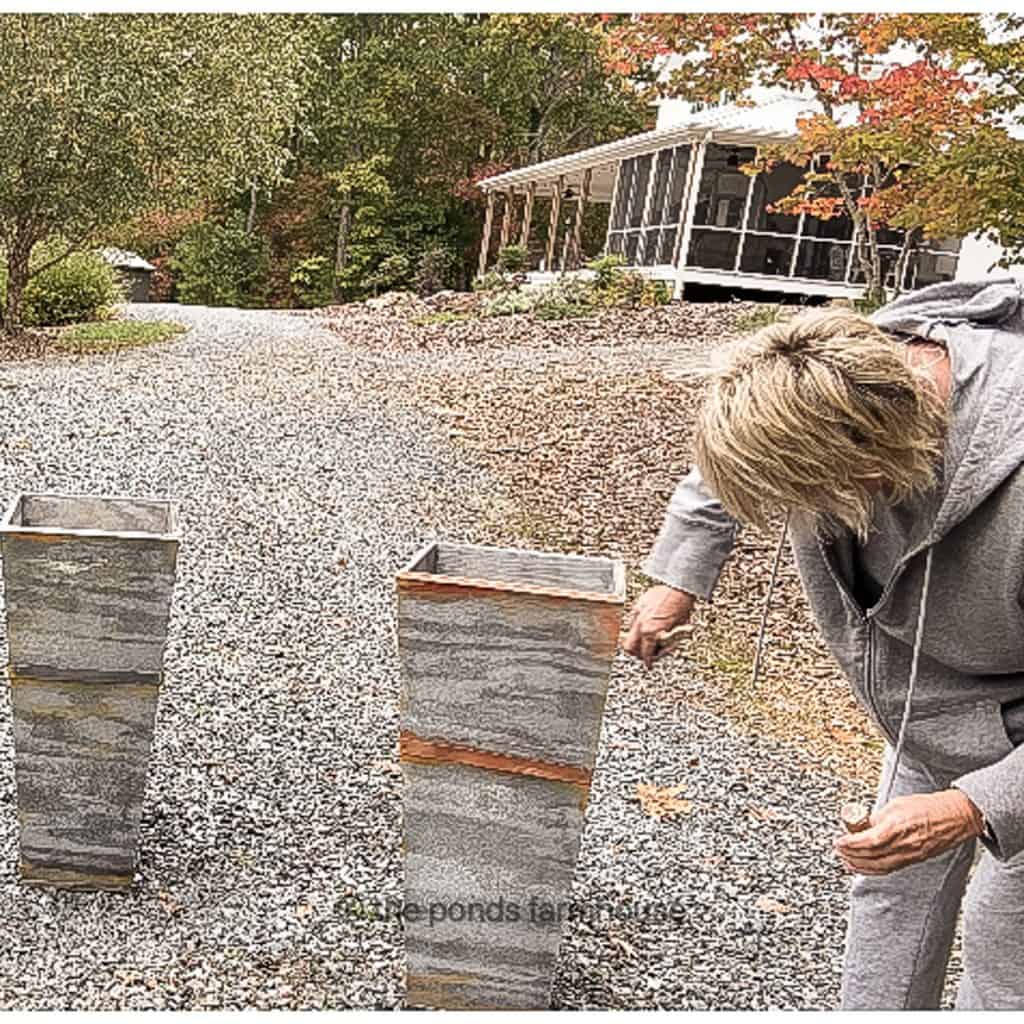
This process should be random and not the same all over the planters.
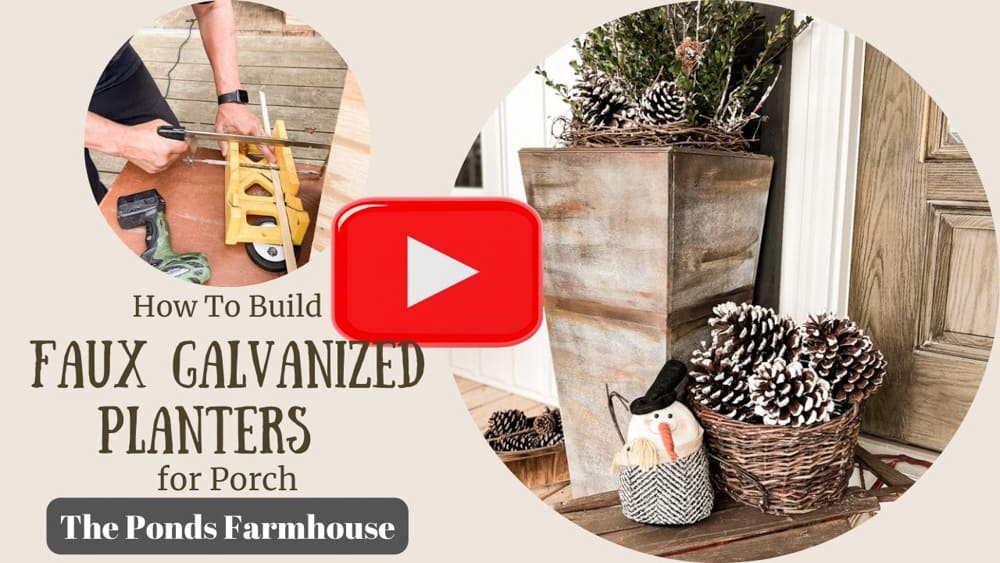
You can see a video here as I painted the planters.
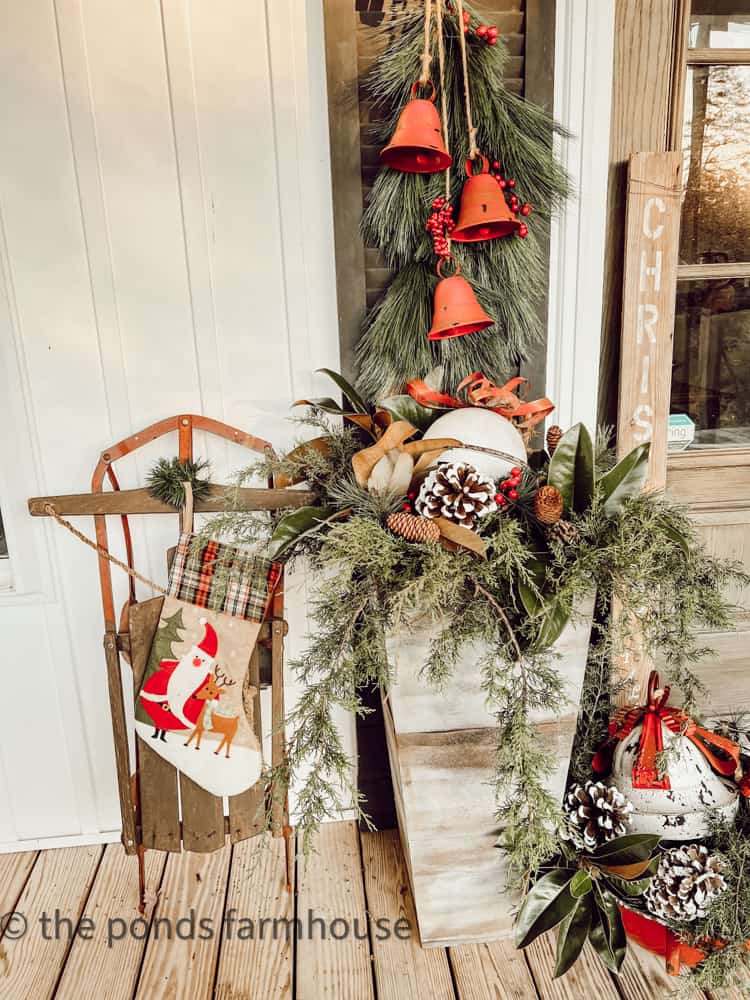
These planters are designed for use under a protective cover, such as a porch or indoors. You can use a protective sealer in a mat finish if you choose.
Once finished, you are ready to add to your decor.
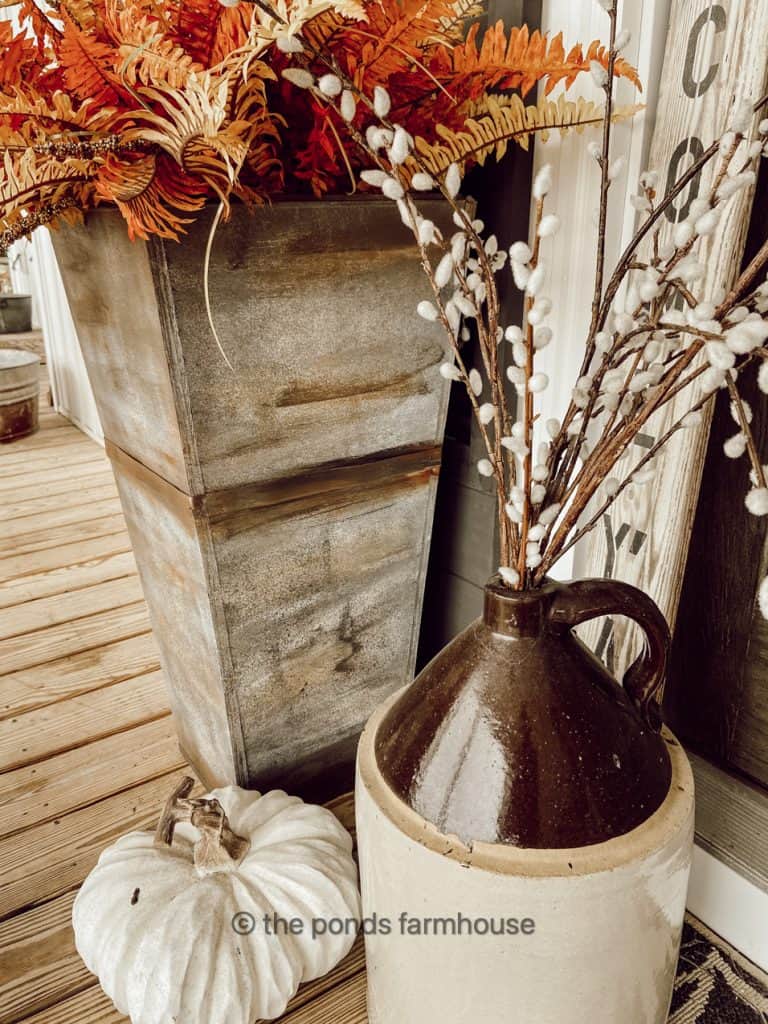
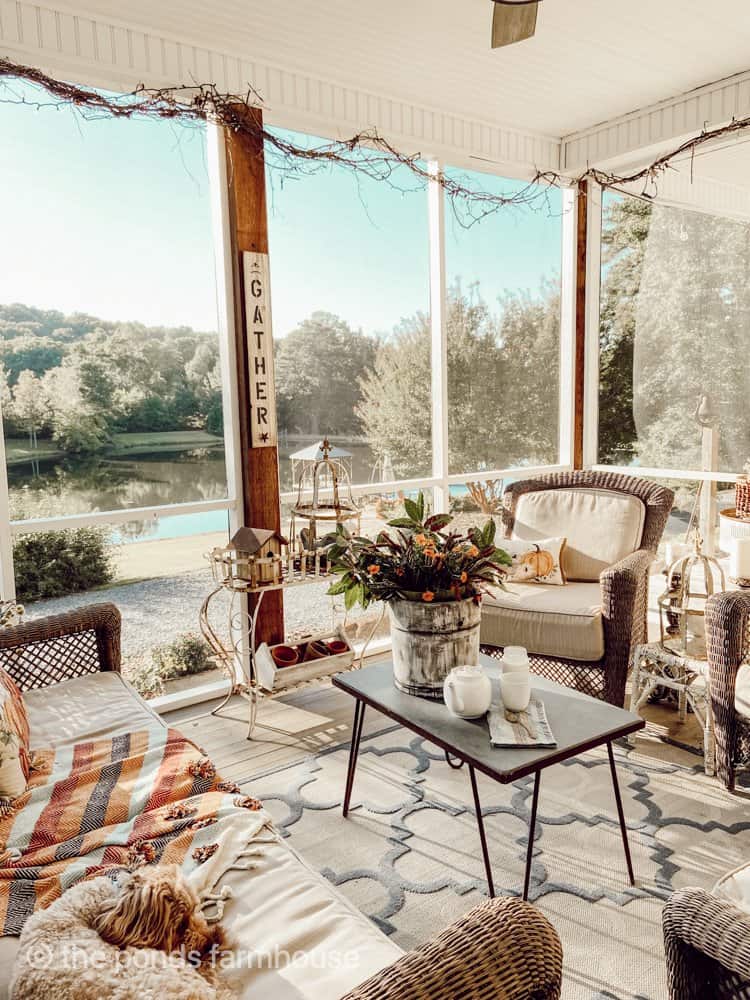
The planters look great for year-round porch decorating.
Thanks so much for stopping by today! I can’t wait to share my next adventure with you!

Pin It To Remember It
Did you find some great ideas you’d like to save for future reference? Hover over the images you’d like to save and pin to your favorite Pinterest Boards when you see the PIN button.

Love this one! How cool that you made that!
Thanks so much
These are perfect Rachel. Can’t wait to see them at Christmas!
Thanks!
Such a great idea. You have my head spinning. I definitely need to make these.
Renae,
I’m so glad you like it.
wow, they are gorgeous, and really do look like galvanized metals. Pinned!
Debra,
Thanks so much for stopping by.
These are amazing, Rachel! Just pinned and will definitely forward to my parents too. They have a small porch these would be PERFECT for! Hugs for a happy weekend, CoCo
CoCo,
I’m so glad you found this helpful.
Your creativity never ceases to amaze me, Rachel. Love this so much.
Kim,
Thanks so much for your encouragement.
Rachel – I’m not meaning to rain on your parade, but Home Depot has a container which looks like this. All it needs is the art treatment and it will look great. It won’t leak unless you drill holes in the bottom.
Oh, Diana, That’s great. I also thought about purchasing containers that had this shape, however they were so expensive. Making these two out of wood was so much more cost effective.
I love the container!! Great job and you did an awesome job of laying out the details of this beautiful and festive project!!
Michelle,
I’s so glad you liked this idea. Thanks for your encouragement.
Outstanding, gorgeous and absolutely fabulous. I gotta have two of these. Thanks for sharing
Ivory,
I really appreciate this. Can’t wait to see yours.
You are so creative Rachel! such a good hack on those expensive containers.
Wendy,
Thank you for stopping by. I’m glad you like them