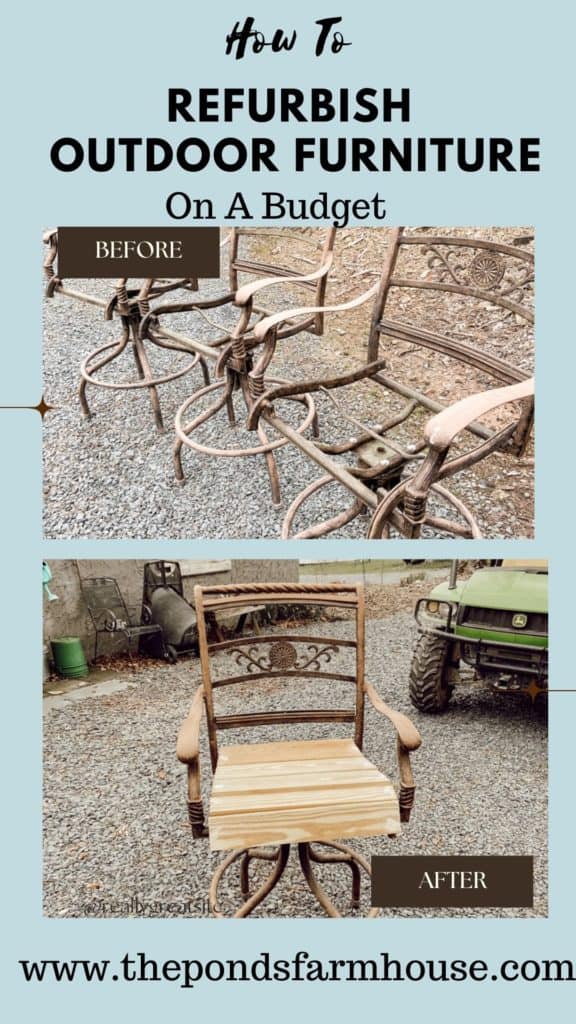
How To Refurbish Outdoor Furniture on a Budget
Outdoor Furniture can be expensive to replace, so instead of purchasing new, we decided to Refurbish Outdoor Furniture with this budget-friendly option. See How to Refurbish Outdoor Furniture on Budget in this step-by-step tutorial.
Also, you’ll see how we saved approximately $250.00 with this DIY project.
Table of contents
Do You Need To Refurbish Outdoor Furniture?
Outdoor furniture takes a lot of abuse.
Even if your store your furniture in the off season, it doesn’t take long for damage to occur.
Maybe you only need to replace one chair or a few pieces in a set.
Wouldn’t you love to extend the life of your outdoor furniture?
It’s very expensive to just replace everything and here’s what happened to us.
(Posts on The Ponds Farmhouse may contain affiliate links. As an Amazon Associate, I earn from qualifying purchases. See the full disclosure details here.)
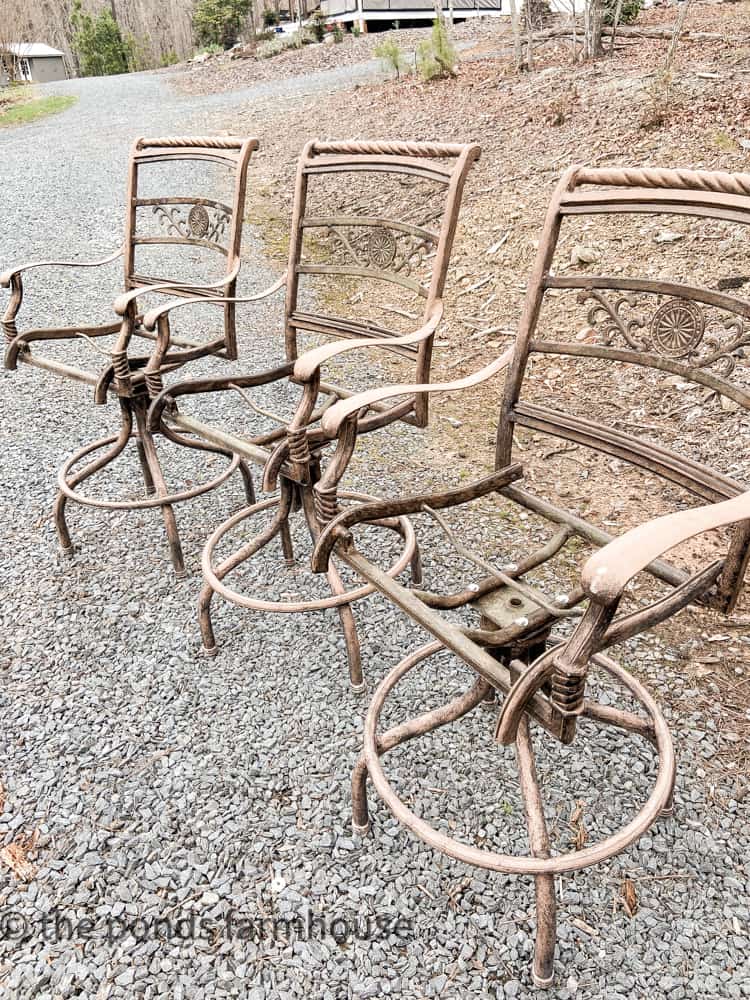
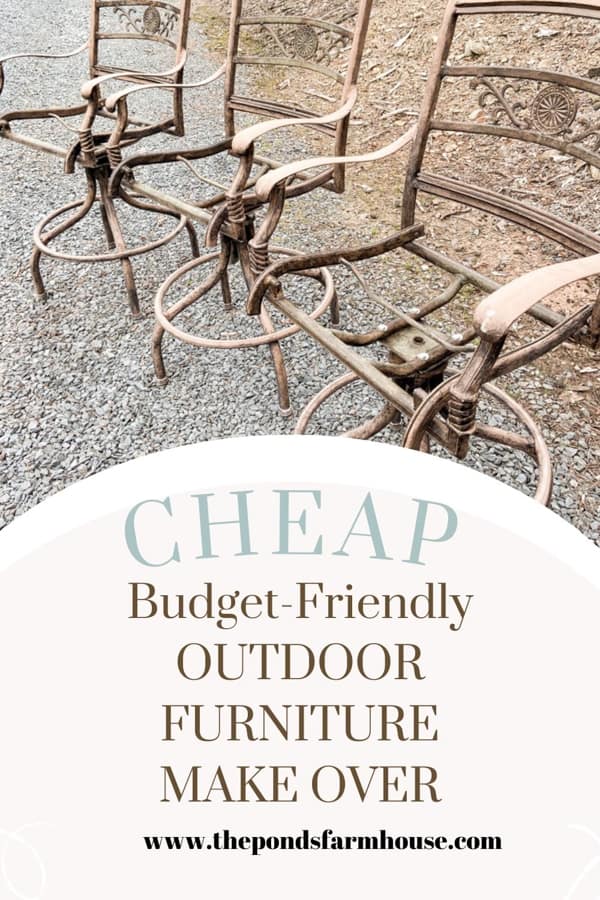
Barstools need new nylon webbing!
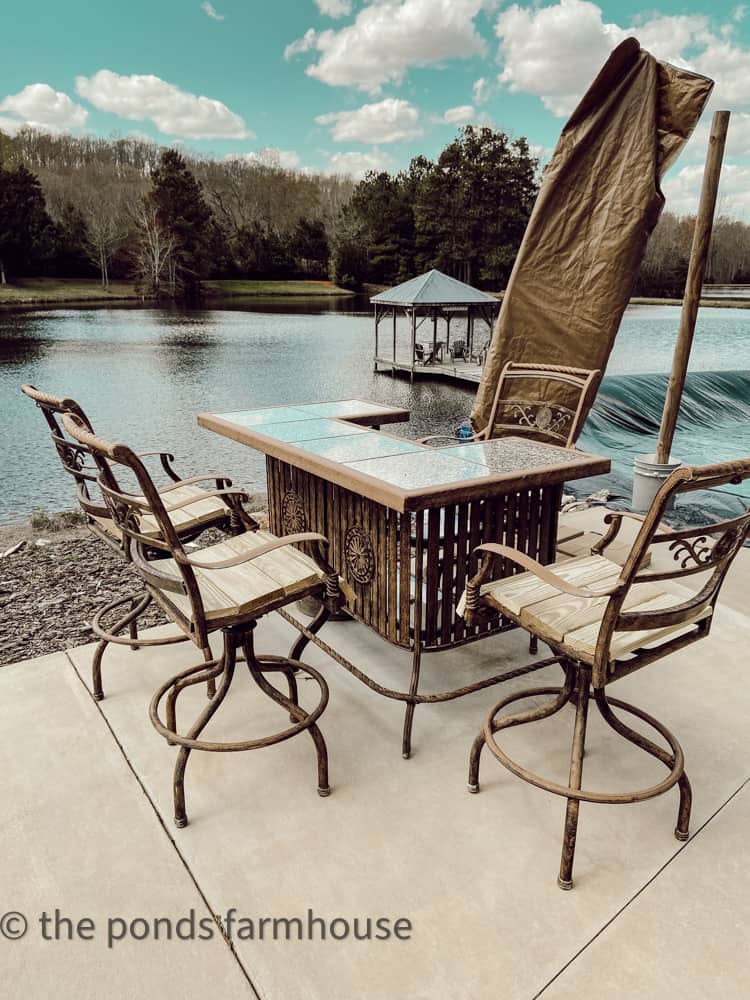
We have a great outdoor bar and barstool set made from aluminum. Although the frames are in great shape, the nylon webbing seats have given way to dry rot.

Although the seats are no longer usable, the frames are in great shape.
In addition, the bar matches the chairs and if we purchase new chairs, everything would need to be replaced. Yikes!
Therefore, we decided the best option would be to replace the nylon seats with new webbing.
OR MAYBE NOT!
Wow, were we surprised by that quote. We could buy new chairs for what it would cost to replace the nylon webbing, and we considered it. The quote was over $300.00 for four chairs, and we had to install them.
But what about the bar? That would be much more expensive to replace.
Another solution was needed.
How to Refurbish Outdoor Furniture
Not to be outdone, my clever husband came up with this idea to refurbish the outdoor furniture.
It’s a budget friendly option which cost us less than $50.00.
Inspiration
First, we have several adirondack chairs around the pool which are made from treated lumber. This inspired Brad to build a new seat for the the bar stools without spending a fortune.
Here’s how he refurbish the outdoor bar stools with a budget friendly option.
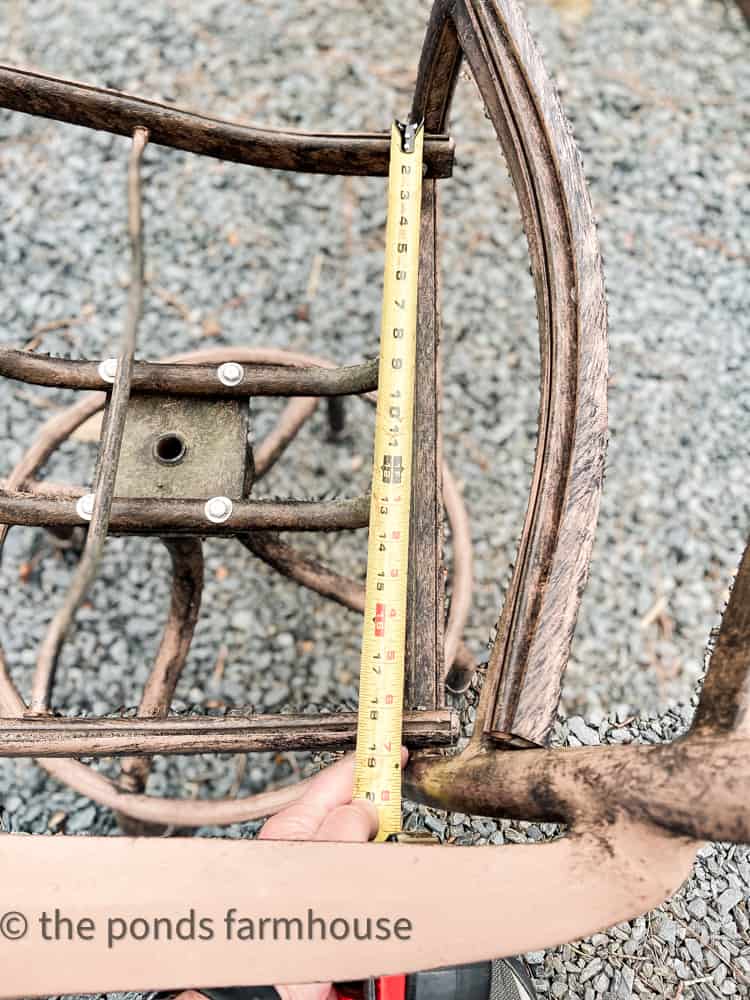
Measure for supplies
First, you need to measure the chair seats to determine the amount of lumber needed for each seat.
Supplies to Refurbish Out Door Furniture
- 6 ” wide Treated Lumber (Amount needed will vary depending on measurements)
- Bolts with washer and nuts
- Wood Filler
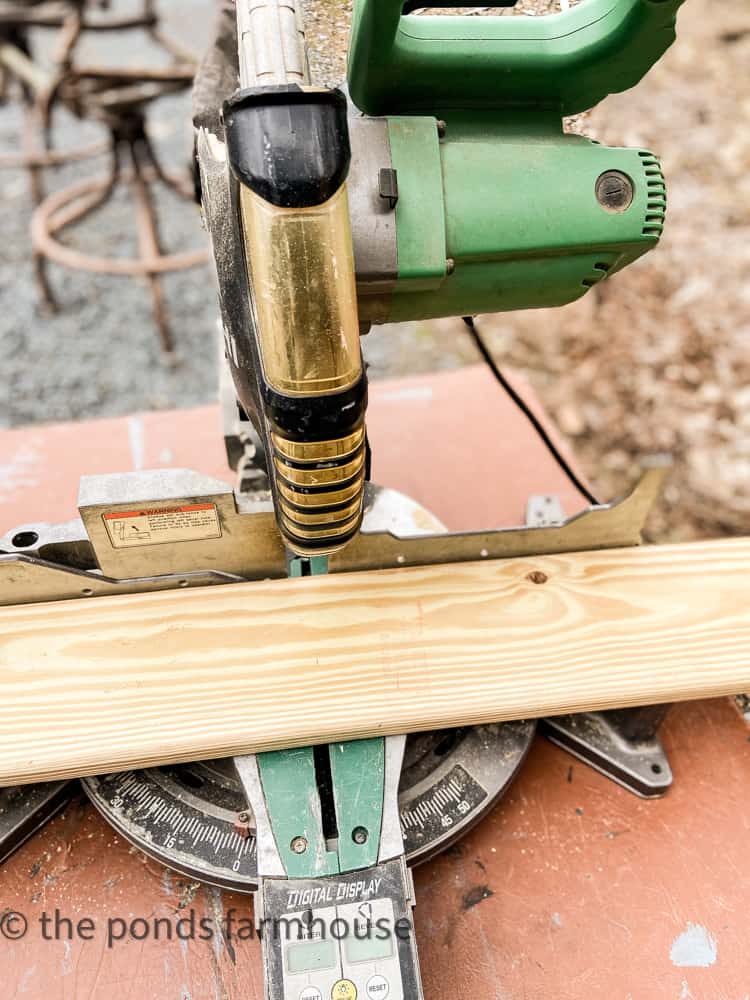
Cut to size
Begin by using a miter saw to cut the treated boards to length, based on prior measurements.
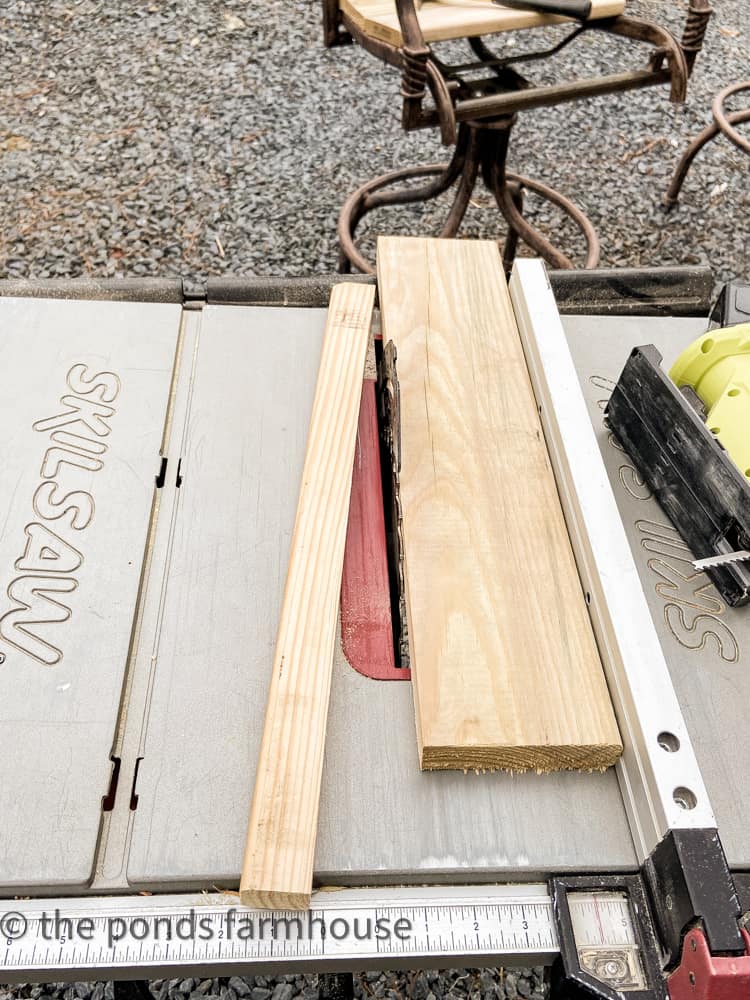
Because the seats are curved, some of the boards needed to be split into smaller pieces using a table saw.
The width of each board will be determined by the placement along the curve of the chair.
If you are doing multiple chairs of the same style, you will only have to make this determination once and cut each seat bottom accordingly.
Attach new seat bottom
Begin by placing the board on the stool and drill a pilot hole with a cordless drill in the treated board and through the aluminum frame of your chair.
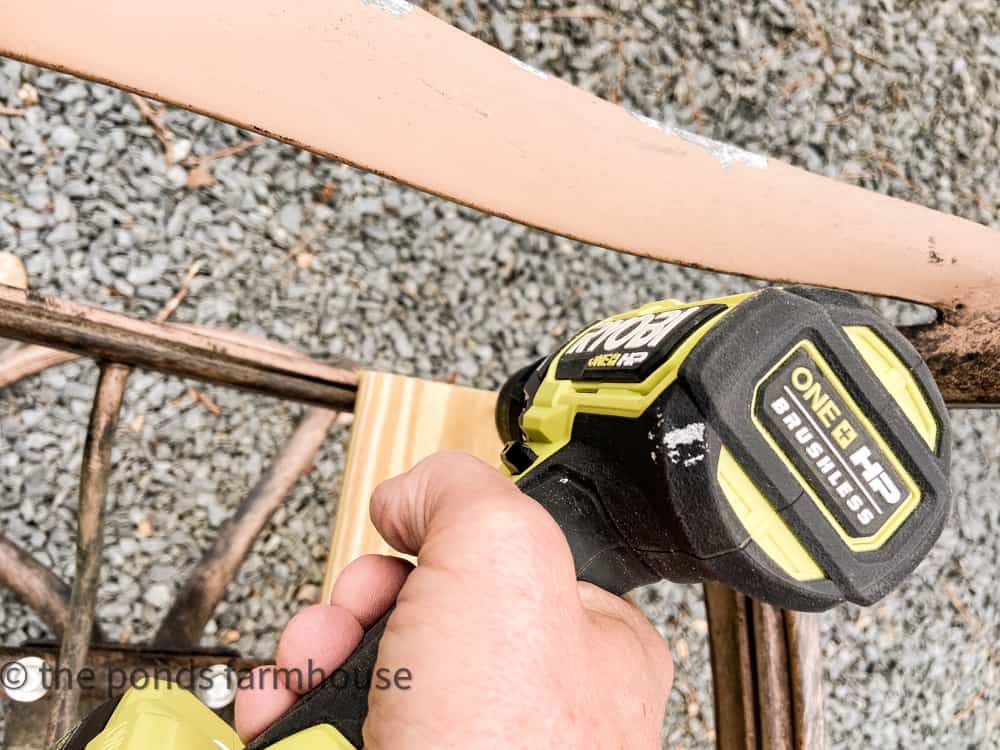
Attach by adding the bolt through the wood and the frame of the chair.
Next, secure the bolt with a washer and nut underneath the chair frame.
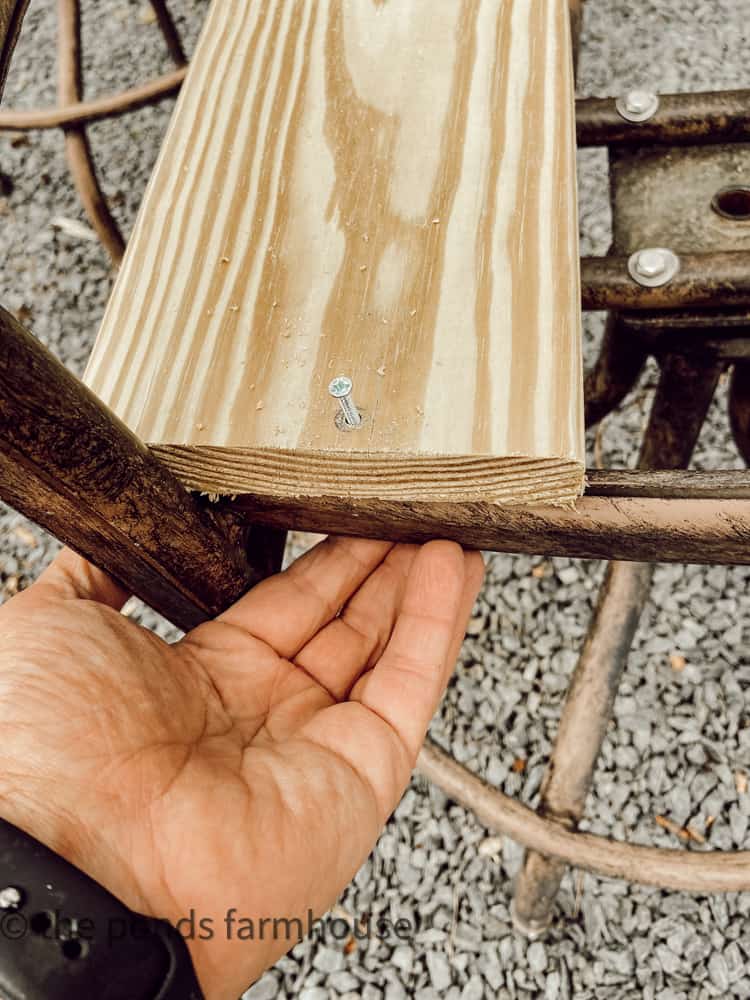

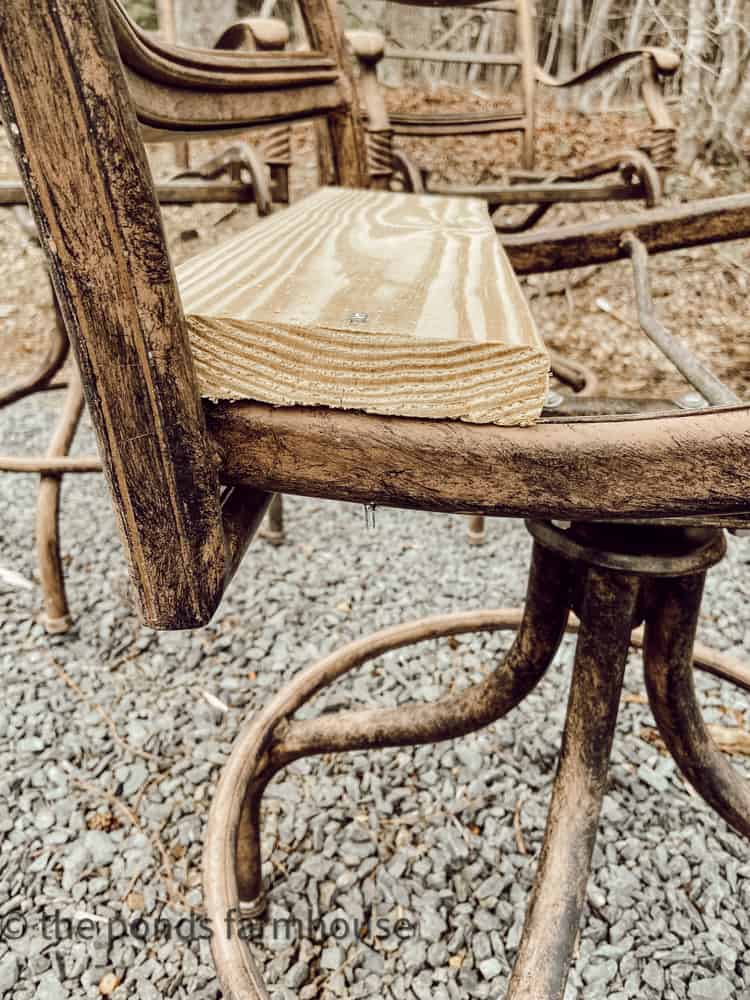
Attach all the treated boards as above until the seat bottom is covered. If necessary, you can sand any sharp edges.
Finally, fill the screw holes with wood putty and sand.
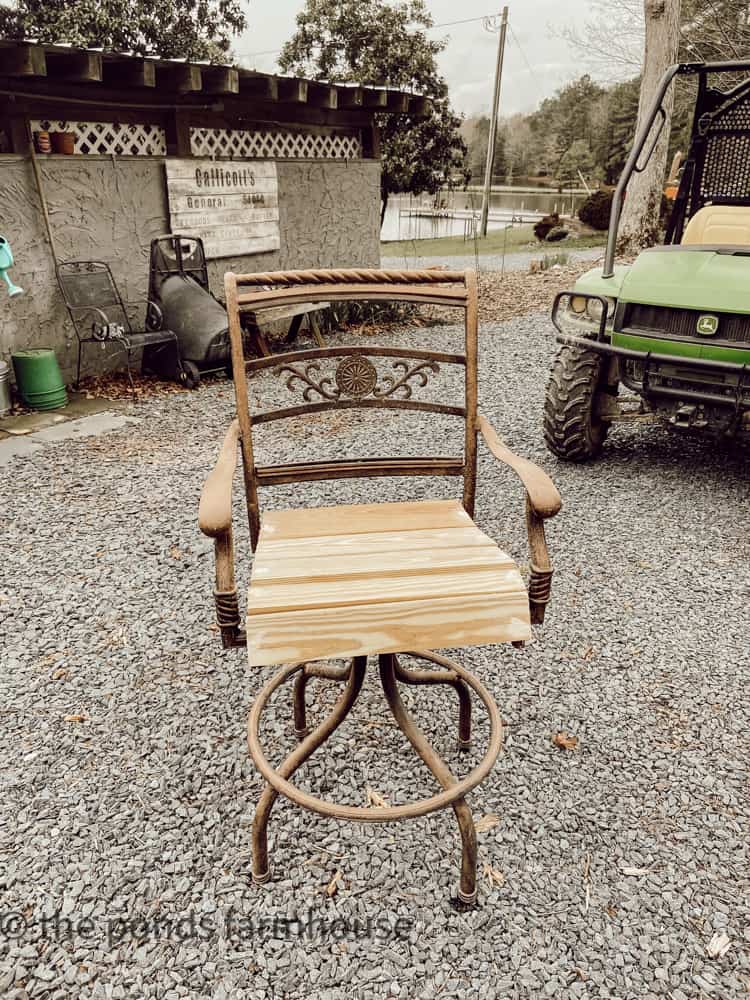
Refurbished Bar Stools
After refurbishing the seat bottoms, you can stain your seats or leave them to age naturally.
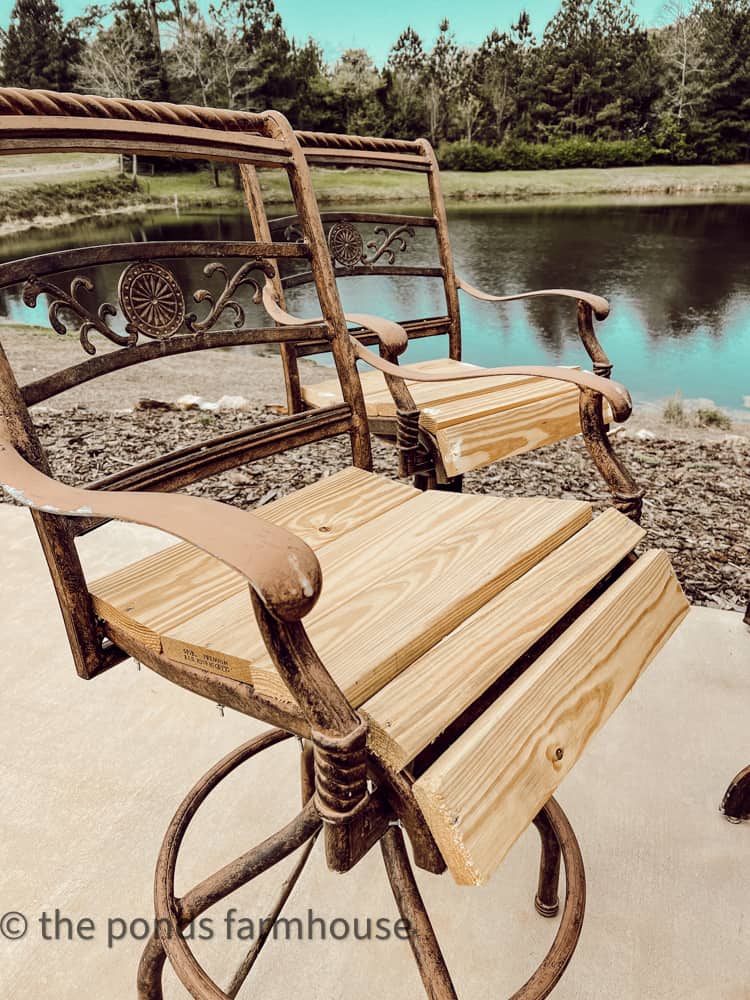
We are leaving ours natural to age, like the Adirondack chairs around the pool and pier.
In addition, to soften the seating, chair cushions were added.
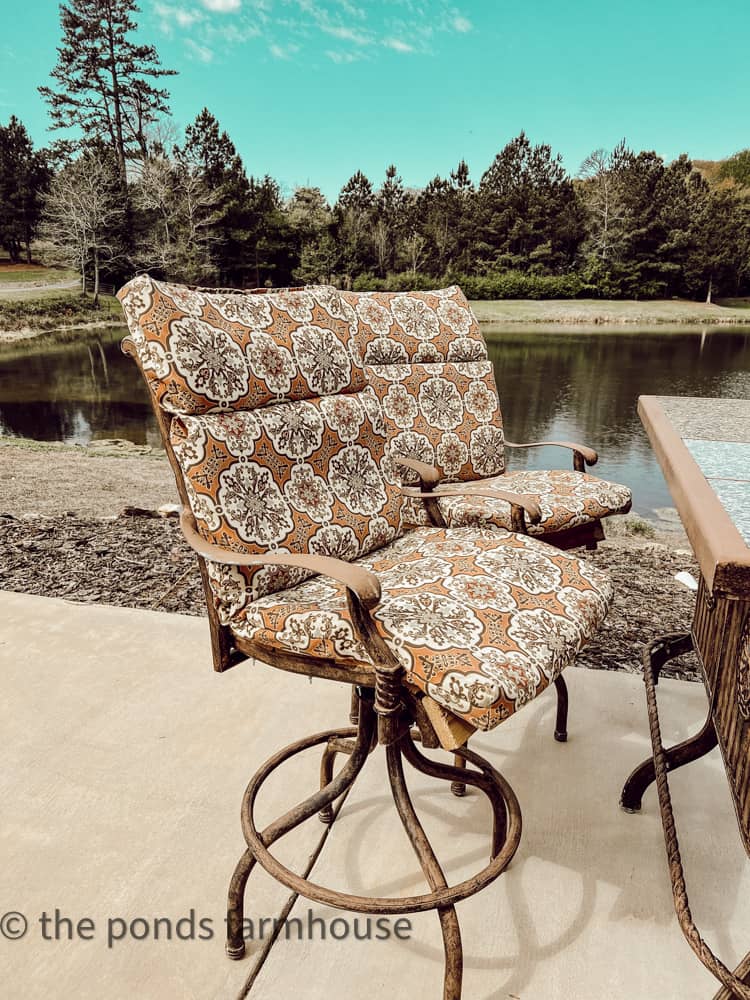
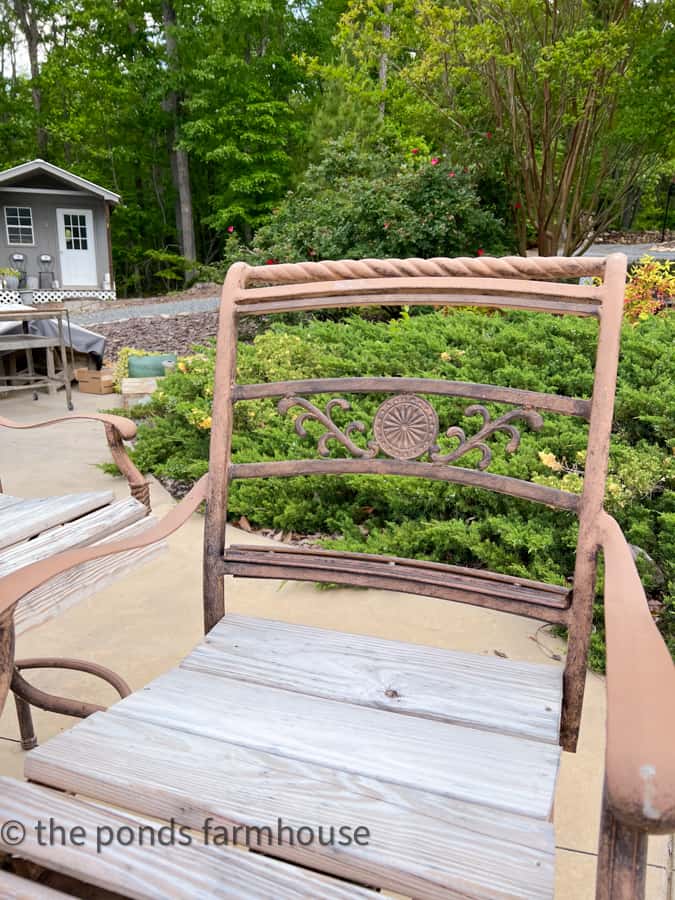
One Year Update
I hope you found this tutorial helpful in extending the life of your outdoor furniture. After one year, the bar stool seats have held up perfectly. They have aged to a grey patina, just like the Adirondack chairs, and we are loving the results—especially the money we saved.
More Money Saving Ideas for Around the House
- Clever Ways To Add Lighting Without Wiring
- DIY Vent Extender for Furniture
- Brilliant Ways To Hide That Ugly Vent and More
Thanks so much for stopping by and I look forward to sharing my next adventure with you!

Pin It To Remember It
Did you find some great ideas you’d like to save for future reference? Hover over the images you’d like to save and pin to your favorite Pinterest Boards when you see the PIN button.
Bravo!
Thanks Suzanne
What a great idea. I’m glad you are adding cushions as treated wood has so many chemicals in them that sitting on this wood is unhealthy. Think of all the playgrounds and sand boxes that are made out of treated wood and our little babies are sitting on this. I know the new treated wood doesn’t have as much bad stuff in it but still enough to harm our bodies.
You and your husband are amazing.
You all have the midas touch.
Thank you very much. They do tie in nicely with our other outdoor furniture.
Oh geesh ..this comes a year late.. 🙄 I had 4 chairs just like that ..the webbing was really ripe and I tried to think how I could upholster them with fabric. I couldn’t do it without looking real bad.. so we put the first 2 chairs out to the curb.. The next year the other two chairs gave way.. This time I thought ..hmm I will see if I could have them upholstered professionally because the frame was still good. I did..it was more than I wanted to spend but it was an investment for the back yard. You are lucky to have a handy hubby.😊 Your chairs look very comfy with the chair pads and think how much money u saved😁 Love your decorating style.
Lorrie, Thank you for the kind comments!
How I wish had seen this last year…..I took my very good chairs to be donated and they didnt want them and I had to toss them in the trash. I hate putting anything in the trash but couldn’t find a way to recover them…Genius idea!
Vainnc, Thank you so much.
Such a clever idea. I love it. Hugs to you.
Thanks Renae!
Great save, you guys! Love the cushions, too!
Thank you Debra!
Oh that’s a great idea! And I love your cushions too!
I appreciate this Stacy.
Wow, your new seats on the chairs look great!
Angie,
I’m so glad you like them. My husband had a great idea.
Rachel I love ut. Outdoor furniture can be unbelievably expensive.
This would be something my husband would come up with for chairs
Thanks Cindy. It was fairly simple fix and saved a lot of $$
Rachel, what a clever husband you have! This is really a great alternative. We have an outdoor chair at our cabin that has broken webbing. Will show this to my handy husband to see if we can copy this idea. Thanks for sharing.
Mary, thank you. It really did work out great for us.
Such an awesome project and great tutorial! Thanks for sharing! I’m excited to pass it on to my followers today in my weekend wrap up post From My Neck of the Woods.
Kristin,
I really appreciate you for sharing this project.
Wow! What a great idea. I have seen some nice outdoor furniture at estate sales but have passed on them because some of the chairs needed new seats. Thanks for the step by step instructions/photos.
I’m so glad you found this helpful.
What a great project! It’s crazy how it can cost more to fix something than buy new. No wonder our landfills are filling up! Pinning this for later!
Anne,
I agree. Thanks for stopping by.
Such a great solution. I love it. Hugs to you.
Thanks so much Renae