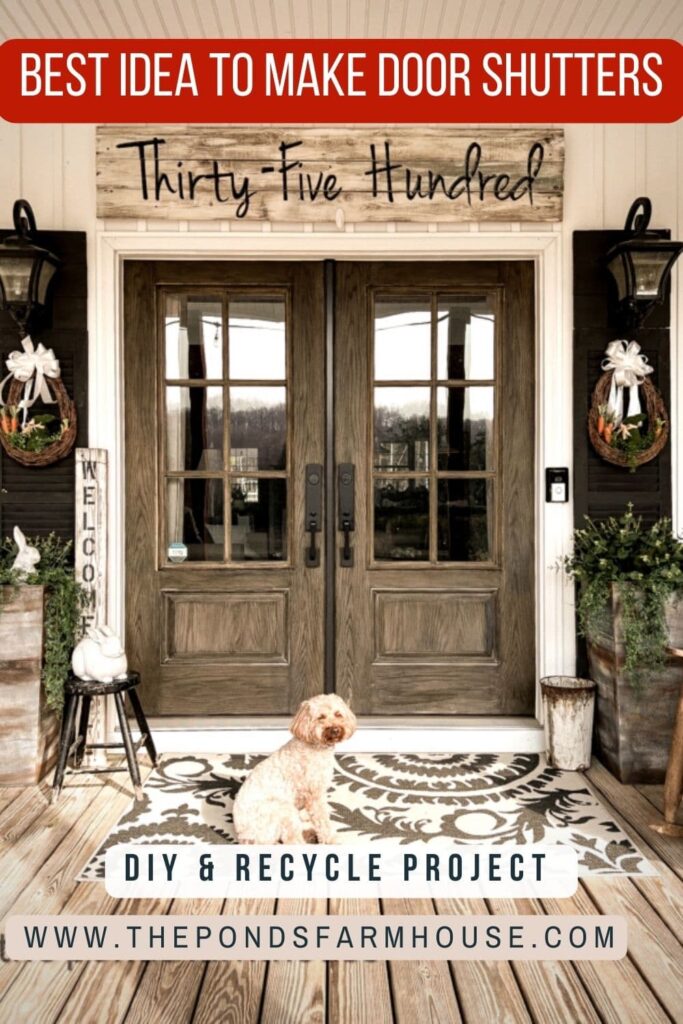
The Best Idea To Make Door Shutters To Add Style To Your Home
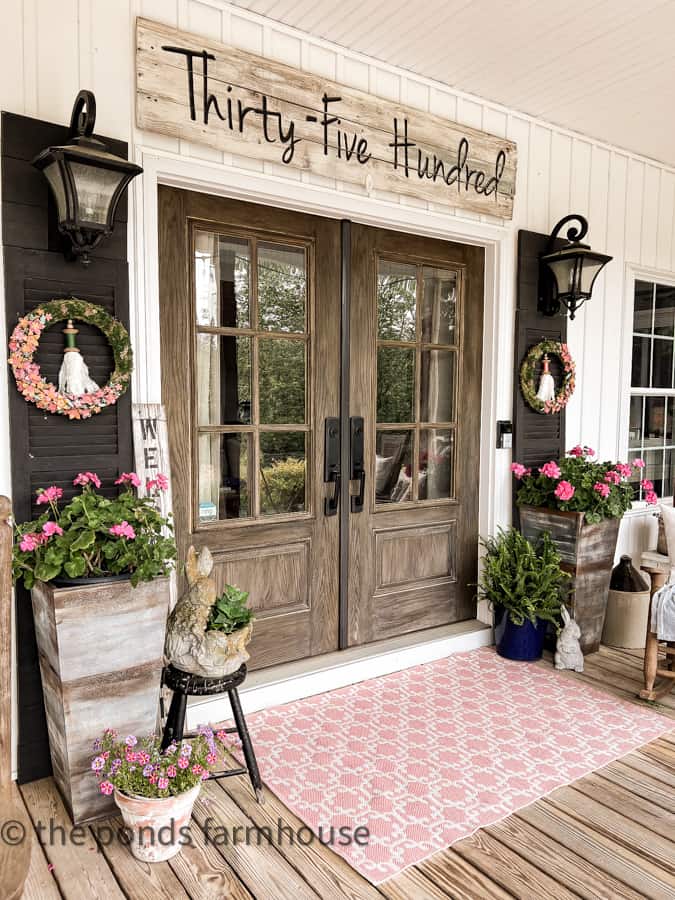
Have you considered adding Door Shutters to your home? Framing your front door with shutters will add instant style to your front entry. However the cost of door height shutters can be expensive, but here is a DIY Door Shutter alternative that is easy to make.
I had the idea of adding shutters to our front doors but didn’t want new, expensive ones. So the search was on for vintage shutters the height of the doors. The problem wasn’t finding shutters the correct height; it was finding them in good condition that we could afford.
I didn’t want to give up on the idea, so I devised this alternative plan to make door shutters for our front doors. Here is a step-by-step tutorial of how we did it.
(Posts on The Ponds Farmhouse may contain affiliate links. As an Amazon Associate, I earn from qualifying purchases. See the full disclosure details here.)
Why Should You Add Door Shutters?
There are two types of Door Shutters you can add to your doors. One is functional, and the other is decorative.
A functional door shutter will be hinged, which allows them to close over the door for added protection.
However, a decorative door shutter is added to enhance the overall appearance of your home and door.
Shutters help to add color and uniqueness to a simple home design, whether added to doors or windows.
A simple door can be enhanced with the addition of shutters.
Why Make Door Shutters?
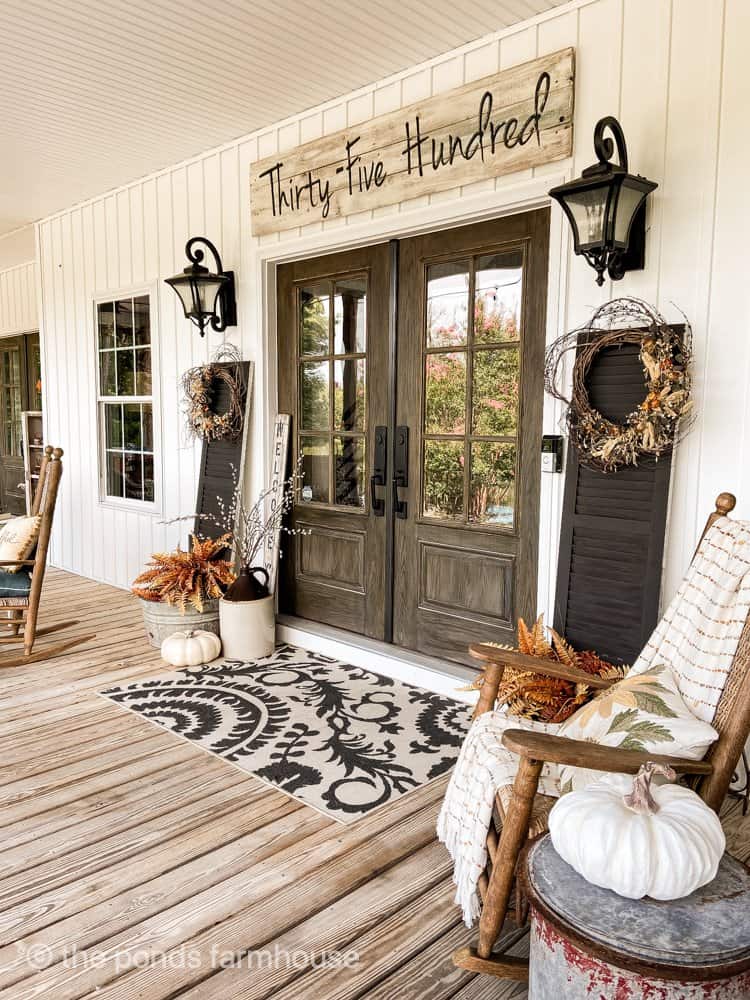
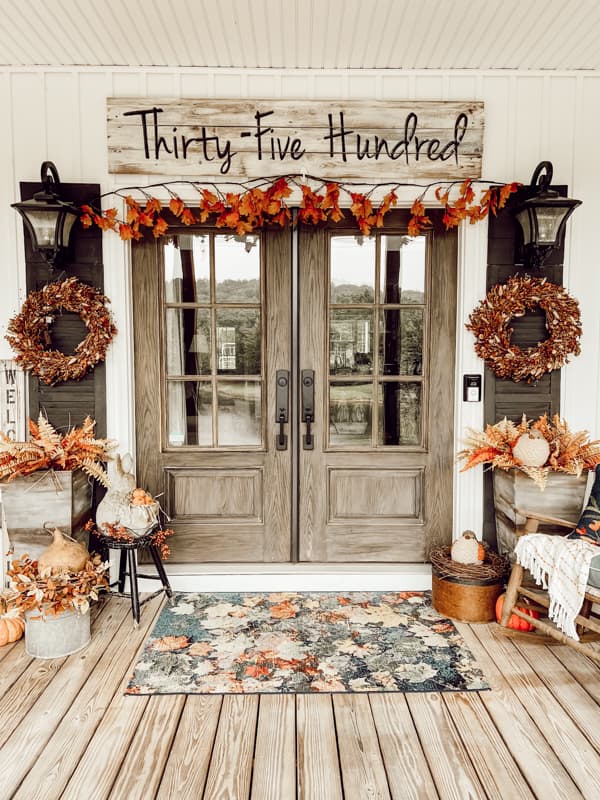
The idea began when I added a pair of white vintage shutters by our front doors. I loved adding decorative wreaths and baskets to the shutters to enhance the front porch.
Later, I painted the shutters black for fall, and I loved the new color but felt they would look better if they were the doors’ height.
I began to look for old, taller shutters, but we quickly realized that finding exactly what we wanted at a reasonable price was daunting.
Therefore, another plan was born. The idea was to add onto the existing shutters to make them tall enough.
(Posts on The Ponds Farmhouse may contain affiliate links. As an Amazon Associate, I earn from qualifying purchases. See the full disclosure details here.)
How To Make DIY Door Shutters by Recycling
This project is part DIY and part recycling. Therefore, you will need existing window shutters to recycle to execute this DIY.
Where To Purchase Old Shutters
First, window sized shutters are much easier to find than door height.
You can usually find shutters at Habitat ReStore resale shops, salvage resale shops, thrift stores, and vintage shops. Facebook marketplace, Etsy, eBay, and other online sources are also a great resource.
They are usually inexpensive to purchase and can easily be recycled into tall door shutters with this tutorial.
How To Determine Construction Extensions
Before you begin, measure the length of your shutter and the distance from your porch to the bottom of your light fixture. Then, measure from that point to the top of your door. This will determine the length of your extensions.
Important NOTE:
I’m using the measurements we needed to extend our shutters for today’s tutorial. Your exact measurements will most likely vary.
Materials & Tools for Project – Extend the Shutters
- 2- 6x8x1 lumber from Hardware Store (depending on your shutters, this width may vary)
- Jig Saw
- Biscuit Joiner
- Miter Saw
- Cordless Drill
- Joining Biscuits
- 3/8″ Dowel Rod
- Wood glue
- Clamps for Woodworking
Once you have your measurements, you will use the miter saw to cut approximately 12 boards from the lumber.
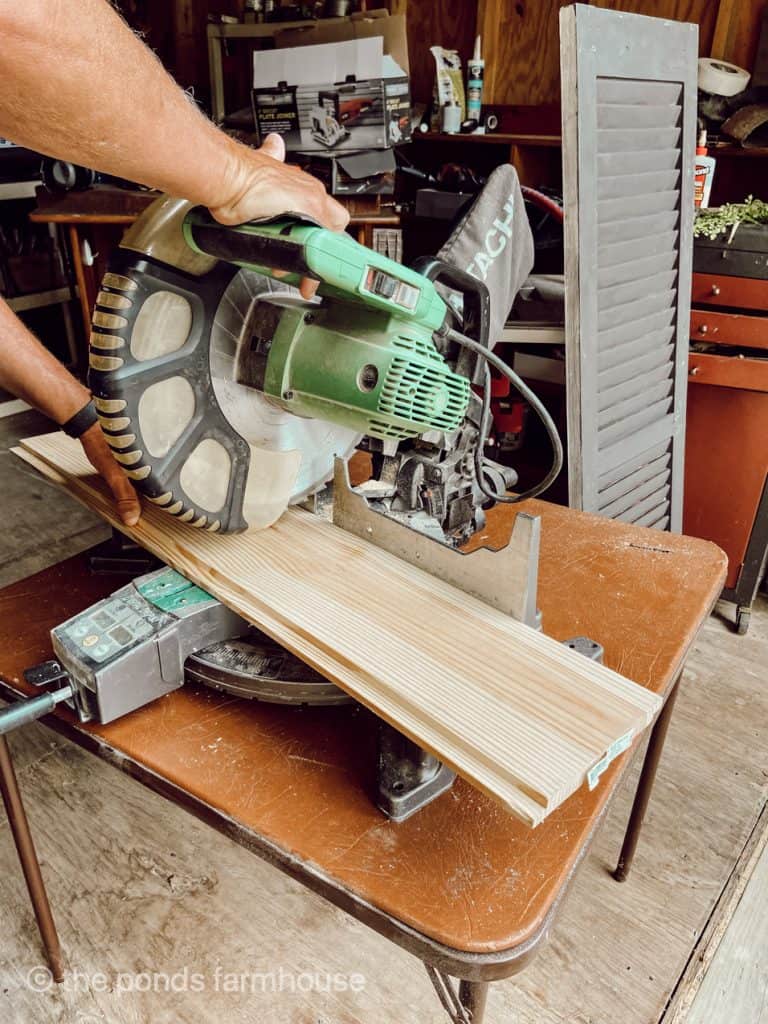
Be sure to cut the boards to the exact width of your existing shutters. We needed 12 – 16 inch long boards.
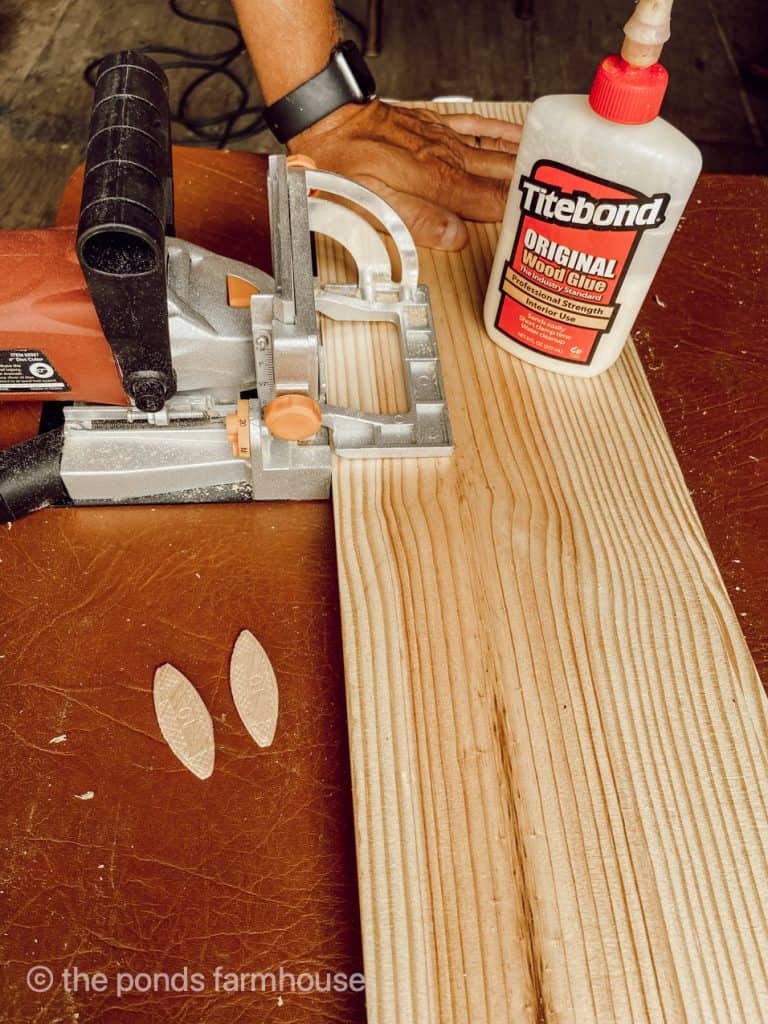
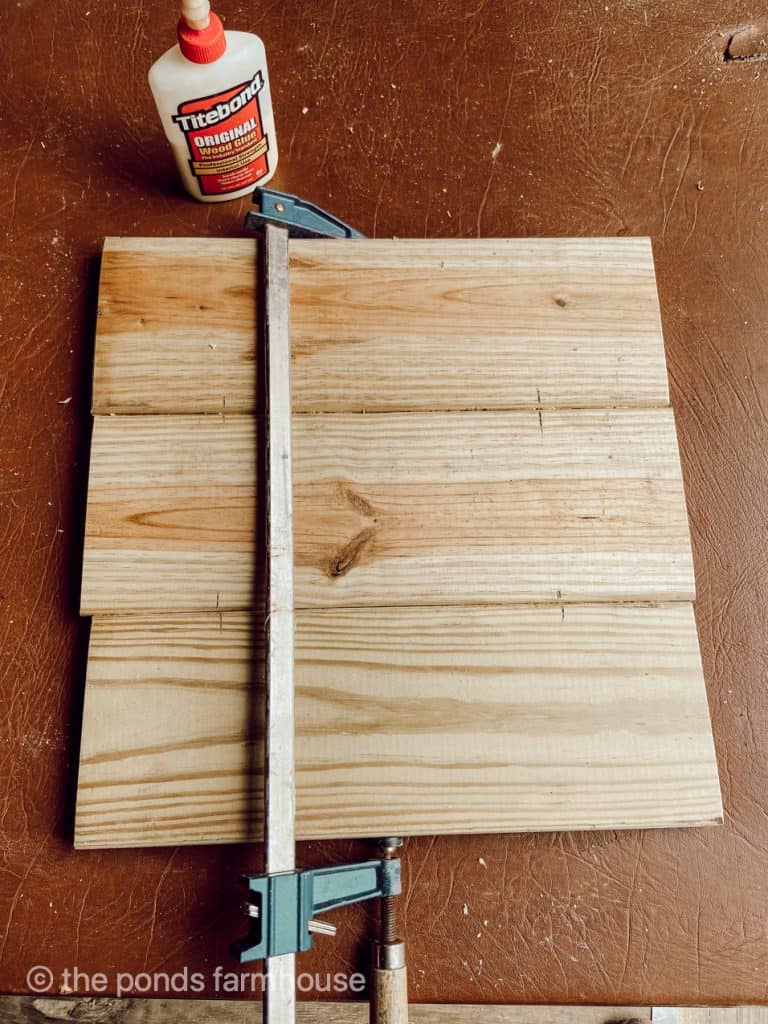
Next, use your biscuit joiner to cut and add biscuits to join 3 of the boards together.
Be sure to mark the placement of the biscuits so that the boards will align once glued together.
Use wood glue to secure the biscuits between the boards and the edge of each board.
Once the three boards are glued, use the clamps to hold them in place for approx. 30 minutes. After removing the clamps, allow 24 hours before proceeding.
Repeat this process until you have four sections.
NOTE: We considered using a larger plywood board to avoid gluing the sections together. However, we are glad we took the extra steps because the attachments look like shiplap and have more character and style than plywood.
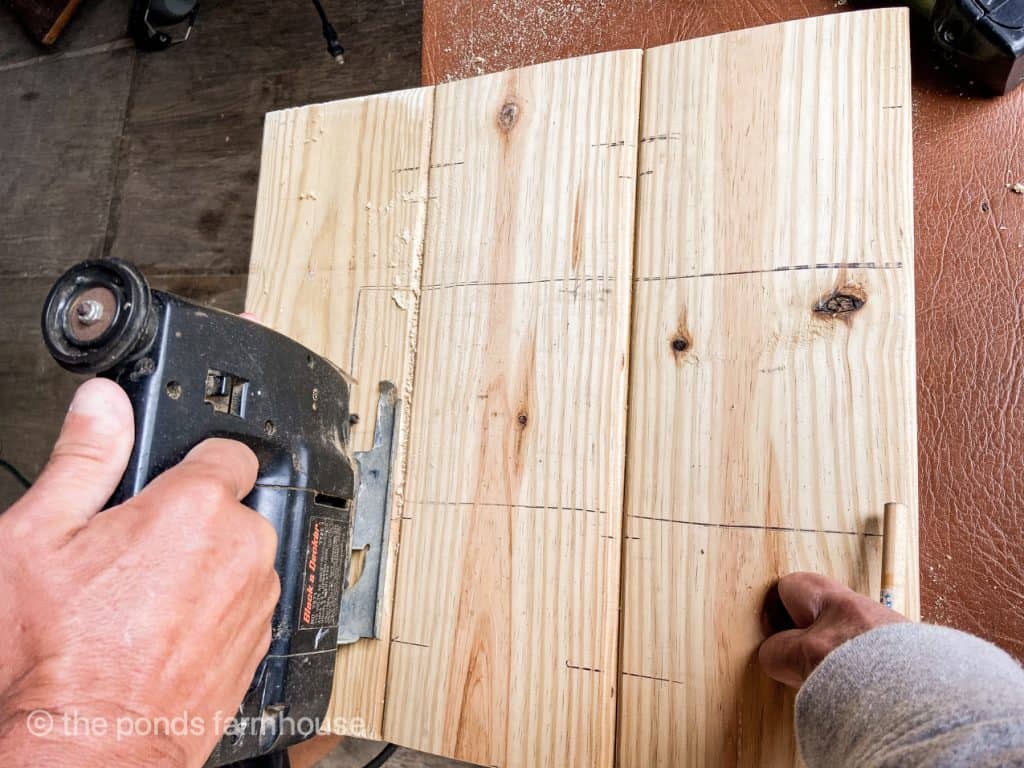
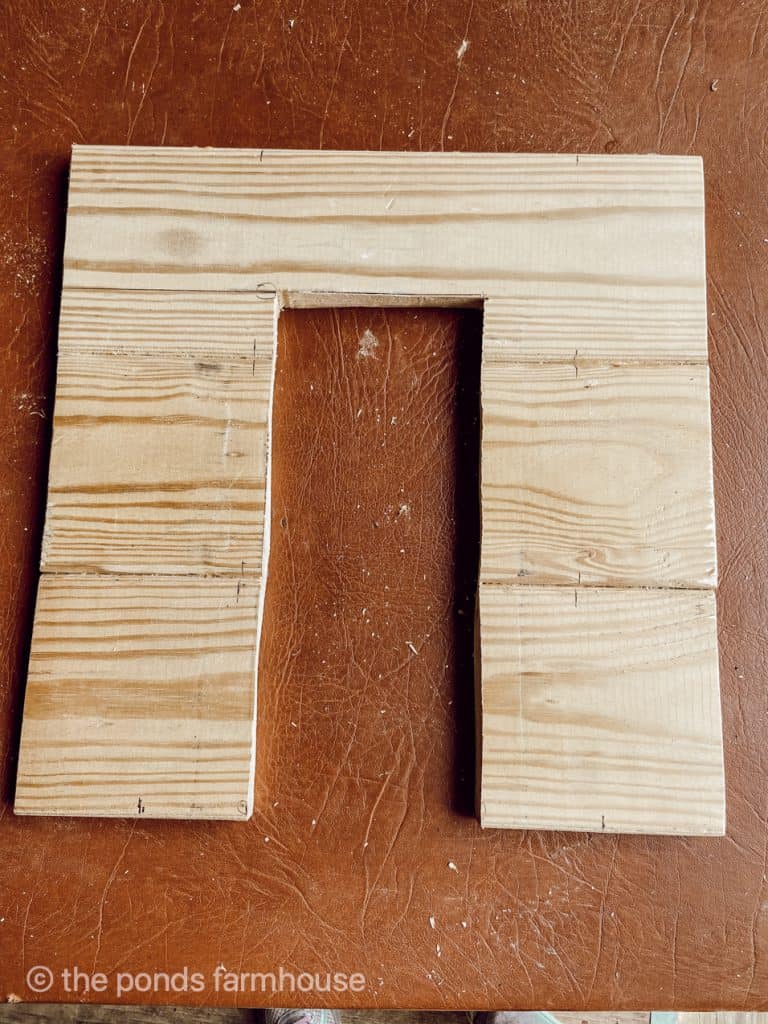
Prepare the Top Section
Because the top section will fit around the light fixture, careful measurements are needed to cut out for the opening.
Use the jig saw to cut the opening in the two top sections.
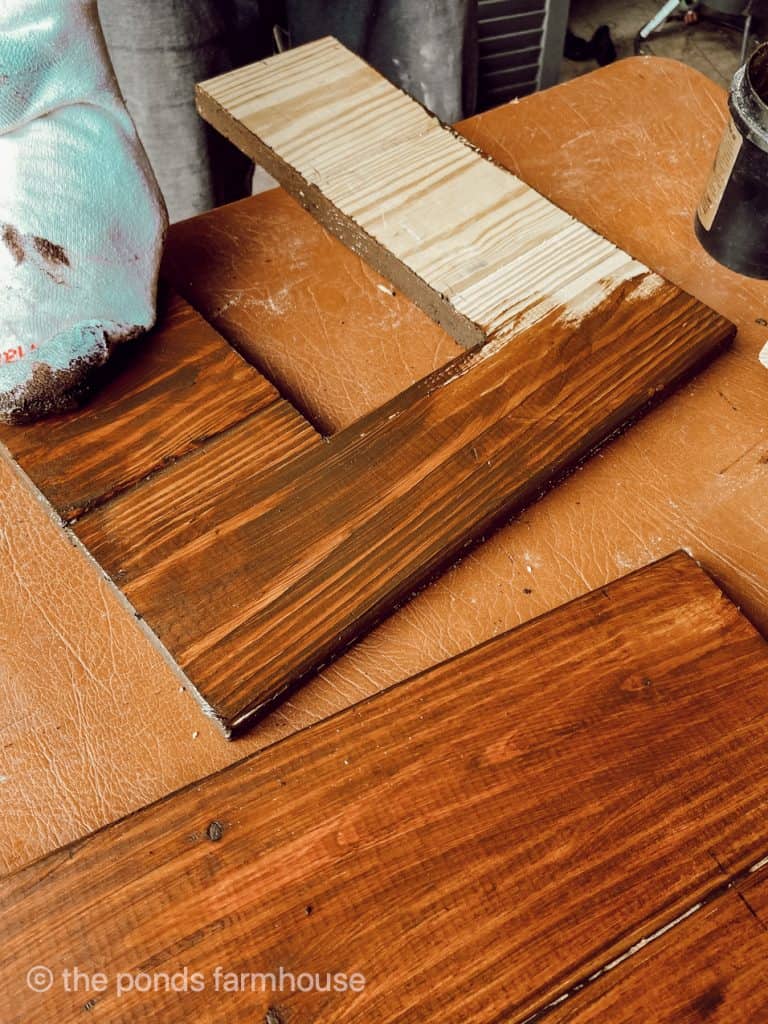
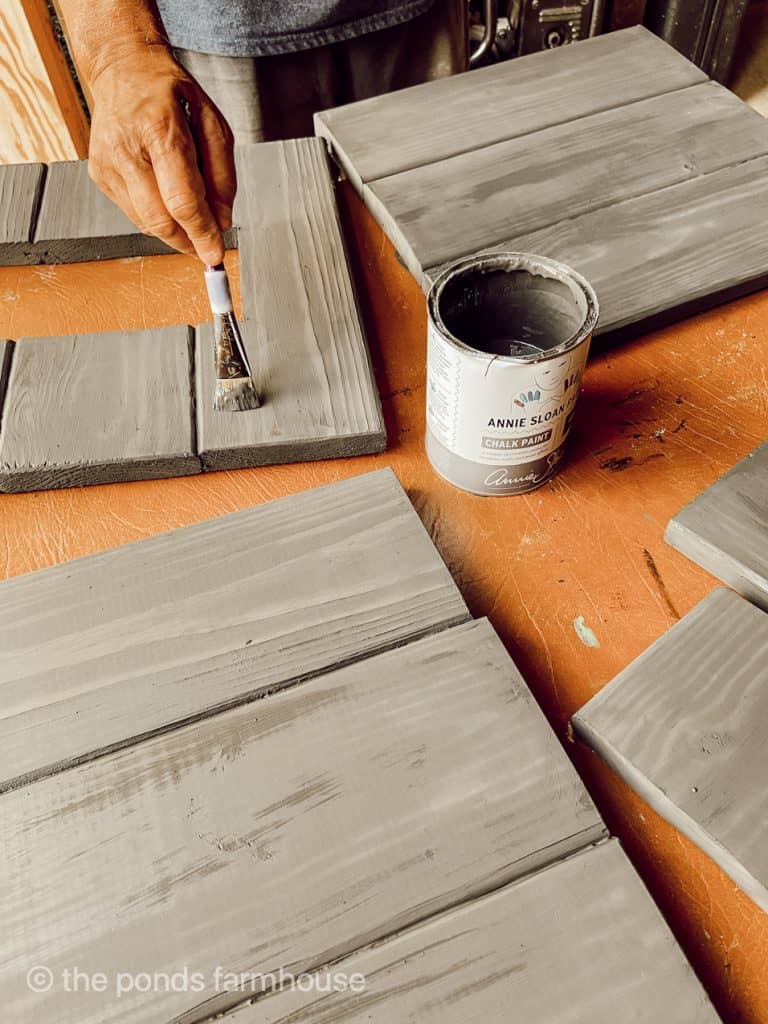
Stain and Paint Door Shutters
Once everything is dry, stain the sections and then paint to match your shutter. You can wait to paint just before installation; however, it’s easier to do in small areas that are easier to work with.
If there is any damage during installation, the paint is easy to touch up.
I always get asked why I stain before I paint, so I’ll explain. The original shutters were dark brown before I painted them. For the paint color to look uniform, stain the wood first, and you will not be able to see a difference.
Attach the Bottom Section
To attach the bottom section, use the biscuit joiner to cut and join the bottom of your shutter to one of the sections.
Use wood glue to secure and add a clamp to hold until the bond is set, approx. 30 minutes. Once again, allow to set for 24 hours before proceeding.
Attach the Top Section to Door Shutters
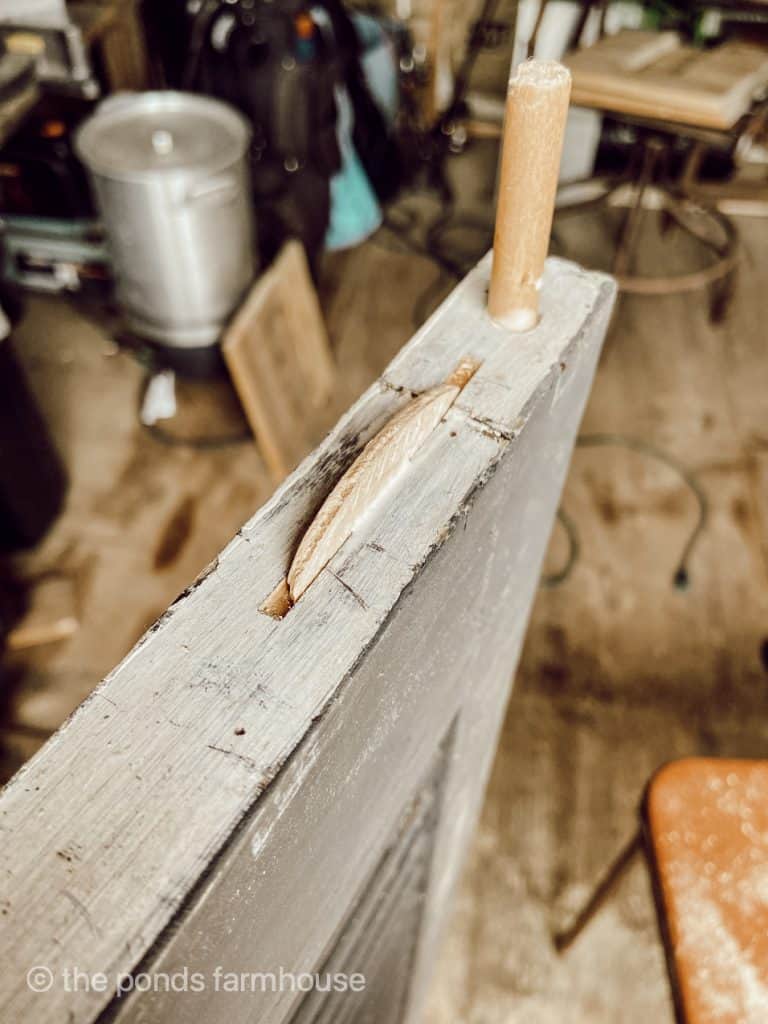
Next, you will want to use your biscuit joiner and drill to create a way to join the top section to the shutter top. Align the top section to the top of the shutter, with the cutout area at the bottom.
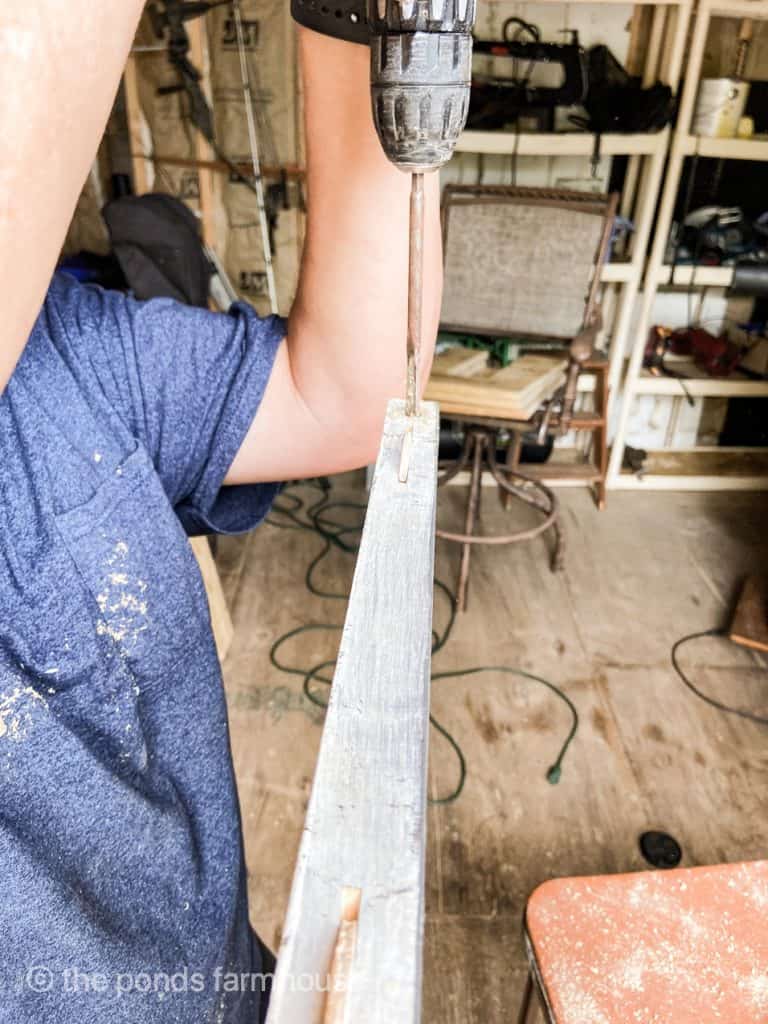
Glue the biscuit and dowel rod into the shutter only. Ensure the holes drilled for the dowel rod allow the shutter and top section to meet.
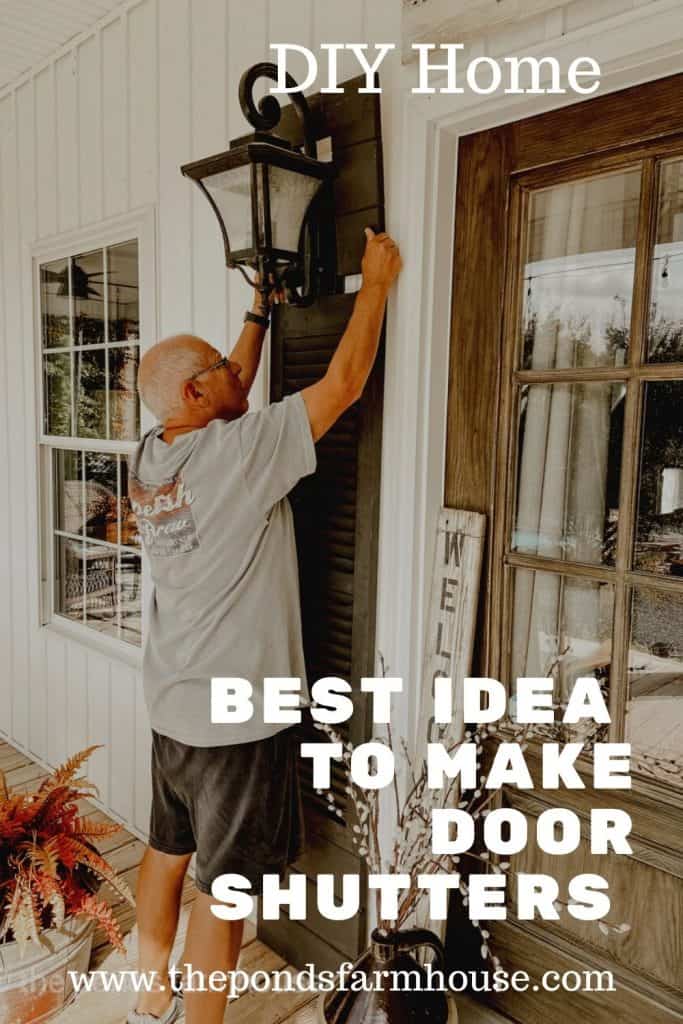
Install Door Shutters
Begin by aligning the shutter under the light fixture and then bring the top section over the top, as shown below.
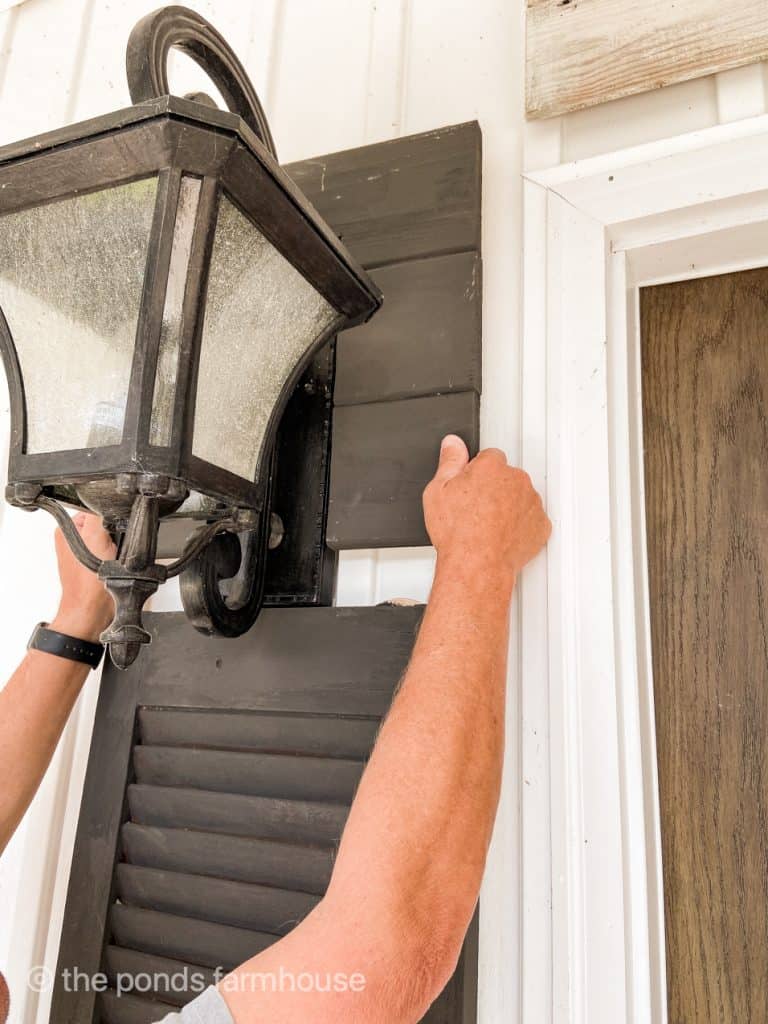
Allow the dowel rods and biscuits to slip into the top section.
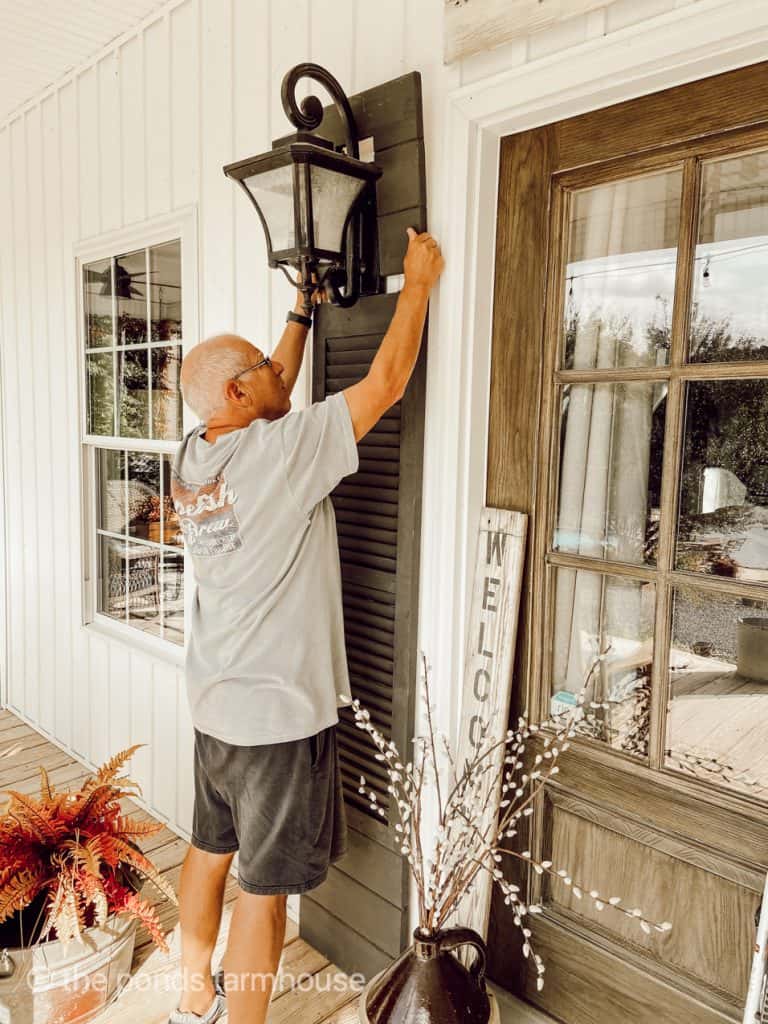
We did not glue the shutter to the top section because we might want to remove the shutter at a later date. It is easy to slip the top piece off to remove it.
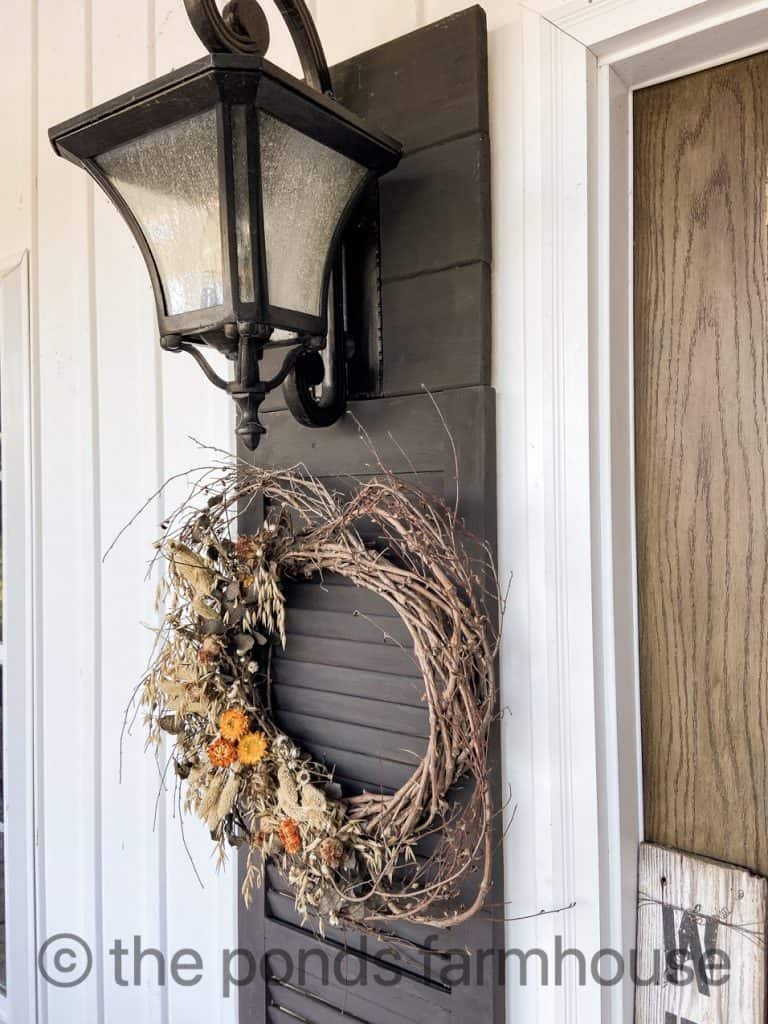
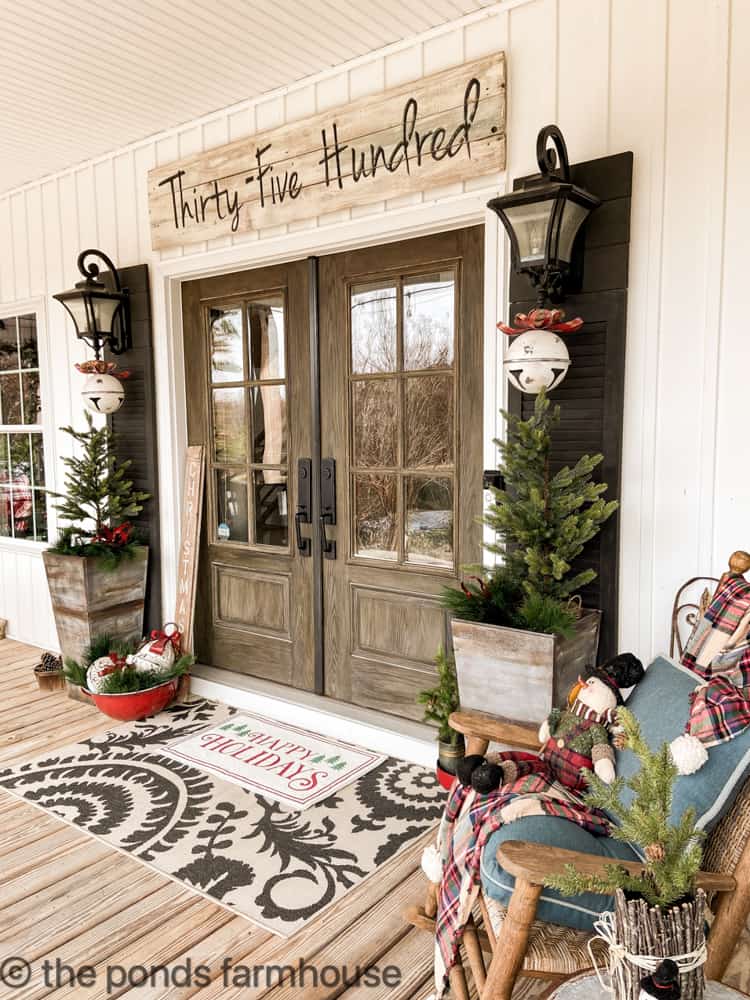
The light fixture secures the shutter, and I love this updated front porch appearance.
See Video Tutorial
The black shutters showcase the handle set from Delaney Hardware and the DIY Address Sign.
Porch Tours
- Fall Farmhouse Porch Tour
- Farmhouse Spring Porch Tour
- Best Decorating Ideas for a Fall Porch
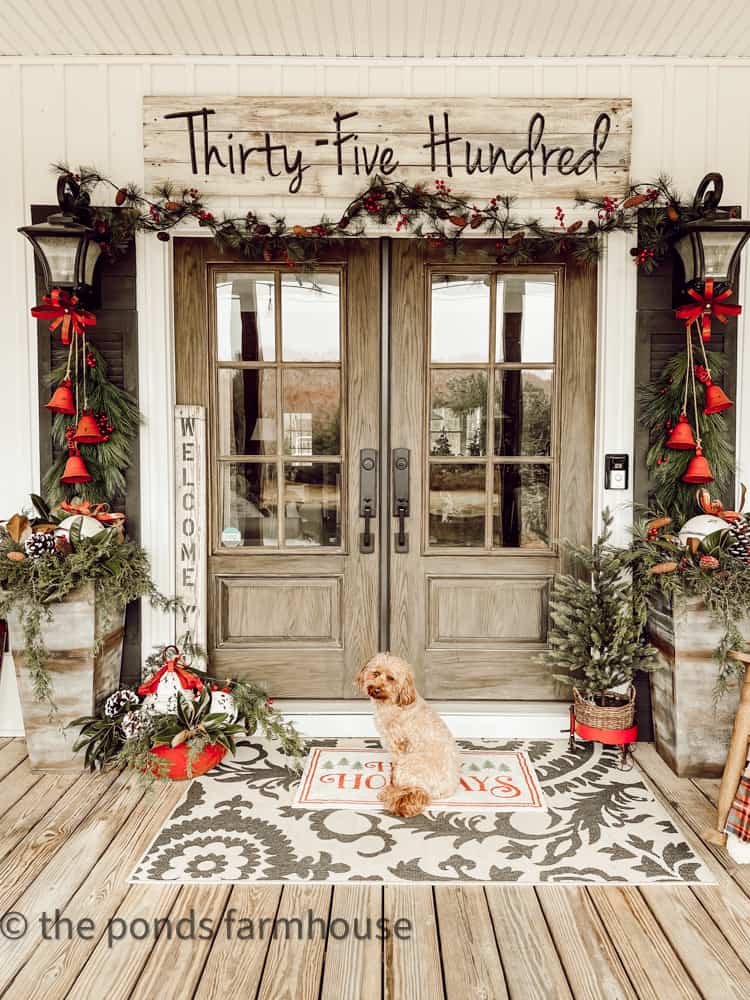
- Front Porch Christmas Decoration Ideas
- Winter Front Porch and Planter Ideas
Thanks so much for stopping by today. I look forward to sharing my next adventure with you!

Pin It To Remember It
Did you find some great ideas you’d like to save for future reference? Hover over the images you’d like to save and pin to your favorite Pinterest Boards when you see the PIN button.

Rachel they look GREAT! I love it!
Stacy,
Thanks so much.
Great idea! They look beautiful!
Renae,
Thanks so much. I really appreciate you for stopping by.
Where there is a will, there is a way. Just sensational and cost effective.
You knocked it out of the park.
Diana,
I’m so glad you liked this project.
This idea is total genius!!! I love the black, but easily could see you’d have an issue with the side lamps (which are so gorgeous) The shutters really add the pizzaz, and fit proportionally. Good for you guys being so resourceful!
Debra,
I really appreciate yours sweet comments and encouragement.
Wow! What a project, The average homeowner, especially a woman, will not own or have access to the tools you have, at least not me. I also have wanted shutters that size for years and for some reason there are none and if we find them they priced way to pricey. Interesting approach to increase the height and also to accommodate your light fixture.
Jean,
Thanks for stopping by. I agree about the tools, however this is a simple project that could be hired out to a handy man. I’m glad you liked the idea.
What a great idea and they look so pretty now!
Marlene,
I’m so glad you like this.
What a great idea, to cooperate the light fixtures. You are a genius!
Love it.
Edna,
Oh what a compliment. I don’t think I can live up to that one. Just ask my husband. LOL
I loved the look before but now can’t
believe how the taller shutters pulled
it all together. Great idea and beautiful
work!
Oh thanks so much for the sweet compliments.
Wow! Looks fantastic! Love all your ideas and inspiration. 🙂
This is seriously brilliant Rachel! They look amazing.
Kim,
I’m glad you like them.
Fantastic and very well done. They look like they’ve always been there.
Carol
I’m so glad you liked this project. Thanks for your comment.
Such a fantastic idea! Can I borrow the Mister and the tools? 😉 Pinned hoping my Mister gets a wild hair and helps me out! I need these!
Cindy,
We do make a good team. I get the crazy ideas and he begrudgingly agrees to help me. LOL
What a great idea! Of course! Adding to the ends to make the shutters longer. Your 2022 Fall porch turned out so warm & inviting. Thank you for sharing your DYI’s & Friends Home Tours.
Jan,
I appreciate this. Thank you for so much for your encouraging words.
I love this! Your shutters are absolutely stunning. It transforms your whole porch.
Renae,
I really appreciate this.