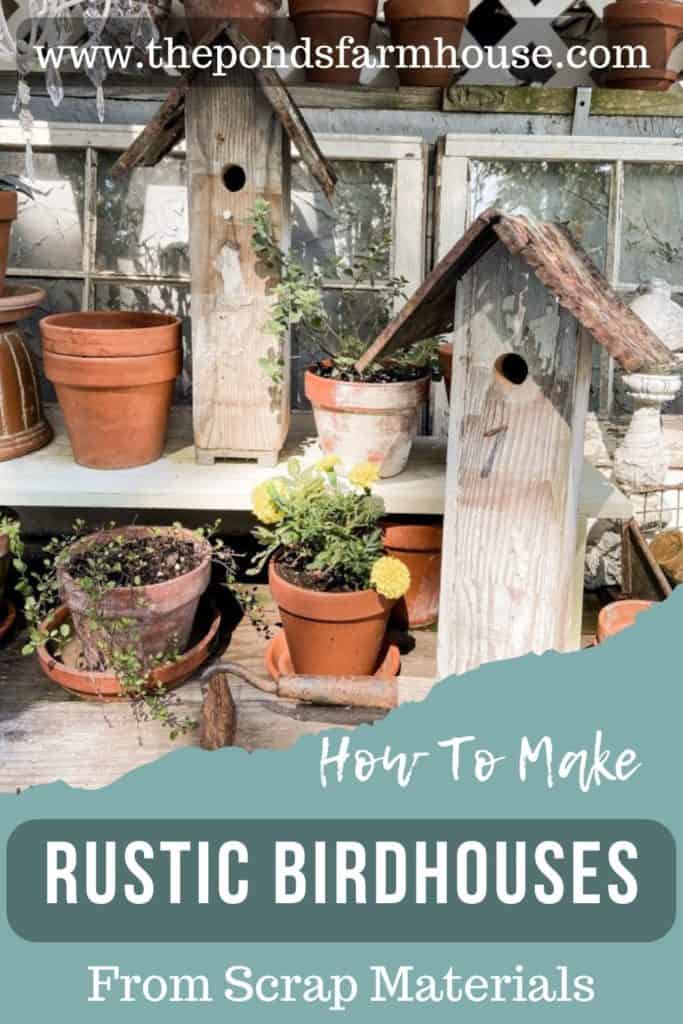
How To Build Rustic Birdhouses Using Scrap Materials
Do you like rustic birdhouses? Today, I’m sharing How to Build Birdhouses using scrap materials. I’ve been determined to find a use for some leftover porch posts because you know that “I’m a waste, not kind of girl”! This DIY birdhouse is designed for decorative purposes and will make a perfect indoor addition to the greenhouse.
Do y’all remember the Potting Table tutorial that used old porch posts as legs? You may remember that it was necessary to shorten the posts to get the correct height. Well, guess what I did with the leftover scraps? Yep! I built a birdhouse or two!
(Posts on The Ponds Farmhouse may contain affiliate links. As an Amazon Associate, I earn from qualifying purchases. See the full disclosure details here.)
How To Build Birdhouses
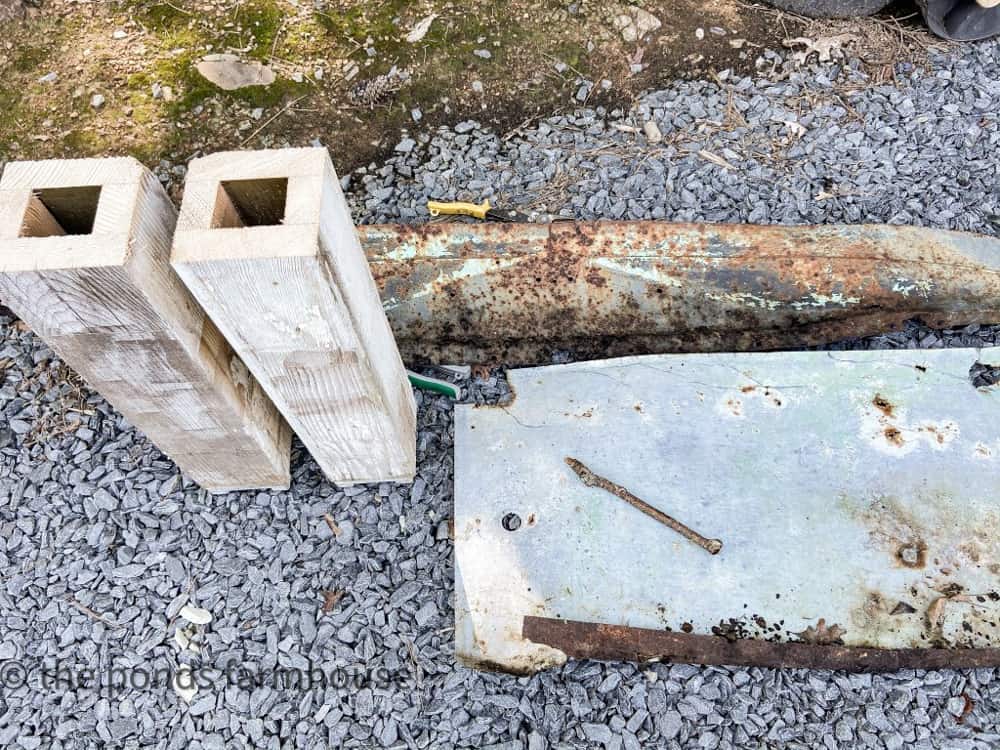
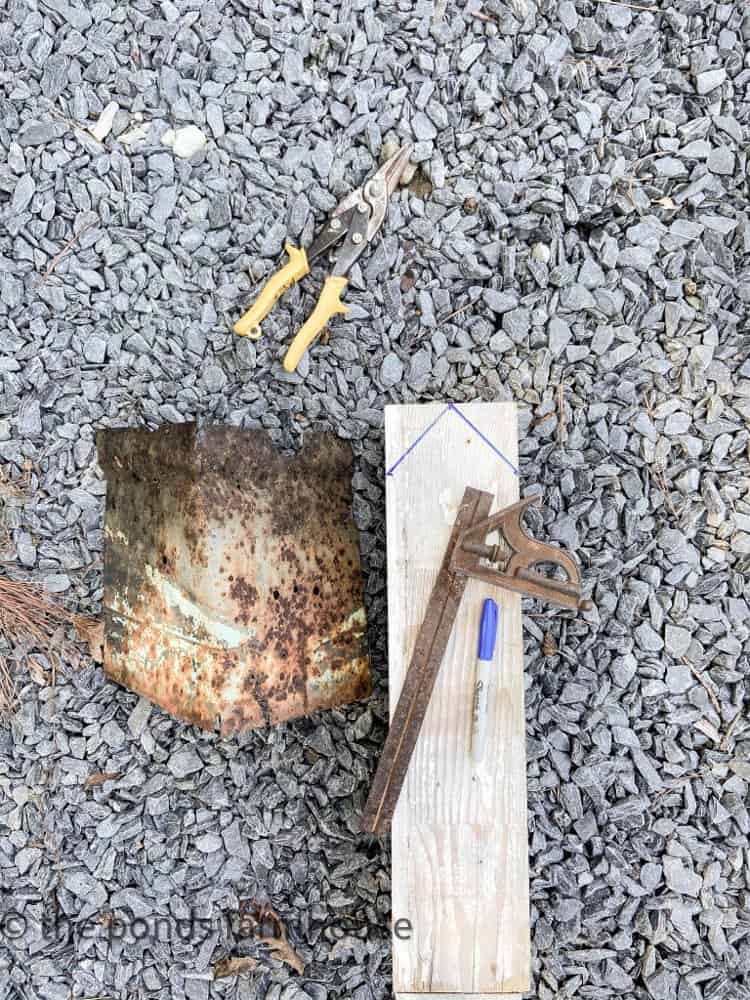
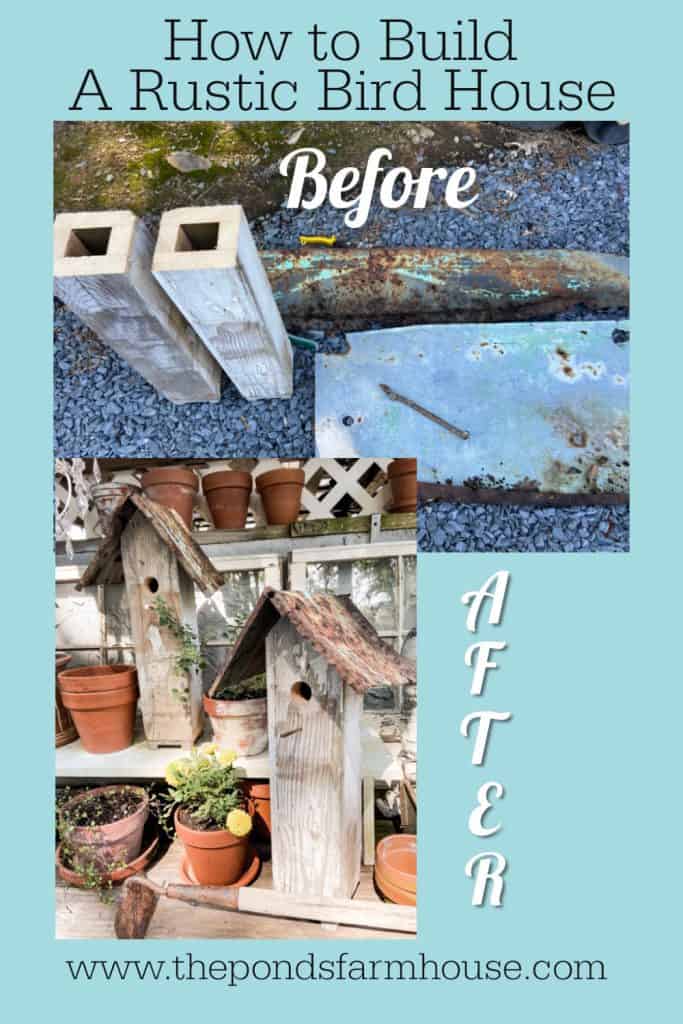
First, two scrap pieces of porch posts were left over from the potting table.
Additionally, I previously removed some old roof material from a trash pile we found on our property. I didn’t know what to do with it at the time; however, I knew it would come in handy at some point.
So here is how to build birdhouses using scrap materials.
Where Can I Find Scrap Materials To Build Birdhouses?
When gathering materials to build birdhouses, think outside the box.
The birdhouse can be any size, and your options are unlimited if they are for decorative purposes.
If you don’t have scrap porch posts, consider making a box using any scrap lumber that you have on hand.
You can also use scrap finials, metal roofing, shingles, old license plates, old cans, nails, porch rails, fence posts, fence pickets, and more.
Don’t limit yourself; there are no right or wrong materials. If you can imagine it, you can build it.
Insider Tip
Another place to look for scrap materials is at construction sites. I’m not ashamed to admit that I’ve done a little dumpster diving to retrieve discarded materials.
If all else fails, some affordable kits are easy to build.
Gather Supplies To Make DIY Birdhouse
Let’s begin by gathering these simple supplies to build your rustic birdhouse.
- Scrap Porch posts
- Rusty tin
- Nails
The scrap porch posts were a good size for the rustic birdhouses, so there was no need to shorten them.
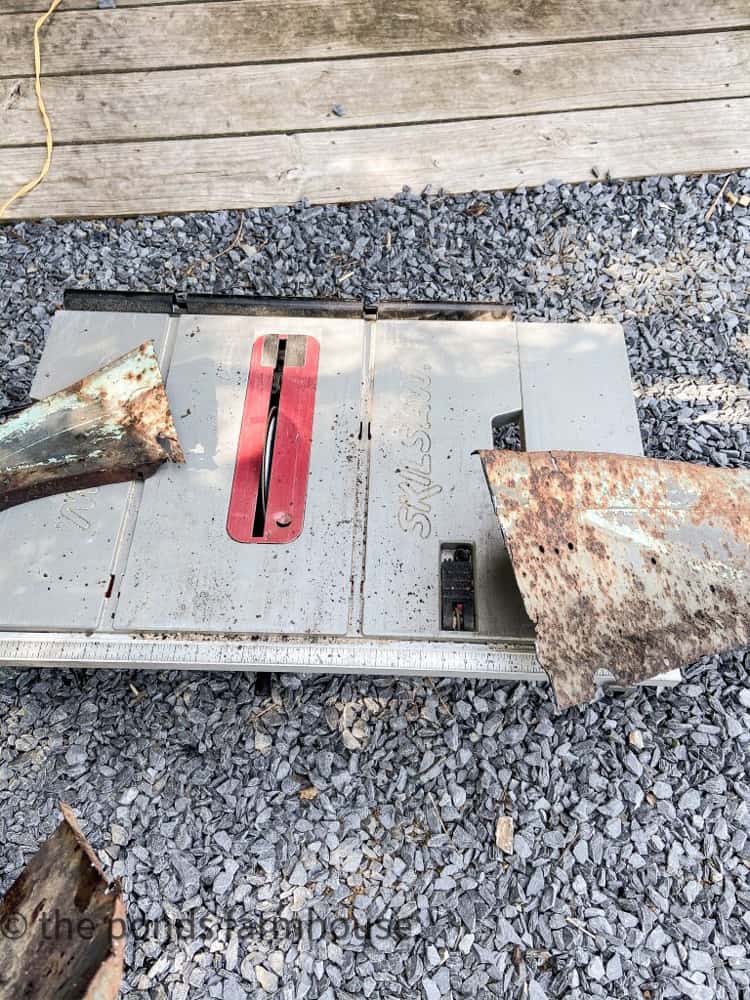
Step 1 – Cut the Metal for the Roof
The first thing we did was cut the roof material using some old tin we had been saving for just such a project.
Begin by measuring to estimate the roof proportions based on the size of your posts. Once you determine the size of the roof, use a table saw with a metal cutting blade to cut the tin to the desired proportions.
Note: When working with rusty metal, be cautious to avoid getting cut. Use heavy-duty work gloves to protect your hands.
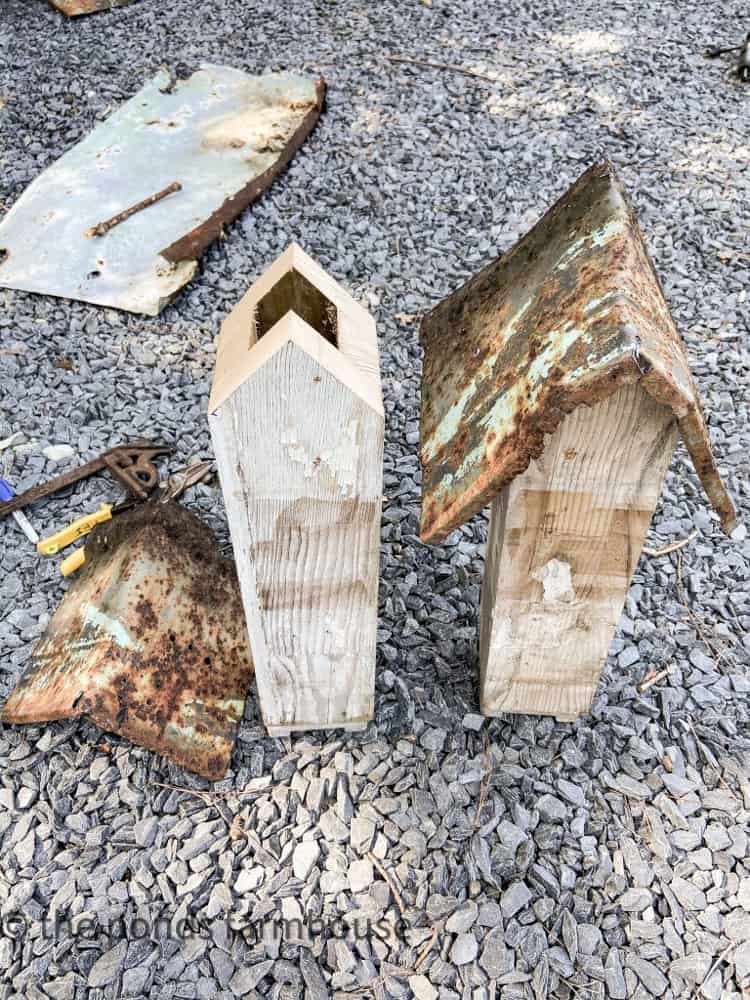
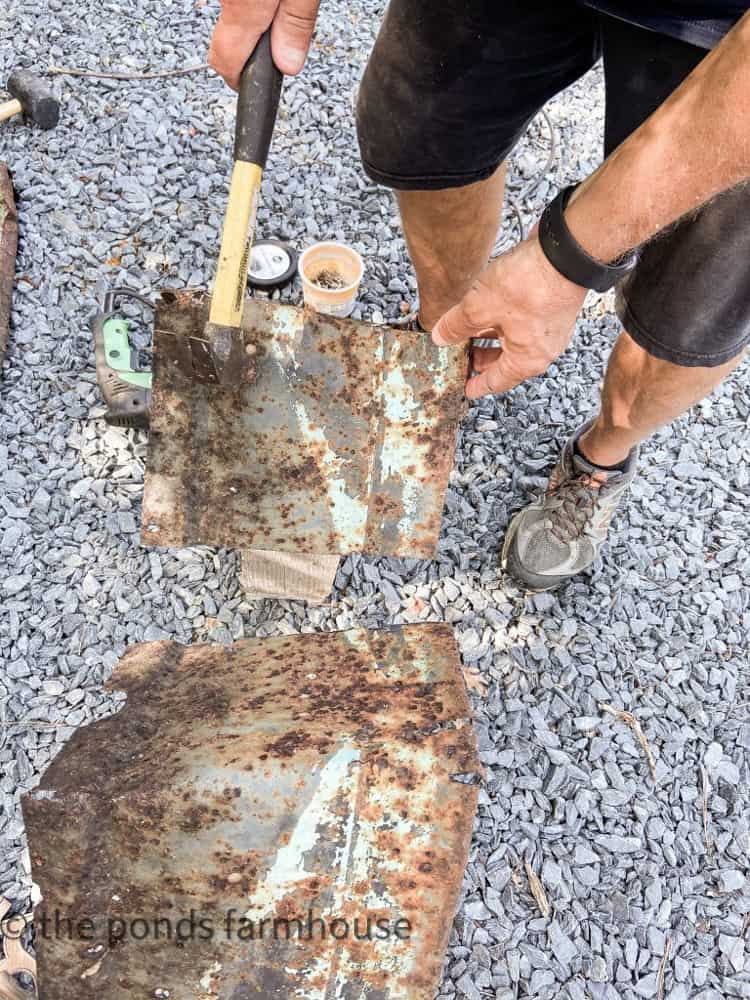
Step 2 – Bend the Metal
Next, you will want to bend the metal to form a roof for the DIY Birdhouse.
We found that bending metal into a V shape isn’t as easy as it looks.
Insiders Tip
When working with old metal, scoring the metal or clipping the edges may be necessary. As a result, the metal should bend along a relatively straight line.
Once the metal is bent, position it on the posts to ensure the correct proportions for the rustic birdhouses.
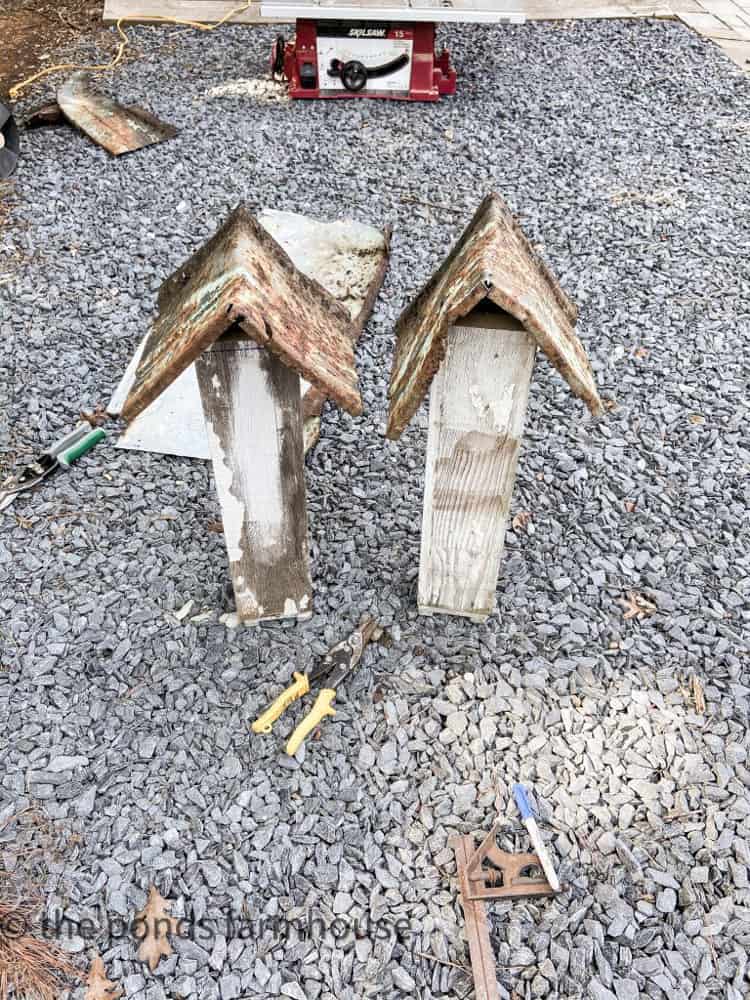
Step 3 – Cut A Line Roof For DIY Birdhouse
Next, cut the top of your posts to form an A-line roof. To determine the angle, use the metal roof to guide and draw a line.
Since the metal was difficult to bend evenly, measure and mark each one separately, as the angle may differ for each.
Finally, follow the angle drawn and use a chop saw to remove the corners from the top section of the scrap post.
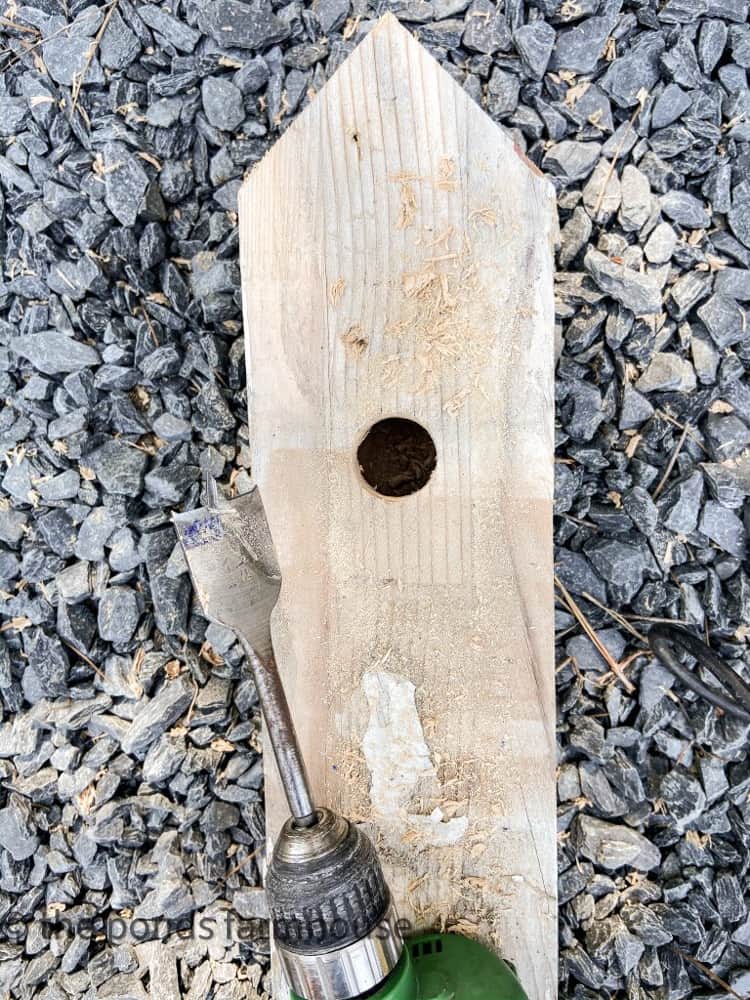
Step 4 – Drill Holes For The Birdhouse
Although these birdhouses are for decorative purposes only, I want an authentic appearance. The small dimensions of the posts would not allow for a functional birdhouse. However, they are super cute for decorations.
Therefore, to achieve authenticity, drill a hole in the center of the post at the desired height. You will need a hand-held drill and a drill bit the desired size of the hole.
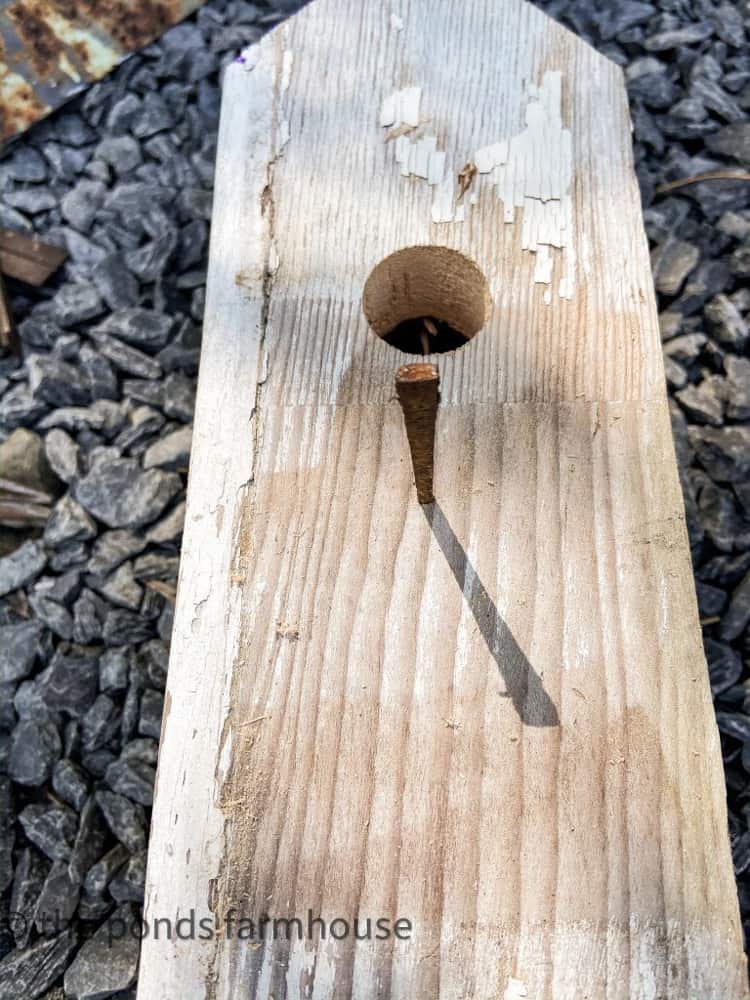
Afterward, you will drill a small pilot hole just below the larger hole for your bird’s perch.
The bird’s perch was made using vintage nails pulled from reclaimed shiplap boards. However, you can use a small dowel rod, nail, or any items you choose.
Step 5 – Attach the Roof
Finally, it’s time to attach the roof to your DIY Birdhouse.
First, you should drill a small pilot hole in the metal where it will be attached to the birdhouse. As a result, the nail can be easily hammered through the metal and into the wood of the birdhouse.
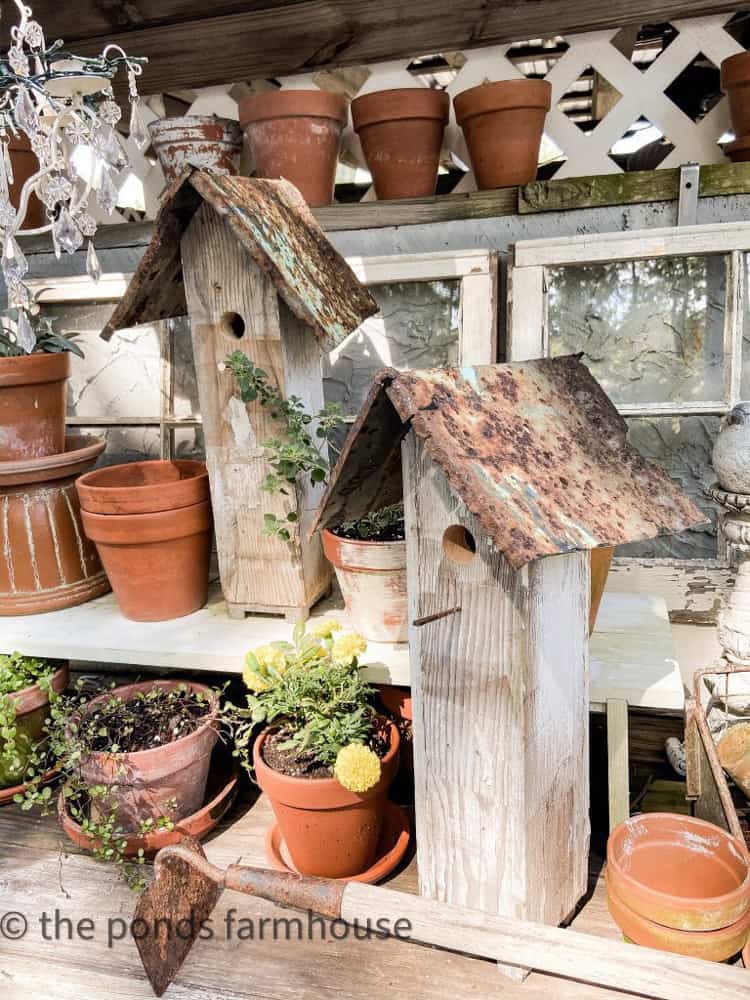
Ta-DA – A Rustic DIY Bird House
What do you think of this trash-to-treasure, rustic birdhouse project?
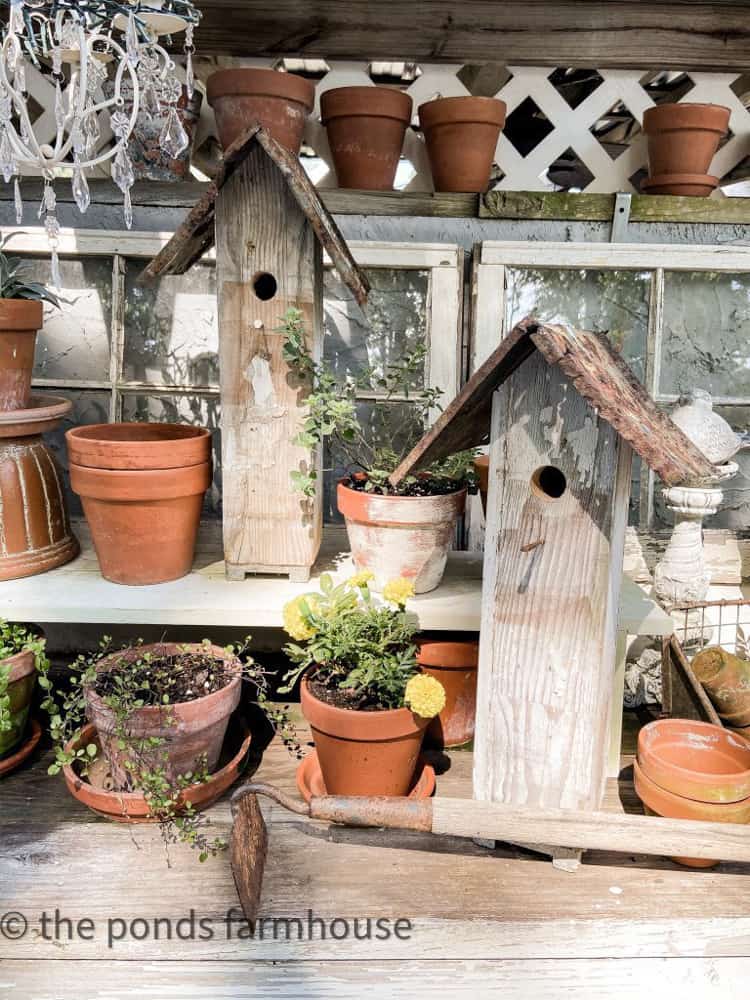
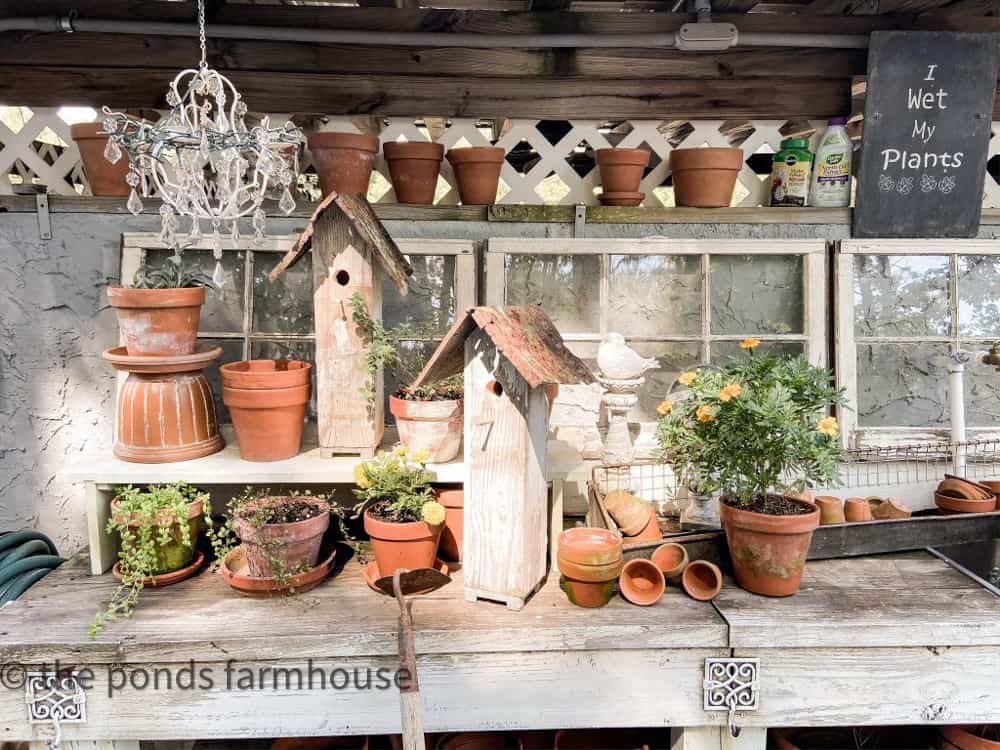
The DIY birdhouses are perfect decor for a screened porch, shed, or greenhouse.
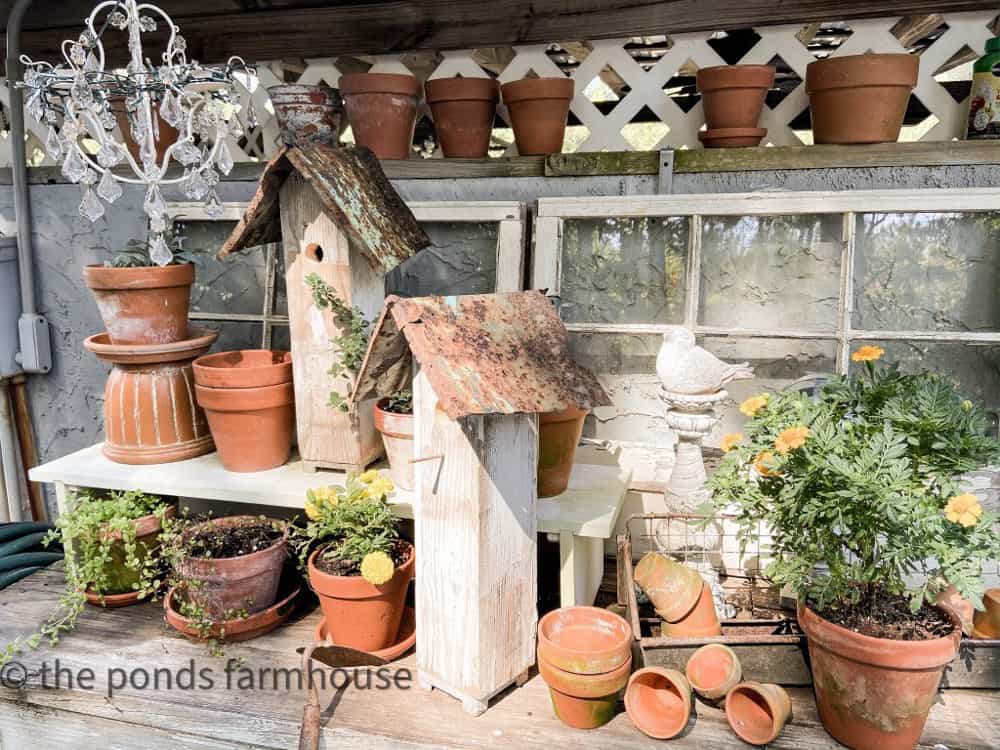
In addition, I plan to style the DIY Greenhouse with them for fall. You can see more about the greenhouse on how we built a DIY Greenhouse.
Resources
My husband and I were able to build both birdhouses in approximately an hour, and all the materials were Free. As a result, I am thrilled with how they look. I hope you are, too.

Pin It To Remember It
Did you find some great ideas you’d like to save for future reference? Hover over the images you’d like to save and pin to your favorite Pinterest Boards when you see the PIN button.

Good Morning
Rachel this is a super cute project and I will be trying it. Love your creative mind**
enjoy your weekend
deezie
Deezie,
I appreciate your support so much!
Rachel
Oh my golly, those are so cute! I need these. Putting this on my to-do list! Pinned
Cindy,
I really appreciate your comments. I’m so glad you like them.
Rachel
These are just so so cute! Thanks for sharing! I have a thing for birdhouses😁💕
Theresa,
I’m so glad you like them. Thanks for your sweet comments.
Rachel
Love the rustic charm of your birdhouses, Rachel, and that you were able to recycle the offcuts.
Marie,
It’s my favorite thing to do. I love trash to treasure DIY.
Thank you so much for commenting.
Rachel
What a great idea using leftovers to creative these awesome birdhouses for decor ~ I love the rustic look!
Allyson,
I am so glad you like them. Thank you for stopping by.
Rachel
So cute–and I love that you just used scraps!
Marilyn,
I really appreciate your comments. Thanks so much for taking the time to comment.
Rachle
Those are PRECIOUS! I am new to your blog, so I can’t wait to go back and catch up. I can tell you have a lot of energy and inspiration. Thanks so much.
Miche,
Thank you so much for these sweet comments. I appreciate you for stopping by.
Rachel
Super cute! W love them. Hugs to you.
Renae,
I’m so glad you liked these.
I love how it turned out! So fun!
Stacy,
I really appreciate this.
Love them, great job
Debbie,
I’m so glad you like them.
These are so cute!!
Jennifer,
I’m glad you like them.
I love your “trash to treasure” rustic birdhouse! It’s so cute! Thanks for another great DIY, Rachel! I am amazed at all the wonderful DIY’s you find for us! Enjoy your day — and watching your birds take up residence in their cute new home you made for them!
Mary-Ann,
Thank you so much. I’m glad you like these fun FREE Birdhouses.
I am thinking. We live in The Fairways subdivision on a golf course. A tee for the perch, but stuck for ideas after that. We have lots of used golf balls, but not sure how to incorporate them into the bird house or what else to use. Maybe some old gloves somehow.
We live on Western Pines Dr., so I might use pinecone scales like cedar shakes.
I have used champagne corks for cabinet drawer pulls and knobs if this helps anyone.
Suzie,
I love the idea of a golf theme birdhouse. You could use golf balls to cover the roof by cutting them in half (maybe ? ) I’ve never tried that so not sure how difficult that would be. The perch using a golf tee is good. Cover the house with faux grass like a golf course. Add a flag. I know you will figure it out. Thanks for sharing and have a great day.