An “Old School” Free Crochet Scarf Pattern: Simple, Timeless Instructions
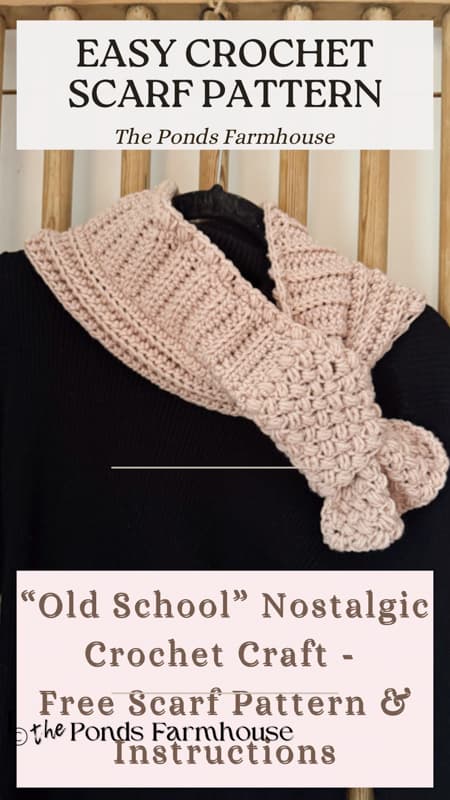
Are you ready to make a stylish, handmade accessory? Today’s addition to my “Old School” Nostalgic Craft Series is a free crochet scarf pattern that is as timeless as it is simple.
This project is perfect for beginners. With just one skein of yarn and your favorite crochet hook, you can create this cozy scarf in any color you choose. It’s a fast, fun project that looks much more complex than it actually is!
We are also tackling a new stitch this week to help you grow your crocheting skills one step at a time. So, pick out your favorite yarn, grab your hook, and let’s get started!
(Posts on The Ponds Farmhouse may contain affiliate links. As an Amazon Associate, I earn from qualifying purchases. See the full disclosure details here.)
Supply List
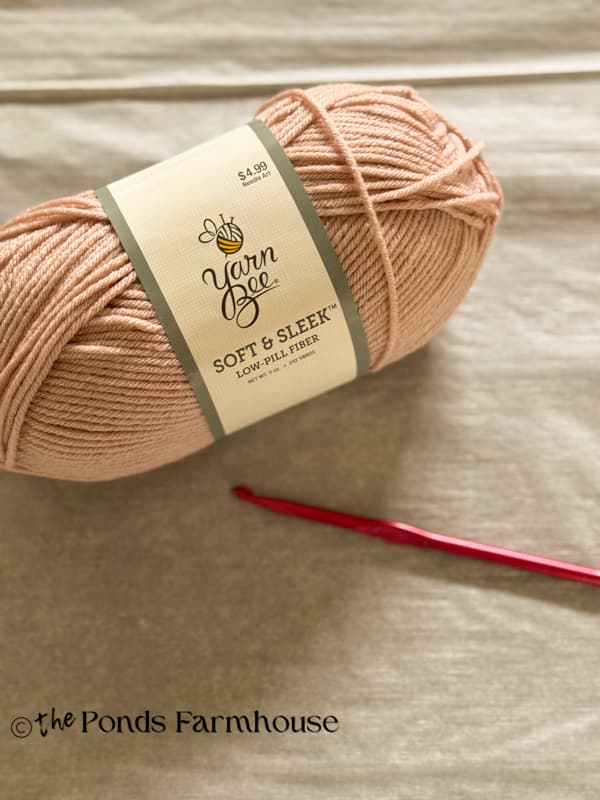
- 6 MM Crochet Hook
- 232 Yards Medium Weight Yarn – I used Yarn Bee Soft & Sleek – Blush
- Embroidery Needle
- Needle Threader
Crochet Stitch Guide
- Ch – Chain Stitch
- Sl-st – Slip Stitch
- Sc – single crochet
- Hdc – half double crochet
- Hdc blo – half double crochet back loop only – (Instructions included)
- Bs – Bean Stitch (Instructions included)
Classic Crochet Scarf Pattern
I recently shared this scarf on my Healing Journal and received several requests for the pattern. Here is the original version of this pattern. It looks complicated, but it is actually very easy to make. I’ve made some changes to the pattern by adding a sleeve slip so you don’t have to tie it around your neck. I will explain in detail, and I’m sharing a video that will also help to explain the stitches. You can see the video and the quick steps list at the end of the post.
Step 1 – How To Create the First Side of the Scarf
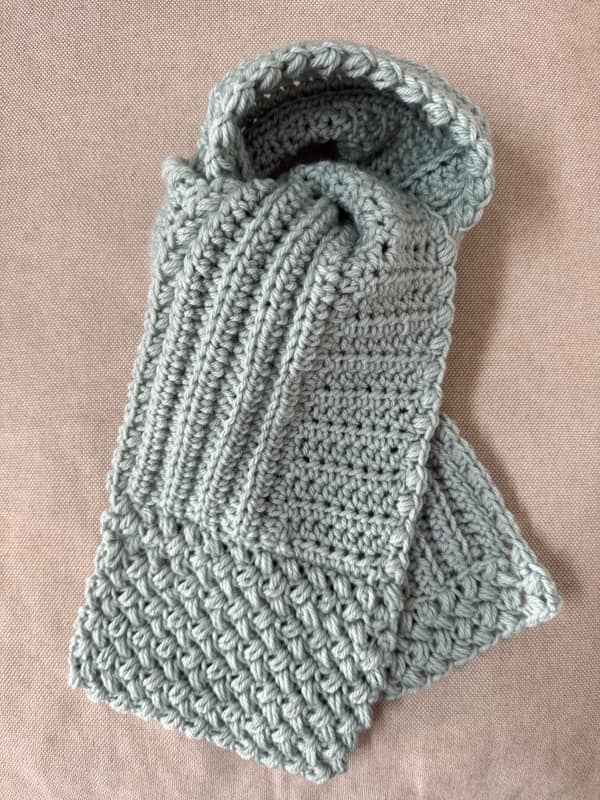
The pattern for this scarf is divided into three sections, but all the pieces are connected, and it’s much easier than it looks. Let’s take it step-by-step.
- Chain 10 – turn
- Single Crochet in the second chain from the hook across (9 stitches)
- Ch 1 turn.
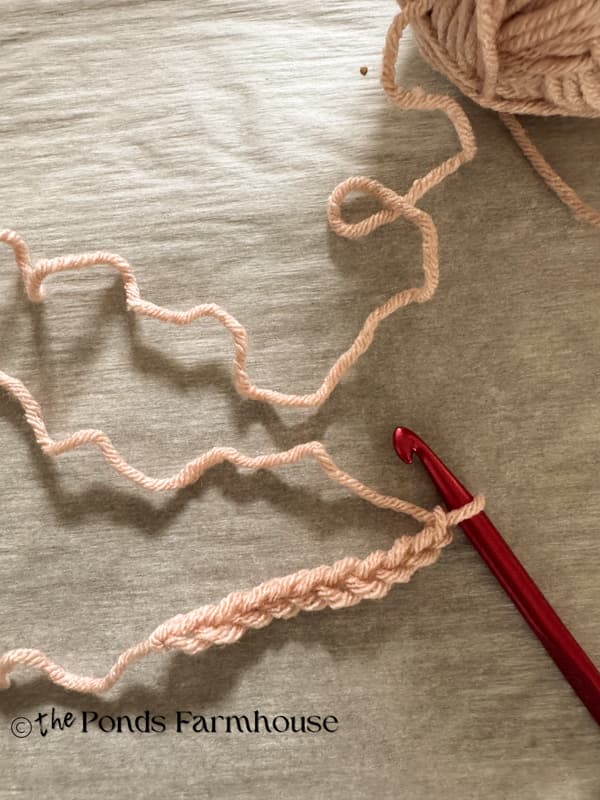
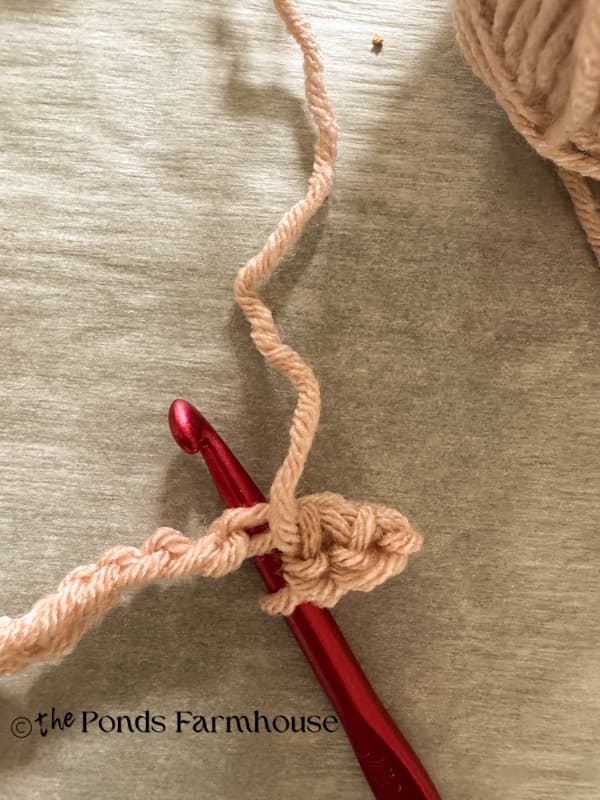
- Half Double Crochet in Back Loop Only – chain 1 – turn (9 stitches). See HDC BLO stitch reminder below.
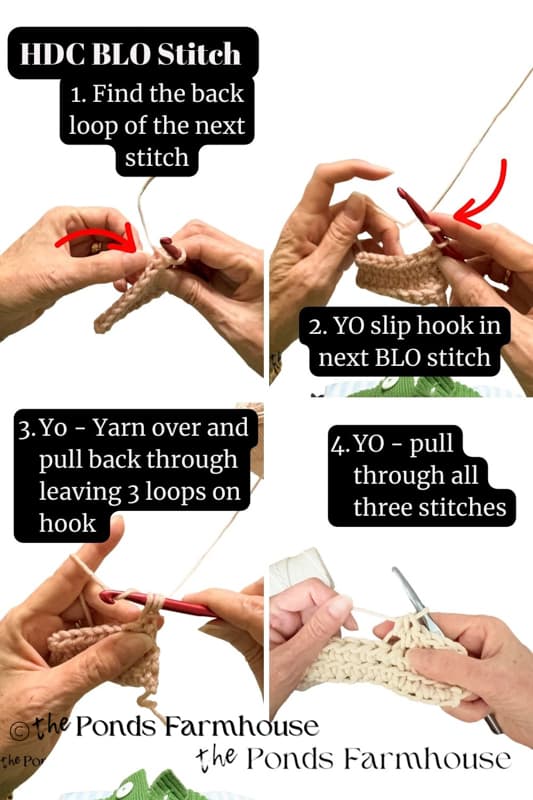
Continue to repeat (Half Double Crochet in Back Loop Only – chain 1 – turn (9 stitches)) until you have 52 rows.
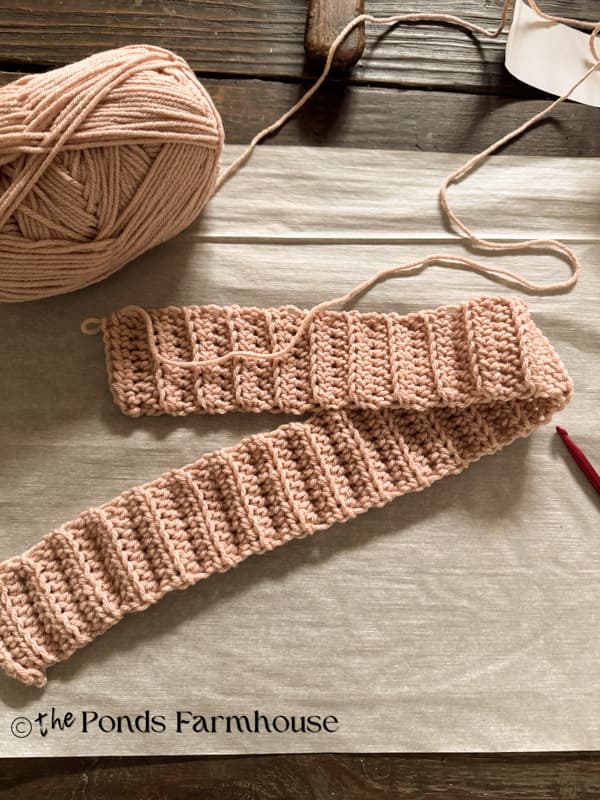
Step 2 – Add Vertical Rows of Scarf
Before adding the vertical rows, you will need to single crochet along the rough edge of the scarf. The stitches here are less clear to identify, but the key is adding enough stitches to keep the lines straight. Just keep an eye on the side as you go. If you see that it’s too tight or starting to bow, remove stitches and adjust.
I added 3 single crochets to every two rows of HDC. See images below.
- At the end of row 52, chain 1 and begin around the corner
- Add 3 sc in the side of every 2 hdc stitches. Approximately 78 stitches along the side.
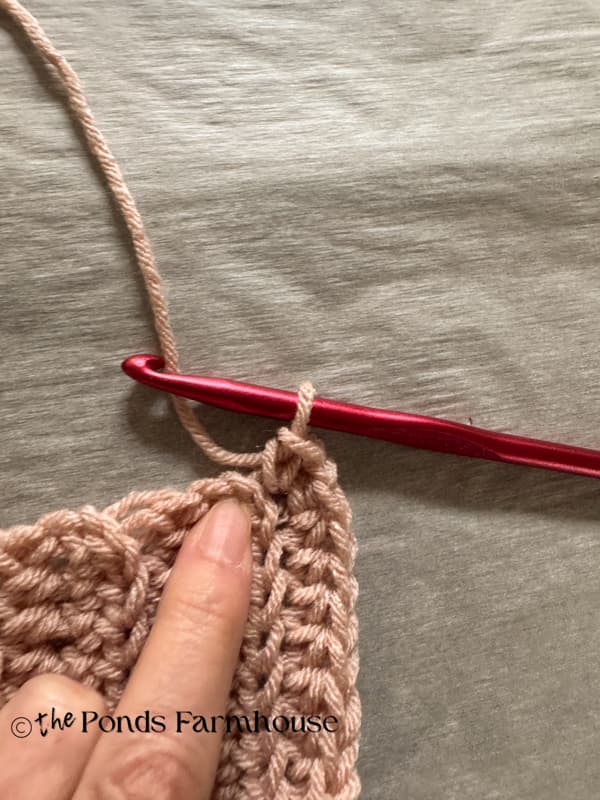
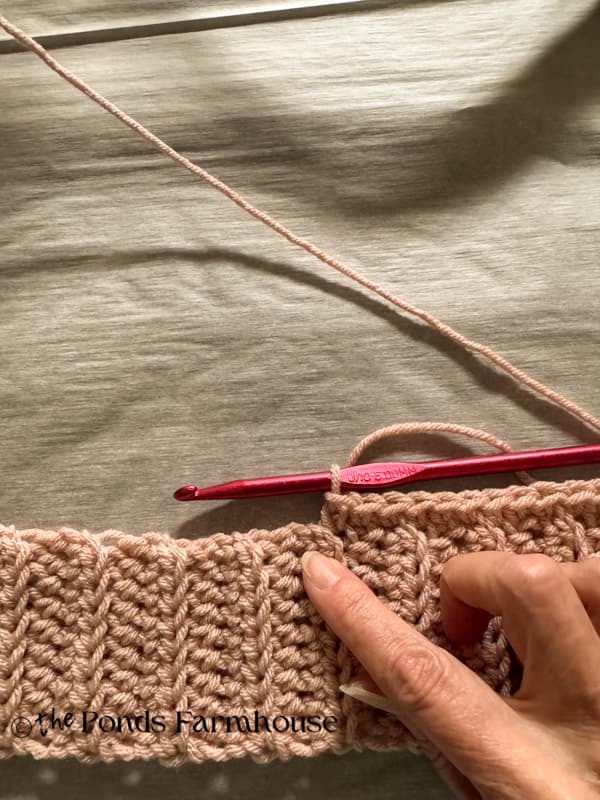
- At the end of the SC row, chain 1 and turn.
- 1 – HDC BLO in each stitch across. ch 1 – turn.
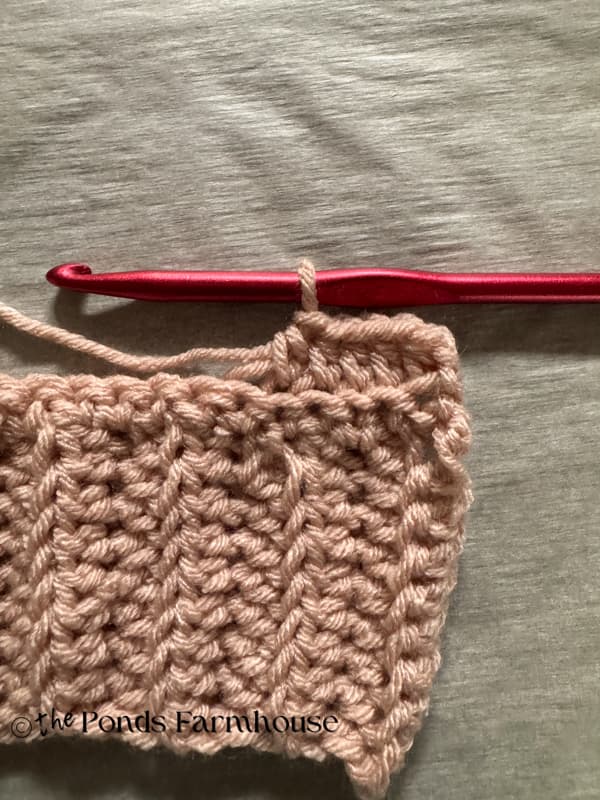
- Repeat (1 – HDC BLO in each stitch across. ch 1 – turn.) until you have 6 rows.
- At the end of row 6 – don’t turn.
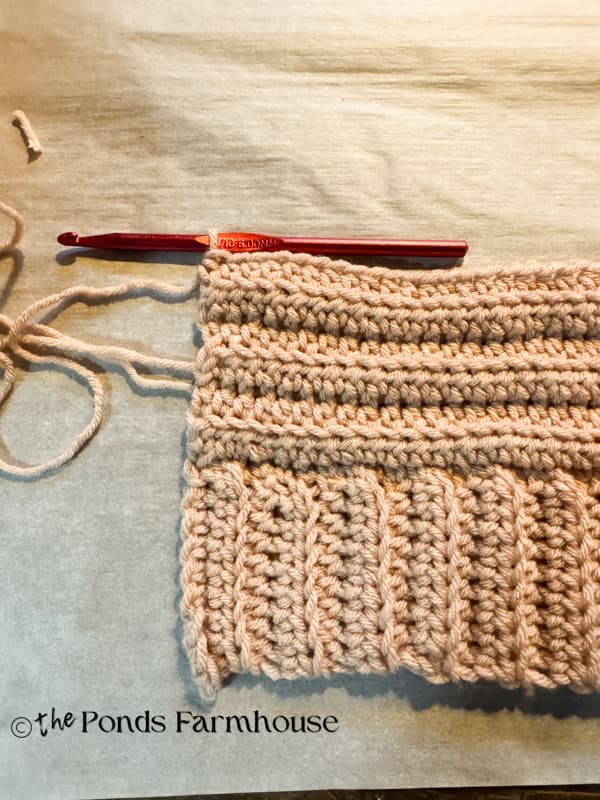
Step 3 – Trim Rough Edges of Scarf
Now, I am introducing the final trim ideas for the scarf. If you plan to add the bean stitch, you will want to finish the rough edges with a single crochet. Keep in mind that, as you read the instructions, you are only going around the outside edges of the scarf.
- When you end the last HDC row, chain one to turn the corner to the short end of the scarf. This side will be divided with 1/2 rough side hdc and the single stitches on the half.
- Add 3 single crochets to the rough side of every 2 hdc and the 1 single crochet when you reach the first section of the scarf.
- At the end of this side, chain one and continue around to the other long side of the scarf.
- You will repeat the process of adding 3 single crochets into each side of every 2 hdc. This should be approximately 78 single crochets like the other side. At the end, chain 1 and turn.
- Finally, single crochet across the last short end of the scarf. Don’t turn.
- You now have no rough edges.
Step 4 – Bean Stitch
- At the end of the sc row, chain 2 and turn.
- 1 HDC in the same stitch as the chain.
- 1 Bean Stitch in the next stitch.
- Skip one stitch
- 1 Bean Stitch – sk st 1 bean stitch across the long length of the scarf.
- Here is a step-by-step review of the bean stitch.
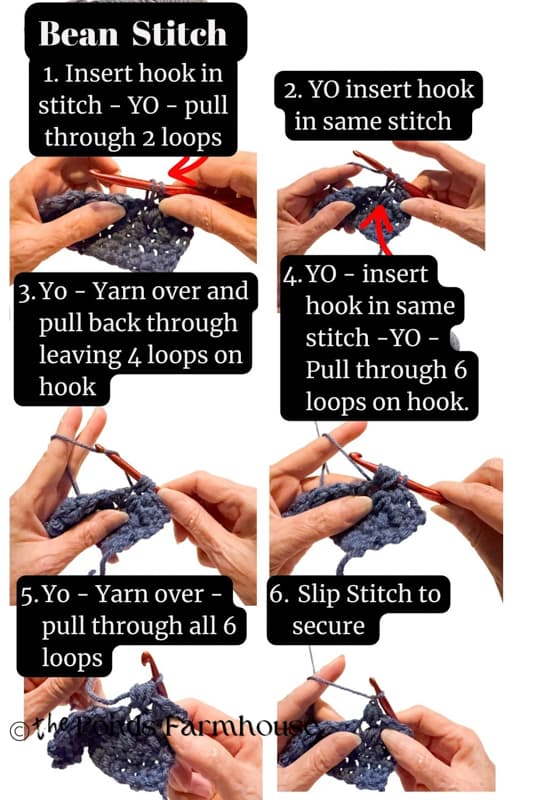
- At the end of the row, slip stitch the last bean – chain 2 – turn
- You are at the short end of the scarf.
- Begin as you did above.
- 1 HDC in the same stitch as the chain.
- Bean Stitch in next st.
- Skip 1 st.
- Bean stitch in next st.
- Repeat in every other st across.
- At the end and after the last bean stitch, sl st. Chain 2 and turn
- Begin with another HDC in the chain stitch.
- Look for the open loop of the previous bean stitch and insert the hook to form the next bean stitch.
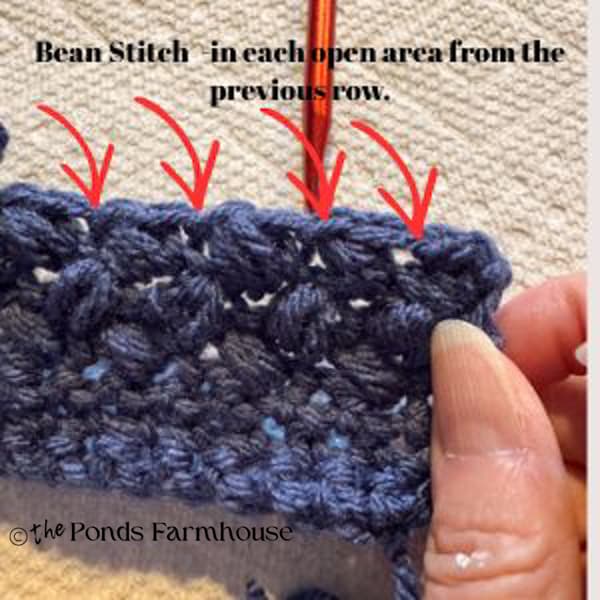
- Continue across, adding another bean stitch into the top of the previous row.
- Repeat until you have 11 rows of bean stitches. Each row begins with 1 HDC and ends with a slip stitch.
When you get to the end of the 11th row- don’t turn. You are circling the scarf with Bean Stitches.
- Chain 2
- HD2 in chain stitch
- Bean St. in next st.
- skip st.
- bean st.
- skip. st.
- And continue to repeat along the long side of the scarf.
- End with a slip stitch and continue around the last corner.
Time to add 6 rows of bean stitch to the last end of the scarf.
- At the end of the row, slip stitch the last bean – chain 2 – turn
- You are at the other short end of the scarf.
- Begin as you did above.
- 1 HDC in the same stitch as the chain.
- Bean Stitch in next st.
- Skip 1 st.
- Bean stitch in next st.
- Repeat in every other st across.
- At the end and after the last bean stitch, sl st. Chain 2 and turn
- Begin with another HDC in the chain stitch.
- Look for the open loop of the previous bean stitch and insert the hook to form the next bean stitch.
- Continue across, adding another bean stitch into the top of the previous row.
- Repeat until you have 6 rows of bean stitches. Each row begins with 1 HDC and ends with a slip stitch.
Step 5 – Finish Scarf
At the end of row 6, slip stitch and cut a length of yarn to run back into the pattern to secure.
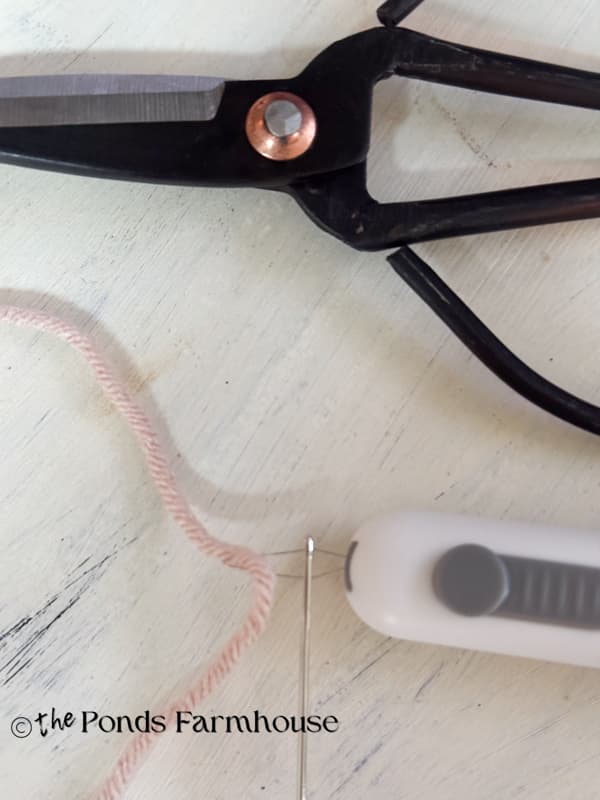
Use a needle threader to add yarn to an embroidery needle. Stitch the yarn back into the scarf until you feel it is secure.
Step 6 – Create Triangle Slip Sleeve (optional)
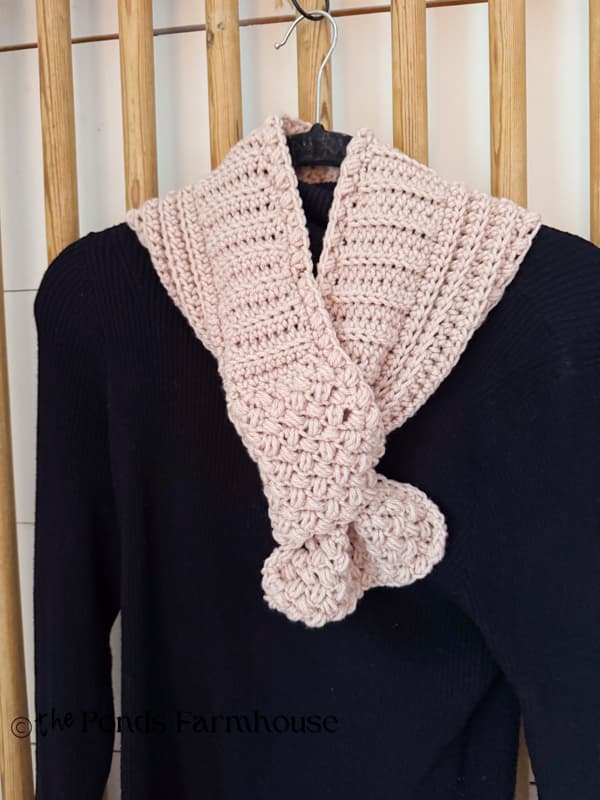
The finished scarf is adorable, but I decided I wanted a slip sleeve to secure it around my neck. I used the end with the 11 rows of bean stitches.
- Fold one corner of the scarf over to form a triangle, and secure the point at the center of the other side, as shown below.
- Use an embroidery needle with yarn and stitch the corner securely to the other side.
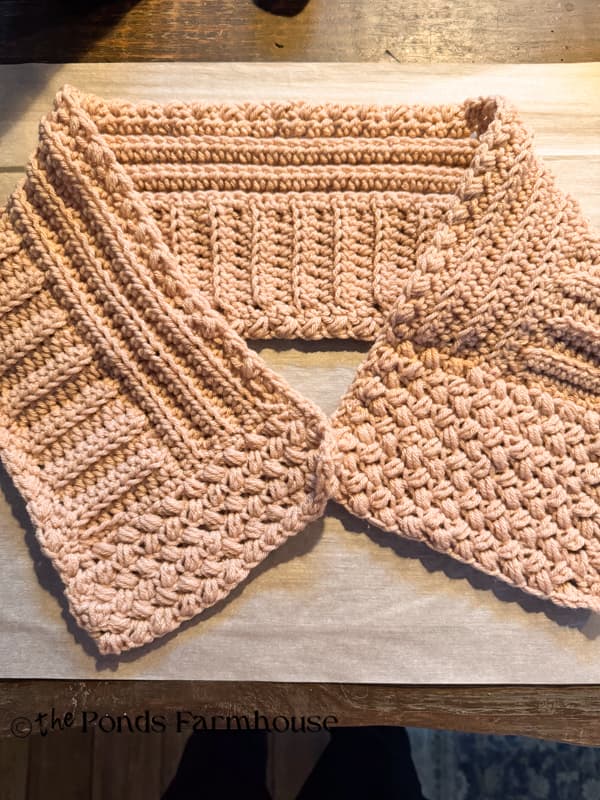
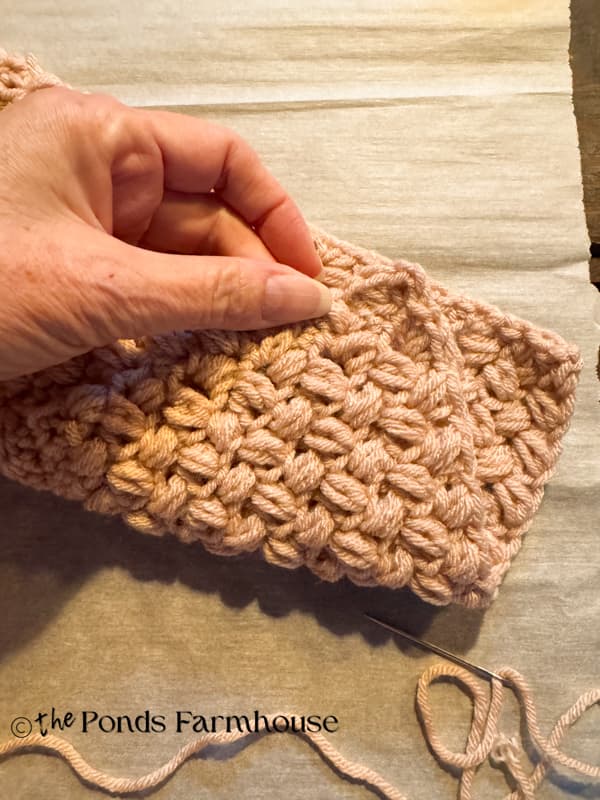
Pull the other end of the scarf through the sleeve and secure it around your neck. So comfortable and cute.
FAQ
Video
Quick Start Instructions:
“Old School” Crochet Scarf Pattern
- Add yarn to hook & chain 10 (turn)
- SC in 9 stitches – ch 1 – turn
- HDC BLO (9 stitches) ch 1 – turn
- Repeat step 3 until you have 52 rows (Don’t turn)
- Chain 1 and turn the corner SC on the rough edge of the scarf. 3 single crochet stitches in every two double crochets.
- Continue adding SC along the long side (approximately 78 stitches. (Doesn’t have to be exact.)
- At the end, chain 1 and continue adding SC along the short end of the scarf. Chain 2 – Turn
- Add HDC in the same stitch as the chain.
- Bean Stitch in the next stitch.
- Skip st and bean stitch in next stitch. At end of row, sl st. at corner. Chain two – turn
- Repeat Steps 8 -10 across the short end of the scarf a total of 11 rows.
- At the end of row 6 you should be at the other rough long side of the scarf. Chain 1
- Begin to sc along the rough edge with the same technique as Step. 5
- At the end of the long side. chain 2 – turn corner
- HDC in the same stitch as the chain.
- Bean stitch in the next stitch.
- Skip st and bean stitch in every other stitch across, just like steps 8-10 above. Until you have 6 rows.
- Secure with a slip stitch and cut yarn, leaving a good length to secure.
- Use a needle threader to add yarn length to embroider needle.
- Stitch the yarn back into the scarf to secure it, then cut away the excess yarn length.
- Use the area with 11 rows of bean stitch and fold into a triangle shape.
- Use a needle and yarn to attach the scarf’s pointed corner to the side of the middle bean stitch section.
- Run the other end of the scarf through the triangle to secure the scarf around your neck.
I hope you enjoyed today’s “old school” nostalgic craft, and I look forward to sharing my future adventures with you.