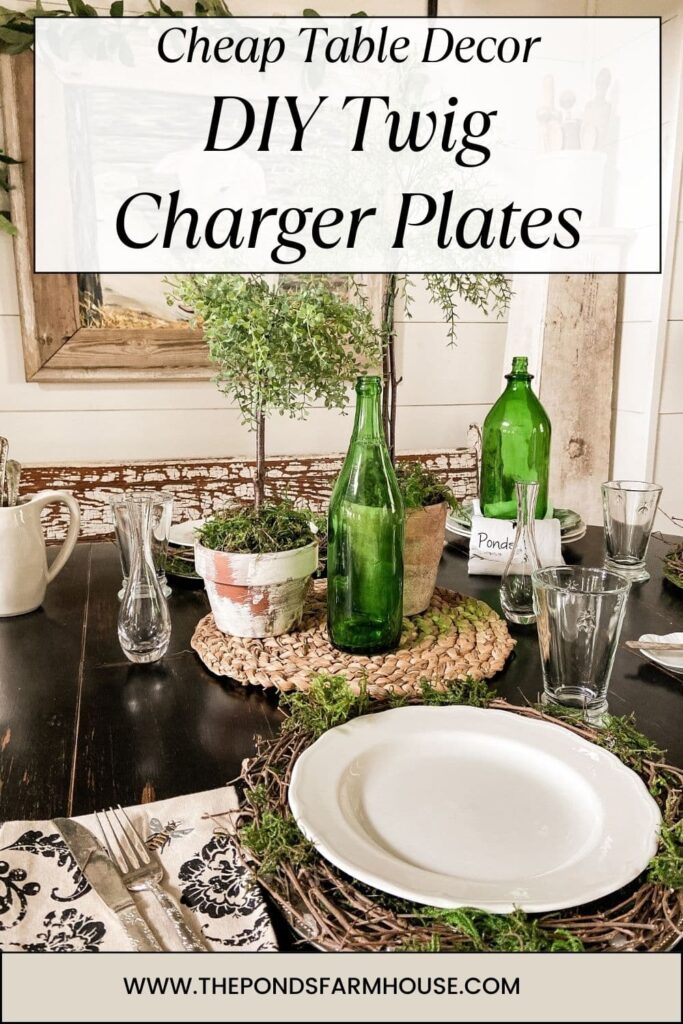
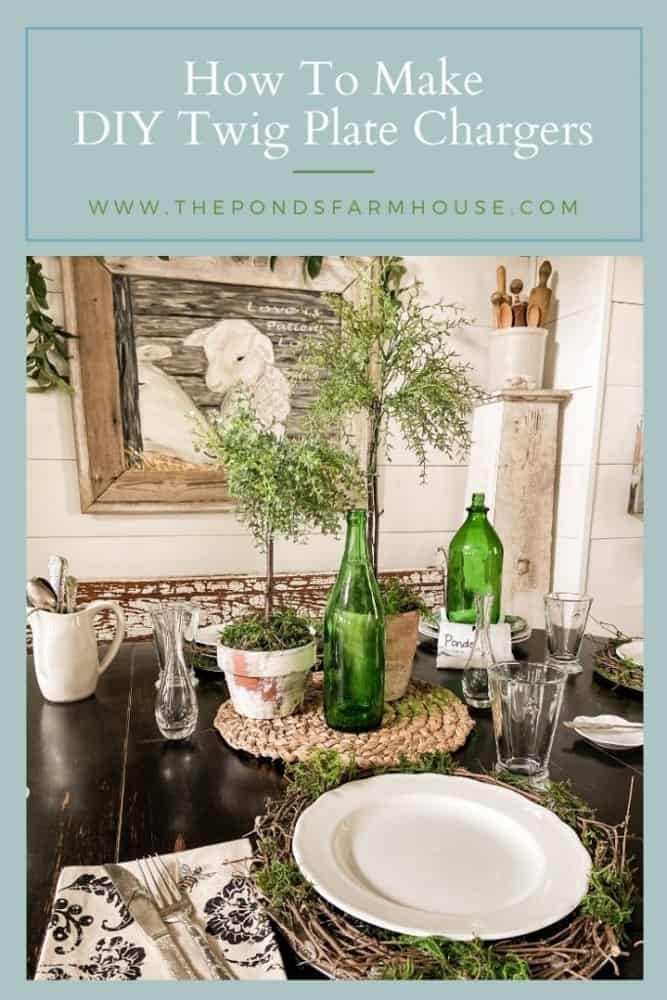
DIY Twig Plate Chargers
Looking for unique, budget-friendly table decor to create stylish tablescapes for Spring. You will love this DIY Twig Plate Chargers tutorial. I will show you step-by-step how to make twig plate chargers for so much less than the inspirational ones I found. I was inspired to make these cheap DIY charger plates after seeing some that were out of my budget. Let me show you what I did.

I’ve been planning my spring decor since I put away the last of my Christmas decorations. So, when I saw some twig placemats at Pier One Imports, I was like, “Oh my Gosh!”
“They are perfect!!“
“I’ve got to have them!”
Then I saw the price!
Yikes!!! Do you ever have sticker shock let down? Well, I certainly did! I couldn’t justify the expense of creating my table setting for spring.
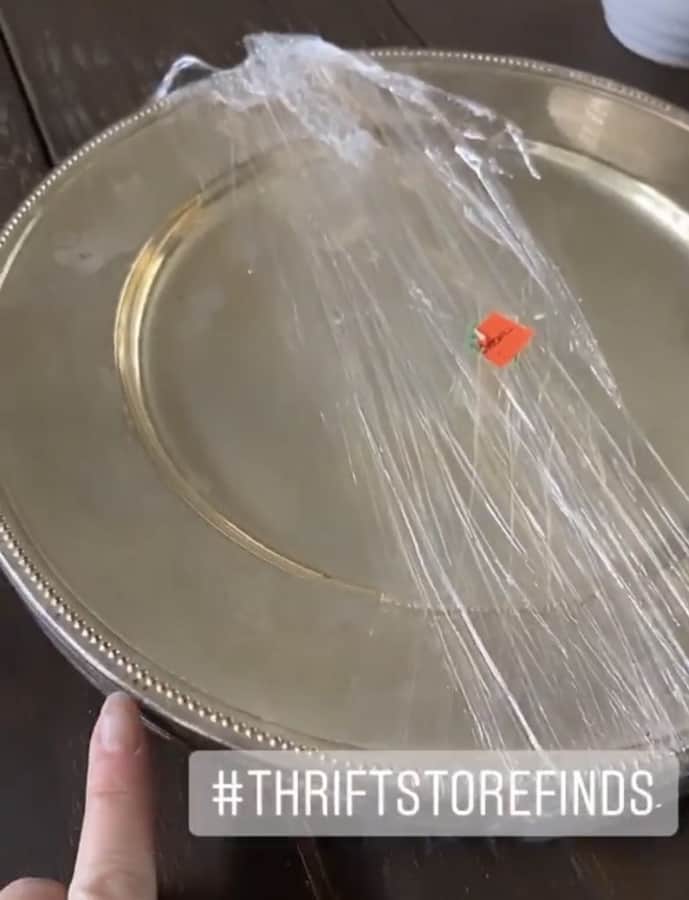
Then a light bulb went off! Do you remember my Top 10 Thrift Store Shopping Tips? The one about “be willing to sit on something until inspiration hits”?? Well, I remembered that I had purchased a set of six tarnished silver plate chargers for just $.99 a few months ago.
(Posts on The Ponds Farmhouse may contain affiliate links. As an Amazon Associate, I earn from qualifying purchases. See the full disclosure details here.)
First, I Need To Find Those Thrift Store Chargers
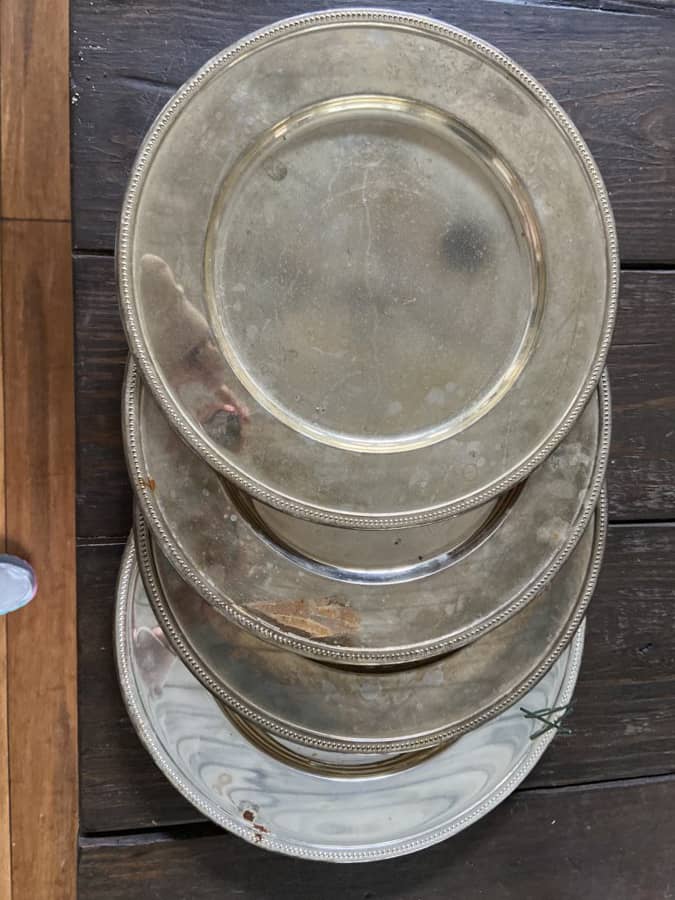
First, I had to find where I’d stored the chargers.
So then my idea began to form. Should I paint them?
I liked the vintage feel of the tarnish! I decided that might work for me.
Plus, one less step. Win-Win!
Gather Supplies for DIY Twig Plate Chargers
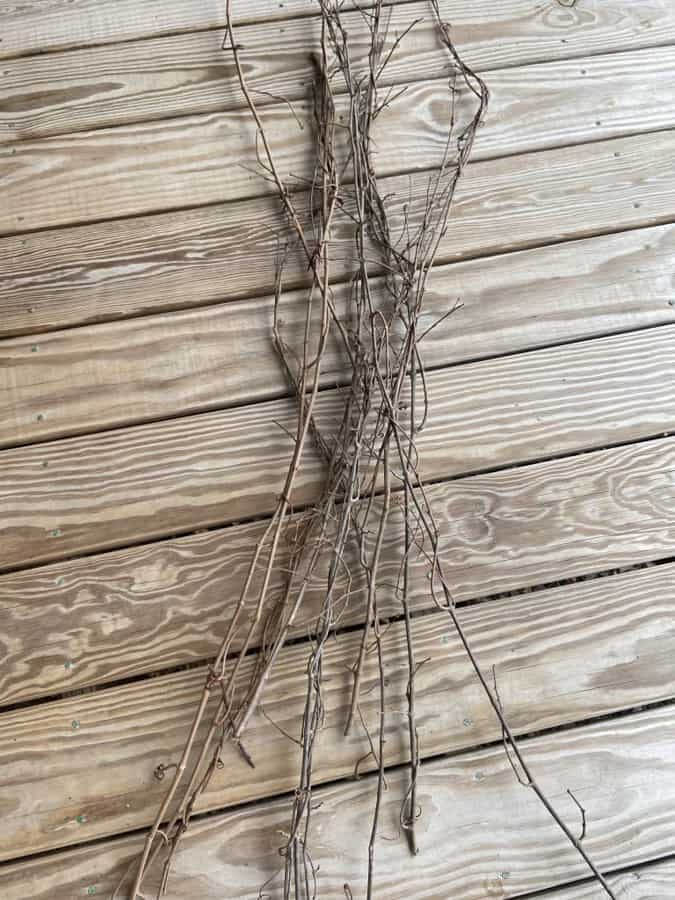
Next, I went into the woods and gathered some grapevine for the twig plate chargers.
We have an abundance growing wild around us. I just clipped some branches and pulled them from the trees.
After I got my supply home, I braided the branches until I had several good-sized pieces that were somewhat under control.
Insider Tip
You can use other twigs from your yard if you don’t have grapevine available. Just be sure they are not dead. You want them flexible enough to bend with the curve of the charger. You can also soak twigs and grapevine in water to make them more flexible.
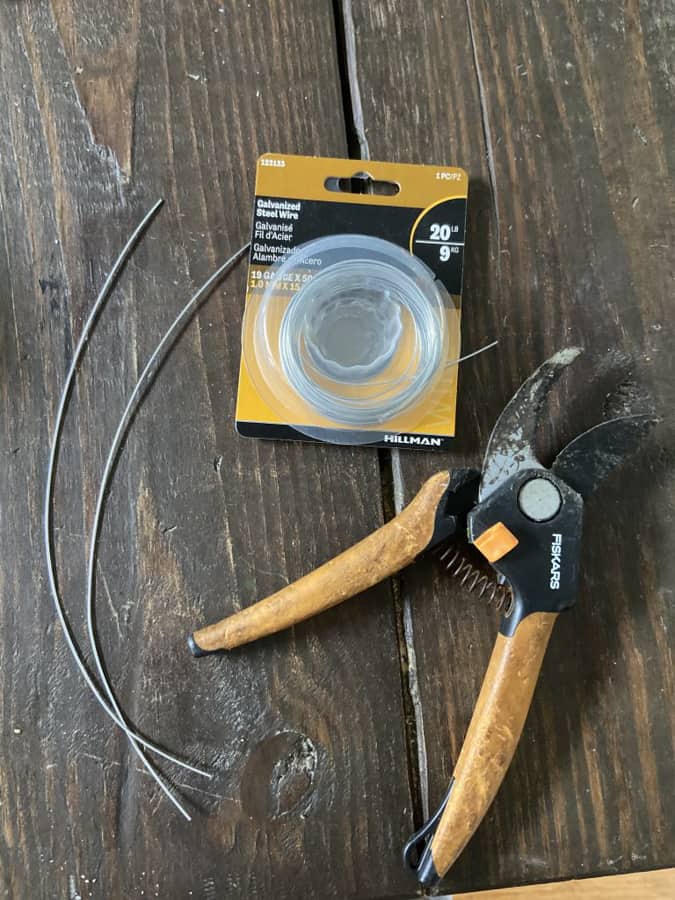
Additional Supplies
- light-weight flexible wire or floral wire
- preserved moss
- Hot Glue Gun
- Large Nail
- Hammer
- Wire Snips
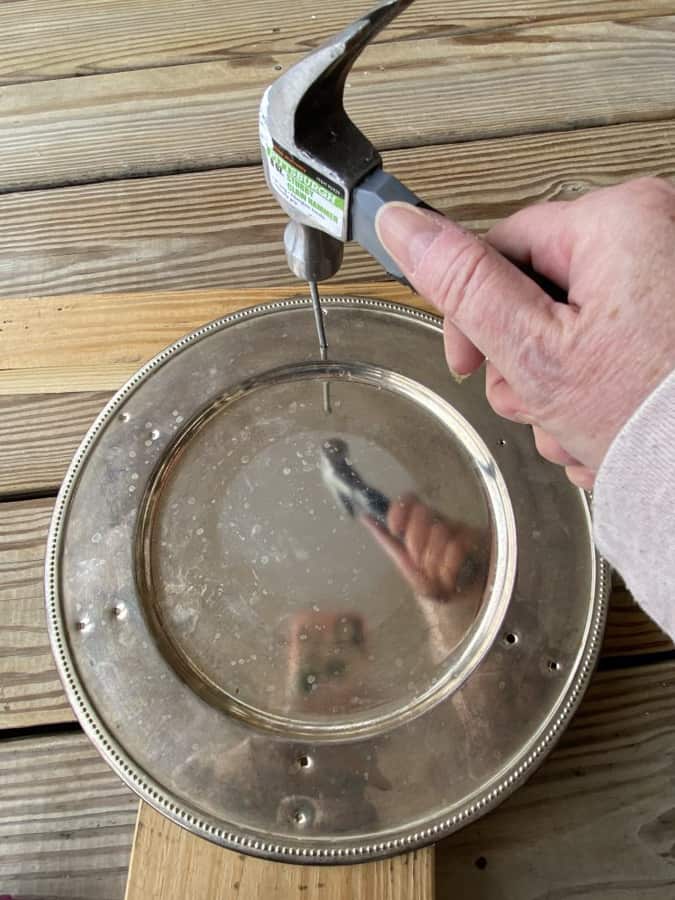
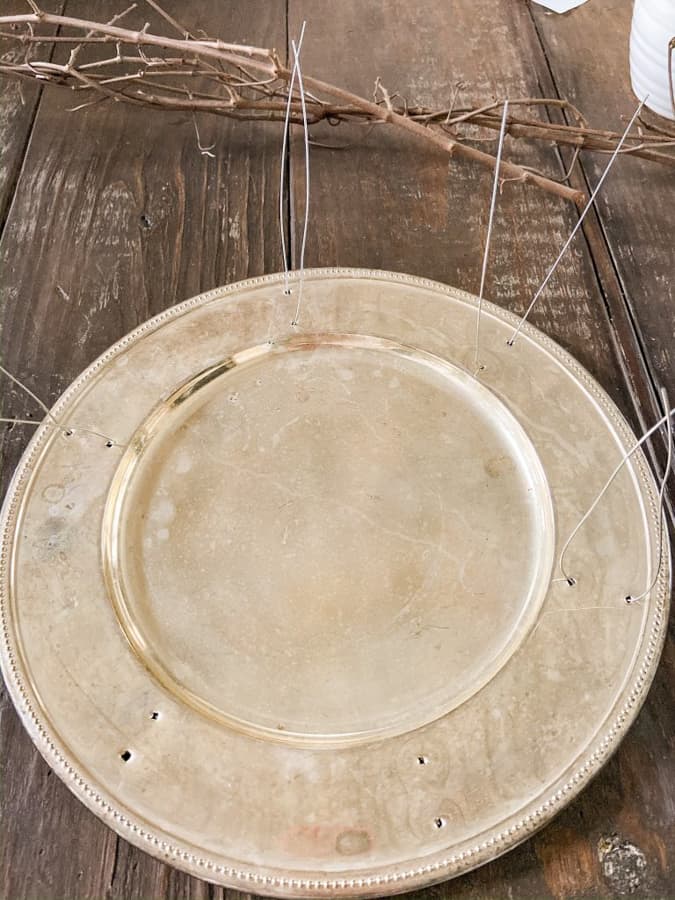
Prepare Chargers
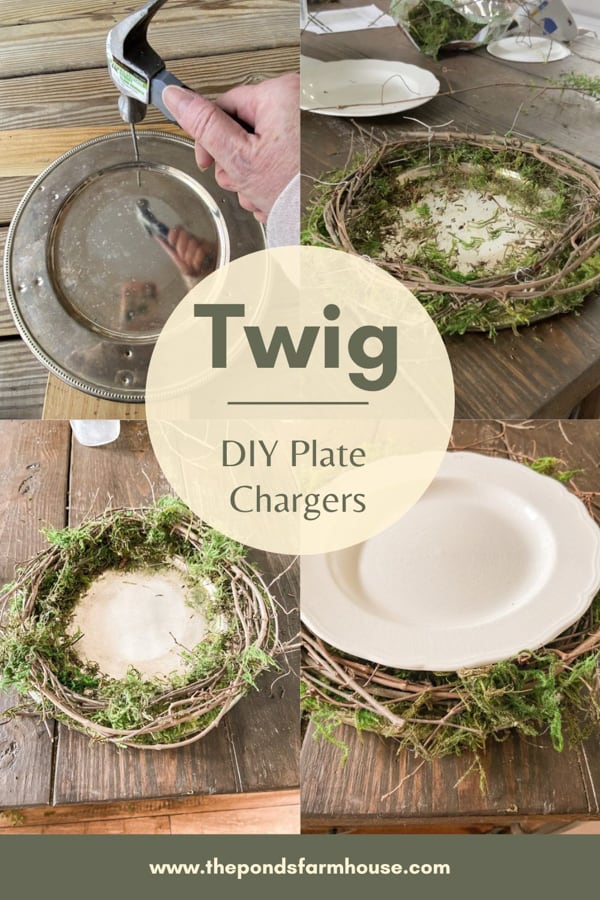
Begin by punching holes in the rim of the charger using a heavy-duty nail and hammer. You can see how the holes are spaced in the photo below. I punched 12 holes in each charger.
In addition, you will want to cut six pieces of wire approximately 10 inches long.
Then, run the wire from the back side of the chargers as shown here. You need the wire spaced evenly because you will secure the grapevine with the wire.
Add Moss to the Plate Chargers
Next, add moss to the charger’s edges by applying a bead of hot glue along the edge and gently pressing the moss into place.
Yikes!!! Watch out for those burnt fingers.
Note: I now use these finger protectors.
Also, don’t get ahead of yourself. Work in small sections at a time because the hot glue dries quickly.
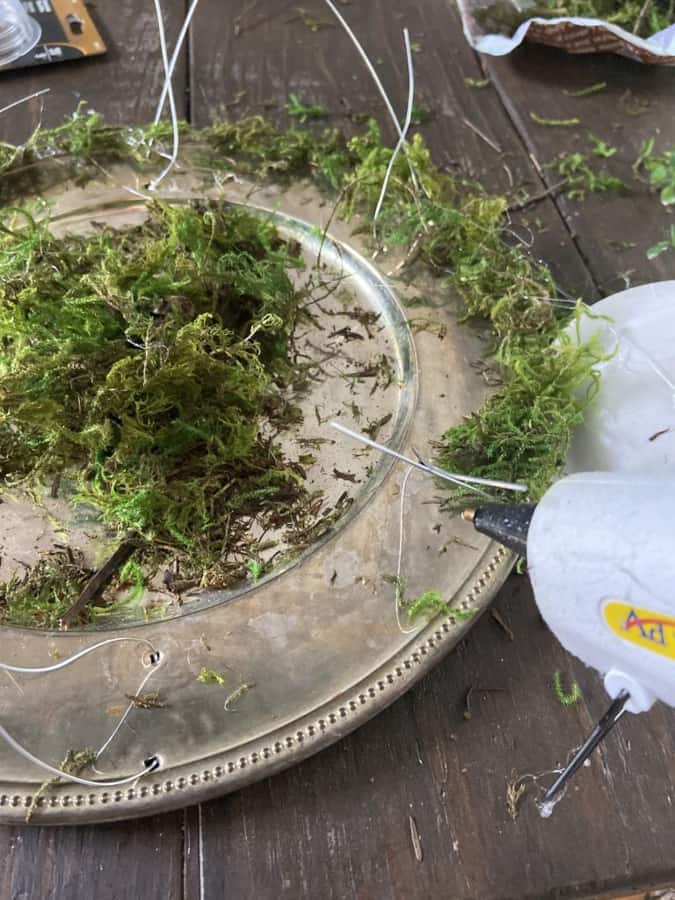
I repeated this process to the inside rim as well.
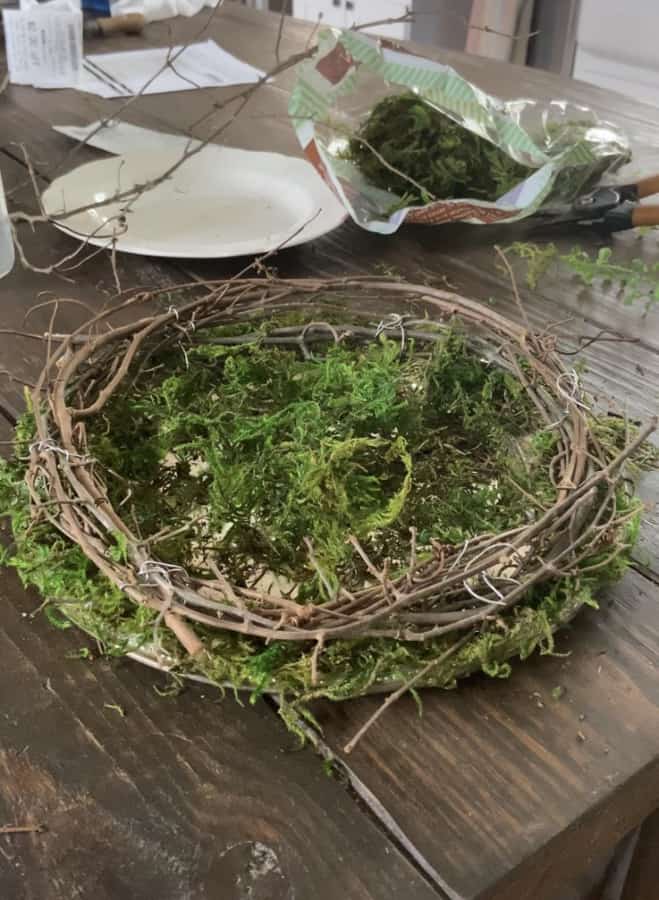
Attach Grapevine
After applying the moss, I wrapped the grapevine around the top and secured it by twisting the wires around it.

Once the grapevine is attached, go back and add smaller pieces to fill in and make sure the grapevine appears balanced. Then, cut off any extra wire and bend the exposed ends into the grapevine.
In addition, cut off any twigs running to the center of the charger because they will prevent the plate from sitting on the charger evenly.
Finally, remove any unsightly areas with moss, using hot glue to attach them.
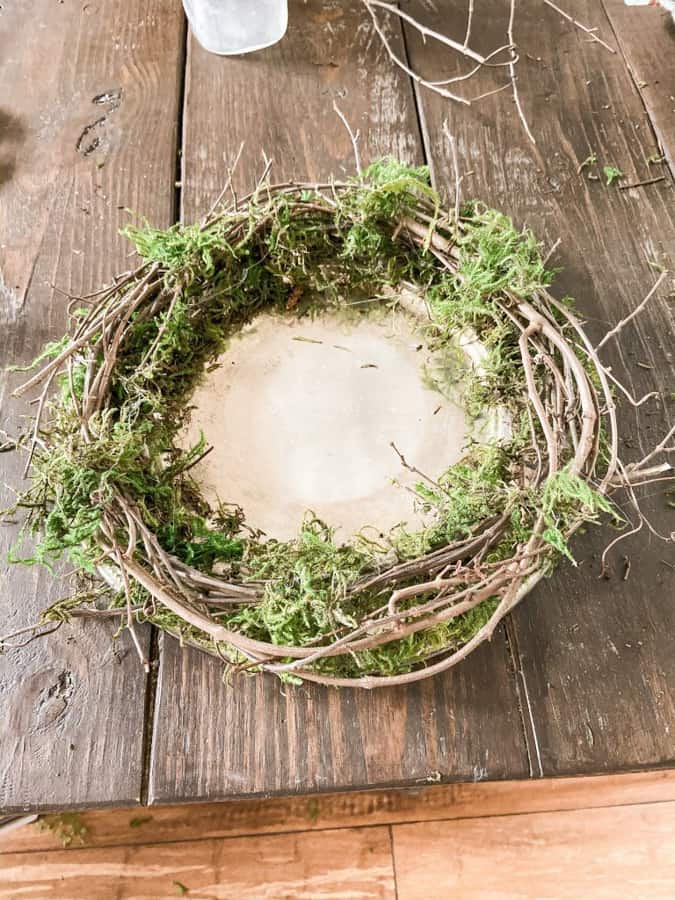
Continue to fill in with the moss until you are satisfied with the appearance.
Make sure to cover all the galvanized wire with moss.
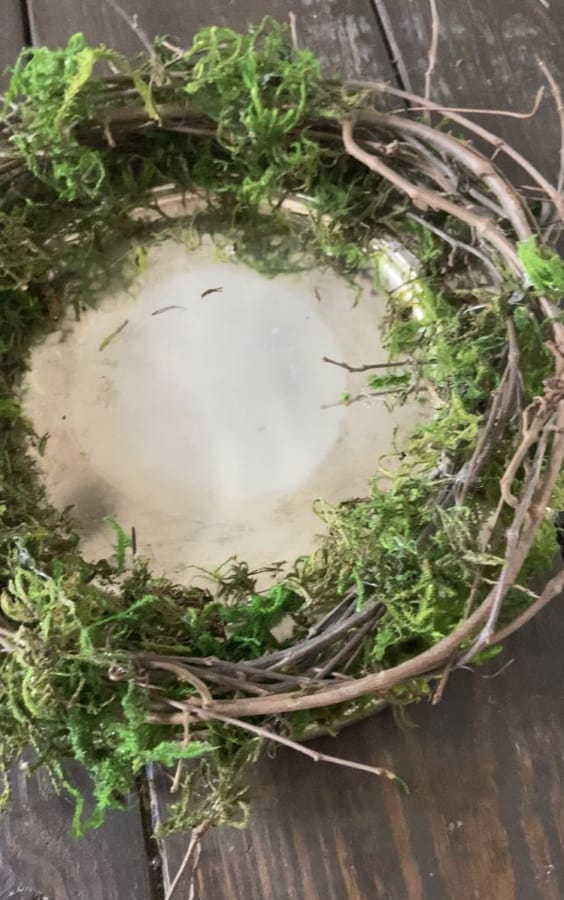
Keep adding vine and moss until you get the desired thickness!
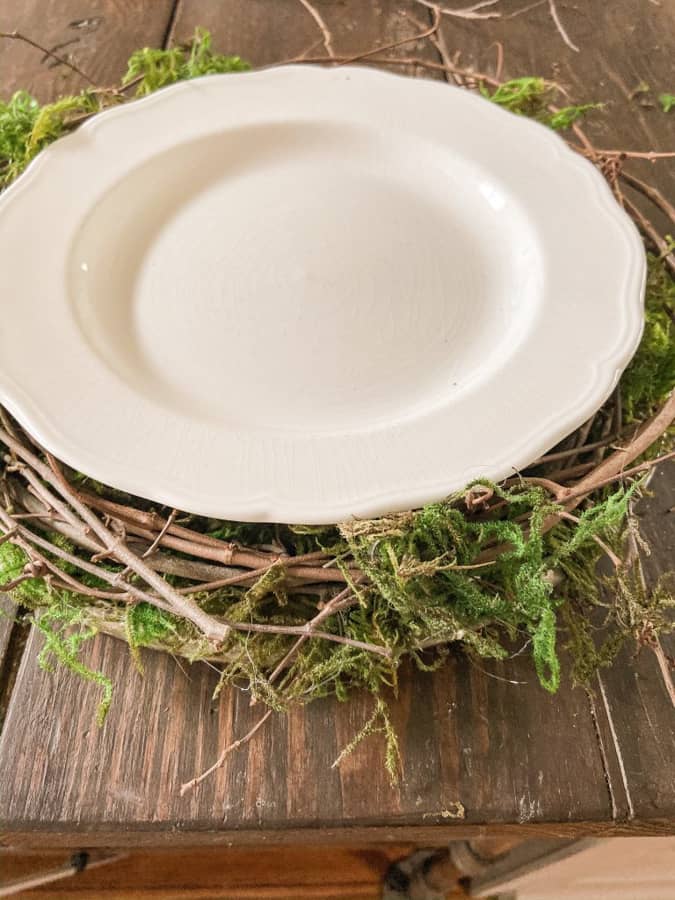
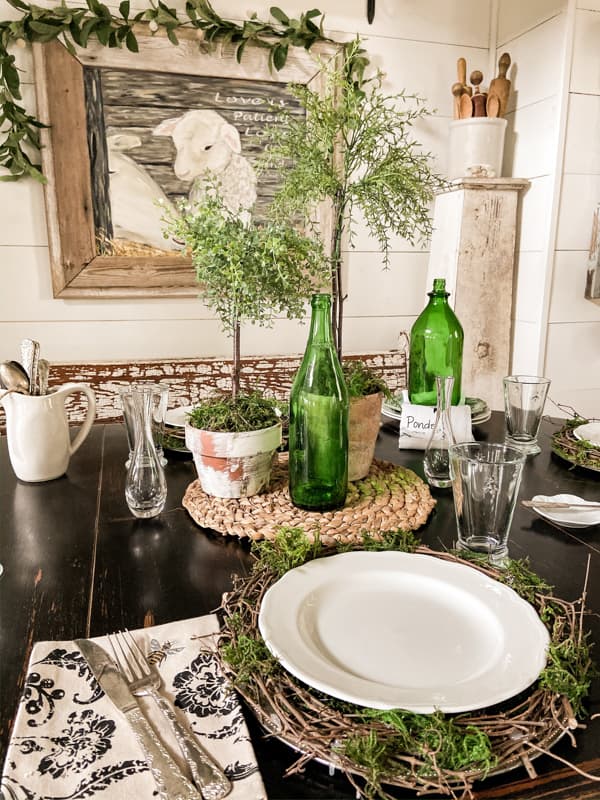
I love how it looks with just a simple white ironstone plate!
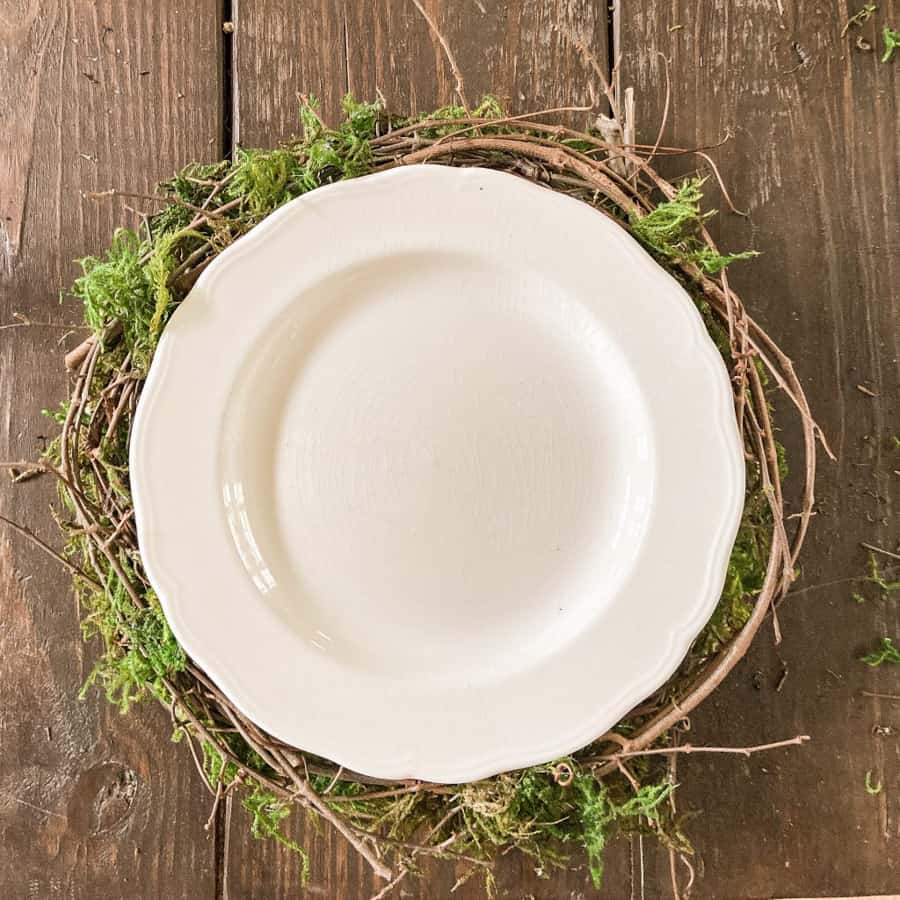
The vine and moss add so much texture, making your table look beautiful.
Here is the Pier One version that started this whole thing.
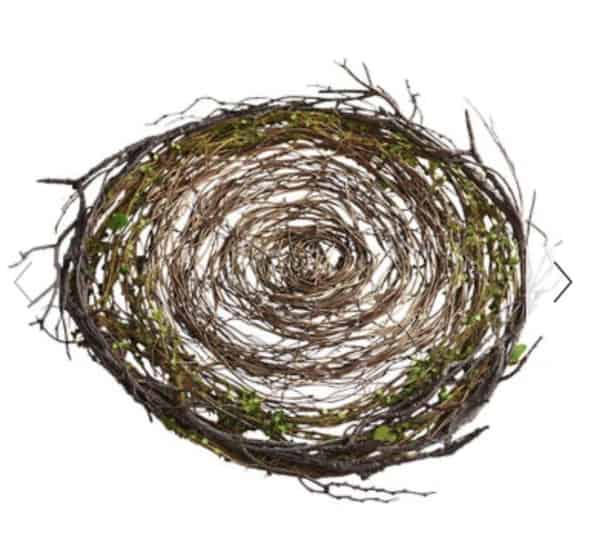
This one was $19.95, and I completed four for less than $11.00. I love the hint of tarnished silver peeking through the grapevine. It gives me that Trash to Treasure feel that I adore.
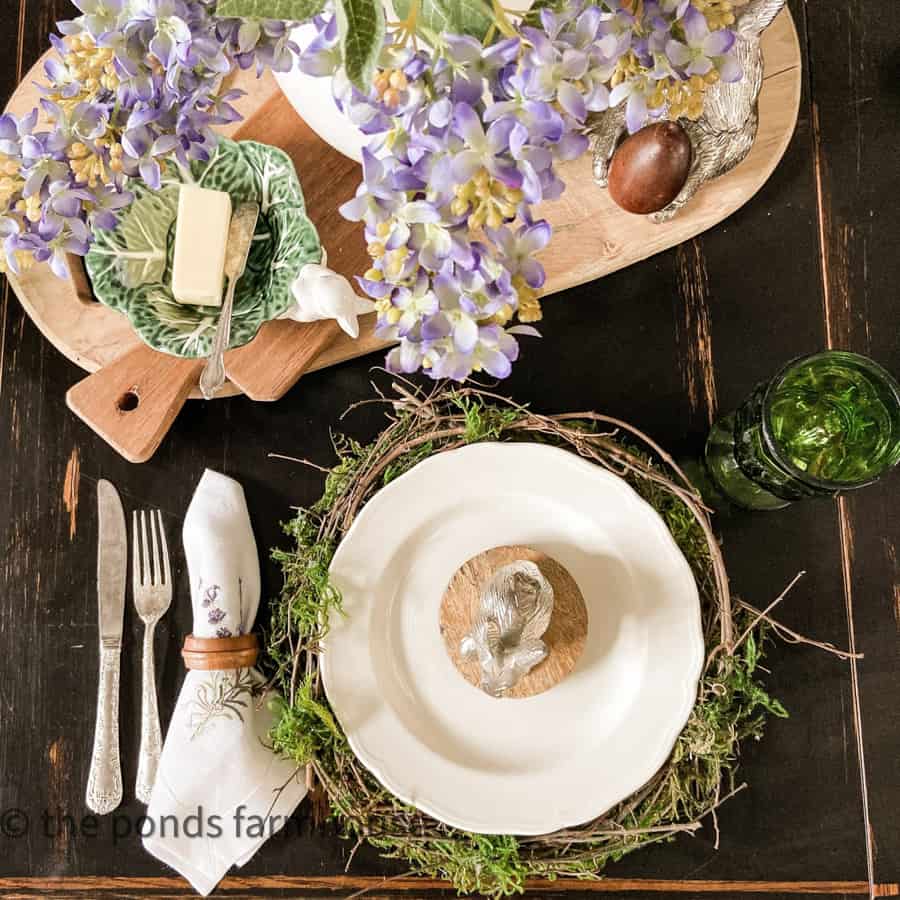
See how cute these look on my Spring Easter Tablescape & Bunny Blog Hop!
I recently used these DIY plate chargers on an Outdoor Dining Table. I love how perfectly they held up for another season.
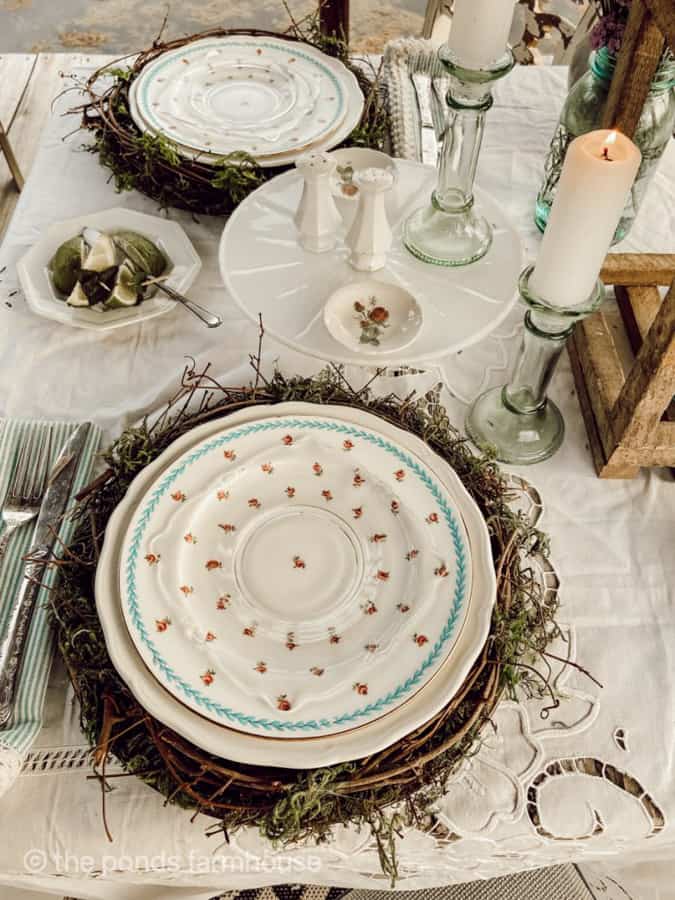
See this outdoor dinner table setting here.
FAQ
Related Articles
You will also love how to make Moss Shamrock Placemats for St. Paddy’s Day and these Easy Twig Napkin Rings. Check out this other creative charge idea that is inexpensive & free – DIY Packing Material Plate Chargers
Please share your opinions with me. I love hearing from you. If you have questions, please ask me here.
Have the Best Day!

Pin It To Remember It
Did you find some great ideas you’d like to save for future reference? Hover over the images you’d like to save and pin to your favorite Pinterest Boards when you see the PIN button.

Rachel*** I love these. I am going to make some now that I have seen how it is done. I did see Charges at Dollar tree that I think I will go and pick up and paint. Did you buy the moss or use from what you had in the woods? gosh these are gorgeous. Your creativity is amazing*
deezie
For these I used purchased moss. I felt I needed a stable and dry product since I was using on my dining table. I supplied a link in the instructions! Just click on the highlight Moss! Good luck.
I love yours so much more! Could also use these at Christmas time. I love your creativity.
Thank you so much for stopping by. I appreciate your input!
Love these❤️ I just purchased the ones @ pier 1 when they were on sale but they are too big especially for my little farmhouse table maybe I can try this
Yes, you can use any size charger as your base. Good luck and thanks for stopping by.
Love this project Rachel and excited to feature your post this week on Tuesday Turn About. Thank you for sharing it with us!
Oh thank you so much. I really appreciate this.
Rachel.
Love these! Pinned!
Lora, I really appreciate your input!
Rachel
Why damage a perfectly good metal plate? You could find some plastic ones and punch or drill holes in them.
Also, use floral wire to attach the grapevines.
Susan,
These were cheaper than plastic and were already damaged. That’s why they were only 99 cents. The light weight wire was what I had on hand but I agree floral wire would work too. Your tips are appreciated.
Great creative project! Great work!
Claudia,
I really appreciate this. Thanks for stopping by.
Do you sell these?
Jenelle,
I do not. But thanks for asking.
I love this idea so much. Perfect for spring. I’m going to have to try this. Hugs to you.
Renae,
I made those a few years ago and still use them in the Spring.
These twig chargers you made look so nice.
Angie,
They have held up so well. Thanks so much.
Thanks so much.
Rachel, I bought six of those placemats on clearance at Pier One and so wished I a bought more of them! When styling a table with them on the blog, I often get asked where someone can get them. I am offering them a link to your page here so they can make them for themselves! Thanks for sharing!
Chloe,
Oh that is so great. I really appreciate this.
Absolutely stunning, my friend. I would love to share this on my newsletter. HUgs to you.
Renae,
I appreciate this. Thanks for sharing.
Love, love, love these! So cute for vignettes elsewhere in the house
when not in use for dining!
Paula,
You are right. I need to keep them out more. Thanks for sharing your idea.
Good Morning them are beautiful I wish I knew you when I lived were grape vines grown….I have thought of a lot of things,when my girls was growing up not having stores to run to to get the new and latest we had to think and DIY…..
But my friend you have me thinking you could not have thought of that…..lol….lol
Thank You for sharing your thinking and DIYS
Eva,
Thank you! I grew up making my clothing and decor out of necessity so I know what you mean. Thank you for your encouragement.
Gorgeous! I love these. I would love to share these in my newsletter this week.
Renae,
I really appreciate you for sharing.
You are amazing. I made the cabbages from the coffee filters they came out great. you inspire me I’m now looking for charger plates to try these twig plates.
Maria,
Oh I’m so glad they turned out great. I’m glad you are enjoying my ideas. Send me a photo of your projects and I’ll share them on my DRA on Sundays. Have a blessed week.