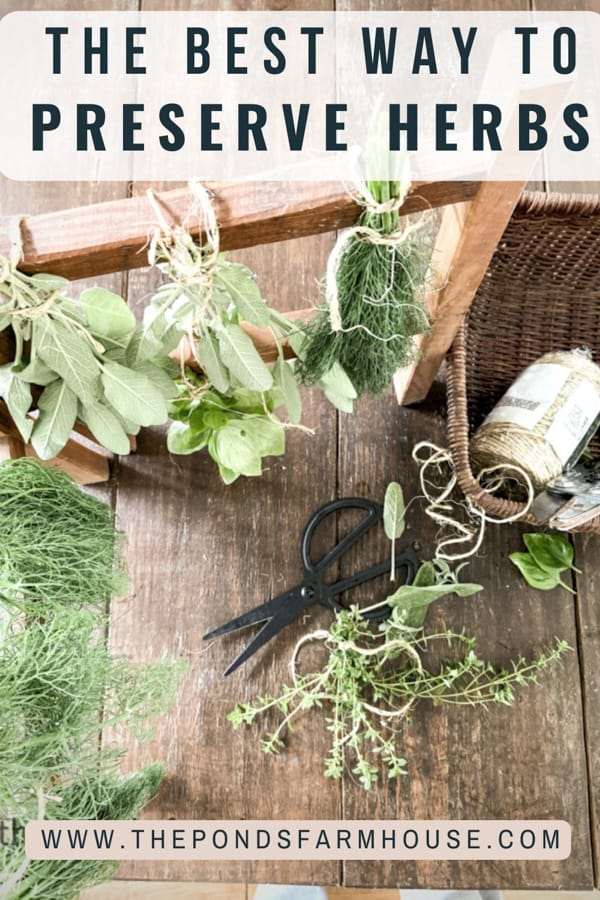
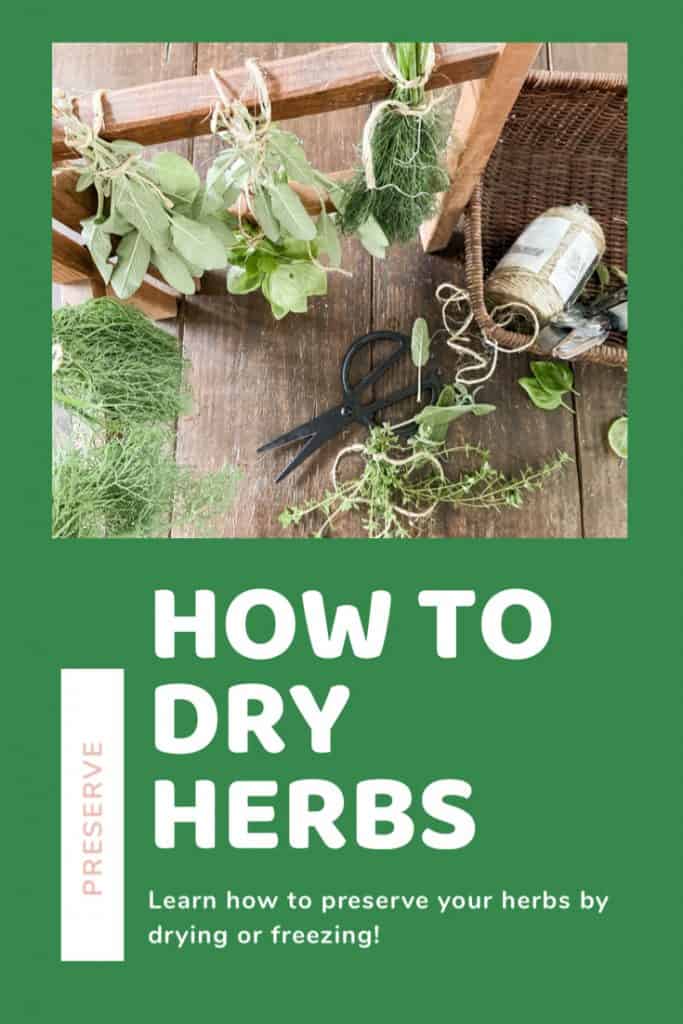
Never Waste Herbs: Easy At Home Drying & Freezing Methods
Do you grow herbs? If so, you know most herbs produce A LOT, and all at the same time. Want to learn how to never waste those fresh herbs? Learn how to dry and freeze your herbs at home to preserve their flavors for off-season enjoyment. Additionally, learn which herbs are best suited for drying and which are best preserved by freezing. Here are my quick and easy steps to preserve fresh herbs, allowing you to enjoy them all year round.

First, let me say, I’m not an expert, nor do I claim to be, but these methods have worked for me over the past several years. I love to grow herbs. They are so easy and, for the most part, disease-free. In addition, they are beautiful in your garden. You can see my list of the best herbs to grow, and why.
(Posts on The Ponds Farmhouse may contain affiliate links. As an Amazon Associate, I earn from qualifying purchases. See the full disclosure details here.)
Where To Plant Herbs
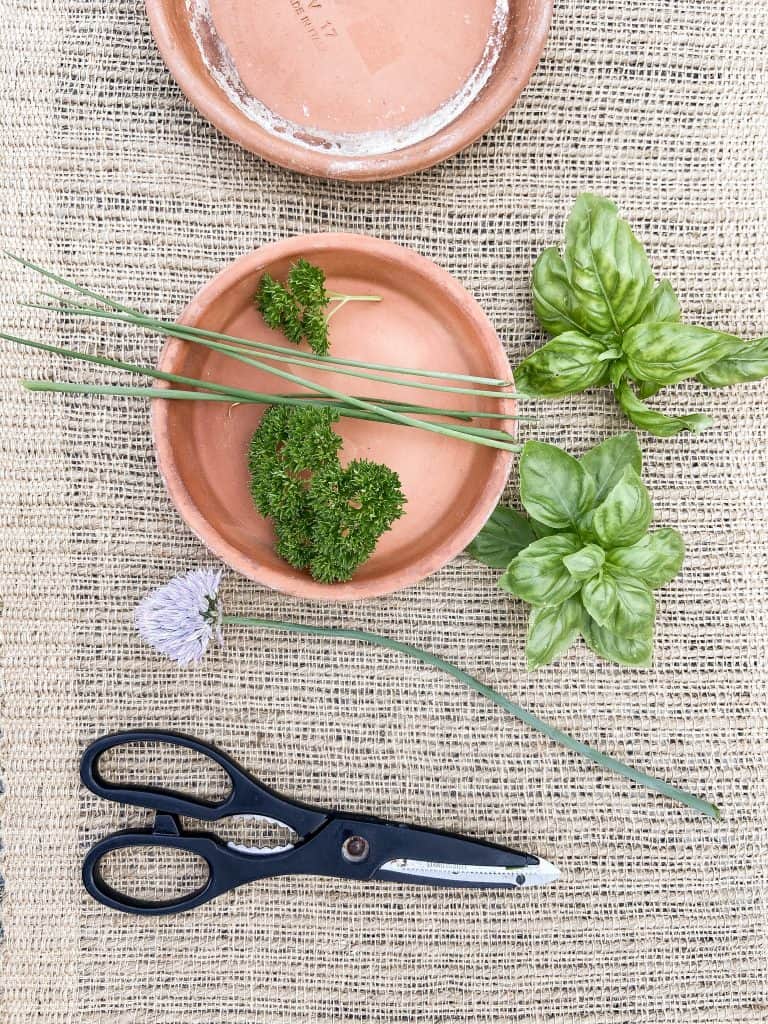
Herbs are an excellent addition to any garden, flower pot, or landscape. In the forefront are chives in bloom and a beautiful mound of parsley, which is well-integrated into my landscape.

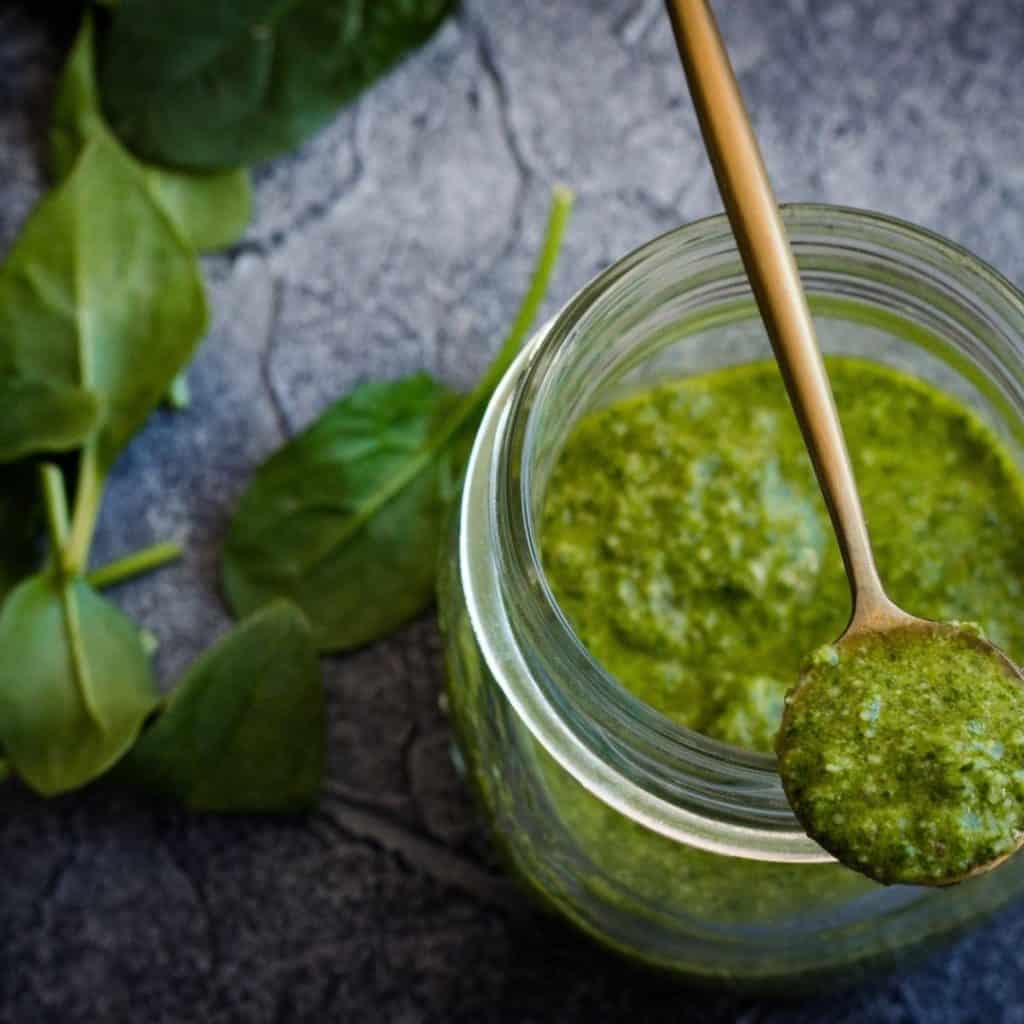
Basil, cilantro, parsley, dill, oregano, and thyme are all staples in my garden. Each of these herbs is wonderful to have on hand for recipes. I have this wonderful Basil Pesto Recipe that I shared in another post. Sage and Chives are two of my favorites for their beautiful spring flowers. Additionally, these herbs thrive in the winter here in the south.
Insider Tip
The more you gather your herbs, the better they will produce. Most herbs will get tall and produce less if not harvested regularly.
To prolong the production of your herbs, prevent them from flowering by snipping off the buds as soon as they appear and harvesting them regularly.
Basil and oregano will produce all summer if kept from flowering.
You may also want to harvest dill seeds, in addition to the leaves. The dill seeds are great for pickling.
Why Should You Preserve Herbs?
Herbs are easy to grow, mostly disease-free, and plentiful. In addition, they are easy to preserve. In light of the high prices of groceries, these simple guidelines on drying herbs can help you save money.
How Do You Dry Fresh Herbs?
Let’s start by learning how to dry fresh herbs so they’re available after the growing season. Purchased herbs are often expensive and lack the flavor of those you preserve yourself.
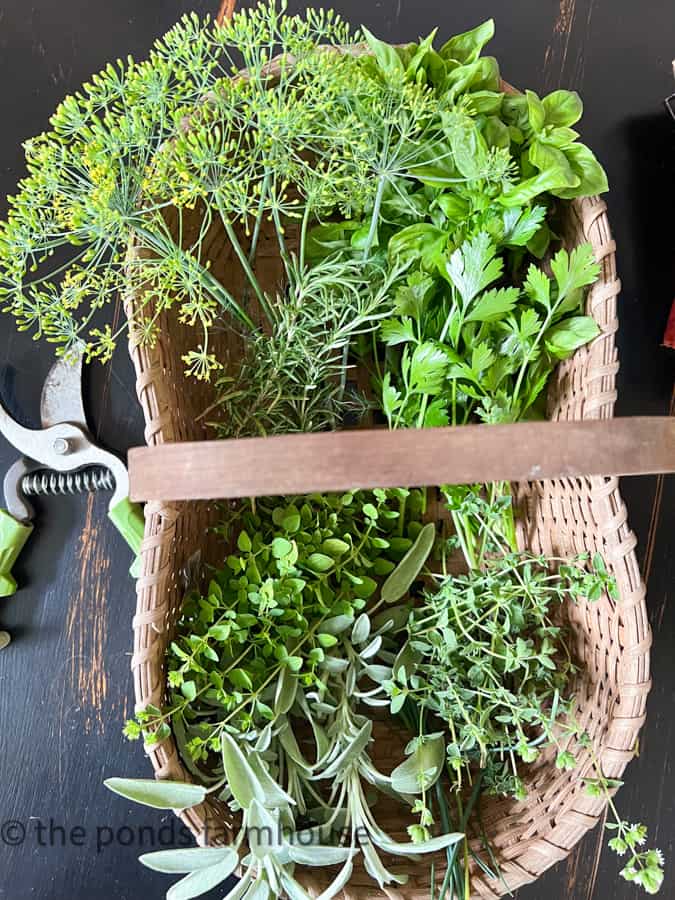
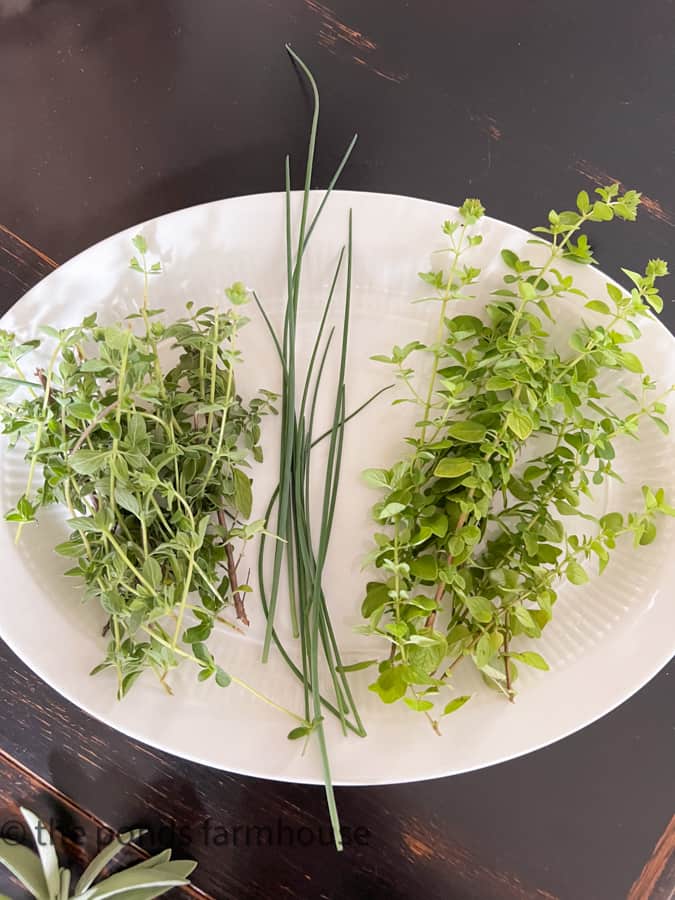
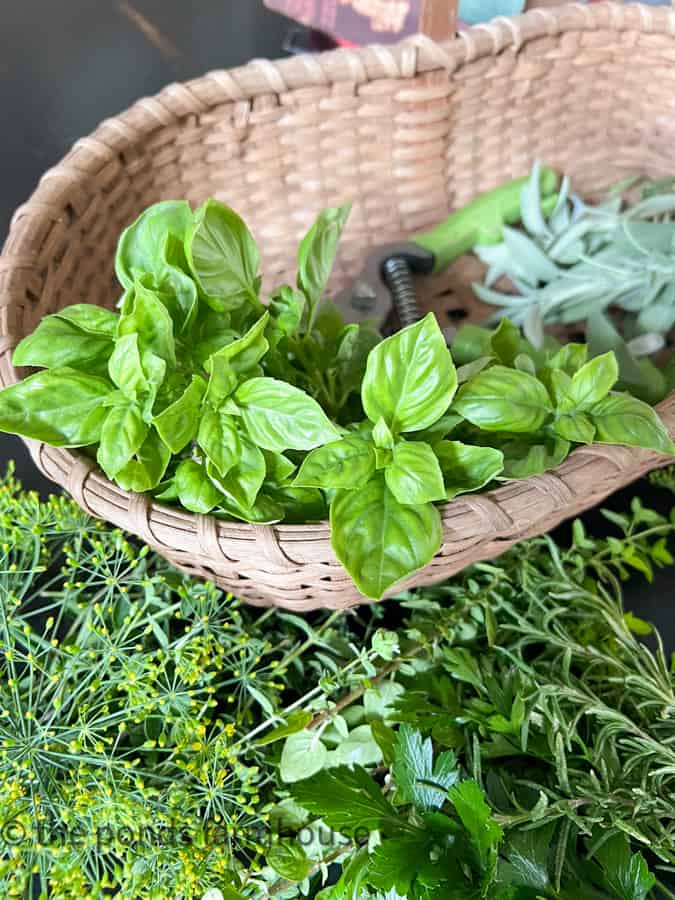
- Gather your herbs at their peak.
- Gather midday when the sun has dried any moisture from the plant.
- Wash if necessary to remove any dirt or bugs.
- Remove any leaves that appear to be diseased. Basil can have brown spots occasionally.
- Pat dry
- Choose a method of drying.
Which Herbs Dry Well
Although you can dry all herbs, I prefer to freeze some herbs that are not as easily preserved by drying. Here are the herbs that I like to dry.
- Sage
- Rosemary
- Oregano
- Thyme
- Dill
- Lavender
How To Dry Herbs: Best How-To Methods!
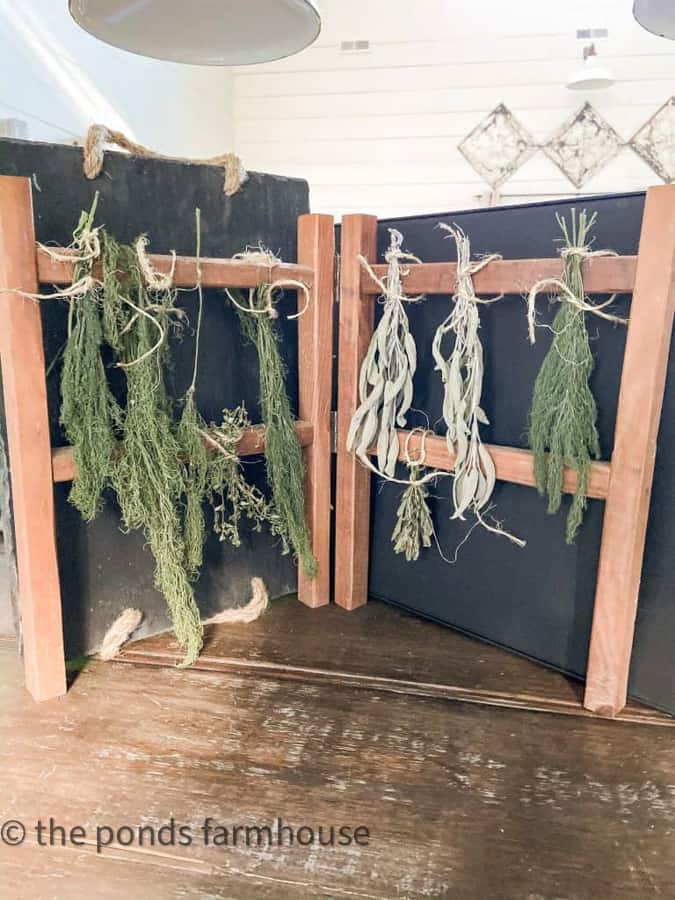
There are several methods for drying your herbs. Air drying is my preferred method; however, it’s more time-consuming. I enjoy having the herbs in my home during the drying process. I love the fresh, natural fragrance they emit.
I have a small wooden drying rack that a friend gifted me.
Other air-drying racks, such as a pasta drying rack, would work beautifully.
A food dehydrator is another method for drying your herbs. This requires a more expensive purchase, but if you dry a lot of vegetables in addition to herbs, it’s well worth the expense.
You can dry herbs in the microwave. However, this is not my preferred method because the herbs lose a lot of their flavor.
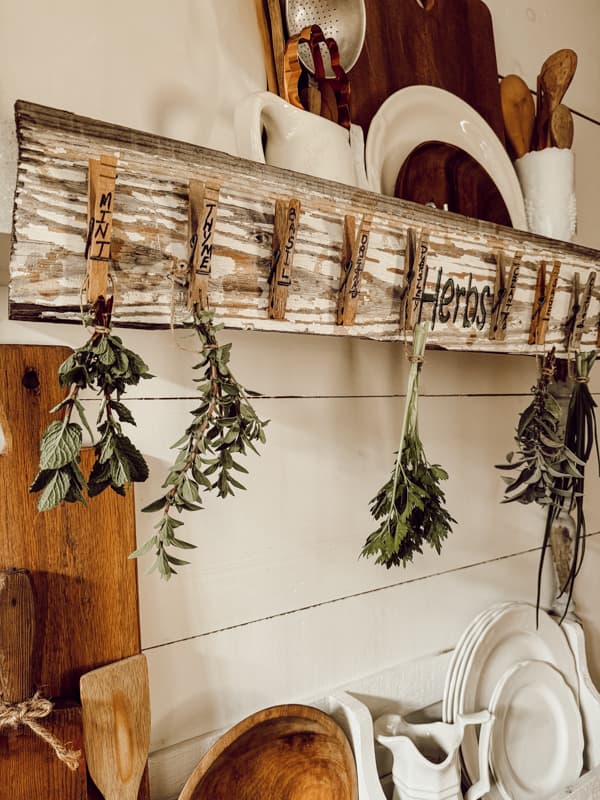
I also recently made this DIY reclaimed wood drying rack to hang in the kitchen. It provides a decorative touch, and the fragrance keeps the kitchen smelling fresh while the herbs are drying.
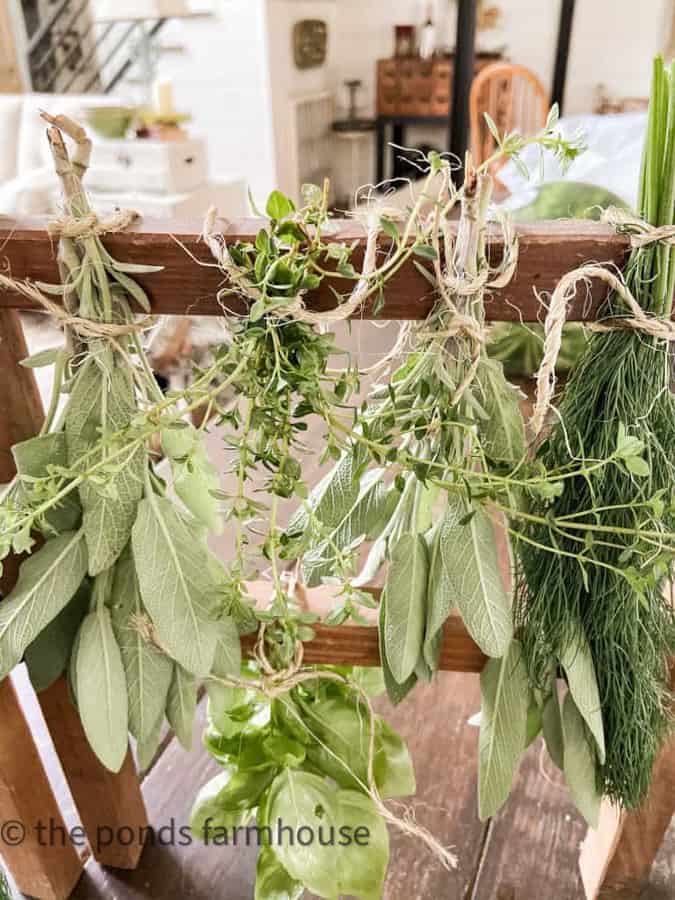
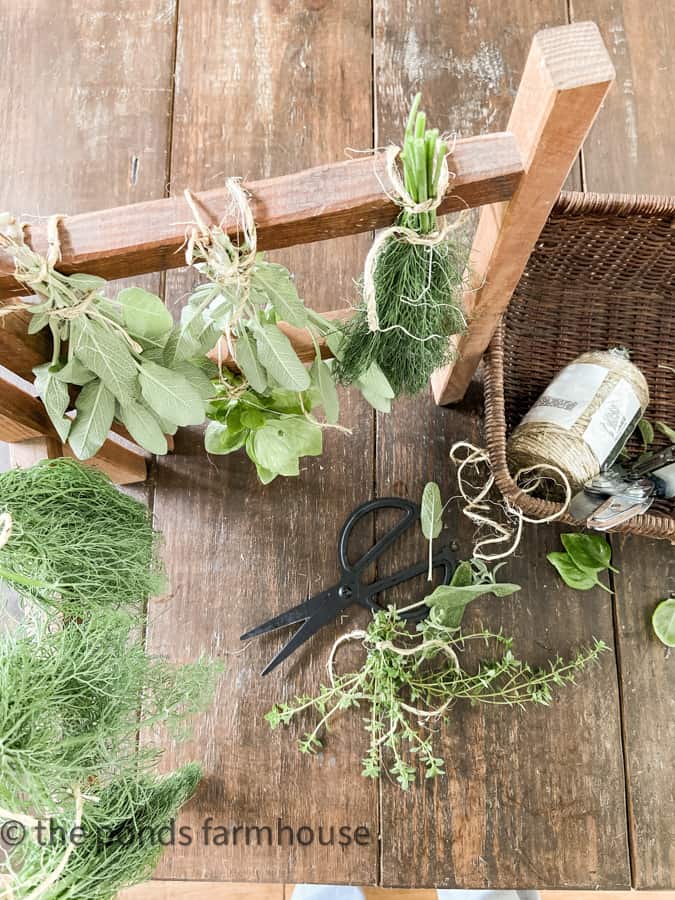
How to Dry Fresh Herbs – Air Dry Method
- Begin by making sure the fresh herbs are dry.
- Cut away any excess stems.
- Gather a small cluster of your herbs and tie them with twine or a twist tie.
- Hang your herbs upside down
- Tie onto the rack. If using twine, don’t tie a heavy knot.
- Place in a cool, dry place in your home.
- Avoid sunlight and humid areas of the home
- Most herbs are dry within a week.
My Herbs Are Dry, Now What?
When the herbs are dry, it is time to store them. Dried dill, sage, oregano, thyme & basil are usually ready after one week.
Brown Paper Bag Method
My tried-and-true method is to place the entire stem into a brown paper bag.
Don’t crush or break your herbs into serving pieces until you are ready to use them. The oils and fragrance will be released when you crush the dried herbs.
Be sure to label your herbs with the name and date you stored them. They can all look very similar once they are dry.
Herbs begin to look alike after drying. Label and date your supply.
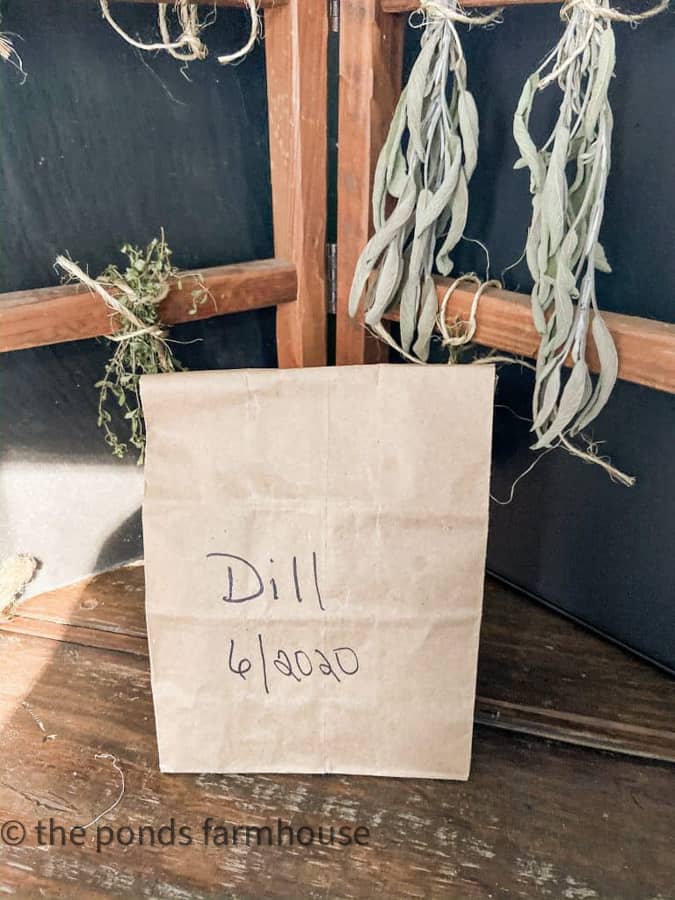
I place the closed paper bag in my pantry, and when the dried herbs are needed, I simply remove the required amount and crush the herbs at that time.
Long-Term Storage Ideas
Dried Fresh Herbs stored in a paper bag will last for up to 6 months. If you still have herbs after 6 months, it’s best to store them in an airtight container.
Glass is best because plastic and tin may taint the fragrance of herbs.
Additionally, plastic can absorb the scent of herbs, making it almost impossible to remove.
If you have an abundance of dried herbs and already know that you’ll have plenty after six months, you can transfer your supply to an airtight container after a few weeks in the paper bag.
Allowing your herbs some extra drying time in the paper bag is recommended to avoid molding of the herbs.
The dried herbs will stay fragrant for at least a year. They will keep longer than a year; however, they will begin to lose their potency.
Freeze Herbs: Ice Cube Trays
Another method for preserving herbs is to freeze them.
Which Herbs Are Best To Freeze
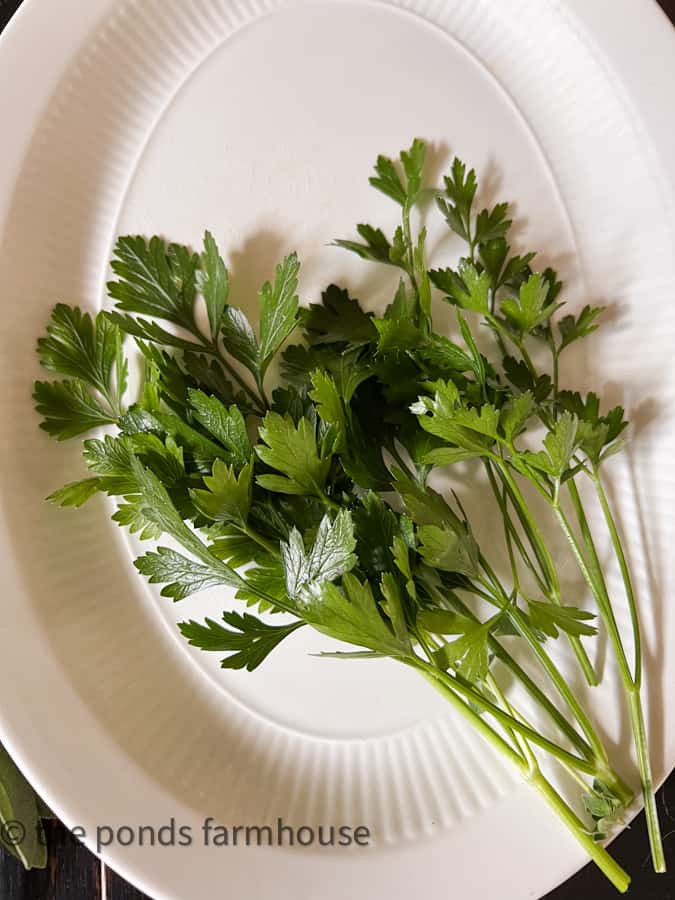
Not all herbs are equal, and not all herbs dry the same. I usually freeze those that don’t respond to drying as well. Basil, chives, cilantro, and parsley are herbs I like to freeze. This year, I tried drying the basil again as an experiment. It appears to be drying wel,l but in previous years, not so well. It may be the time of harvesting that was different.
How To Freeze Herbs
I like to freeze my herbs in an ice cube. This is another super-easy and inexpensive method. You can freeze herbs in ice cube trays and then transfer them to freezer storage bags or containers.
- Wash your herbs and remove any damaged or diseased leaves and stems.
- Fill the ice tray approximately. 1/2 full of water
- Add as many herbs as will fit into the tray.
- Freeze until solid
- Remove from the ice cube tray and place frozen herbs in a ziplock freeze bag or sealable freezer-safe container.
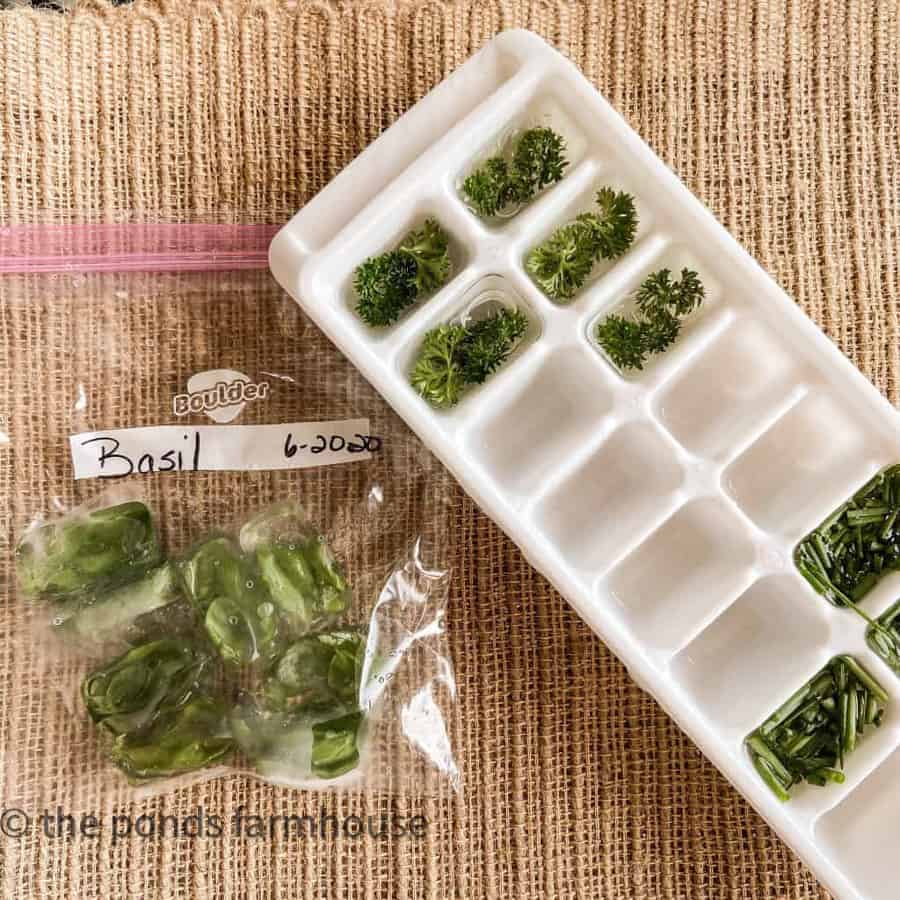
Just pull out your frozen cubes to add to recipes all winter long. Frozen herbs are great for at least a year.
Thank you so much for stopping by today. I hope you enjoy these tips. I will be sharing more ways to use herbs in the coming weeks. Here is a fresh Basil Pesto Recipe that we love. Please be sure to subscribe to my newsletter so you don’t miss a post.
Resources
Additional Articles You May Enjoy
- How To Press Herbs for Botanical Art
- 10 Best Herbs To Plant and Why
- This Fresh Cucumber & Herb Dip is so refreshing and tasty.
- If you enjoy saving money on your plants, you might like to learn how to split a lilac bush.
Please feel free to ask any questions or leave a comment below.

Pin It To Remember It
Did you find some great ideas you’d like to save for future reference? Hover over the images you’d like to save and pin to your favorite Pinterest Boards when you see the PIN button.
Check out these great tips for growing Cilantro and this Yummy recipe from my friend Stacy


Enjoyed your post. As I am the only pesto fan in my household, I freeze it in the ice cube trays, transfer them to a baggie. I add it to my spaghetti sauce or a bowl of my “mystery soup” to make ANY soup taste Italian–with a bit of Parmesan cheese!
Awww Kathy,
Sounds like we are on the same page with the pesto. We love it. I’ll be sharing my recipe soon. I just used a lot of my basil in something else and waiting for a new supply to grow. Thanks for your input.
Rachel
@Kathy A, Bravo. I’m all over this idea. Thanks.
Rachel, I have been growing herbs for a long time. I do love to make pesto all summer. Thank you for the drying tips and this lovely post.
Pam,
I’m so glad you like the post. I just added my Basil Pesto Recipe to my blog under Recipes.
Rachel
Excellent post Rachel! I can’t wait to try your methods with my herbs this year! Beautiful photos too. Thanks! 🙂
Barbara,
Thank you so much for these kind words.
Rachel
This is such an informative post, thank you so much! I started an herb garden this year with the intention of drying the herbs. I don’t have a dehydrator so I was looking for ways to dry them naturally. I LOVE your sweet drying rack!
Marie,
Thank you so much. I’m so glad you found this helpful.
Rachel
Good Morning Rachel
I learned a lot today with your herb post. I didn’t know that you can freeze herbs. I also didn’t know the paper bag method. Your drying racks are really really nice. I love them.
I love growing herbs but never can figure out how to use them all. This was a great post. Thanks Rachel
deezie
Deezie,
I’m so glad you found this helpful. Thanks so much for commenting.
Rachel
This post is so helpful! My herb garden is doing well, but I’ve never had luck preserving any of my herbs. Now I know what to do!
Thanks so much for joining the Grace at Home party at Imparting Grace. I’m featuring you this week!
Oh thanks so much. I’ll glad you found this helpful.
Rachel
Thank you for the tips. I have an herb garden that is growing out of control!! I am going to your pesto recipe now!
Catherine,
I’m so glad you found this helpful. Thanks for stopping by.
Rachhel
This is great information! I’m growing herbs this summer and it let’s me enjoy all year! Love your table as well!
Pamela,
I really appreciate you for stopping by. So glad you like the post. I’ll be happy to answer any questions.
Rachel
Great idea on the frozen ice cube method.
Suzanne, thank you!
These are great tips! I want to do this this summer.
Stacy,
It’s so easy and a money saver.
Great ideas. I dry my herbs. They make great hostess gifts as well.
Renae,
What a great idea.
Great tips Rachel!
Wendy,
Thank you!