
Easy Thrifted Urn Planters Makeover: Transform Outdated Finds
Thrift store shopping is a treasure hunt for unique finds. But what happens when you find a great deal on some quality planters with an outdated finish? Wait until you see today’s easy makeover, and you will never pass up a great deal again.
If you find items of good quality but the finish looks like it’s straight out of the 90s, don’t worry! This post will show you how to transform those old, outdated decorative pieces into stunning, on-trend decor.
Let me show you how!

Outdated Thrift Store Finds
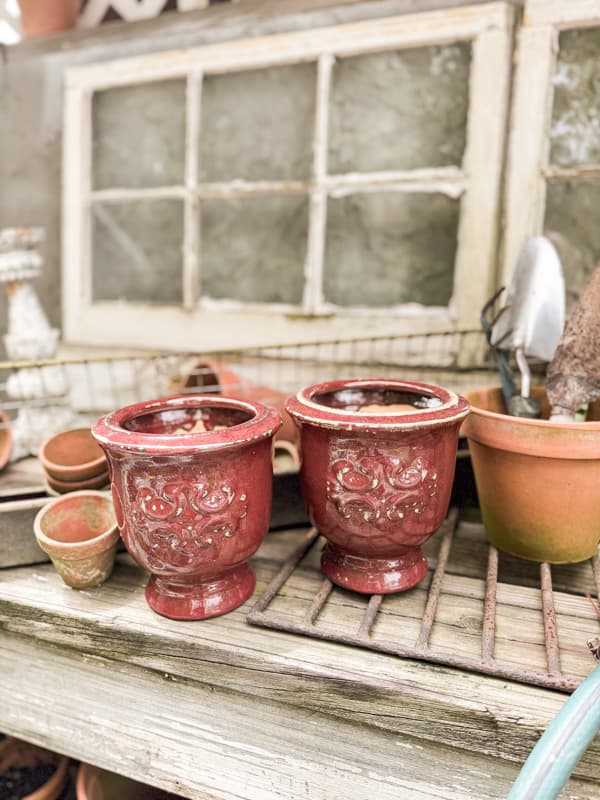
I recently found these two heavy vases for only $3.00 each. I love the shape and size, but that finish looks like my ’90s home decor. In fact, I’m wondering if I previously donated them. LOL. Regardless, for that price, I was willing to attempt an update, so here’s what I did.
(Posts on The Ponds Farmhouse may contain affiliate links. As an Amazon Associate, I earn from qualifying purchases. See the full disclosure details here.)
Easy Decorative Urn Planter Makeover
To begin transforming the thrift store planters, you need to decide on a style. I love looking at the vases and vessels available at Pottery Barn, and I decided I want the vessel to have a weathered, textured finish. So, I gathered some spray paint to begin.
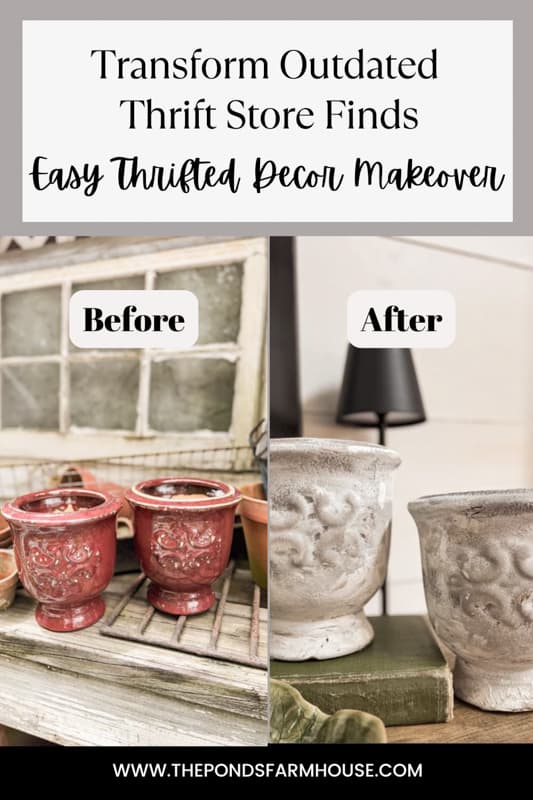
How To Add Texture with Spray Paint
First, clean your pieces to remove any oils or dirt. These were fairly clean, so I used soap and water to clean them quickly. After they were dry, I painted them with Krylon Stone Coarse Texture spray paint in White Onyx. Don’t worry if you can still see some of the original colors through the textured paint. This coat just adds a rough texture.


Once the textured paint is dry, add another coat of Krylon Paint and Primer in Gray. Be sure you have good coverage and can’t see the original color anymore.


Insider Tip
I recommend using good-quality paint and primer as a base color when working with ceramic decorative planters. The textured and base colors have a stronger bond than craft paint. If you prime your pieces first, you are less likely to have chipping paint down the road.
How To Add A Weathered Finish To Upcycle Thrifted Decor
Now it’s time to get creative and add a weathered finish to upcycled thrift-store planters.
Begin with an inspiration piece or a photo. I had this weathered urn that I used for inspiration. It has qualities similar to those of the Pottery Barn pieces I like.

I realized that the gray spray paint was a little darker than I desired, so I added a layer of beige paint with a brush. For this step, I used acrylic craft paint.

Next, I mixed baking soda with white Chalk Paint to add more texture to the upcycled decor vases. I used two parts paint to one part baking soda, mixing the baking soda until the paint was almost smooth.

I used a small paintbrush to paint the mixture onto the planters. Don’t feel you need to cover the entire surface; leave open areas so the beige paint shows through. Then, while the paint is wet, use a paper towel to rub away excess paint. Allow some areas to remain heavy while others should be almost transparent.


Lastly, I added heavier patches of chalk paint and baking soda mixture to the decorative planters to enhance the weathered appearance. I filled the brush with paint and held it sideways to swipe along some areas of the surface. Allow the paint to dry.
Optional: If you plan to use your pieces outdoors or in moisture-exposed areas, I recommend applying a waterproof matte sealer to protect your finish.

Budget-Friendly DIY Thrifted Planter Update
Now, the thrift store decorative urn planters have been updated with a weathered finish similar to Pottery Barn’s, but they are much more cost-effective. The thrift store vases were only $6.00, and I already had all the paint that was used. However, if you need to purchase the Stone Texture paint, it is only $18.00, and you can paint several pieces with one can. Even with the purchase of paint, the two planters cost less than one of the Pottery Barn lookalike vessels.
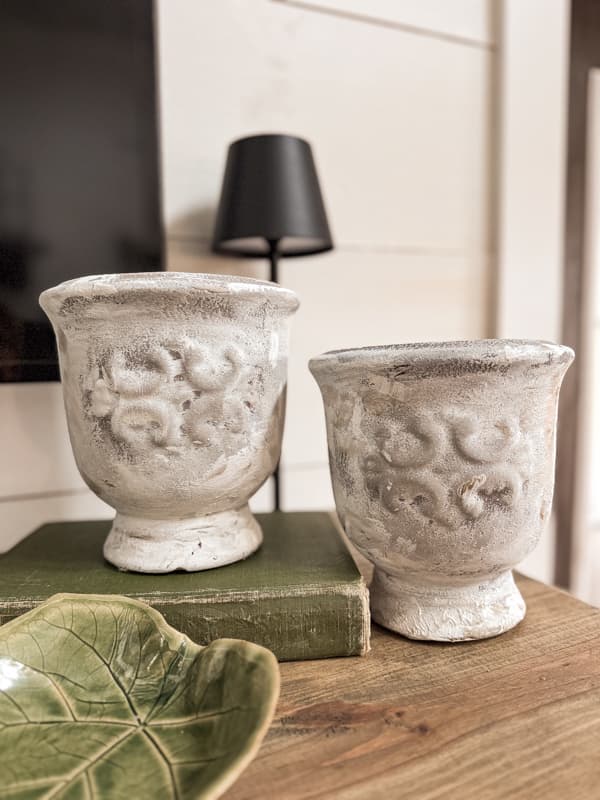
How To Decorate With Updated Urn Planters
Now, you may be asking what I can put in the urn planters to decorate them. The options are unlimited.
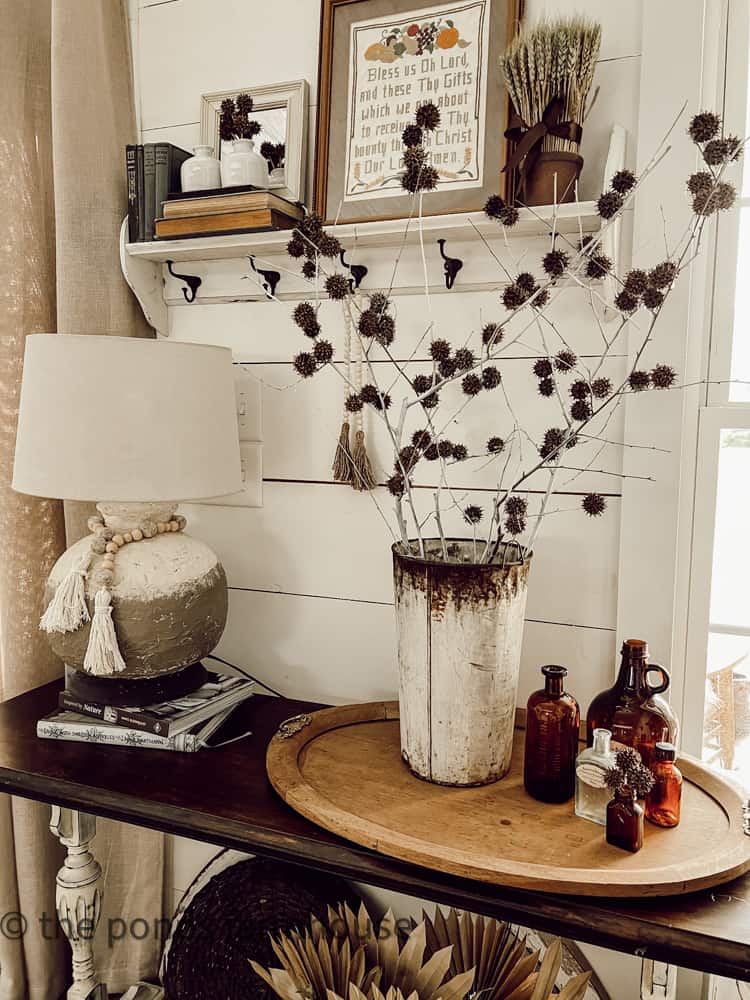
Let’s take a look at how stylish the upcycled thrift store urns look around the house. My first thought was to display them on the entry table with topiaries. Then, as we move into fall, you can fill them with dried flowers from your garden.


They are the perfect size for end and side tables and look stylish with real ferns or faux stems.

I will also be decorating the mantel with these upcycled planters. They will be a stylish addition when filled with fall and holiday decor.

Add these weathered vases to your open shelves and fill them with dried fruits and flowers, nuts, or real fruit.

How To Use As Decorative Containers
Don’t limit your decorating choices to the main areas of your home. These vessels can be handy for organizing your makeup brushes and hair supplies. They add a decorative edge to your bathroom countertops. Another fun choice is to fill them with rolls of old book pages, pencils, paintbrushes, etc.


As you can see, outdated decorative planters are handy additions to anyone’s home decor. So don’t overlook a great deal just because the color or style is outdated. I promise you can upcycle almost any decor into attractive, on-trend home accessories.
Related articles
I styled the updated urns using many items from previous DIY projects. Since I usually get questions about those pieces, I will share some links here. Just click on the links below to see the details.
If you don’t see something listed here, please let me know, and I’ll be happy to direct you to the tutorial.
How To Upcycle Outdated Thrift Store Decor: Easy Makeover
Materials
- Thrift Store Ceramic Vases
- Stone Textured Spray Paint
- Gray Spray Paint and Primer
- Beige Craft Paint
- White Chalk Paint
- Baking Soda
- Optional – Clear matte waterproof sealer
Instructions
- Clean thrift store planters
- Spray paint with Stone Texture Paint (allow to dry)
- Spray paint with Gray paint (allow to dry)
- Add Beige paint with small brush (allow to dry)
- Mix 2 parts Chalk Paint with 1 part baking soda
- Paint lightly over the vases
- Use paper towel to rub away excess paint.
- Load brush with chalk paint mixture and dab on heavily in spots for a weathered appearance.
- Once dry spray with a clear matte sealer if planters will be exposed to moisture.
Thank you so much for stopping by today. I look forward to sharing my next adventures with you.



Another good tutorial Rachel. I love it!
Pam,
Thank you so much. I appreciate you comments.
I love what you did to your thrifted vases Rachel!
Amy,
I really appreciate this. I’m so glad you like this project.
You are so right. I would have never even picked those up but wowza they turned out amazing! Wish I had your creative eye.
Cindy,
I’m so glad you like them. I bet you’ll be looking for that style. LOL
Rachel, the red pots turned out great! Look just like one I got rid of. Yes I had the red and gold decor in the 90’s. 😁
I was so excited to receive my Country Sampler Farmhouse issue with you featured in it! Congratulations!!
I love your sunflower pillow creation and plan on making 2. I don’t subscribe to Facebook or Instagram. But I follow you on YouTube, Pinterest and receive your newsletter. I look forward to your post. Thanks for sharing your talent and creativity!!!
Jan,
Thank you so much! I appreciate your loyal following. I’m so glad you plan to make the sunflower pillow. Please let me know how it turns out. I love to share a photo if you are willing. I appreciate this uplifting comment. Please let me now if there is anything you’d like to see more of.
Beautiful!
Angie,
I appreciate this. Thanks for stopping by.
I can’t believe the difference, Rachel! I would absolutely pay for your beautiful pots. You did an amazing job, and I can’t wait to share them next week on my blog.
Kim,
Thank you! I’m so glad I didn’t pass them by. I appreciate you for sharing.