Adorable DIY Felt Flower Spring Garland: Easy No-Sew Instructions
Love the look of handmade floral decor, but don’t want to break out the sewing machine? This no-sew felt flower garland is the perfect afternoon project. It’s fast and easy to assemble using felt pom poms, felt leaves, floral wire, and hot glue.
Once I had my supplies gathered, I made a garland over 7 feet long in less than 2 hours! As a result, I have an adorable addition to my Spring mantel, and it’s so simple to customize. Let me share the details to get you started, plus I’m sharing the one mistake I made so you can get the perfect, full look on your first try!

(Posts on The Ponds Farmhouse may contain affiliate links. As an Amazon Associate, I earn from qualifying purchases. See the full disclosure details here.)
Materials You’ll Need for Your Felt Garland
The first step is to gather all your supplies. You can create a garland of any length you desire. Mine is approximately 84″ long, and I’ll share the supplies that were needed to create this length. If you want a shorter garland, you can reduce the supplies accordingly.
- Wool Felt Balls in shades of Pink – I didn’t use the darker pink shades for this project.
- Wool Felt Balls in earth tones
- 2 shades of green felt sheets
- Antique Brass Wrapping Wire
- Floral Stem Wire
- Wire Snips
- Scissors
- Hot glue gun
- Hot Glue Finger Protectors
- Ice Pick or other pointed object.
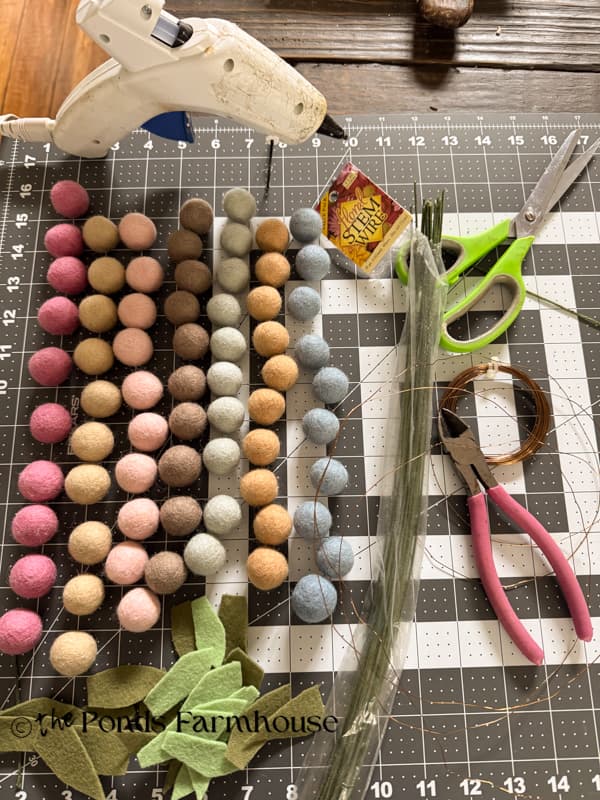
I organized the colors for quick assembly. I used this technique when I made the DIY Felt Ball Garland for my Cozy Winter Mantel this year.
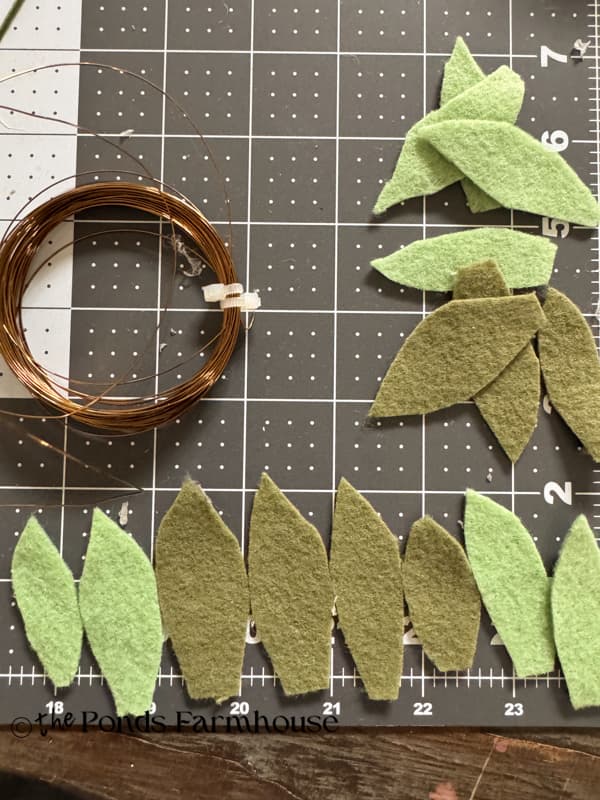
Step 1: Cutting Your Felt Leaf Petals
The first step is to cut the felt leaves from the green felt sheets. I used two colors of felt for my leaves. This is optional. I also randomly cut two sizes of leaves. I began with a template and drew the design onto the felt with a pen. But after cutting a few, I realized that I could cut them freehand. They don’t need to be perfectly shaped since no two leaves are exactly the same. So I cut the remaining leaves without a pattern and loved the results.
Step 2: Assembling the Flowers (No Sewing Required!)
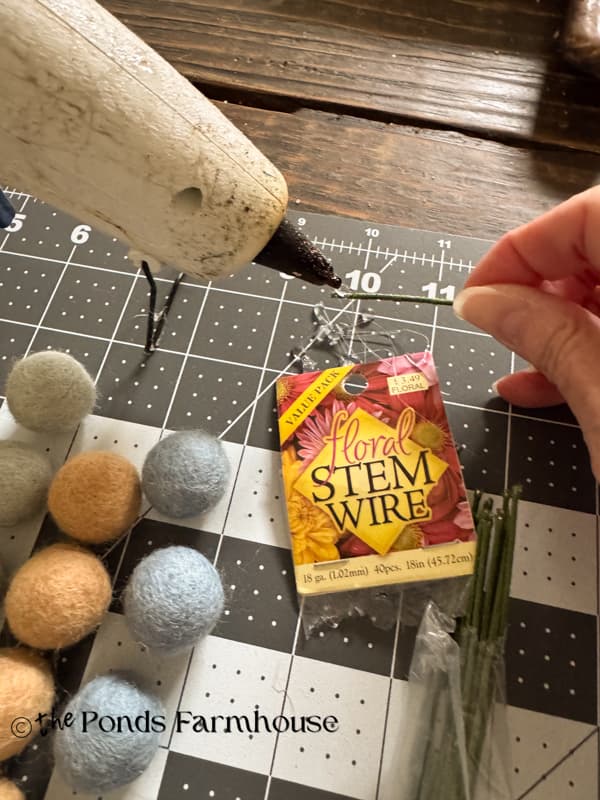
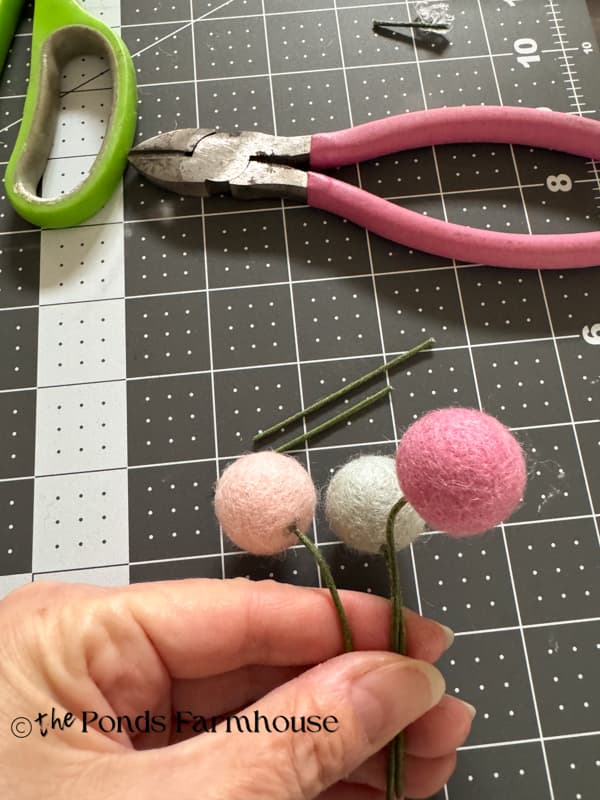
Now it’s time to assemble the flowers, using the floral wire stems and wool felt balls.
- Cut the floral stem wire into pieces approximately 4-5 inches long.
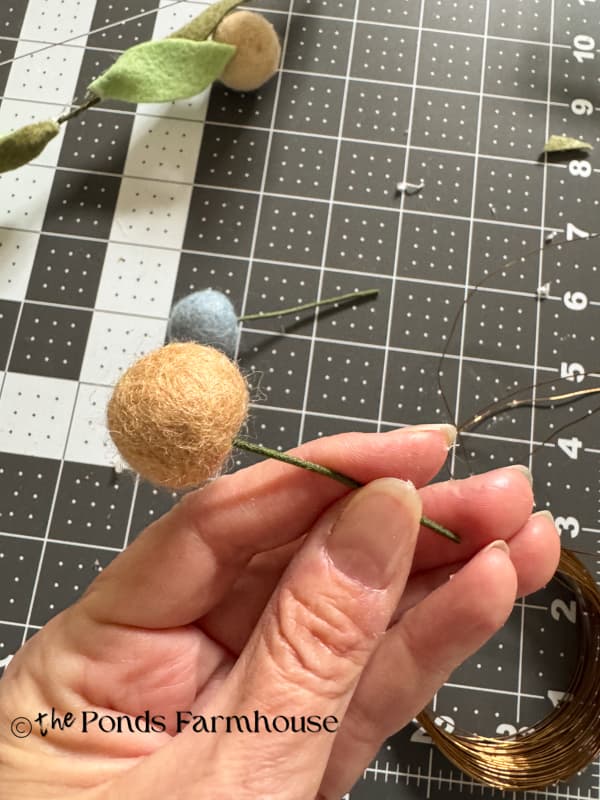
- Use the ice pick to punch a hole in the felt balls
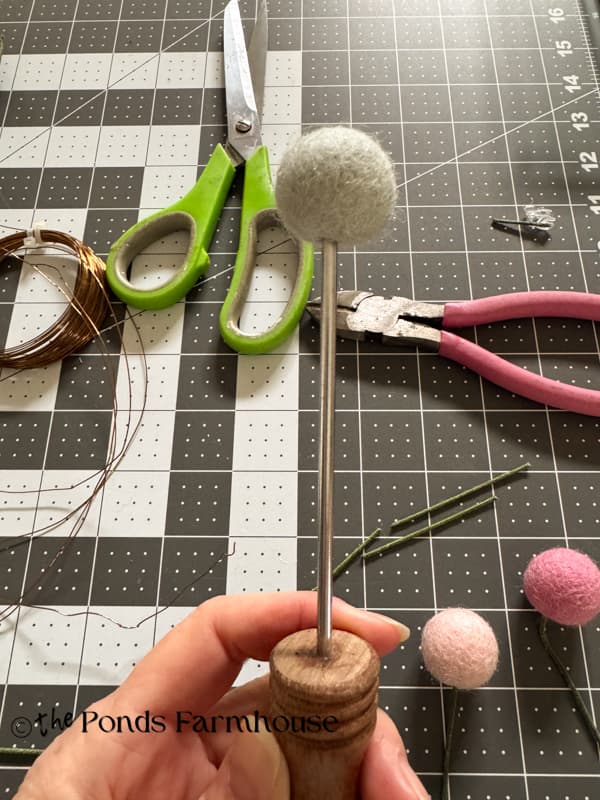
- Add a tiny drop of hot glue to the tip of the floral stem wire.
- Then, insert it into the felt ball hole.
- Set aside until all the flowers are assembled.
Step 3: Stringing the Garland Together
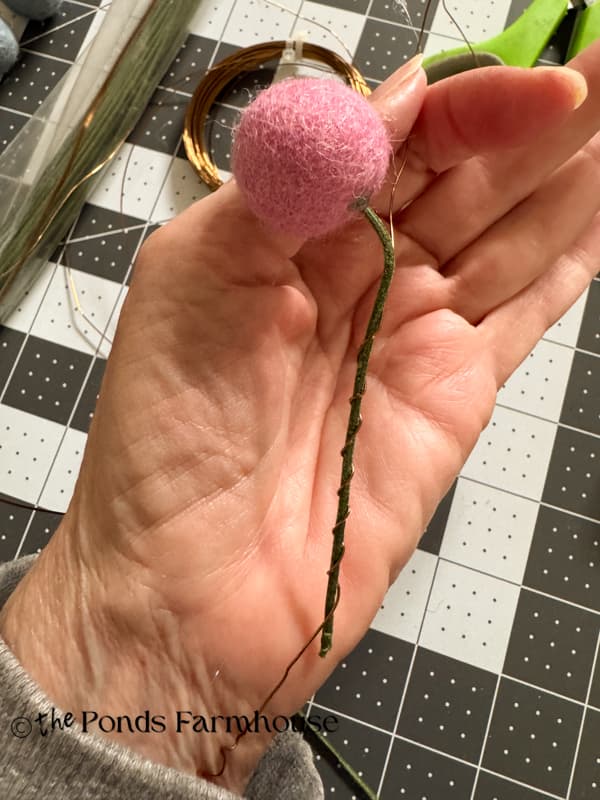
Once all the flower pods are assembled, you are ready to string them together using the Antique Brass Wrapping Wire. This wire is so easy to work with because it twists so easily.
Begin by unwinding several feet of the wire. Start at the beginning of the wire and wrap the wire around the floral wire stem of an assembled flower. Place the stem of the next flower on the wire and wrap them together. The two flowers are facing away from each other.
Repeat the process of adding two flower stems as described above to the wire until you have the desired length. Add the flowers close together, but not overlapping.
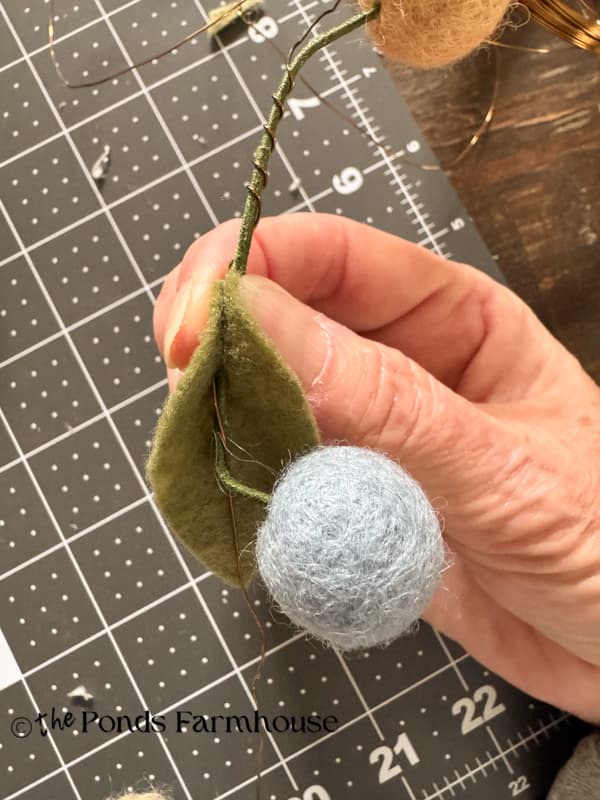
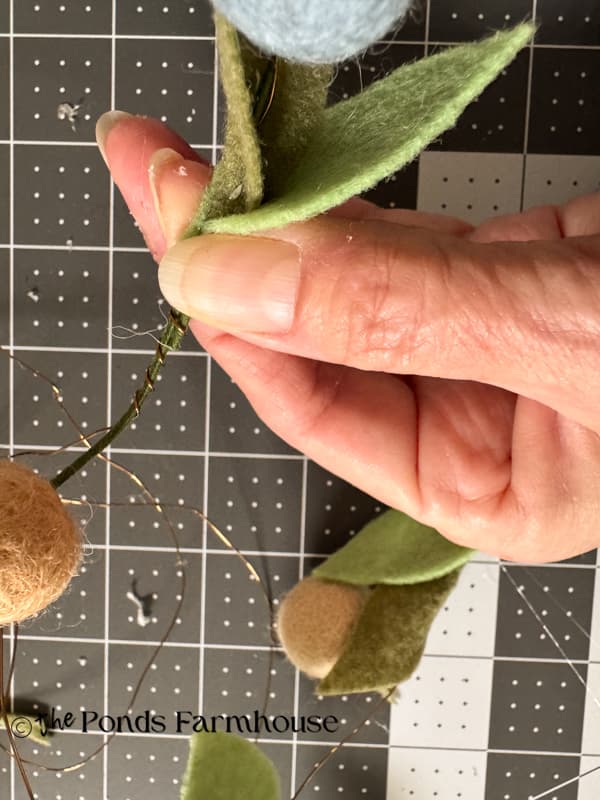
Step 4 – Add Leaves To Garland
Next, use hot glue to add two leaves to each wood ball felt flower. Wrap the felt leaves around the floral stem wire and secure with a few drops of hot glue. Hold in place until the glue sets. Place one of each color close to each flower.
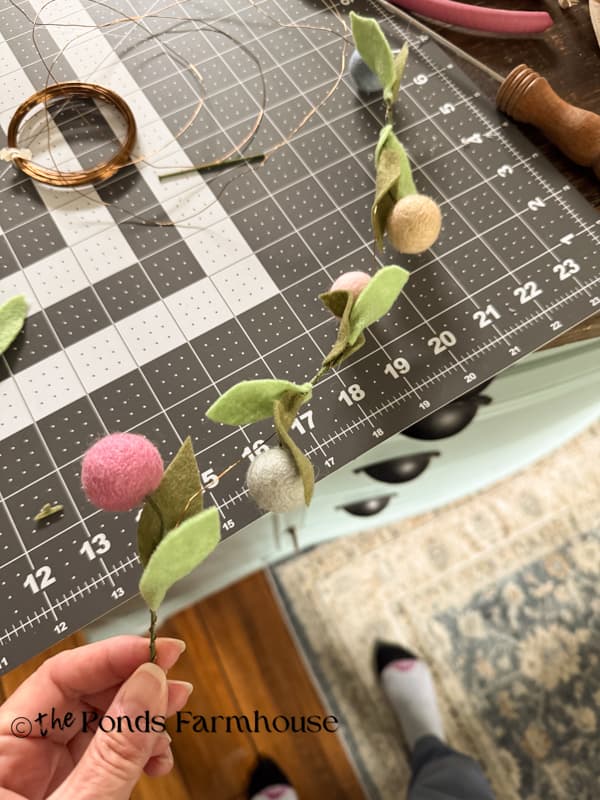
Pro-Tip: How to Space Your Flowers for the Best Look
When I first started stringing my flowers, I spaced them about 6-8 inches apart. Once I hung it up, it looked a bit sparse! I ended up going back and adding more flowers and leaves to get that lush, blooming look I was going for. Save yourself the extra step: Aim for 2-3 inches between flowers from the very beginning for a garland that really pops.
My Oops! And How I Corrected It
After I had the garland fully assembled, I realized the space between the two floral wire stems was too wide for my taste. It looked fine until I tried to hang the garland on my mantel. I didn’t like the gaps. Here is how I quickly corrected the problem.
I started by creating additional flowers and leaves as I had in the beginning. Then I used the wire to place them between the existing flowers to close the gaps. It took another 20 extra minutes, but was well worth the effort.
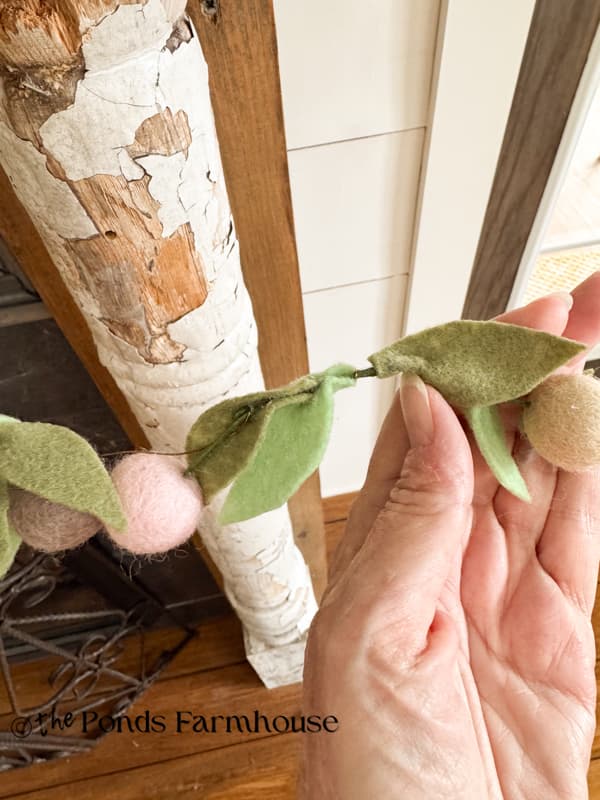
Insider Tip
Don’t throw away any leftover scraps of felt. Instead, cut out tiny extra leaves or “buds” and glue them directly onto the floral wire between the main flowers to hide the wire and add even more greenery. I added some additional green leaves to help conceal the command hook that I used on the mantel to secure the garland.
Tips for Styling Your Spring Garland
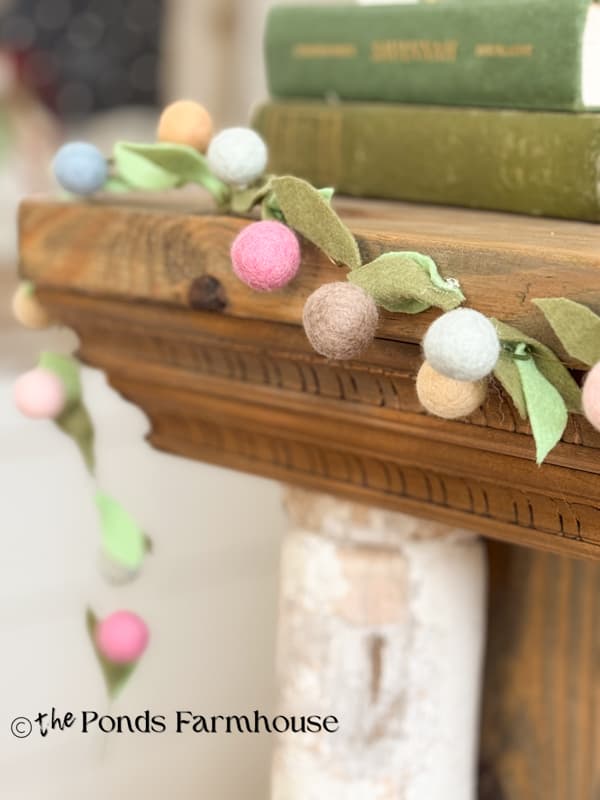
As I stated, the plan for this fun garland is to drape it on my Spring mantel. After my oops was corrected, I quickly added the garland.
Once the garland is in place, you can easily bend the stems of the flowers and position them to face forward on the mantel.
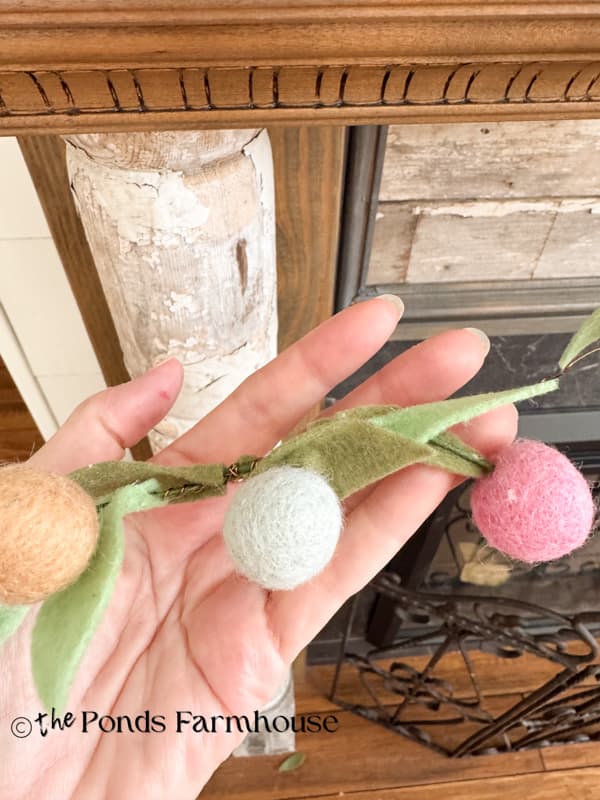
I’m loving how fresh and springy it looks. The soft felt colors remind me of Easter eggs.
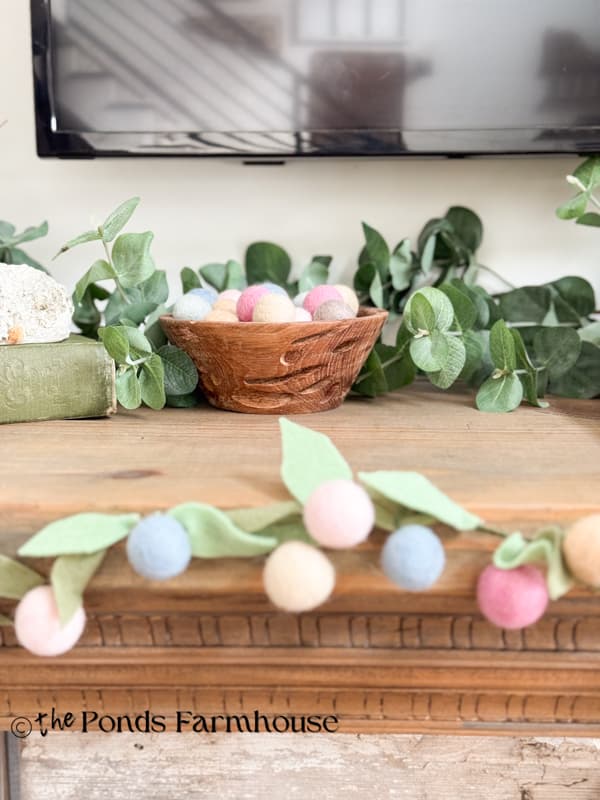
I had a few leftover felt balls, so I added them to a small wooden bowl and included them in my mantel decorations. They provide an additional pop of spring-like color to the display.
How To Create A Scallop Mantel Drap Without Damage
One of the biggest concerns about adding a draped garland to your mantel is the possibility of damage. This garland is very lightweight and only needed a few hangers to keep it in place. I added three of these small, clear command hooks to the top edge of the mantel, and the garland feels very secure. Instead of pulling it into a straight line, allow the garland to droop between the hangers.
You can bend the wire to help conceal the hangers or add some additional felt leaves for cover.

Other Ways To Decorate With Felt Flower Garland
Garlands are great for adding color and texture to other spaces in your home. Here are a few ways to style the garland besides the mantel.
- Run the garland along the center of your dining table. Weave it around candlesticks and other centerpiece items. Intertwine it with some real eucalyptus or battery-operated fairy lights. The felt flowers will add a nice textural contrast to your glassware and plates.
- Drap the garland over a doorway, window, or mirror. With one 7 feet long, you can double it for a full look or add it to a greenery garland for more impact.
- Add a bright spot to a bookcase or shelf by layering the garland around other decor.
3 Ways to Make This Garland Your Own
- Play with Your Color Palette
- While I chose soft Spring pastels, you can completely change the “mood” of your garland with a simple felt swap. A Monochromatic Chic style can be achieved using the shades of pink in one of the packages I purchased. Or go with a wild flower look by using bright yellows, oranges, and purples.
- Mix Up the “Flower Centers”
- The felt pom poms are so easy to use for this project, but you can add extra texture by swapping them out for other household items. Consider vintage buttons, wood beads, or DIY felt flower centers you can make yourself.
- Adjust the Length and Fullness
- I mentioned that I needed to add more flowers for a fuller garland, but you may want a more whimsical design with the flowers scattered randomly along the wire.
There is not right or wrong design. It’s just important to remember, the possibilities are endless!
Want More Easy DIY Inspiration
If you loved this project, here are a few more that you may enjoy:
- See the tutorial for these adorable Felt Heart Topiaries.
- Check out this Easy To Make Neutral Felt Ball Garland Tutorial
- How To Make A Decorative Cabbage With Coffee Filters
- Vintage Silver Tray Gets a Modern Decoupage Twist Makeover
If you loved this no-sew tutorial, you’ll love receiving updates about my latest projects. Sign up below to get my latest craft idea, thrifting adventures, and seasonal decor tips delivered straight to your inbox. Click here to sign up and subscribe.
Are you planning to make this project? I’d love to see your design. Send me a photo, and I’ll share it on my Dirt Road Adventures on Sunday!
I look forward to sharing my next adventure with you.


Super cute, Rachel! I might have to try this myself, happy you gave extra pointers to make it easier.
Oh, I’m glad you like it. It was so easy to make and I hope you’ll share your design when you have finished. Have a blessed day.