Stunning DIY Table Runner: A Nostalgic Way to Use Hand-Crocheted Doilies
Hey friends! Did you get hooked on making those easy crochet doilies? Are you wondering what the best ways to decorate with them are? Well, I’ve been busy arranging mine to create a stunning DIY table runner. By simply using that same easy doily pattern and a bit of creative placement, you can design a custom, nostalgic runner for your dining table. Let me share the easy details!
(Posts on The Ponds Farmhouse may contain affiliate links. As an Amazon Associate, I earn from qualifying purchases. See the full disclosure details here.)
Supplies For DIY Doily Table Runner
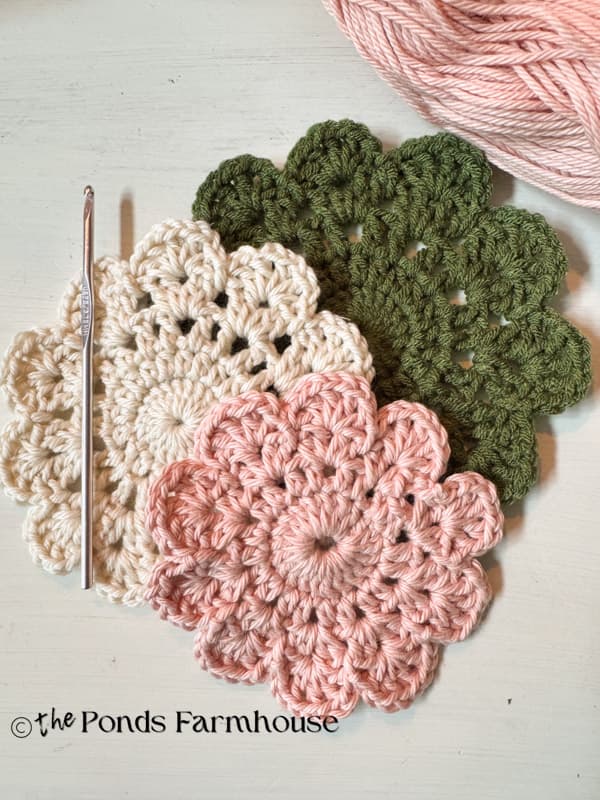
I’m sharing the supplies for making the doily table runner, just like mine. However, you can use multiple colors to create this table runner. You can make it larger or smaller, all the same color, or every doily a different color.
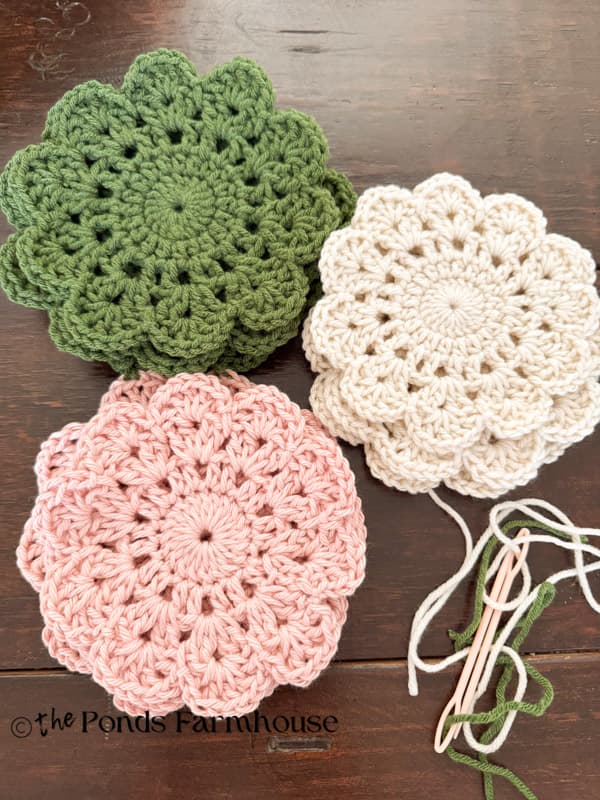
- Warm Blush (I Love This Cotton Yarn)
- Kale (Yarn Bee)
- Frosting (Yarn Bee)
- Crochet Hooks & Embroidery Needle Set – I used 3.75 MM size hook
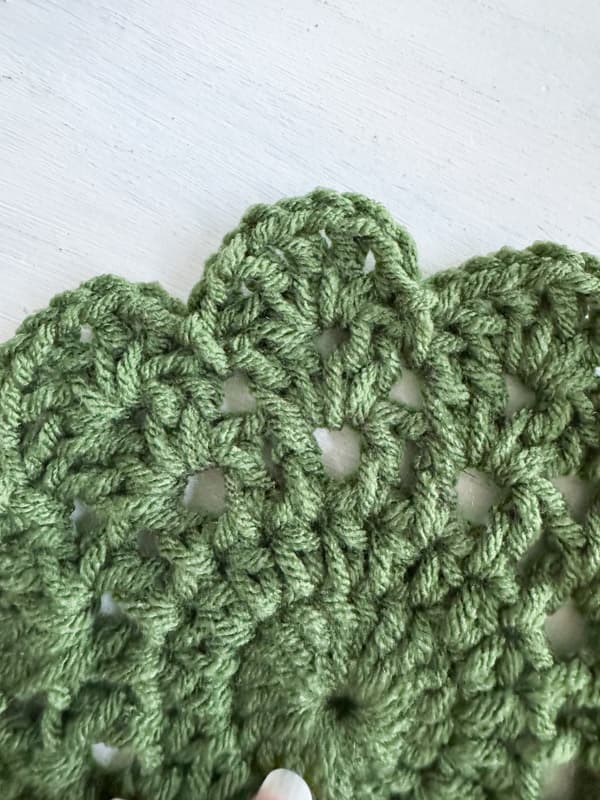
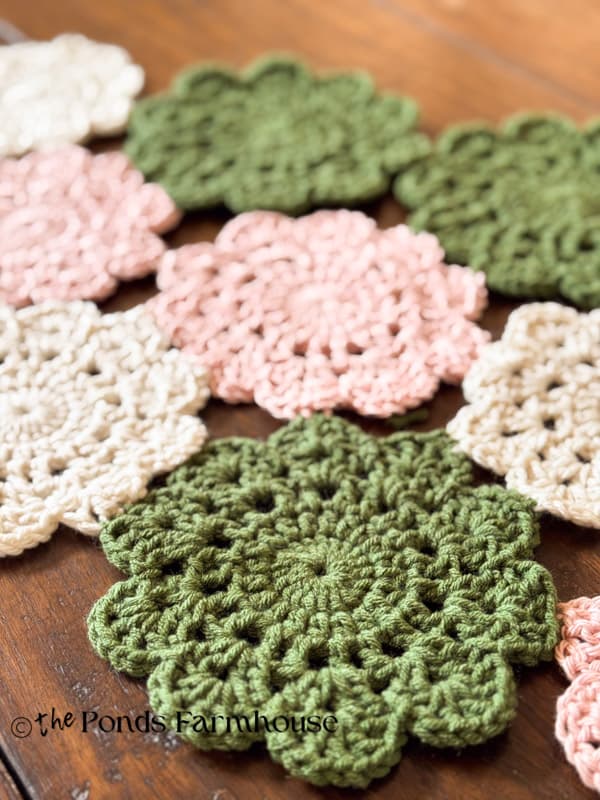
Hand Crochet Easy Doily Pattern
I previously shared a step-by-step tutorial for making this easy doily. You can see the details of the tutorial at Handcrafted DIY Crochet Doily Pattern.
If you would like a free download of the pattern, which includes both doily sizes, click on “Easy Crochet Doily Pattern” to print the instructions.
I made 7 of the larger Easy Crochet Doilies and 2 of the smaller doily pattern.
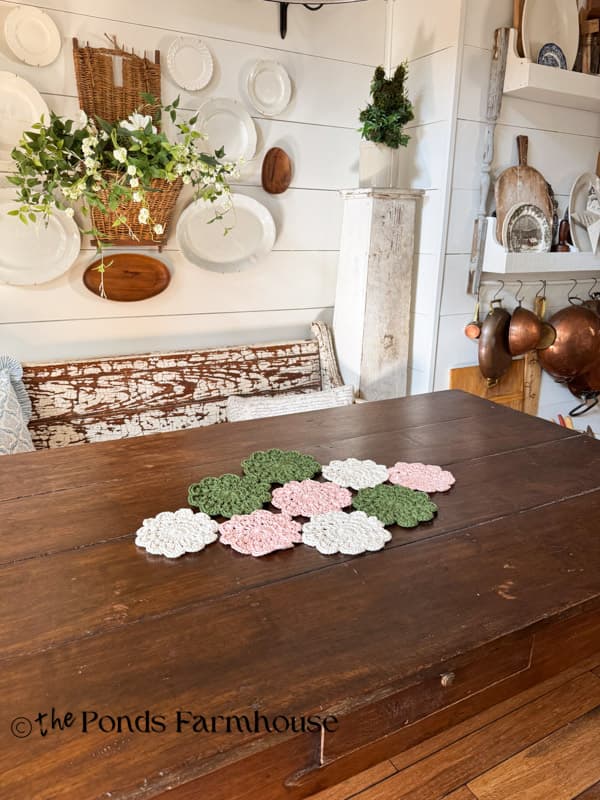
How To Attach Doilies For Table Runner
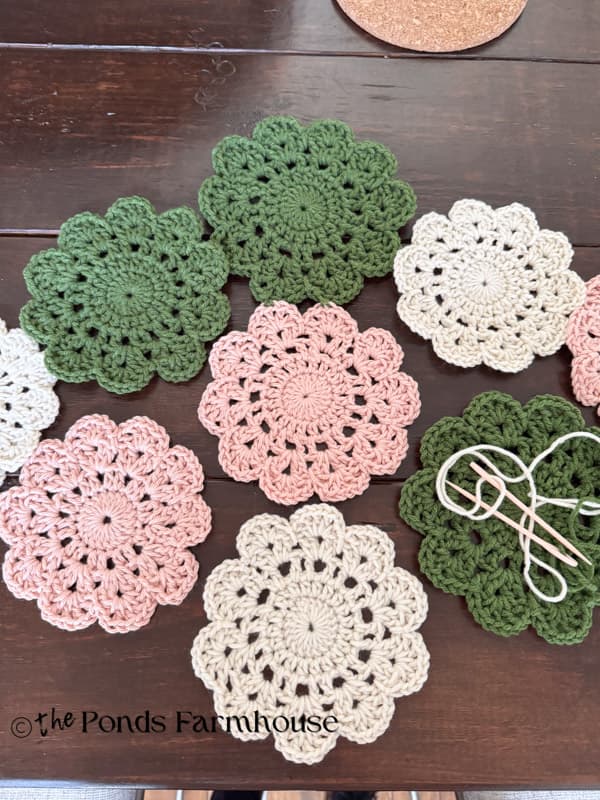
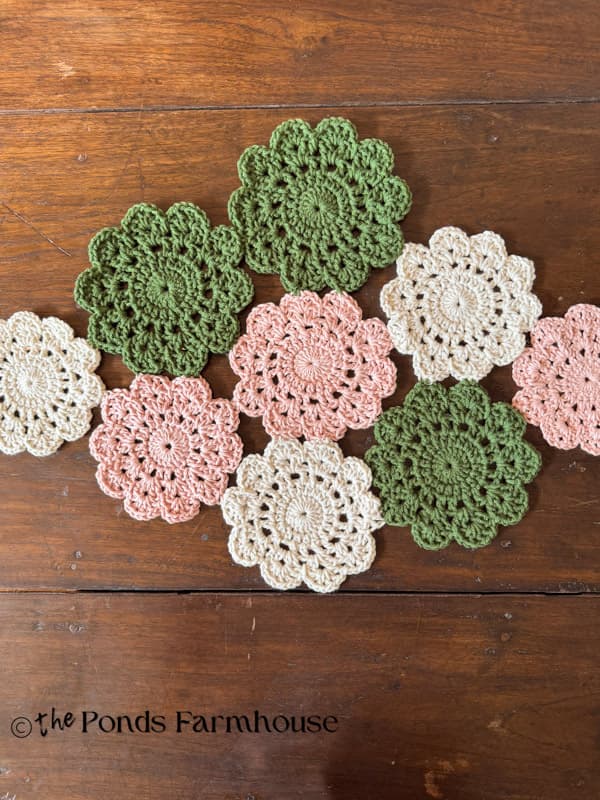
Once you have your doilies crocheted, it’s an easy process to attach them to create the table runner. Begin by arranging them in the pattern you desire. Thread your needles with the matching pieces of yarn.
I used 7 larger doilies in the center and the 2 smaller ones at either end.
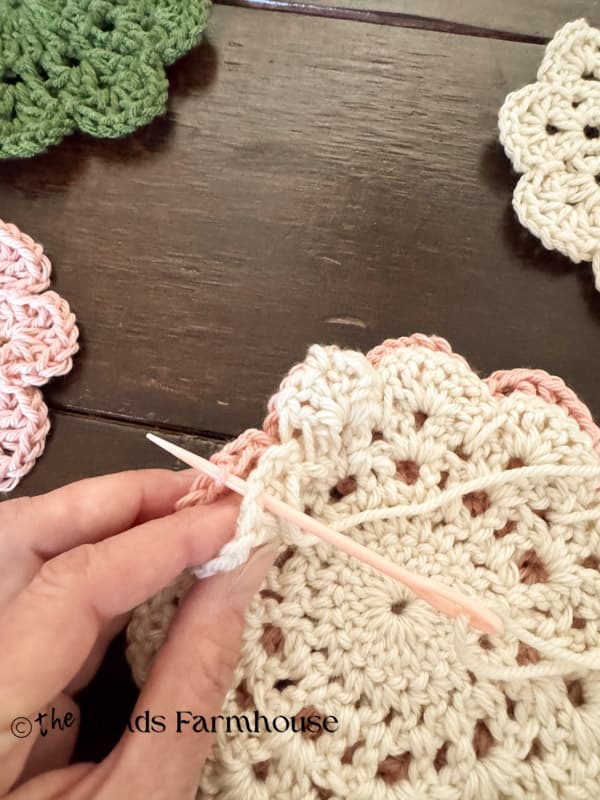
Stitch the Doilies Together
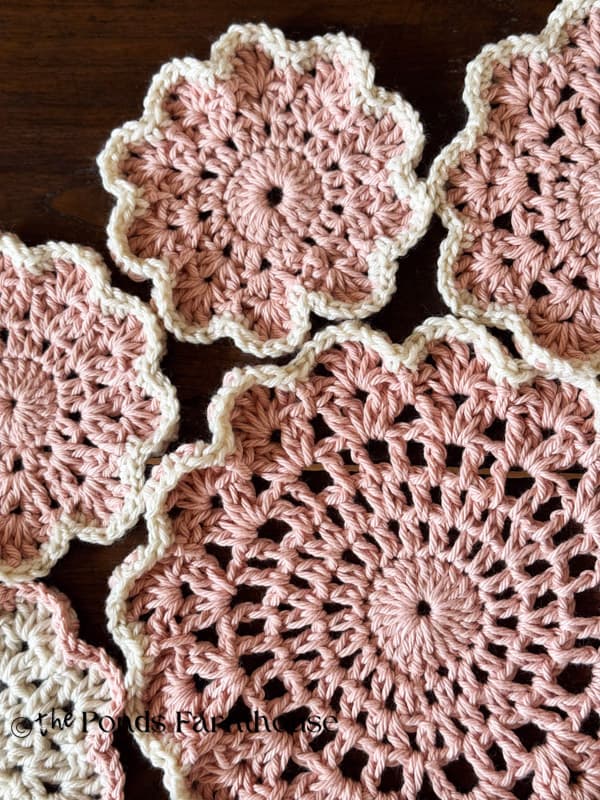
Since you are connecting different-colored yarns, use the color you feel will be less noticeable on the other-colored doily. Determine the points of contact, lay the doilies with their tops facing each other, and stitch a couple of stitches to connect them.
You only need a few stitches to connect, and then run the yarn back through the backside of the doily to secure. Trim any excess yarn.
I arranged my doilies so that the colors were scattered around the table runner. This would also be lovely in one solid color.
Layer Textiles
Don’t feel you have to use the table runner alone on a bare table. I’m loving this fun block print tablecloth from Cotton Print Club. The doily table runner adds to the handcrafted, modern heritage style of the tablecloth.
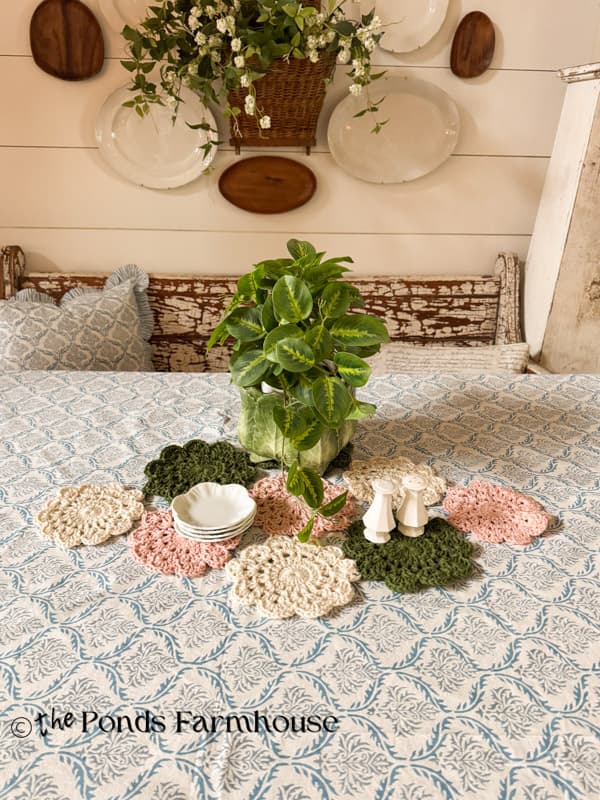
How to Style Your Table With a DIY Crochet Table Runner
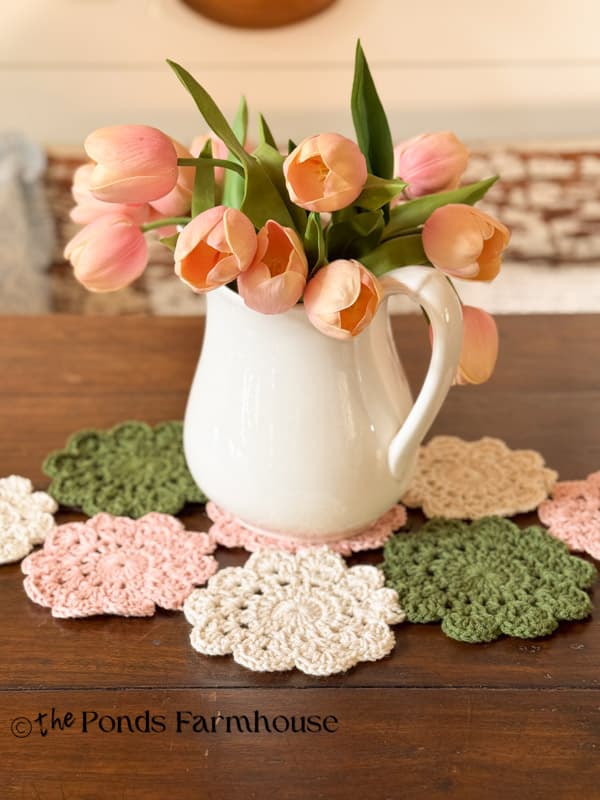
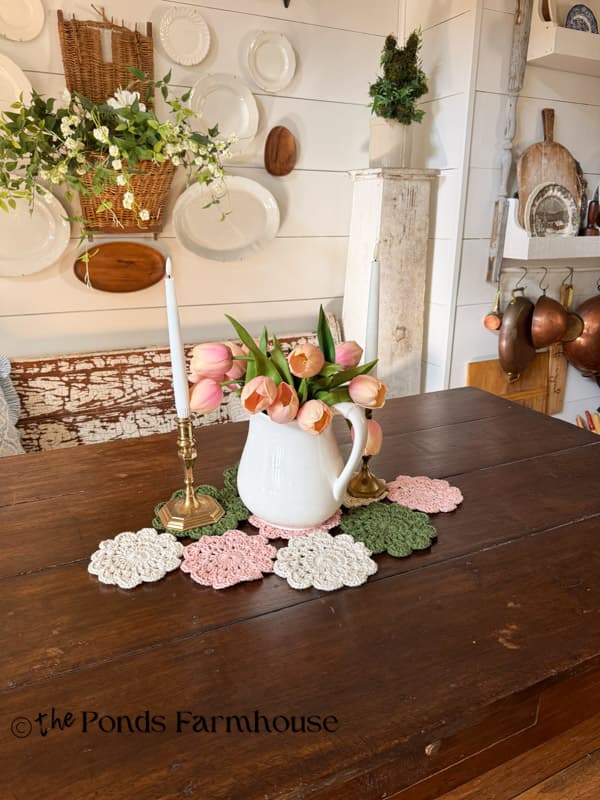
The crochet doily table runner looks so lovely at the center of my rustic farmhouse table that I hesitate to add other decor. If I hadn’t planned to add place settings when using the runner, I would have made it longer for greater impact.
The crochet pattern adds a colorful, fun texture to the table center.
But I’m using it as the foundation for the table centerpiece, so I did add a simple ironstone pitcher filled with faux tulips. The pitcher allows the table runner to still shine on the table.
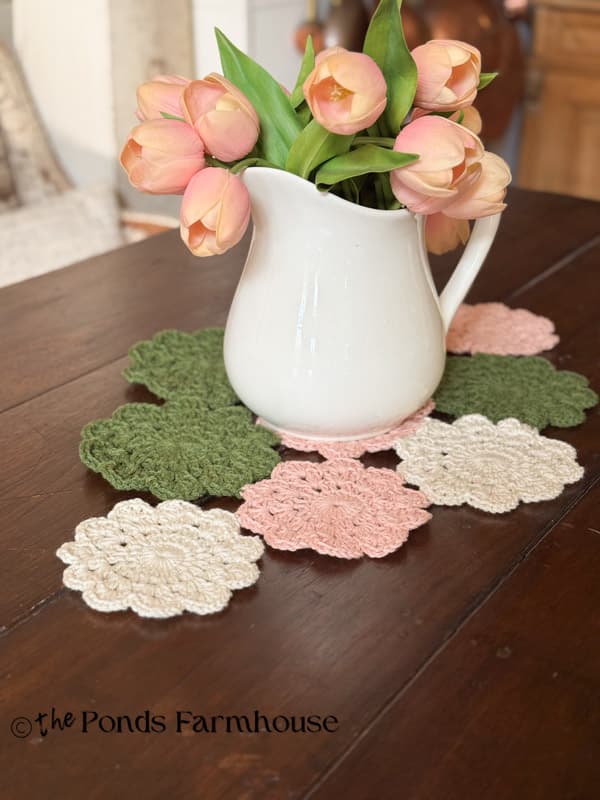
A couple of vintage brass candlestick holders and flicker tapers complete the simple centerpiece. There is still room on the table to add the place setting and serving pieces.
Additional Options for Decorating With Crochet Table Runners
Want some additional options to decorate with your crochet doily table runners? Here are some creative ways to add colorful texture to other areas of your home.
Other Surfaces To Showcase Doily Runner
- The Mantel: Place the doily runner in the center of the mantel and let it drape over the edges for a decorative touch.
- The Rustic Coffee Table: A shorter version of the runner is perfect for a coffee table. Layer it with a tray, books, candlesticks, etc.
- A Console or Entryway Table: Add a nostalgic touch to your entryway. It softens the look of a wooden console and makes the entryway feel immediately welcoming and “handmade.”
- Bedroom Dresser or Nightstand: Add a “shabby chic” romantic touch to your bedroom. It’s also a practical way to protect the wood surface from jewelry or perfume bottles.
Go Vertical: Hang Your Doilies
Doilies are not just decorative for table tops. With many designs and intricate patterns, they make amazing art, window treatments, and more.
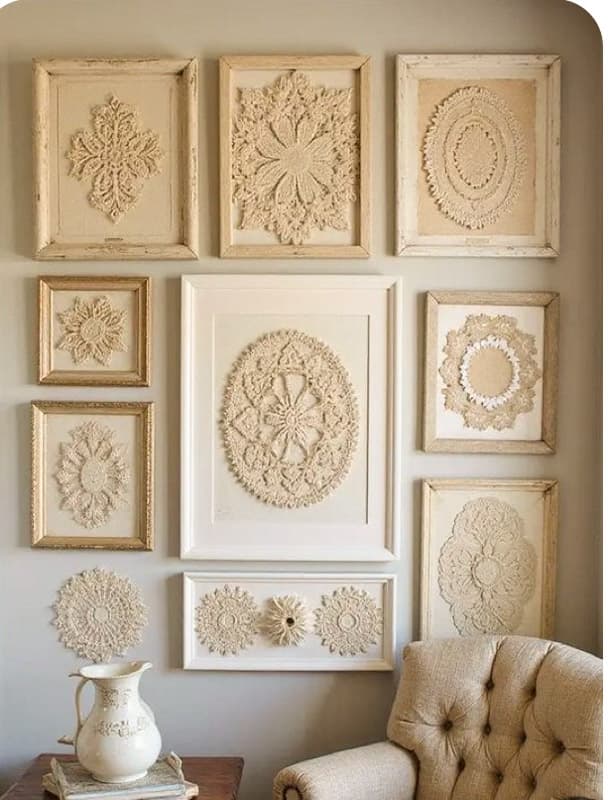
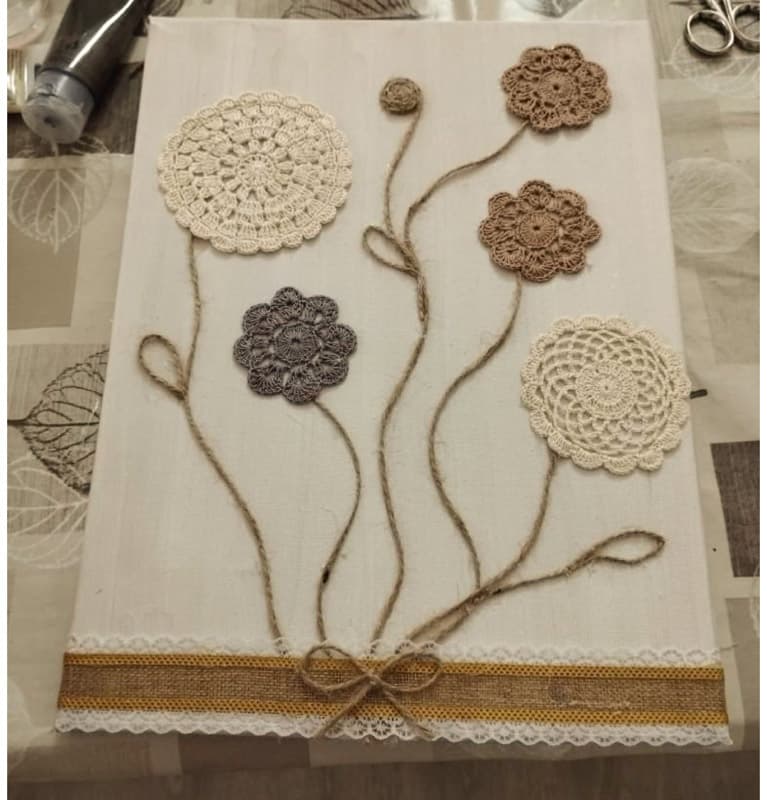
Crochet Doily Wall Art:
- Add a narrow wall strip to hang a runner for a decorative wall hanging.
- Frame Doilies individually
- Attach doilies to a canvas for wall art
Window Valance: A cafe-style window valance made with crochet doilies would be adorable.
Create Different Designs of Runners
You can choose to arrange your doilies in any way to accommodate the surface of the wall you want to use them for. If you have a round table, you can create a round runner by using a larger doily in the middle and surrounding it with the smaller ones.
Get creative with your designs.
FAQ
I hope you enjoyed today’s “Old School” Nostalgic craft, and I look forward to sharing more ideas with you soon.