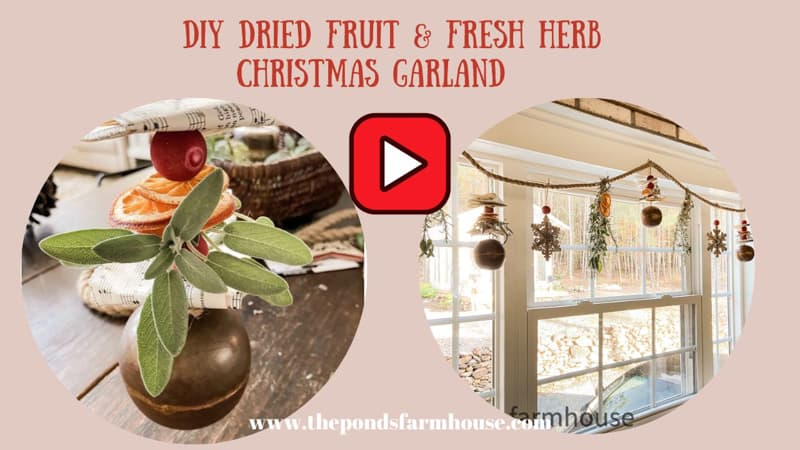
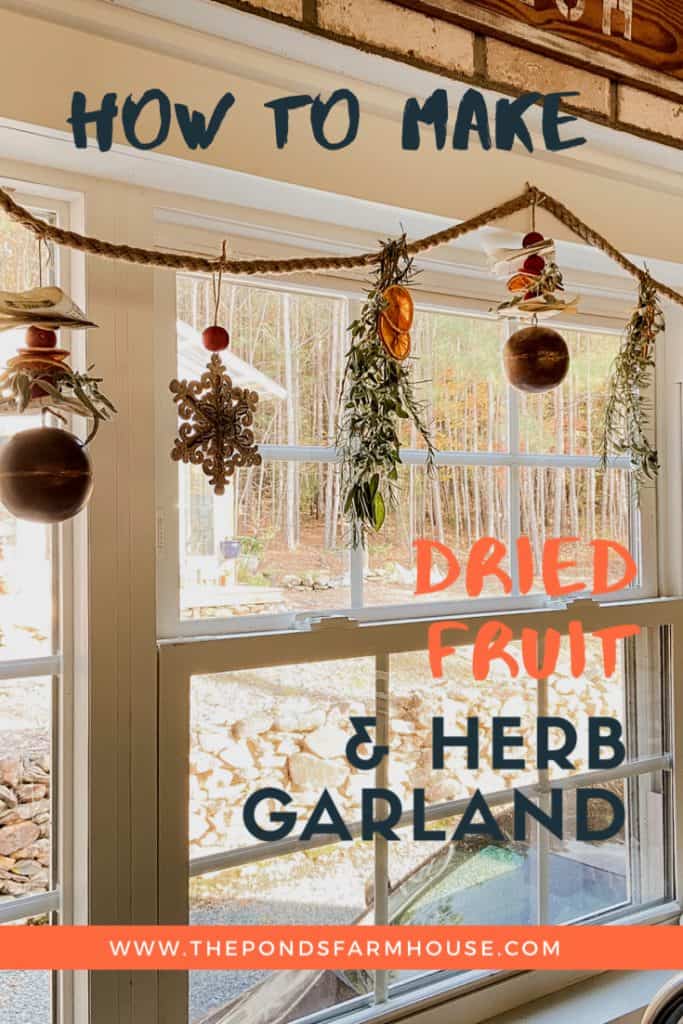
How To Make A Dried Fruit & Herb Christmas Garland
See how to easily make a unique, sustainable dried fruit and herb Christmas garland. I’ve made several dried fruit garlands for previous holidays, but this one is my favorite. Plus, it’s easy to save and reuse the following year.
Plus, I’ve updated this original post to share how you can store your garland and refresh it for another holiday season.
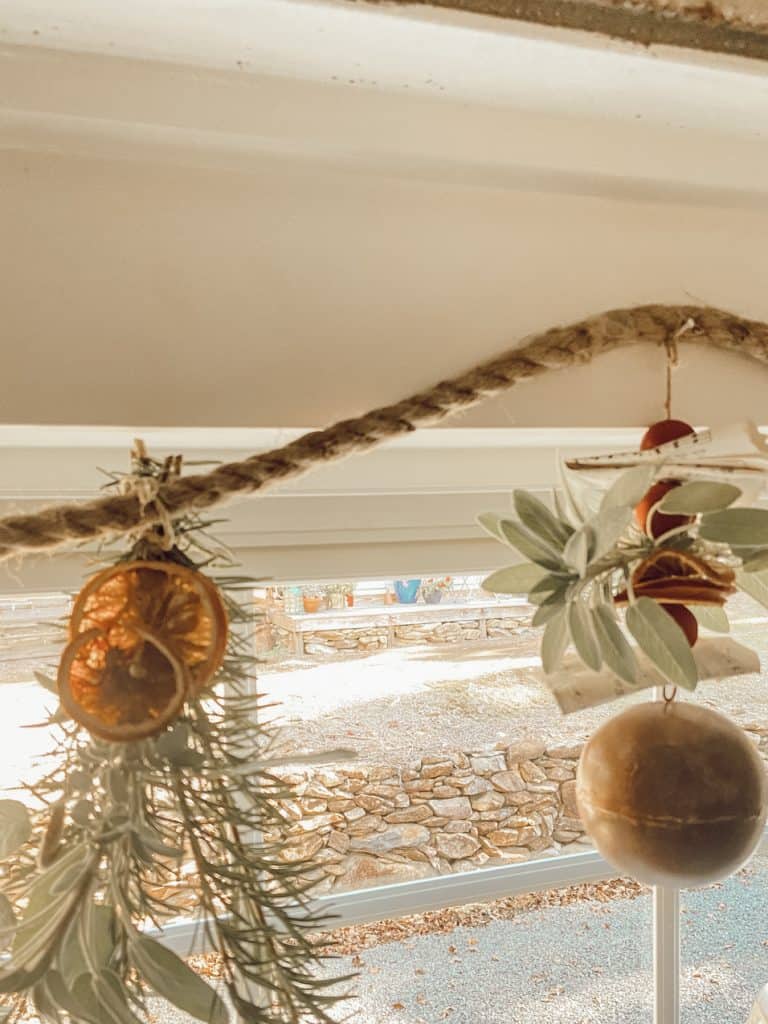
Table of contents
- Materials Needed for Sustainable Christmas Garland
- Supplies
- Determine The Length Of Your Christmas Garland
- Combine Your Herbs or Greenery
- Ball Ornament for Dried Fruit Garland
- Snowflake Ornaments
- Tie All The Sections Together To Form A Garland
- How To Hang Dried Fruit & Herb Christmas Garland
- See Video Tutorial
- Year Two – How to Reuse This Garland
- How To Refresh Christmas Garland This Year
- Watch Video – Refreshing Last Year’s Christmas Garland
- Related Articles
- Resources
Materials Needed for Sustainable Christmas Garland
First, many of the items are optional. You can choose from several fruits and herbs and the ornaments you want to add. However, here is what I used.
(Posts on The Ponds Farmhouse may contain affiliate links. As an Amazon Associate, I earn from qualifying purchases. See the full disclosure details here.)
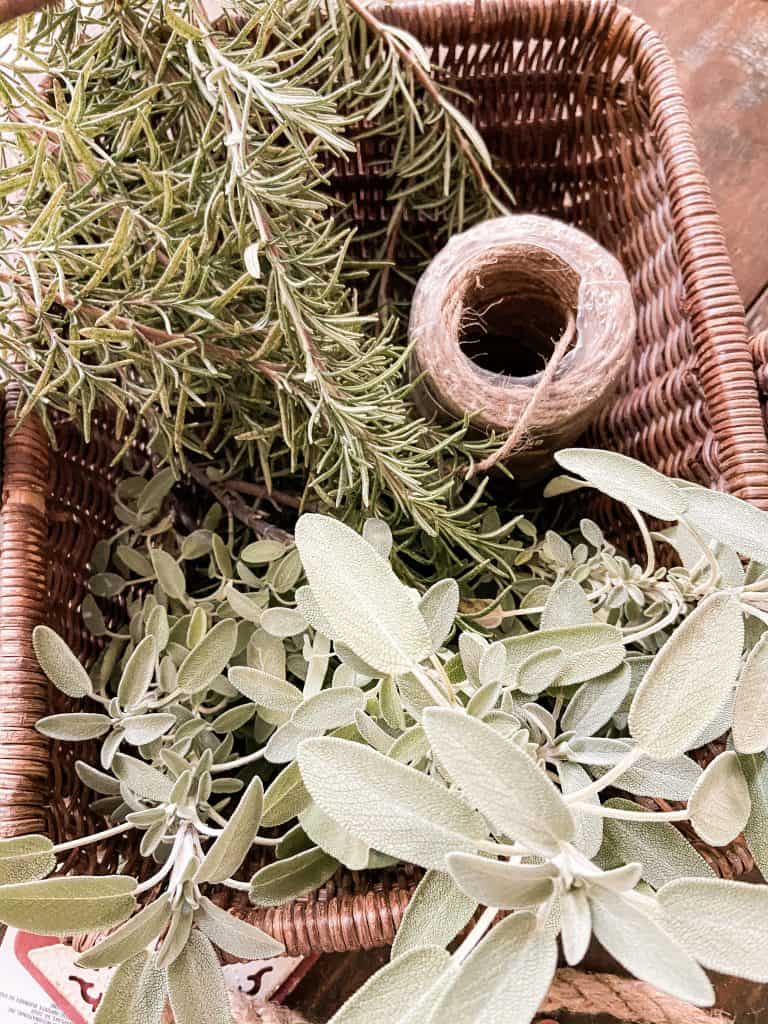
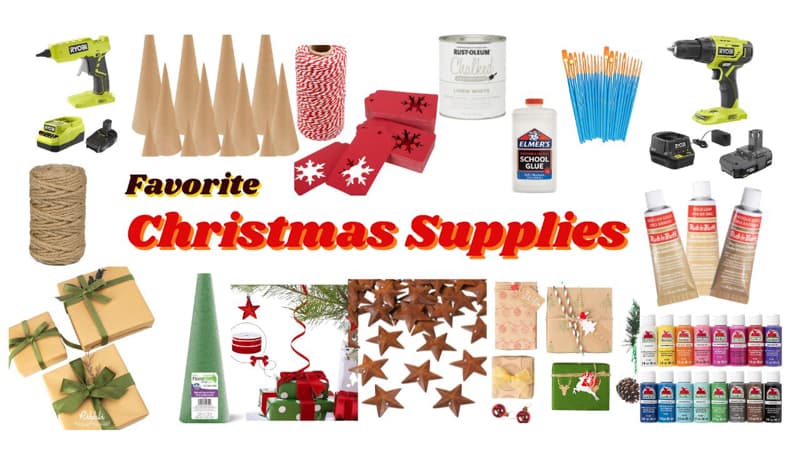
Supplies
- Heavy jute rope
- Dried Oranges – see how to dry oranges and other fruits here.
- 3 Ball shaped ornaments
- 2 Snow Flake-shaped ornaments
- 6 – Old Book or Music Pages Folded
- 11 – 1 inch Wooden Beads – 1 inch painted red or your choice of color.
- Large eye needle
- Small Jute String
- Herbs of your choice – Rosemary and sage can be substituted with Boxwood, pine, cedar, or other herbs from your garden.
Determine The Length Of Your Christmas Garland
Now that your materials are gathered for your dried fruit Christmas garland, you should cut your heavy jute rope to the desired length.
In addition, you will want to allow extra length to form a tassel at the ends of the garland. I recommend allowing more length than you think you’ll need because you can always cut off the excess.
Note: It’s better to have extra length than to cut the rope too short.
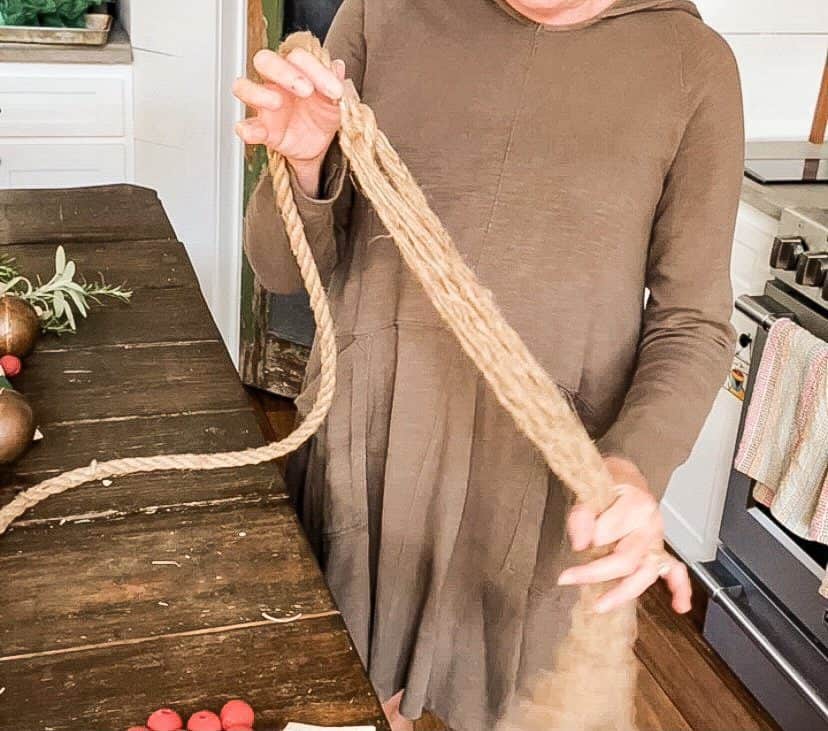
You will want to unravel the ends and then tie the frayed ends into a knot. Once the knot is secure, continue to unravel to form a tassel-like appearance for each end of your Christmas Garland.
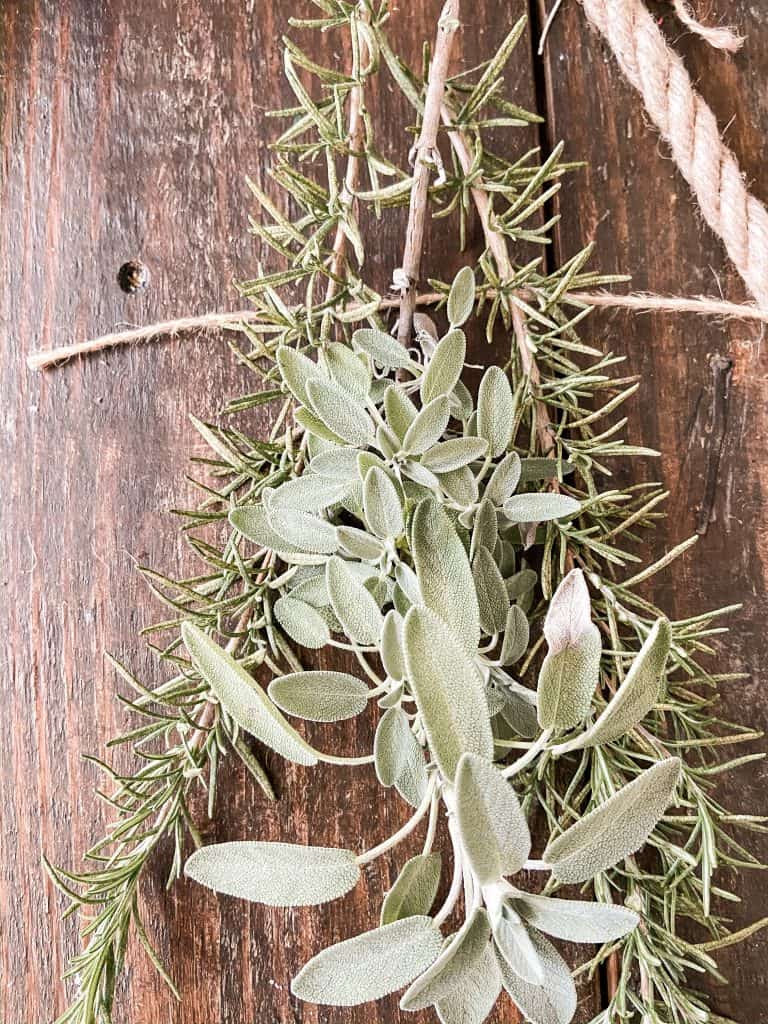
Combine Your Herbs or Greenery
For each step, you will need your needle threaded with a small jute string.
Note: If the string wants to unravel, preventing you from threading the needle, wrap the string with tape and slide through the opening, similar to the method used here for the ticking tassels.
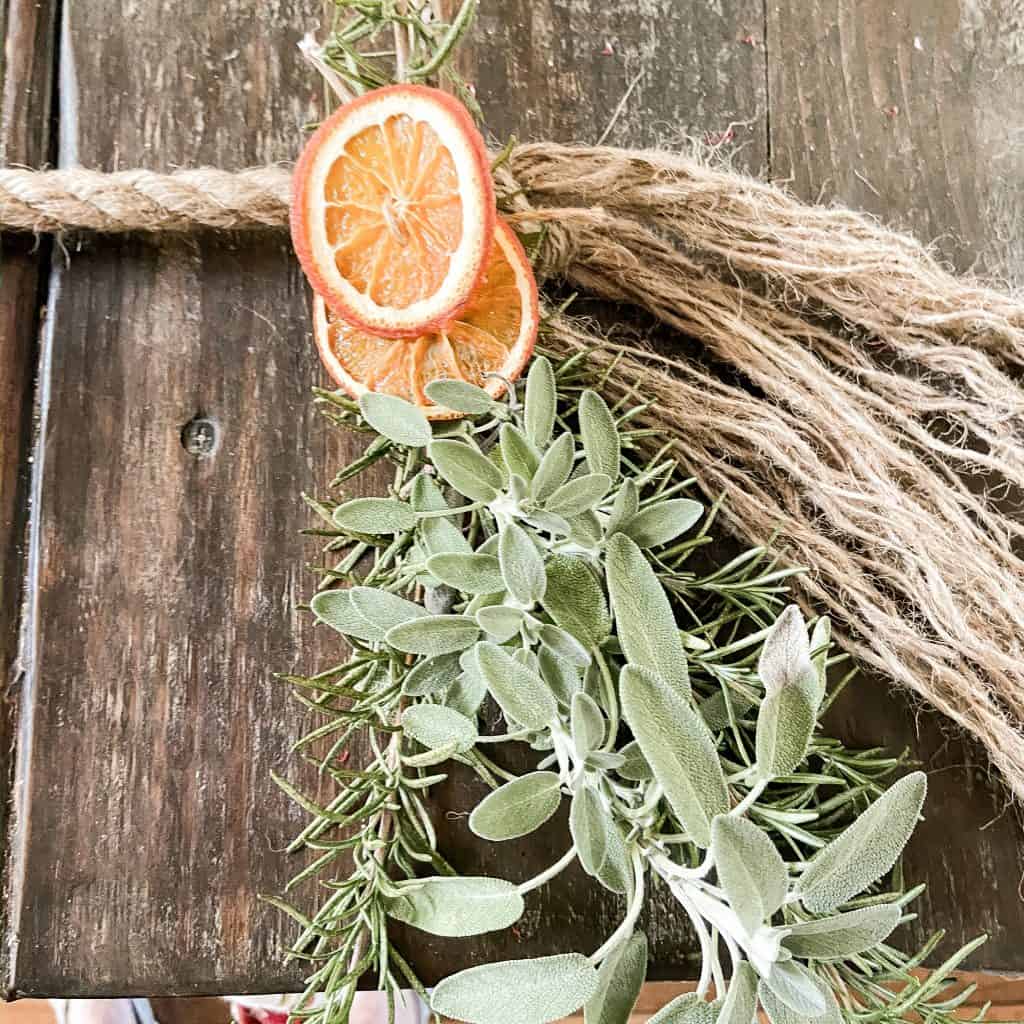
Begin by attaching the herb stems together with the jute string approx. 10 inches long. Then, thread the needle into one end of the string to attach the orange slices. I used two stems of Rosemary and one stem of Sage in the center.
Bring the jute string in from the back of the herbs and then through the dried orange slices. Be sure to pull the string gently because you can pull completely through the oranges and leave a hole.
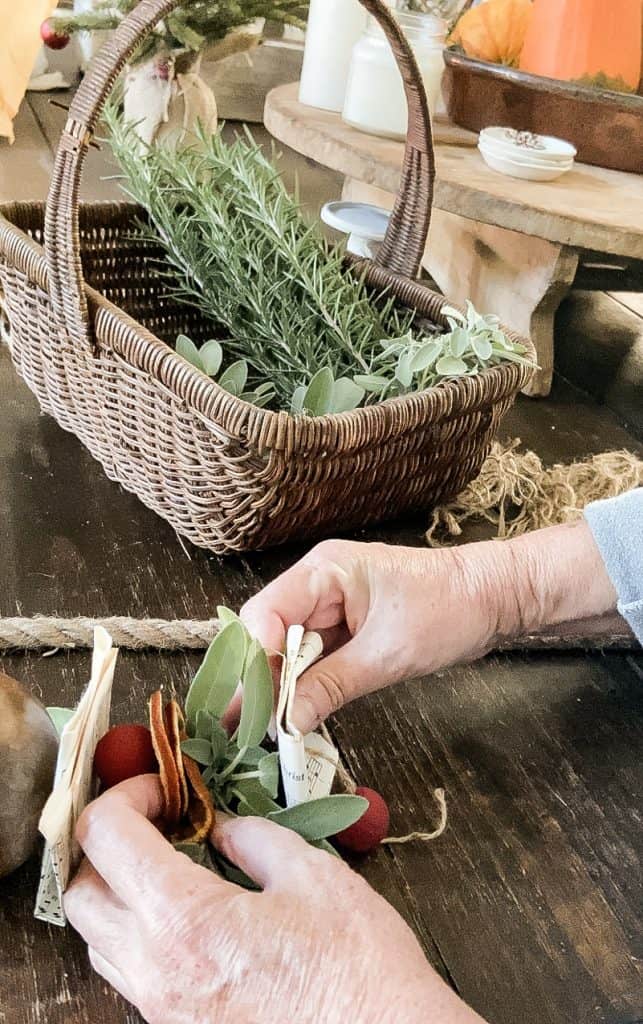
Ball Ornament for Dried Fruit Garland
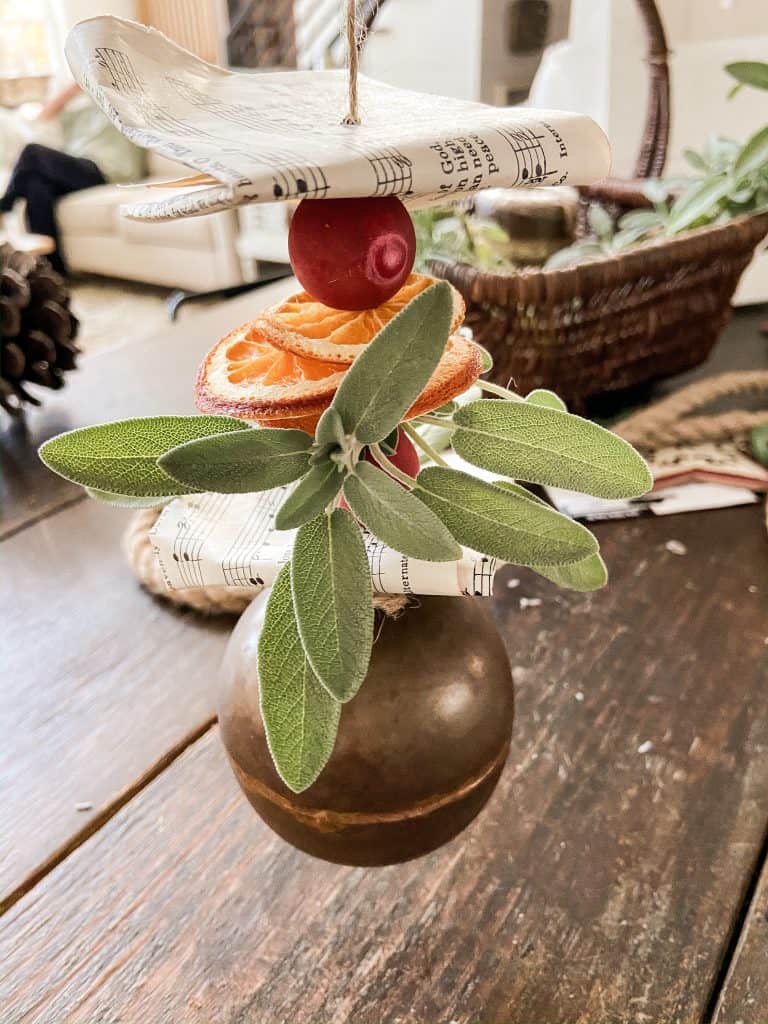
This next step allows you to be creative and make any combination you choose. I personally used dried fruit, herbs, wooden beads, and music note pages in addition to the ball ornament.
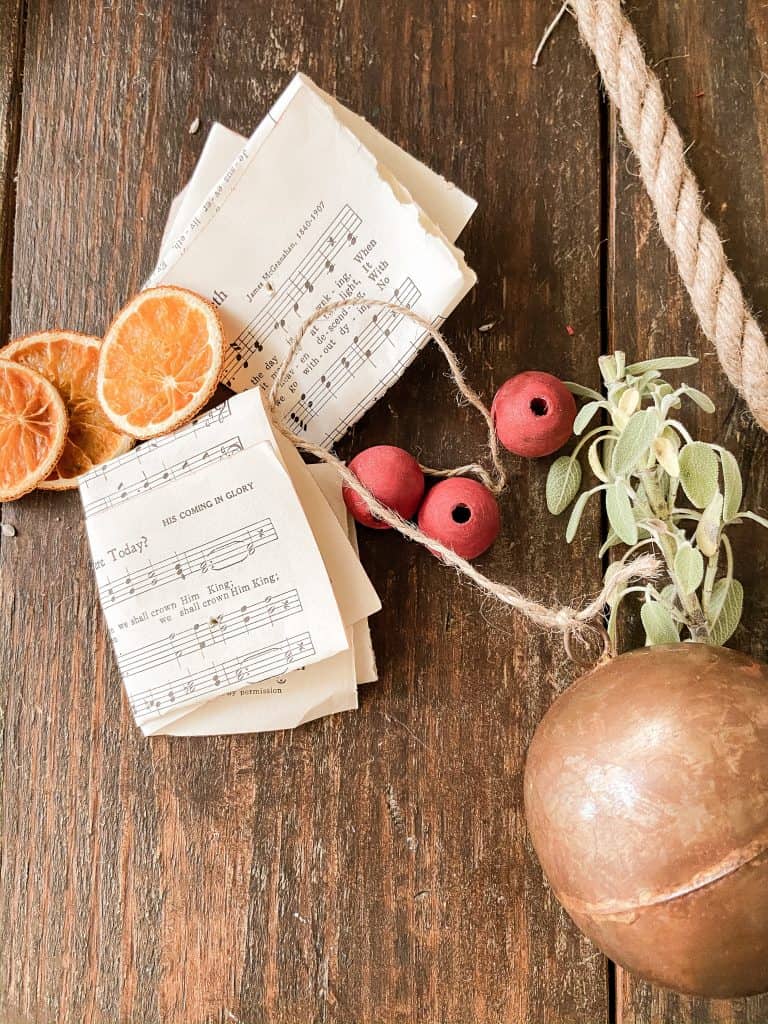
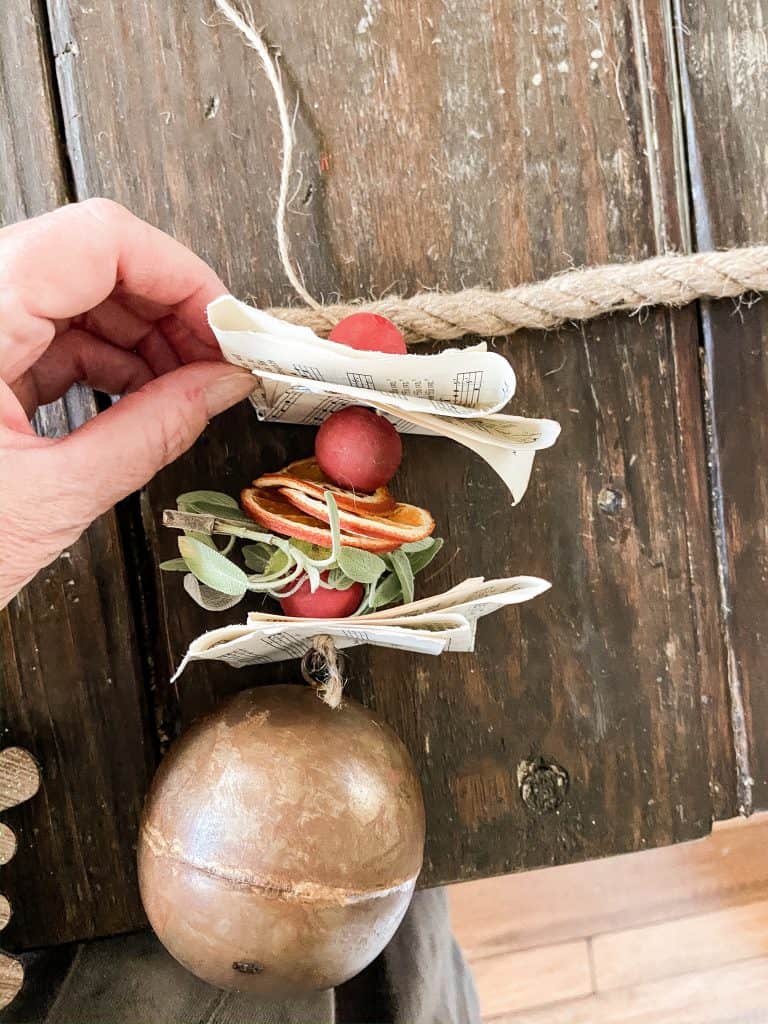
Once again, begin by threading the needle with the jute string. Tie one end to the ornament hanger and start loading the additional items by threading them onto the jute string.
Here is the order I used to make this segment of the garland.
- Music page
- Wooden bead
- Small piece of fresh sage
- Three orange slices
- Wooden bead
- Music page
- Wooden bead
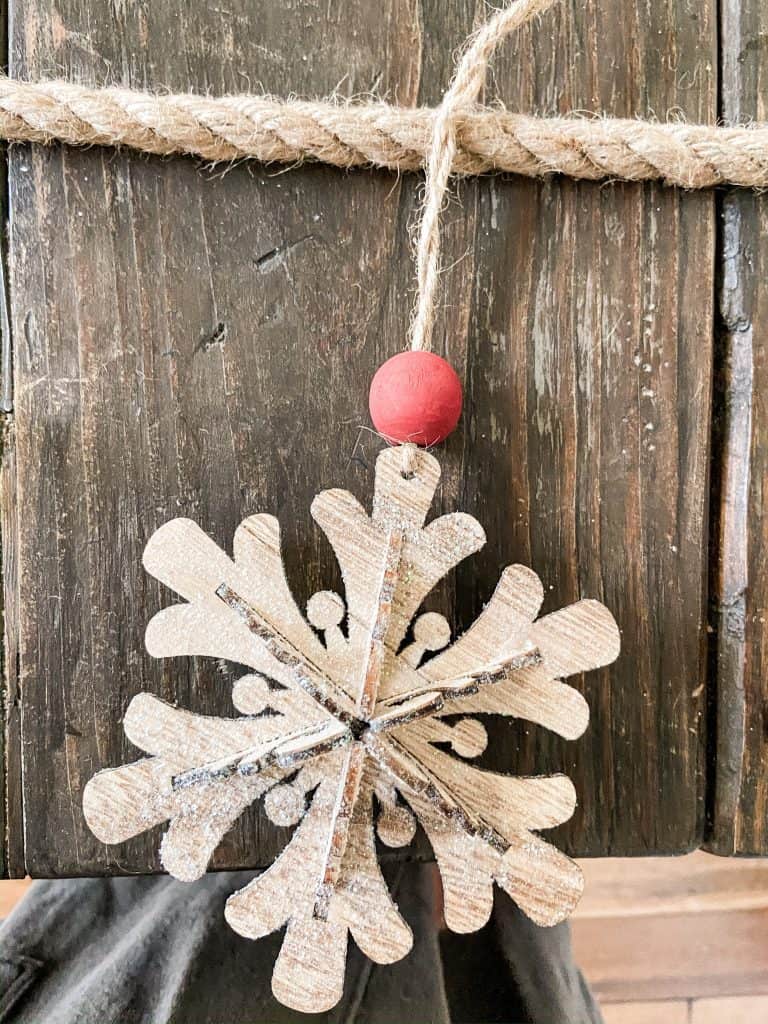
Snowflake Ornaments
The snowflake ornaments can be attached as they are. However, I added a wooden bead to the jute string.
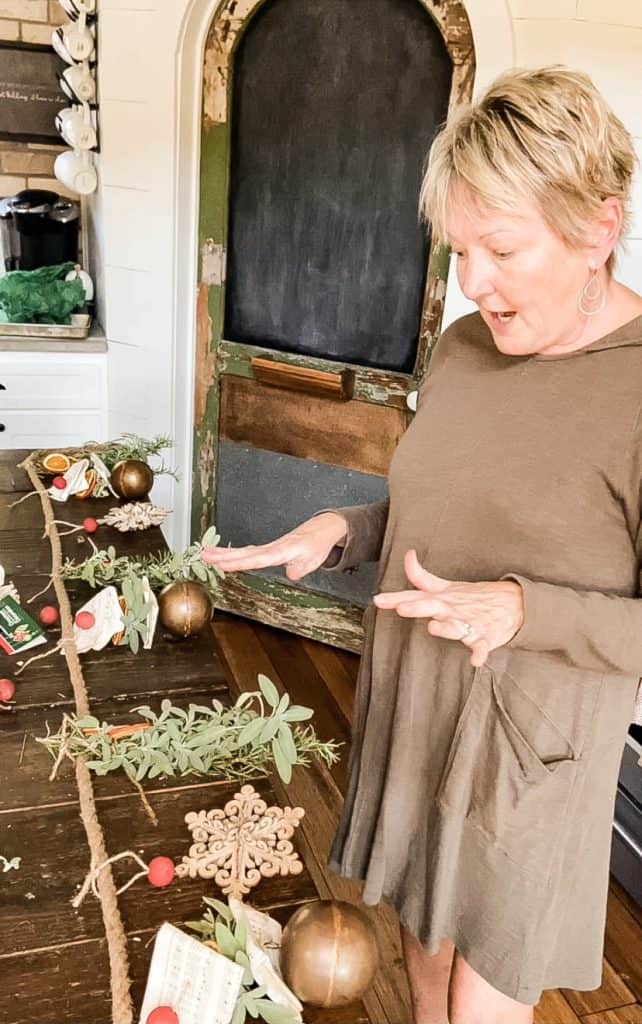
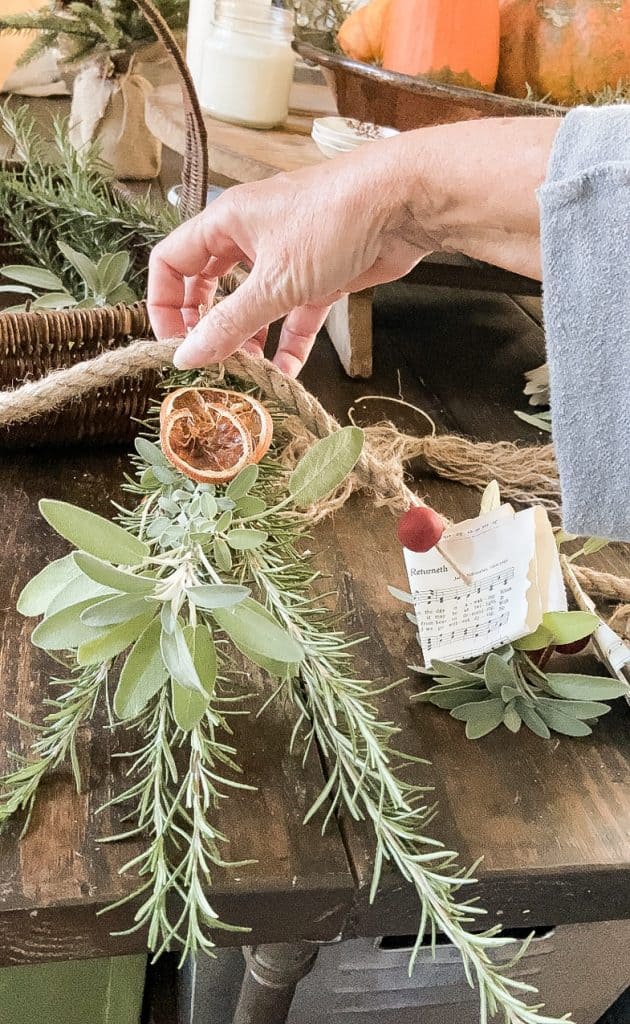
Tie All The Sections Together To Form A Garland
Finally, you want to lay your large jute rope out and align the different sections. Once you have them in a desirable arrangement, securely tie them to the large rope.
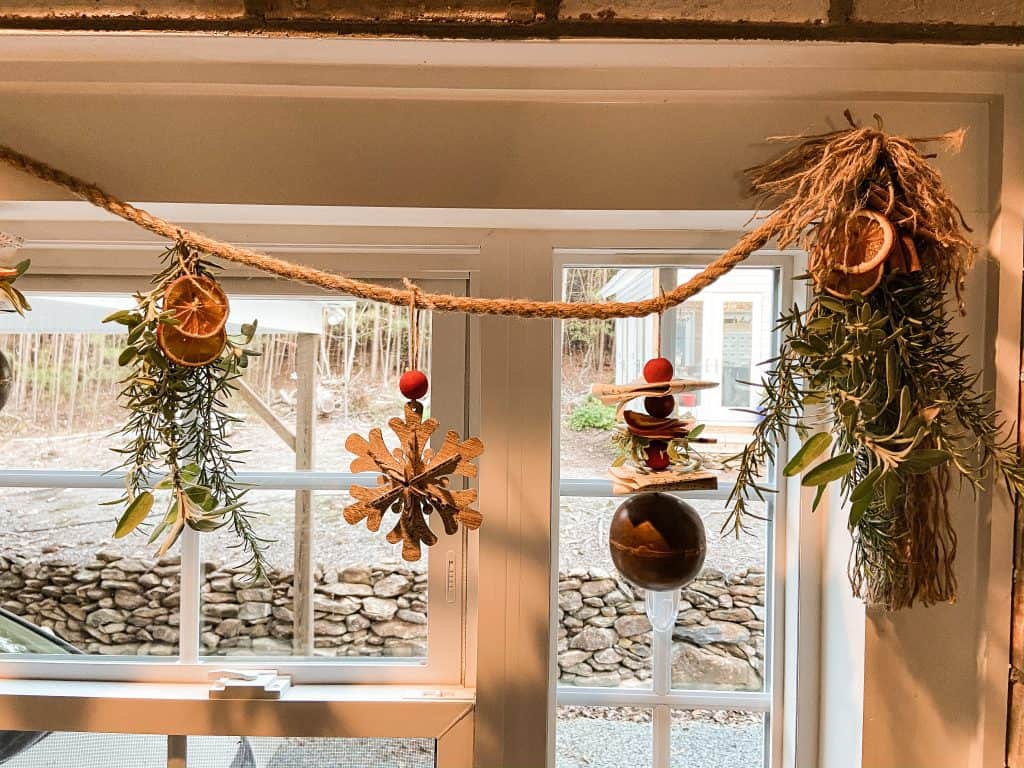
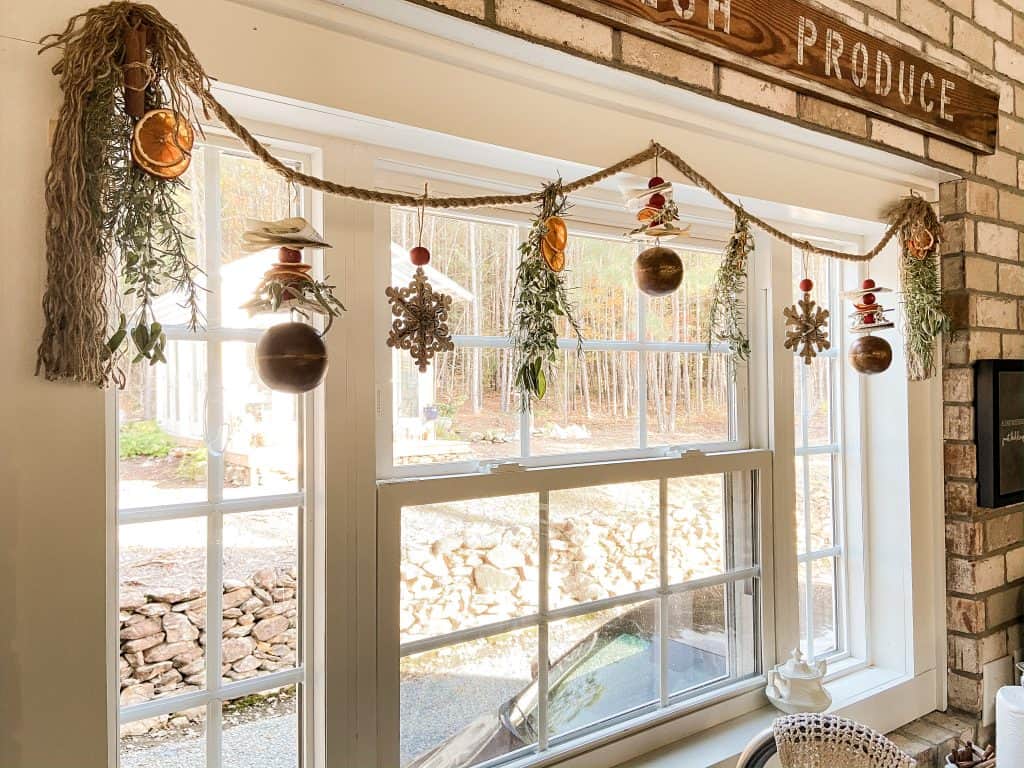
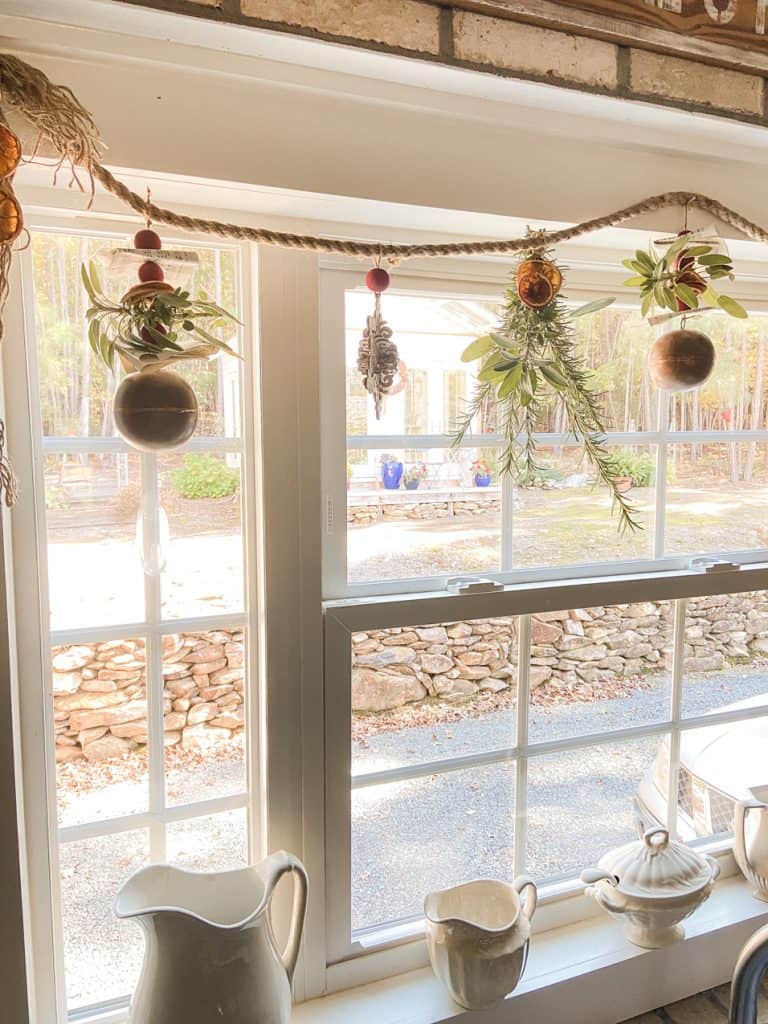
How To Hang Dried Fruit & Herb Christmas Garland
I have hung a garland over my kitchen window for several years; therefore, I have a couple of simple nails at each end with a small cup hook in the center.
Place your garland in the desired area, and if the tassels need trimming, cut them at that time. Mine needs a trim. LOL
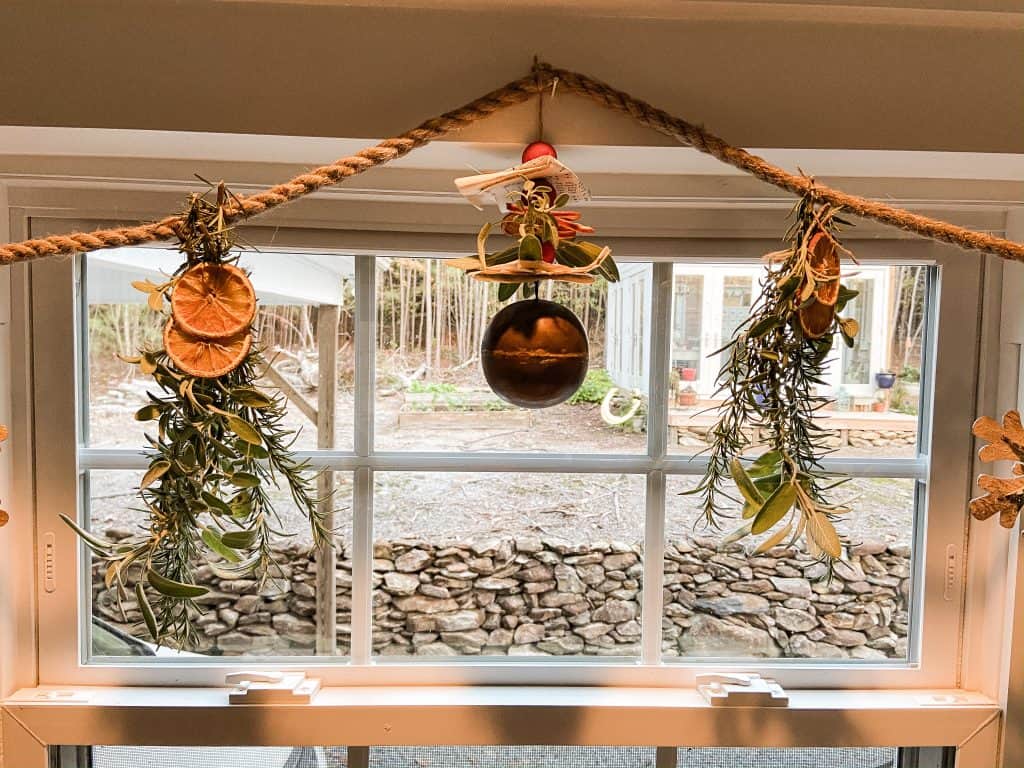
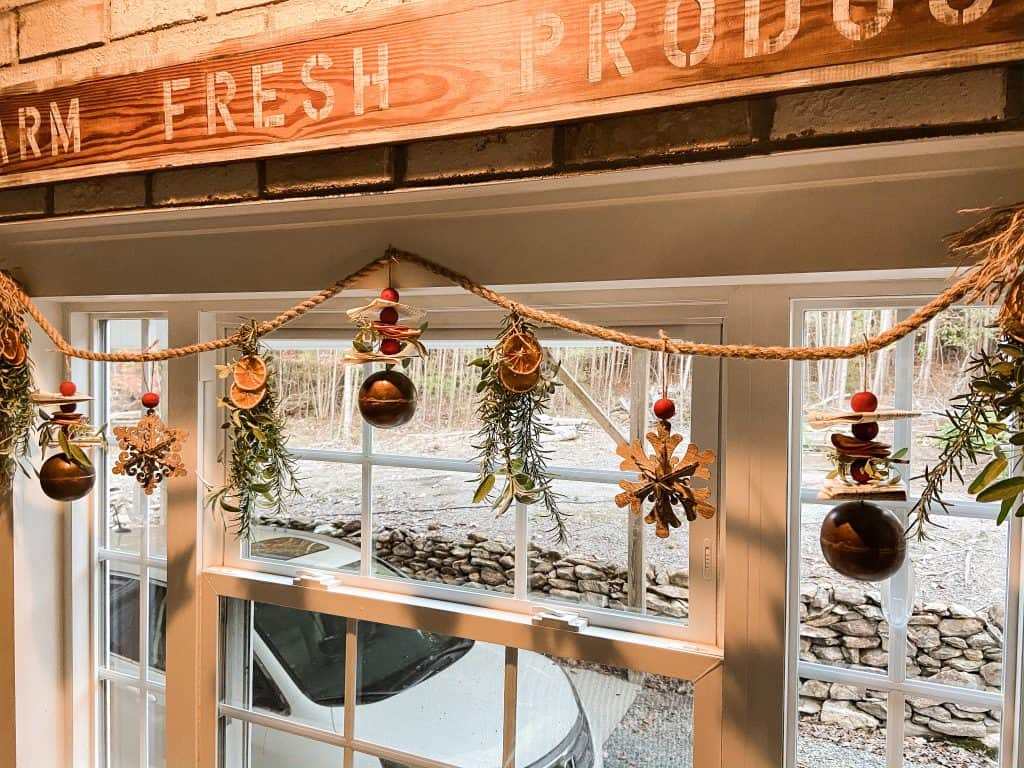
It’s hard to get a good photo because of the glare from the outside.
See Video Tutorial
I love the whimsical look of this garland and with a few adjustments, it could be used year round. See this easy garden garland tutorial for more inspiration.
Year Two – How to Reuse This Garland
First, when I stored the garland after Christmas, I removed all the fresh herbs because they had dried to a crisp. LOL. I stored all the remaining pieces in a plastic bag with Silica Packets. Now, it’s time to refresh and reuse the garland.
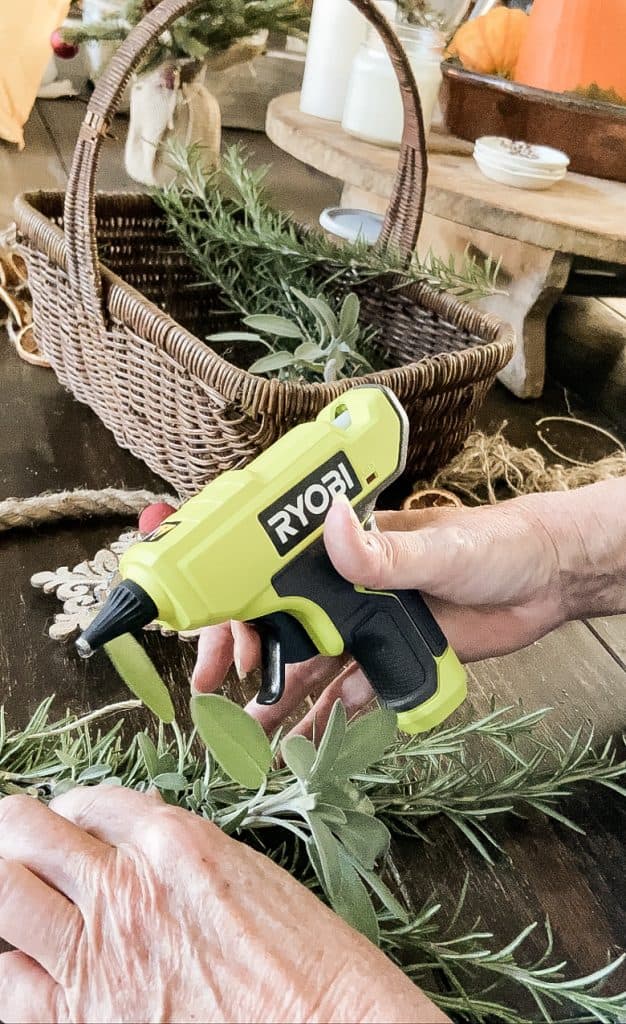
How To Refresh Christmas Garland This Year
Begin by cutting a few fresh herbs. Using a hot glue gun, attach the herbs to the spot where they were located last year.
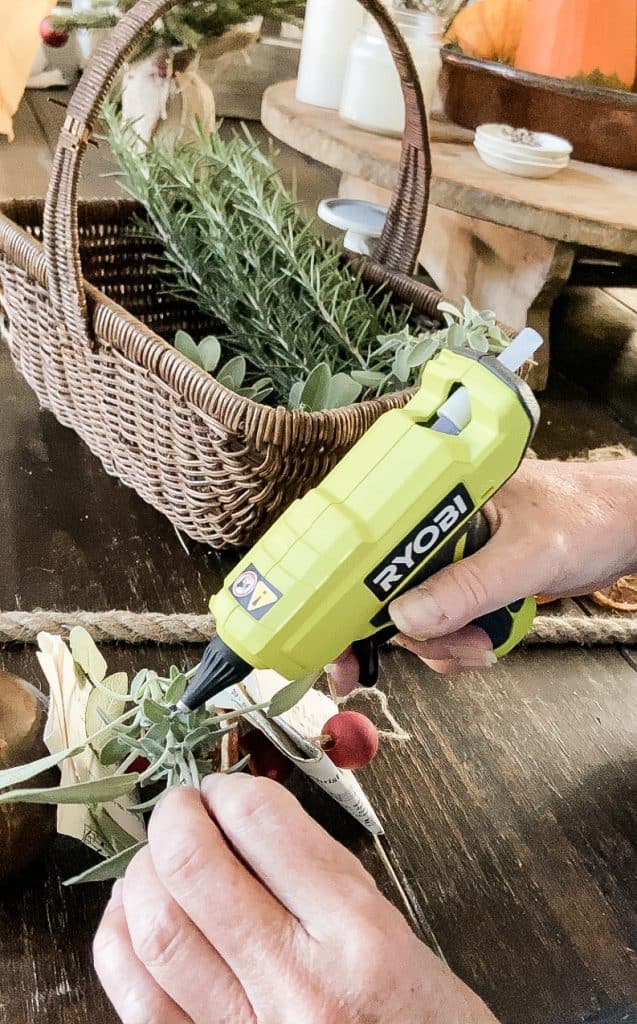
Recreate the herb swags with twine or jute string and hot glue the dried oranges back to the herbs.
The cordless Ryobi Hot Glue Gun was so convenient for attaching all the fruit and herbs.
Tie all the pieces back onto the jute rope and hang. The dried fruit Christmas garland looks fresh and new again.
Ready for another holiday season?
Watch Video – Refreshing Last Year’s Christmas Garland
Related Articles
Don’t miss out on how to make this easy Kissing Ball, another eco-friendly Christmas Craft.
See this simple Dried Pear and Orange Garland Tutorial for another option.
You might also enjoy learning How to prepare for Christmas Decorating.
You might also enjoy learning How to use fresh greenery to make a Christmas Centerpiece.
Resources
Thanks so much for stopping by today! I can’t wait to share my next adventures with you!

Pin It To Remember It
Did you find some great ideas you’d like to save for future reference? Hover over the images you’d like to save and pin to your favorite Pinterest Boards when you see the PIN button.


This is so fun and festive! I want to do this before Thanksgiving. It looks so good. xoxo
Stacy,
I’m so glad you like it. Thanks.
Rachel
Adore this Rachel. Have never tried anything like it but will since you gave us how to dry the fruit yesterday! I love the added details. Can I just come live with you for a week? I love it all!
Cindy,
You are so kind. Thanks you for your continuous support.
Rachel
This is such a great idea Rachel! Love it and pinned so I can try it myself!
Kim,
I’m so glad you like it.
Rachel
Hi Rachel,
Can you believe I just putting my dried fruit garland together this weekend?
I did ut differently but it’s beautiful. Sharing very soon.
Cindy
Cindy,
I can’t wait to see.
Thanks for stopping by.
Rachel
I love this natural herb and fruit garland, Rachel! Perfect for a rustic farmhouse look! I’ll be featuring you tomorrow at Tuesday Turn About! Pinned (twice!)
Julie,
I really appreciate this. Thanks so much Rachel
okay, so you know what I’m about to say right? I loved this so much I’m featuring it over at the Farmhouse Friday Link party! Congrats! You deserve it.
Cindy,
You are the sweetest. Thank you.
Rachel this is such a great tutorial! The garland is son pretty and so creative. I love it! I wish I had a kitchen window above our sink…someday! Pinning!
Kelly,
Thanks so much! I appreciate you so much for all you do.
Rachel
Love that garland! Beautiful.
Thanks, I’m so glad you like it. Rachel
LOVE this. Different and still festive abd great for Turkey day and Christmas and new Years! brilliant!
I really appreciate your comments.
Rachel,
This is so beautiful; I’ve never made a dried fruit garland but now I am thinking it’s a must!
Thank you for sharing…pinned.
xoxo,
Brendt
Brendt,
It’s my favorite. Thanks so much.
Love these! Such a fun idea!
Anne,
Thanks so much.
I don’t remember this one, love it!!
Jennifer,
Thanks so much.
Such a great idea Rachel! Pinned
Stacy,
Thanks so much.
Rachel, I absolutely love this! Another of your ideas that I am definitely going to make. Thanks for the inspiration!
Frances,
I’m so glad you like this idea. I have used it for several years.
This is a super cute ideas. Your creativity is endless.
Renae,
I appreciate your sweet words of encouragement.
do you have a resource for snowflakes. Love garland
Vicky,
I don’t but I will look o see if I can find one.