
How To Make An Easy DIY Summer Wreath With Butterflies
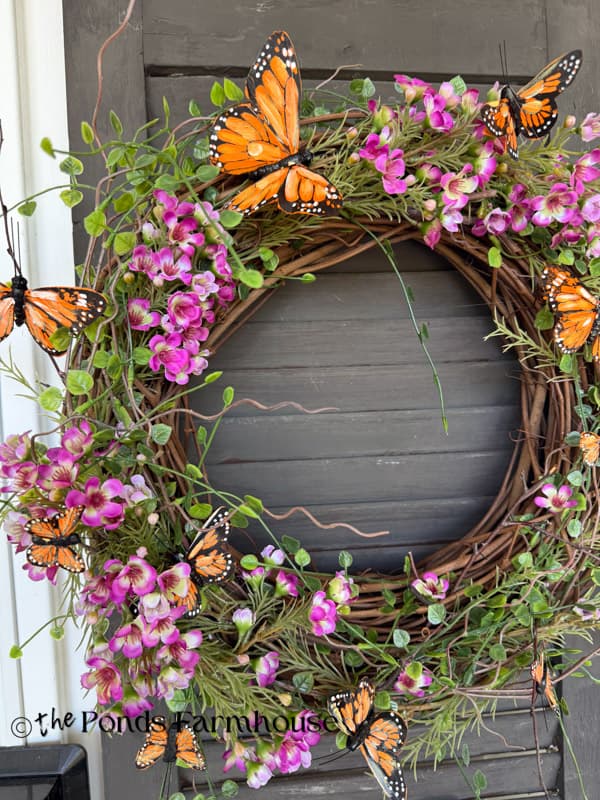
Hey friends, wait until you see my latest DIY summer wreath idea! I wanted a fresh look for our front porch this season, so I decided to make a couple of whimsical butterfly wreaths.
I turned recycled grapevine wreaths into stunning porch decor with just a few faux flowers, wispy greenery, and some decorative butterflies. I made two wreaths in less than an hour, and today I’m going to show you exactly how easy they are to make.
Let’s get started!
(Posts on The Ponds Farmhouse may contain affiliate links. As an Amazon Associate, I earn from qualifying purchases. See the full disclosure details here.)
Supply List
Because I have a French door on my front porch, I made two wreaths. However, I’m sharing the supplies needed to make 1 wreath. Just double the amount if you need two wreaths as well.
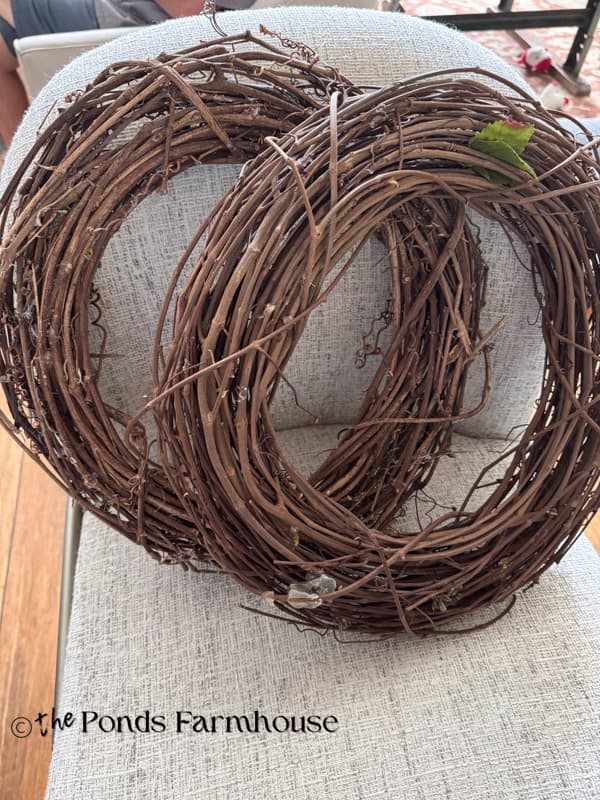
- 1 – Grapevine Wreath – 14 Inches
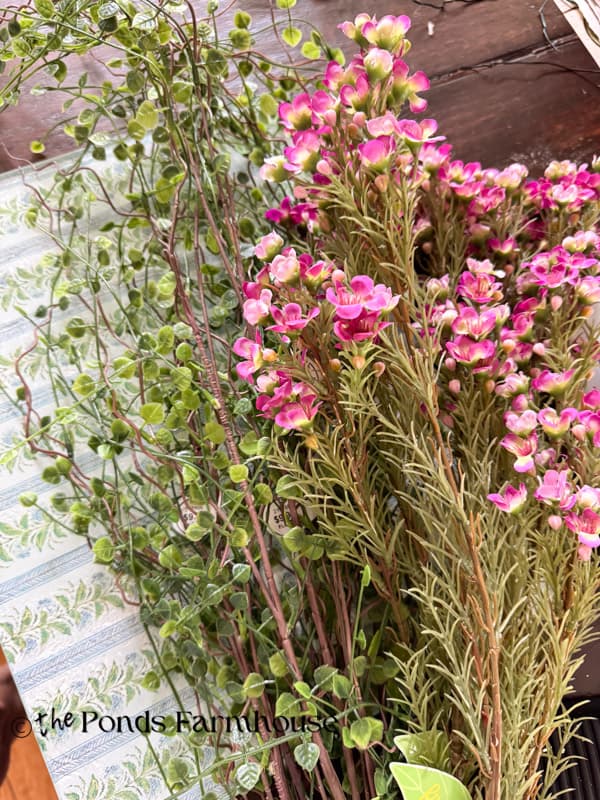
- 1- 2 – Large wispy greenery stem or these similar stems
- 2 to 4 – Floral Stems – Similar flowers
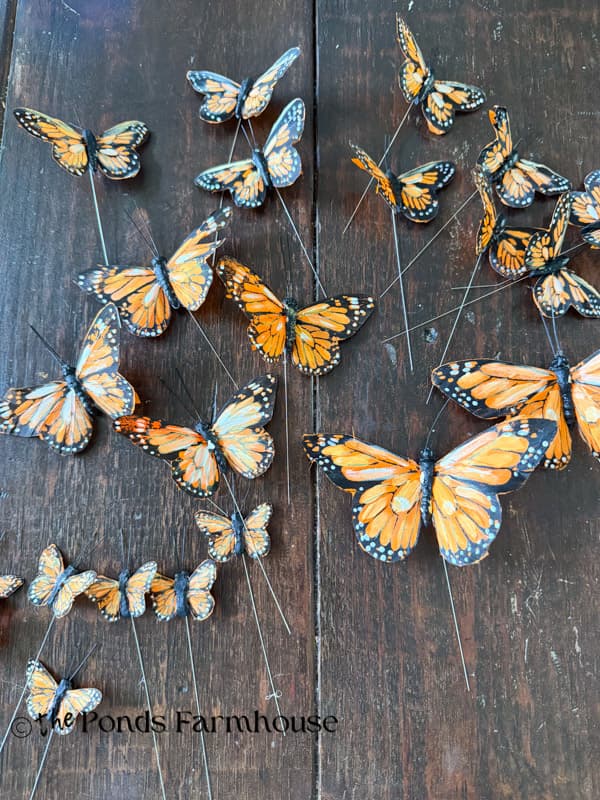
- 1 Package of 24 Butterflies – there is enough in one package to make 2 wreaths.
- Hot Glue Gun
- Gathered small twigs
- Twist ties – I used a trash bag twist ties.
- Wire snips
- S Hooks (Optional)
How To Prepare The Floral Stems for a Summer Wreath
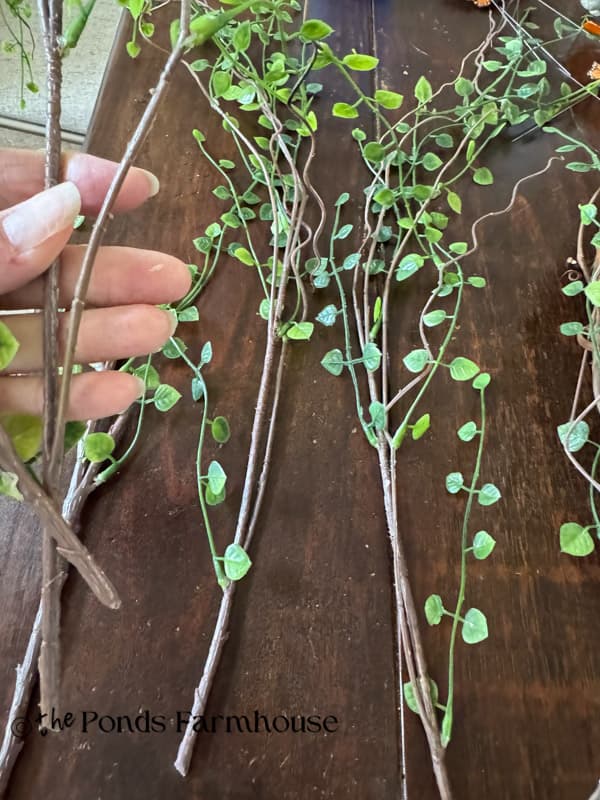
First, I used wire snips to cut the greenery and floral stems into smaller pieces. My flowers had a lot of greenery on very long stems, so I cut the flowers off and then cut the greenery into small pieces. In addition, I gather some small twigs from my yard to add to the grapevine wreath.
Also, the butterflies I used come in a package of 24 in four different sizes. So I separated them by size to easily determine which to use on the wreath.
How To Attach Stems Step-By-Step
Once you have all your stems cut and your butterflies separated by size, you are ready to begin adding them to the grapevine wreath.
Step 1 – Add Greenery Stems
I began by adding the greenery stems to the grapevine wreath, working them into the spaces in the vines. Most were very secure; however, if they are not holding, you can add a drop of hot glue to secure.
Start at one side and work the stems outward in both directions until they meet on the other side of the wreath. Allow the stems to be thicker at the beginning and thinner as they meet on the opposite side.
Step 2 – Add Floral Stems
Next, I began to fill in around the greenery with the floral stems. Since they are somewhat heavier than the greenery, I used some twist ties to secure them to the grapevine wreath.
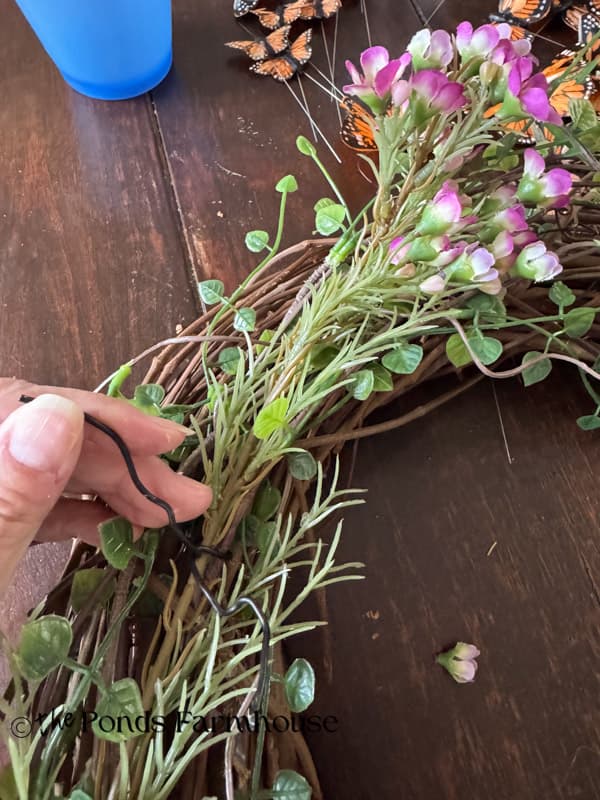
Once again, work outward from the side of the wreath and don’t go all the way around with the flowers. Then I pulled a few blooms from the flower clusters and used hot glue to randomly attach them to the side of the wreath with less greenery. You can see the heavier flowers on the left-hand image below and a sprinkling of buds on the right image.
After all the flowers are in place, I used the greenery from the floral stems to fill any gaps in the wreath.
Step 3 – Add Butterflies to the Summer Wreath
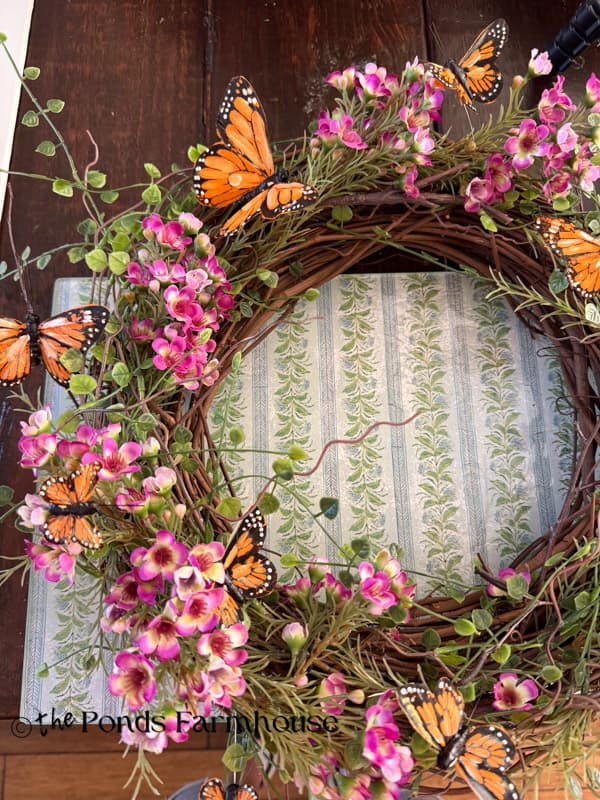
Finally, I add the butterflies to the summer wreath. The package comes with 4 butterfly sizes, but only 2 large ones. So I added the largest one at the side where I had begun adding the greenery and flowers. The butterflies have a wire stem, and I was able to wrap the wire around the grapevine in some instances. I also applied hot glue to some of them to adhere them directly to the wreath.
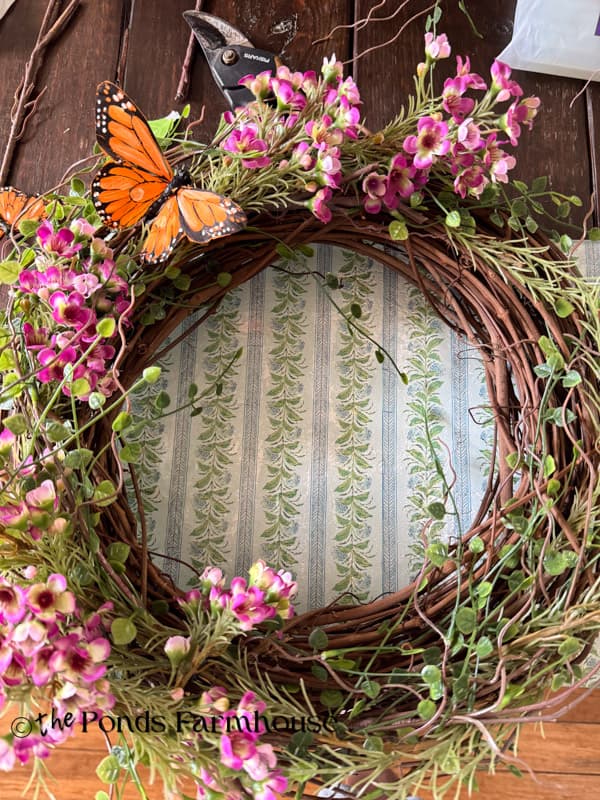
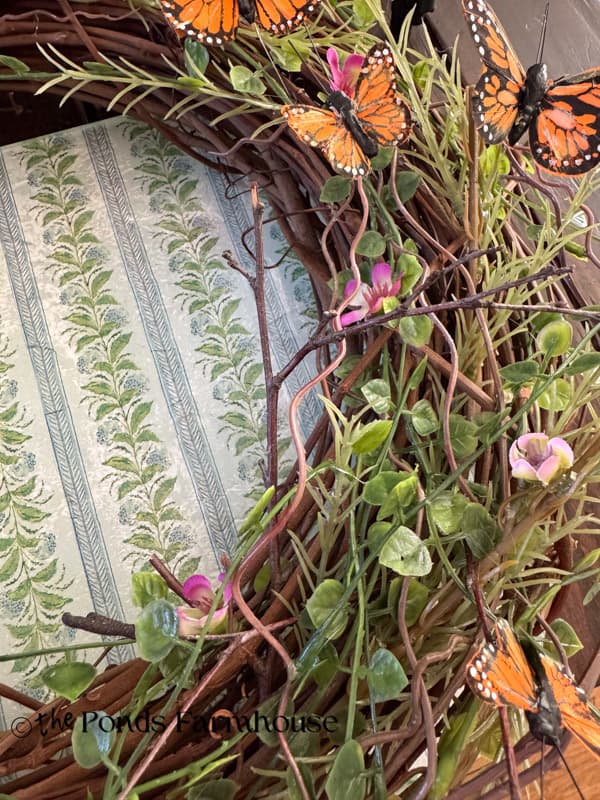
In addition, I used the gathered twigs to attach some of the butterflies so that they appear to be flying around the wreath. To do so, I added the twig to the edge of the wreath with hot glue and then attached the butterfly by wrapping the wire around the twig and applying a drop of hot glue to secure it.
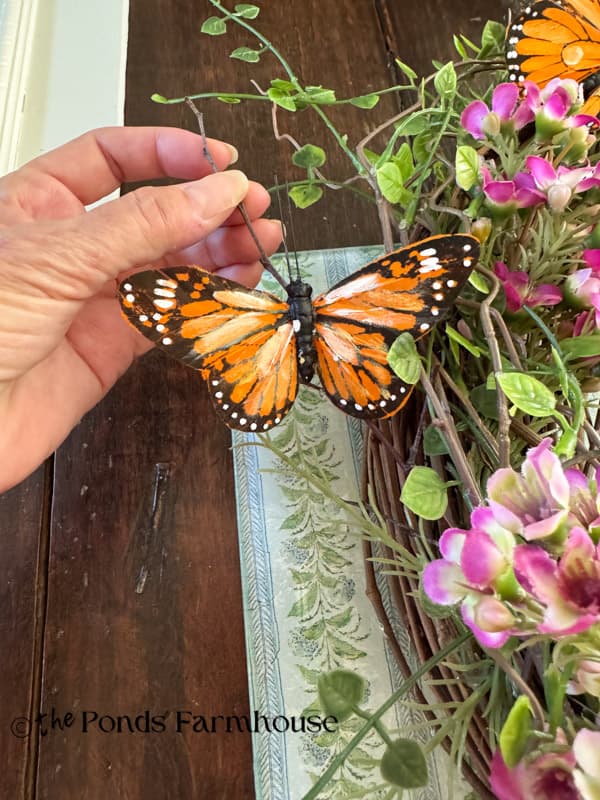
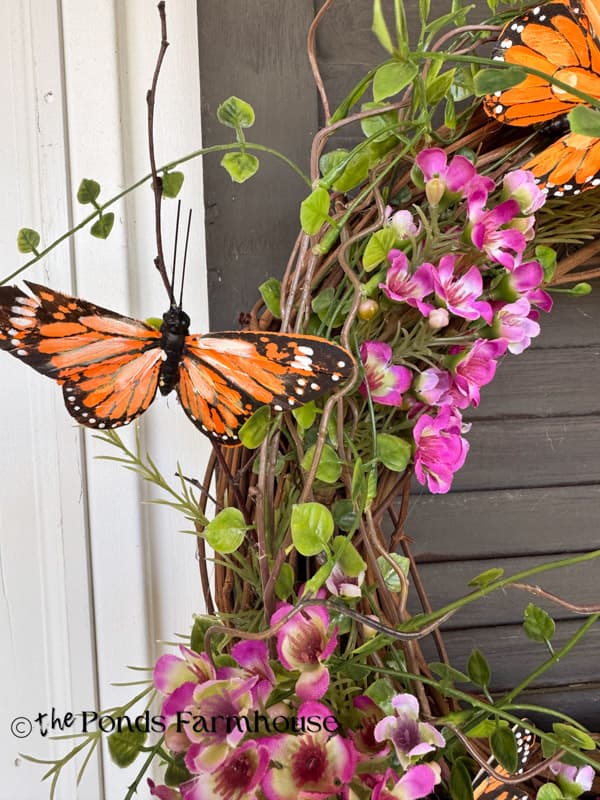
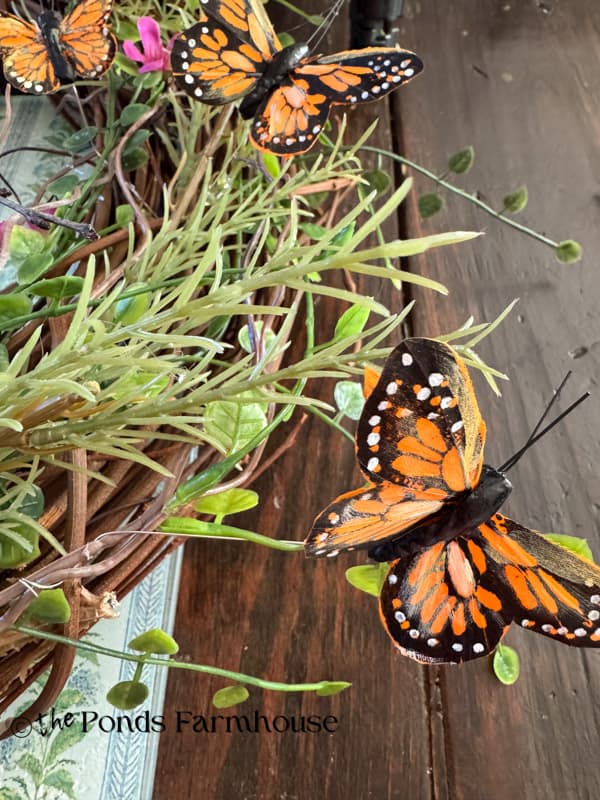
See how the butterflies are floating around the wreath in the images below.
Insider Tip
I found that the metal wires on the butterflies I used were easily pulled loose, so I recommend adding a drop of hot glue to ensure they are securely attached to your wreath. This is especially important if you are using it outdoors and the wreath is exposed to wind.
How To Decorate with a Butterfly Summer Wreath
I created these butterfly wreaths to decorate my front porch for summer. Since I have French doors, I always need two wreaths, so I like to recycle my wreath bases when possible to save money. I also prefer to hang them on the shutters beside the doors instead of on the doors themselves. I don’t like to obstruct the view from the doors if possible.
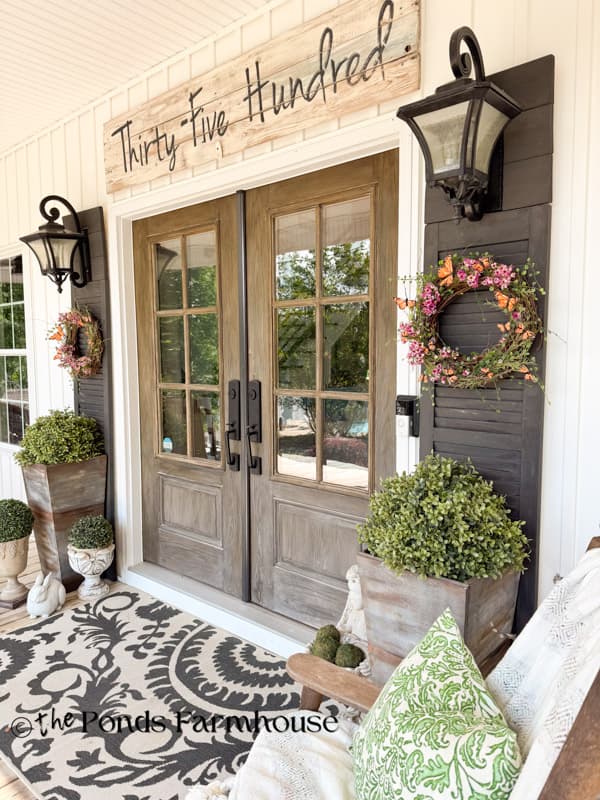
I hung the wreaths on the shutters using these S hooks. This method allows you to position the wreath exactly as you prefer. You don’t need a hook on the wreath, as the S hook slips easily into the grapevine at any position.
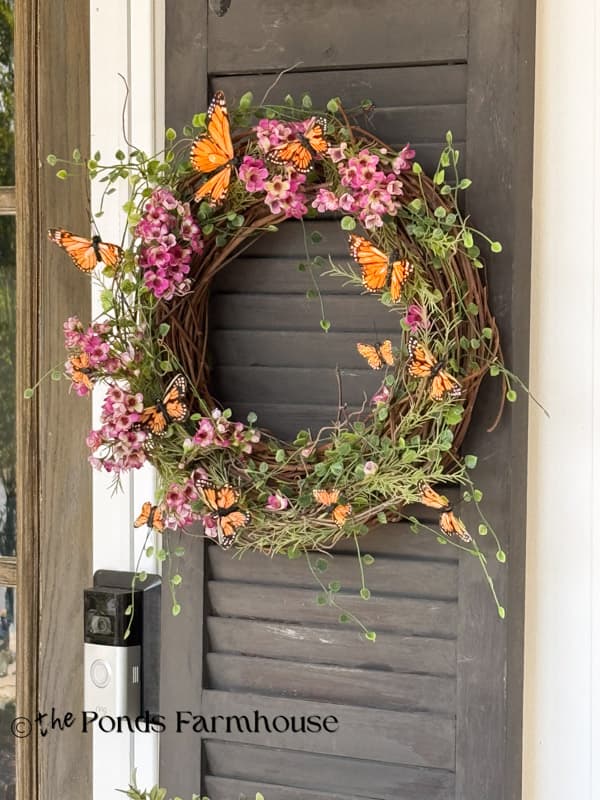
Although I used the same materials, each wreath is slightly different. You can adjust the position of the flowers to suit your taste. Each wreath has 12 butterflies in 4 different sizes, and I feel the amount works perfectly for a whimsical summer wreath.
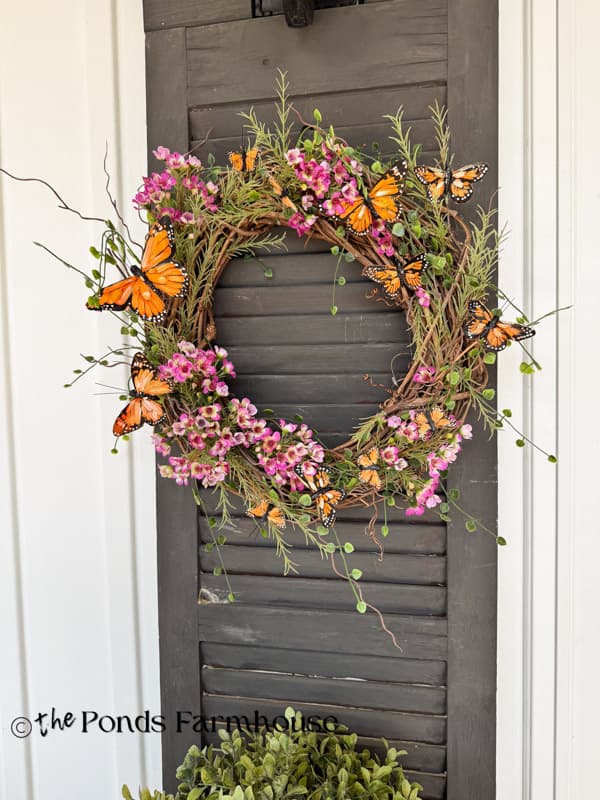
Soon I’ll be sharing how I decorated the front porch with these DIY Butterfly Wreaths for Summer. So stay tuned!
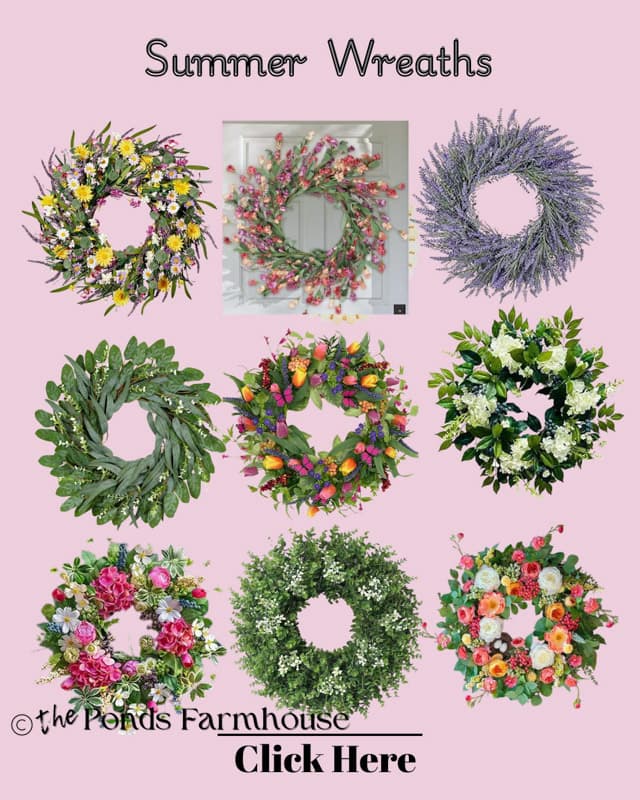
Shop Summer Wreaths – click below



I love these wreaths! I bought the butterflies when Karianne made a cute wreath and now’s the time to gather the rest of the supplies and get busy creating! I think I have everything I need which is awesome.
You look amazing ! Have a lovely weekend!💕
Lisa,
Oh, I’m so glad you like this idea. I’d love to see what you create. Send me a photo of your wreath and I’ll share it. I hope you have a blessed day.
I’ve wanted to tell you how cute your “new” hair style is. It looks adorable! You are a trooper!
Robin,
I really appreciate this and thank you for your support.
I really like this wreath and making faux floral arrangements is my hobby. I have almost everything I need to make this and think I’ll retrieve the butterflies I have scattered in various arrangements I’ve made for my balcony and collect them on the wreath to make more of a statement. Thanks for the inspiration!
Teddee,
Oh, I’m so glad you can duplicate this wreath with what you have on hand. That’s always a win,win for me. I appreciate you for sharing and I’d love to share your wreath if you can send me a photo once its finished. Thank you for your patience and understanding. I hope you have a blessed week.
Hi: just so you know for information- from your first email and subsequent ones to now – I have received your full info and step by step tutorials for your wreaths. I have yahoo and am in New York with T-Mobile internet. I just love all your clear DIY projects and thrifting information. Prayers and blessings.
Mary,
Thank you for your comment and kind words of encouragement. I appreciate you for letting me know that everything is finally working correctly. I appreciate you and hope you have a wonderful weekend.