The old saying “They Don’t Make Them Like They Used To” DEFINITELY applies to old chairs. The Real Truth About Deconstructing a Chair is those things are put together to stay! However, all the sore fingers and worry were worth the end results because the Deconstructed Chair looks great now.
Are you a jump-right-into-the-middle-of-a-project kind of person? This practice has served me OKay over the years. However, I seriously made a mistake when deconstructing a vintage chair.
Since I did not realize this beforehand, I jumped into the project with a flathead screwdriver, hammer, needle nose pliers, and A LOT of skin. This was a mistake, for sure! Although I’m thrilled with the results, the scars may be a reminder for the rest of my life. LOL
(Posts on The Ponds Farmhouse may contain affiliate links. As an Amazon Associate, I earn from qualifying purchases. See the full disclosure details here.)
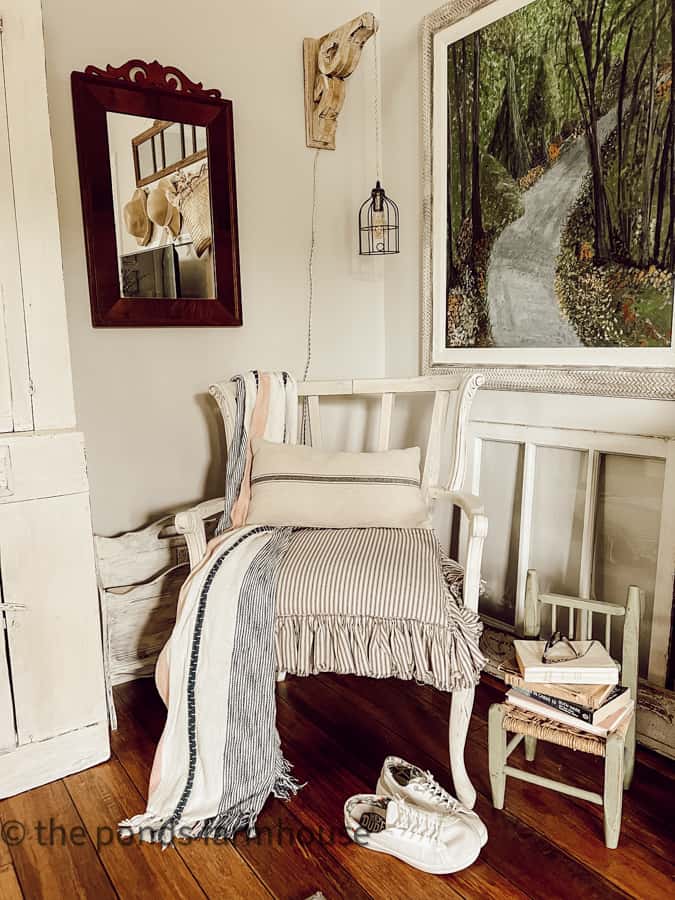
Table of contents
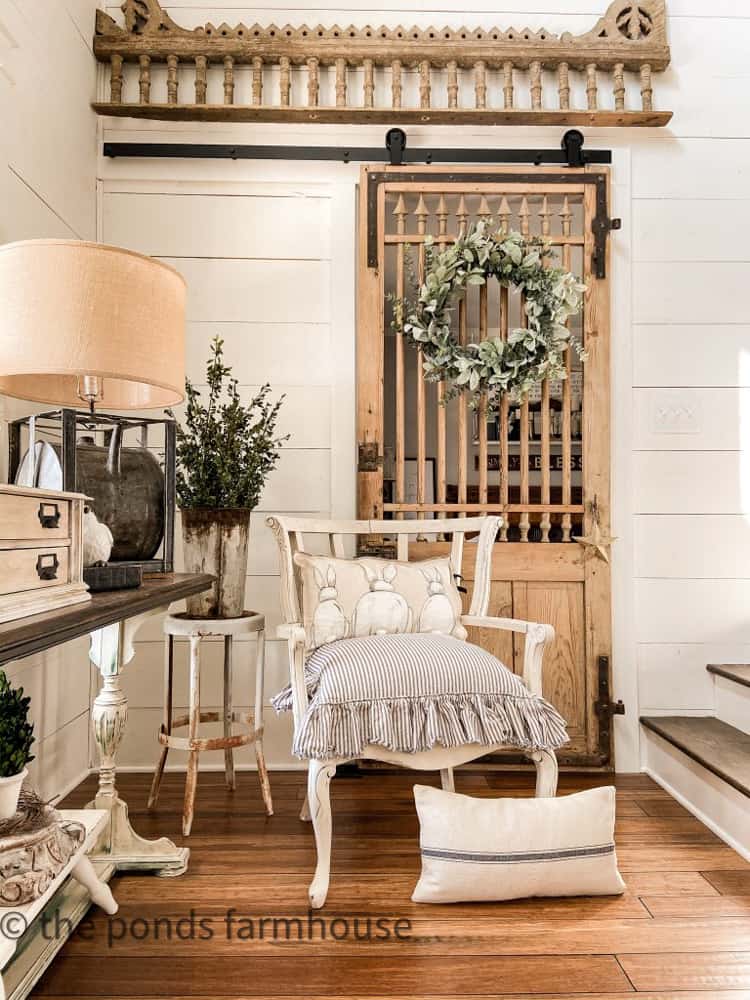
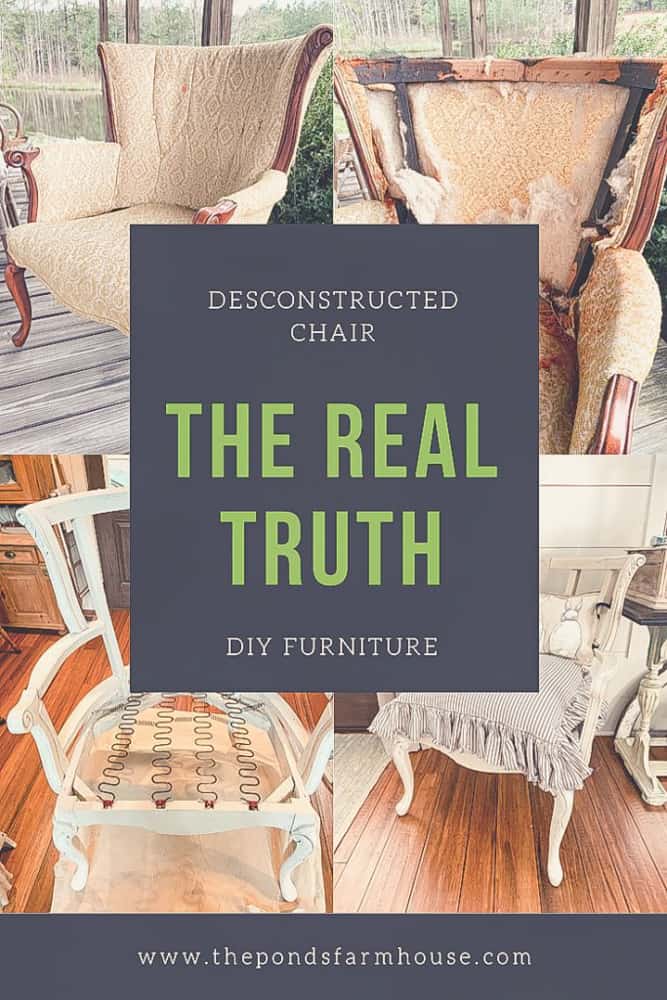
Before and After DIY Deconstructed Chair
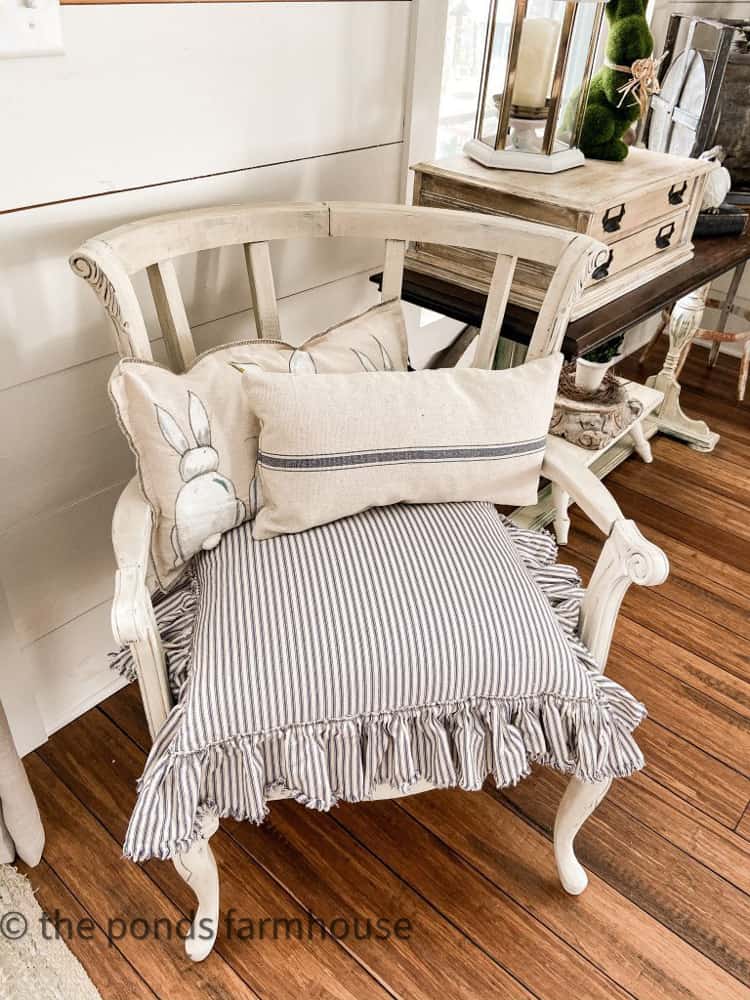
Here is the result of all my hard work, including fun pillows.
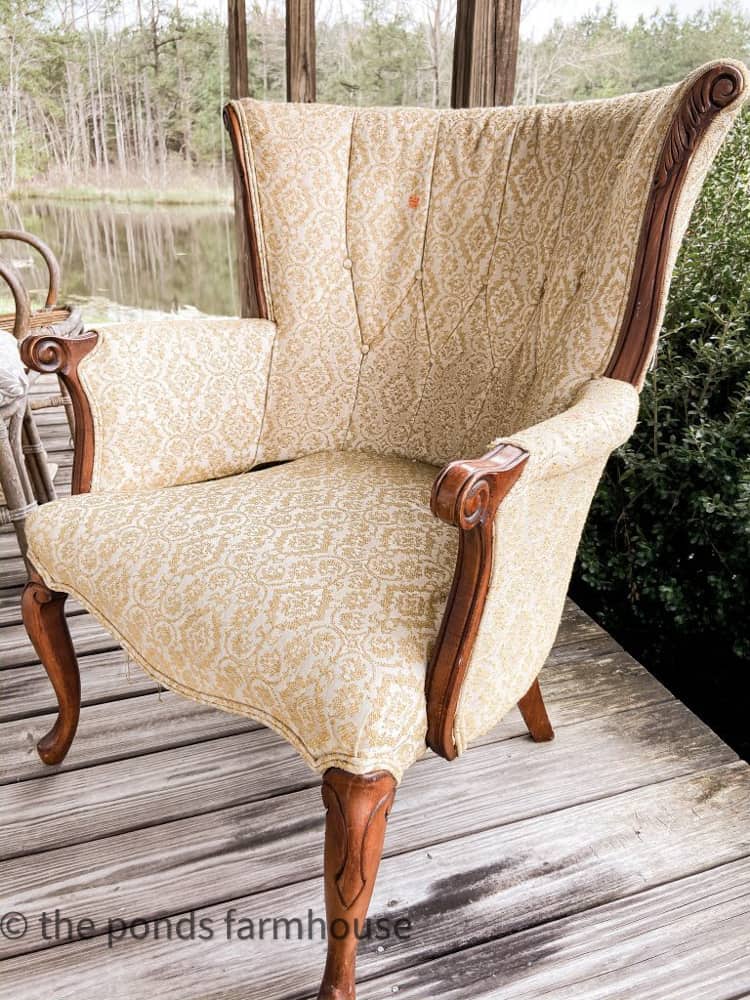
Then what the chair looked like initially!
Seeing this cute vintage chair for only $5.00, I jumped on the deal. Proudly, I brought it home to begin the adventure of deconstructing it. Little did I know what was in store for me! LOL
Check out another favorite DIY here!
The Project Begins
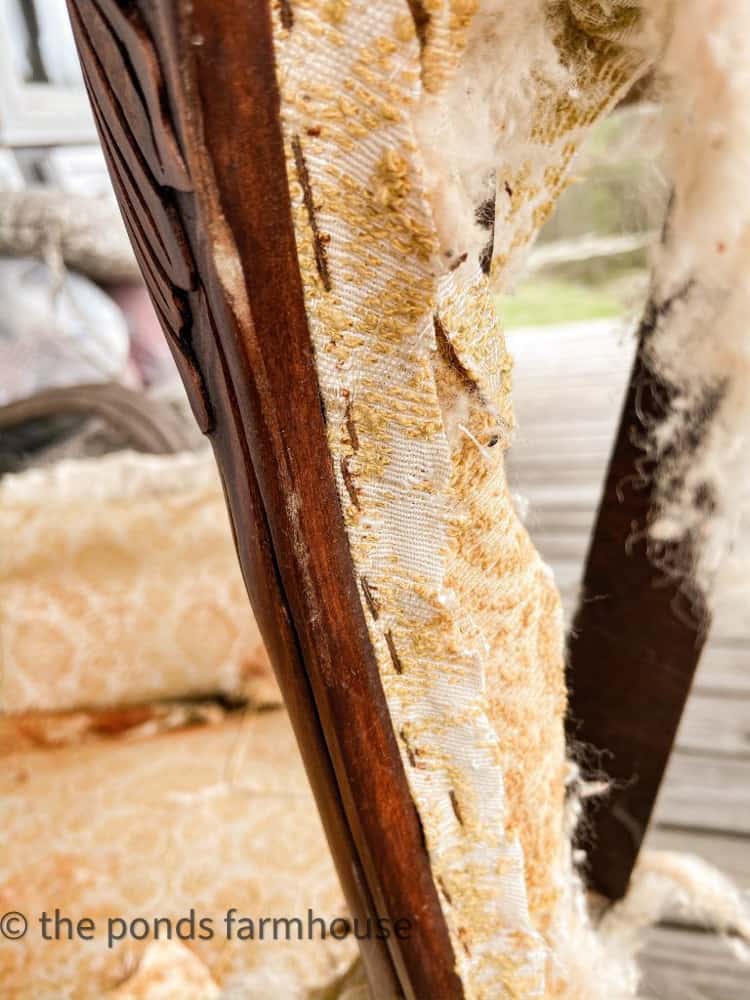
Tearing the dry rotted fabric off the frame was the easy part. Because the fabric was somewhat dry-rotted, it pulled away quickly. Check out all the staples left behind as the material is torn away. At this point, I was excited. Not discouraged at all. LOL
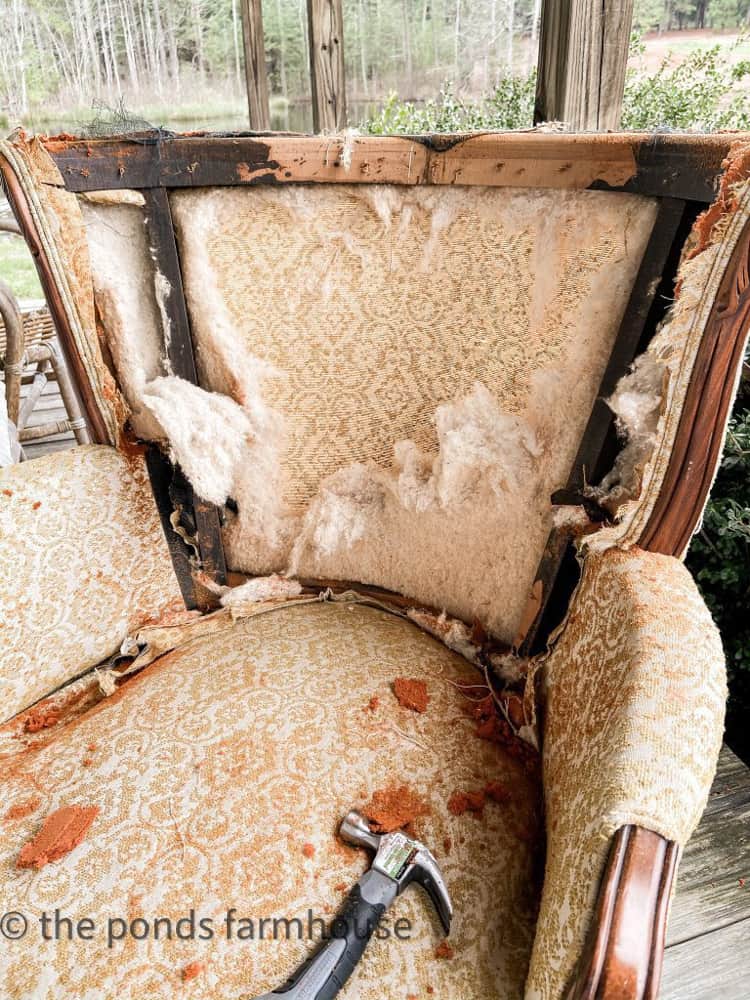
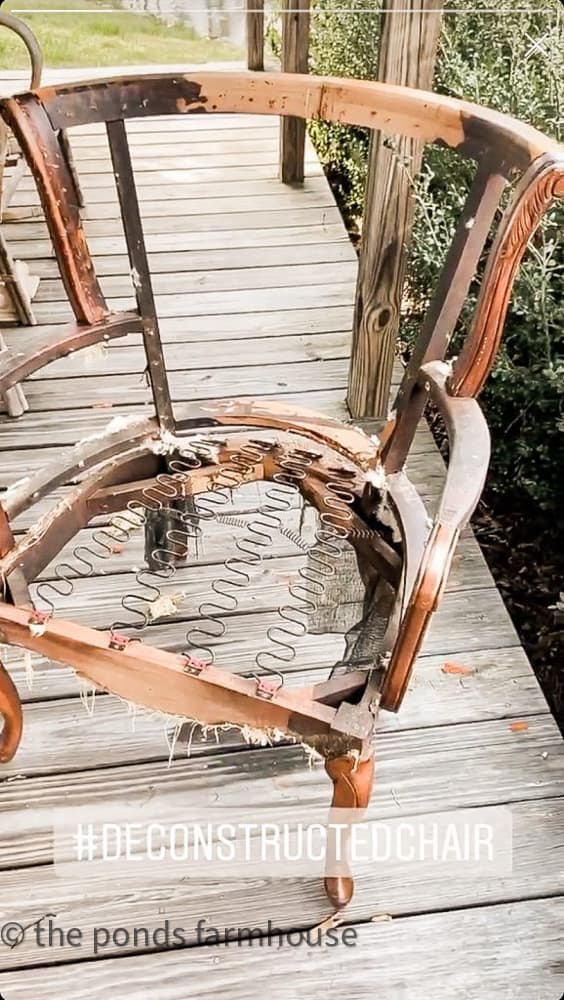
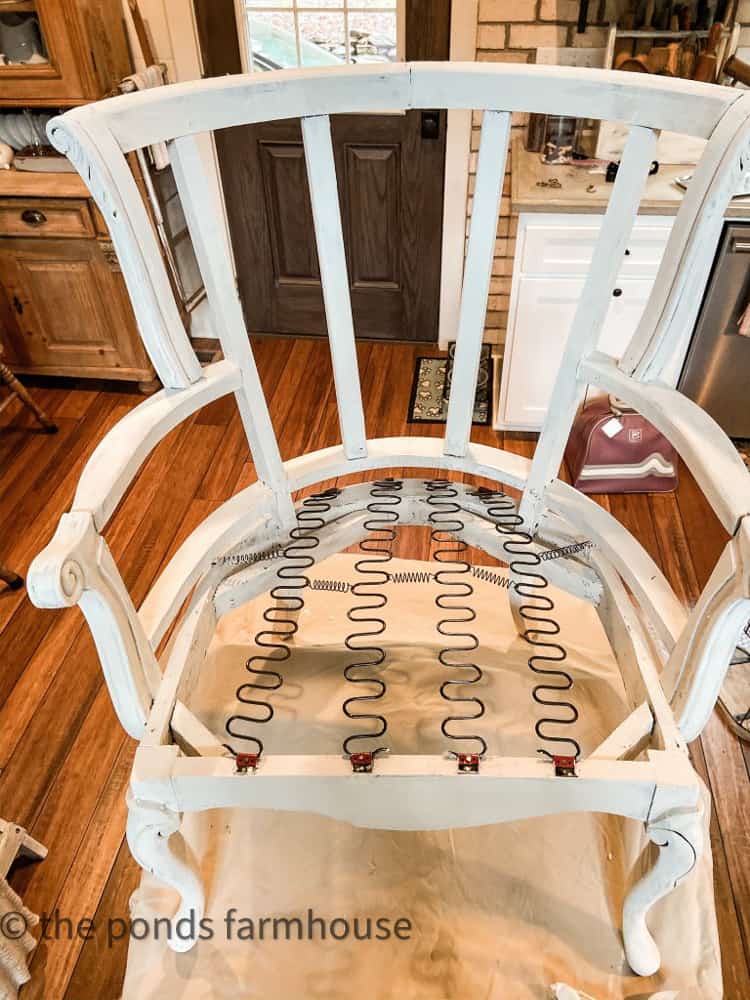
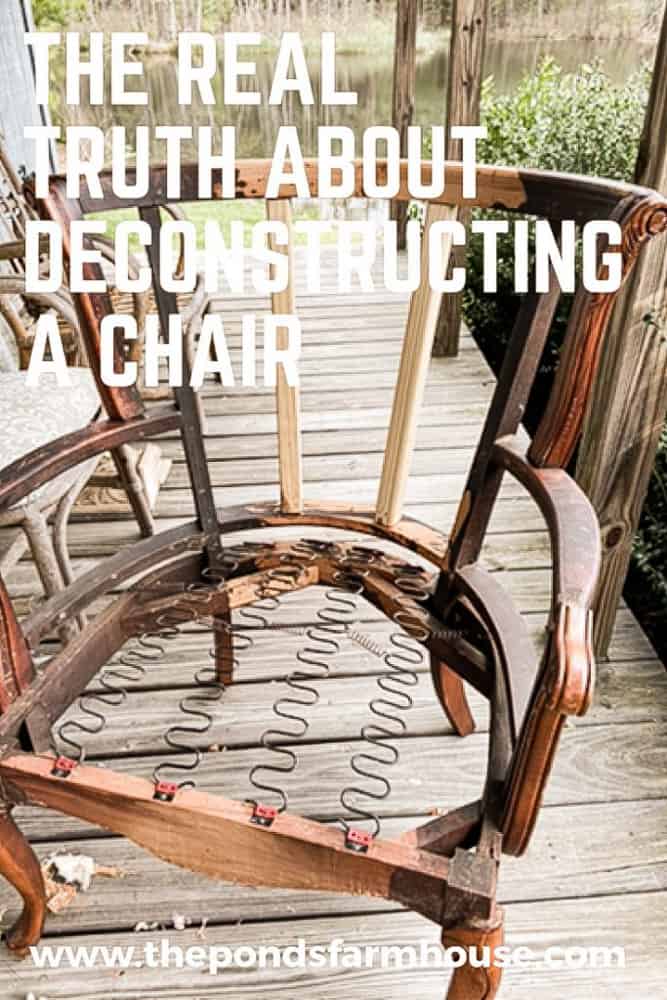
Down to the Frame – DIY Deconstructed Chair
Now we are down to wood and staples on the DIY deconstructed chair! Although there was a moment of disappointment when I saw the large gap in the back of the chair, a solution quickly came to mind.
Still optimistic that the project was almost finished, removing the staples began. Boy, what a miscalculation.
Hours Later……
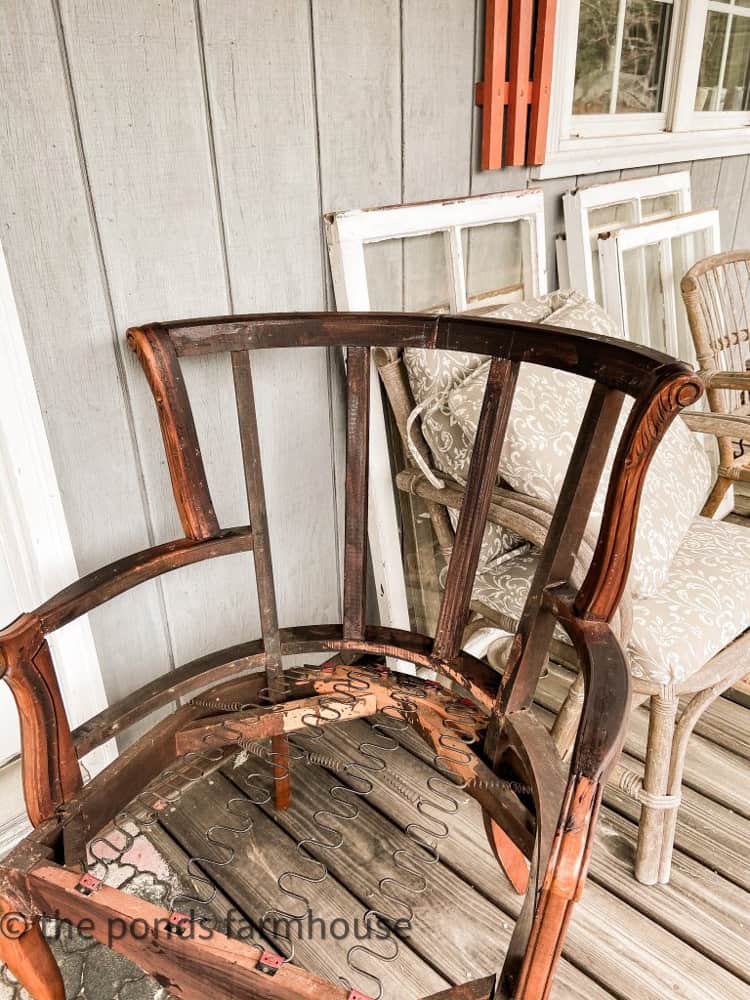
Finally, all the staples have been removed! This is the part that took hours and hours to complete. Your hands and fingers will pay the price when you don’t use the proper tools.
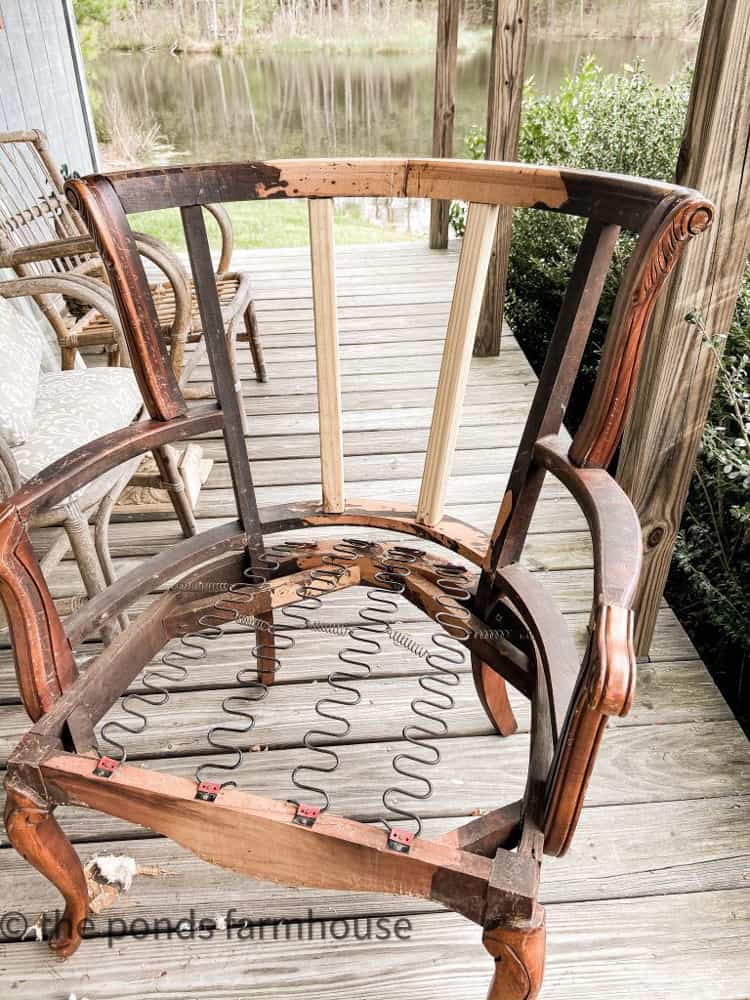
My husband helped me to fit two pieces of wood into the back of the chair. Because we don’t want anyone falling out the back of the chair, do we?! LOL
It was an easy fix. The wood pieces were cut for a tight fit and were secured with finishing nails at both ends. Just small tacks that were toe-nailed through the new wood and into the original frame on an angle.
Because this is a deconstructed look, you don’t need wood filler. Just sand with a fine-grit sanding block until the areas are smooth to the touch.
Why Stain the Raw Wood?
Why should you stain the raw wood? If you want the paint finish on the piece to apply evenly, it’s best to match all the wood before adding paint.
Therefore, you’ll want to stain the new wood and any unstained portion of the chair and choose a stain to match the stained areas of the chair as close as possible.
For this step, I used a quick-drying gel stain in Walnut.
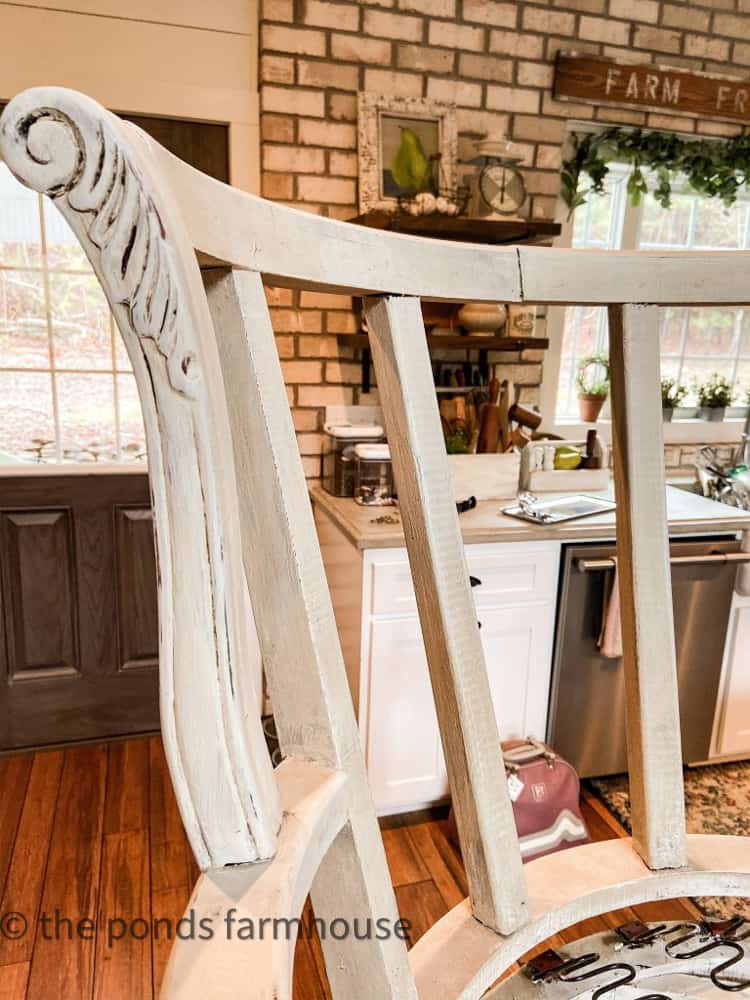
Paint Chair Frame
Next, paint the entire deconstructed chair frame with your choice of color.
I used Old White Chalk Paint by Annie Sloan. If you want some of the original stain to show through, paint one full coat and a light wash for the second coat.
See an easy tutorial on how to use chalk paint.

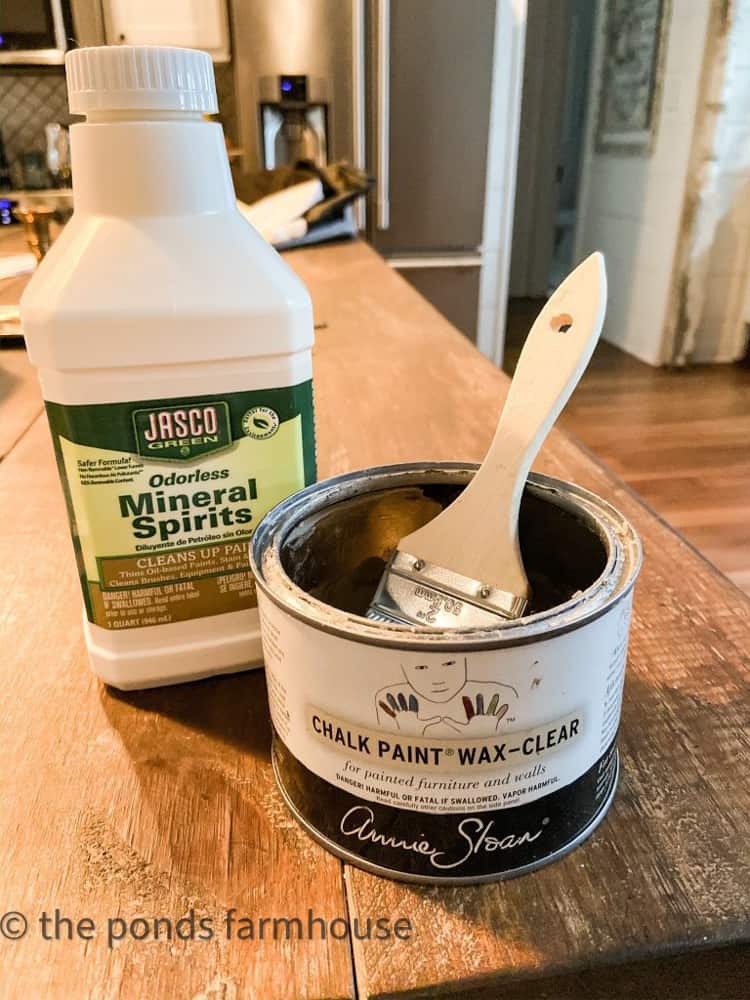
When using dark wax, you need to be cautious.
Mix 50/50 clear and dark wax to age the piece to achieve the desired color! Add a 1/2 teaspoon of Mineral spirits to the wax and brush it over the piece with a chip brush.
When you wipe away the excess, the mineral spirits remove paint from the edge of the piece for a perfectly aged look.
Because this is a distressed finish, you want the dark wax mix to settle into the crevices on the carved legs and arms.
Almost Done
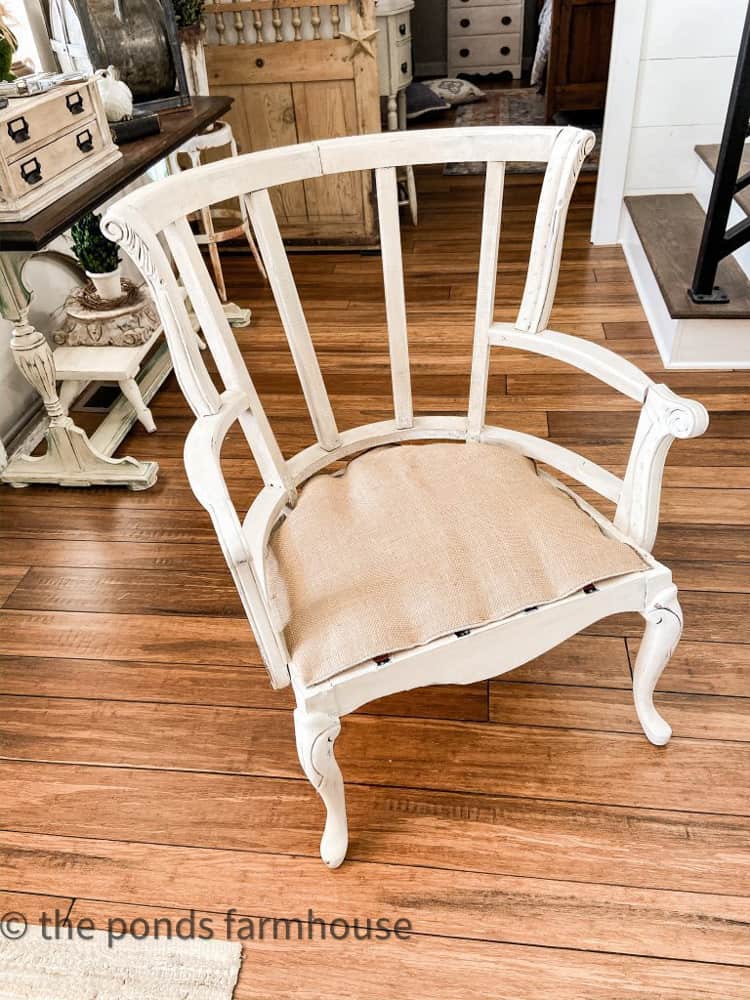
The springs were in great shape but needed to be covered. Here is a cushion of burlap and batting to cover the springs. This is a flat cushion because you will still add another cushion over the top. You can use a staple gun to attach it to the frame.
A distressed ruffled cushion from Navy Ticking Fabric was added to finish this project. A hand-painted pillow and a farmhouse-style lumbar pillow add comfort to the back of the seat.
Using proper equipment
Here is the loose change found in the chair; however, it wasn’t enough to compensate for the lack of proper tools. Because I learned from my mistakes, I have invested in appropriate tools for removing staples and tacks from upholstered furniture.
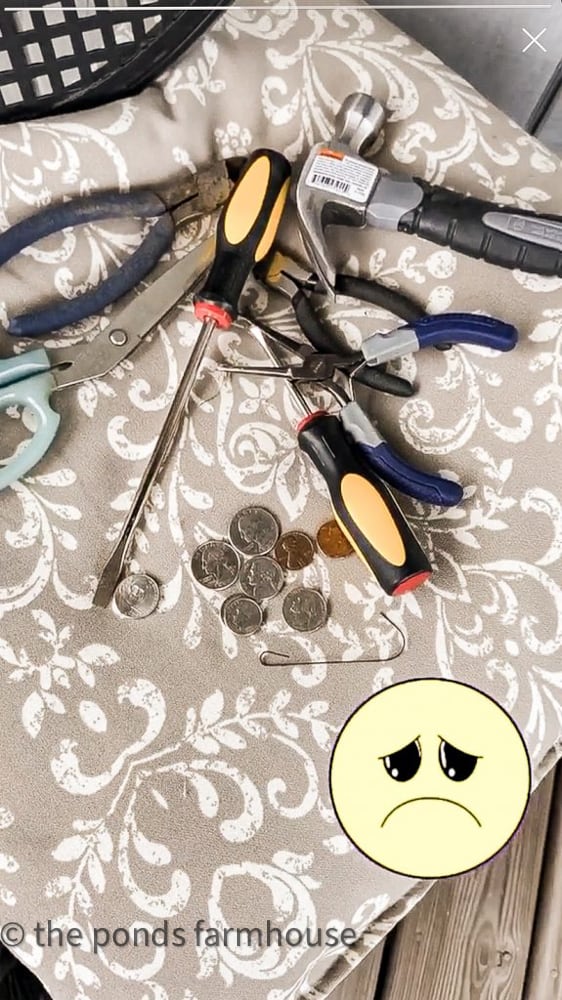

These tools are not expensive and will save you a lot of time and heartache.

Golden Stag Gloves
DIY Deconstructed Chair Today
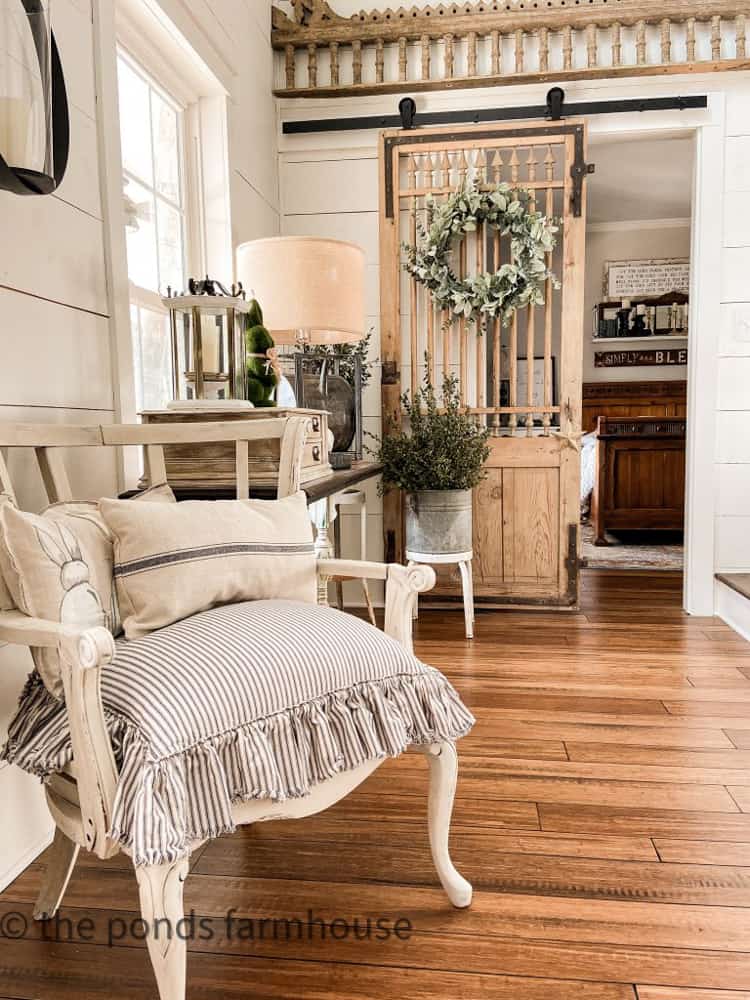
How do you like the DIY Deconstructed Chair?
It’s exactly how I envisioned it, but removing all the old upholstery materials was much more than I bargained for. Because I now have property tools, believe it or not, I’m already starting to pull some staples from another thrift store find.
Additional Projects You May Enjoy
- 15 Ways To Use Ticking Fabric in Home Decor
- How To Refurbish Outdoor Furniture
- How to Recover a Seat Cushion
Thank you for stopping by! Hopefully, you are not discouraged from trying a project of your own. I have learned from my mistakes and hopefully given you the tools and encouragement to begin a project. Please don’t hesitate to ask me any questions; your comments are always appreciated.

Pin It To Remember It
Did you find some great ideas you’d like to save for future reference? Hover over the images you’d like to save and pin to your favorite Pinterest Boards when you see the PIN button.
Cindy@CountyRoad407
Friday 16th of June 2023
I've always loved a deconstructed chair. They look how I feel some days. ;) Glad it worked out for you - it's so cute and definitely looks better than the original. I love it!
Rachel
Saturday 17th of June 2023
Cindy, Thank you! I'm so glad you like it.
joan
Thursday 15th of June 2023
The chair looks so much better now! Worth all the blood,sweat and tears! How did you attach the 2 pieces you added to the back?
Rachel
Friday 16th of June 2023
Joan, I'm so glad you like it. The wood pieces were cut for a tight fit and were secured with finishing nails at both ends. Just small tacks that were toe-nailed through the new wood and into the original frame on an angle.
Karen
Wednesday 14th of June 2023
OH, my gosh! Your reconstructed chair looks fabulous! How did you secure the 2 piece of wood in the back? Dowels? I would like to do this in my home! Your home is beautiful, by the way! Thanks for sharing!
Rachel
Thursday 15th of June 2023
Karen, I'm so glad you like this project. It was a beast but so worth the effect.
Wendy McMonigle
Wednesday 14th of June 2023
This is amazing Rachel! I have been on the look out for the perfect chair. I had one in the garden for years that I enjoyed, but sadly it has taken a beating from the elements. Time for a new one.
Rachel
Thursday 15th of June 2023
Wendy, I have a few more in storage. Just waiting for a perfect opportunity to work on them.
Renae
Wednesday 14th of June 2023
This chair is amazing! I love it. I would never have believed that it started where it did. You are incredible.
Rachel
Thursday 15th of June 2023
Renae, you are so kind. Thank you.