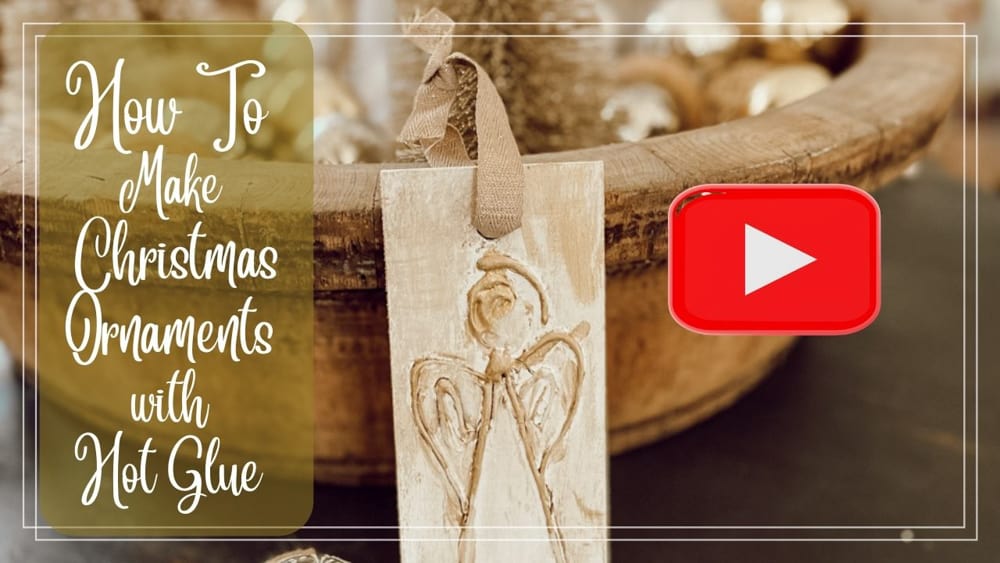
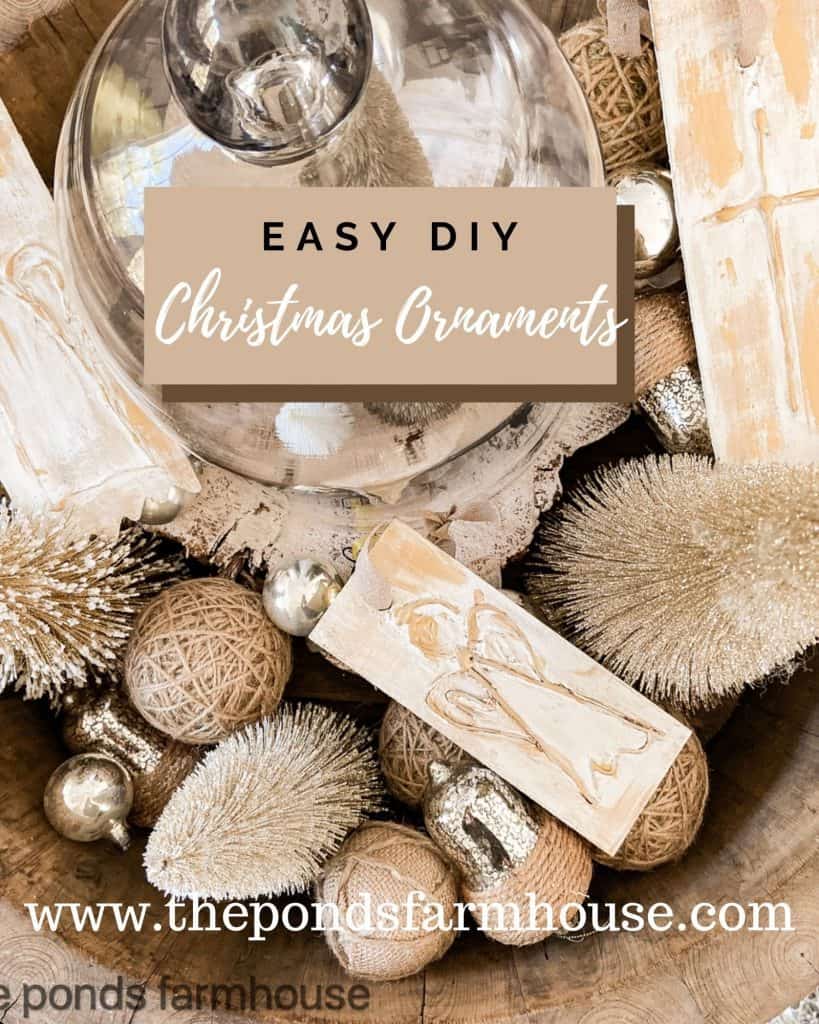
Easy DIY Christmas Ornaments: Hot Glue Gun Crafts
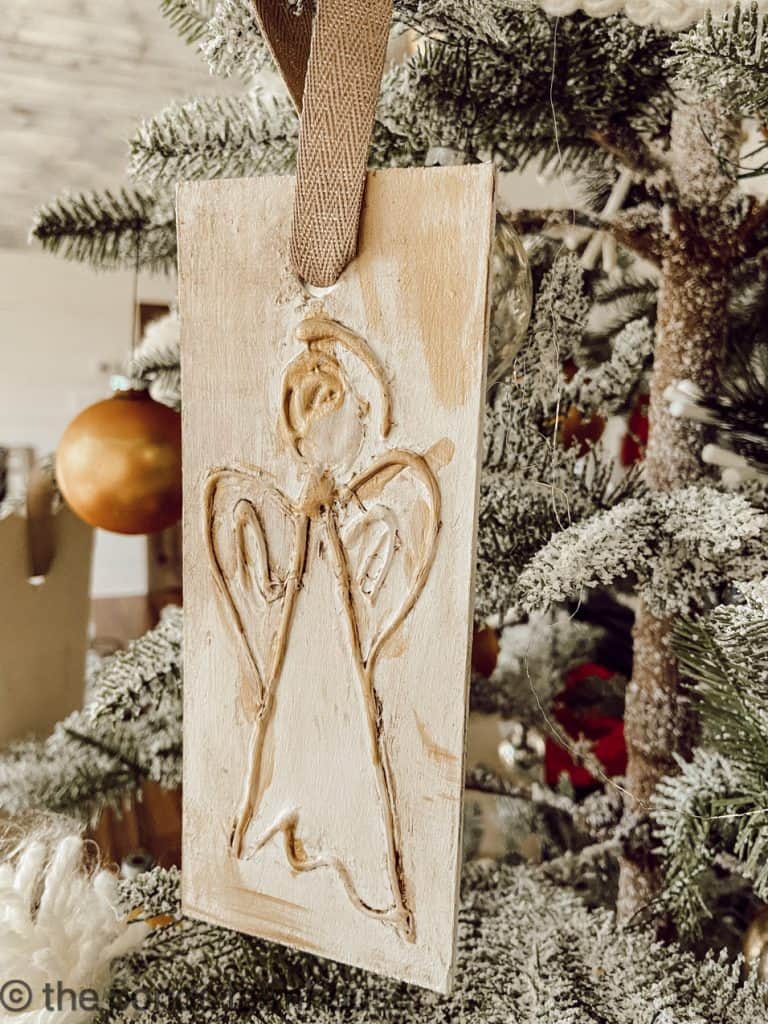
Y’all, I just made the cutest DIY Ornaments for Christmas, and I know you will love them. They are a hot glue gun craft that’s super easy to make, and the options are unlimited. These cute Angel and Cross Christmas Ornaments are made using a hot glue gun and hand-painted with gold and white accents. They can be made in various sizes and used as gift tags or tree ornaments.
Even if you’re not a big crafter and shy away from DIY projects, you will love how easy these are to make. This would be a great kids’ project, but only with adult supervision because of the hot glue.
(Posts on The Ponds Farmhouse may contain affiliate links. As an Amazon Associate, I earn from qualifying purchases. See the full disclosure details here.)
Table of contents
How To Make Christmas Ornaments With Hot Glue Gun
This is a fun and easy Christmas ornament project, and there are various ways to do this craft. Today, I’m sharing Angel and Cross ornaments with white and gold accents applied to thin wood ornaments. However, you can be creative with other designs and colors.
Materials
- Unfinished Wood Boards
- Ryobi Cordless Drill
- Ryobi Rotary Tool
- Ryobi Hot Glue Gun
- White Chalk Paint
- Metallic Gold Paint
- Ribbon
How To Prepare Wood Boards
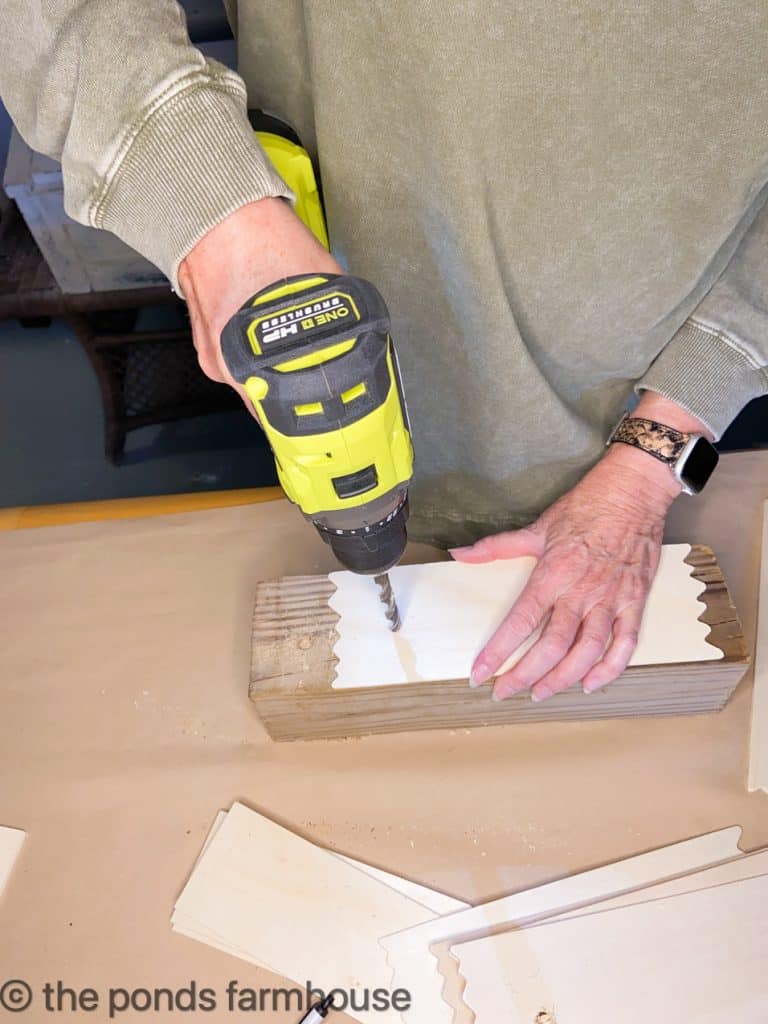
First, you want to prepare your unfinished wooden boards. I used two sizes for my ornaments: those with scalloped edges and these rectangle boards.
Begin by using a cordless drill to drill a hole in the top center of each board.
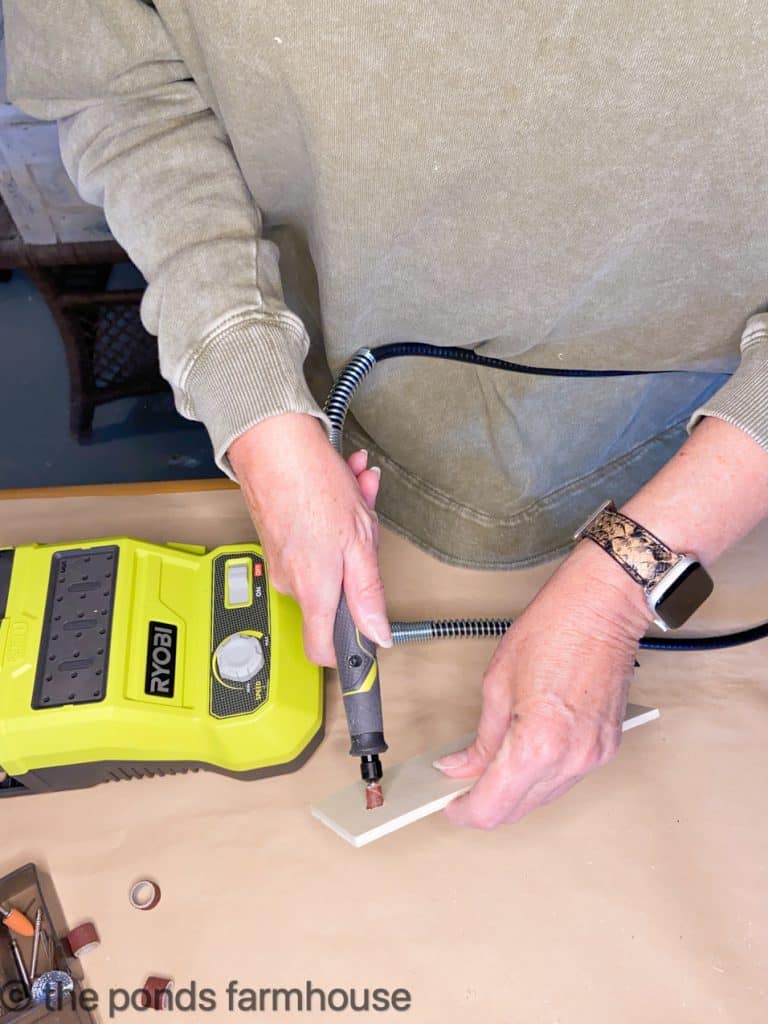
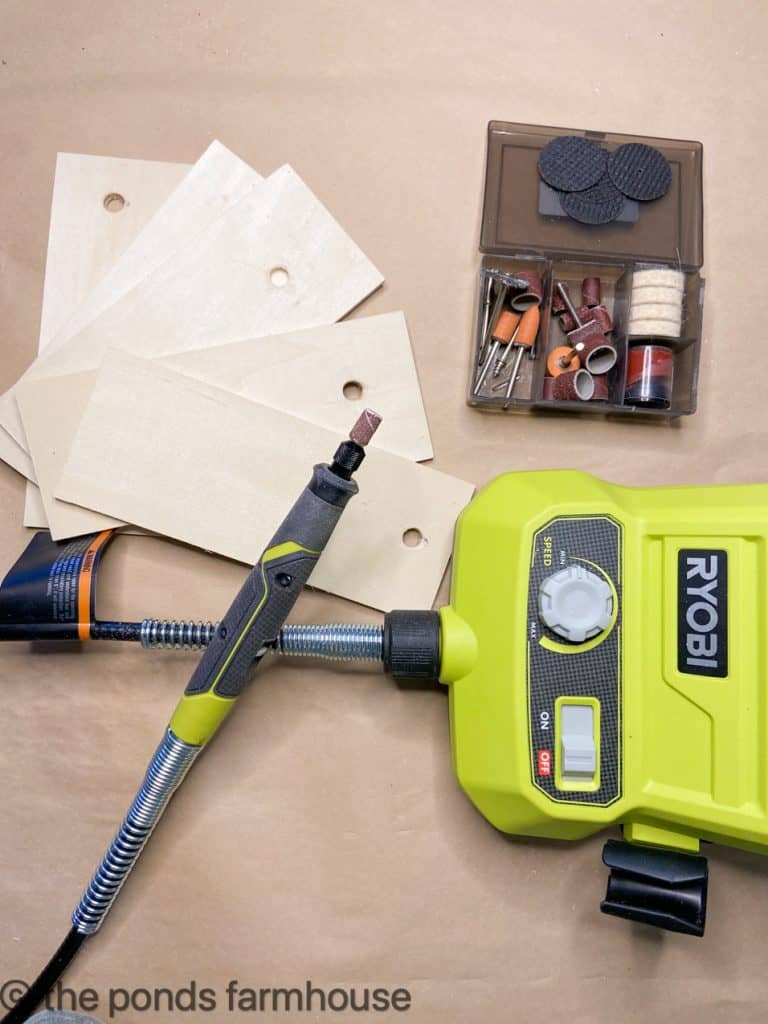
Then, you will want to sand or use a rotary tool to smooth the edges of the holes. Ryobi makes this easy-to-use cordless rotary tool that is convenient for small projects like this.
Finally, the last step in preparing your boards is to paint them with white chalk paint.
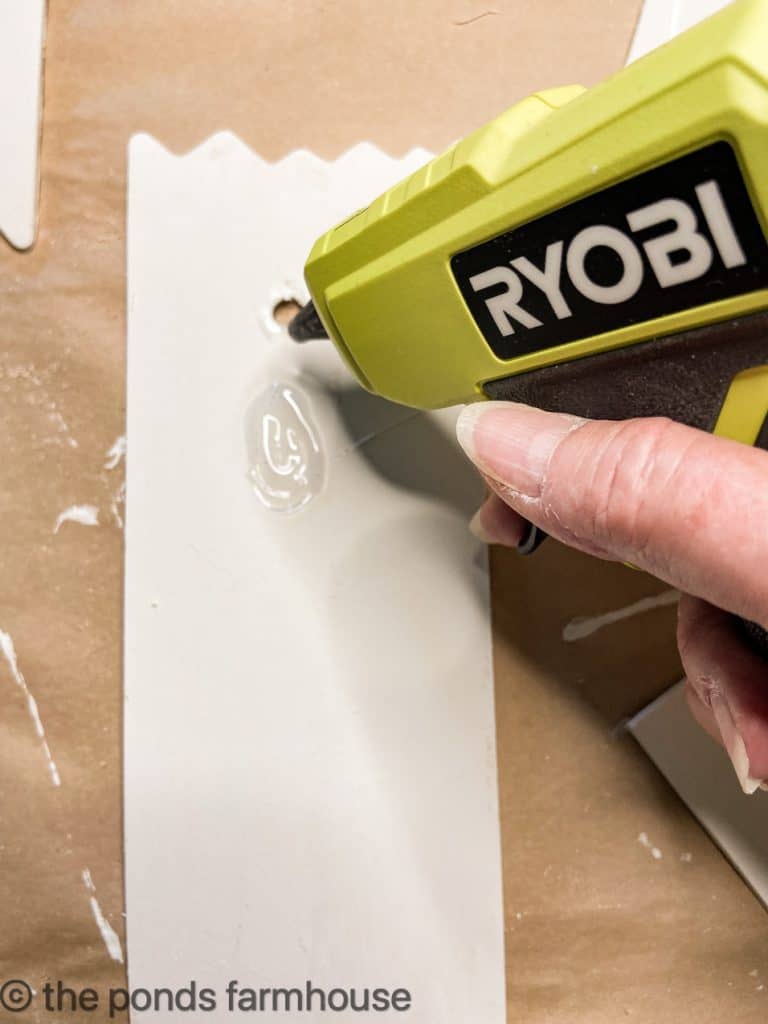
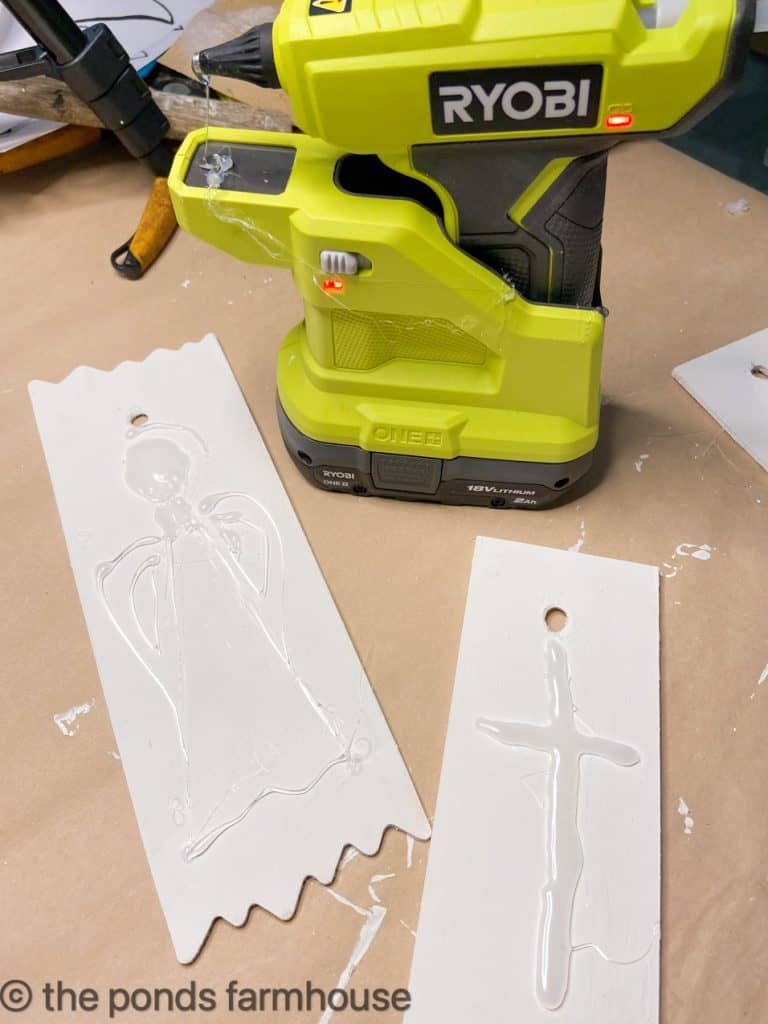
Draw with Hot Glue Gun
Next, we will draw our design onto the prepared wooden boards with our Ryobi Hot Glue Gun.
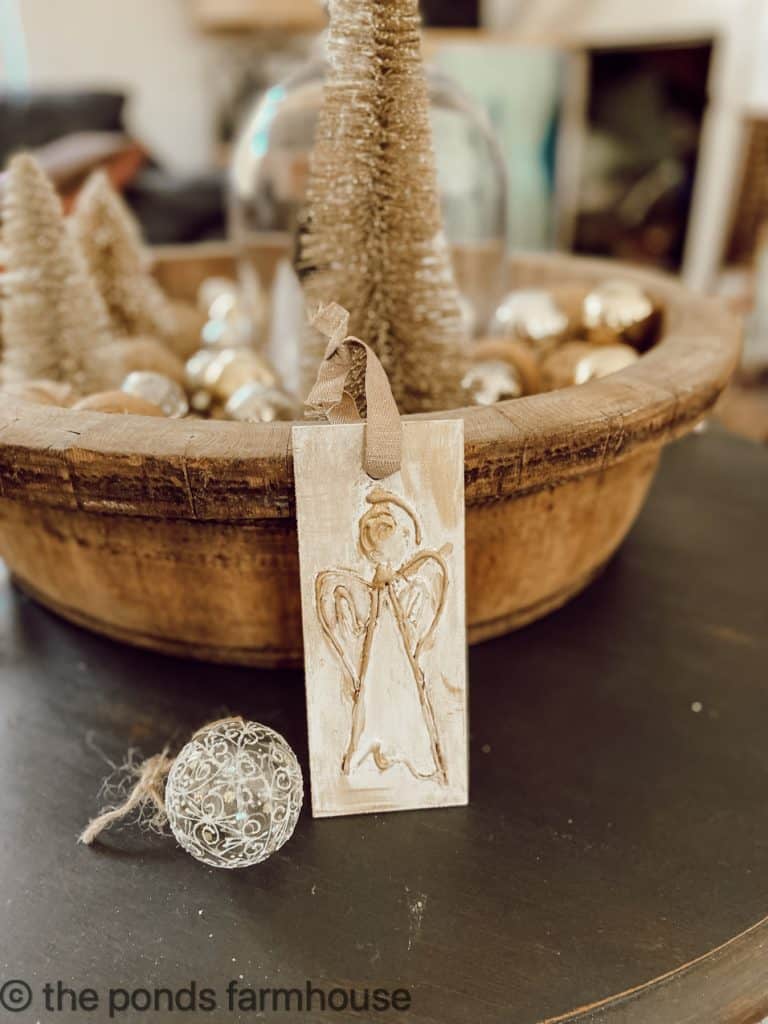
I’m starting with the angel, beginning with a circle for the head and then filling in with the glue.
Then, I added the outline of a body and wings. This is all freehand, without a pattern. I also made some with crosses. If you need a pattern, you can trace one onto the wood with a pencil. The random lines of the design are what I love about the ornaments because no two are alike.
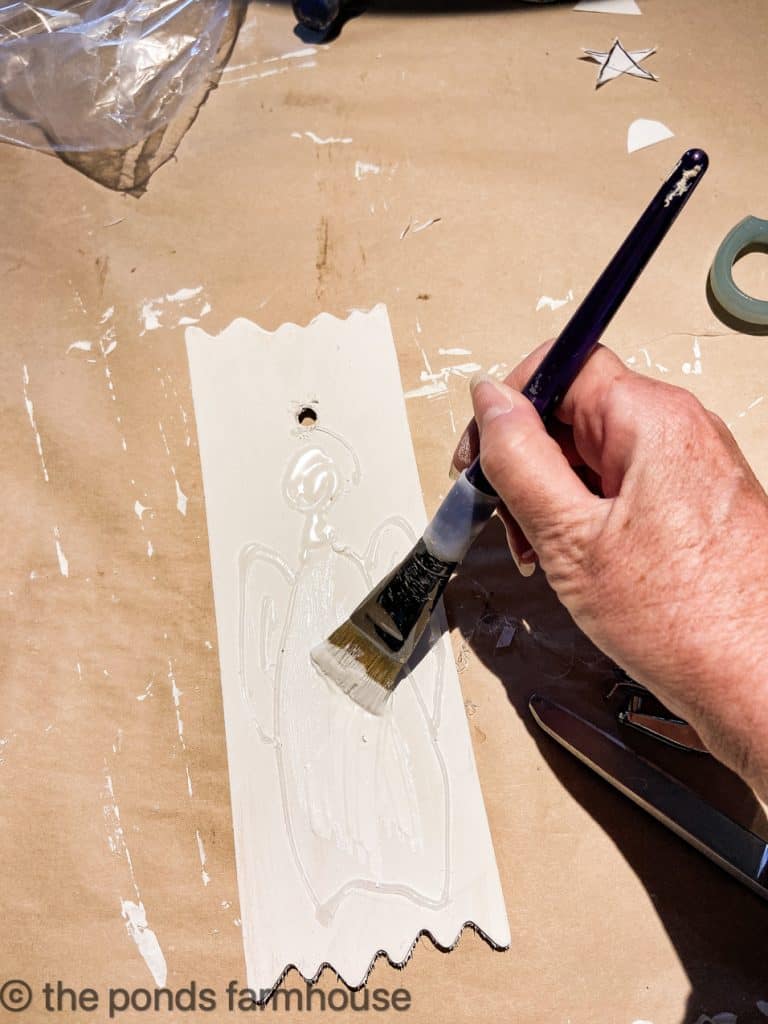
How To Paint Hot Glue Ornaments
After the hot glue is dry, you should remove any excess hot glue, such as glue hairs. Then, add a second coat of white paint over the entire surface and design.
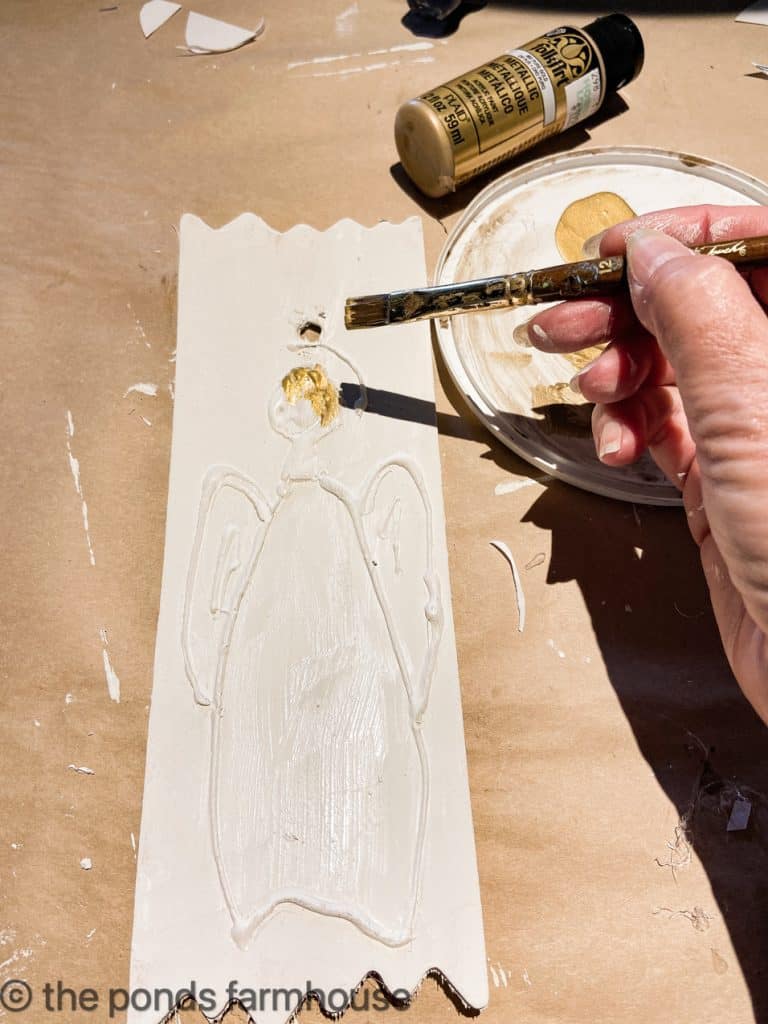
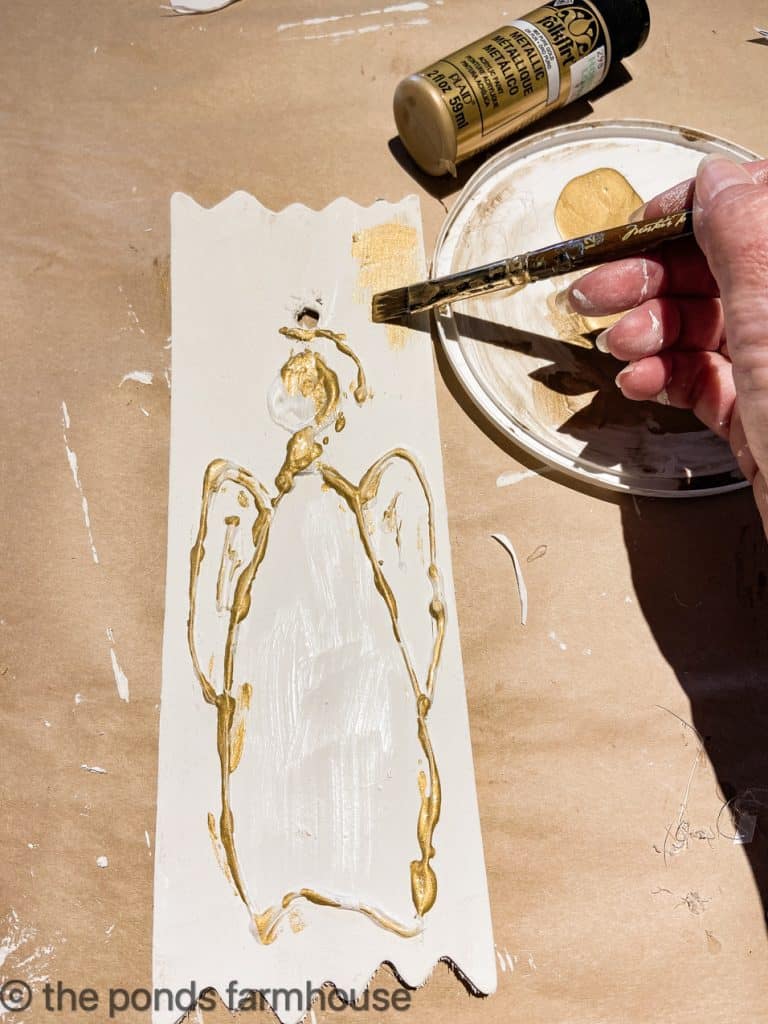
Once the white paint is dry, apply the metallic gold paint to the raised areas of your design. You can apply as much or as little as you desire. I like to define the hair and halo specifically with a light touch along the other raised areas. In addition, I use a dry brush technique to add touches of gold to the board’s background.
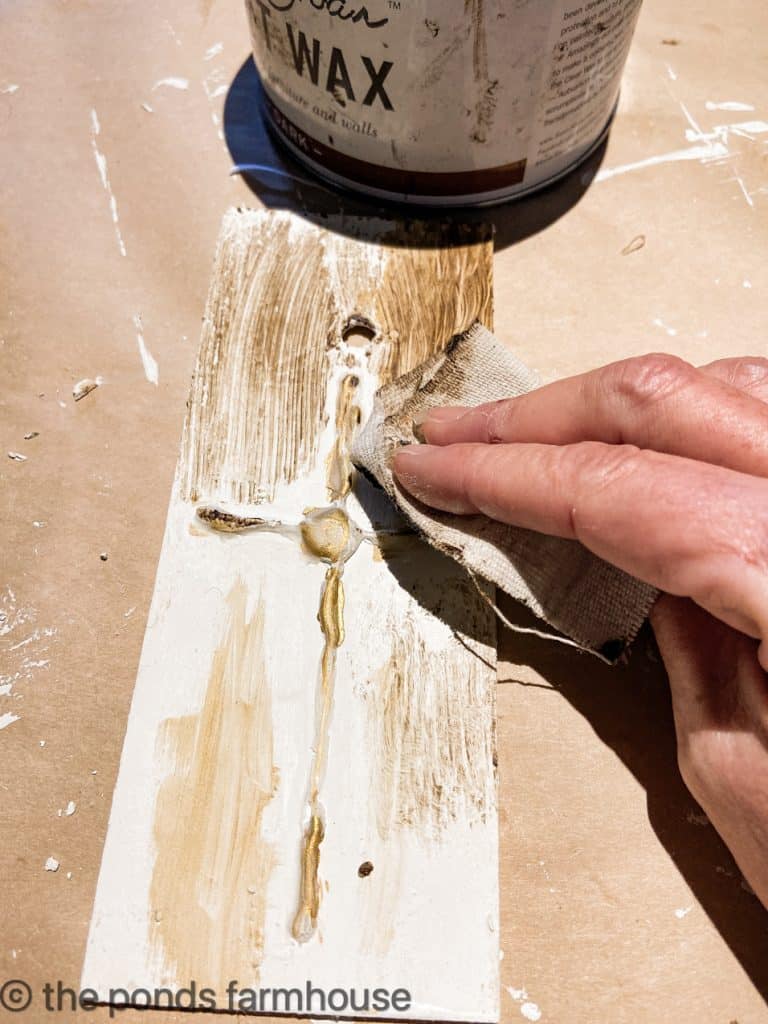
Add Wax To DIY Christmas Ornaments
To age the DIY Christmas ornaments, I added Annie Sloan Wax. Begin by rubbing over the entire surface with clear wax. This will prevent the dark wax from grabbing and making the design darker than you want. After the entire surface is covered with clear wax, immediately add dark wax and wipe away any excess. Finally, buff the waxed surface with a fresh rag until the ornament is smooth.

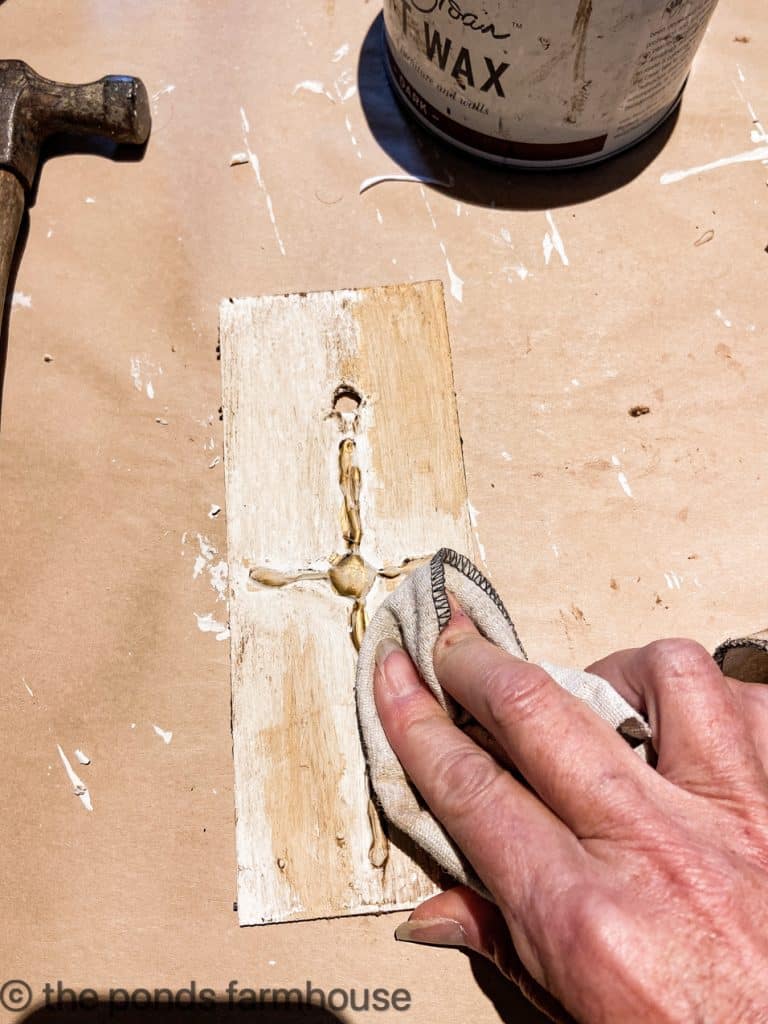
To finish, you may want to add additional gold paint to highlight the main areas of your design. This is optional, but the extra gold helps give the color more dimension and contrast.
You can see the gold areas under the wax versus the extra swipes added afterward on this closeup view.
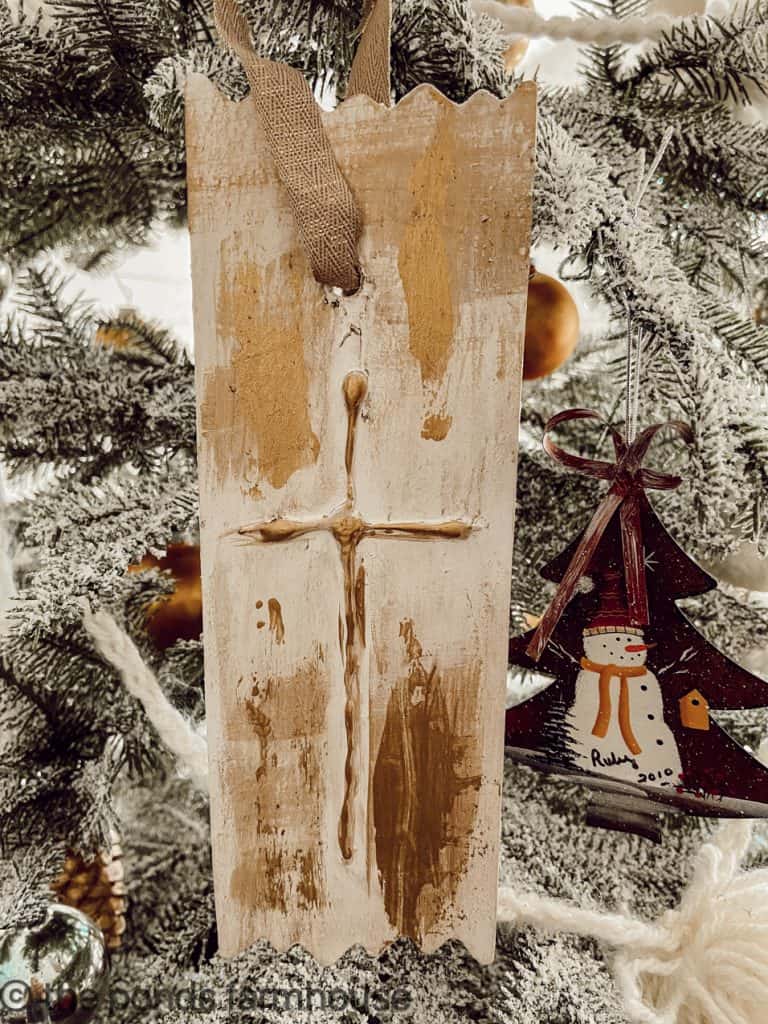
The Christmas Ornaments will look great on a gift package as well as on the Christmas tree.
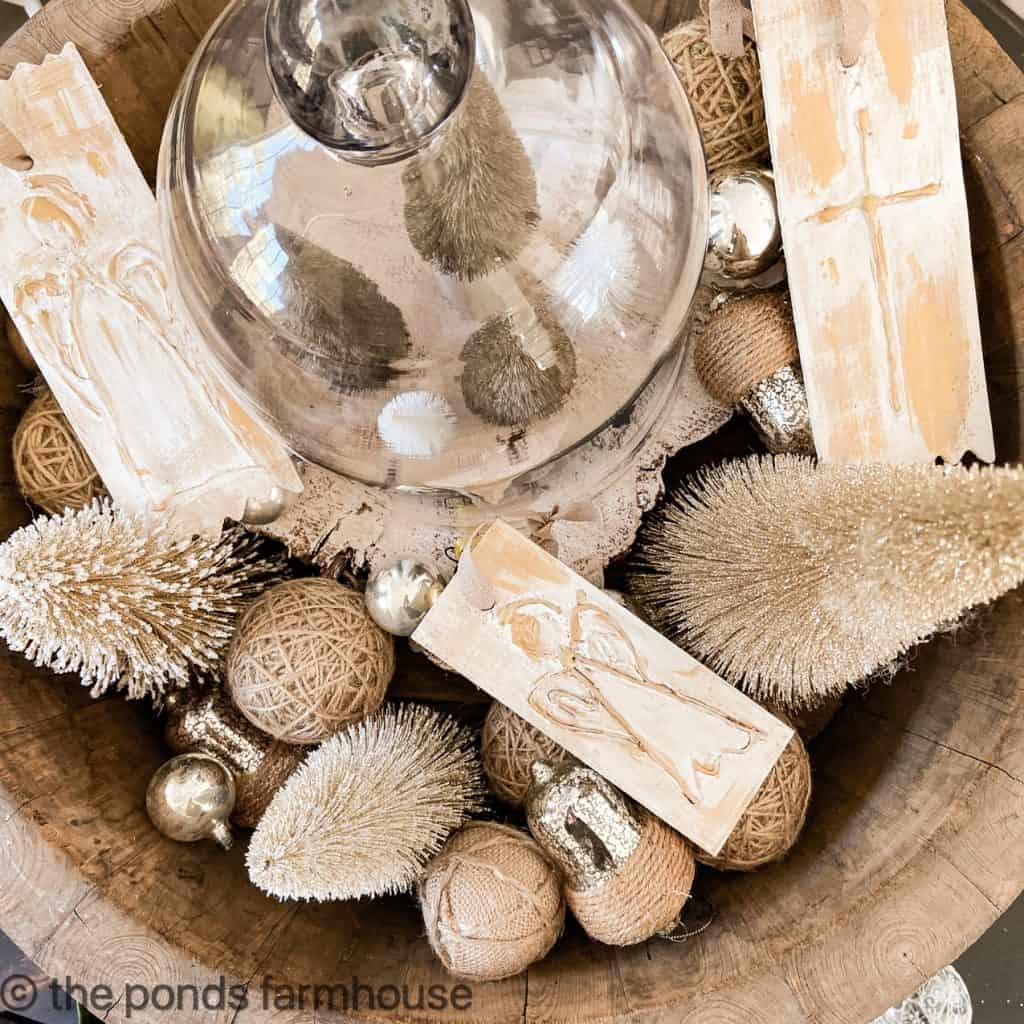
The options are endless regarding the different designs and colors you can use.
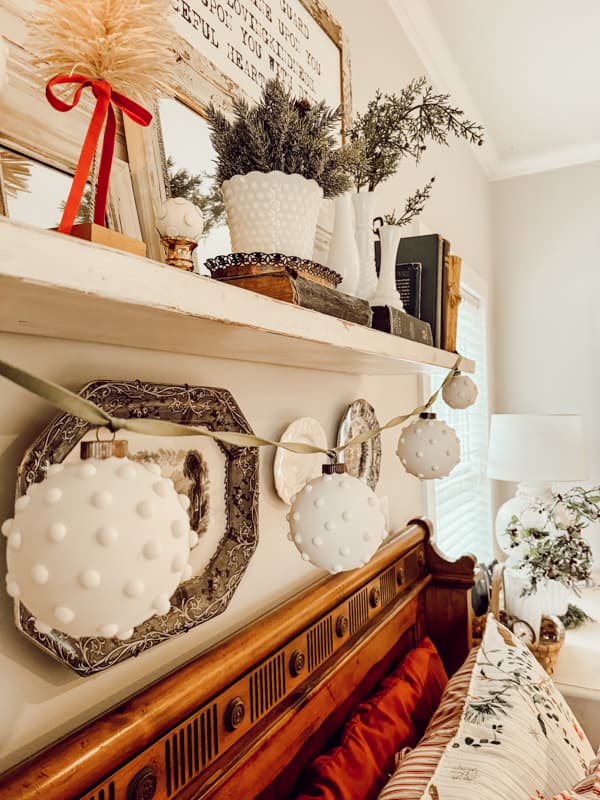
These are working well with my neutral colors in the loft this year.
Related Articles
Here are some additional DIY Christmas Crafts that are easy.
- 5 Sustainable Christmas Ornaments and Gift Wrap Toppers with scrap fabrics
- 3 Easy To Make Affordable Foraged Christmas Ornaments
- How To Make A Kissing Ball with Fresh Herbs
- DIY Old Book Page Big Christmas Ornaments
- How To Make Paper Christmas Trees
- Vintage Inspired Christmas Ornaments with Hot Glue
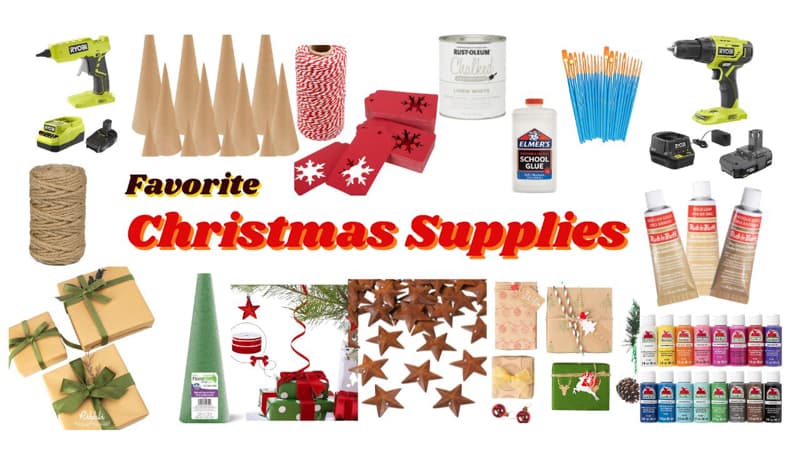
Resources
Click the image below to shop for the best DIY resources for projects like this.
Thanks so much for stopping by today, and I look forward to sharing my next adventure with you!

Pin It To Remember It
Did you find some great ideas you’d like to save for future reference? Hover over the images you’d like to save and pin to your favorite Pinterest Boards when you see the PIN button.

What a beautiful DIY project Rachel. I would love to share this on my wrap-up this coming week.
KIm,
I really appreicate this.
So unique and beautiful, Rachel. Love the gold paint on the white. Have a wonderful Thanksgiving!
Debra,
Thanks so much and you too.
I just love that idea! Will love to try that!!
Thanks for sharing! 🎄
Margie,
I’m so glad you like these.
I love these, Rachel, and I believe even I could make them! I’ll try! Sandra
Sandra,
You can’t go wrong. I hope you have fun making them.
Those are SO unique. Sky is the limit on what you can design with this idea. Thanks so much Rachel.
Miche,
I really appreciate you for stopping by. and you are right, so many options.
Ahhhh, very clever Rachel!!! Love the little angel!
Jennifer,
Thanks for stopping by.
What a cool idea! I want to make this one. pinned!
Stacy,
I’m so glad you liked it.
Rachel,
I am in love with these ornaments and cannot wait to try them.
Thank you so much for sharing…pinned!
xoxo,
Brendt
Brendt,
I really appreciate this. Let me know how they turn out.
Not sure my hot glue skills are as good as yours but I’m willing to give it a try. Thanks for sharing this. LOVE THEM!!!
Cindy,
You are so welcome.
Love the angel! 😇 What a sweet present that would make!! Thanks for the idea!
Jenn,
Thank you! I’m glad you like it.
These are beautiful, Rachel. Simple and rustically (is that a word?!) elegant. They will fit right in with our Christmas decor. I’m wondering if you tea dyed your twill tape?
Jan,
I’m glad you liked them. No it’s a gold ribbon.