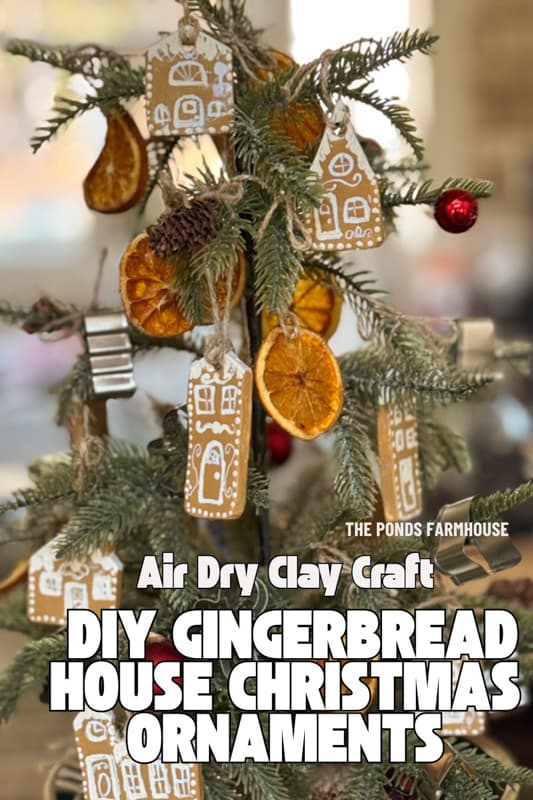
Easy DIY Air Dry Clay Gingerbread House Ornaments Tutorial
Looking for an easy, no-mess way to make gingerbread house ornaments? I just finished making DIY air-dry clay gingerbread houses, perfect for my kitchen Christmas tree. Air-dry clay is an easy way to make long-lasting gingerbread ornaments with minimal mess. This quick craft is ideal for beginners, and I’ve included a free gingerbread house printable template with adorable styles to choose from. Let’s grab some clay and create some festive magic.
(Posts on The Ponds Farmhouse may contain affiliate links. As an Amazon Associate, I earn from qualifying purchases. See the full disclosure details here.)
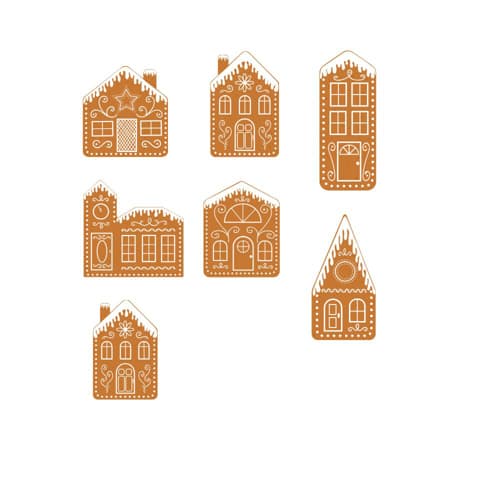
Gingerbread House Templates
I began by creating templates for my gingerbread house ornaments. I made two sizes, one for a mini tree and another for a full-size Christmas tree. Click below to download the templates.
- Mini-Gingerbread House Ornaments – Approximately – 2″ x 2″ (1 page)
- Large Gingerbread House Ornaments – Approximately 4″ x 3″ (3 pages)
Supply List
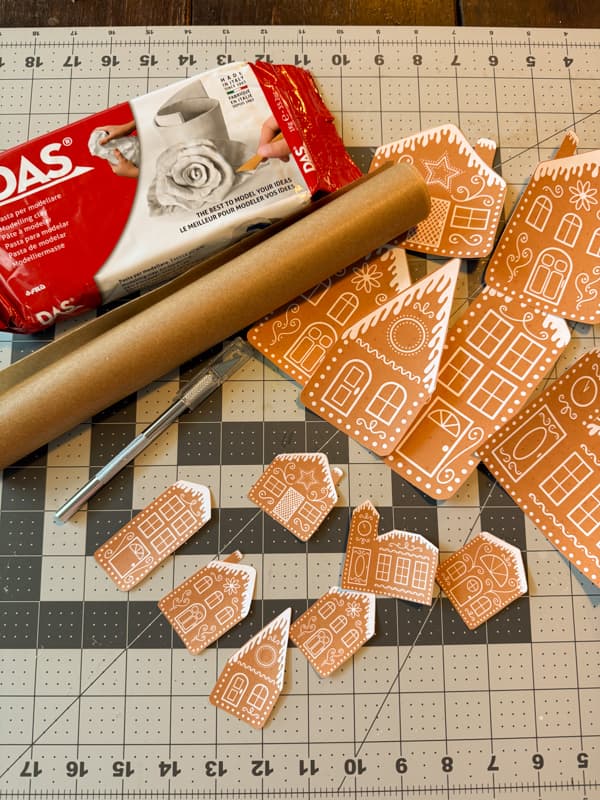
Step 1 – Prepare Template
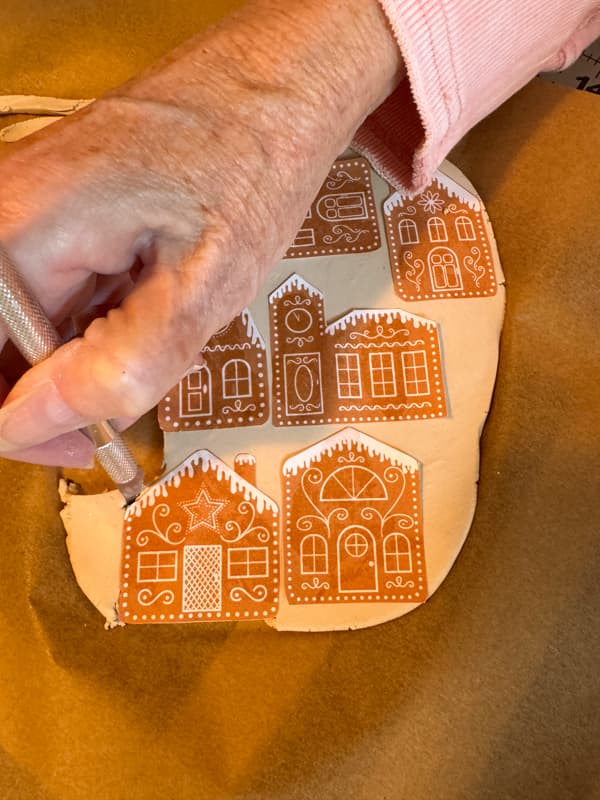
First, determine which size template you desire and print two copies. Cut out the gingerbread house designs from one template and use the other as your painting guide. I decided to make the mini-gingerbread house ornaments for my kitchen Christmas tree.
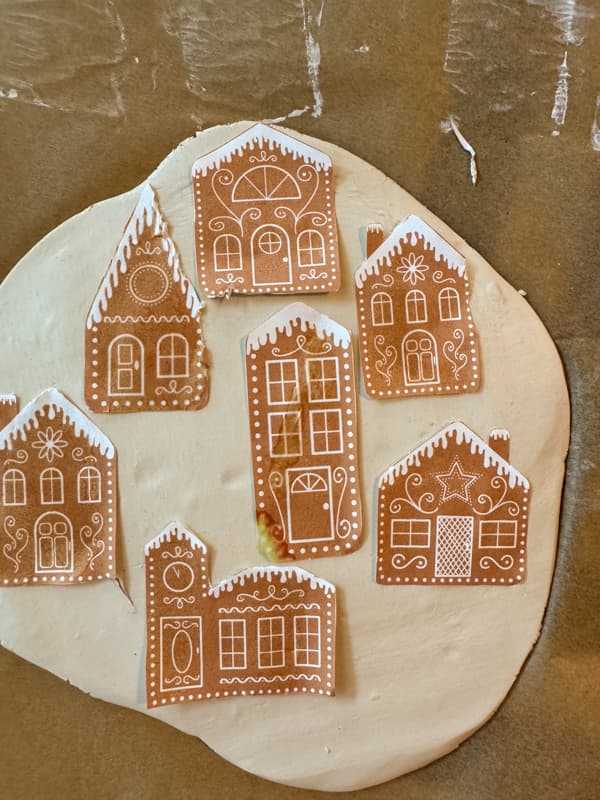
Step 2 – Cut Out Air-Dry Clay Ornaments
Roll out a good-sized amount of air-dry clay onto a flat surface covered with parchment paper. You need to roll the clay with the rolling pin until it is evenly distributed, to approximately 1/4 inch or slightly less for the smaller ornaments.
Place the templates on the clay and use the exacto knife to cut around the design.
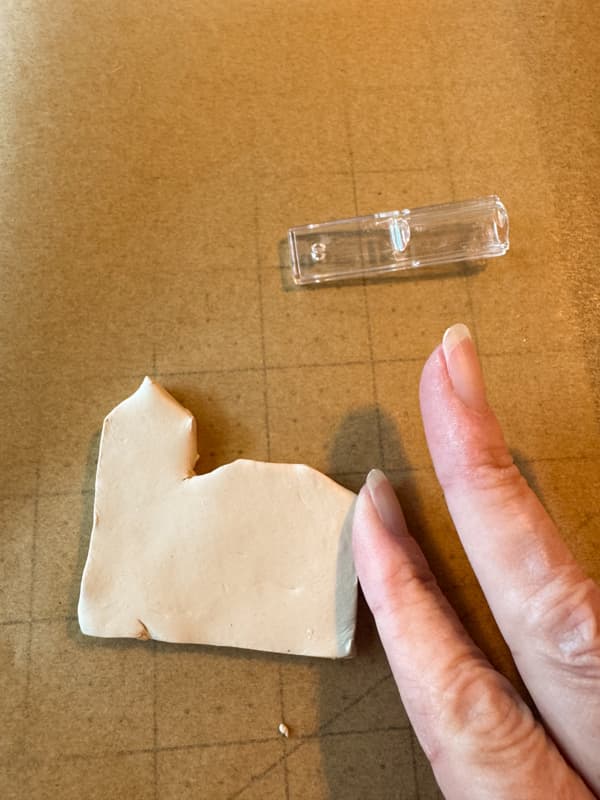
Smooth Edges
Once you have your ornaments cut, you will want to smooth the edges. I dampened by fingertips with water and rubbed around the edges until all areas were smooth.
Create a Hole for Ornament Hangers
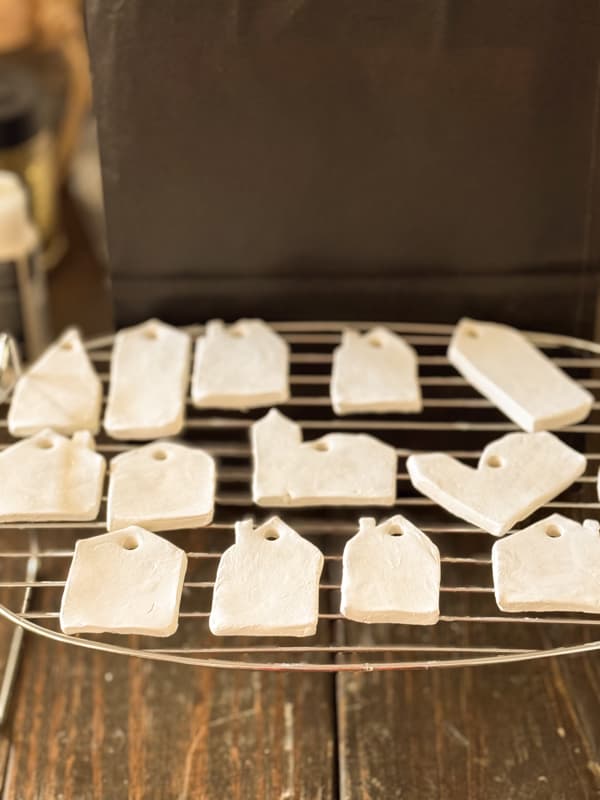
Next, add a hole to each ornament to allow for hanging. I used a small straw and punched a hole at the top center of each house. Ensure that you don’t get too close to the edges, as you may damage the clay. Push the straw straight down and twist. The clay will stay in the straw. I used the same straw to punch all the holes, and the clay just filled up inside without an issue.

Place the air-dry clay ornaments on a rack to dry. This will take a couple of days, so set it aside in a well-ventilated area, but avoid direct sunlight or excess heat. It’s best to allow the clay to dry on its own to avoid cracking.
#3 – Paint Gingerbread House Ornaments
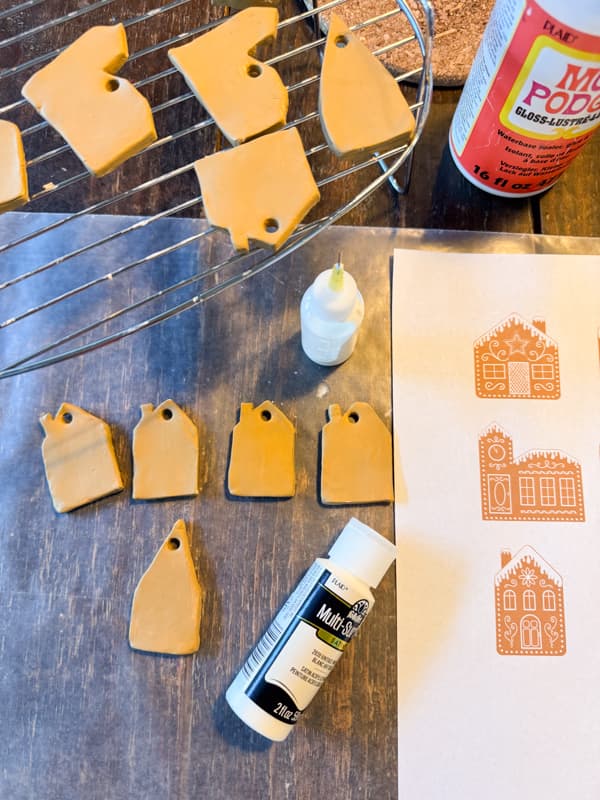
After the clay has dried, the houses will be pure white. Begin by painting each house front and back with the teddy bear brown paint. Allow to dry.
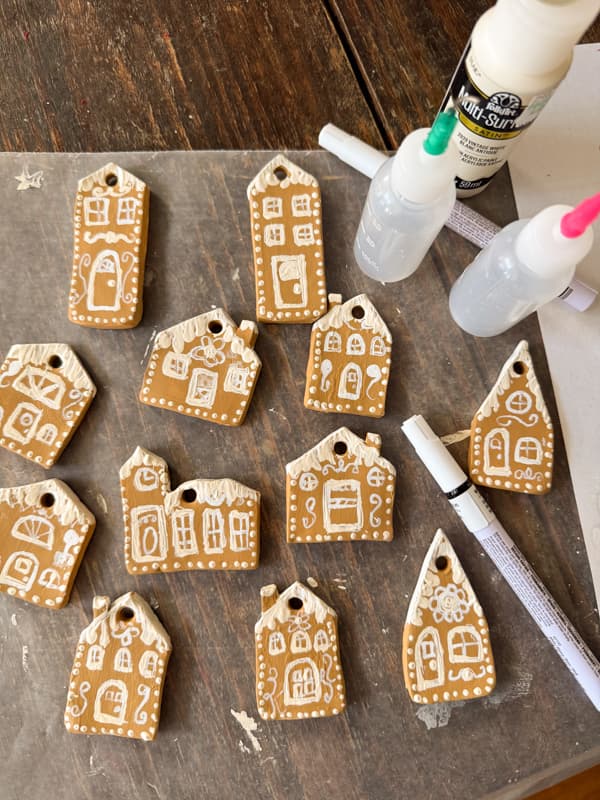
#4 – Paint Details of Gingerbread Houses
Once the Teddy Bear brown paint is dry, begin adding your gingerbread details. To determine my design, I made a second copy of the houses to use as a guide. I started with the precision tip applicator bottle with a fine tip. However, I was working with the mini gingerbread houses and found it difficult to control the application. So I used the white paint pen for the small details, such as the windows and doors. Then I switched to the precision tip applicators for the dots and snow.
I’ll be honest, I found working with the mini-gingerbread houses tedious. It was hard to get the design details as sharp as I would have liked. However, after I was finished, they all looked okay. I realized they don’t need to be perfect.
Be sure to allow the detail paint to dry before sealing.
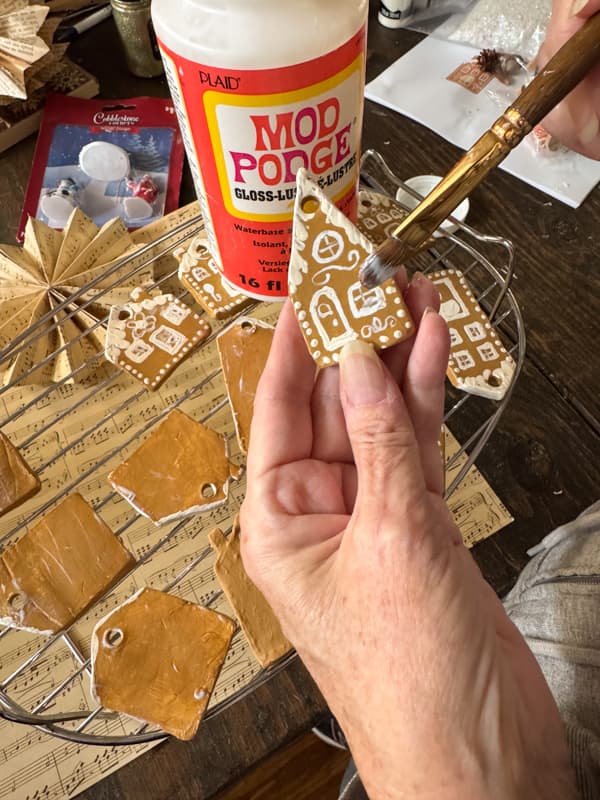
Step 5 – Seal Ornaments
Finally, seal the ornaments with Mod Podge. I used the gloss sealer for my houses. Allow the sealer to dry before adding hangers. Be sure to seal all edges of and the backside of the ornaments as well. This will ensure that they last for years to come.
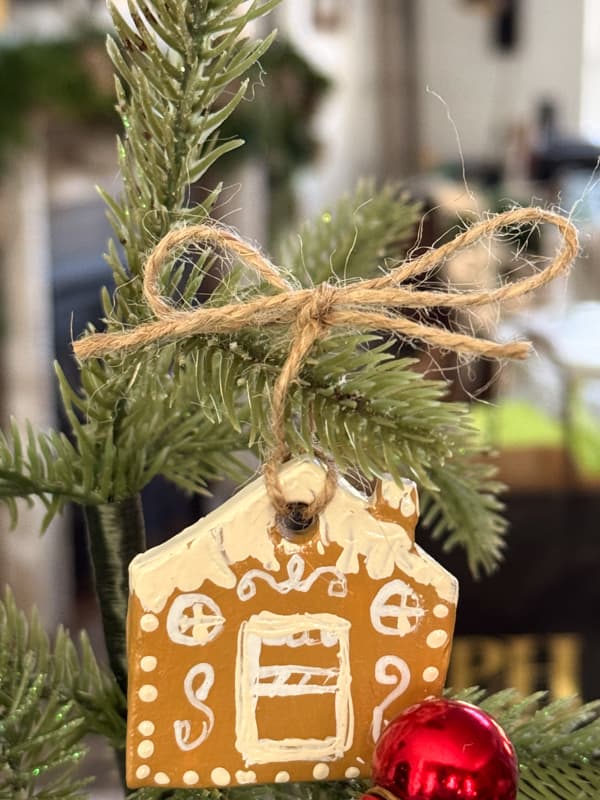
Step 6 – Add Jute Twine Hangers & Decorate Your Tree
Now you are ready to decorate your Christmas tree. I used jute twine to make hangers for the ornaments. However, you can use ribbon or ornament hangers if you choose.
I tied the jute twine to the ornaments, made a bow at the top, and attached it to the tree branch.
Scatter the gingerbread house ornaments around the tree.

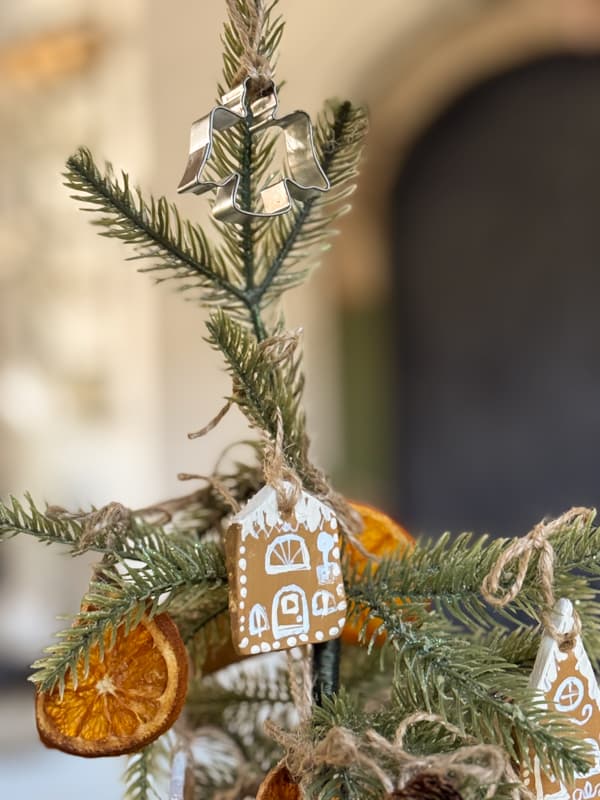
I also tied DIY dried orange slices to the tree using the same jute twine method. You can see all the details at How To Dry Fruit for Holiday Projects.

Finally, I added some vintage mini-cookie cutters in Christmas shapes to the tree branches. The combination of dried oranges, gingerbread houses, and cookie cutters gives the mini-tree an old-world feel.

And to top it off, I added an angel cookie cutter to the top of the tree. What do you think?
In Conclusion
I’m very happy with how the air-dry clay Christmas ornaments turned out. However, I do think the larger ornaments would have been easier to paint. The ornaments are easy to make and not messy. The cleanup is quick and easy. The drying process makes the project a little drawn out, but if you plan ahead and have a good drying space, it is well worth the time. But I’ll have these less-than-perfect mini-ornaments for my kitchen tree for years to come. These would also make a great kids’ project.
I hope you enjoyed today’s DIY project. Let me know if you make these, I’d love to share your projects on my Dirt Road Adventures on Sundays.


CUTE!!! I look forward to giving these a try! Your houses look great! Thanks for sharing this idea.
Ashley,
I’m glad you like these ornaments. I hope you have good luck making them. Let me know how they turn out.
I thought at first that you simply glued your cute templates onto the air dried clay forms and then protected them with Mod Podge. Would that work for those of us who aren’t very adept with a paintbrush?
Teddee,
This idea is brilliant. I’ll have to try it. Thank you for your input.
I am not familiar with Canva and can’t seem to be able to access your templates and print them.
Teddee,
You shouldn’t need canva to access the templates. See if this link works for you. https://drive.google.com/file/d/1qxy451F901Gb1YFjOFM-OHJIltiXHsf9/view?usp=drive_link. I’ve also updated them on my blog post so they should work. I apologize for this error. I’ve only recently started to create templates with canva so I accidentally published the wrong links.